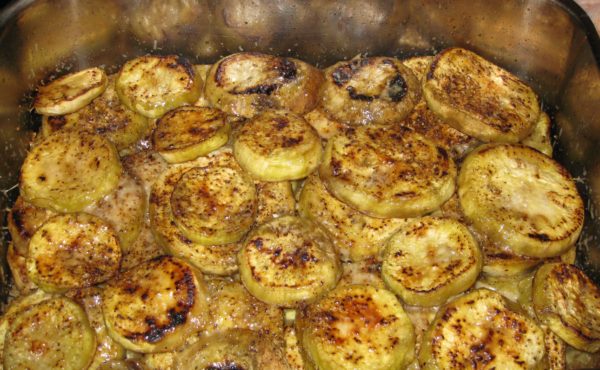
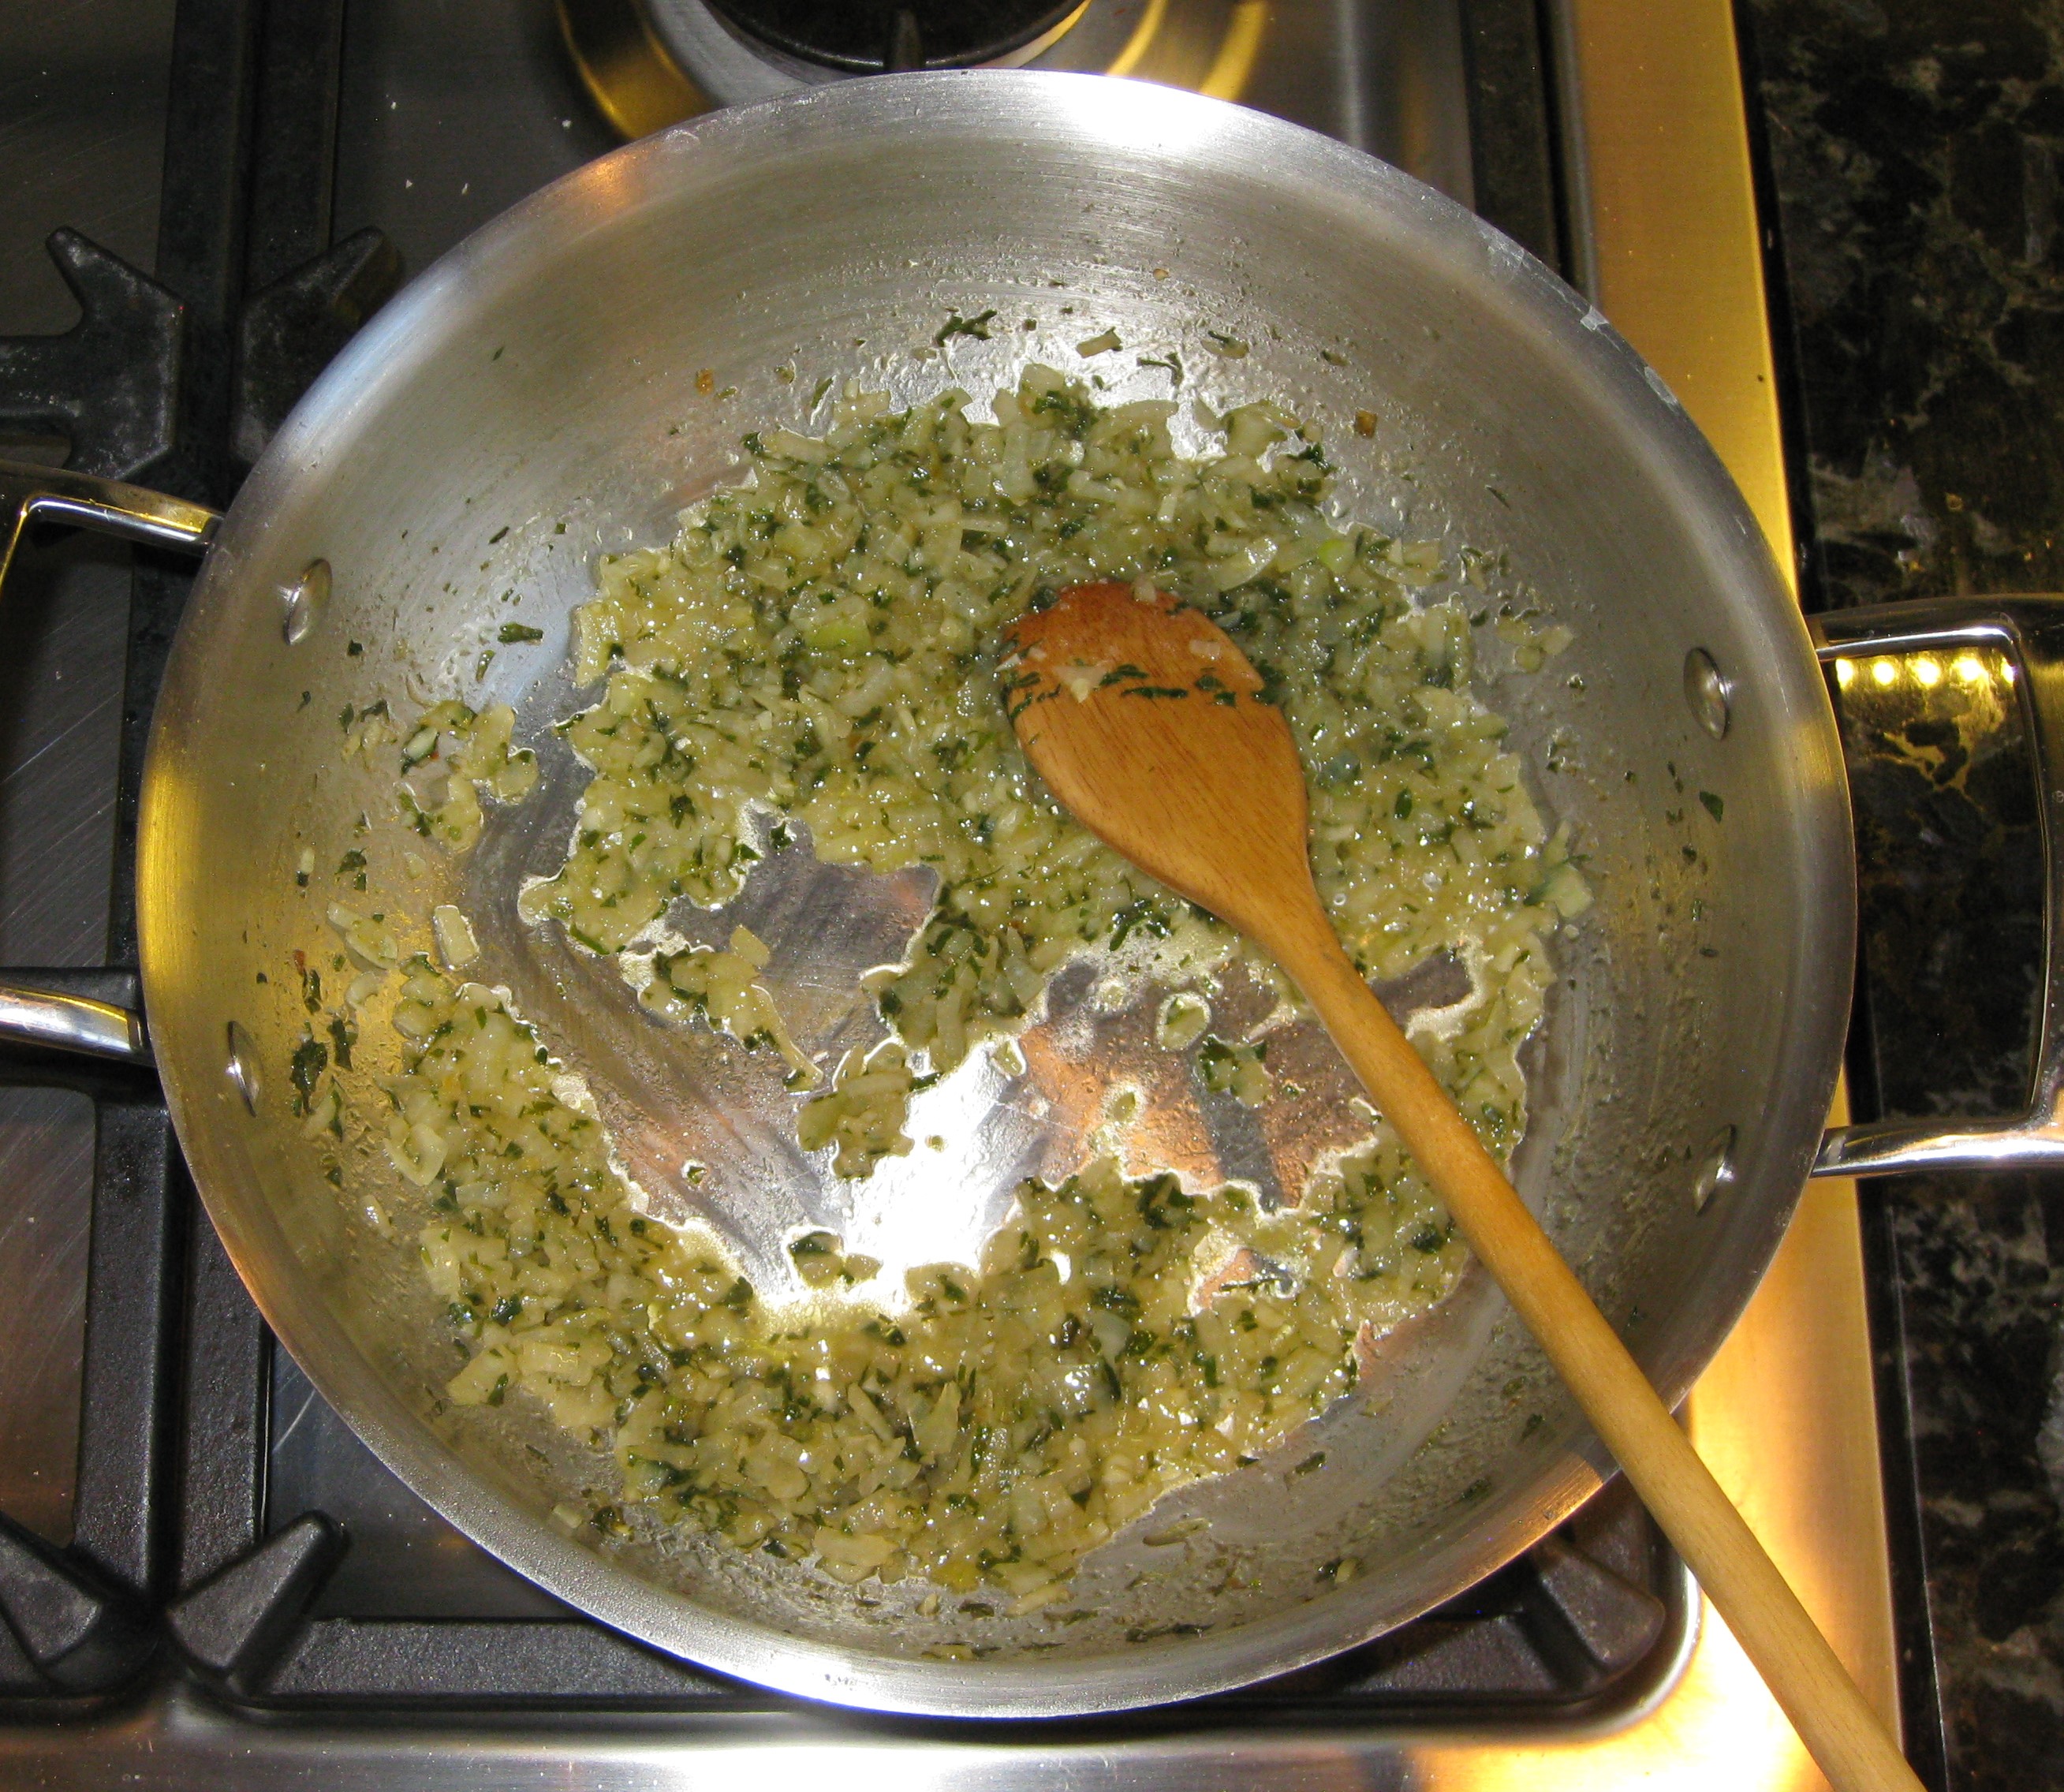
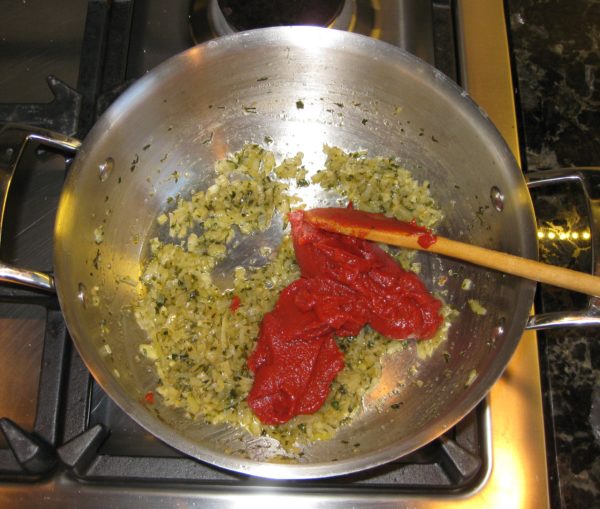
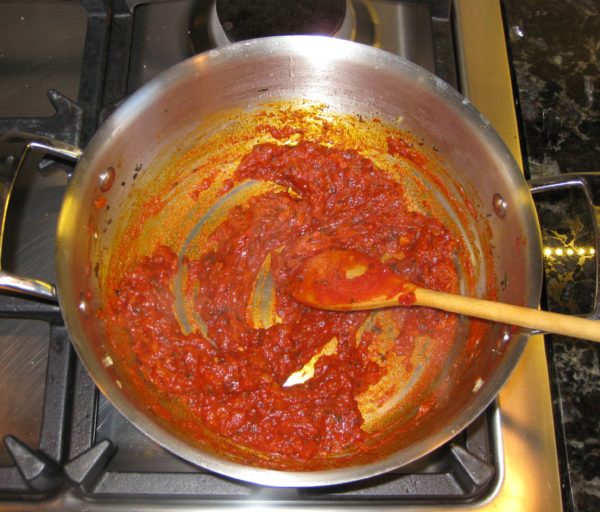
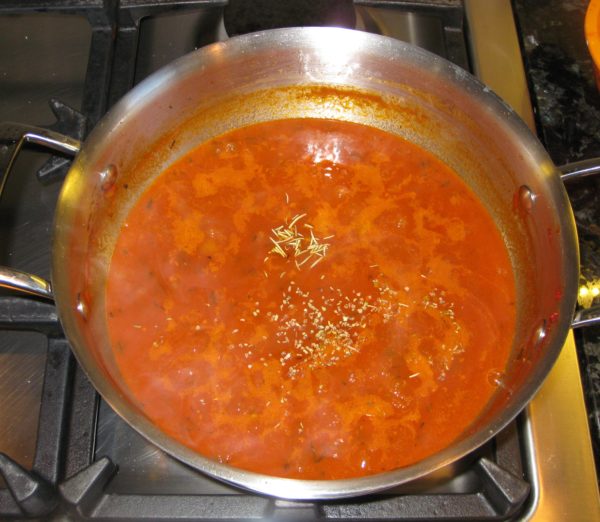
Sformato di Zucchini (Italian Zucchini Bake)

September 15, 2021

A lot has happened in the seven months since my last blog post.  I’m sure you’ll understand why I haven’t posted in a while.

We’re no longer in Santa Fe!

That’s right, we’ve moved full time to Palm Springs, California.

An aerial view of the “new” Villa Sentieri, foreground, with the hiking trail just beyond, that prompted the name of the Villa.

It was, and remains, exceedingly difficult to have left all our close friends in Santa Fe but Palm Springs called to us.


Join our mailing list and you’ll never miss a recipe again!


We get two growing seasons each year.  Since we’re just a few hundred feet above sea level, I don’t need to be concerned about testing recipes at high altitude.  The weather is pretty darn great, too!

The variety of what we can grow here is amazing.  We have ten citrus trees, three fig trees and an apricot tree.  We’re considering adding a pomegranate tree.  We have table grapes trellised up a side wall.  There are four raised beds for herbs and vegetables.

Frank grew the most awesome tomatoes this year.  I have quite a stash of homemade passata (tomato puree) in the freezer.
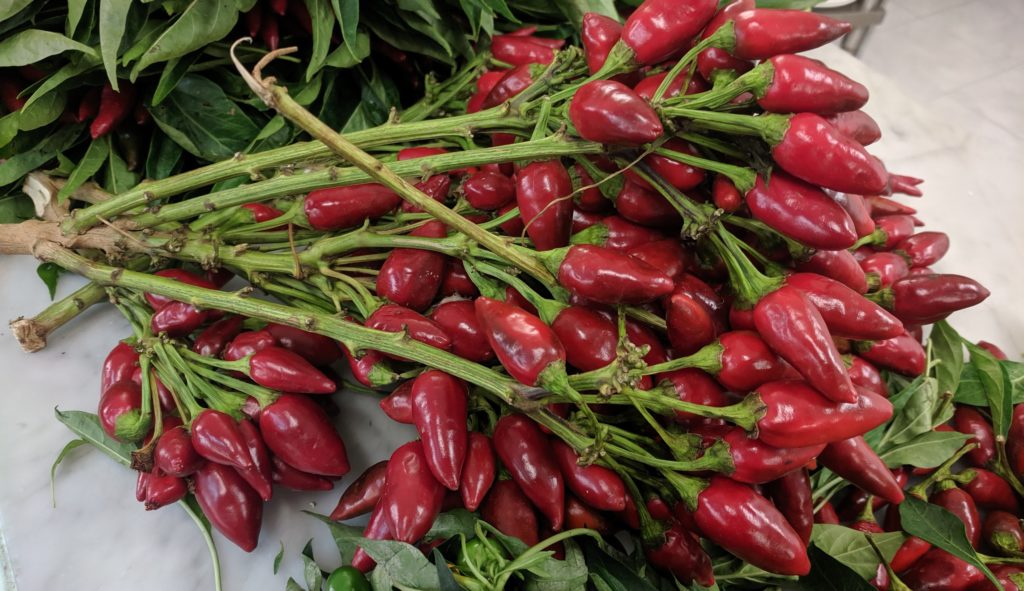
Naso di Cane (Nose of the Dog) peppers from Calabria. Seeds I brought back in 2019 just got planted in our garden in Palm Springs. I’m hoping to make “Olio Santo” (Holy Oil, aka Hot Chile Oil) in a few months.

The timing of our seasons takes a bit of getting used to.  Our first season pretty much ended in June.  That’s probably the time that most of you were just getting started with your gardens.  Though the herbs have continued to grow through the summer heat, all the vegetables were done by the end of June.


Follow us on your social media platform of choice


Right now we have an abundance of fresh limes.  The other citrus trees have fruit but it won’t be ripe for a few more months.

The vegetable beds sat fallow for the summer.  Just a few days ago, Frank planted them with seeds for what will be our second harvest of the year.  That will take place in November and December.

The “new” Villa Sentieri has an interior atrium with a koi pond filled with 17 koi.

Though we’re not harvesting vegetables at the moment, this is the perfect time for zucchini in most of the country.  When there’s an abundance of zucchini, sformato is the answer.
Print Recipe
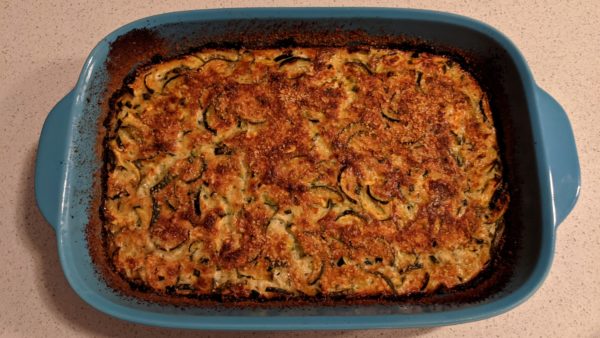
Sformato di Zucchini (Italian Zucchini Bake)
This was the first item that I cooked with Zia Fidalma at her home in Tuscany in August 2019. Green beans, cut in small pieces, can be prepared the same way except the beans are boiled and not sautéed. A combo of beans and zucchini is also possible. Zia does not usually add herbs to her sformato but since she had some niepita she added it. Though you’re not likely to have niepita (aka mentuccia romana), unless you grow your own, adding a small amount of marjoram or oregano is a welcome addition. If you don’t have fresh herbs, use a light sprinkling of dry herbs. In any case, herbs are totally optional.
Votes: 0
Rating: 0
You:
Rate this recipe!
Cuisine Italian
Prep Time 20 minutes
Cook Time 2 hours
Servings
people
Ingredients
Cuisine Italian
Prep Time 20 minutes
Cook Time 2 hours
Servings
people
Ingredients
Votes: 0
Rating: 0
You:
Rate this recipe!
Instructions
Besciamella
  1. In a small heavy-bottomed saucepan, melt the butter.
  2. Add the flour and sauté briefly until the raw smell is gone. Do not brown the flour.
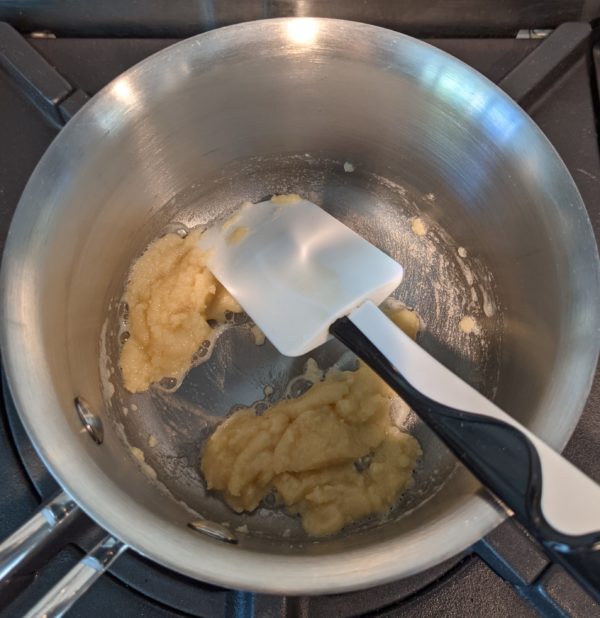
  3. Add the milk a little at a time, stirring well after each addition to avoid lumps.
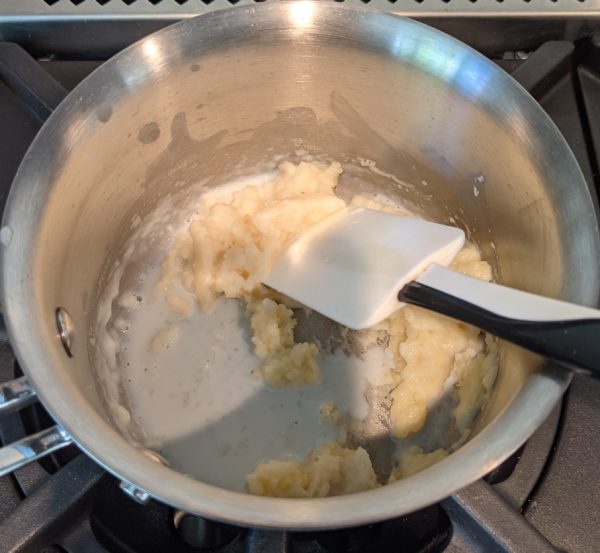
  4. After all the milk has been added, bring the mixture to a boil, stirring constantly and scraping the bottom of the pan. Boil for one minute.
  5. Remove from the heat and stir in the nutmeg.
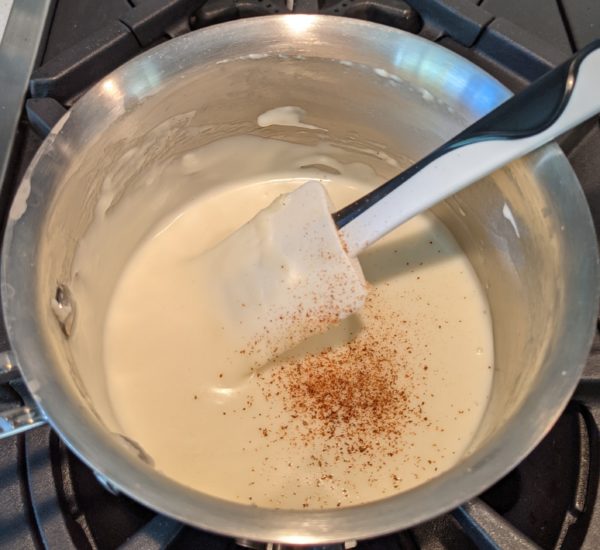
  6. If not using immediately, pour the besciamella into a heat-proof bowl and cover with plastic wrap touching the surface to avoid the formation of a skin.
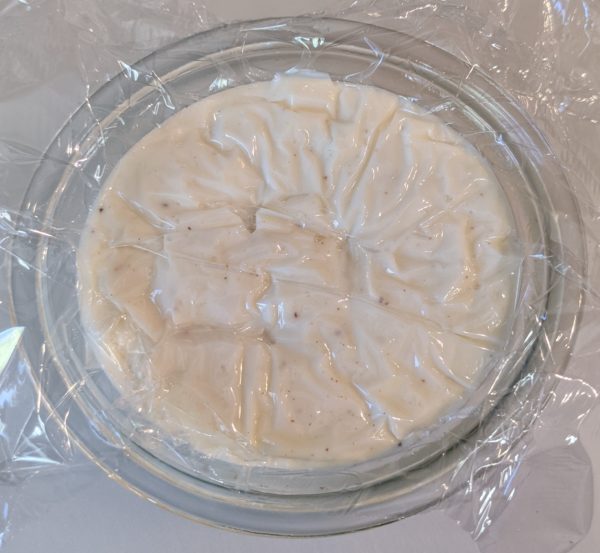
  7. Refrigerate if the besciamella will not be used within an hour or two.
Sformato
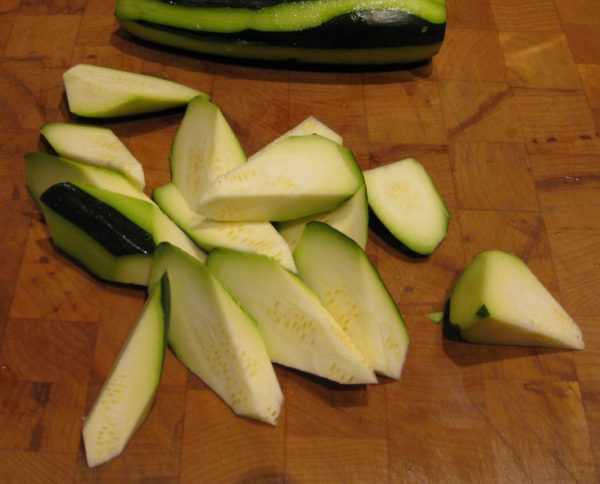
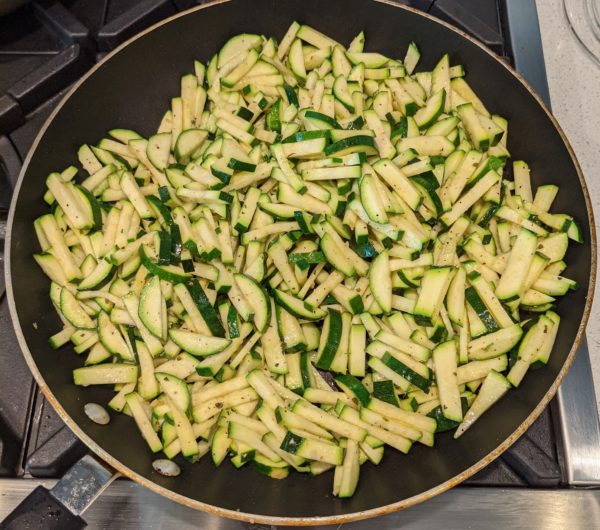
  1. Do not peel the zucchini. Cut off the stem ends and slice the zucchini lengthwise about 3/16 inch thick then crosswise the same thickness to make thick matchsticks.
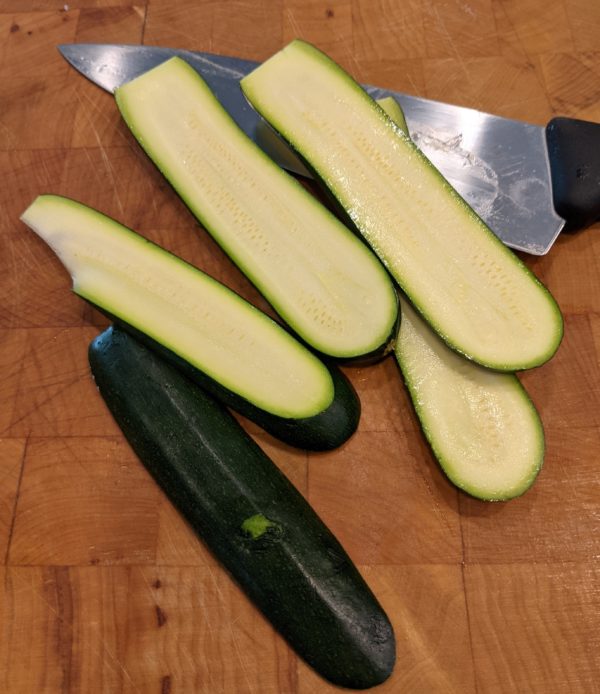
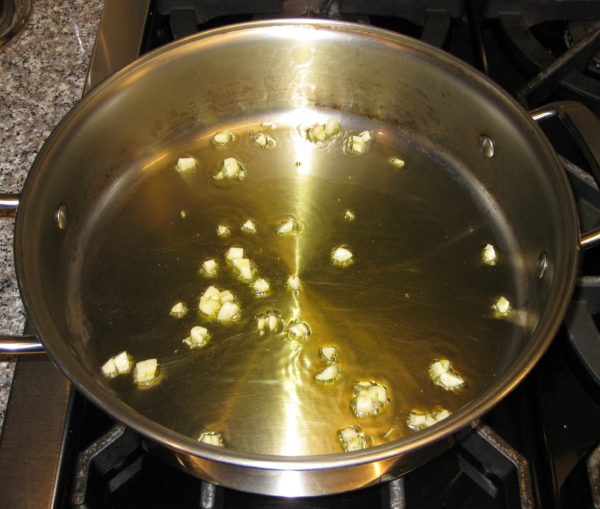
  2. Sauté the garlic in the olive oil until fragrant.
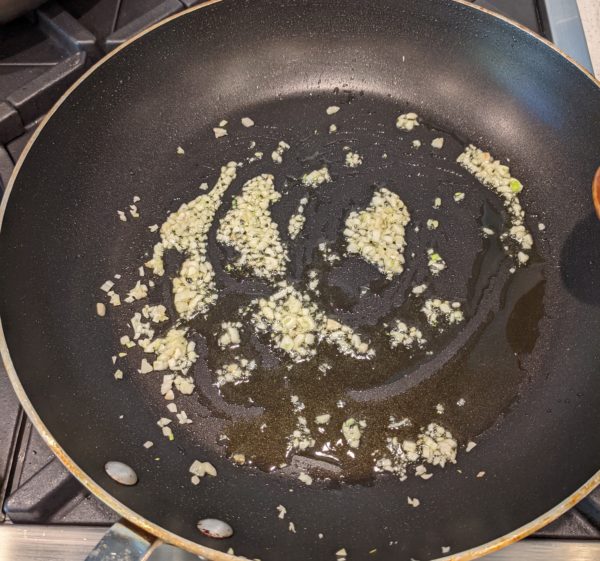
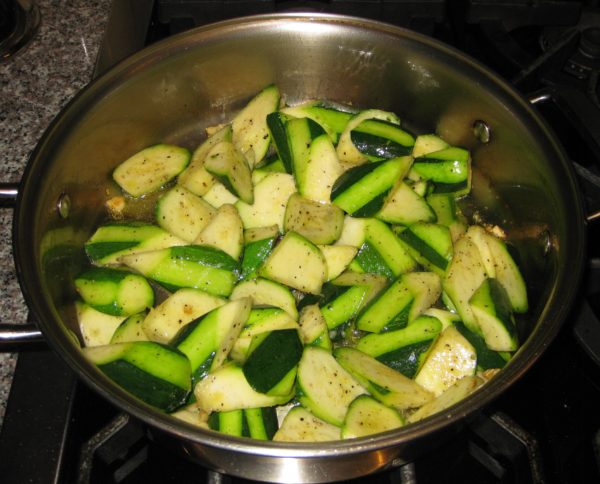
  3. Add the cut zucchini, chopped flowers and minced niepita if using. Season with salt and pepper and sauté briskly until just barely tender.
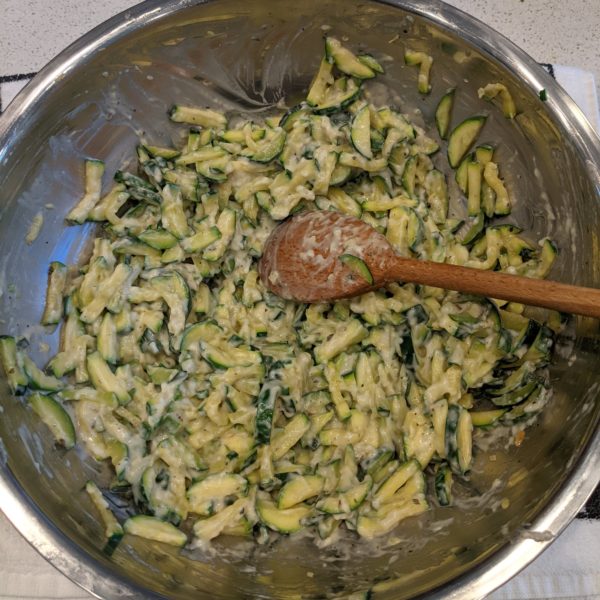
  4. Mix the cooked zucchini with the besciamella, nutmeg, and Parmigiano.
  5. Stir in the eggs after the mixture is cool enough to not cook the eggs.
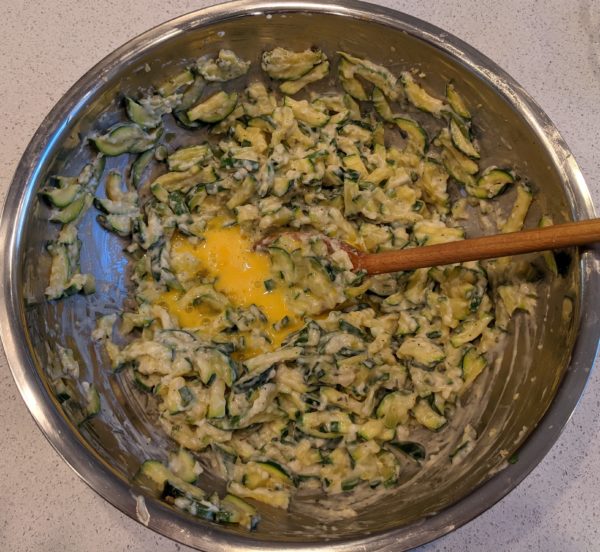
  6. Taste and adjust salt and black pepper.
  7. Butter a baking dish, approximately 7 ½” x 11”.
  8. Sprinkle the buttered dish with fine dry breadcrumbs.
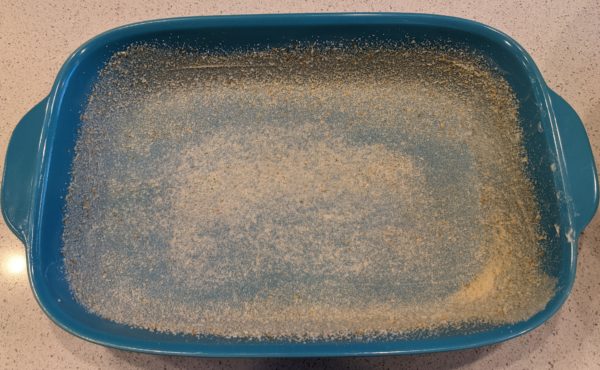
  9. Pour the zucchini mixture into the prepared baking dish. It should be about ¾ inch thick.
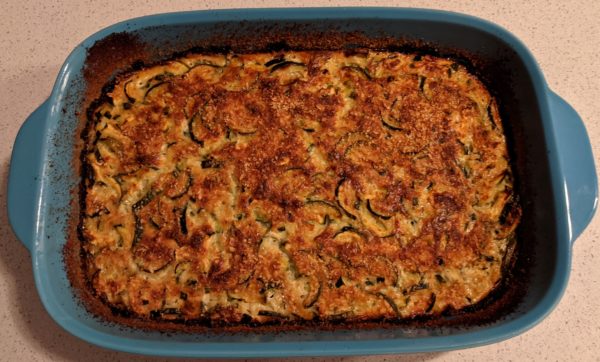
  10. Bake at 400°F till very brown on top, approximately 90 minutes. Cool 10 minutes before cutting.
  11. Serve warm or at room temperature.
Recipe Notes

Copyright © 2021 by Villa Sentieri, LLC. All rights reserved.

Share this Recipe

Carciofi e Patate (Artichokes and Potatoes)

January 13, 2021

January 7th is International Porchetta Day.

It was declared so by the participants in a charcuterie class at the Italian Culinary Institute in January 2019.

There is a private Facebook group of individuals who subscribe to the cult of porchetta.  We agree to make porchetta annually on January 7th.

The charcuterie class in question began on January 7, 2019, one week before my three-month Master of Italian Cuisine course began.  I made a point of getting to Italy early, really early, as I didn’t want to find myself in class with a sharp knife in my hand the day after landing, jetlagged from a 29-hour trip and an eight-hour time change.

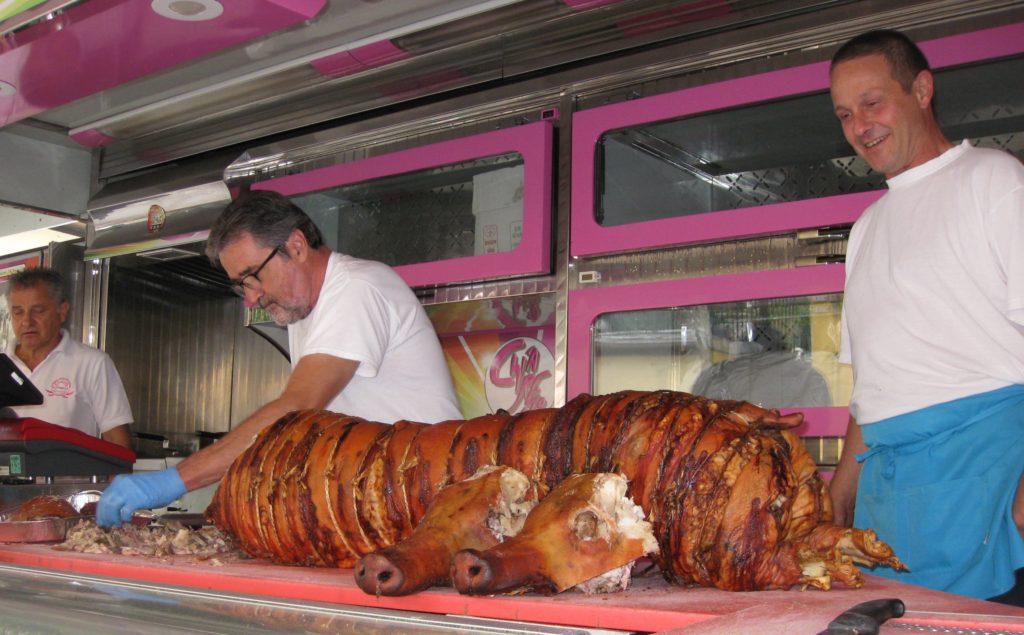
A traditional porchetta at a street fair in Bagni di Lucca.

I arrived the evening of January 8th, almost a week before my course started. I was invited to go to dinner with the charcuterie class.  I described that first chaotic day in my first dispatch from Calabria.


Join our mailing list and you’ll never miss a recipe again!


The next day, Chef John invited me to sit in on the charcuterie class.  Although not officially part of the class, I shared meals and course time with the group.

When International Porchetta Day was declared, with the date matching the first day of the charcuterie course, I became a member.

Traditionally porchetta is made with a whole pig, and not a small suckling pig, but a BIG one!

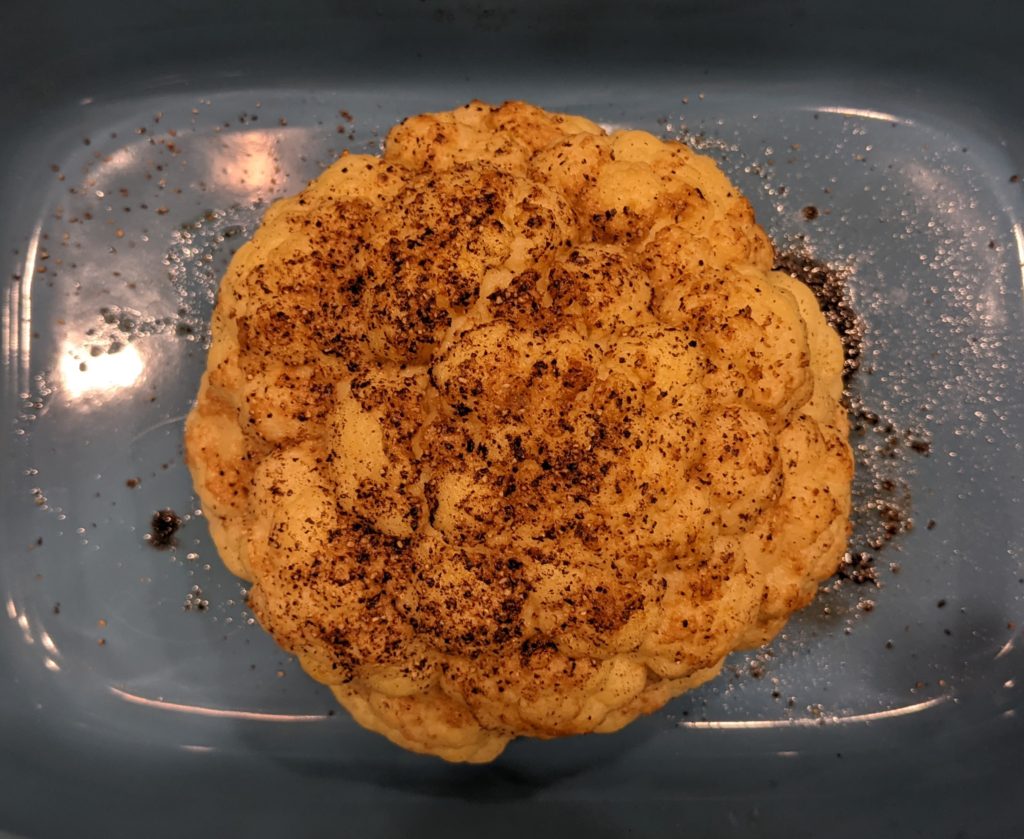
Roasted cauliflower is an easy and dramatic side dish.

When porchetta is made at home, it’s done with a smaller cut of meat.  I use the shoulder, aka Boston Butt.  At the Italian Culinary Institute, they use two cuts, the capo collo and a pork belly.  The capo collo is a long muscle group in the shoulder that, in essence, is a large cylinder.  The shoulder, and by extension the capo collo, contain beautiful marbling that makes a luscious roast.

At the Italian Culinary Institute, the belly is rolled around the capo collo.  The fat of the belly protects the capo collo.  It also makes a beautiful presentation.  It also adds about 8 pounds to the weight of the roast.  So, unless you’re cooking for a very large crowd, using the shoulder alone will more than likely be ample.

Given the limitations of the lock-down in Palm Springs where I’ve been sheltering in place, six of us, members of our COVID Pod, celebrated International Porchetta Day.

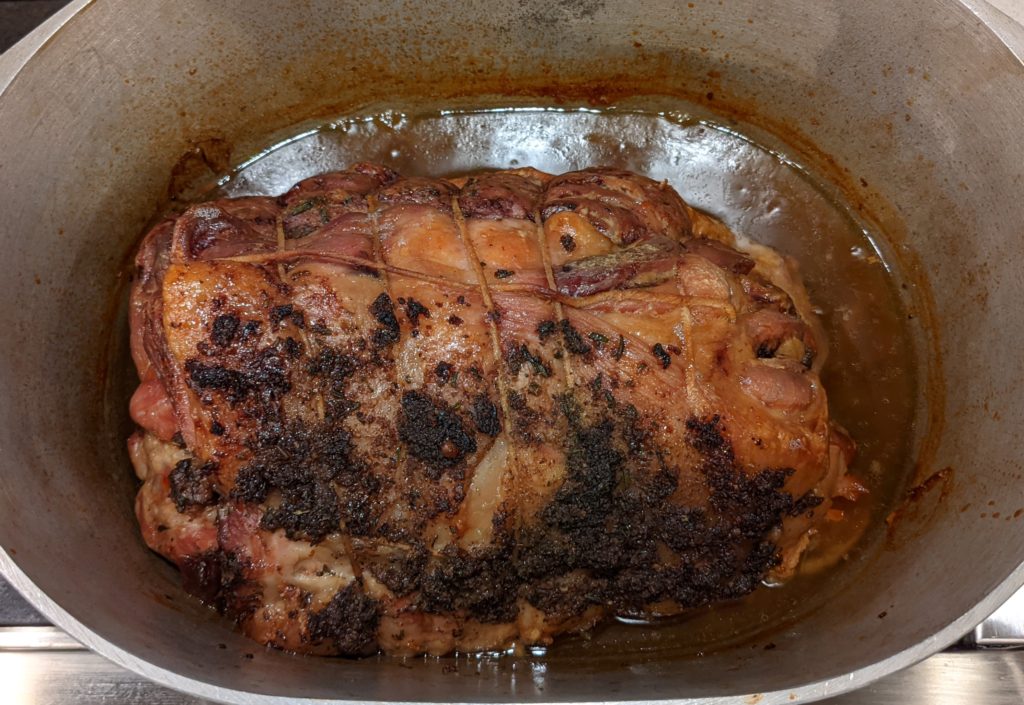
My porchetta ready for the serving platter.

Porchetta was obviously the centerpiece of the meal and I made my traditional version.  Here’s a link to my Porchetta recipe.

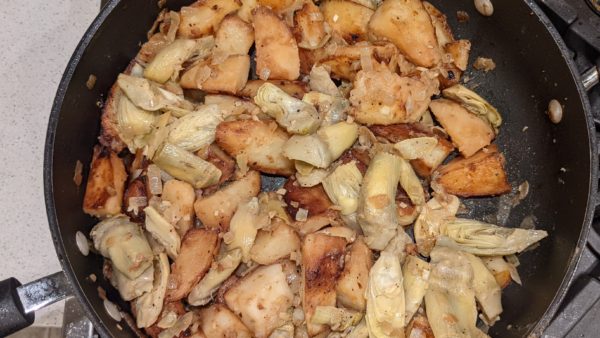
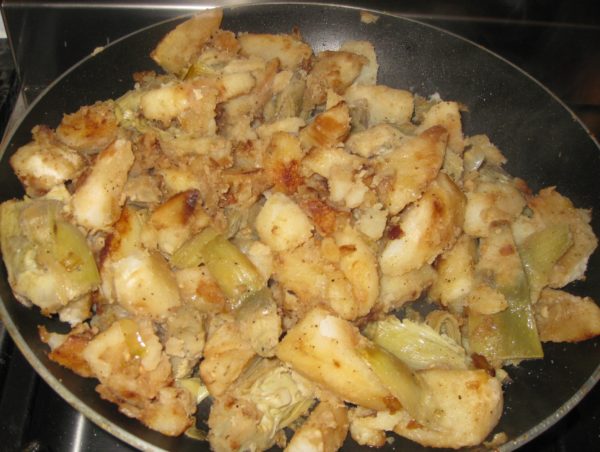
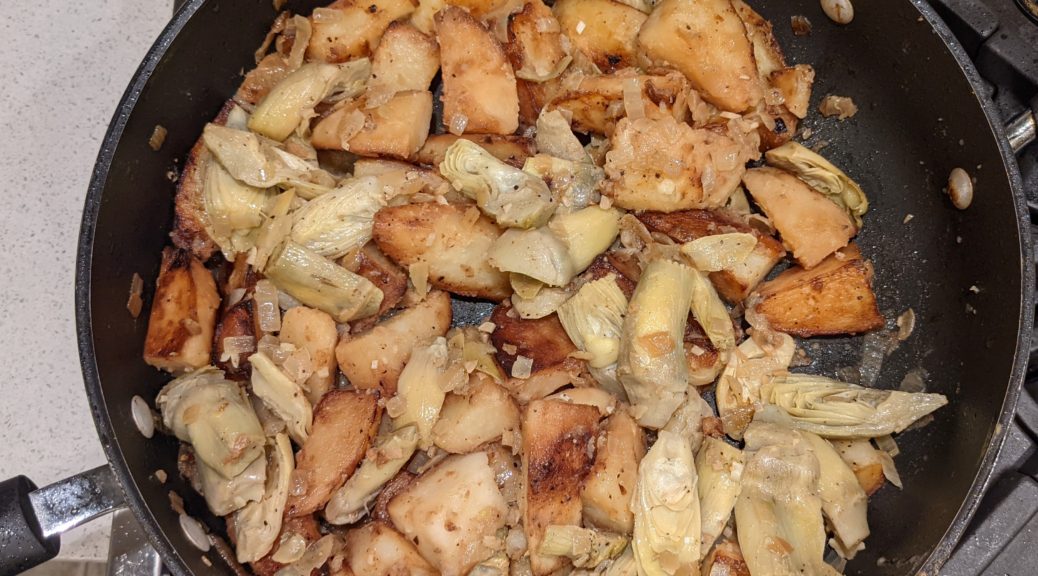
I focused on side dishes that would compliment the roast and settled on a whole roasted cauliflower and a Roman dish called Carciofi e Patate (artichokes and potatoes).  For dessert we had an Olive Oil Cake.


Follow us on your social media platform of choice


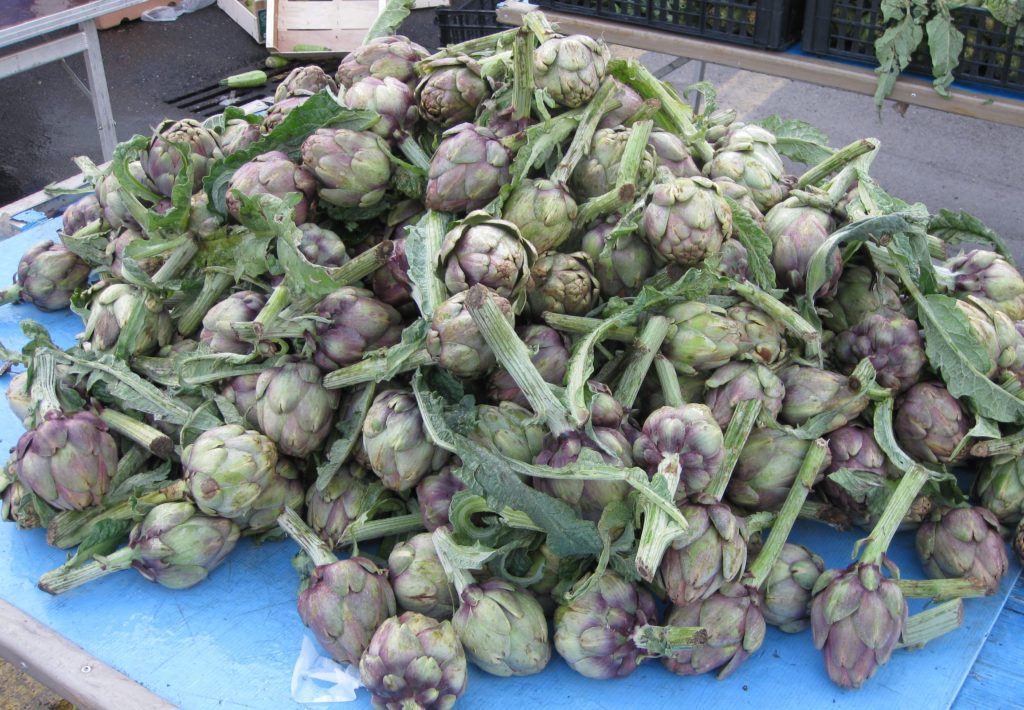
Carciofi e Patate is traditionally made with whole artichokes, lots of them!  In season, one can buy 12 artichokes for €1 in Italy!  That’s right, about 10¢ each!!! I once used 12 artichokes when I made the dish as part of Easter Dinner.  I spent more than $50 on artichokes for that one dish.  Clearly when Italians describe the dish as “economical” they have no idea about artichoke prices in the United States.

Artichokes in a market in Calabria.

While I prefer the dish made with fresh artichokes, I won’t do that again until I’m in Italy during artichoke season.  Frozen artichokes work well and are much more budget-friendly.

Print Recipe
Carciofi e Patate (Artichokes and Potatoes)
Carciofi e Patate is a classic Roman recipe. It pairs well with most roasts.
Votes: 0
Rating: 0
You:
Rate this recipe!
Prep Time 20 minutes
Cook Time 45 minutes
Servings
people
Ingredients
Prep Time 20 minutes
Cook Time 45 minutes
Servings
people
Ingredients
Votes: 0
Rating: 0
You:
Rate this recipe!
Instructions
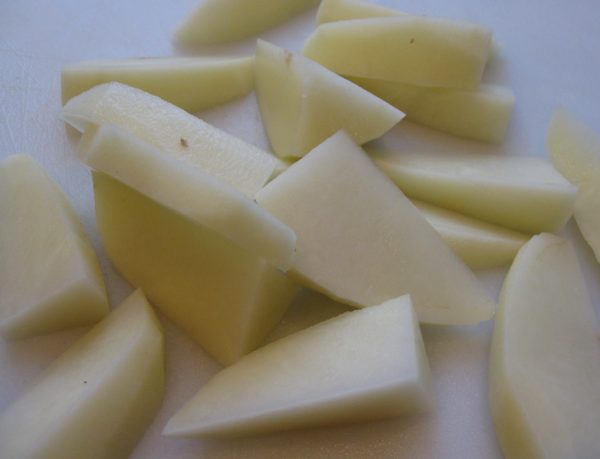
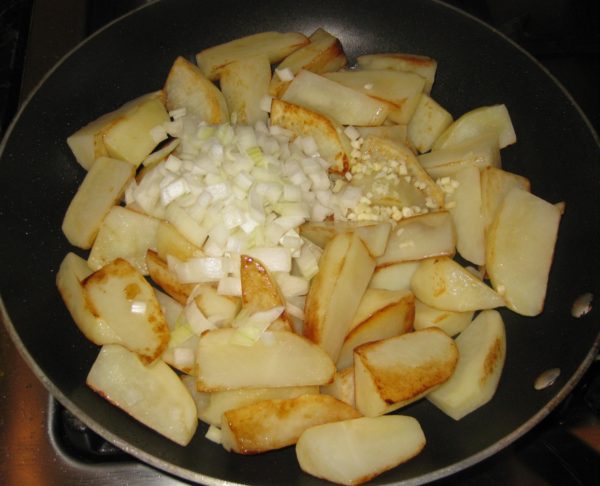
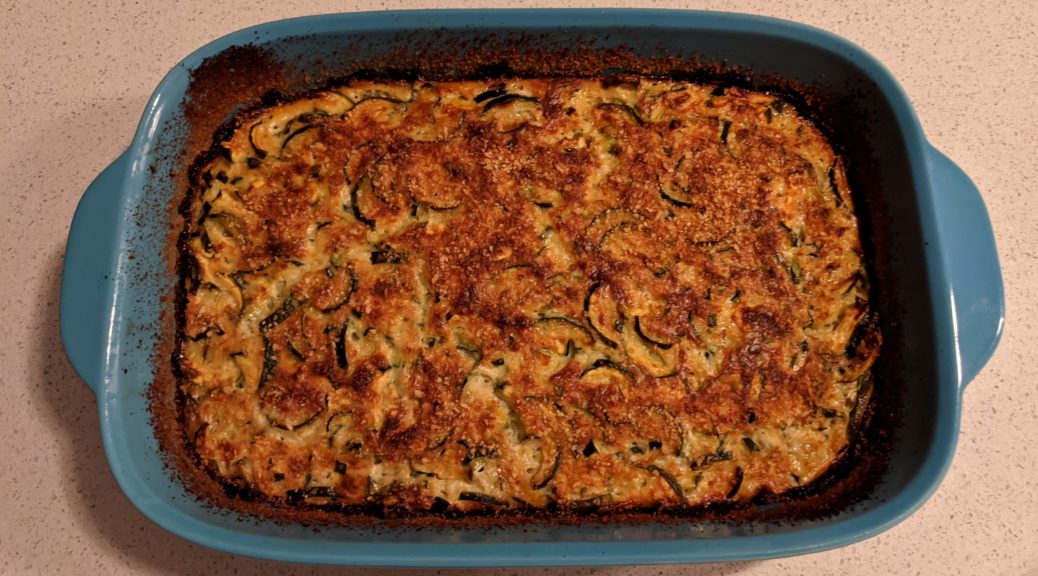
  1. Peel potatoes and cut in 8 wedges unless the potatoes are very large or very small.
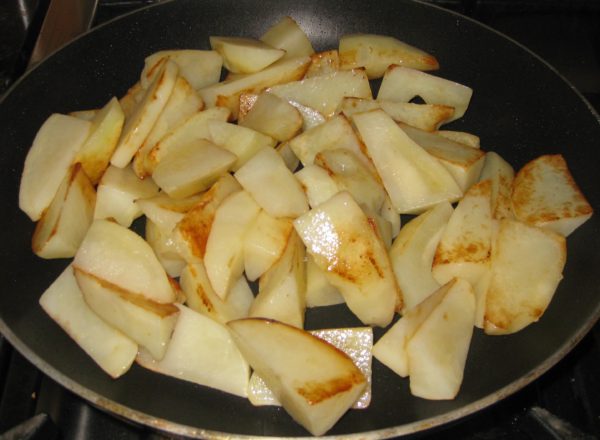
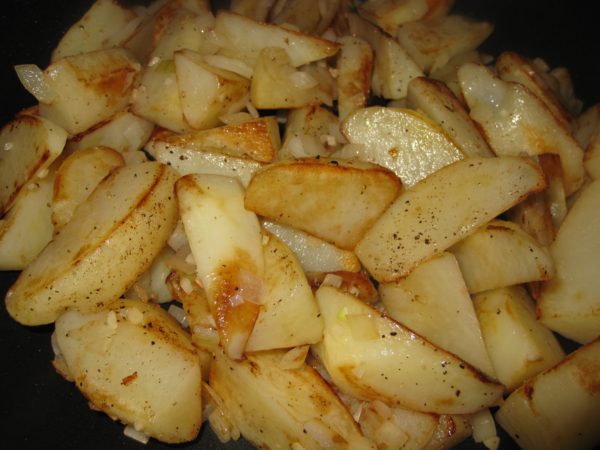
  2. Brown the potatoes in the three tablespoons of extra-virgin olive oil in a large sauté pan over high heat.
  3. When the potatoes are well-browned, reduce the heat to medium. Add half the onions and garlic.
  4. Sauté until the onion is golden.
  5. Season with salt and freshly ground black pepper to taste. Add approximately ½ cup of water. Cover and cook on medium heat until cooked through, adding more water as needed, approximately 25 minutes. There should be no water left when the potatoes are cooked.
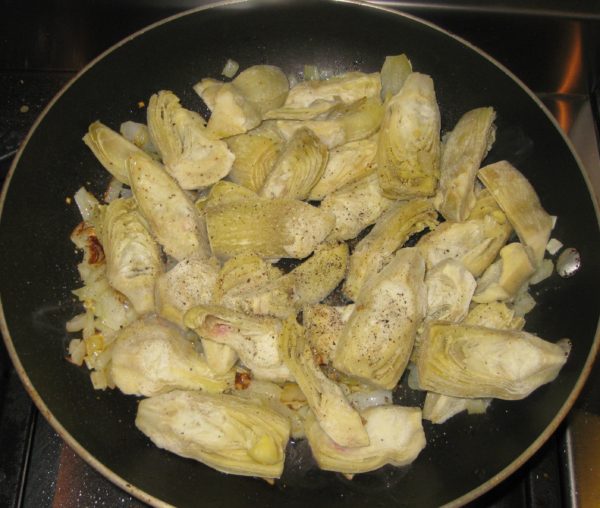
  6. Meanwhile, sauté the remaining onions and garlic in the remaining extra-virgin olive oil in a sauté pan.
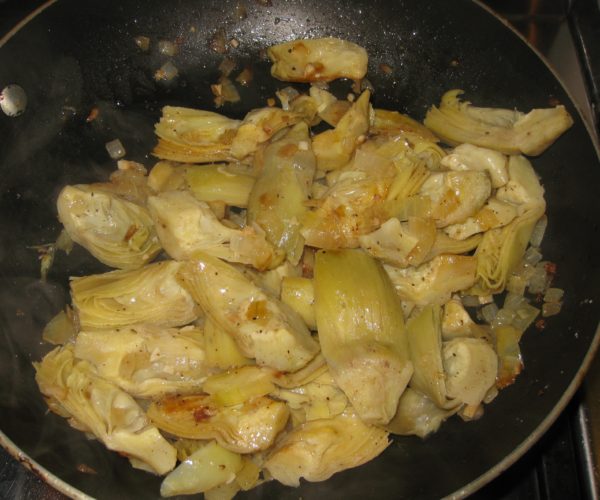
  7. When the onions are golden, add the artichokes and salt and pepper to taste. Sauté briefly.
  8. Add white wine, cover and braise until barely tender, approximately 10 minutes. The artichokes will cook further with the potatoes so do not over-cook them.
  9. Add artichokes to the pan with the potatoes.
  10. Sauté, uncovered, about 10 minutes longer, to meld flavors. Adjust salt and pepper.
  11. Stir in parsley and serve.
Recipe Notes

Copyright © 2021 by Villa Sentieri, LLC. All rights reserved.
Share this Recipe

Melanzane al Forno (Eggplant Baked with Parmesan Cheese)

January 4, 2020

Growing up I didn’t like eggplant.  I didn’t much care for zucchini, either.  Or kale.

Things are a whole lot different now.

As an adult, I basically haven’t met a vegetable I don’t like, though, naturally, I like some more than others.

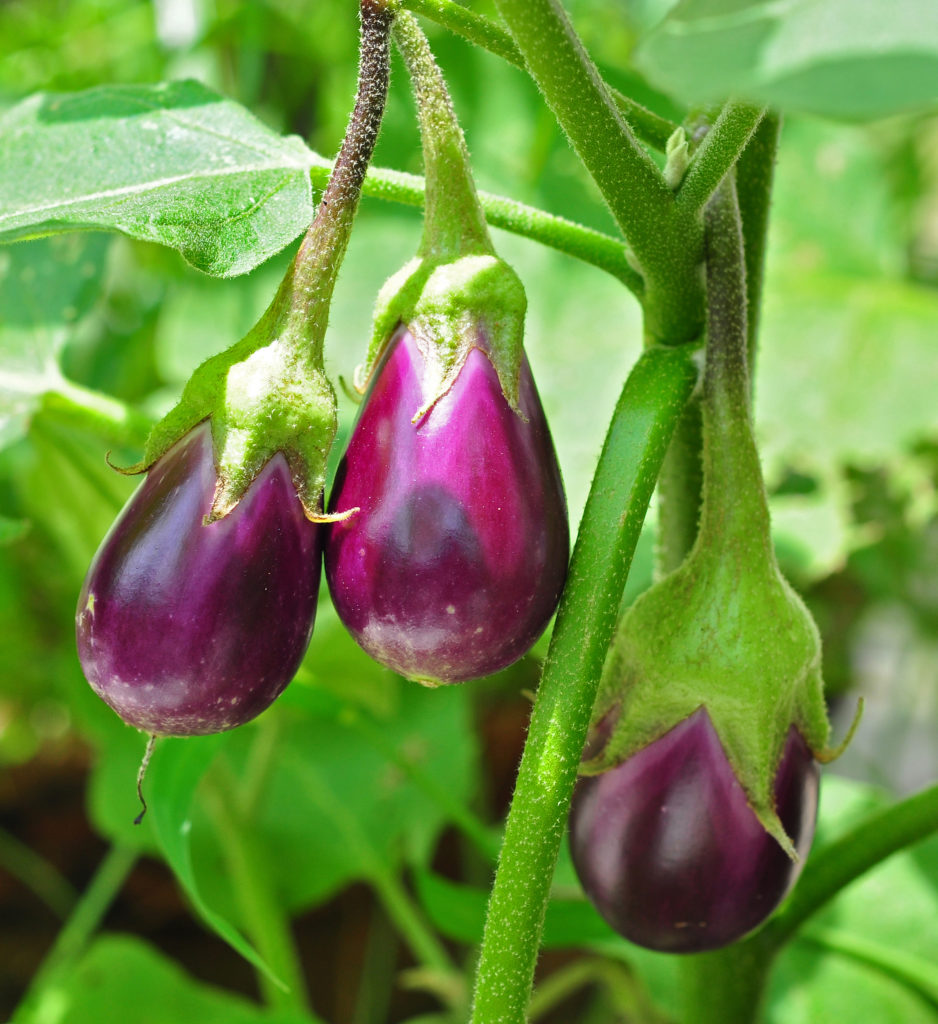
As with zucchini, eggplants seem to defy the season.  They’re available year-round and the quality is consistent.  Just look for firm, shiny ones with no soft spots or wrinkled skin and you’re basically guaranteed of getting a good eggplant.

Eggplants on the vine (Photo: Joydeep / Wikimedia Commons / CC BY-SA 3.0).

Eggplant is a versatile vegetable.  It can be braised, baked, sautéed, fried and steamed … and probably cooked by any other method you can think of.


Join our mailing list and you’ll never miss a recipe again!


Eggplant will sop up any flavor that you pair with it.  It will also sop up large amounts of oil so one needs to be cautious about frying large pieces of eggplant in abundant oil.  Thin slices of eggplant can be floured and fried to great advantage, however.

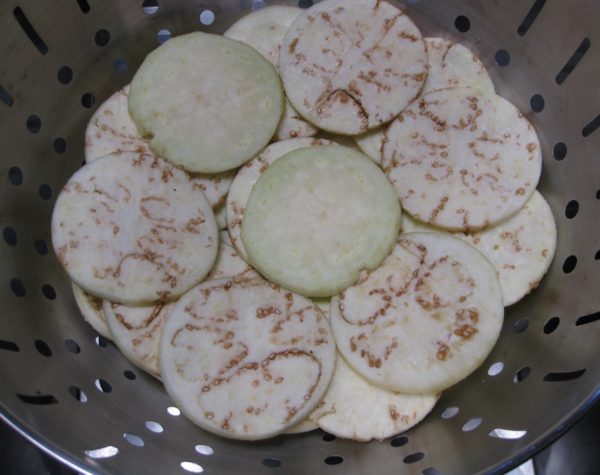
Years ago, eggplant could be bitter but that trait has basically been bred out of the modern varieties one commonly encounters.  The bitterness led cooks to salt and drain the eggplant to remove bitter juices.  While this is no longer strictly necessary for control of bitterness it is still a great technique to reduce moisture content which is useful for some preparations.

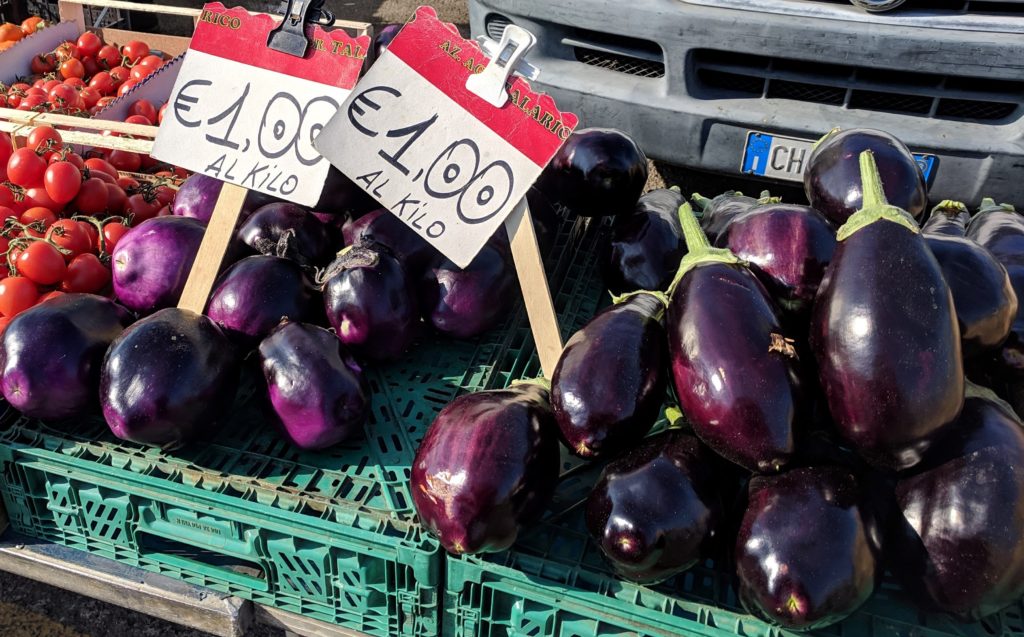
Eggplants at the market in Italy.

America’s Test Kitchen (the organization behind Cook’s Illustrated and Cook’s Country) has developed a method for removing water from eggplant using the microwave.  I have lots of cooking equipment and have no qualms about using newer technology in place of older technology to simplify food prep.  However, I want the newer technology be a natural evolution from the older technology as a way to preserve (but improve) traditional food preparation.  For example, before food processors, one would “mush up” food as much as possible then put it through a sieve.  Food processors do a much better (and faster) job of “mushing,” sometimes to the point that the sieving step isn’t necessary.


Follow us on your social media platform of choice


To me, that’s evolutionary.  It’s a more efficient way of getting to the same outcome but staying true to the traditional method.  Blasting eggplant in the microwave in place of salting it is not.

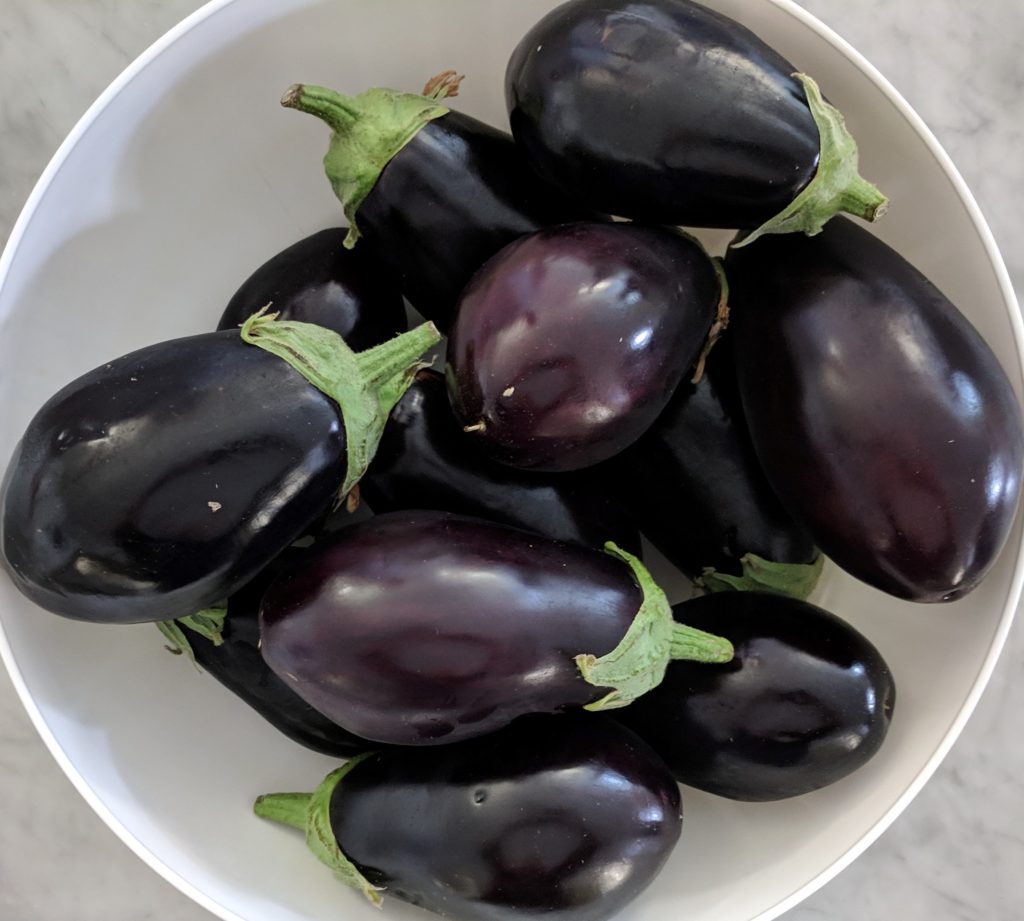
Beautiful eggplants ready to be made into something yummy.

While I have great respect for the rigor of America’s Test Kitchen, some of their hacks and shortcuts really trouble me from the standpoint of maintaining and transmitting traditional foodways.  Using V-8 juice in minestrone in place of tomato is an example.

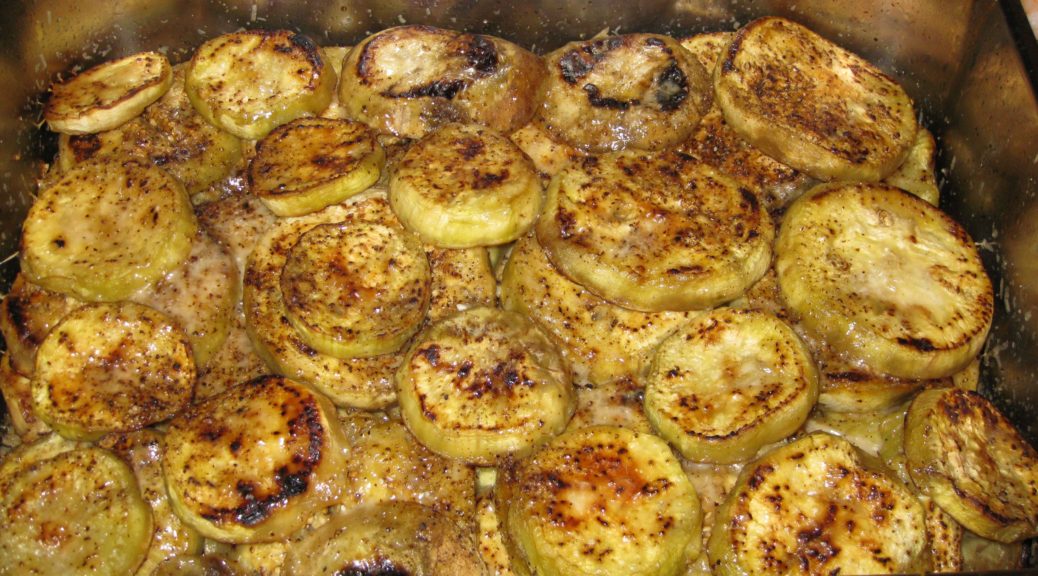
With salting, rather than microwaving, we’ll proceed to today’s recipe,  It’s a very straightforward baked eggplant with Parmigiano Reggiano cheese.  Somehow it manages to be WAY more than the sum of its parts.  I urge you to try it, even if you think you don’t like eggplant.

Print Recipe
Melanzane al Forno (Eggplant Baked with Parmesan Cheese)
Eggplant can absorb huge quantities of oil. This method of cooking limits the amount of oil the eggplant absorbs, making it lighter. The eggplant finishes its cooking in the oven, which eliminates last minute frying just before serving dinner. Individual portions can be made by cutting the eggplant into rounds that fit inside of small ramekins.
Votes: 0
Rating: 0
You:
Rate this recipe!
Course Sides, Vegetables
Cuisine Italian
Prep Time 30 minutes
Cook Time 1 hour
Passive Time 1 hour
Servings
people
Ingredients
Course Sides, Vegetables
Cuisine Italian
Prep Time 30 minutes
Cook Time 1 hour
Passive Time 1 hour
Servings
people
Ingredients
Votes: 0
Rating: 0
You:
Rate this recipe!
Instructions
  1. Peel the eggplant and cut crosswise into rounds ½ inch thick.
  2. Liberally salt the eggplant slices on both slides and put them in a colander.
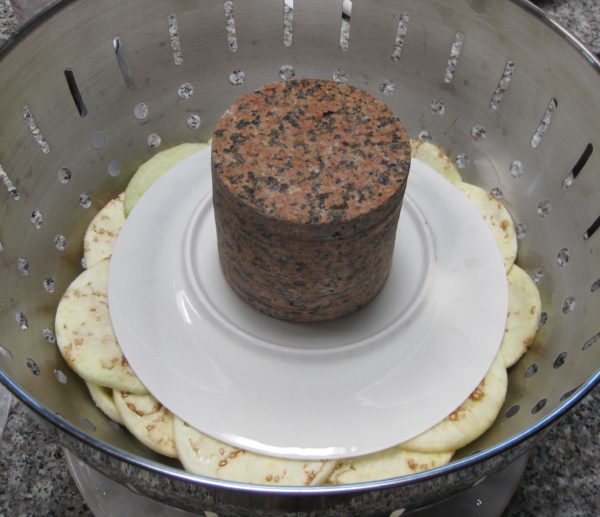
  3. Set a weight on top of the egglant (such as a plate with a heavy can on top) and allow to drain for one hour.
  4. Meanwhile, gently sauté the garlic in the olive oil on low heat until the garlic is golden brown.
  5. Remove the oil from the heat. Discard the garlic and reserve the oil.
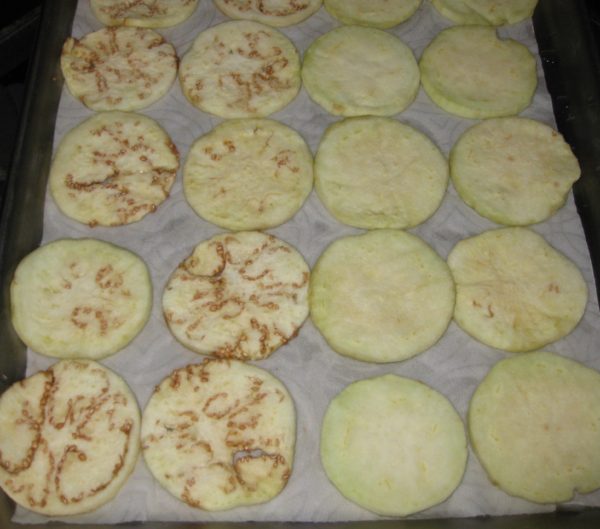
  6. Rinse the eggplant. Blot dry.
  7. Butter an ovenproof serving dish (or individual ramekins if making individual portions).
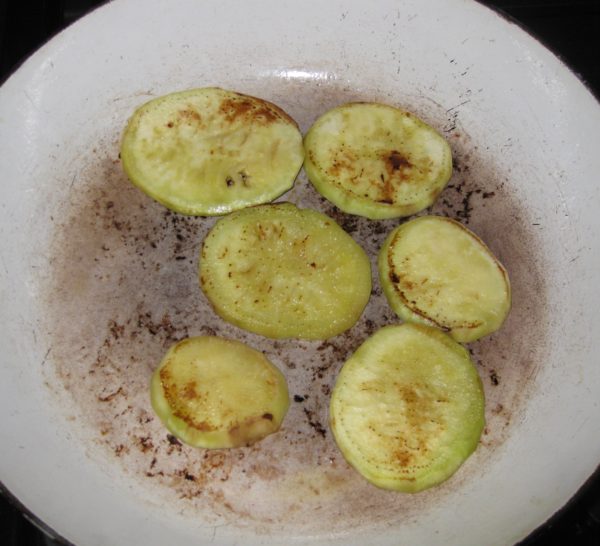
  8. Coat the bottom of a large sauté pan with 1-2 tablespoons of the garlic-flavored oil. A non-stick pan works best but a well-seasoned ordinary sauté pan will work fine. When the oil is very hot add one layer of eggplant slices. Cook until nicely browned being careful not to burn the eggplant which will make it bitter.
  9. When browned on one side turn the eggplant slices over. You may need to drizzle a little oil into the pan to keep the eggplant from sticking. The eggplant should still be firm in the center. It will complete its cooking in the oven.
  10. When the second side is brown put the eggplant in a buttered ovenproof serving dish, preferably one with a cover.
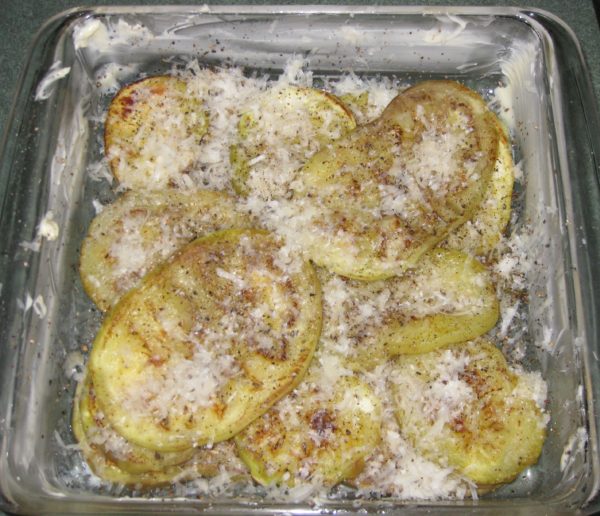
  11. Lightly salt the eggplant. Sprinkle with freshly ground black pepper to taste and some of the grated Parmigiano. Repeat layering eggplant, pepper and cheese until all the eggplant is used up.
  12. Finish with grated Parmigiano. Drizzle with the melted butter.
  13. Cover and bake at 350°F for approximately 30 minutes. Uncover and continue baking for 10-15 minutes to brown the top.
Recipe Notes

Copyright © 2020 by Villa Sentieri, LLC. All rights reserved.
Share this Recipe

Zucchini in Umido

December 19, 2019

I try to cook seasonally.

That means no stone fruit or corn on the cob in the winter.  For the most part that means no tomatoes either, though I do make an exception for cherry and grape tomatoes which seem to taste about the same year-round and provide a burst of color and sweetness—if not a robust tomato taste—in the dead of winter.

Certain things defy the season.  Take zucchini.  Yes, they’re the quintessential summer crop (sometimes growing to the size of baseball bats in the hands of inattentive growers) but they show up all year-round, much like bananas do.

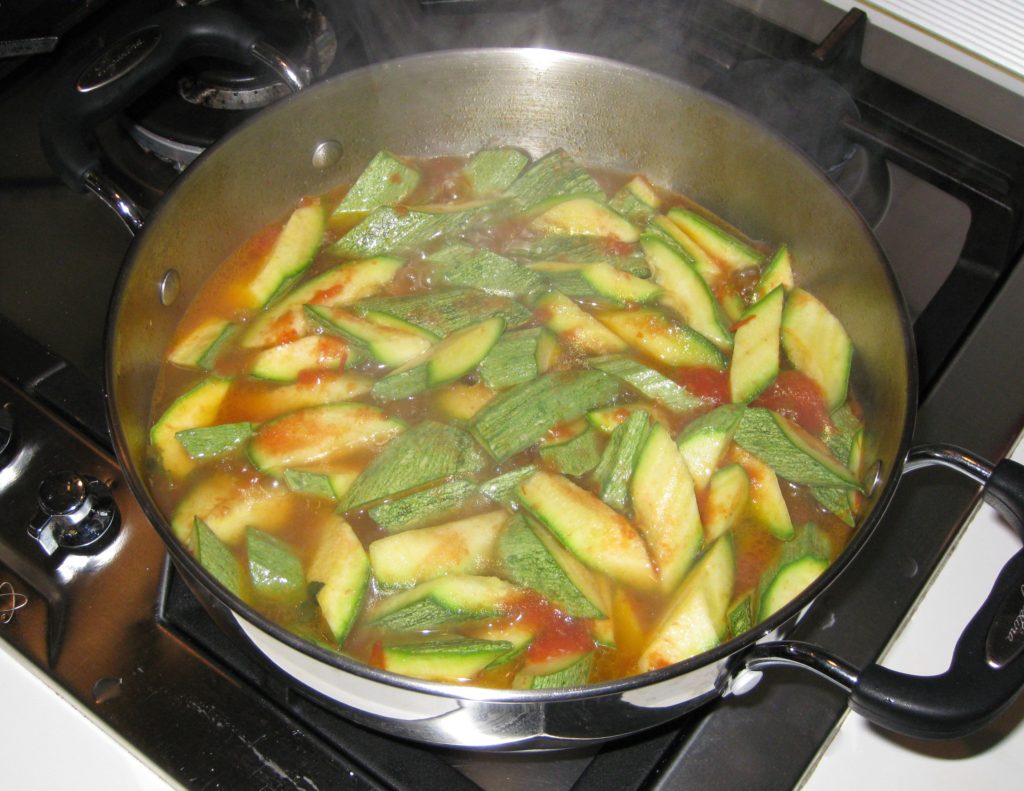
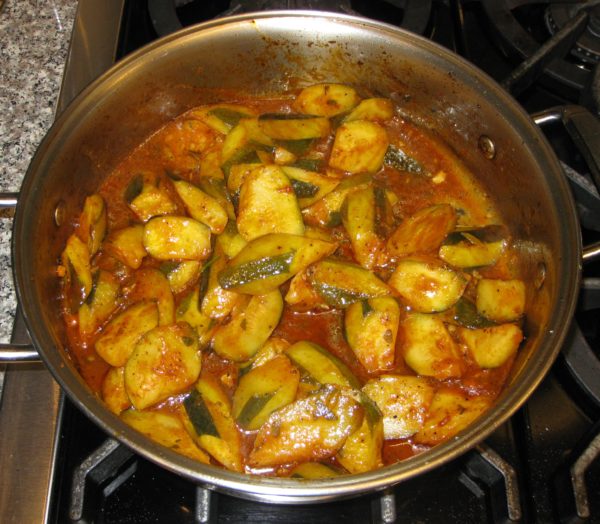
Zucchini in Umido bubbling away on Zia Fidalma’s stove in Tuscany.

I know that means they get shipped from “somewhere else” when they’re not in season locally but, for the most part, they taste good all year (unlike, say, peaches which don’t usually taste good if not grown locally and in season).

There’s also a limit to the number of cold-season vegetables that one can eat through the winter.


Join our mailing list and you’ll never miss a recipe again!


Part of the problem is solved by canning, preserving, and freezing and, if not your own or a friend’s, commercially available canned, preserved, and frozen produce.  Let’s face it, eating seasonally traditionally included consuming all those products that were “put up” when they were at the height of season.

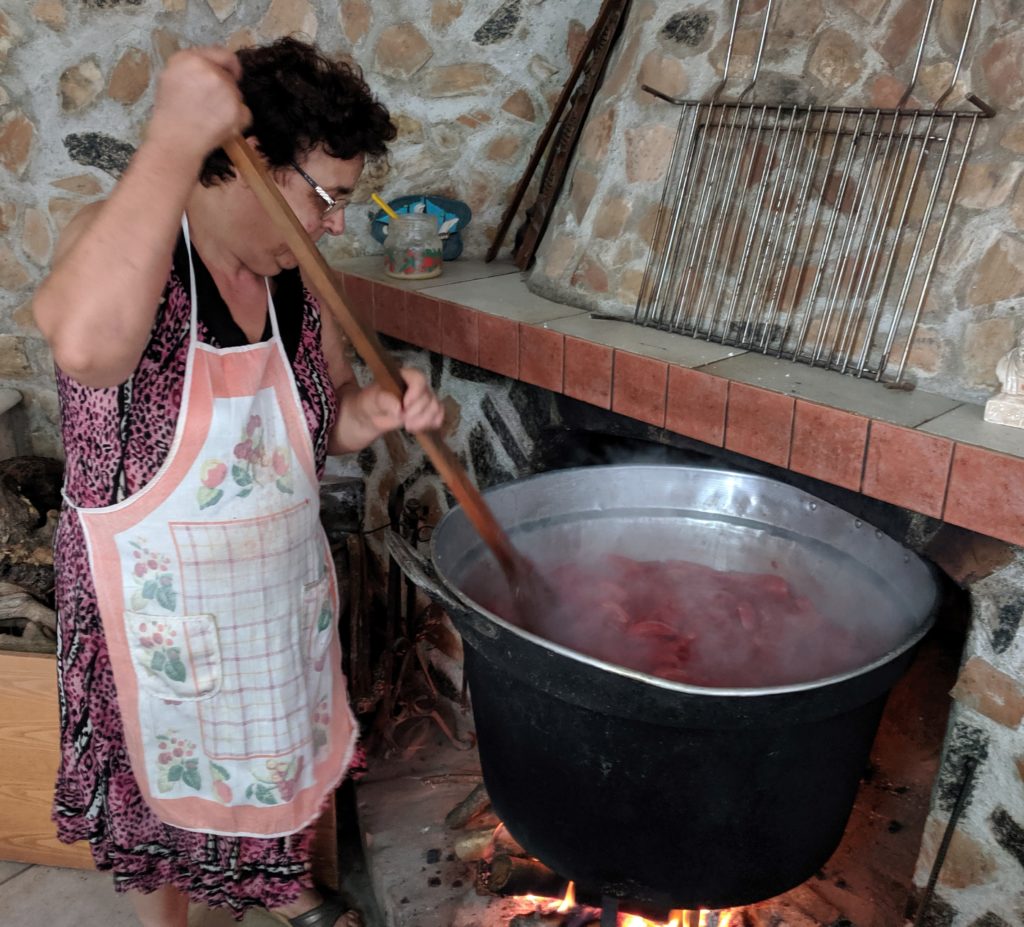
Maria making a large batch of tomato puree (passata) at her home in Calabria.

Though some of us conserve produce, few of us do enough to meet our needs throughout the lean winter months.  I have no objection to using good quality commercially “conserved” foods.  What I don’t use are convenience or premade foods.

Though I enjoy and prefer to make my own tomato puree (passata), we don’t produce enough of our own tomatoes to make a year’s supply (and I haven’t been overly impressed with what’s available in the market in sufficient and affordable quantity to make up the difference).

I do what I can, however, for example making passata when our tomatoes are at their best; candying citrus peels from the trees in our neighborhood in Palm Springs in the winter; making cherry leaf aperitif in the fall; and, in those rare years when Santa Fe has an abundance of peaches and apricots, making jam.

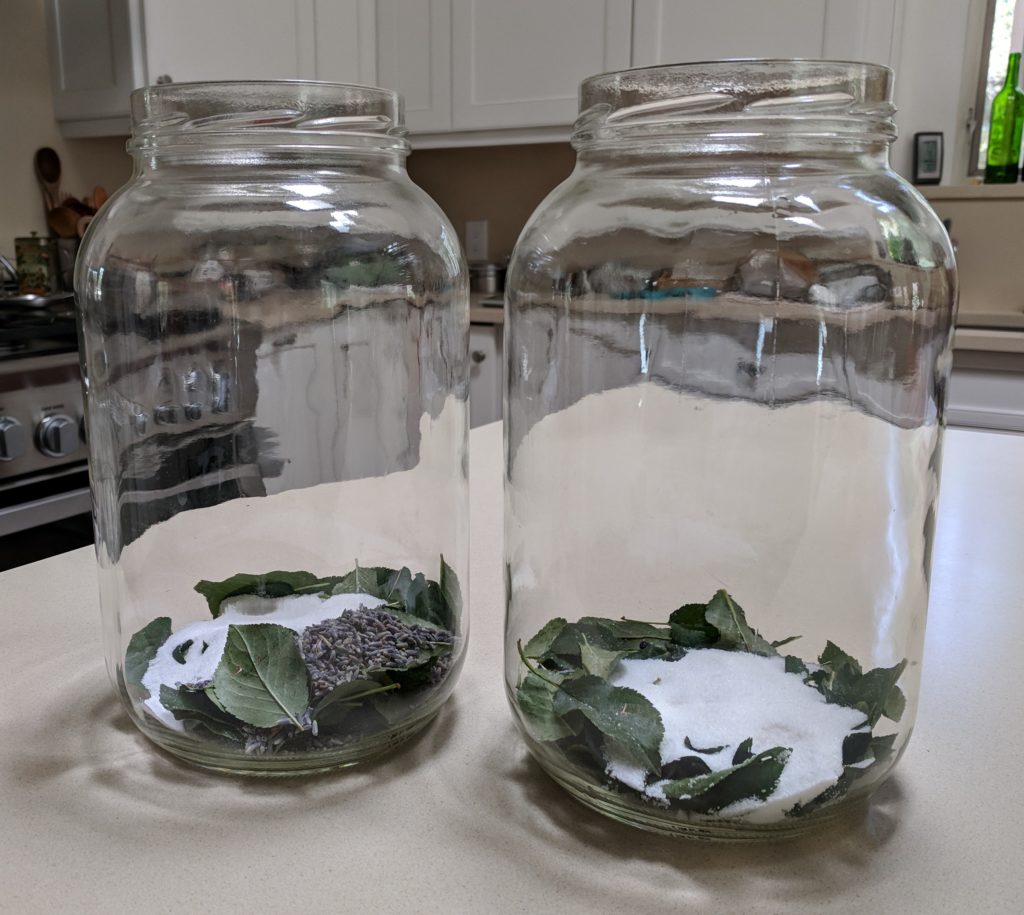
The early stages of making cherry leaf aperitif.

I “conserve” other produce as well like making hot chile oil (“olio santo”) when we have enough peperoncini, making limoncello and arancello from oranges and lemons in Palm Springs, and putting fresh (like cherries) and dried (like prunes) fruits in various types of spirits.


Follow us on your social media platform of choice


My prohibition on using “prepared foods,” though is pretty definite.  I’ll use good quality canned, peeled tomatoes from Italy but (unless my back is up against the wall as sometimes happens when I have limited shopping venues like when we’re on Fire Island) I don’t use canned commercial diced or crushed tomatoes or tomato puree.  My view, and, granted, it might be wrong, is that the best quality tomatoes go into the cans of “whole, peeled” tomatoes, not into the ones that are ground, diced, or pureed.

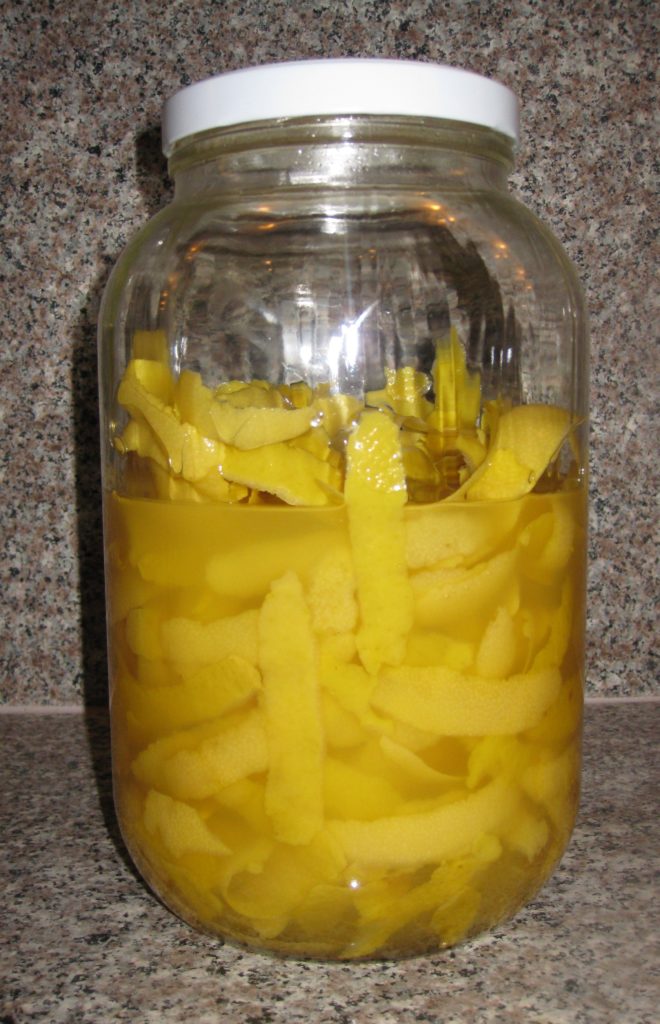
Making limoncello.

In a matter of minutes, a can of whole peeled tomatoes can be turned into any of the other products.  It also means that, other than tomato paste, I only need to stock up on one tomato product.  OK, OK, so I have two types of peeled, whole tomatoes.  Both are from Italy but one is San Marzano and the other is a plum tomato that’s not San Marzano.  I use the less expensive non-San-Marzano-but-still-Italian tomatoes when the dish I am making would be indistinguishable with either type.

In December, zucchini are a welcome addition to mealtime, a situation that is difficult to imagine during the fall harvest season when zucchini seem to be coming from all directions.

Print Recipe
Zucchini in Umido
Pommarola, a simple tomato sauce made with tomatoes, basil and garlic is ideal in this dish. See the notes section for a link to my Basic Tomato Sauce. If pommarola, or a similar simple tomato sauce is not available, substitute good-quality tomato puree. If using puree, I suggest adding a few basil leaves, finely chopped. Niepita is difficult to obtain outside of Italy but if you want to try to find seeds, look for it using the southern Italian name of "Mentuccia Romana" rather than the Tuscan name of niepita. Though the flavor is different, 1 teaspoon of dried oregano is a good alternative.
Votes: 0
Rating: 0
You:
Rate this recipe!
Course Sides, Vegetables
Cuisine Italian
Prep Time 15 minutes
Cook Time 30 minutes
Servings
persons
Ingredients
Course Sides, Vegetables
Cuisine Italian
Prep Time 15 minutes
Cook Time 30 minutes
Servings
persons
Ingredients
Votes: 0
Rating: 0
You:
Rate this recipe!
Instructions
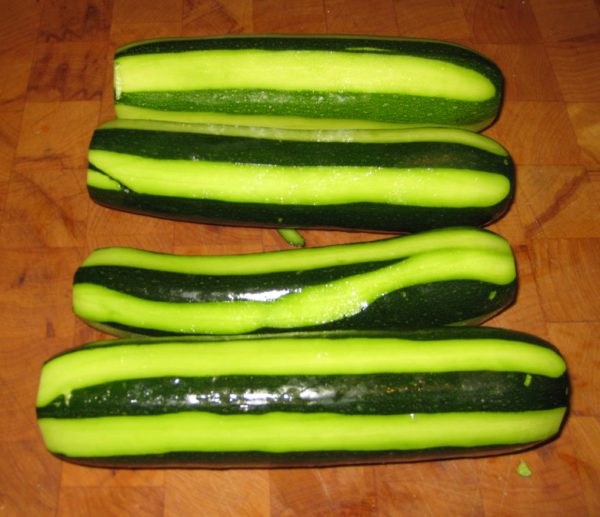
  1. Partially peel the zucchini, leaving alternating stripes of peel and no peel.
  2. Cut the zucchini into largish pieces. You can do this by quartering them lengthwise and then cutting crosswise or by doing a rotating angular cut. You should have approximately 2 pounds of cut-up zucchini.
  3. Sauté the garlic in olive oil until it begins to color.
  4. Add zucchini. Season with salt, and pepper. Increase the heat to high and sauté until the garlic golden brown and the zucchini has turned from white to creamy in color, approximately 5 minutes.
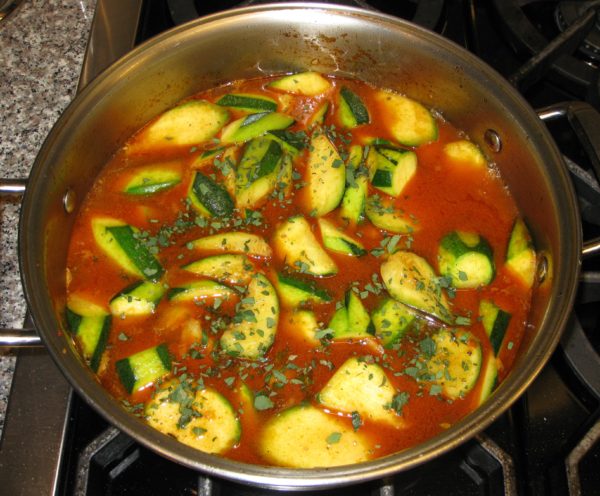
  5. Add the tomato sauce, water, niepita, and salt and pepper to taste.
  6. Cook at a moderate boil, uncovered, until the sauce is thick and the zucchini is tender but not mushy. Adjust salt and pepper while cooking.
Recipe Notes

You can find my recipe for Basic Tomato Sauce here.

Copyright © 2019 by Villa Sentieri, LLC. All rights reserved.
Share this Recipe

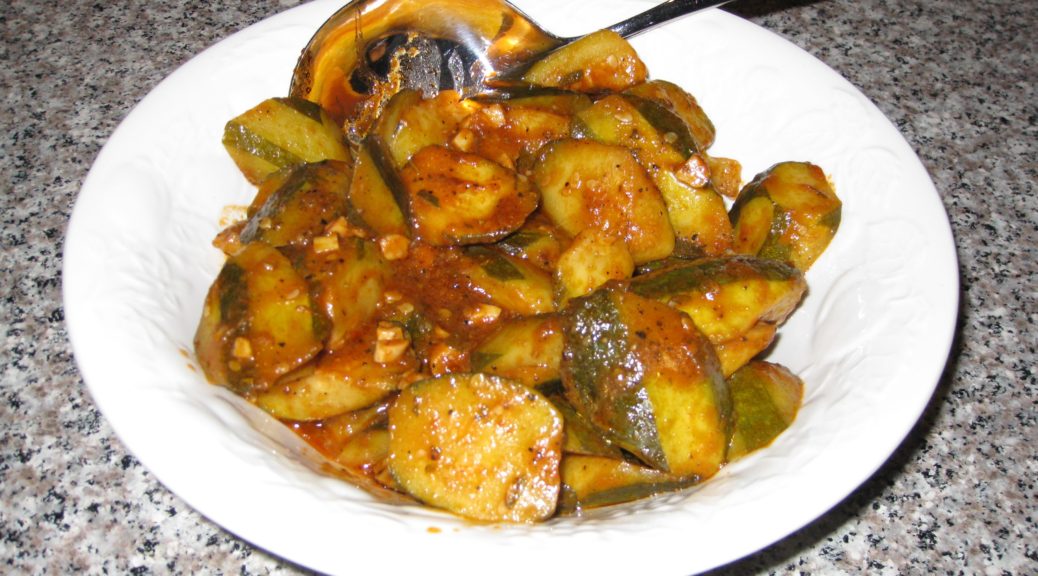
Argentine Marinated Eggplant

July 9, 2018

Argentines love meat.

I mean, they really, really love meat!

When visiting family in Patagonia a number of years ago we had a meal that went something like this:

  1. Appetizer:  Fried calamari (15 kilos, no less)
  2. First course:  Grilled lamb chops
  3. Second course:  Grilled steak
  4. Third course:  Grilled chicken
  5. Fourth course:  Grilled sausage

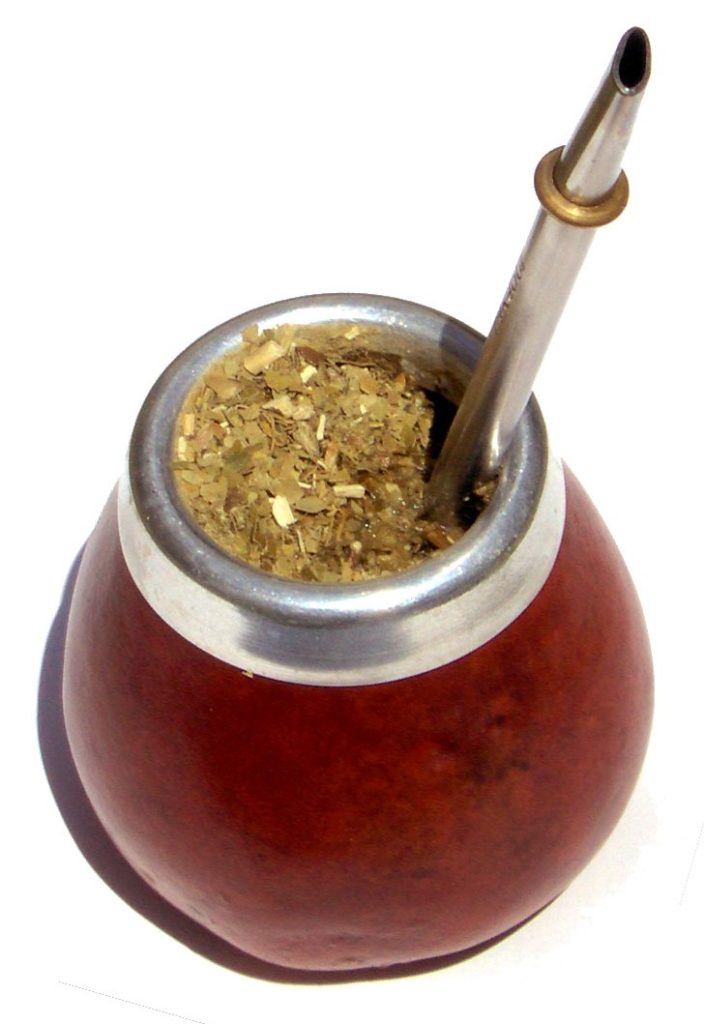
All that was followed by maté, a caffeine-containing tisane made from the leaves of a native tree.


Follow us on your social media platform of choice


A tisane would be tea, if it were made from tea leaves but, since it’s not made from tea leaves, it isn’t properly called tea.  A tisane is different from a decoction though we sometimes erroneously call both of them tea.

In a tisane, the botanicals are steeped in hot water, as is tea.  Whereas, for a decoction, the ingredients are actually boiled.

Maté (photo by Jorge Alfonso Hernández / http://creativecommons.org/licenses/by-sa/3.0/)

I don’t remember what dessert was but we had something!

To be fair, there were some vegetables on the table.  But they didn’t migrate far from us Americans sitting at one end. The heads of this extended family, my husband’s great uncle and aunt from Italy, made a bit of a nod in the direction of vegetables. Their children, grandchildren, and the various spouses and significant others wanted nothing at all to do with anything that once had roots.

Nonetheless, Argentines excel at making side dishes that compliment grilled meat.  This eggplant is one example.  (I’m not sure who, exactly, eats these dishes but they do appear on tables!)

This eggplant great for a crowd since it is made in advance and can sit in the fridge for several days, getting better each day.  It’s a perfect accompaniment to grille meats.  That’s a plus now that summer grilling season is here.

Join our mailing list and you’ll never miss a recipe again!

I really like having an array of dishes in my repertoire that don’t require much (or any) last minute fussing when I’m trying to feed a crowd.  This dish fits the bill perfectly.

Maté plant in the wild (photo by Ilosuna / http://creativecommons.org/licenses/by-sa/3.0/)

I frequently get asked for the recipe which tells me it’s generally well liked.

Now that summer grilling season is upon us, give this a try!  I promise you won’t be sorry.

Print Recipe
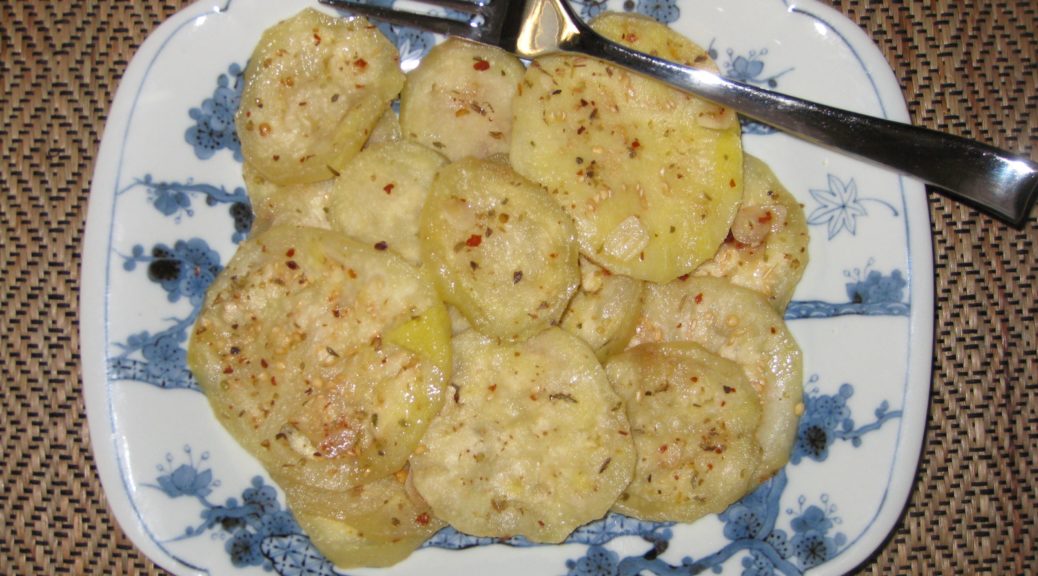
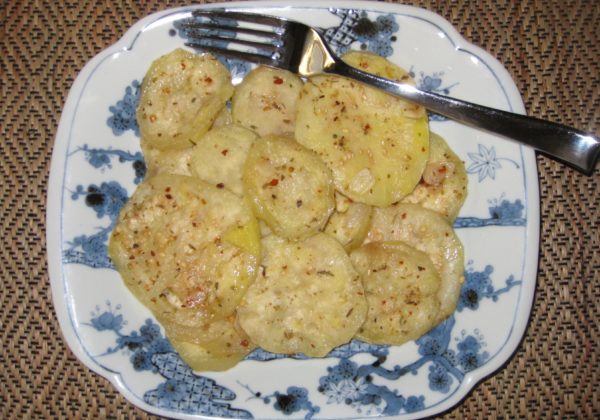
Argentine Marinated Eggplant
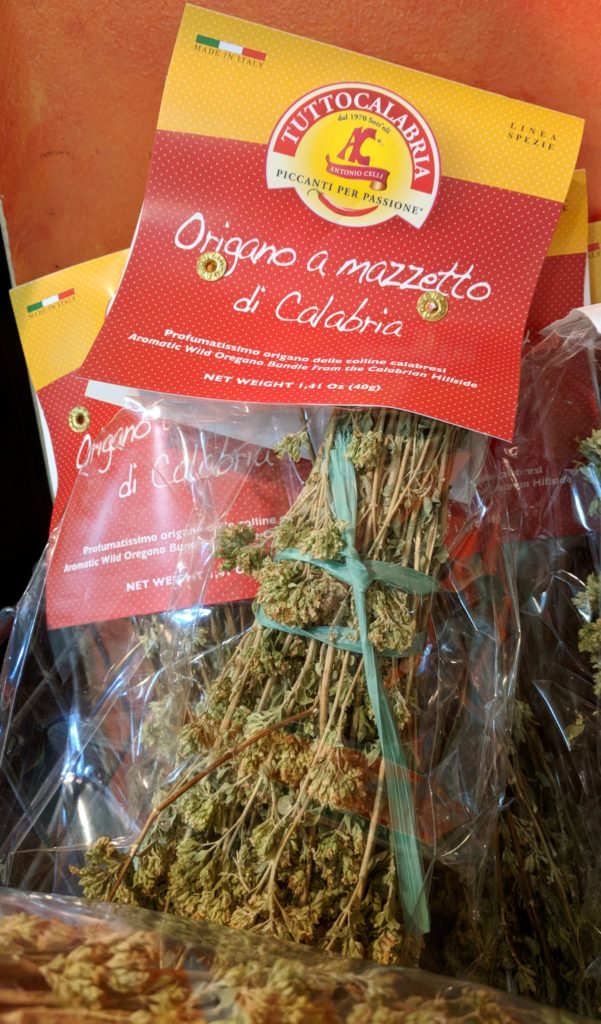
If your dried oregano is more than a year old, you may want to get a new jar for this dish. The oregano is key to the flavor. If you can get very aromatic, dried wild oregano from Italy so much the better. See the Notes section below for some amazing wild oregano. Adjust the crushed red pepper to taste.
Votes: 0
Rating: 0
You:
Rate this recipe!
Course Sides, Vegetables
Cuisine Argentine
Prep Time 20 minutes
Cook Time 45 minutes
Passive Time 25 hours
Servings
people
Ingredients
Course Sides, Vegetables
Cuisine Argentine
Prep Time 20 minutes
Cook Time 45 minutes
Passive Time 25 hours
Servings
people
Ingredients
Votes: 0
Rating: 0
You:
Rate this recipe!
Instructions
  1. Peel the eggplant.
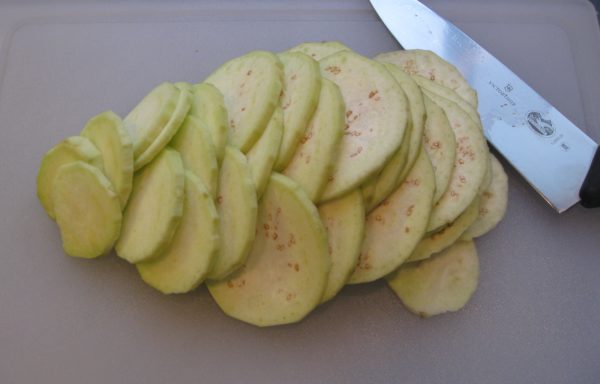
  2. Slice the eggplant into rounds approximately 1/8 inch thick.
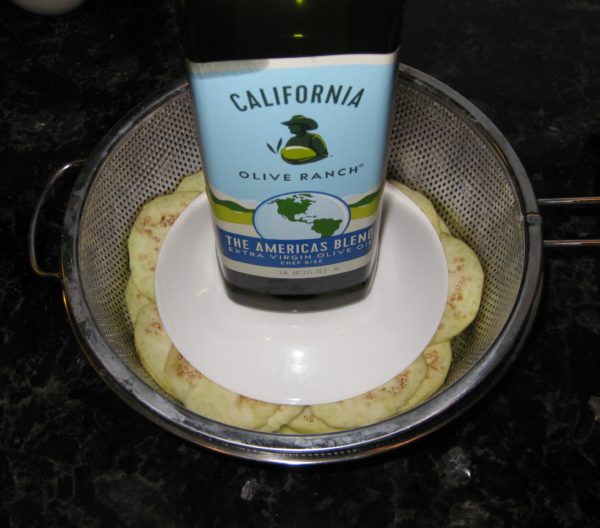
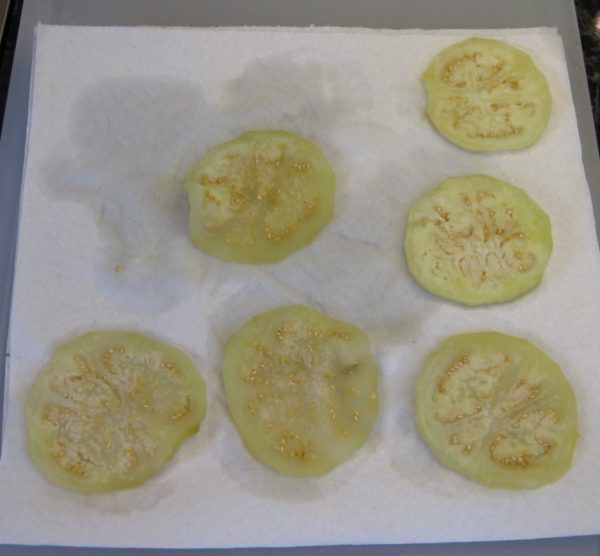
  3. Salt the eggplant slices liberally and place them in a colander.
  4. Put a saucer on top of the eggplant and add a weight, such as a few canned goods.
  5. Allow the eggplant to sweat and drain for an hour.
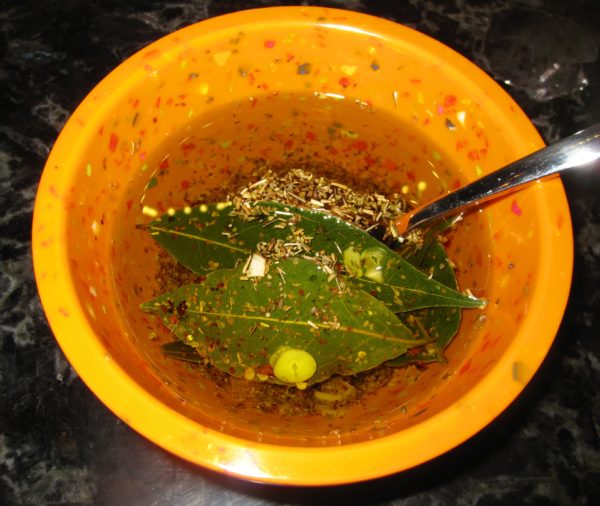
  6. Meanwhile, mix the olive oil, garlic, oregano, red pepper, salt, and bay leaves. Set aside.
  7. Rinse and drain the eggplant.
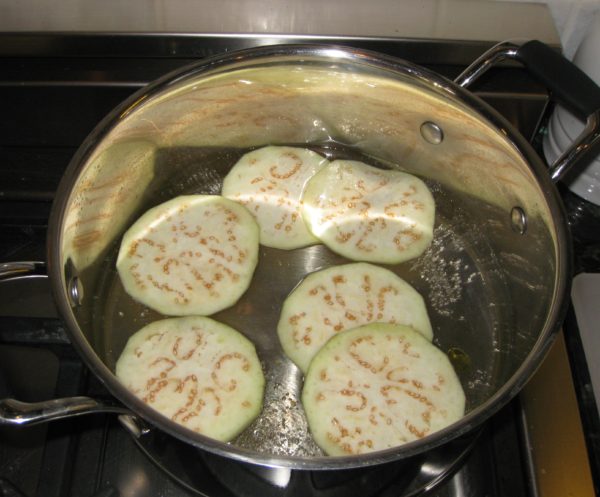
  8. Bring the vinegar and water to a boil.
  9. Working in batches, add a few eggplant slices to the boiling vinegar and water mixture. Cook for 1 minute after the mixture returns to a boil.
  10. Blot the cooked eggplant on paper towels.
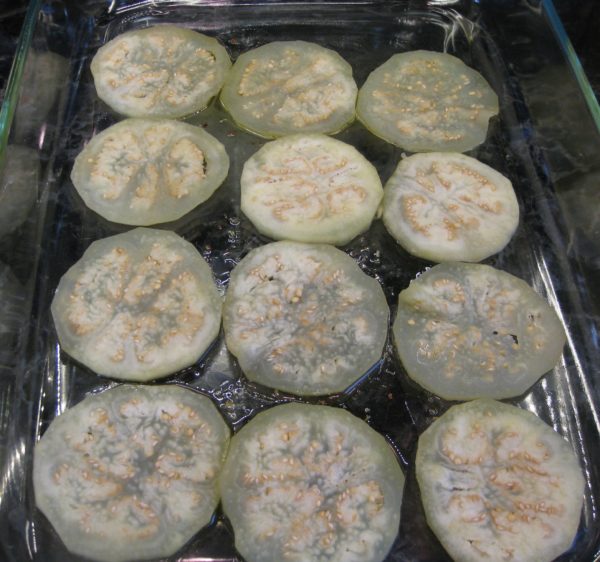
  11. Put a layer of cooked eggplant in a non-reactive container, such as a glass baking dish.
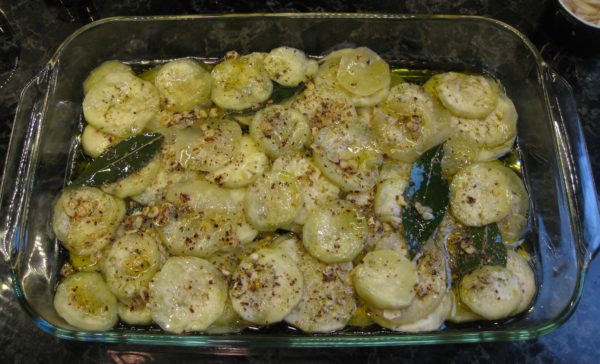
  12. Drizzle the eggplant with some of the olive oil mixture.
  13. Repeat layers of eggplant drizzled with the oil mxiture until all ingredients are used.
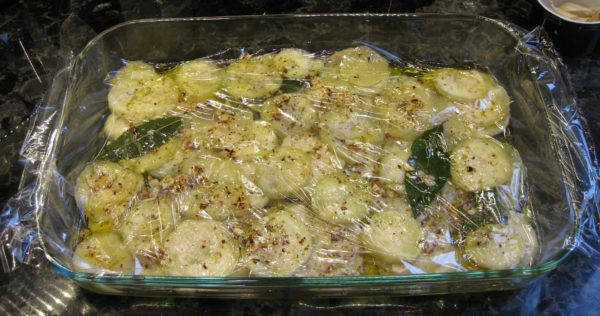
  14. Place a layer of plastic wrap directly on the eggplant.
  15. Put a dish or plate on the plastic wrap to weigh down the eggplant. Refrigerate for 24 hours.
  16. Allow the eggplant to come to cool room temperature and remove the bay leaves before serving.
Recipe Notes

Wild oregano from the hills of Calabria

Copyright © 2018 by Villa Sentieri, LLC. All rights reserved.
Share this Recipe

Italian Roasted Peppers

May 28, 2018

I wish I had a pithy story to tell about roasted peppers.

I don’t really, except to say that after reviewing a dozen, or so, recipes to see how they compare with my method, I’ve discovered that NONE of them does it right.  (I know.  That sounds pretty narcissistic, doesn’t it?)

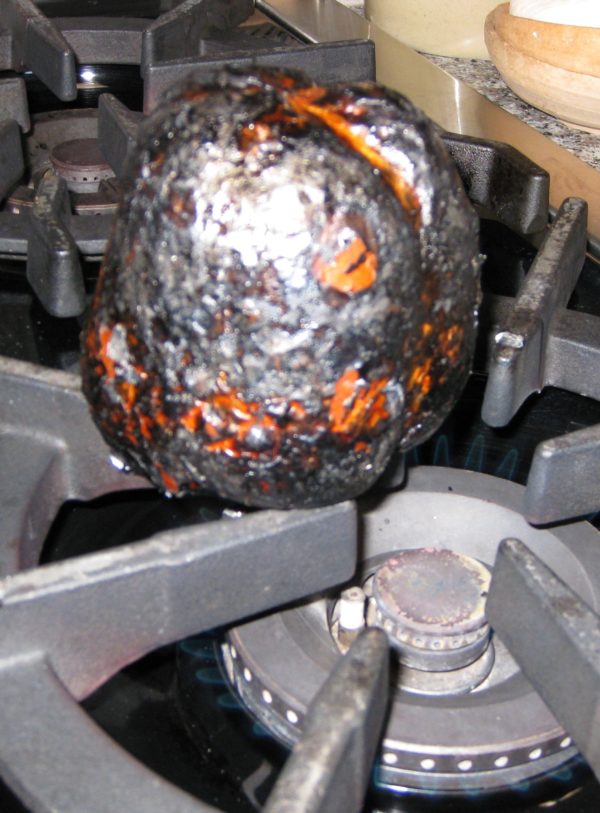
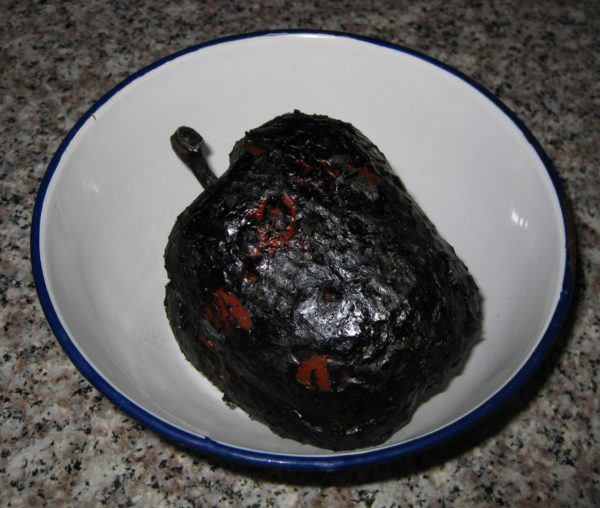
In a nutshell, you want to turn the skin jet black and you want to do it as quickly as possible.  Then you want to put them in a covered non-reactive container for about 10 minutes before peeling them.

The recipes that I found included the following (erroneous) steps:

1.      Roasting them in the oven.

2.      Cutting them before cooking.

3.      Cooking them too long.

4.      Not sufficiently blackening and blistering the skin.

5.      Putting them in a paper bag after roasting.

And don’t even get me started about putting oil on them before roasting!

Here’s the skinny…


Join our mailing list and you’ll never miss a recipe again!


The longer you cook them, the softer the flesh of the pepper becomes.  If you really want any structure at all, you want to get the blackening of the skin done quickly.

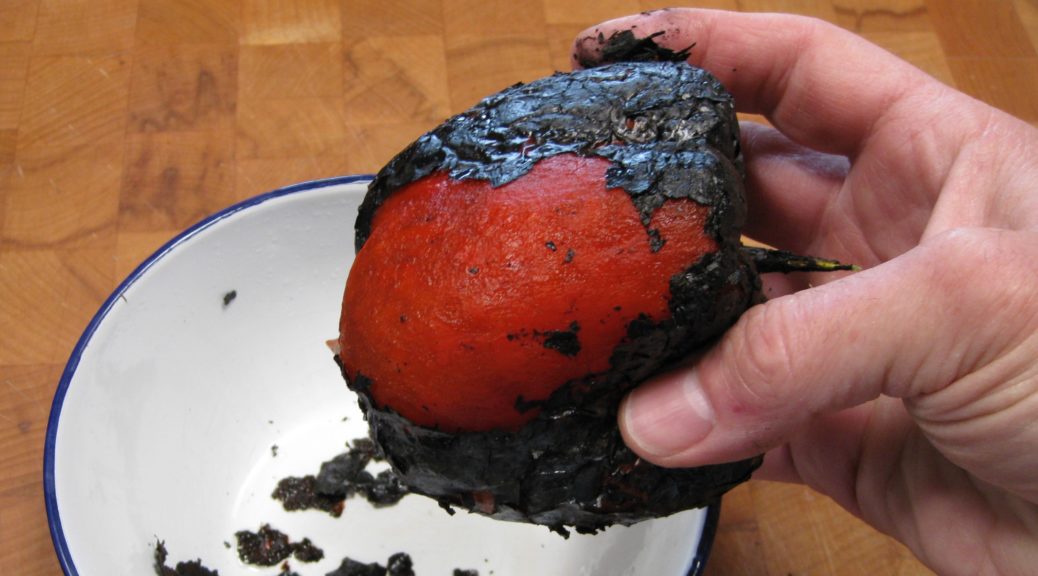
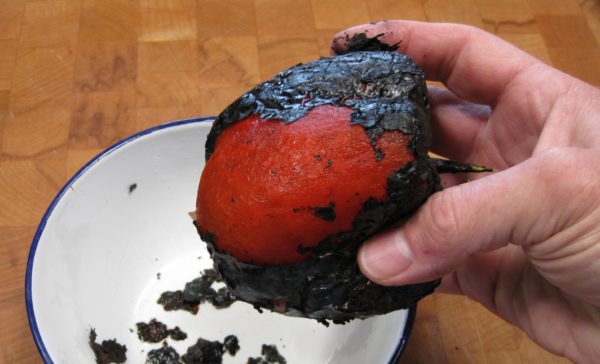
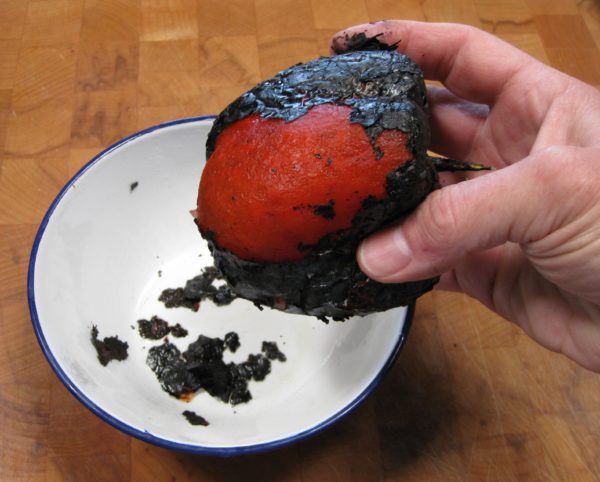
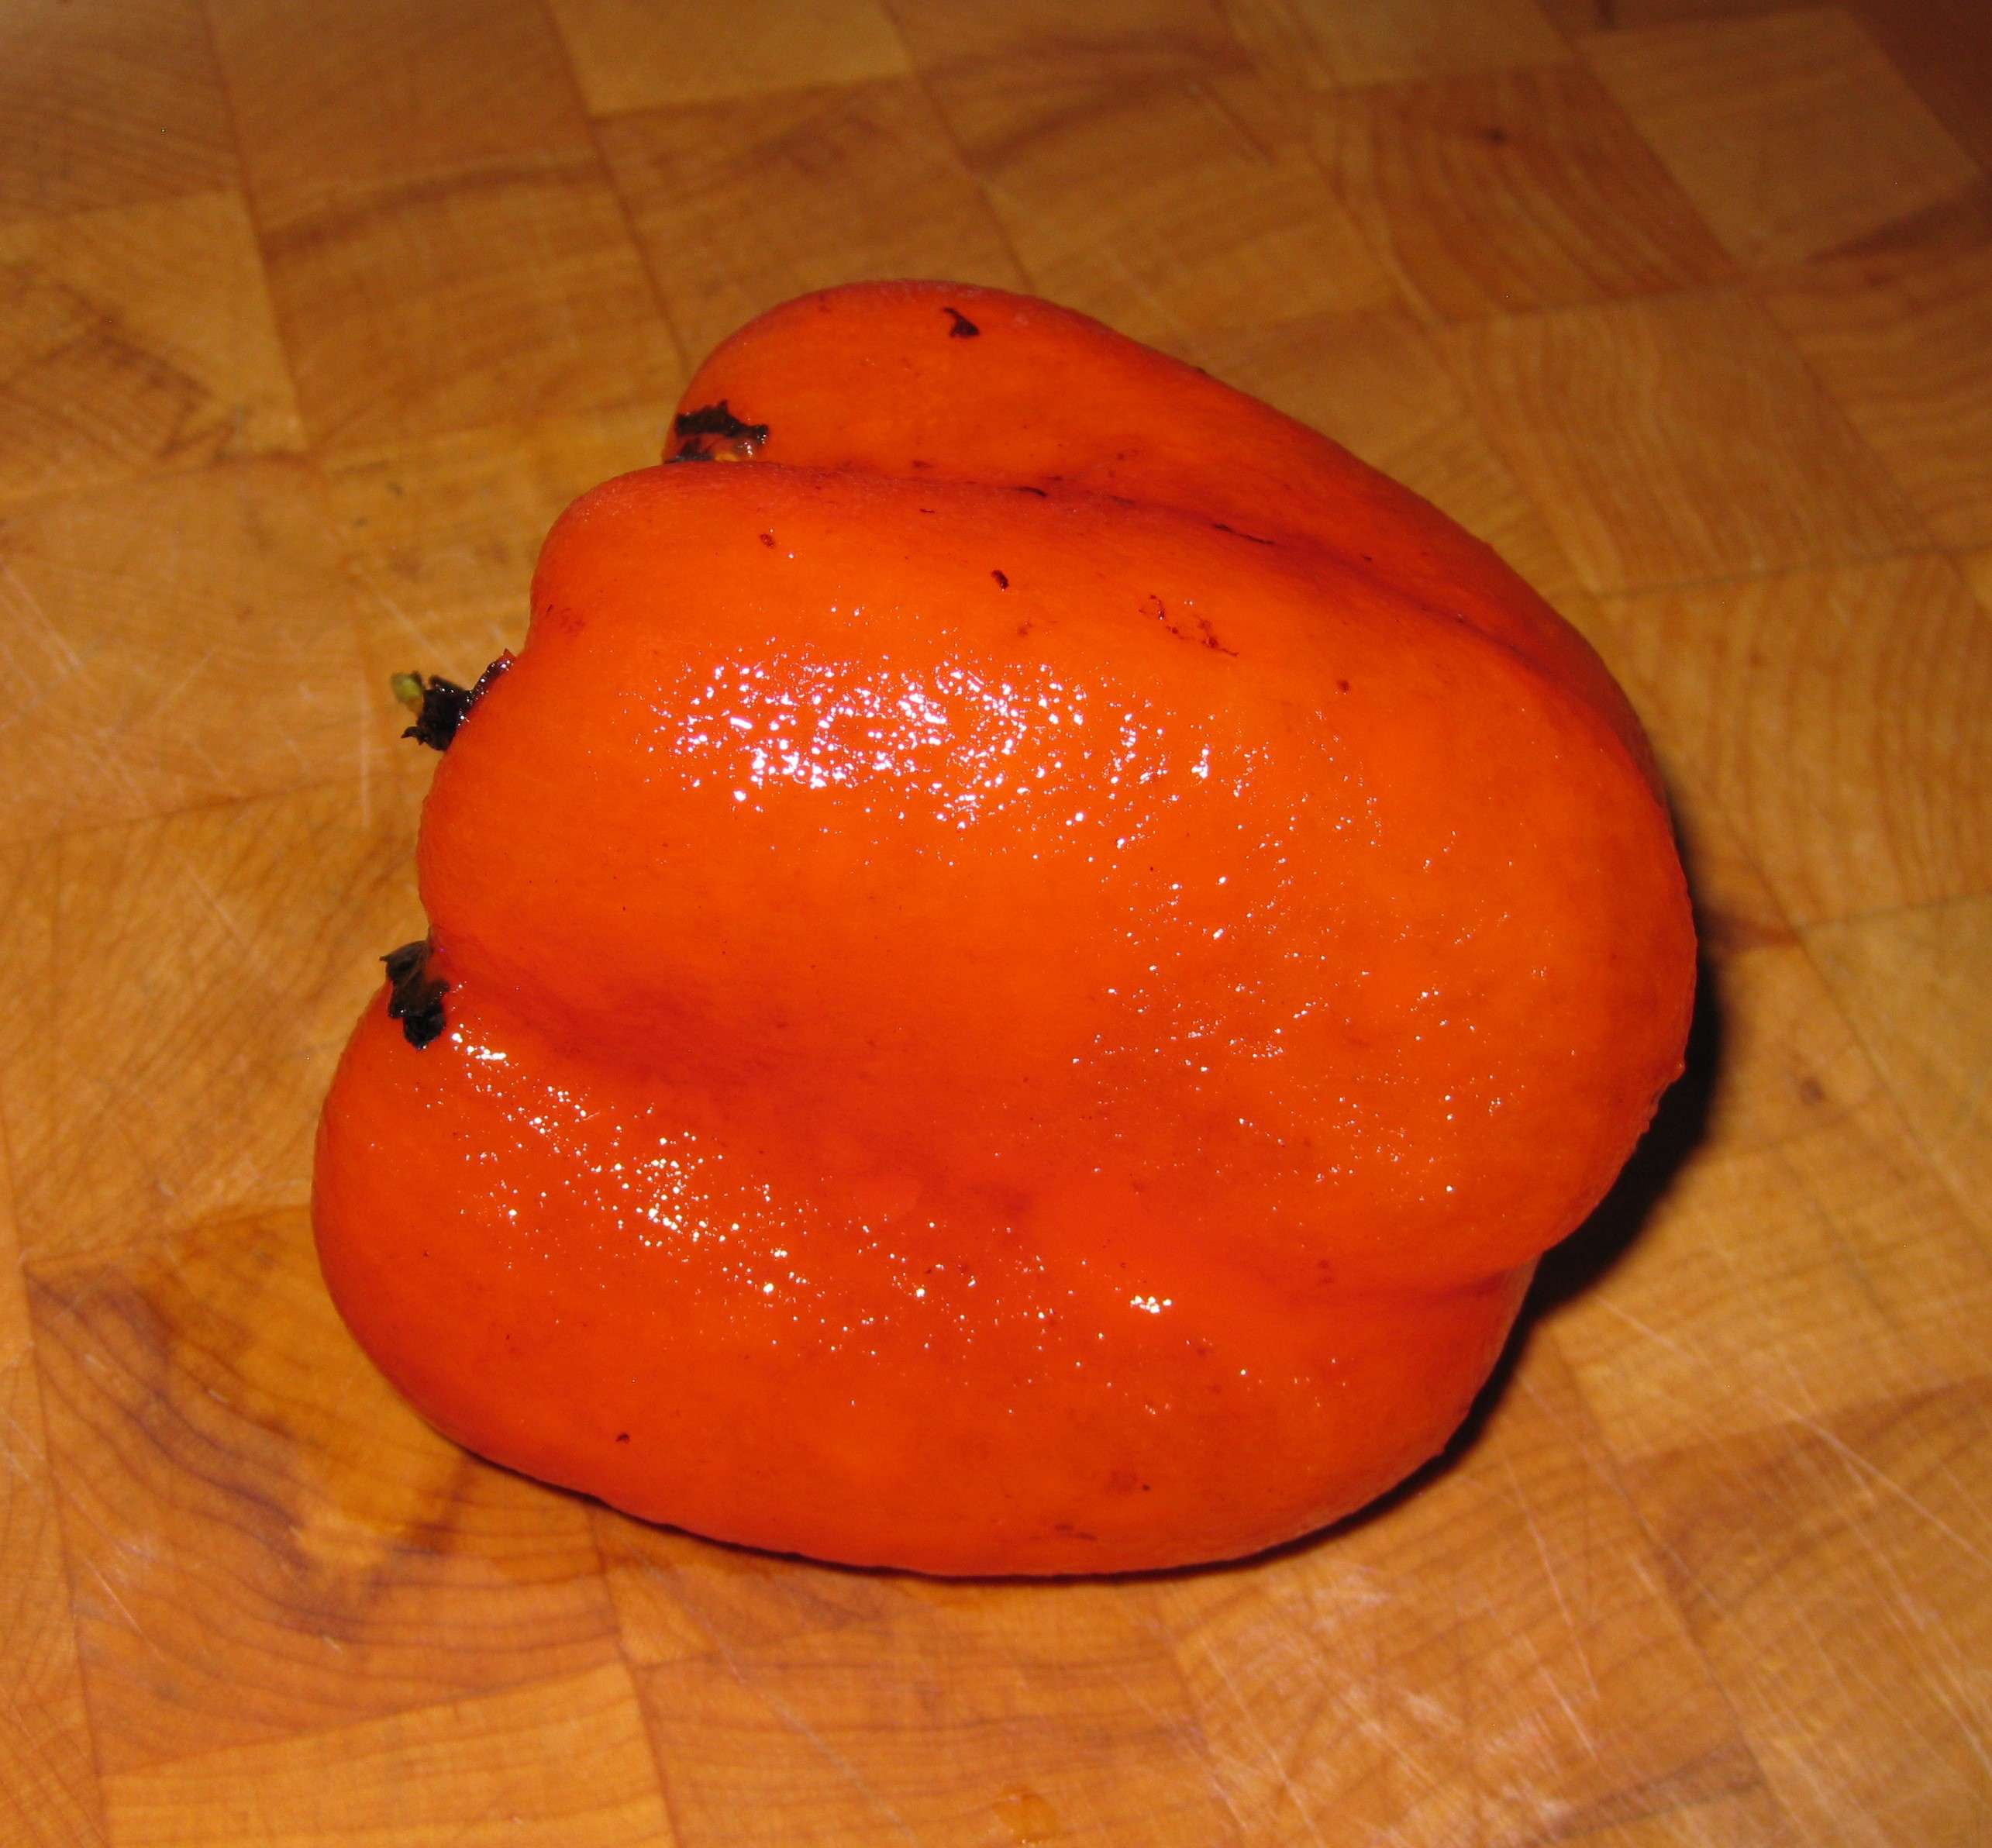
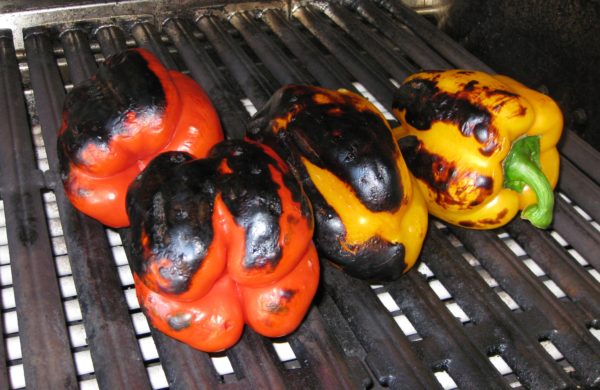
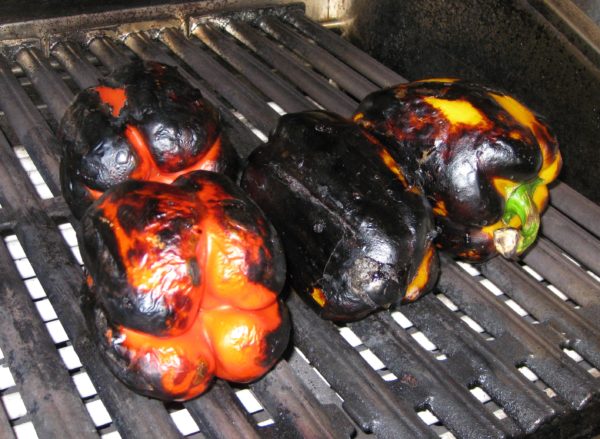
You really want the skin to be completely black.  First, this will cause the skin to peel off easily.  Second, it will add the smokiness that you want in a good roasted pepper.  No, they won’t taste burnt.  You will notice, if you give this recipe a try, that the places where the skin isn’t burnt won’t peel off very easily.

The main goals of cooking them fast and completely blackening the skin mean you really can’t roast them in the oven.  You need direct heat.

You don’t want to cut them because you won’t be able to rotate them sufficiently to blacken the skin all over.  They’re harder to handle if cut.  Besides, they’ll dry out.

Sometimes juice will leak out while the peppers are cooling.  If you put them in a paper bag, the bag will absorb the flavorful juice, and that would be a shame!

If I’m roasting one or two peppers, I’ll do it directly over the burner on a gas stove.  Oh, and for that one writer who suggested lining the burners with aluminum foil, get a life!  Not that much juice comes out of the peppers and what does is likely to get vaporized on the cast iron grate.  If a drop or two lands anywhere else on the stove, it’s just as likely to land in a spot that you can’t cover with aluminum foil as it is to land on the foil itself.


Follow us on your social media platform of choice


If I’m roasting more than a couple of peppers, I’ll do it on my gas grill.

You can use a broiler if you don’t have a gas stove or a gas grill, though I find the broiler a little less friendly to use.

As for heat, crank it up:  medium high on a burner, high on a gas grill.  The goal is to blacken the skin as quickly and as evenly as possible.  The longer it takes to do this (that is, the lower the heat) the more the flesh of the pepper will soften.  The pepper should hold its shape after roasting, not collapse.

I use roasted peppers in lots of dishes.  Auntie Helen’s Lentil Salad is a good example.

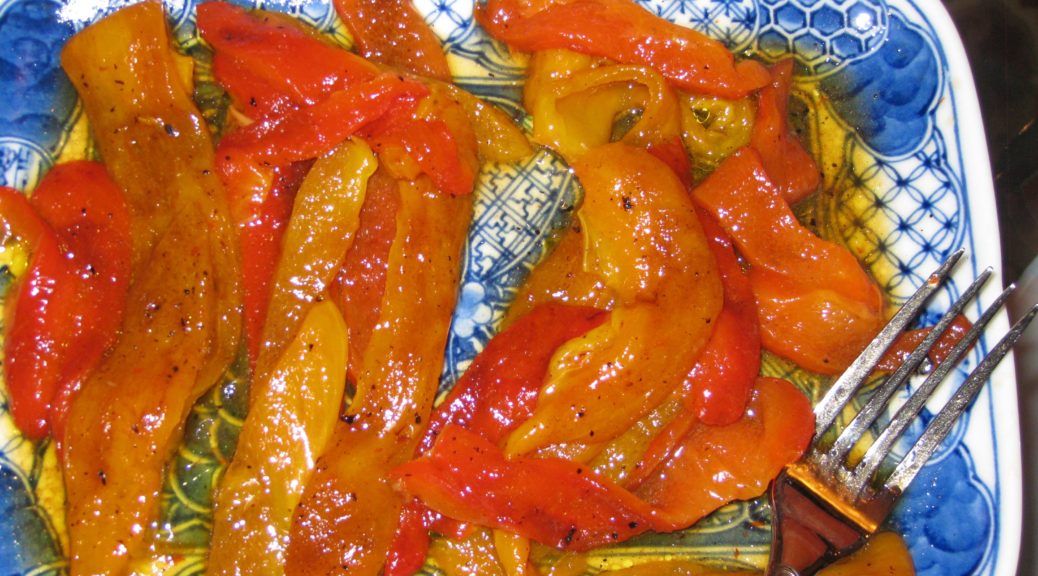
The simplest way to use roasted peppers is to cut them in strips after peeling off the skin and toss them with a little extra virgin olive oil and salt.  They make an excellent side dish.  Since they’re served at room temperature they can be made in advance.  Using different colored peppers makes it festive.

If you like peppers, and you’ve never roasted your own, please give this recipe a try.  I think you’ll be surprised at how easy it is and how much better the peppers taste that the ones in the jar!

Print Recipe
Italian Roasted Peppers
Roast the peppers using direct heat, set as high as possible. For one or two peppers, I use the burners on my gas stove. For more, I use my gas grill. A broiler (gas or electric) works too. The directions below are for a gas burner but the same technique works for a gas grill and a gas or electric broiler. The pepper won’t obviously touch the heat source if using a grill or a broiler.
Votes: 0
Rating: 0
You:
Rate this recipe!
Course Sides, Vegetables
Cuisine Italian
Prep Time 10 minutes
Cook Time 10 minutes
Passive Time 10 minutes
Servings
or more
Ingredients
Course Sides, Vegetables
Cuisine Italian
Prep Time 10 minutes
Cook Time 10 minutes
Passive Time 10 minutes
Servings
or more
Ingredients
Votes: 0
Rating: 0
You:
Rate this recipe!
Instructions
  1. If using a gas burner, set the burner to medium high.
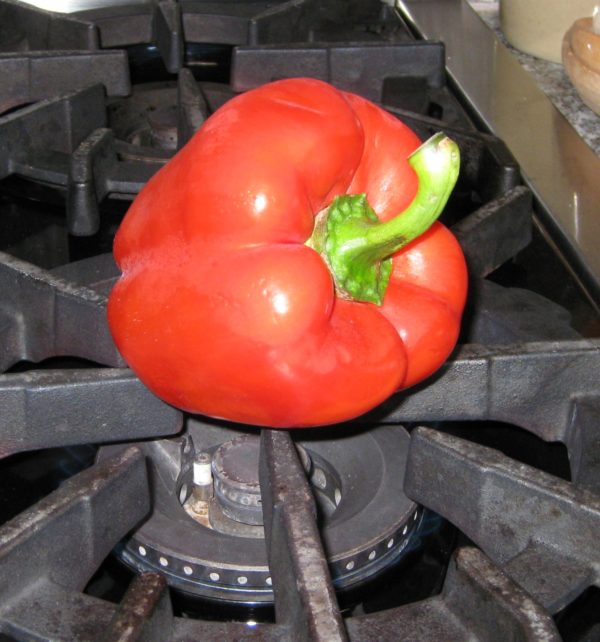
  2. Using long-handled tongs, put the pepper directly on the grate above the flame (where you would ordinarily set the pot).
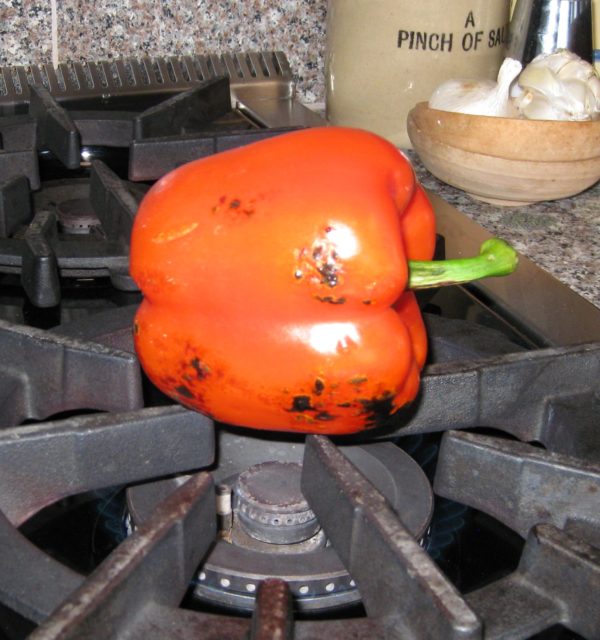
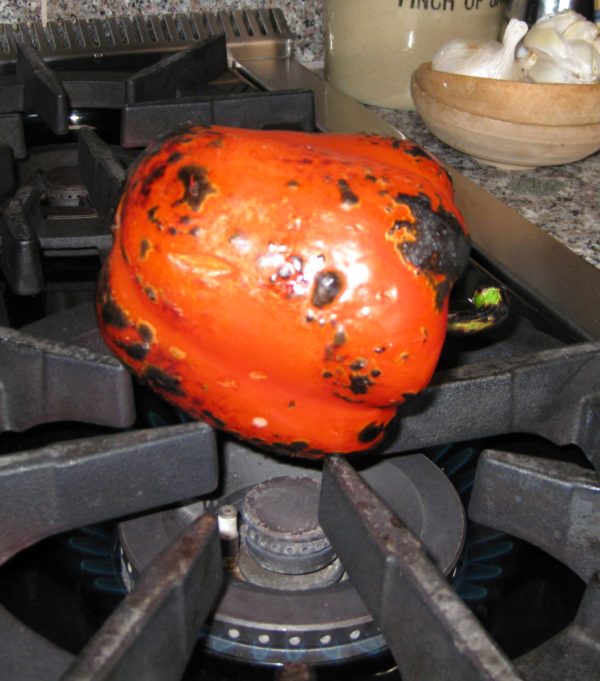
  3. As the skin begins to blacken, move and rotate the pepper to get the skin evenly black.
  4. When the skin is evenly blackened, put the pepper in a non-reactive heat-proof bowl with a lid, such as one made from glass or enamel.
  5. Cover and allow to cool for 10 minutes.
  6. Rub off the skin. It helps to keep a bowl of water nearby to dip your fingers into to remove the skin that will inevitably stick to your fingers.
  7. Catch any juice that runs out of the peppers to add back once the peppers are peeled, cleaned, and cut.
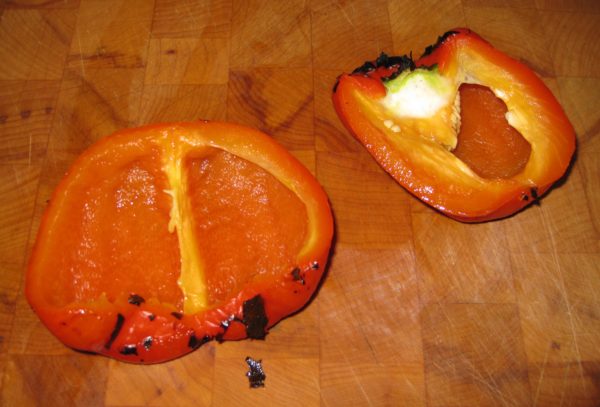
  8. Cut the peppers in half from top to bottom. Remove the stem, ribs, and seeds.
  9. Use as directed in the recipe.
Recipe Notes

Copyright © 2018 by Villa Sentieri, LLC. All rights reserved.
Share this Recipe

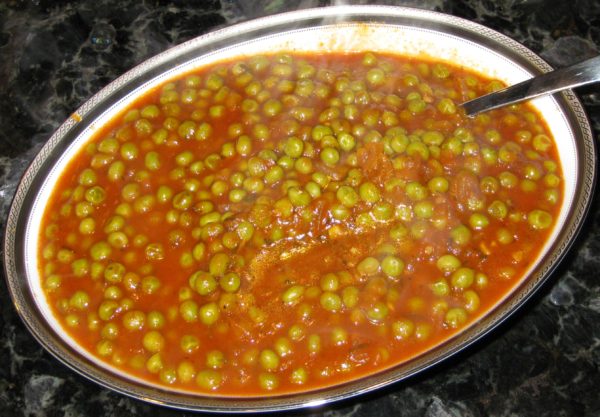
Piselli in Umido (Peas in Tomato Sauce)

April 11, 2018

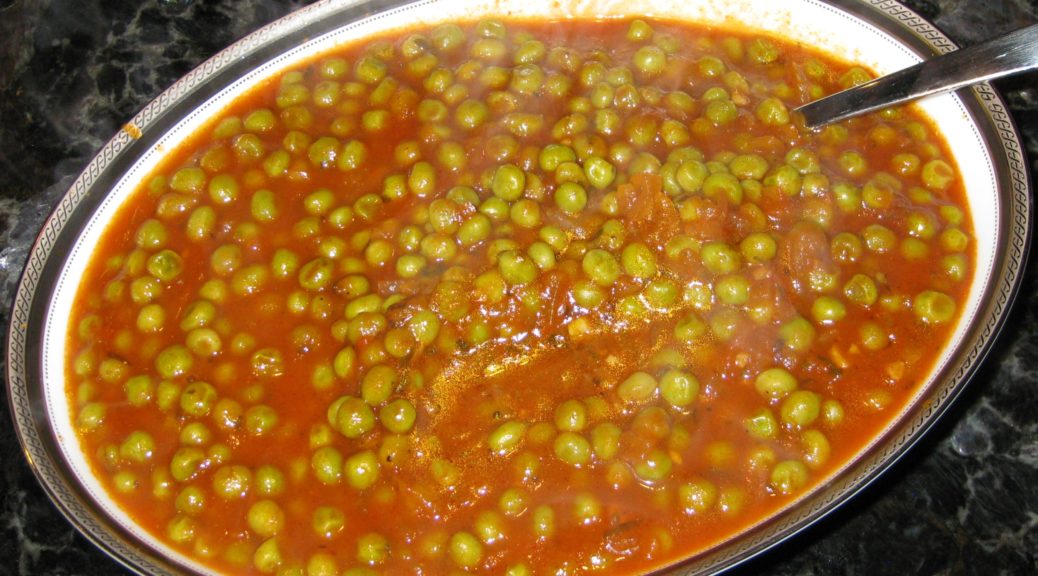
Italians have knack for combining a modest array of vegetables into an almost endless cannon of dishes, each of which is distinctive, even if the interrelationships of the various parts are obvious.

This dish of peas cooked in tomato sauce is from my husband’s paternal grandmother, Amerina Pieri.

I learned to make this from my mother-in-law, Marisa, Amerina’s daughter-in-law.


Follow us on your social media platform of choice


Everyone who makes it adds his or her own signature.  Mine is not exactly like my mother-in-law’s and I’m sure hers is not just like Zia (Aunt) Ida’s, Amerina’s daughter.

Interestingly, Nonni (as we all called her) used canned peas.  In talking with my father-in-law (who grew up eating this) and my mother-in-law, they were pretty sure Nonni would not have used canned peas in Italy unless she possibly canned them herself.  Somehow canned peas became the norm in America.

Amerina Pieri (aka Nonni or Nonni’merina) Christmas 2005

And, while canned peas produce a pretty good dish, I prefer something a little fresher.  Because really good fresh peas are available for only a few weeks a year at the Farmers Market in Santa Fe, I usually use frozen peas.

If the frozen peas haven’t been in your freezer so long that they start to dry out and freeze into a block they are superior to “fresh” peas except during the few weeks a year when they are really locally-grown and truly fresh.


Click HERE to join our mailing list and you’ll never miss a recipe again!


My mother-in-law usually uses canned tomato sauce when making this, as did Nonni (at least when she made it on this side of the Atlantic Ocean!).

I use tomato paste and water.  If you read the ingredient lists on cans of tomato sauce that you can buy in the United States, you will find that most are made from tomato paste and water, so why not just do it yourself?  Those few brands of tomato sauce that are not made from diluted tomato paste are a little too sour for my taste.  I would opt for a good-quality tomato puree instead.

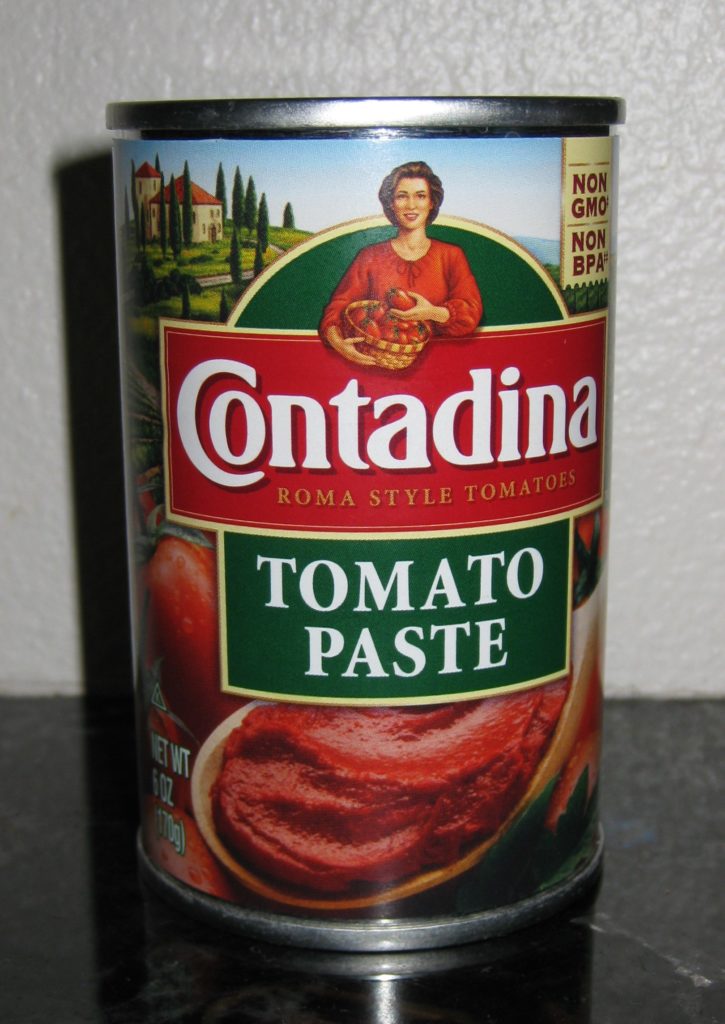
My favorite brand of domestically produced tomato paste

Tomato paste has a richer flavor than tomato sauce or tomato puree.  I attribute this to the extra cooking that is needed to concentrate the tomatoes.  Those little cans provide the foundation of a taste that could otherwise only be achieved with hours of simmering.

Homemade tomato puree would be another good option if you want a fresher, more summery taste.  Here’s where you can find my recipe.


If you have a favorite family recipe and a bit of a story to tell, please email me at santafecook@villasentieri.com and we can discuss including it in the blog. I am expanding the scope of my blog to include traditional recipes from around the country and around the world. If you haven’t seen Bertha’s Flan or Melinda’s Drunken Prunes, take a look.  They will give you an idea of what I’m looking for.


Print Recipe
Piselli in Umido (Peas in Tomato Sauce)
Fresh or canned peas can be used in place of frozen. Fresh peas will take longer to cook. The canned peas should be cooked briefly to avoid overcooking. I like to rinse off frozen vegetables to remove any ice crystals on the exterior. I find the ice crystals can carry a “freezer” taste.
Votes: 1
Rating: 5
You:
Rate this recipe!
Course Sides, Vegetables
Cuisine Italian
Prep Time 10 minutes
Cook Time 75 minutes
Servings
people
Ingredients
Course Sides, Vegetables
Cuisine Italian
Prep Time 10 minutes
Cook Time 75 minutes
Servings
people
Ingredients
Votes: 1
Rating: 5
You:
Rate this recipe!
Instructions
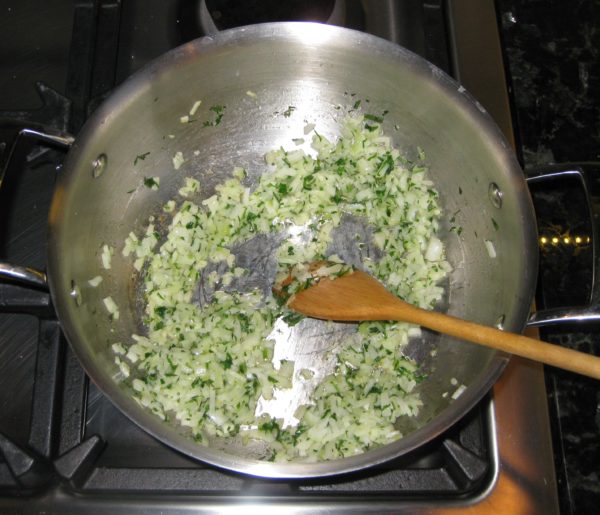
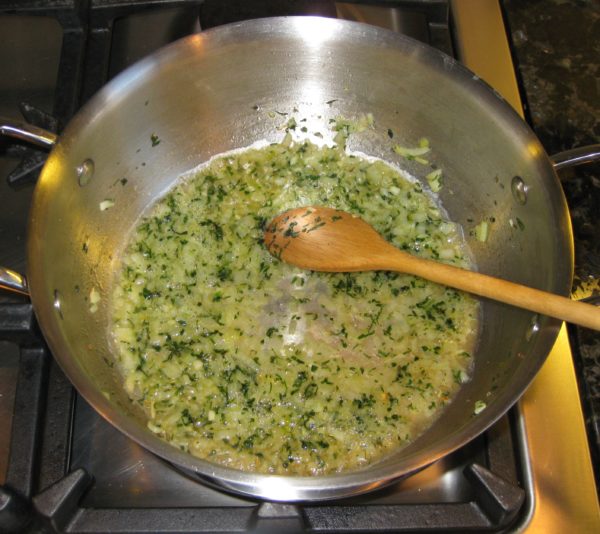
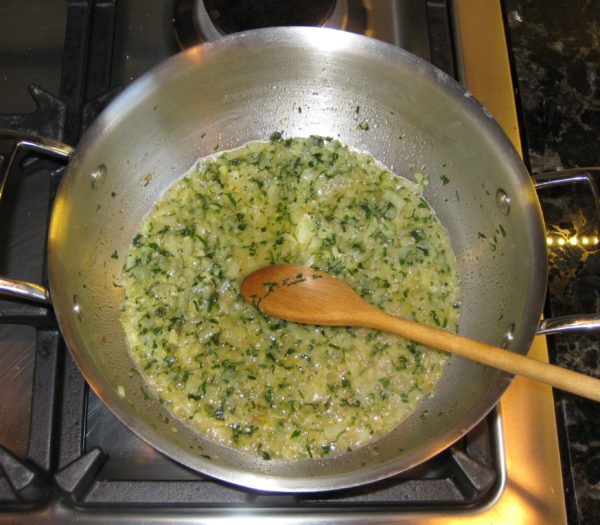
  1. Sauté the onion, garlic, sage, parsley and ½ teaspoon of salt in the olive oil in a heavy-bottomed saucepan till the onion is translucent.
  2. Add the wine and cook, stirring frequently, until it evaporates.
  3. Add the tomato paste and sauté until it becomes slightly darker, 3-4 minutes.
  4. Add the water, sugar, bay leaf, rosemary, oregano, and salt and pepper to taste.
  5. Simmer, partially covered, until thickened, approximately 45 minutes.
  6. Adjust seasoning.
  7. Rinse the frozen peas under cool water to remove any ice crystals.
  8. Add the frozen peas to the sauce.
  9. Simmer approximately 15 minutes, adjusting seasoning once again, if needed.
Recipe Notes

Copyright © 2018 by VillaSentieri.com. All rights reserved.
Share this Recipe

Sri Lankan Zucchini and Peppers

February 28, 2018

As a freshman in college who made tentative forays into non-Western European cuisines, I was transformed into a person who couldn’t find a cuisine he wouldn’t try, and didn’t like, by the end of sophomore year.

Junior year was really an intensive study in cooking.  It’s the year I became a respectable Sri Lankan, Indian, Chinese, and West Indian cook.  There were many other cuisines that I dabbled in but those four formed the basis of what I cooked during the year.  By then I considered myself a good Italian cook but my repertory and skill level have expanded significantly since then.

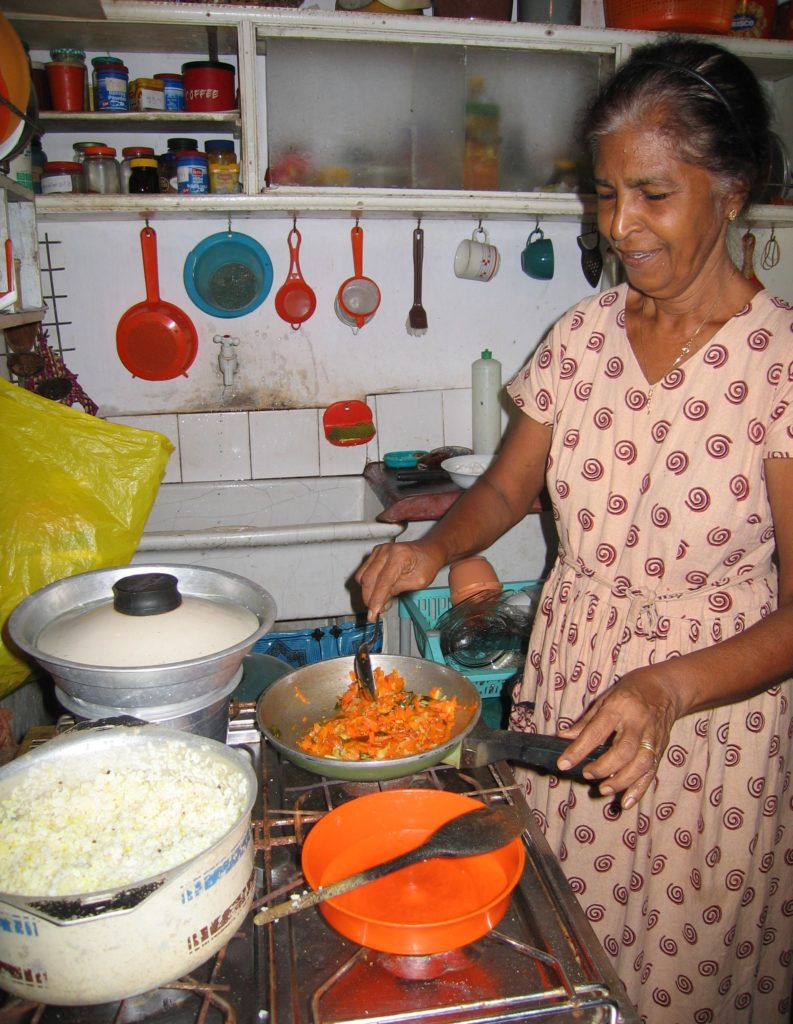
Starting junior year, and for many years thereafter, Reggie and Nanacy Rajapakse taught me much of what I know of Sri Lankan food.  Several cookbooks by Charmaine Solomon, as well as the [Ceylon] Daily News Cookery Book, provided much additional guidance.  Several trips to Sri Lanka with Nanacy, many years later, confirmed to me that I had captured the taste of Sri Lankan food.

In 2005, I accompanied Nanacy Rajapakse to her nephew’s wedding. The groom (with flower on his lapel) and his family approach the wedding venue.

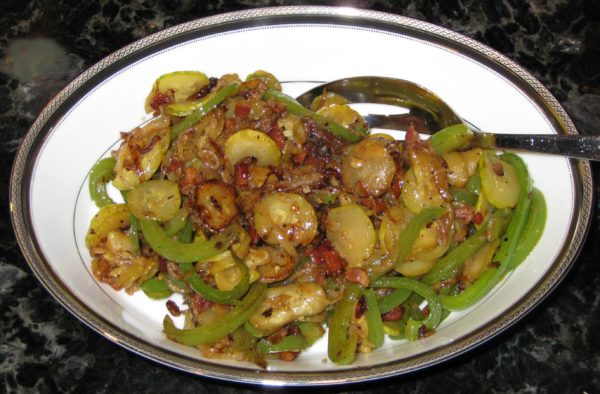
I understand that Sri Lankan food may be a stretch for some of my readers but I really want to introduce you to it.  As a starting point, I’ve selected a vegetable dish that pairs really well with a wide range of cuisines, Zucchini and Peppers with Fennel Seed and Cinnamon.


Follow us on your social media platform of choice


I actually made this a few weeks ago at an otherwise all-Italian meal.  It paired really well.  The dinner guests, all of whom were Italian, didn’t think for a moment that it wasn’t Italian!

The wedding ceremony

It’s an example of a style of cooking vegetables in Sri Lanka called tempering.  The vegetables are cut into relatively small pieces.  Aromatics (onion, garlic, ginger, etc.), depending on the dish, are first sautéed.  The vegetables and seasonings are added and everything is cooked relatively quickly, 10 minutes or so depending on the vegetable.

Most Sri Lankans are ethnically Sinhalese.  The next largest group are Tamils, followed by individuals of Arab descent (called Moors locally).  Typically, Sinhalese are Buddhist, Tamils are Hindu, and Moors are Muslim.  There is a smattering of others ethnic groups and religions.

A reception for the newlyweds, several days after the wedding. Nanacy is on the right and her sister Thilaka is on the left

Hindus and Buddhists in South Asia, are nominally vegetarian.  Muslims typically don’t eat pork.  This recipe, which is ethnically Sinhalese, includes bacon which 92% of the Island’s population theoretically would typically refrain from eating.  But they don’t!


Click HERE to join our mailing list and you’ll never miss a recipe again!


In fact, I found no shortage of meat (and meat-eaters) on my trips to Sri Lanka.  Even the most ubiquitous of condiments, pol sambola, contains flakes of dried fish which would typically be avoided by both Buddhists and Hindus.  Clearly there is some sort of “accommodation” that the Sri Lankans have made around the idea of being vegetarian because the local cuisine contains a lot of (very wonderful) meat and fish dishes.

On the other hand, it’s also an easy place to be vegetarian.  One of my trips to Sri Lanka coincided with one of my periods of vegetarianism (which I ultimately gave up for cultural and health reasons).  There was an array of vegetarian options available at every meal.

A view of the Indian Ocean not far from Thilaka’s house south of Colombo

The most difficult time came when neighbors of Nanacy’s sister Thilaka, with whom we were staying, invited me over for a lunch of “curry and rice” which, although it sounds innocent enough, means you’re in for a delightful meal and lots and lots of food.  On the other hand “short eats” refers to snack food.

The neighbors had gone all out!  There was a huge array of dishes, each more wonderful than the last.  It truly was the best food I ate in Sri Lanka.  I tried to just eat the vegetarian options but it was clear that my hosts were distraught, though they would never have said anything to me.

Thilaka tempering vegetables for dinner

I decided that the appropriate response to their generosity was to eat everything.  My hosts quickly became delighted (as did my taste buds)!  Only years later did I come to understand that in Sri Lanka (and many Theravada Buddhist countries of South East Asia) Buddhist monks are obliged to accept all food offered to them, even meat, unless they suspect the animal was slaughtered specifically for them.

Since I was most certainly not a monk, I’m sure they couldn’t understand why I was only eating the vegetarian dishes rather than everything that was offered to me.  In the end, it was a happy accommodation for everyone involved.


If you have a favorite family recipe and a bit of a story to tell, please email me at santafecook@villasentieri.com and we can discuss including it in the blog. I am expanding the scope of my blog to include traditional recipes from around the country and around the world. If you haven’t seen Bertha’s Flan or Melinda’s Drunken Prunes, take a look.  They will give you an idea of what I’m looking for.


Print Recipe
Sri Lankan Zucchini and Peppers
I learned to make this from Nanacy Rajapakse who is from Sri Lanka. Nanacy made it with bacon, and, while very good with bacon, it is also wonderful without. As a variation, cabbage, cut into ½ inch wide strips, can be substituted for the zucchini. Feel free to adjust the quantity of spices to your taste. Curry leaves can be difficult to obtain outside of large metropolitan areas with large South Asian or Southeast Asian populations. There is no substitute. If not available, just omit the curry leaves as I often do.
Votes: 0
Rating: 0
You:
Rate this recipe!
Course Sides, Vegetables
Cuisine Sri Lankan
Prep Time 15 minutes
Cook Time 15 minutes
Servings
people
Ingredients
Course Sides, Vegetables
Cuisine Sri Lankan
Prep Time 15 minutes
Cook Time 15 minutes
Servings
people
Ingredients
Votes: 0
Rating: 0
You:
Rate this recipe!
Instructions
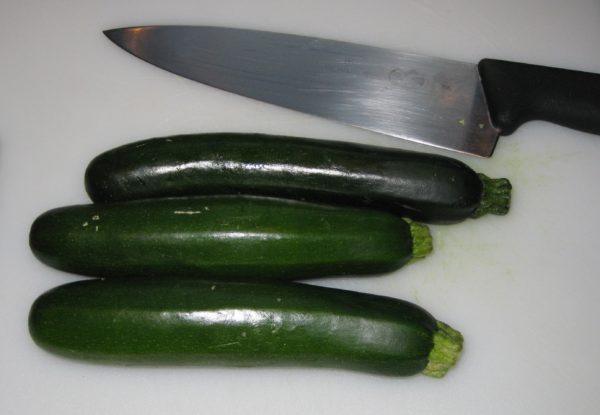
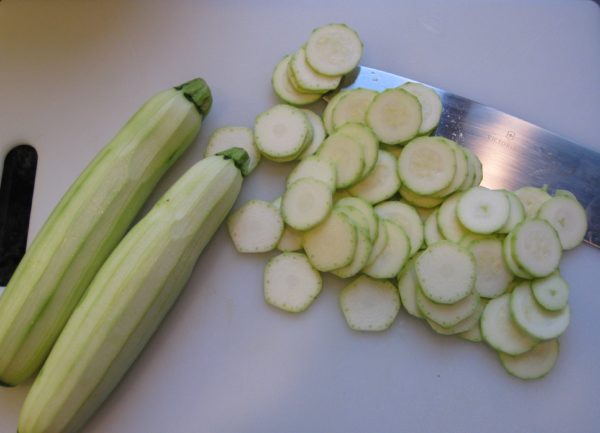
  1. Peel and thinly slice the zucchini.
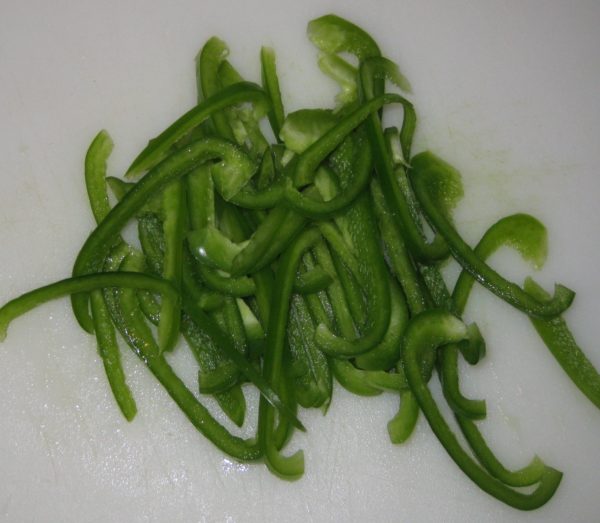
  2. Core and seed the peppers and cut into thin strips.
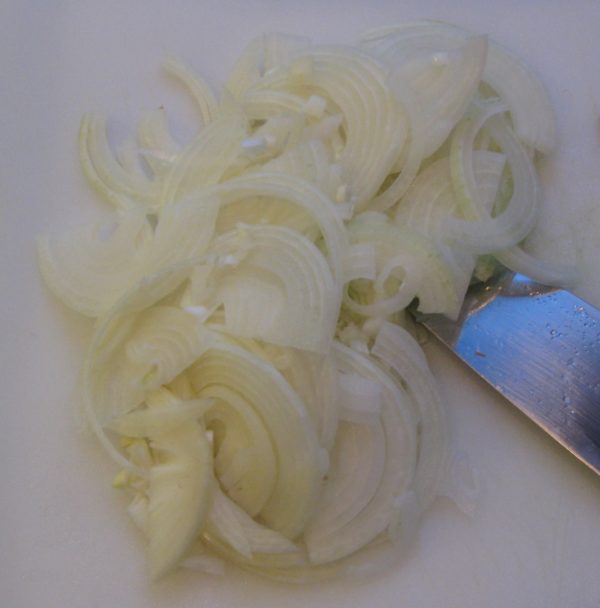
  3. Thinly slice the onion.
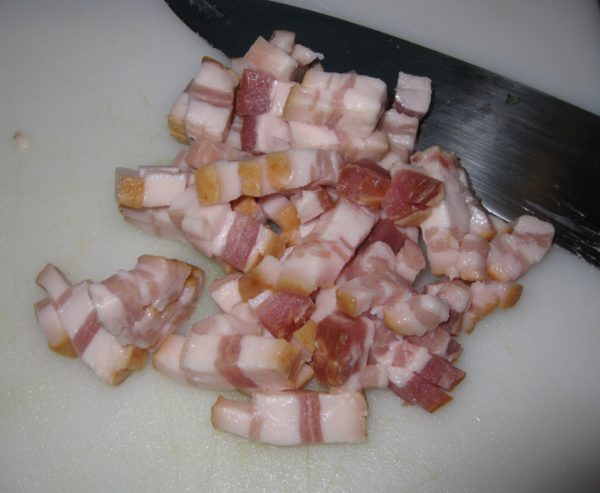
  4. Dice the bacon.
  5. Crush the fennel and cinnamon in mortar. Reserve.
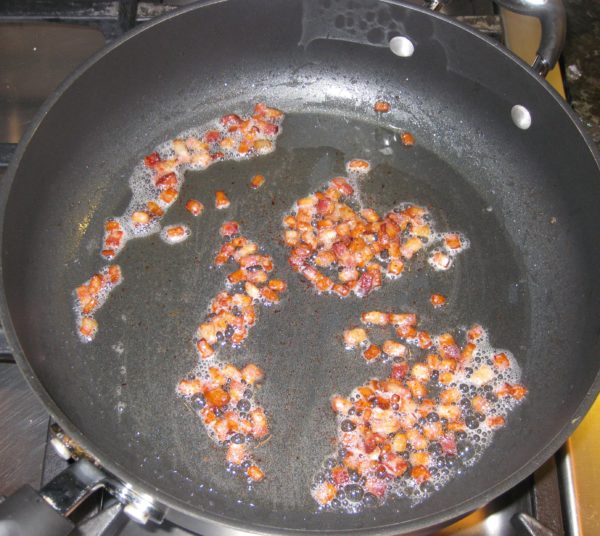
  6. In a large sauté pan, fry the bacon until crisp.
  7. Remove and reserve the cooked bacon.
  8. Fry the onion in the rendered bacon fat until golden.
  9. When the onion is nearly done, add the crushed fennel seed and cinnamon along with the curry leaves, if using.
  10. Cook a few minutes longer to bloom the spices.
  11. Add the zucchini and peppers.
  12. Stir fry over high heat until the vegetables are pliable but still crunchy.
  13. Season with salt and pepper while cooking, tasting from time to time to adjust the seasoning. The dish is best with a bit of a bite from black pepper.
  14. Stir the cooked bacon into the vegetables after they have cooked.
Recipe Notes

Copyright © 2018 by VillaSentieri.com. All rights reserved.
Share this Recipe

Cabbage and Noodles (Halushki)

November 27, 2017

One of the interesting consequences of working on this blog is that it is getting me to cook more Slovak food.

We ate way more Italian food than Slovak food when I was growing up but, nonetheless, Slovak food was a significant presence on our table.

Things that only lived in my memory, like the Chicken Paprikash that I posted a few weeks ago, and my Grandma Mihalik’s Butter Cookies that are coming up in a week or two, are now real. And it’s not only the Slovak food. The Chinese Five-Spice Roast Pork from last week hasn’t been on my table in more than 40 years!


Click HERE to follow us on Instagram


Part of the reason is that, as much as I enjoy cooking, I hadn’t devoted as much time to planning what I was going to cook as I did when I was younger.  That is, until I got deep into this blog (and the restaurant cookbook I’ve been asked to write).

In Junior and Senior years of college there was a plan for dinner for every day of every week. Sometimes there was a plan for lunch, too!

Good provisions weren’t conveniently located to the University of Pennsylvania campus except for some specialty items from the ethnic markets near campus or the occasional very basic item from one of two nearby (in-super) supermarkets. Grocery shopping was done weekly and involved a trip to Ninth Street (sometimes called the Italian Market), and to the Pathmark supermarket in Broomall, PA.

Every meal got planned and a shopping list was created.

The planning was usually done in the evenings when I needed a break from studying (which I know some of you think I never did!). I would sit down with a cookbook or two, or my box of recipes handwritten on 3” x 5” index cards, or the typewritten recipes from Mrs. Hugh, my roommate’s mother and, over the course of the week, generate a list of what my roommate and I were going to have for dinner each night. Some were favorites but many were new, like the whole poached fish I made from Marcella Hazan’s first cookbook or Mrs. Hugh’s Crispy Duck (see the photo embedded in this blog post).

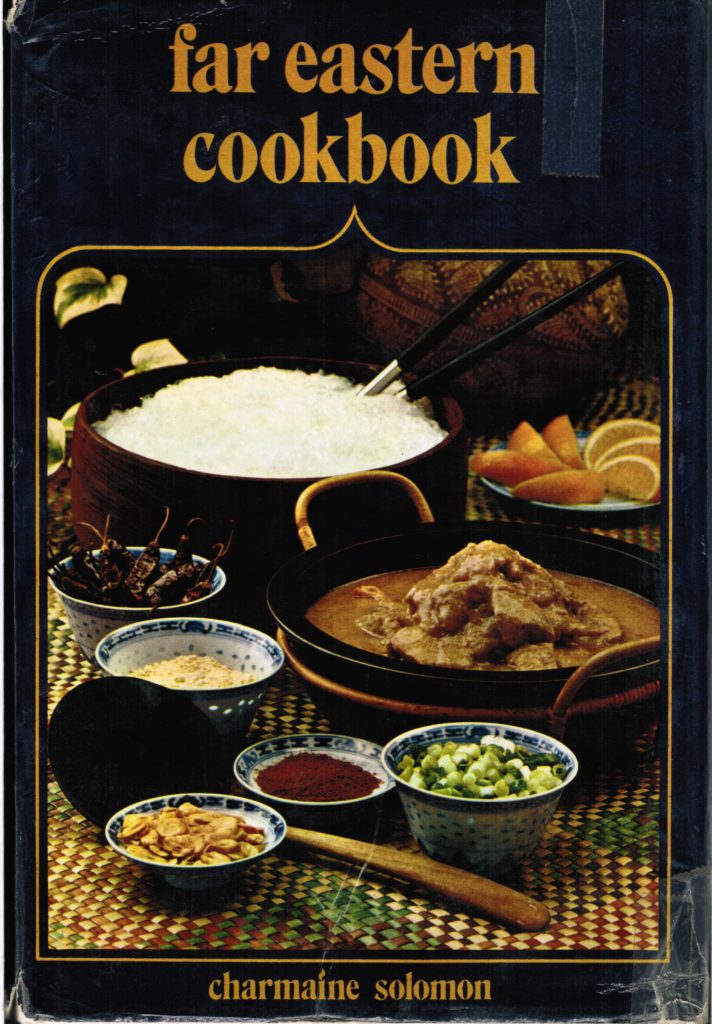
One of my favorite books was a slim volume by Charmaine Solomon. Charmaine was from Sri Lanka and two of the resident advisors in my college house, Reggie and Nanacy Rajapakse, were also from Sri Lanka and knew Charmaine. Charmaine’s Far Eastern Cookbook was copyrighted in 1972 (the year I started college). The edition I have was printed in 1973 so it was quite new when I bought it in 1974 shortly after entering the International Residence Project. I read that book cover to cover, like a novel, many times. I could sit for hours and pore over Charmaine’s recipes.

My dog-eared and much beloved copy of Charmaine Solomon’s Far Eastern Cookbook

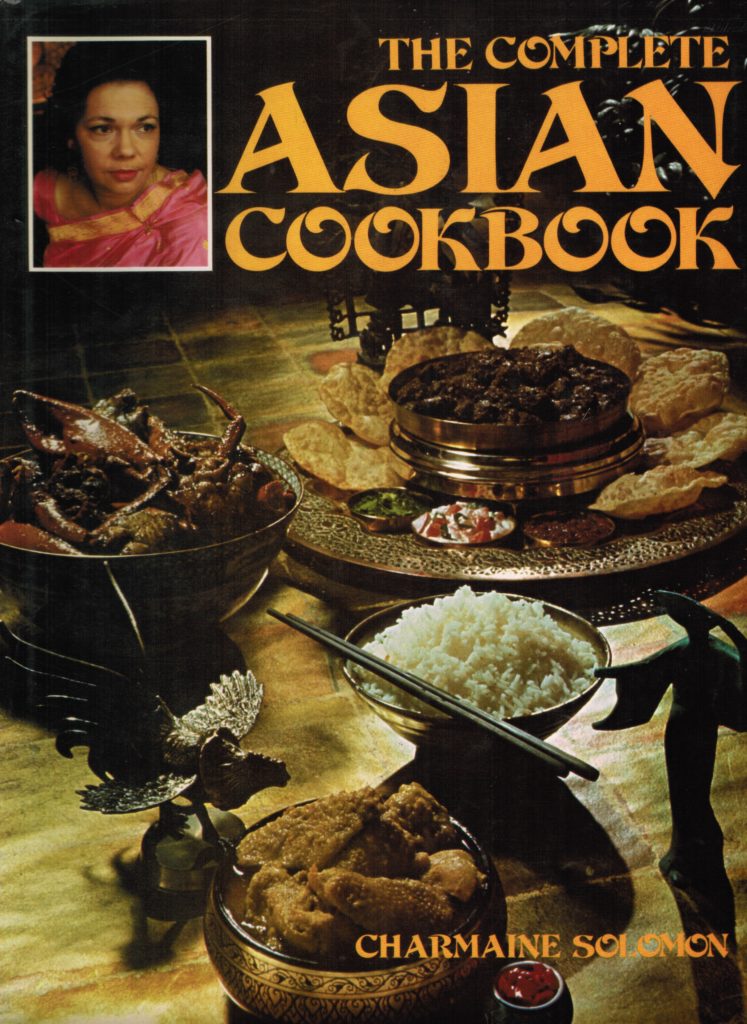
In 1976, when I graduated college, Reggie and Nanacy bought me another of Charmaine’s cookbooks as a present, The Complete Asian Cookbook.

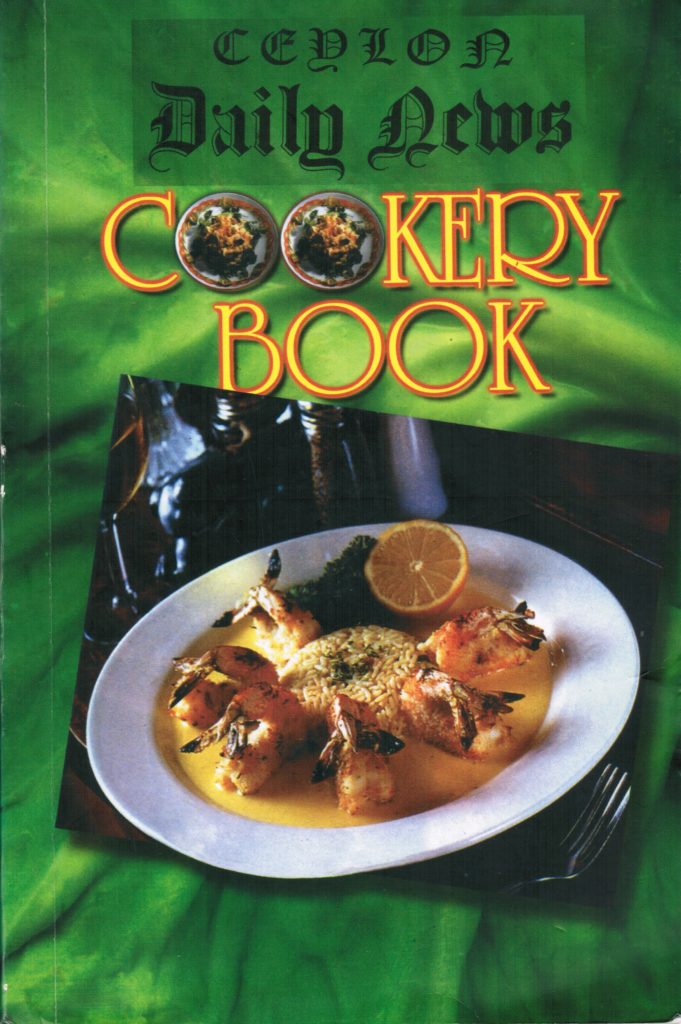
Another favorite cookbook was the [Ceylon] Daily News Cookery Book which was in the collection of the Van Pelt library at the University of Pennsylvania. I would check it out, keep it as long as I could, return it, and then check it out again. It was a hardcover book with a red cloth cover. It was simply titled the Daily News Cookery Book.  Reference to Ceylon was nowhere to be found in the title.  Many years later, on a trip to Sri Lanka, I was able to get a reprint of the book (with the word Ceylon added to the title).

My point, though, is that my cooking repertoire expanded because I worked at it. Ray and I planned every meal, we went grocery shopping, we cooked, and we most certainly ate. I was still able to keep up a good cooking pace through medical school but after that, as I got busier and busier, it became harder and harder.

While I can put food on the table any given night without much thought, recreating past favorites or trying out new recipes requires more planning. I now have a calendar specifically devoted to cooking. Dishes get planned out weeks, if not months, in advance. It’s a lot of work, yes, but it’s tremendously rewarding to prepare my favorite foods, many of which I haven’t had in many years, and introduce them to others.

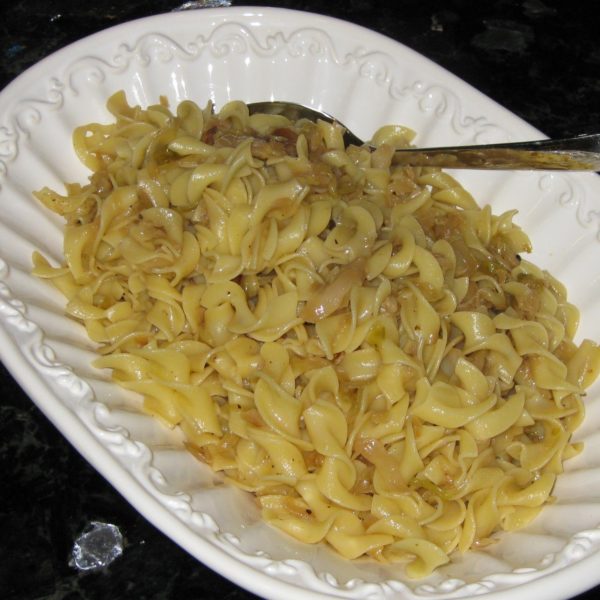
Cabbage and Noodles, sometimes called Halushki, was frequently on our table. I remember it particularly being served with Salmon Patties, one of my favorite Friday meals when we didn’t eat meat. We had it other times, too, but the association of Cabbage and Noodles with Salmon Patties is very strong.


Follow us


Click HERE to join our mailing list and you’ll never miss a recipe again!

Print Recipe
Cabbage and Noodles (Halushki)
Although three pounds of cabbage sounds like a lot, it cooks down a tremendous amount. If you wish, you can add a teaspoon or two of caraway seed to the cabbage during the last 20 minutes of cooking. Though my family did not do that, it is not unusual to do so.
Votes: 0
Rating: 0
You:
Rate this recipe!
Prep Time 15 minutes
Cook Time 2 hours
Servings
people
Ingredients
Prep Time 15 minutes
Cook Time 2 hours
Servings
people
Ingredients
Votes: 0
Rating: 0
You:
Rate this recipe!
Instructions
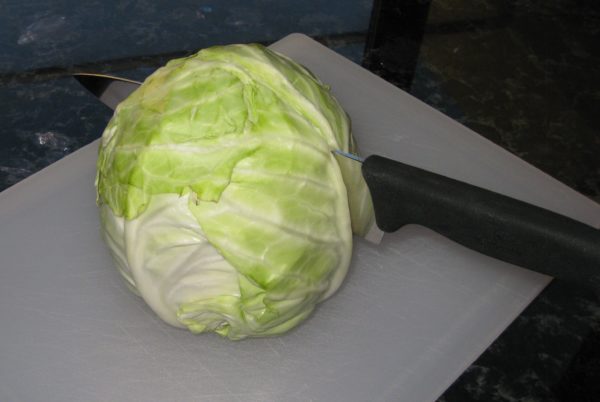
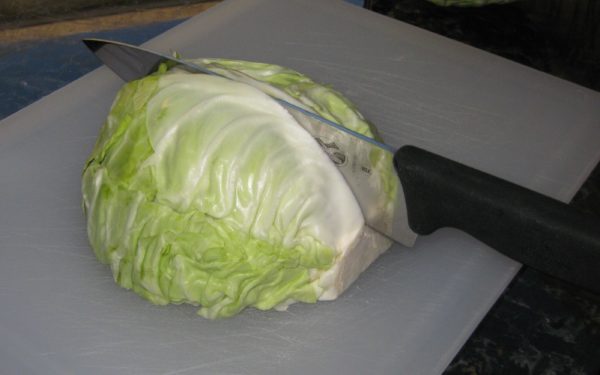
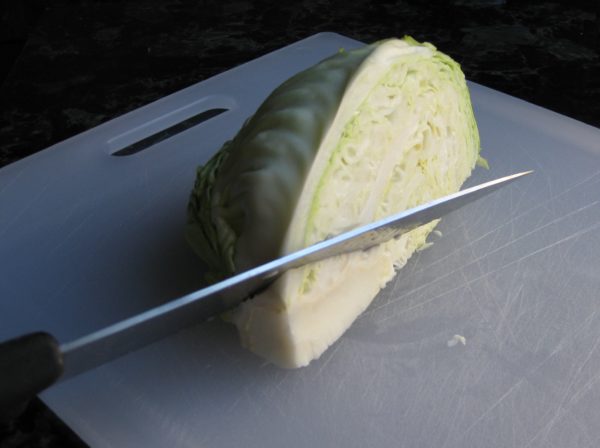
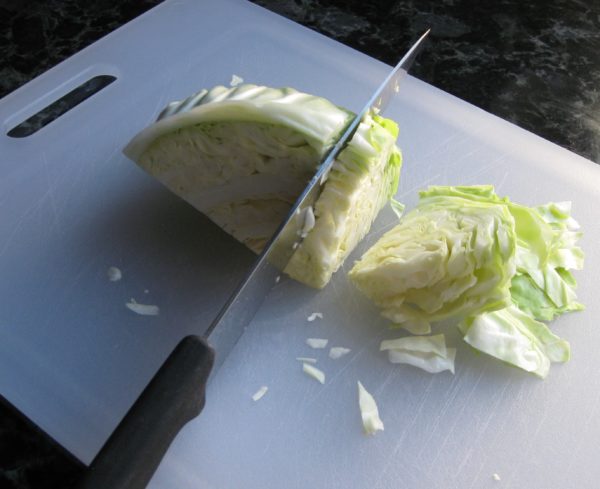
  1. Quarter and core the cabbage.
  2. Slice each quarter crosswise into ½ inch wide ribbons.
  3. In a heavy-bottomed pot large enough to hold the cabbage comfortably melt four tablespoons of the butter.
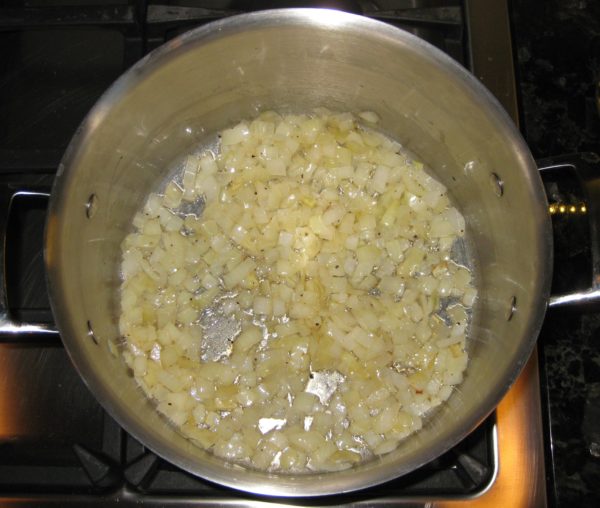
  4. Sauté the onion in the butter until golden.
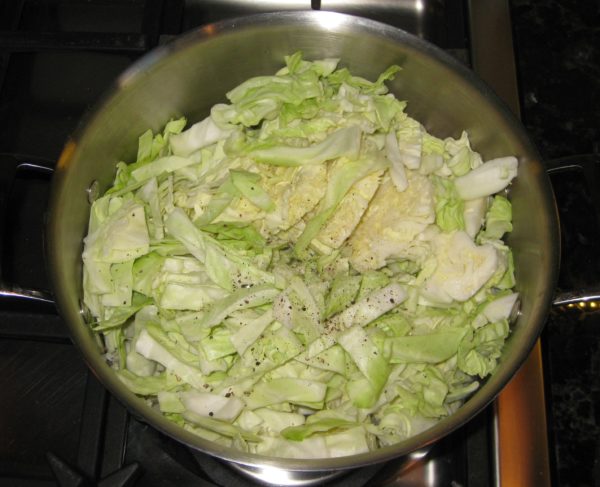
  5. Add the cabbage. Season generously with salt and pepper.
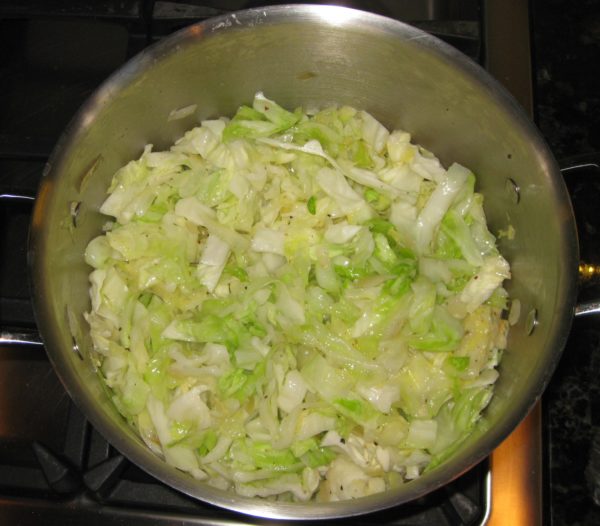
  6. Sauté on medium heat, stirring often, until the cabbage wilts.
  7. Reduce the heat if the cabbage starts to stick to the pot.
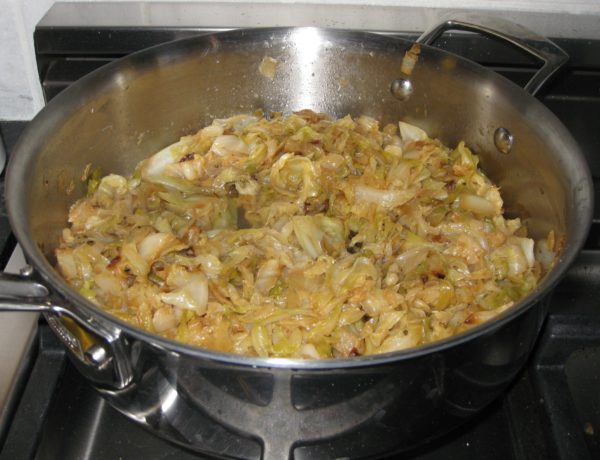
  8. Continue to cook on medium low, partially covered and stirring often, until the cabbage is silky, golden, and sweet. This will take 1 ½ to 2 hours total from start to finish.
  9. The cabbage can be cooked several hours in advance to this point. Warm the cabbage before proceeding.
  10. Bring 3 quarts of water to a rolling boil. Add 1/3 cup of salt.
  11. Cook the egg noodles in the salted water until just done. They should be slightly toothy and definitely not mushy.
  12. Drain the noodles.
  13. Add the noodles to the cooked cabbage along with the remaining 2 tablespoons of butter. Toss well.
  14. Taste and adjust salt and pepper.
Recipe Notes

Copyright © 2017 by VillaSentieri.com. All rights reserved.
Share this Recipe

Roasted Sweet Peppers

October 2, 2017

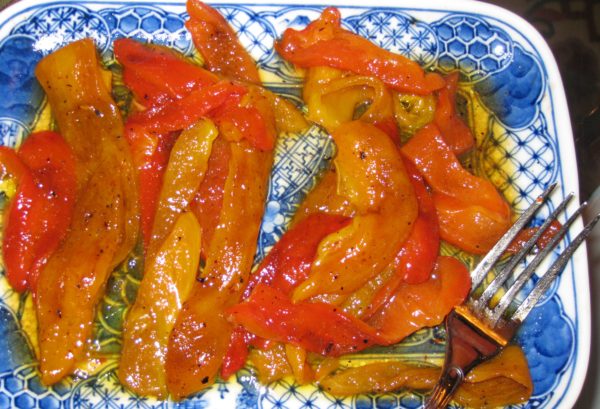
Roasted peppers are a classic of Italian cuisine. They are a perfect example of ingredient-driven cooking. All that is required are good peppers, good olive oil, and a few minutes of scorching heat. There’s no way to hide bad ingredients, since there are only two (not counting salt).

A wonderful presentation is to prepare an array of roasted vegetables such as peppers, onions, zucchini, tomatoes, eggplant, and scallions served artfully arranged on a platter and anointed with extra-virgin olive oil and sea salt.

It’s a “wonderful” presentation because it looks beautiful, it tastes great, it’s easy to prepare, and it can all be done in advance and served at room temperature. It makes an impressive antipasto platter in the winter and an inviting warm-weather side-dish in the summer.

But let’s not get carried away. Peppers are classic and work very well on their own. If you like how they turn out you can experiment with other vegetables.

The first time I got serious about making these was back in the late 1980s when we lived in Chicago. We had a four story townhouse. The top floor was the master suite with a very large deck. We had redwood planters made to encircle the perimeter of the deck. In addition, we added scores of pots and, when things got a little too crowded on our deck, we expanded to Billy and Carla’s deck next door!

We grew an amazing amount of produce on that deck. I can’t begin to remember all of it but it included tomatoes, tomatillos, sweet peppers, hot peppers, eggplant, a fig tree, corn, cucumbers, zucchini, and an abundance of herbs including enough basil to feed a small country. We installed a grape arbor but the grapes didn’t do well.

We bought an upright freezer and put it in the garage so that we could put up food from the garden.

One year I roasted peppers and conserved them under a layer of olive oil in the refrigerator. They were good but I subsequently discovered that the USDA recommends against this technique as the covering of oil creates an environment where anaerobic bacteria, like the one that causes botulism, can grow.

After that first year, I didn’t preserve roasted peppers in olive oil again but I did make flavored olive oils and flavored vinegars every year right up until we moved full-time to Santa Fe. The USDA has the same recommendation regarding putting herbs in oil but, for some reason, I chose to ignore the advice.

These days, when I want roasted peppers, I just buy fresh peppers at the farmers market, farm stand, or supermarket and roast them. Luckily Bell peppers are available year-round.

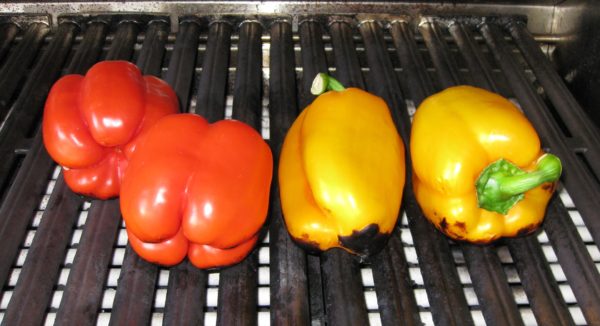
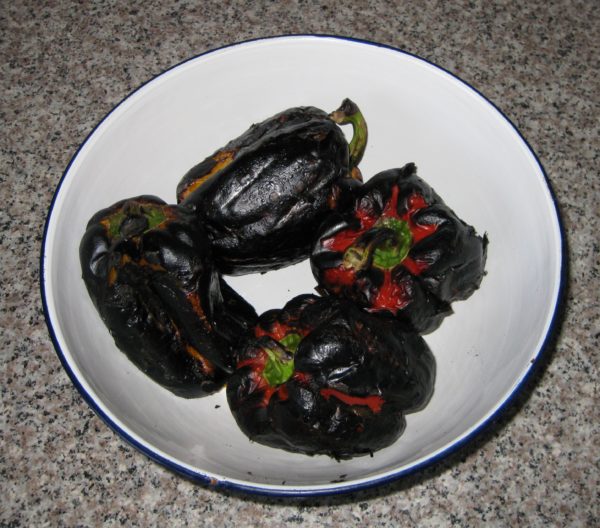
In addition to good-quality ingredients, scorching heat is required. The idea is to blacken and blister the skin quickly. If you do that too slowly the flesh of the pepper cooks too much and becomes mushy. For all practical purposes, you cannot blacken the skin too quickly. The flesh will always cook enough to be good. My usual method, as described here, is to use my gas grill on very high heat. If I only want to roast one or two peppers, I put them directly on the gas flame of my stove. Like I said, you cannot blacken the skin too quickly.

As good as the peppers are on their own, they can be used as ingredients in other dishes. Remember the uncooked tomato sauce I posted a few weeks ago? I said that the dish could be made with roasted peppers when tomatoes aren’t in season. Now that tomato season is coming to an end, consider roasting a few extra peppers and using them to make pasta later in the week.


Follow us


Click HERE to join our mailing list and you’ll never miss a recipe again!

Print Recipe
Roasted Sweet Peppers
Red, yellow, and orange bell peppers are sweeter than green ones because they are fully ripe. I usually use an array of different colored peppers. Many recipes suggest steaming the peppers in a paper bag after roasting. I don’t like using a bag as it absorbs the juice that comes out of the peppers. A heatproof bowl with a tight-fitting lid allows the peppers to steam and preserves the pepper juices.
Votes: 0
Rating: 0
You:
Rate this recipe!
Prep Time 15 minutes
Cook Time 15 minutes
Passive Time 20 minutes
Servings
Ingredients
Prep Time 15 minutes
Cook Time 15 minutes
Passive Time 20 minutes
Servings
Ingredients
Votes: 0
Rating: 0
You:
Rate this recipe!
Instructions
  1. Heat a gas grill on the highest setting for at least 10 minutes.
  2. Put the peppers on the grill. Cover the grill
  3. Keep the heat on high.
  4. Turn the peppers every few minutes until the skin is evenly blackened.
  5. You will probably have to stand the peppers on their bottom end to get that part blackened.
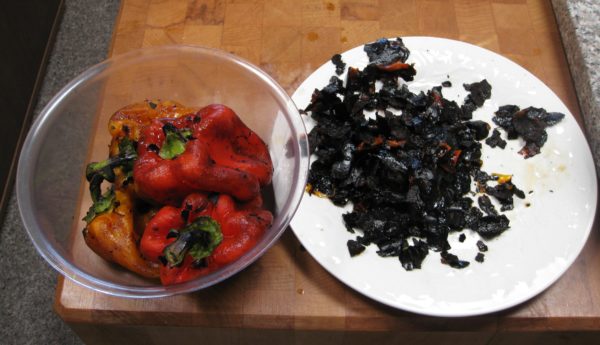
  6. When the skin is black, put the peppers in a heatproof dish with a tight-fitting cover.
  7. Cover and allow the peppers to cool and steam for 10-20 minutes. This will finish cooking the peppers and loosen the skin.
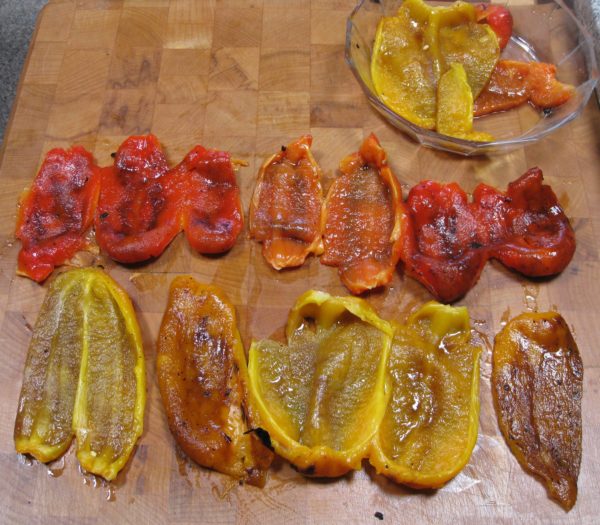
  8. Holding the peppers over the dish to catch any liquid, remove the blistered skin using your fingers. The skin should slip off easily.
  9. Split the peppers in half. Using the tip of a sharp knife, remove the fleshy ribs of the peppers. Remove the seeds.
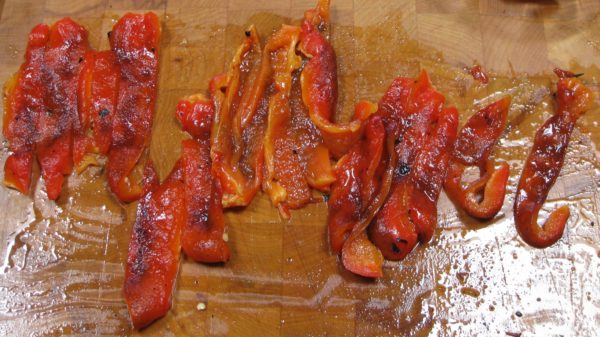
  10. Slice the peppers lengthwise in ½ inch wide strips.
  11. Pour the collected juices over the peppers, straining out seeds and skin.
  12. Sprinkle the peppers with olive oil, approximately 1 tablespoon per pepper. Toss well.
  13. Cover tightly and allow the peppers to sit at room temperature for an hour or two.
  14. When ready to serve, toss again and sprinkle liberally with coarse sea salt.
  15. The peppers can be made a day or two in advance and refrigerated after tossing with olive oil. Allow the peppers to come to room temperature for an hour or two before salting and serving.
Recipe Notes

Copyright © 2017 by VillaSentieri.com. All rights reserved.
Share this Recipe