June 21, 2017
I come by a love of spicy food honestly. I grew up in a family with a strong Southern Italian heritage and a love of spicy foods. There was usually one, if not two, types of hot salami in the fridge. My Uncle Joe Medile made the hot Italian sausage that we ate frequently and when my father said it wasn’t spicy enough, as he always did, the next batch was spicier still. My cousin Angie put up hot peppers (her recipe is coming in the autumn). Another Uncle ate sandwiches of fried hot peppers from his garden. I still have hot salami in my fridge, and I make sausage and jarred hot peppers and eat fried pepper sandwiches!
I could go on but you get the picture.
In college, I fell in with a crowd of friends from all around the world, quite a number of whom were into fiery foods; foods so hot that they made anything with a European sensibility (like Italian food) seem like child’s play.
It wasn’t surprising that when I first ate New Mexican food in 1991, I was hooked by Red Chile and Green Chile.
New Mexican chile (and it is spelled chile, with an “e” on the end) at the most basic is a sauce. Go into any New Mexican restaurant and order a burrito and the wait person, without missing a beat, will say “Red or Green?” unless you are in the know enough to have made your choice of chile part of the order in the first place. The sauce will be poured over the burrito before serving. If you are indecisive, you can have “Christmas” which will get you half red chile and half green chile.
New Mexican Chile has nothing in common with chili, whether it’s Tex-Mex, Cincinnati, or any other version. There is Green Chile Stew which contains pork (usually) and is served in a bowl like, well, a stew. But you won’t get Green Chile Stew if you ask for Green Chile. You’ll get a sauce.
I’ve collected lots of Red Chile recipes from friends; eaten Red Chile scores, if not hundreds of times in restaurants; and researched Red Chile in old cookbooks. I take a very traditional approach to what goes into my Red Chile, and it’s not much.
I think a traditional Red Chile should be made with ingredients that would have been available in the small, isolated farming communities in Northern New Mexico where the dish was perfected. When I see recipes that purport to taste traditional, if not be traditional, that contain things like raisins, chipotle in adobo, and Asian fish sauce, I sigh.
Mind you, those ingredients, and other equally incongruous ingredients (like frozen orange juice concentrate!), might make a tasty sauce but it would not be New Mexican Red Chile!
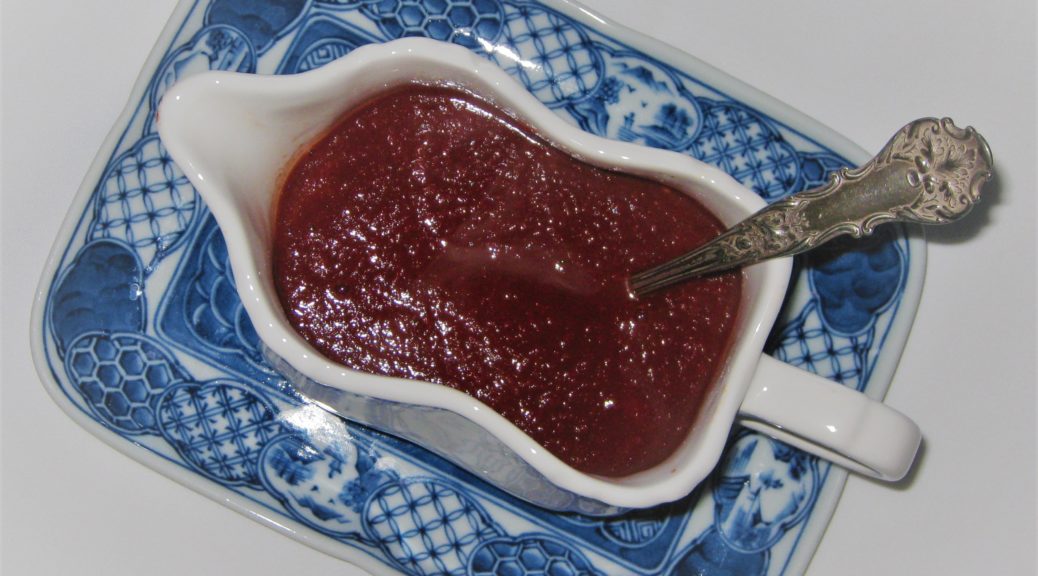
Red Chile should taste of chile with other ingredients used in small quantities to complement the chile. In my case those ingredients are garlic and salt. Period!
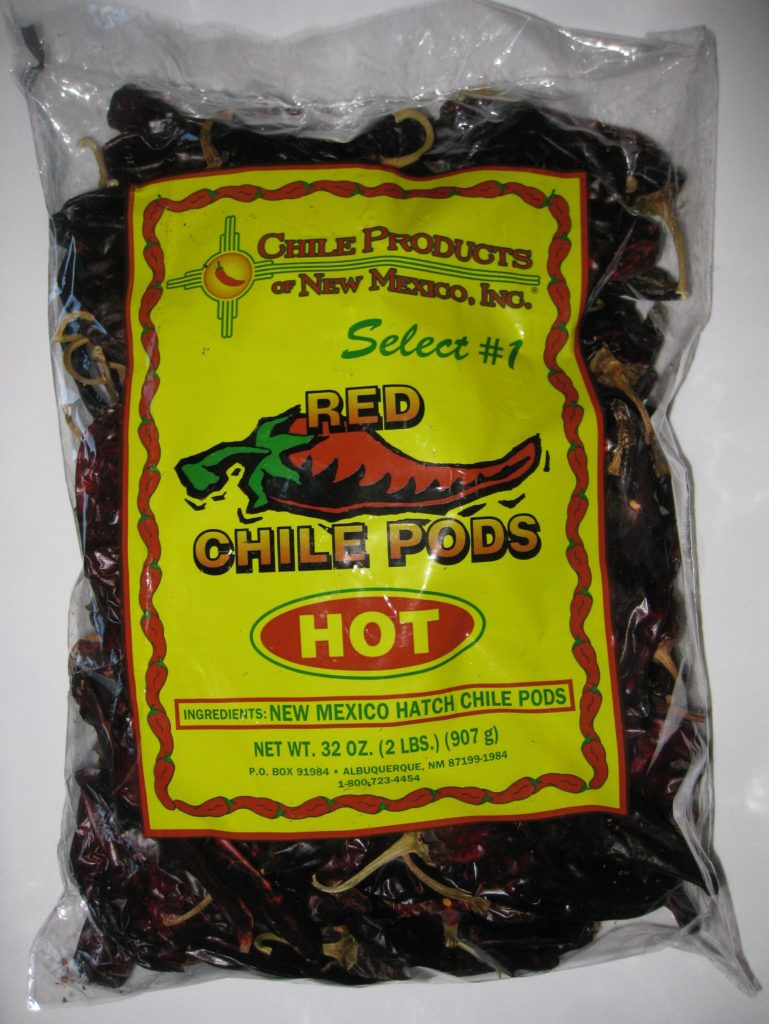
Before the advent of refrigeration, Red Chile, which is made from dried fully ripened, i.e. red, chile pods, was eaten most of the year. Green Chile, made from roasted, freshly harvested green chile pods, was eaten at harvest time.
Next month I’m going to post my favorite New Mexican recipe, Carne Adovada, slow-cooked pork cubes in an abundant amount of red chile sauce. The Red Chile in this post is an integral part of the process. If you want to give the Carne Adovada a try you might want to practice making Red Chile. If you’re at a loss for what to do with it, consider using it as a sauce on steak, chops or scrambled eggs. Pour it over mashed potatoes. Make burritos and smother them in red chile.
Before moving to New Mexico full time, we spent almost every holiday in Santa Fe. We always invited a large crowd of friends over for Thanksgiving dinner. Since we would leave Santa Fe to return to Chicago on the Saturday or Sunday after Thanksgiving, leftovers became a problem. We quickly developed the tradition of having all of our Thanksgiving guests back for dinner on Friday which consisted of leftovers. The only new addition to the meal, though, was red chile which some of us, at least, used in place of gravy!
The uses for red chile are limited only by your imagination.
Click HERE to join our mailing list and you’ll never miss a recipe again!
| Prep Time | 15 minutes |
| Cook Time | 40 minutes |
| Passive Time | 20 minutes |
| Servings |
cups
|
- 1 1/2 ounces dried New Mexico red chile pods weighed after stems and seeds are removed
- 2 cloves largegarlic
- 1/2 teaspoon salt
- 1 1/2 cups water
Ingredients
|

|
- The starting point: whole dried chile pods.
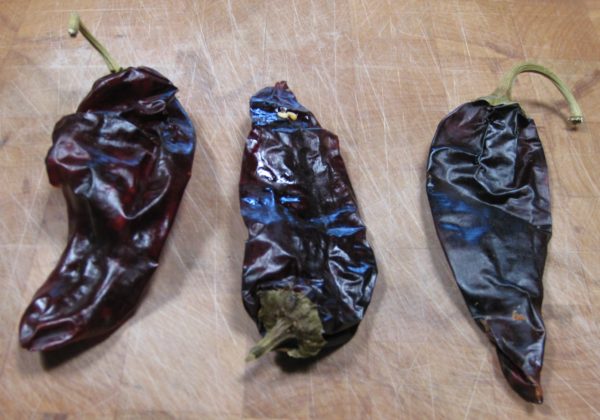
- Break off the stem of each chile pod and empty out the seeds and pith. You might have to break the pod in one or two places to get out the seeds. Try not to break it into small pieces, however.
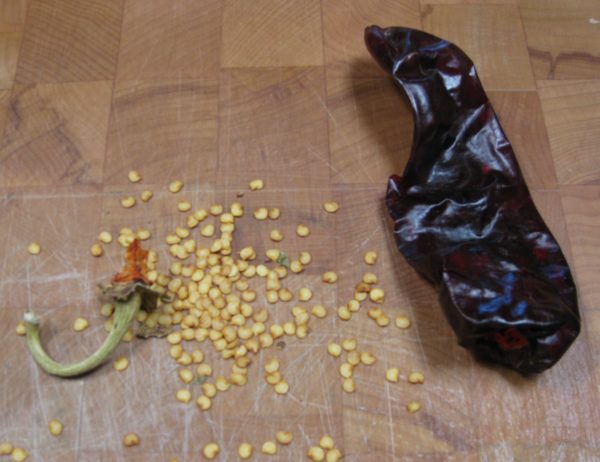
- The stems, seeds, and pith ready for the compost heap!
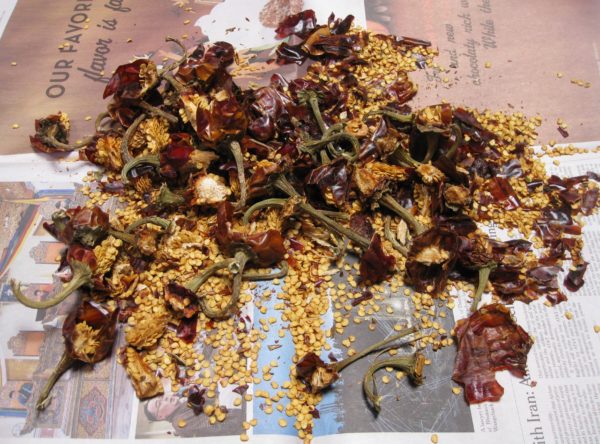
- Weigh out 1 ½ ounces of chile pods after stem, seeds, and pith have been removed.
- Put the chile in a bowl.
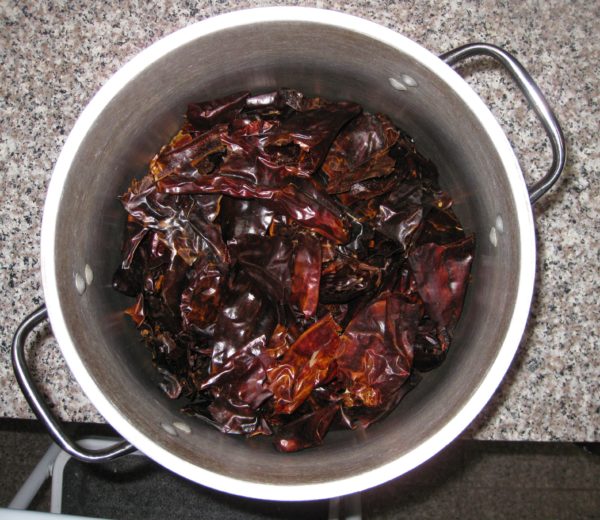
- Cover the chiles with very hot tap water.
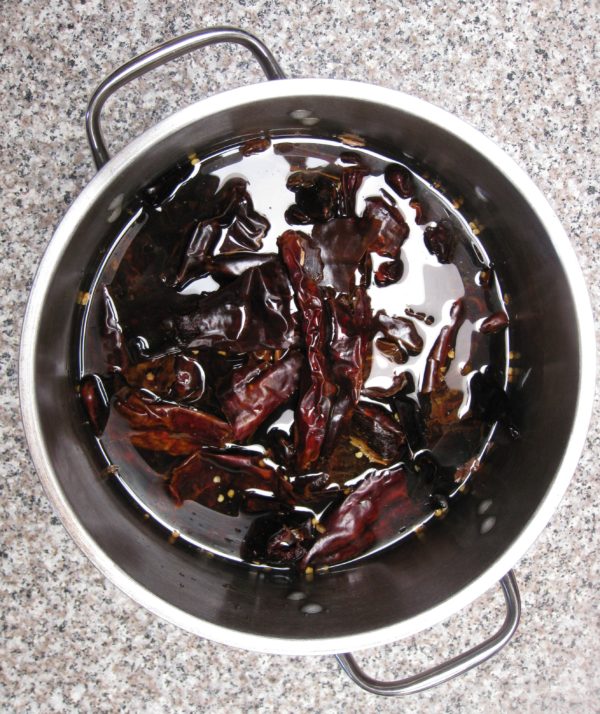
- Steep the chiles in the hot water until softened, 15- 20 minutes.
- Lift the chiles out of the water and into a colander, attempting to leave as many of the seeds behind as possible. Despite your best efforts, there will still be some!
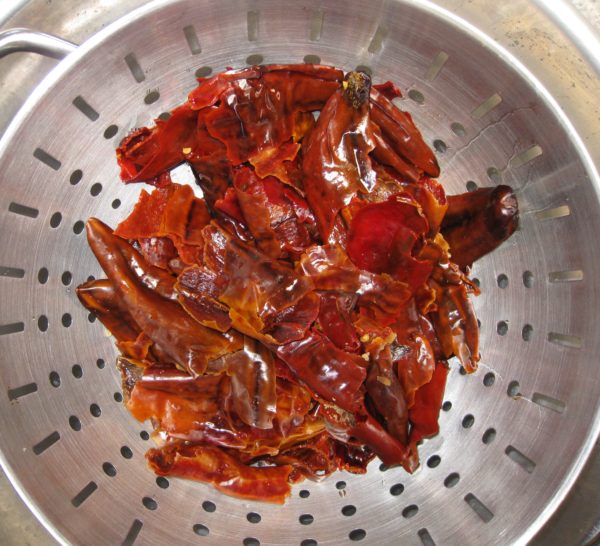
- Discard the water used to soften the chiles.
- Put the softened chiles, garlic, and 1 ¼ cups of fresh water in a blender.
- Puree until smooth, one to two minutes.
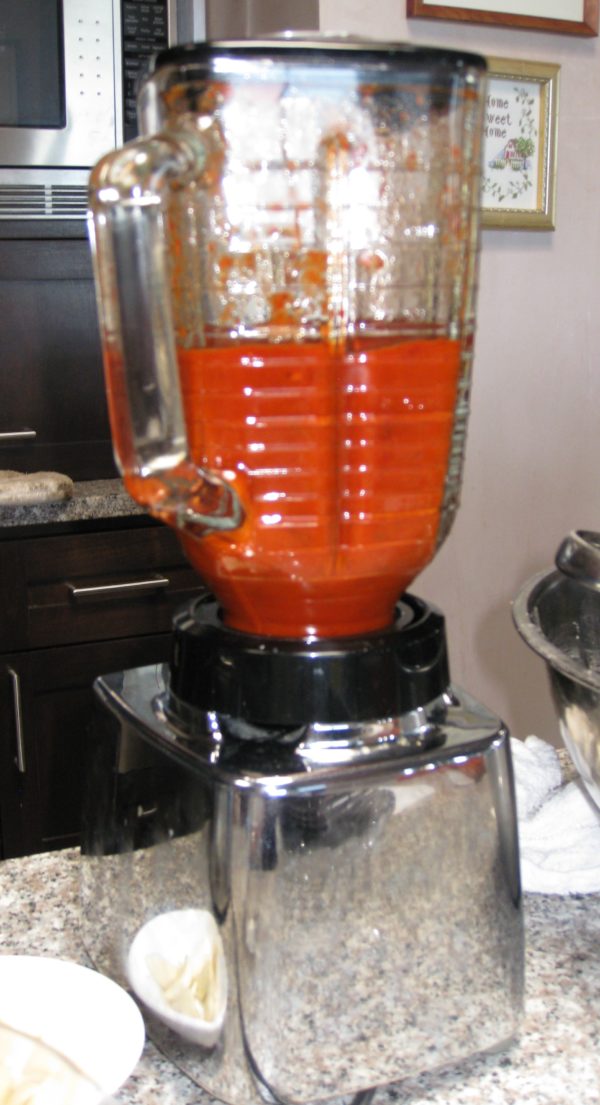
- Pour the chile puree into a saucepan.
- Use the remaining ¼ cup of water to rinse out the blender jar. Add this to the saucepan.
- Add the salt to the chile puree.
- Bring to a boil, reduce heat, and simmer uncovered till thickened, about 20-30 minutes.
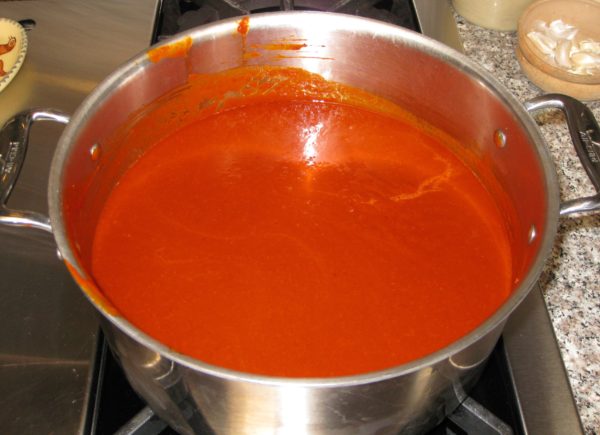
- Adjust salt near the end of cooking.

Some cooks like to toast the chile pods in the oven. I have done this but I don’t believe it adds enough flavor to justify the extra work.
The water used to soak the chile can be bitter so I always discard it and use fresh water for making the sauce. The seeds and pith can also add a bitter note. You’ll never get rid of all the seeds but eliminate as many as possible.
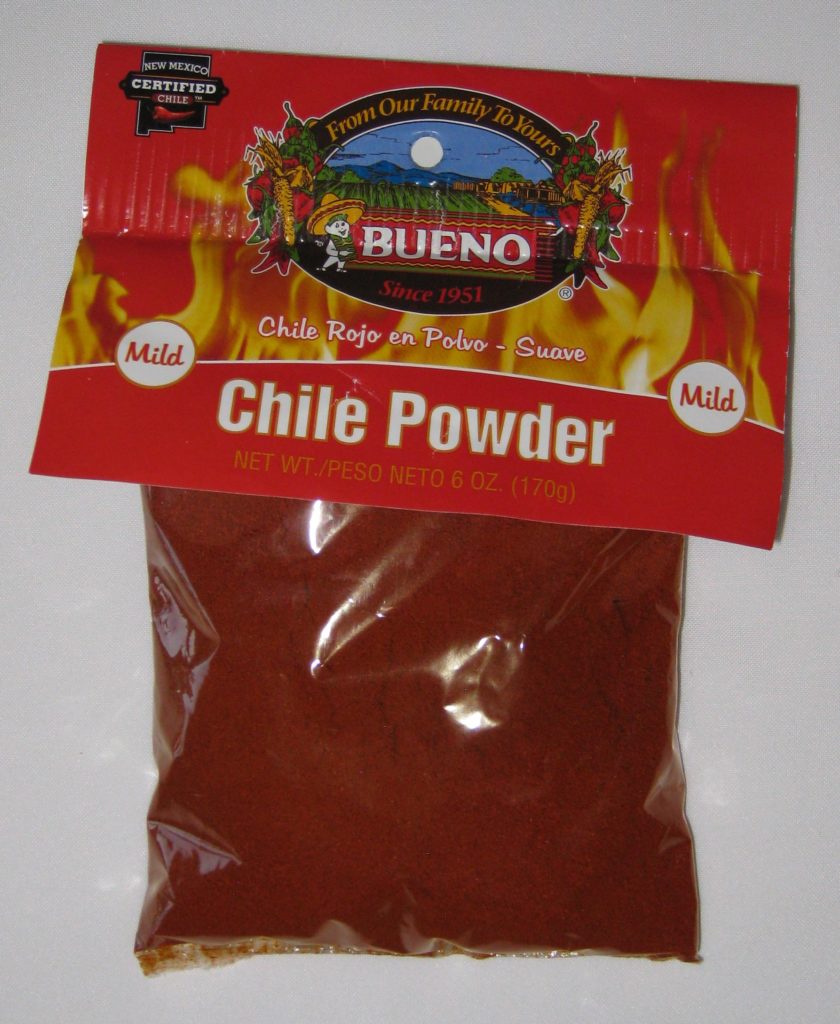
If you want to use ground New Mexico red chile pods (chile molido) rather than whole pods, first puree the garlic with some of the water. Add the garlic puree to the ground chile. Add the remaining water a little at a time, stirring well, to avoid lumps. Add the salt and proceed with simmering as described above.
Copyright © 2017 by VillaSentieri.com. All rights reserved.

