August 29, 2018
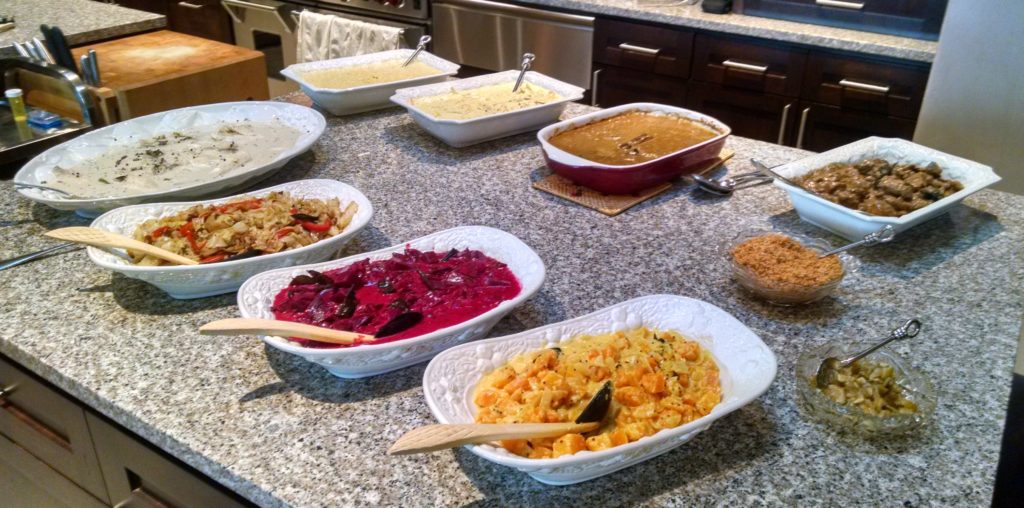
I know I’ve posted a lot of Sri Lankan recipes recently. I’m trying to post enough to create a Sri Lankan meal if my readers are interested.
Sri Lankan food is not common in the United States. There are some Sri Lankan restaurants on Staten Island but I’ve never ventured to them when I’ve been in New York. It’s not that I don’t want to, but it’s a bit of a hike to get there…and there are so many good restaurants in NYC that are easier to get to.
One of these days I’ll try some of the Sri Lankan restaurants in Los Angeles but for now I’ll have to settle on my own cooking.
Join our mailing list and you’ll never miss a recipe again!
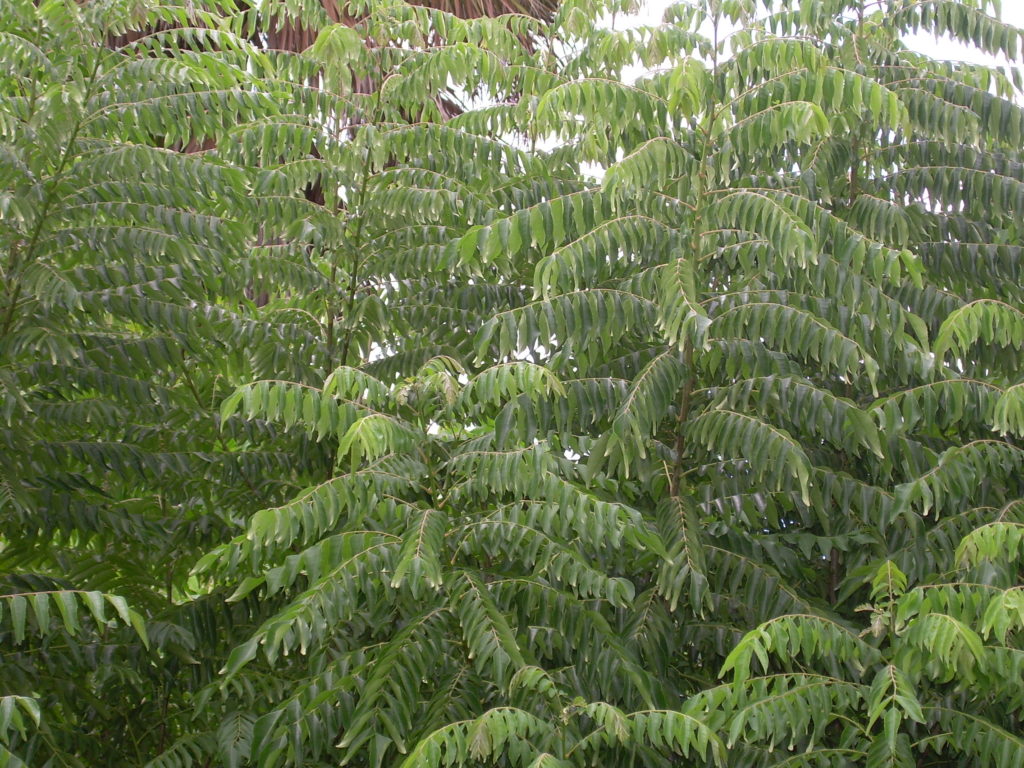
Curry leaves are an absolute delight, lending a taste and aroma that I can’t really describe.
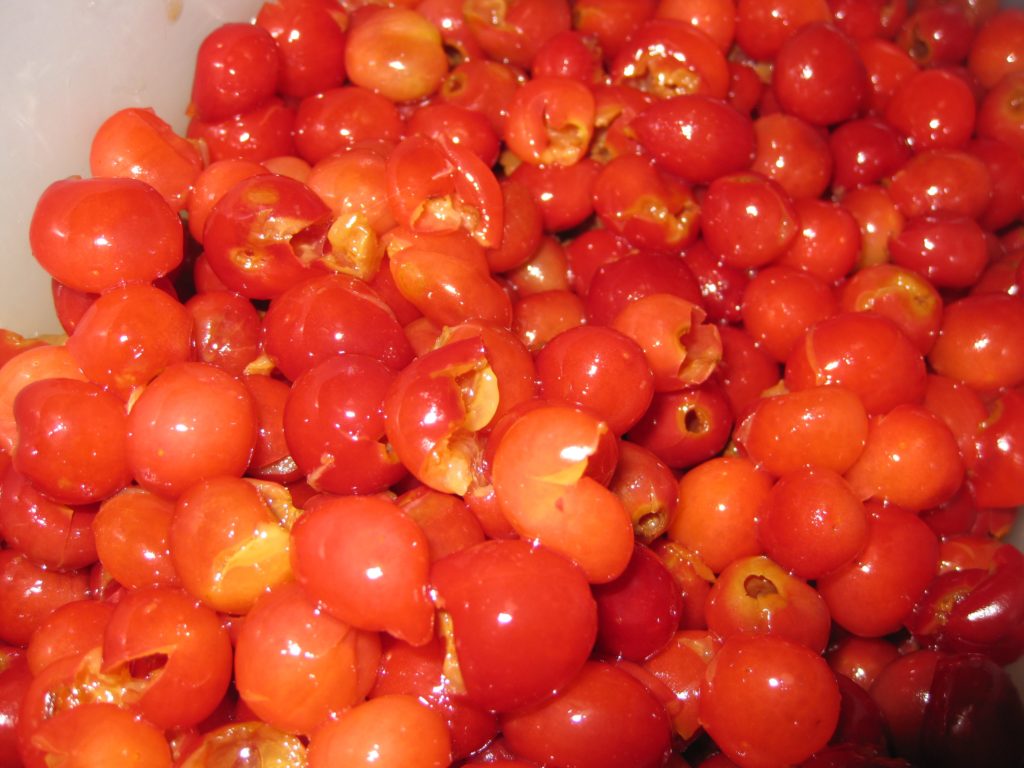
Although native to Brazil, the cashew was transported to India by the Portuguese in the sixteenth century. From there it spread throughout South Asia. It is also commonly grown in Africa.
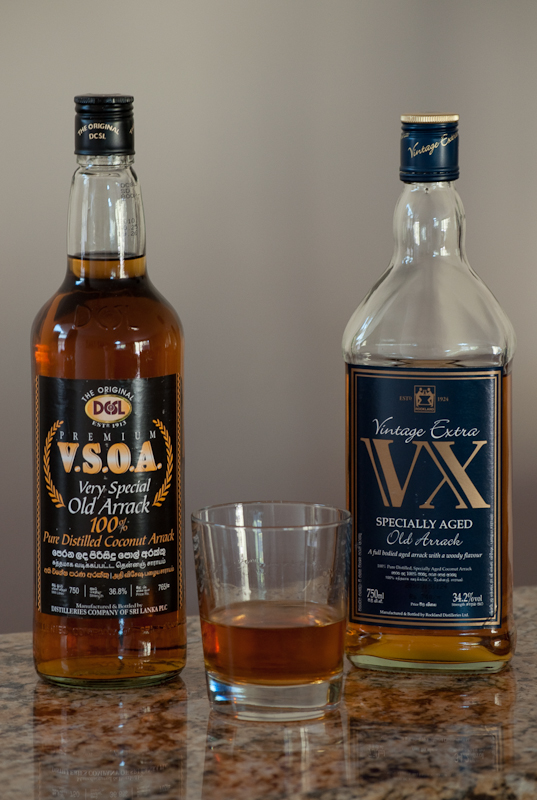
Cashews are an integral part of Sri Lankan cuisine. Devilled cashews are a common nibble with cocktails. Arrack is the classic distilled spirit of Sri Lanka, made from the sap of coconut blossoms.
In Sri Lanka, cashew curry is made from fresh cashews. I’ve never seen fresh cashews in the United States. Whole raw cashews work well if soaked in water for several hours, just like dried beans.
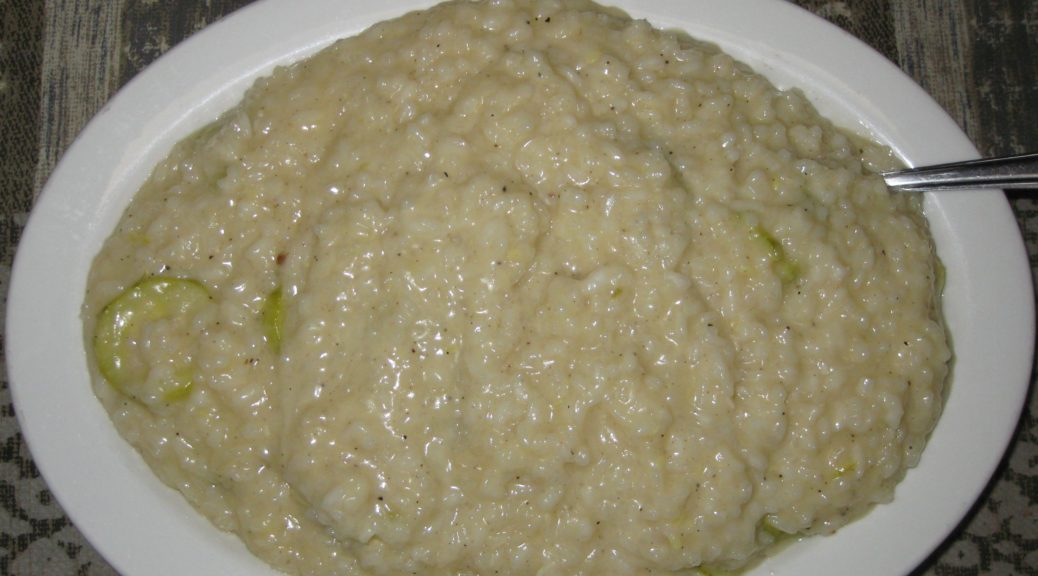
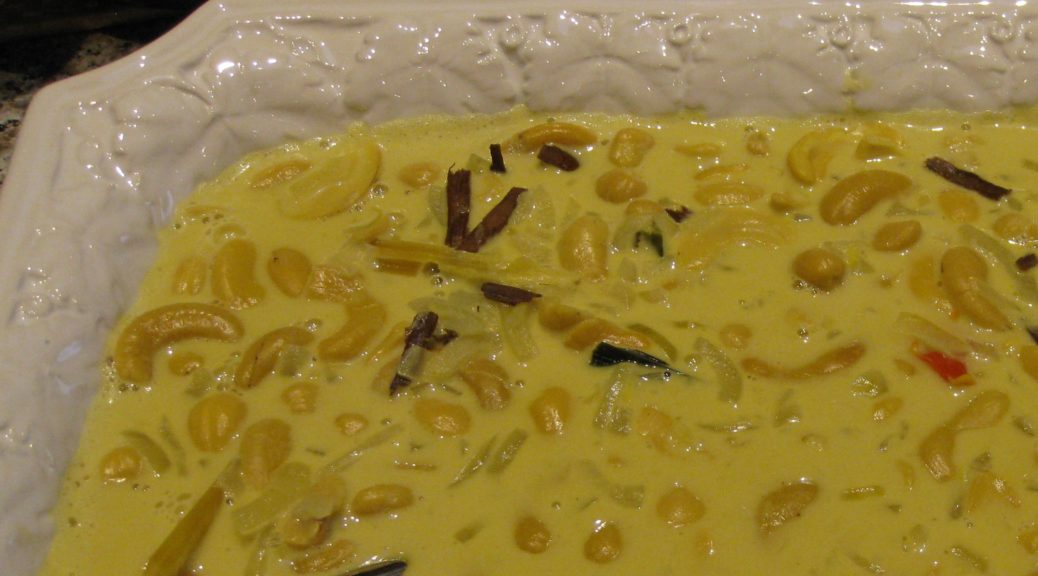
In my experience there are two basic styles of cashew curry in Sri Lanka, a dry one and one with gravy. The one I have always made is with gravy. The “gravy” is really seasoned coconut milk.
Follow us on your social media platform of choice
![]()
![]()
![]()
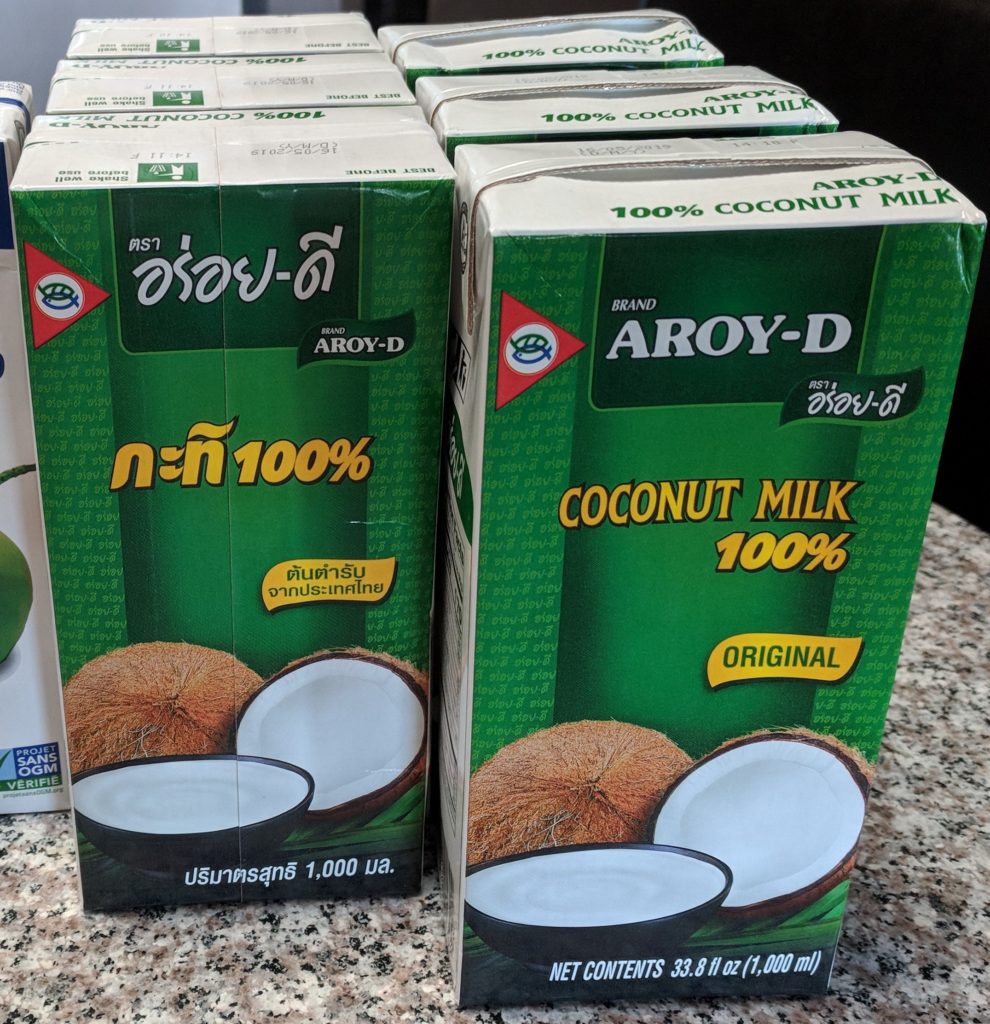
In years past, I would always make my own coconut milk from shredded coconut but now, with rare exception, I use coconut milk that I’ve purchased. With a good quality coconut milk, such as Aroy-D it is really impossible to tell the difference when making a curry or other well-seasoned dish.
This is an especially easy dish to prepare as all the ingredients are simmered. There’s no sautéing involved. That makes it a great introduction to Sri Lankan cooking. Serve it with rice to sop up all the wonderful gravy.

| Prep Time | 15 minutes |
| Cook Time | 1 hour |
| Passive Time | 3 hours |
| Servings |
people
|
- 1 pound whole raw cashews
- 1 1/2 cups purchased coconut milk preferably Aroy-D
- 1 1/2 cups water
- 1 medium onion thinly sliced
- 2 fresh chilies such as Cayenne or Thai Bird peppers
- 1/2 teaspoon ground turmeric
- 2 cloves garlic minced
- 1/2 teaspoon minced fresh ginger
- 2 inches stick cinnamon
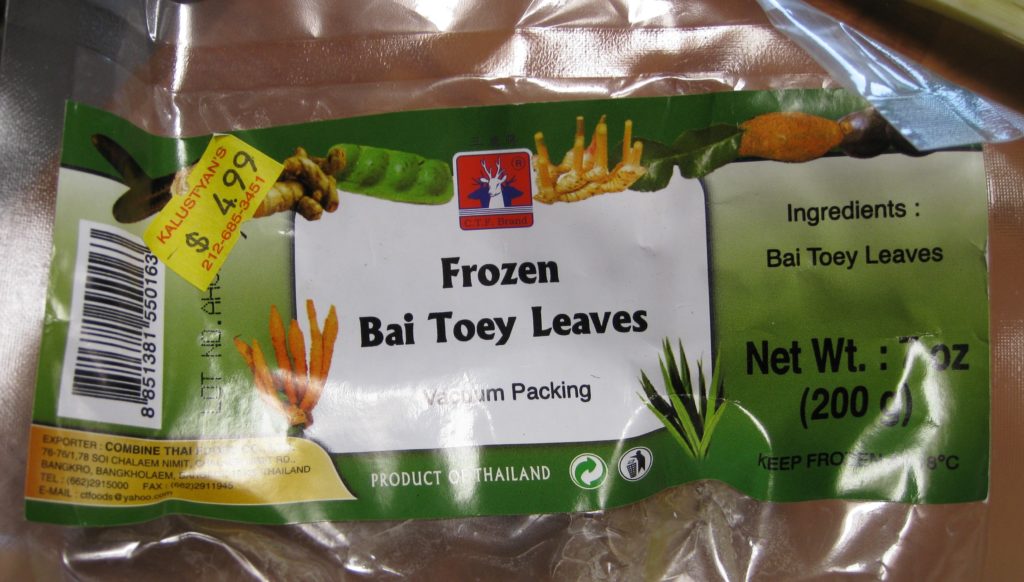
- 4 inches rampé leaf cut into four pieces (also called pandan leaf, bai tuey, or bai toey)
- 1/2 stalk lemongrass
- 8 curry leaves
- 1 cup thick coconut milk use undiluted purchased coconut milk or homemade coconut milk
- 2 teaspoons salt plus more to taste
Ingredients
|
|
- Cover the cashews with water and allow to soak for 2-3 hours, or overnight in the refrigerator.

- Split and seed the chilies.

- Lightly crush the lemongrass. Peel off the tough outer layers and cut off the dark tough tops, leaving about 4 inches of softer inner pith.

- Put everything except cashews, thick coconut milk, and salt into a saucepan.

- Boil gently, uncovered, for about 10 minutes.

- Add drained, soaked cashews and simmer approximately 15-20 minutes.

- Add two teaspoons salt.
- Simmer until cashews are cooked but not mushy, approximately 10-20 minutes more.
- Add thick coconut milk.
- Taste and adjust salt.
- Simmer 5 minutes more.

Rampe (pandan, bai tuey, or bai toey) can be purchased frozen in Asian grocery stores.
Copyright © 2018 by Villa Sentieri, LLC. All rights reserved.