June 29, 2018
Who knew dhal could be so complicated?
I discovered dhal in college. This was mostly during my junior year which provided an amazing, non-stop culinary experience as I lived in the International Residence Project at the University of Pennsylvania.
Dhal refers both to the main ingredient and to the preparation. Let’s deal with the main ingredient for a bit.
I’ve typically thought of dhal as a synonym for the word “pulse” which, in common, everyday American English, we rarely use. A pulse is the dried seed of a legume. Think lentil, dried beans, chickpeas, and so forth.
So far so good.
Follow us on your social media platform of choice
![]()
![]()
![]()
Usually, but not always, a dried legume only becomes dhal if it is split. So, split red lentils (used in this dish) would be dhal but the whole ones would not. In Indian cookery the word “gram” refers to the whole legume that, if split, would be “dhal.”
According to the Wikipedia entry on legumes, the “term ‘pulse,’ as used by the United Nations’ Food and Agriculture Organization (FAO), is reserved for crops harvested solely for the dry seed. This excludes green beans and green peas, which are considered vegetable crops.” Peruse any Indian cookbook however, and you’ll see the term dhal applied to dried split peas just as readily as it is to lentils, which are only harvested to be used dried (unlike peas). So much for the distinction that the crop only be used for the dry seed.
I suppose one shouldn’t be surprised. The names of different foods vary from region to region and usage is not necessarily consistent.
While there might be disagreements, need I say confusion, about what constitutes dhal, the dried (and maybe split) legume, the preparation of the dish itself is pretty straightforward.
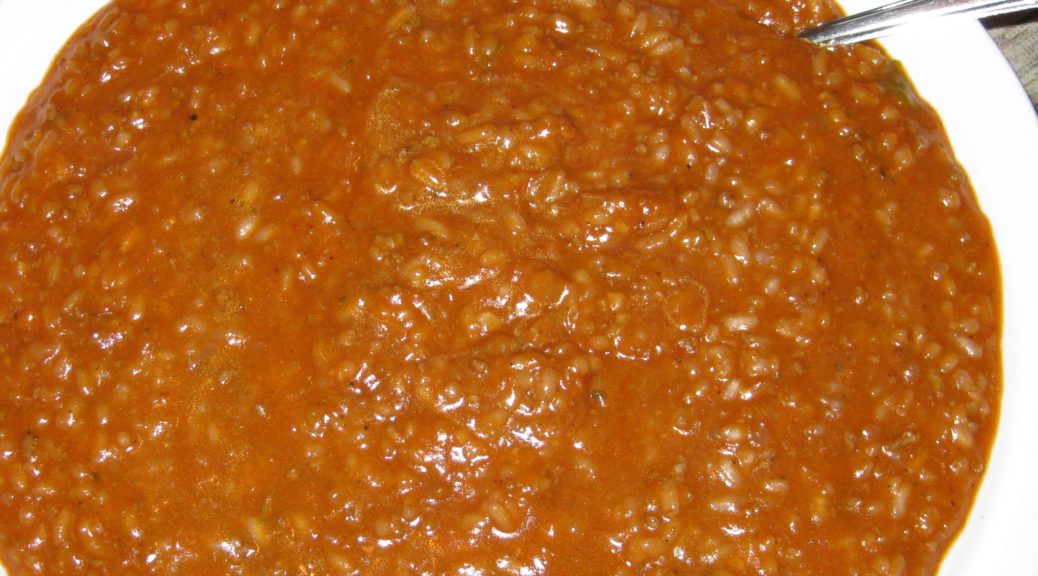
To turn dhal into dhal, you boil it with flavoring ingredients such as aromatics and herbs and spices. The resultant dish can have the consistency of porridge or soup or anything in between but it is clearly, and unmistakably, dhal.
Join our mailing list and you’ll never miss a recipe again!
My initial introduction to dhal was Indian. Channa dhal, a smaller relative of the chickpea (called channa in Hindi) looks pretty much like yellow split peas, which, by the way, are a very good substitute for channa dhal. My introduction to dhal made from channa dhal (I know, it’s confusing) came initially from Maharaja, the first Indian restaurant in Philadelphia (circa 1972). The restaurant was actually owned by the aunt of someone with whom I now work. Small world. Someone who, by the way, actually asked ME for some Indian recipes!!!
The introduction to dhal deepened after I met Ray Hugh at the end of sophomore year when we were introduced as roommates-to-be in the International Residence Project for our junior year at Penn. We roomed together over the preceding summer. We both cooked. Ray is from Guyana and his cooking reflects the country’s ethnic heritage: Indian, Chinese, African and Amerindian.
Ray made channa dhal.
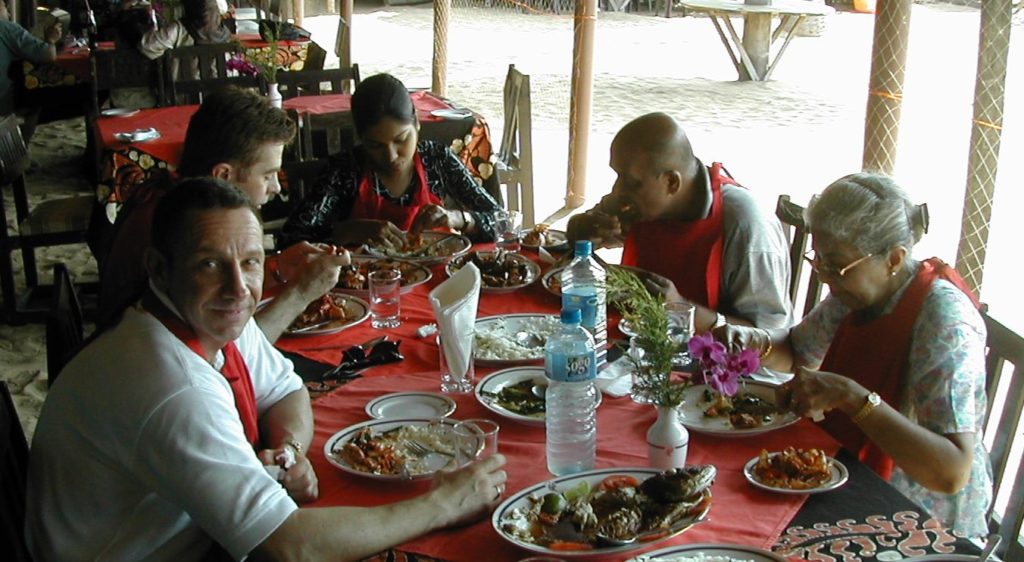
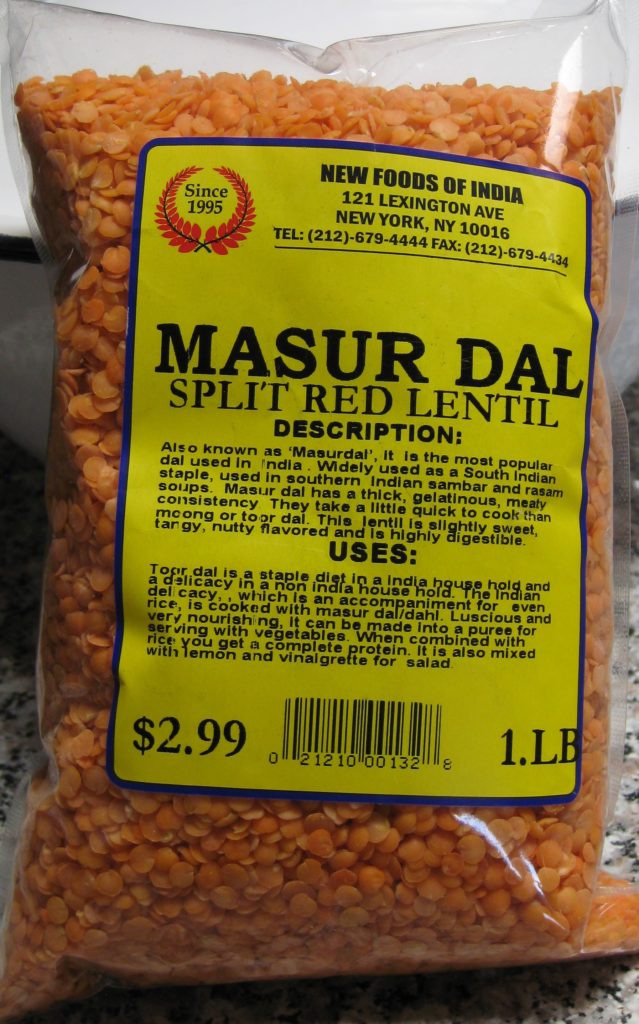
When I actually got into the International Residence Project at the beginning of junior year and tasted Nanacy Rajapakse’s Sri Lankan cooking, I was hooked. It’s similar to Indian but actually more aromatic and possibly more delicately spiced, though often quite firey hot (which is a totally different characteristic from the non-chile herbs and spices that go into a dish). For dhal, Sri Lankans typically use the small split red lentils called Mysore or Masoor dhal. They cook up quickly. The final consistency is more like porridge than soup.
Over the coming months, I’m going to post a number of Sri Lankan dishes. If you’re culturally adventurous you might want to give them a try. At the end of the series you’ll be able to pull together an entire meal that would satisfy anyone from Sri Lanka!

| Prep Time | 10 minutes |
| Cook Time | 30 minutes |
| Passive Time | 3 hours |
| Servings |
people
|
- 1 cup Mysore dhal
- 1/3 small onion finely chopped
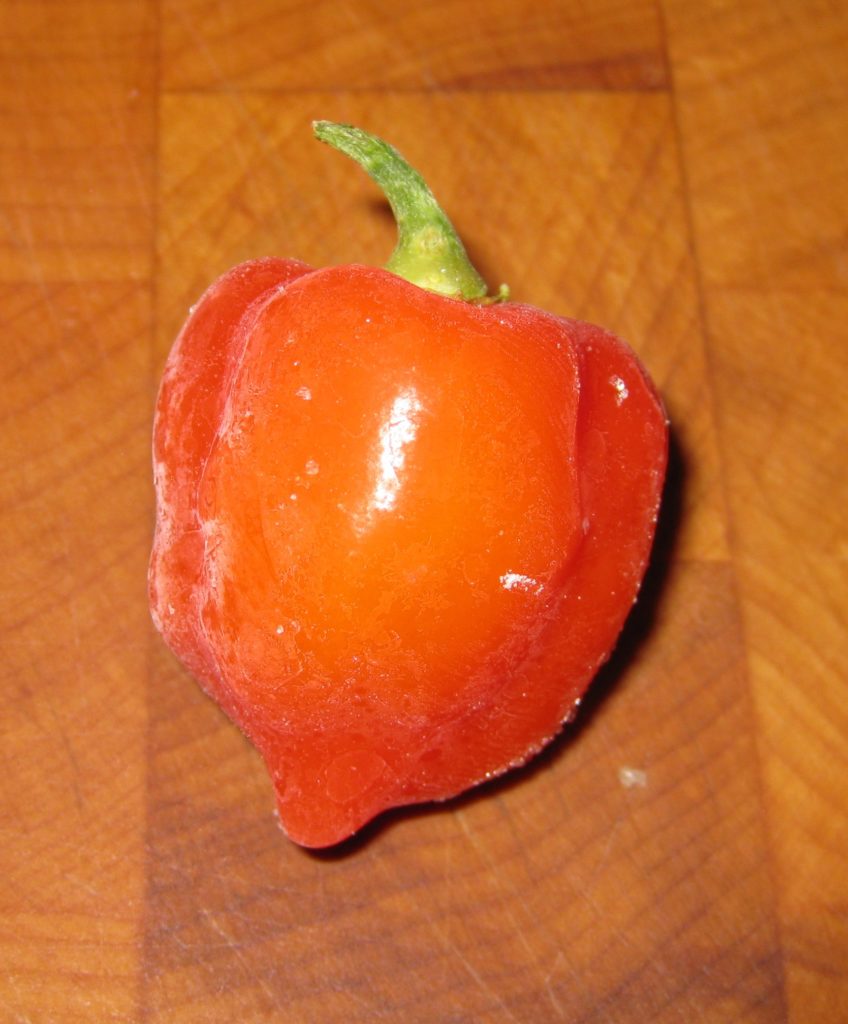
- 1 small long thin green chile finely chopped
- 3-4 curry leaves if available
- 1/2 inch stick cinnamon broken
- 1 1/2 teaspoons ground coriander seeds
- 3/4 teaspoon ground cumin seed
- 1/8 teaspoon turmeric
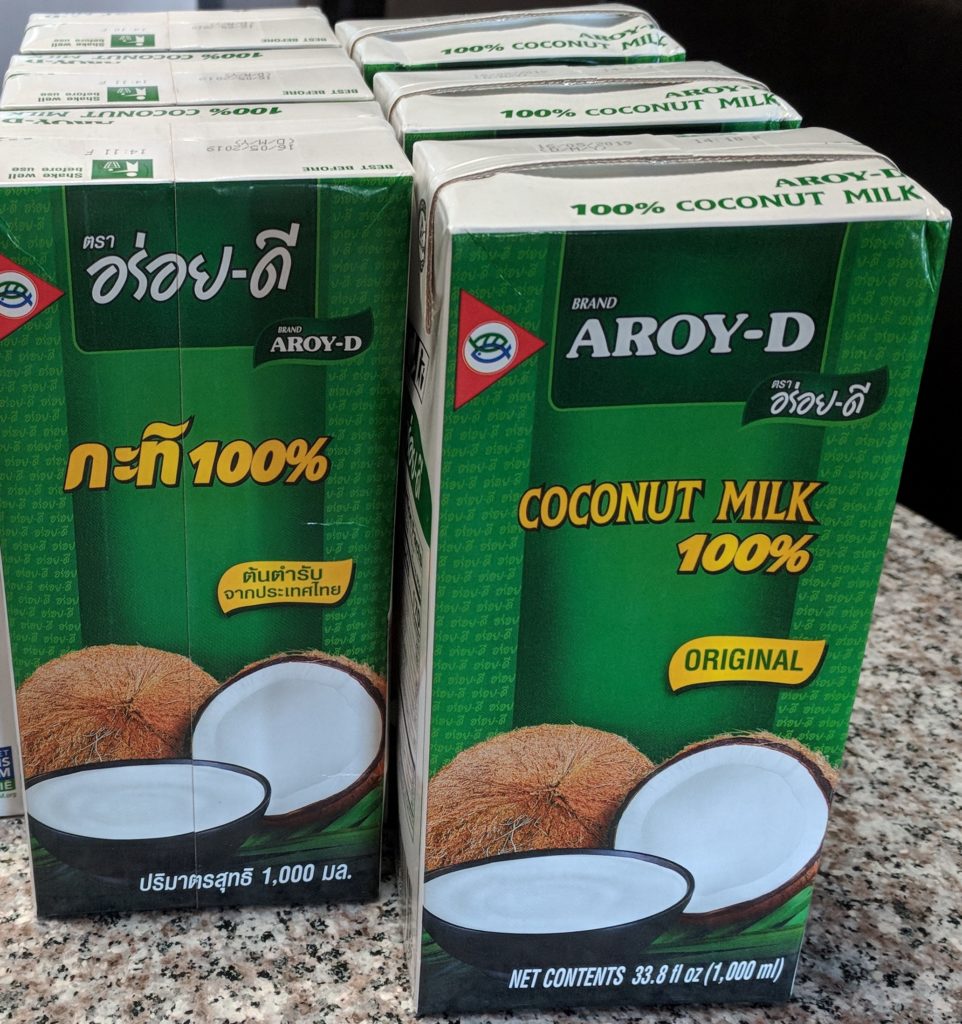
- 1/2 - 1 cup coconut milk purchased or home-made
- salt to taste
Ingredients
|
|
- Wash and drain the dhal. Cover with cold water and soak for approximately three hours at room temperature. Refrigerate if it will soak longer.
- When ready to cook the dhal, drain and rinse again.
- Add fresh water to cover the dhal by approximately ½ inch.

- Add all the other ingredients except the coconut milk

- Simmer, partially covered, till soft, approximately 20-30 minutes.

- Most of the water should be absorbed by this point. If not, boil quickly uncovered to evaporate the excess.

- Add coconut milk and salt to taste.

- Simmer gently until slightly thickened. Taste and adjust salt.

Aroy-D is an excellent choice if you are going to purchase, and not make, coconut milk.
Copyright © 2018 by Villa Sentieri, LLC. All rights reserved.


")