Carne di Manzo in Umido (Thinly Sliced Beef in Tomato Caper Sauce)

August 30, 2017

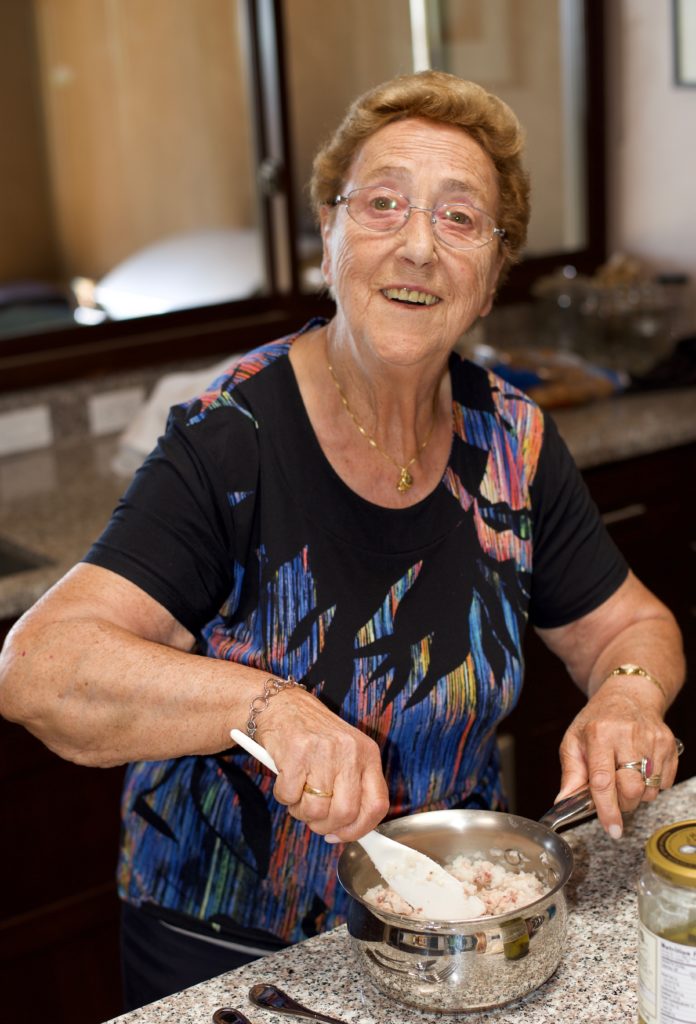
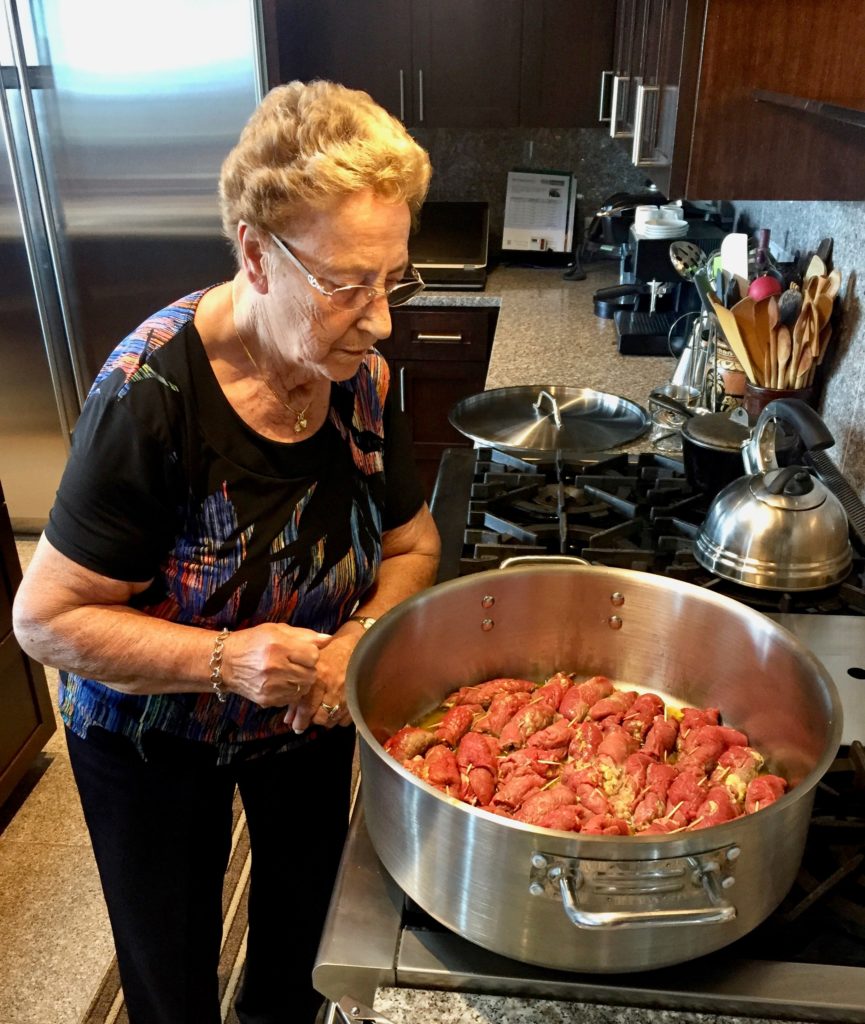
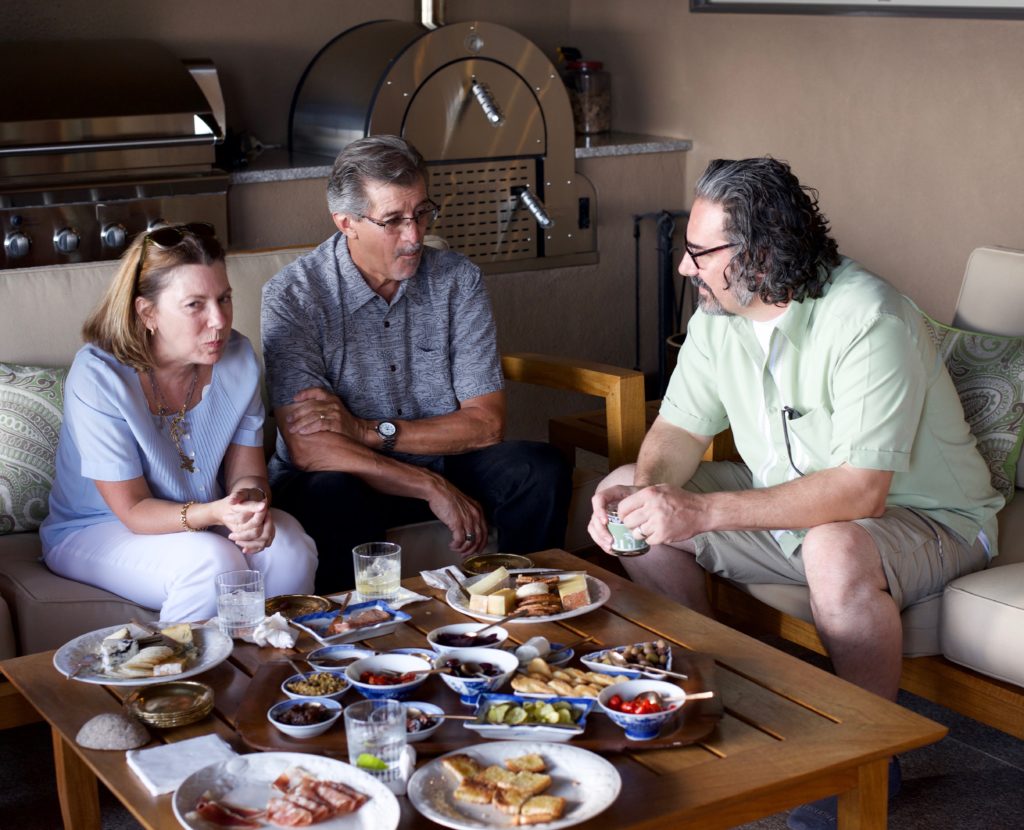
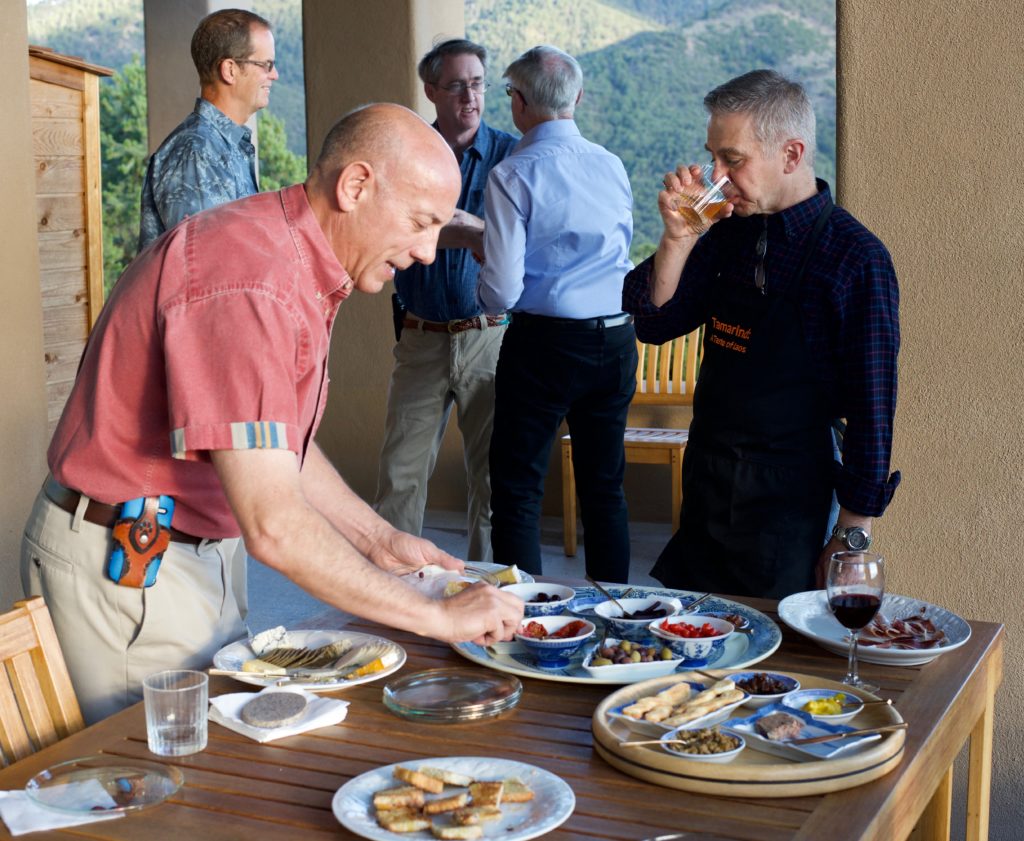
As I am writing this, my husband’s Great Aunt Fidalma and cousin Massimo are visiting us from Tuscany. We’ve had quite a week of eating and drinking.  Every night, actually, was something like a party. At the lowest head count we were 6, but more often 9, and once 20!

From left to right: Massimo, me (holding Abby), my father-in-law, Zia Fidalma, Zia Ida, my mother-in-law.

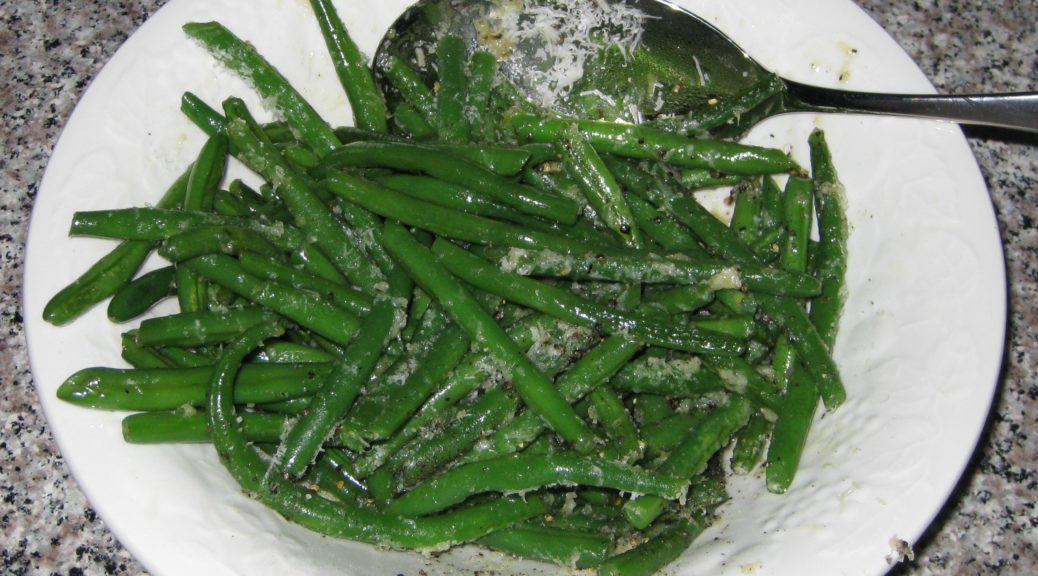
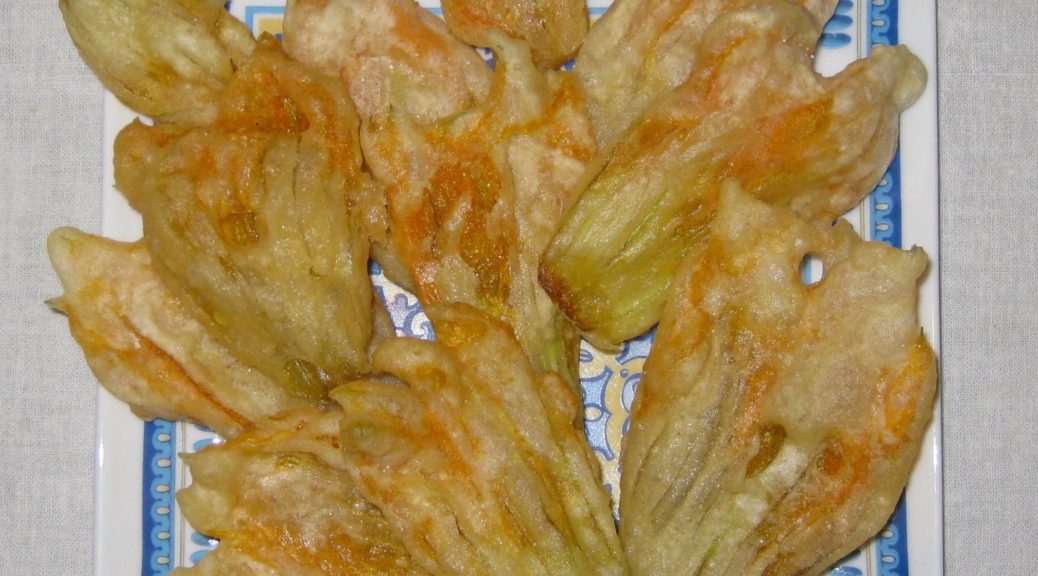
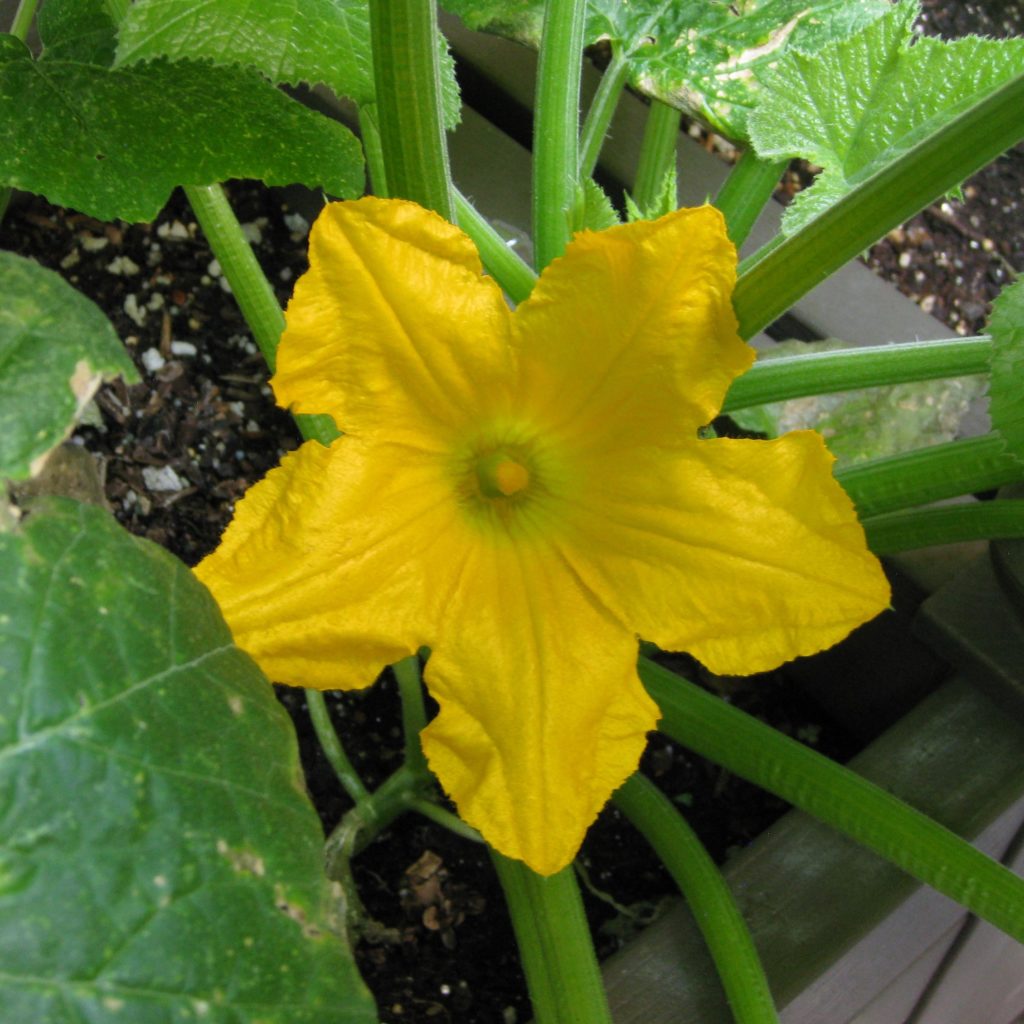
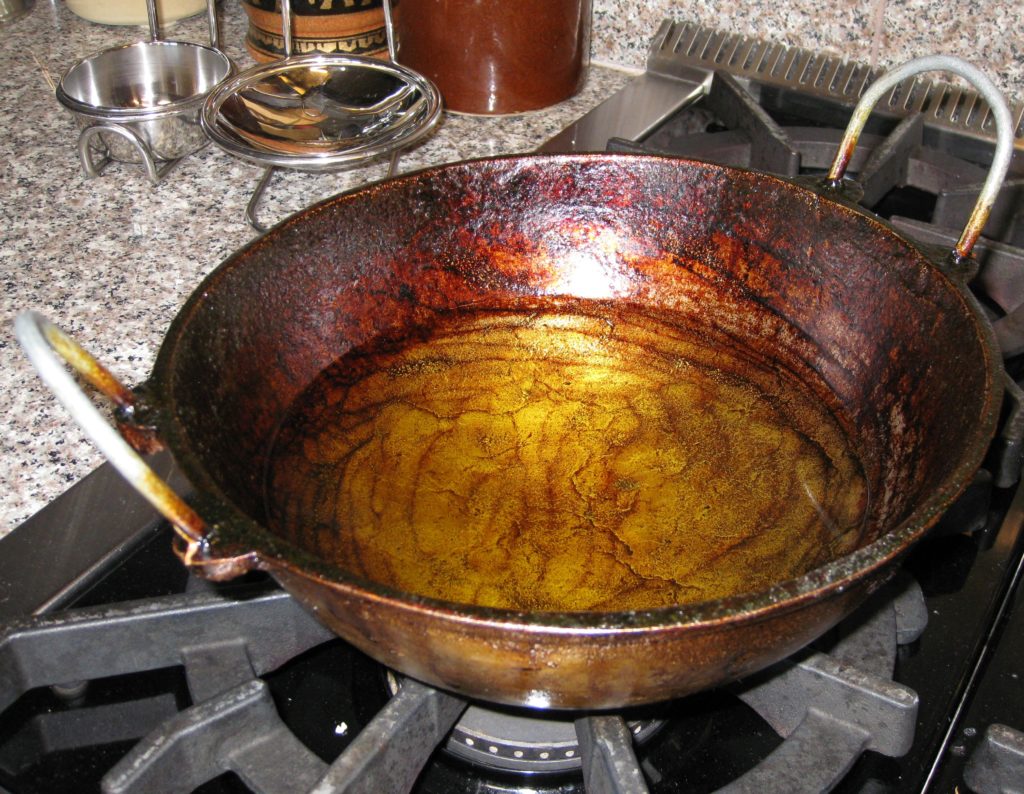
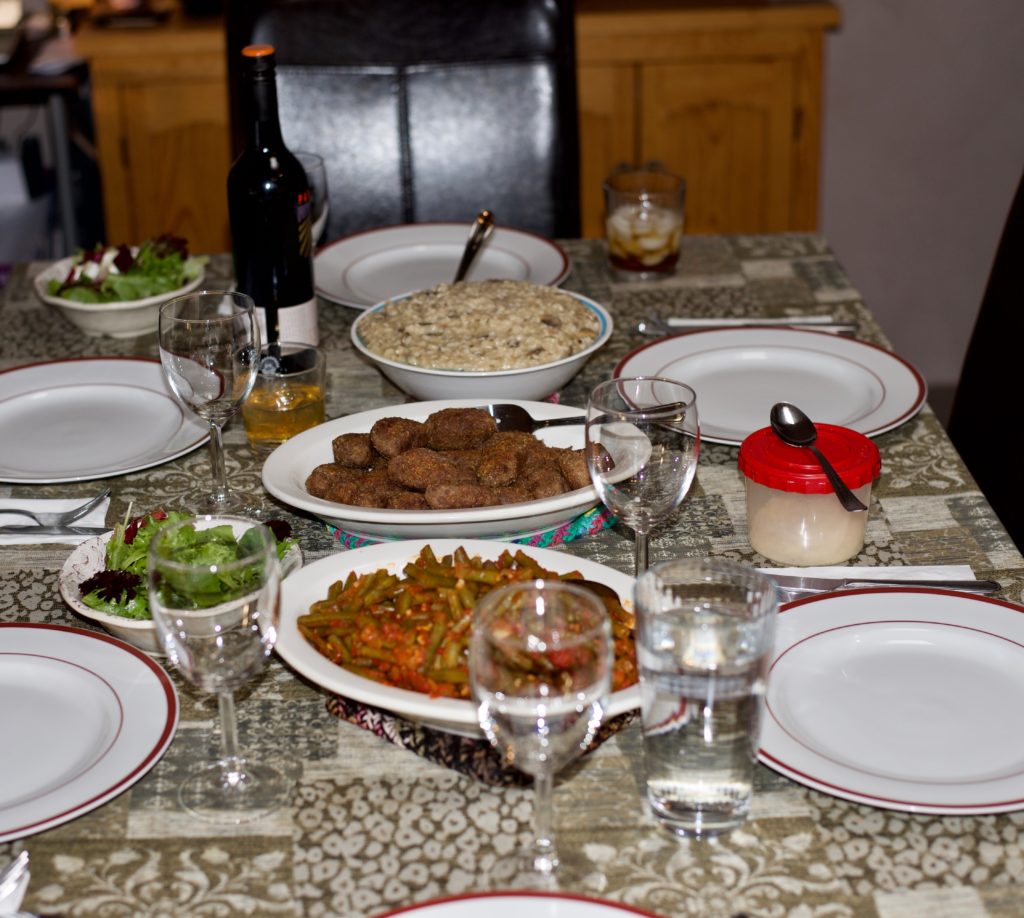
Last night I fried a bunch of zucchini flowers to accompany cocktails. Zia Fidalma made little elongated meatballs (polpette) with ground beef and mortadella seasoned with onions, garlic, and herbs. I made risotto with mushrooms and my mother-in-law made long-simmered green beans in tomato sauce, something like my green beans in tomato sauce with bacon.

Risotto with Mushrooms, Meatballs, Green Beans in Tomato Sauce

While we were sitting at the table after dinner doing what Italians do (talking about growing food, talking about preparing food, talking about food we’ve eaten, and talking about the next meal) Zia Fidalma started to describe a dish of thinly sliced beef cooked in tomato sauce with capers.

“Carne di Manzo in Umido!” I said.  She concurred.

I told her that Carne di Manzo in Umido was, in fact, the long-planned blog post for Wednesday.

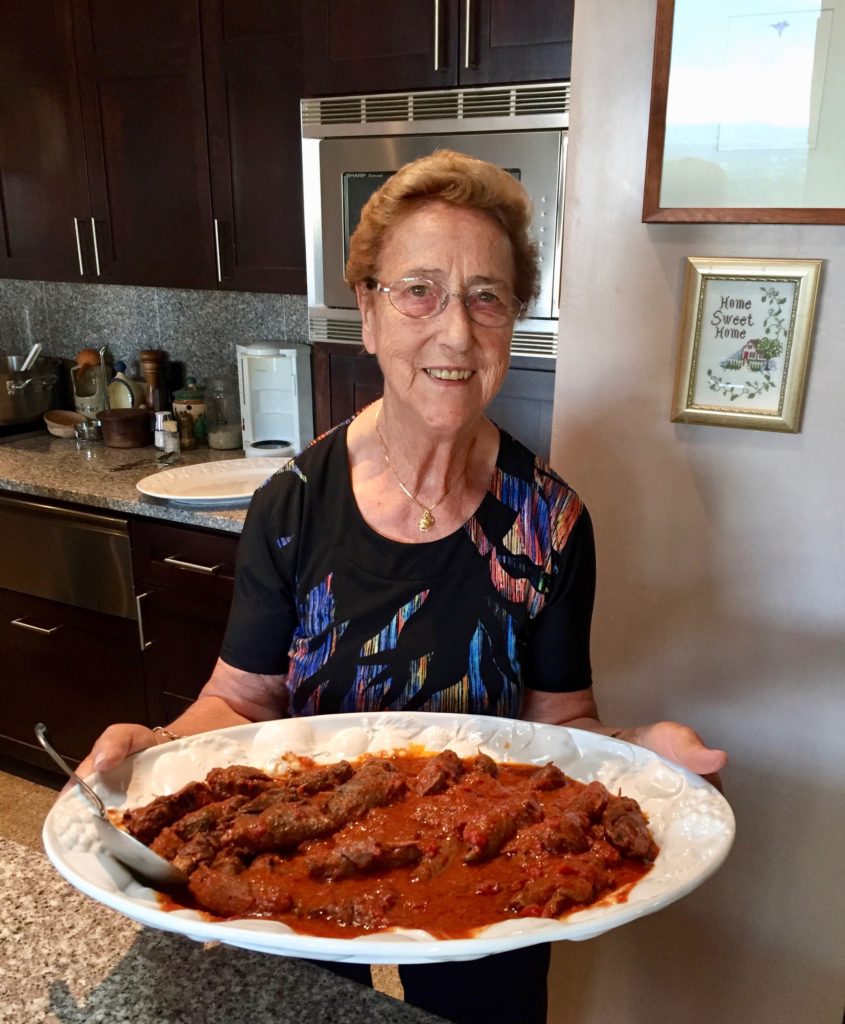
It is a dish I had at her home in Tuscany about 20 years ago. I wrote down the recipe in a combination of English and Italian and American and Metric measures sitting at her kitchen table. It took me a while to get it right but I think I’ve nailed it.

Here’s a quick rundown of the food we’ve had over the past week:

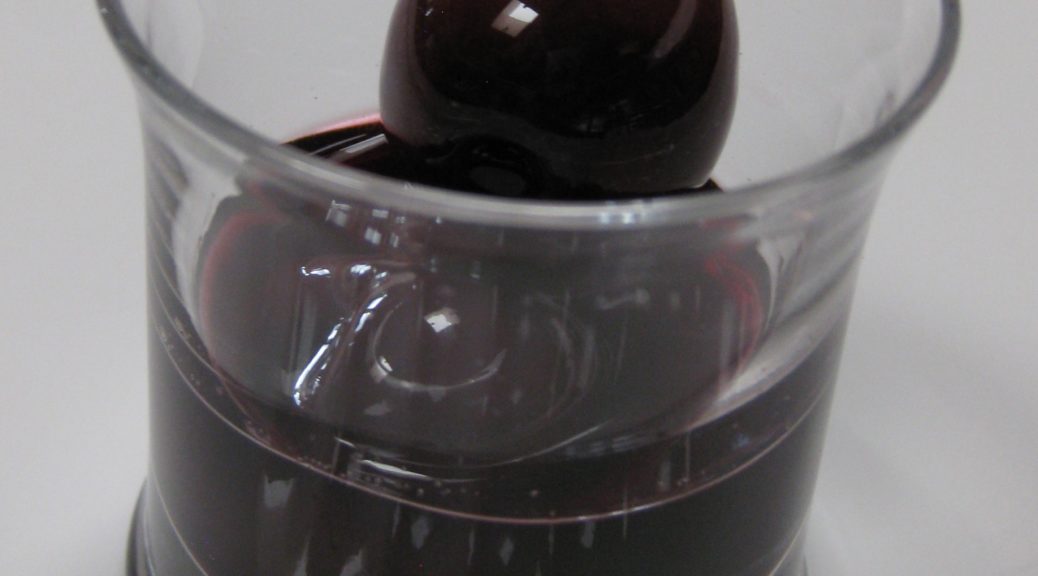
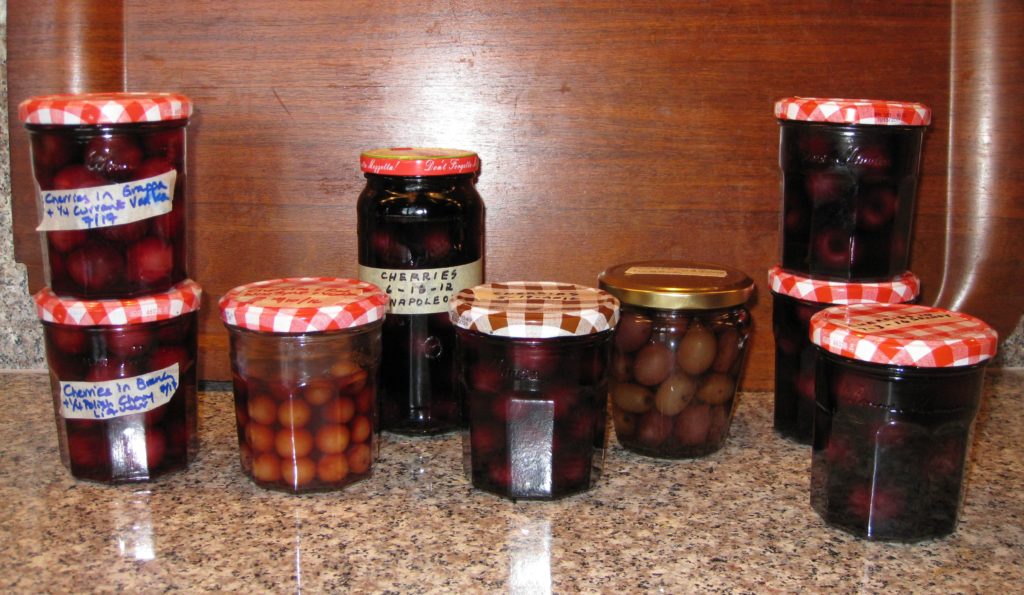
August 23rd: Pasta with Zucchini, Chicken Thighs braised in Red Wine and Balsamic Vinegar, Salad, Cherries in Brandy, Homemade Limoncello, and Homemade Bay Leaf Liqueur (being posted in October).

Cherries in Brandy
Homemade Limoncello

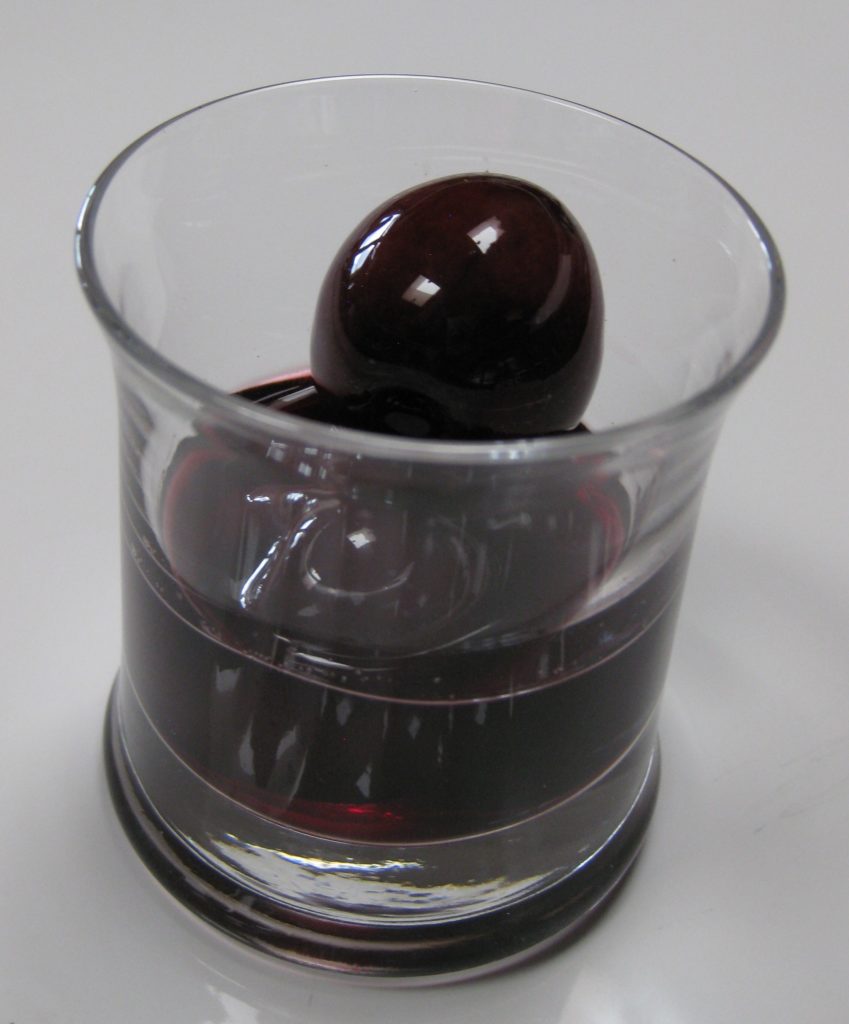
August 24th: Tiella (being posted in September), Grilled Hot and Sweet Italian Sausage, Grilled Broccolini drizzled with Olive Oil, and more Cherries in Brandy, Homemade Limoncello, and Homemade Bay Leaf Liqueur.

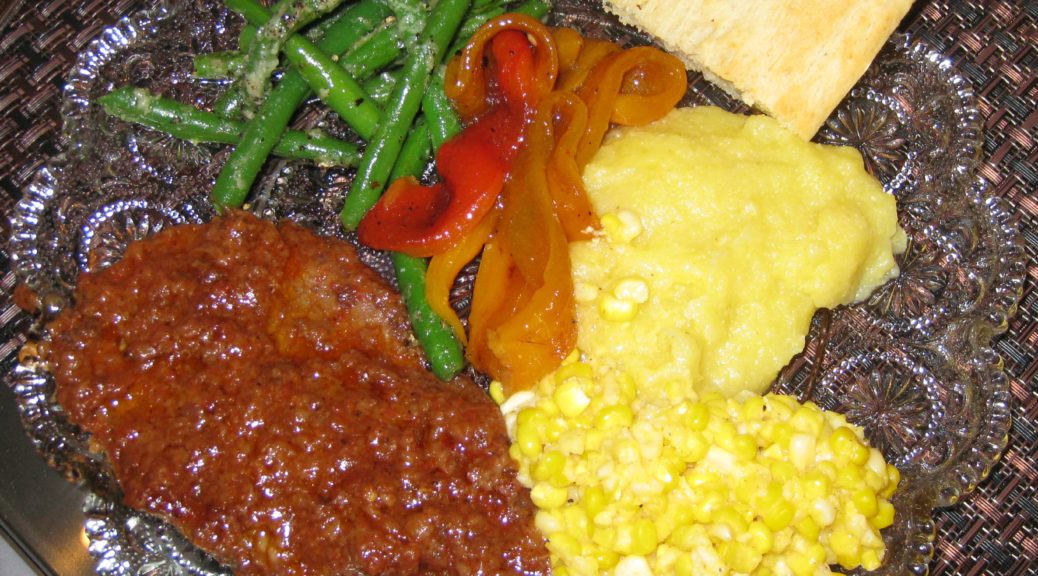
August 25th: Zia Fidalma’s Rouladen (German, I know, but Zia Fidalma lived in Germany for many years), Mashed Potatoes, Corn on the Cob and, you guessed it, more Cherries in Brandy, Homemade Limoncello, and Homemade Bay Leaf Liqueur.

Zia Fidalma making the filling for her rouladen
A watchful eye on the cooking rouladen
Rouladen bubbling away
Zia Fidalma and a platter of rouladen
Me making mashed potatoes (with a side of bourbon)

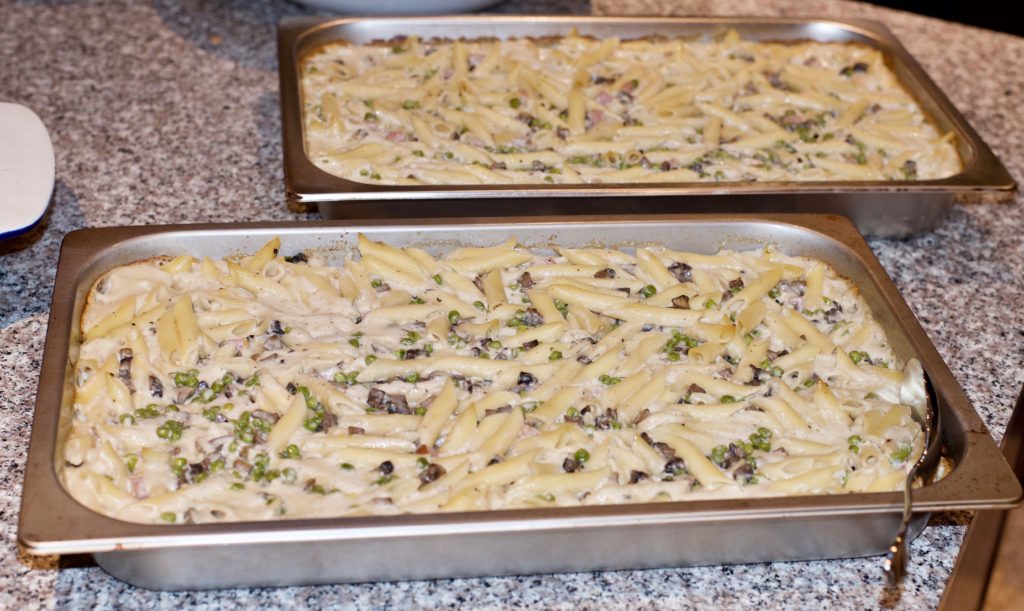
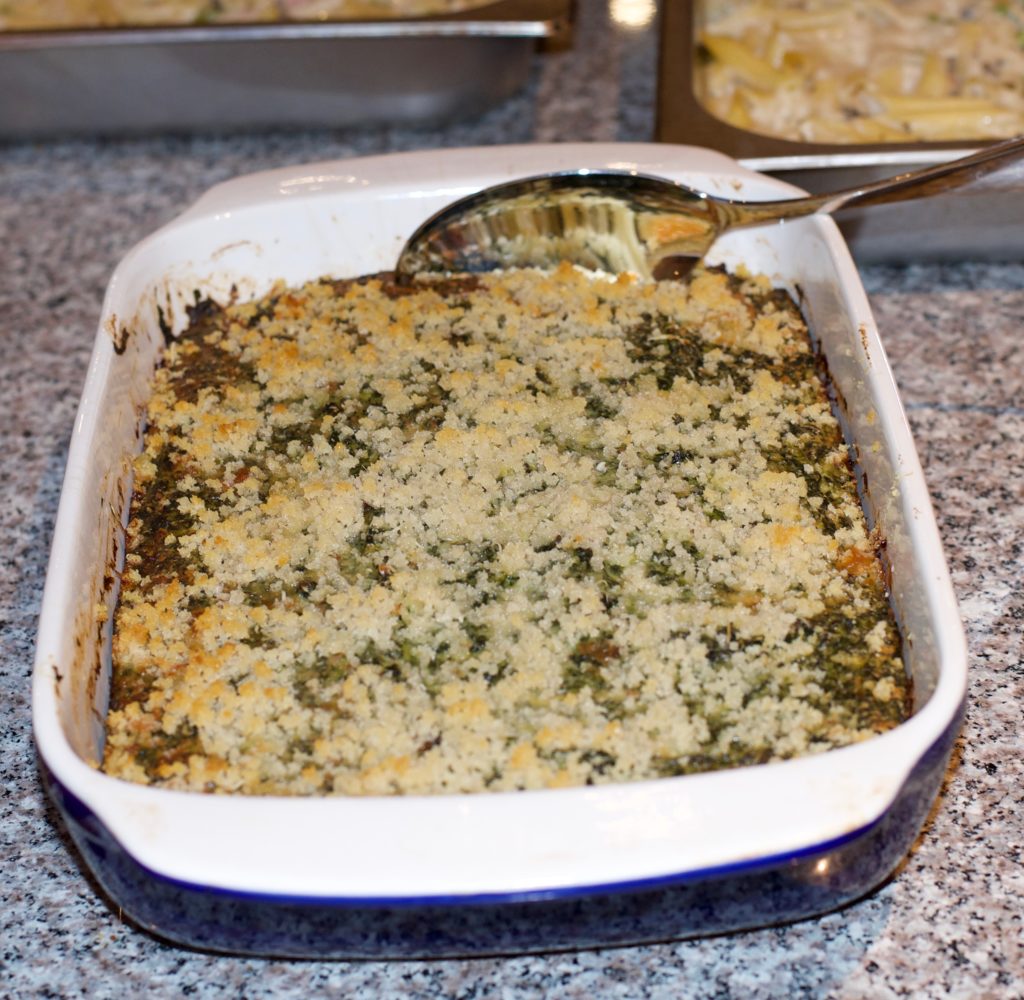
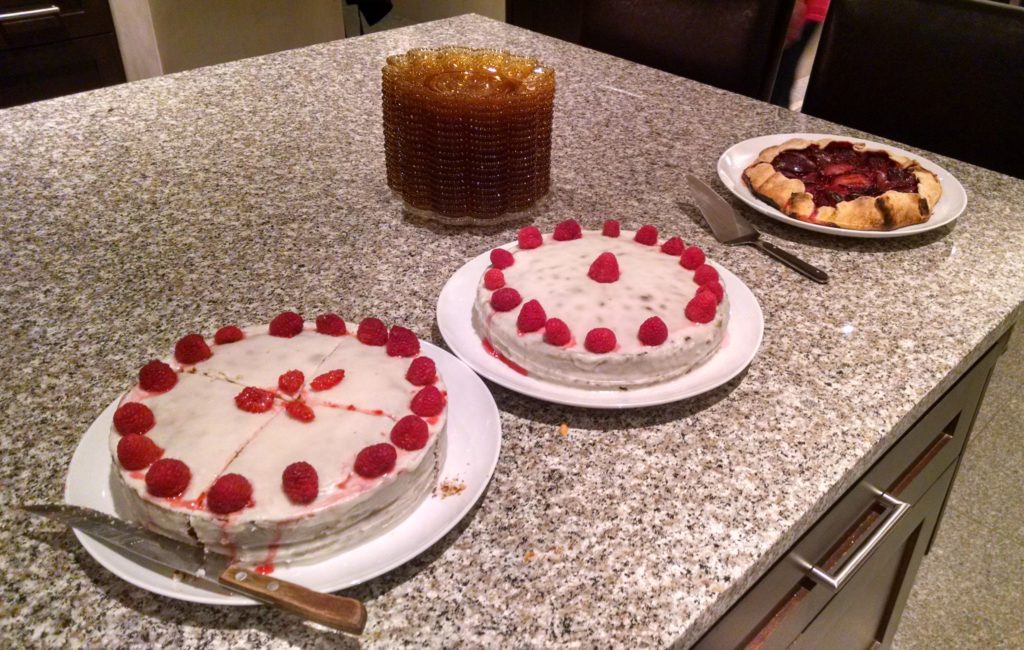
August 26th (for 20 people): A Massive Antipasto Platter thanks to cousins Paul and Kim Phillips (and a shopping spree at Cheesemongers of Santa Fe), Baked Penne with Ham, Peas, Mushrooms and Roasted Garlic Besciamella, Porchetta, Corn Sautéed in Butter, Sformato di Spinaci, and Italian Almond Torta with Raspberries and Plum Crostata (thanks to Rich DePippo). Then there were those ever-present Cherries in Brandy, Homemade Limoncello, and Homemade Bay Leaf Liqueur.

Kim and Paul fortify themselves at the Santa Fe Farmers Market before heading off to a marathon shopping session at Cheesemongers of Santa Fe
Antipasto
A bit more antipasto
Baked Penne with Ham, Peas, Mushrooms and Roasted Garlic Besciamella
Porchetta
Sformato di Spinaci
Almond Torta with Raspberries and Plum Crostata

August 27th brought some sanity as we had leftovers from the 26th. (We could still feed a small army with the remains of Paul and Kim’s Antipasto Shopping Spree.)

August 28th: As described above, meatballs, risotto, and green beans.

I neglected to mention that we went through cases of wine and then there was a dark chocolate cake from Chocolate Maven Bakery in Santa Fe that kept making its appearance most nights right before we broke out those cherries.

Dark Chocolate Cake from Chocolate Maven Bakery

Eating will slow down a bit now that the relatives have left. As I finish writing this the house is perfumed from a large pot of chicken broth that will get portioned and frozen ready to be pulled out of the freezer in the coming weeks for wave after wave of risotto made with the freshest vegetables the market has to offer.


Follow us


Click HERE to join our mailing list and you’ll never miss a recipe again!

Print Recipe
Carne di Manzo in Umido
Thinly sliced beef is browned and then simmered in the barest amount of tomato sauce with an array of herbs. A bit of capers round out the flavors.
Votes: 0
Rating: 0
You:
Rate this recipe!
Course Mains, Meats
Cuisine Italian
Prep Time 20 minutes
Cook Time 2 hours
Passive Time 1 hour
Servings
people
Ingredients
Course Mains, Meats
Cuisine Italian
Prep Time 20 minutes
Cook Time 2 hours
Passive Time 1 hour
Servings
people
Ingredients
Votes: 0
Rating: 0
You:
Rate this recipe!
Instructions
  1. Herbs, clockwise from top right: nepita, bay leaf, sage, rosemary, oregano.
  2. Combine the flour and 1 ½ teaspoons of salt. Mix well.
  3. Pound the steak lightly with a mallet.
  4. Season the steak with salt and pepper. Cut the pieces in half if they are too large after pounding.
  5. Dredge the steak in the seasoned flour and reserve. It is best to do this about an hour in advance as the flour will adhere to the meat better.
  6. Bruise the garlic with the side of a large chef’s knife.
  7. Put a thin film of olive oil on the bottom of a very large sauté pan. Heat over medium high heat.
  8. When hot, add as much of the beef as will fit without crowding in a single layer. Add half the garlic.
  9. Sauté the meat and garlic until the meat is browned on both sides.
  10. Remove the browned meat to a platter. Repeat with the remaining meat and garlic, in however many batches are needed.
  11. If the garlic starts to turn dark brown, remove it or it will become bitter.
  12. When all the meat is browned return it to the pan with any accumulated juices. Leave the cooking oil in the pan.
  13. Try to arrange the meat so that the pieces overlap rather than putting one piece of meat directly on top of another.
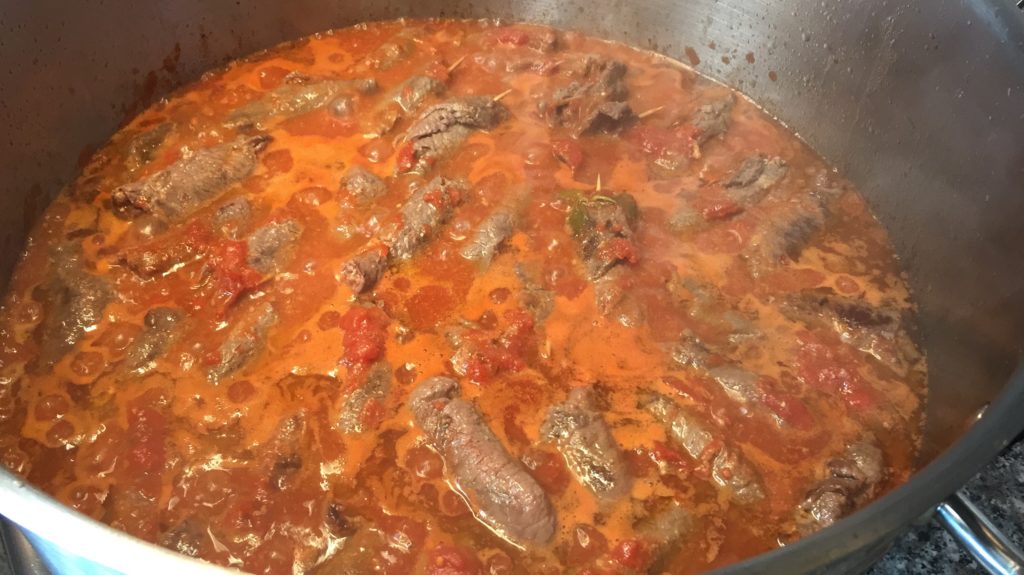
  14. Add all the other ingredients except the capers.
  15. Cover and simmer gently until meat is tender flipping the meat every 20 minutes or so. It will take at about one and one-half to two hours to get the meat tender depending on the cut and your elevation.
  16. Add water from time to time if the sauce boils away.
  17. Rinse the salt off the capers and add them during last five minutes of cooking. Taste and adjust salt and pepper.
  18. There should be a very small amount of sauce along with oil that is red from the tomato. Do not remove the oil, it adds significantly to the mouthfeel of the sauce.
Recipe Notes

Copyright © 2017 by VillaSentieri.com. All rights reserved.

Share this Recipe

Mike’s (Justifiably Famous) Carrot Cake

August 25, 2017

Mike Abramson says his carrot cake is the best ever.

Janet Carlson doesn’t necessarily agree.

For now, the controversy will need to simmer as I only have Mike’s (Justifiably Famous) Carrot Cake recipe, though I have suggested to Janet that she and Mike have a carrot cake bake-off.

Mike makes no apologies for having stolen the recipe from Tom Grier, originally of Grier, Georgia.

The story goes something like this…

In the 1970’s a group of four friends from San Francisco bought a weekend house, they named Aros, near Sebastopol, California. The four owners rotated use of the house, each getting it for a week at a time but also sometimes showing up there together to host parties as in the photo below.

Mike Abramson, second row far right

Over the years, ownership of the house shifted as some individuals sold their interest and others bought in.

At one point, Tom Grier was the youngest owner.

The group met on a quarterly basis in San Francisco to discuss maintenance issues related to the house. As with use of the house, these meetings were held in rotation at the owners’ homes in San Francisco.

Whenever Tom hosted the meeting, he served carrot cake, which Mike believes originated as a Grier family recipe. Tom shared the recipe with Mike and the rest is history. Mike’s (Justifiably Famous) Carrot Cake was born.

But for Janet’s assertion that Mike’s might not be the best carrot cake in the world, well, we’ll just have to wait for the bake-off.

From left to right: Janet Carlson, Richard Valantasis, and Gino Barcone

Follow us


Click HERE to join our mailing list and you’ll never miss a recipe again!

Print Recipe
Mike's (Justifiably Famous) Carrot Cake
This is almost a cross between a spice cake and a carrot cake. The frosting is generous and could easily be reduced by one-third. This recipe is for sea level. If there is interest in adjustments for high altitude, let me know and I’ll post them.
Votes: 0
Rating: 0
You:
Rate this recipe!
Cuisine American
Prep Time 1 hour
Cook Time 40 minutes
Passive Time 2 hours
Servings
people
Ingredients
Cake
Frosting
Cuisine American
Prep Time 1 hour
Cook Time 40 minutes
Passive Time 2 hours
Servings
people
Ingredients
Cake
Frosting
Votes: 0
Rating: 0
You:
Rate this recipe!
Instructions
Cake
  1. Butter and flour a 9” x 13” baking pan.
  2. Grate the carrots on the tear-drop holes of a box grater.
  3. Coarsely chop the nuts.
  4. Combine the flour, baking powder, baking soda, salt, cinnamon, cloves, allspice, nutmeg, and brown sugar in the bowl of a stand mixer. Mix with the paddle.
  5. Add the oil and eggs to the flour mixture. Blend until combined.
  6. Add the carrots and crushed pineapple with the juice. Mix thoroughly.
  7. Add the walnuts and raisins. Stir to combine.
  8. Pour into the prepared pan. Bake at 350°F for 35-40 minutes or until the center springs back when lightly touched.
  9. Cool completely in the pan before frosting.
Frosting
  1. Beat cream cheese and butter until light using the paddle of a stand mixer.
  2. Beat in all other ingredients.
  3. Frost cake when cool.
Recipe Notes

For recipes that call for solid vegetable shortening, such as Crisco, I use coconut oil is due to concerns about the negative health effects of hydrogenated fats.

Copyright © 2017 by VillaSentieri.com. All rights reserved.

Share this Recipe

Calabacitas: A New Mexican Classic

August 21, 2017

Talk about a dish that simply wouldn’t exist in any recognizable form without new world crops, calabacitas is it! Squash, corn, and chile are all new world plants.

Calabacitas is Spanish for zucchini but is also the name given to a dish of zucchini, corn, and (usually) green chile.

Often served as a side dish, calabacitas makes an awesome burrito, too. Accompany it with some frijoles (and probably a tortilla or three) and you’ve got a great high-protein vegetarian dinner. Leave out the cheese and it’s vegan! Truth be told, I’m plus-minus on the cheese in any case. When serving this for company I usually sprinkle cheese on top as in this recipe, but if it’s just for “us,” cheese isn’t usually even a thought.

This is the time of year to serve the most sublime calabacitas possible as zucchini, corn, green chile, and tomatoes are all in the farmers’ market. But calabacitas is too good to be had only a few weeks a year and, honestly, versions made with frozen corn, canned tomatoes, and roasted green chile that you’ve squirreled away in your freezer along with the ever-present zucchini in the produce aisle are too good to pass up any time of year.

For me, calabacitas shares a serious failing with succotash. They are both great ideas in my estimation but the execution often falls flat.

When I set out to finally perfect a version of calabacitas that I felt comfortable serving, I thought back on all the less-than-perfect renditions I’d had since I first set foot in New Mexico in 1991.

The litany of offenses includes being too watery, being too rich, having huge chunks of zucchini that seem mismatched next to corn kernels, being under-seasoned and being aggressively seasoned.

That set out a plan of action for me. The zucchini should be cut approximately the same size as corn kernels. There needed to be a minimum amount of liquid in the finished dish. Loads of cream or butter or cheese were out of the question. The seasoning should complement the vegetables, not assume control of the dish.

Zucchini (the namesake vegetable) and corn were a given. Pretty much everything else was up for grabs. Tomatoes, which are sometimes included, seemed right for color and a bit of acidic brightness that the zucchini and corn lack. They have the added bonus of being another New World crop. Roasted green chile, also sometimes included, was right for several reasons. It screamed “New Mexico,” it would add a bit of complimentary smokiness to the blend, and, honestly, I’m a chile-head.

My preference was for hot or extra-hot chile. This is wrong for several reasons. First, calabacitas is not traditionally a spicy dish. Second, after one of the dinners where I tested out my evolving recipe, one of the guests said that it was unfortunate that the entire “calabacitas conversation” that evening centered on how hot it was and not on how good it was.

In cooking I prefer to bow to tradition but if there’s ever a place where I butt heads with tradition, it’s in making dishes spicy. But I decided there and then that I should follow tradition and use mild chile in my calabacitas.

Finally I was on to the aromatics and seasoning. Onion and garlic are my go-to combination unless there is some compelling reason for one or the other (usually based on tradition). The herbs eluded me for a while. I really wanted to use Mexican Oregano (which isn’t actually oregano) because of its New World origins but it just seemed to overpower the dish. In the end, I decided that a modest amount of Mediterranean Oregano played best in the sandbox with the other ingredients.

Let me know what you think of my rendition of a New Mexico classic.


Follow us


Click HERE to join our mailing list and you’ll never miss a recipe again!

Print Recipe
Calabacitas: A New Mexican Classic
Traditionally calabacitas is not a spicy dish so it is best to use mild roasted green chile unless you and all your eaters are chile heads. Bacon fat gives a great flavor but olive oil or other vegetable oil is fine, too. Frozen corn works well as there are so many other flavors in the dish but using fresh corn cut off the cob is a definite treat. I prefer to thaw frozen corn before cooking. Ice crystals can sometimes carry a "freezer" taste and rinsing them off can eliminate it. Also, it is easier to time the cooking of the corn in combination with other ingredients if it is not frozen when cooking starts. Rotel packs tomatoes in 10 ounce cans and they’re a bit of a Southwestern classic in and of themselves. In a pinch feta cheese can be used instead of Cotija
Votes: 0
Rating: 0
You:
Rate this recipe!
Prep Time 40 minutes
Cook Time 30 minutes
Servings
people
Ingredients
Prep Time 40 minutes
Cook Time 30 minutes
Servings
people
Ingredients
Votes: 0
Rating: 0
You:
Rate this recipe!
Instructions
  1. Dice the zucchini.
  2. Thaw the corn under running water.
  3. Roasted New Mexico green chile.
  4. Peeled and seeded chile, ready to be chopped.
  5. Sauté the onion until translucent.
  6. Add the garlic and continue to cook until the onion is golden but not brown.
  7. Add the zucchini and sauté until the zucchini is hot.
  8. Add the corn, green chile, tomatoes, oregano, salt, and pepper.
  9. Simmer until the liquid has evaporated and the zucchini and corn are cooked, about 10-15 minutes, depending on your preference.
  10. Adjust oregano, salt and pepper in the last few minutes of cooking.
  11. Serve sprinkled with crumbled Cotija cheese.
Recipe Notes

Copyright © 2017 by VillaSentieri.com. All rights reserved.

Share this Recipe

Fresh Corn Sautéed in Butter

August 16, 2017

I moved full-time from Chicago to Santa Fe in early 2012. I still get asked if I miss anything about Chicago. I think Chicago is a wonderful city but, honestly, the only things I miss are related to food. I miss really good Italian restaurants and I miss the abundance of specialty food shopping.

Go backwards to the late 80’s when I moved from Philadelphia to Chicago (with a one-year stint in Tucson in-between). It was pretty easy for me to find replacements for favorite restaurants and specialty food shopping. It was all but impossible to replace New Jersey farm stands and especially fresh corn, Silver Queen Corn, to be exact.

There I was in the heartland, awash in corn and soybeans, and there was no really good corn-on-the-cob to be had. It was a sad, sad day when I realized something as simple as good corn-on-the cob was basically gone from my table.

To be sure, I bought and cooked corn-on-the-cob but it was never the same.

Not only is Silver Queen an amazing variety of corn but farm stands in New Jersey (at least way back then) were set up on the road alongside the farm. The corn was on the stalk mere hours before it was sold. It was ultra-fresh.

I was actually so enamored of Silver Queen Corn when I lived in Philadelphia that I bought an amateur piece of art simply because of the subject matter. See below.

Then, one day, Jim Nutter prepared corn in a Southern style that compensated for the absence of Silver Queen Corn in my life: Corn Fried in Butter.  I always refer to this as Corn Sautéed in Butter but a Southern cook would most likely refer to it as “fried.”

The method came from his husband’s mother, Mildred Burgess Hamill. Mrs. Burgess, as she was known, ruled her kitchen. One of the very few times Phil Burgess was allowed to help his mother in the kitchen, it was shucking corn for this dish.

The dish is pure simplicity: corn and butter, seasoned with salt and pepper. Sure, you can gussie it up with cream or spice it up with jalapeno peppers but I like it best in its pure state. This two-ingredient recipe (salt and pepper don’t count, really, as ingredients) goes beyond the sum of its parts. I can’t explain why. It just does.

Traditionally, Italians did not eat much fresh corn. Polenta, yes (in the north) but fresh corn, rarely. I made this dish 20-some years ago when my husband’s Great Aunt Fidalma and Great Uncle Faliero were visiting Chicago from Tuscany. Not only did they like it, but Zia Fidalma was fascinated by the tool I used to remove the corn kernels. After seeing me do one ear of corn, she decided to take over and do all the remaining ones!

A nifty tool for cutting kernels off the cob

Follow us


Click HERE to join our mailing list and you’ll never miss a recipe again!

Print Recipe
Fresh Corn Sautéed in Butter
This is an elegant way to serve fresh corn that preserves all of its peak-of-season goodness. You can make it extra-rich by adding a few tablespoons of heavy cream and stirring to incorporate just before removing the corn from the heat, if you would like. You can also change up the flavor profile by adding a finely diced jalapeno pepper at the beginning, as Jim Nutter often does. A pinch of sugar sometimes helps to improve the flavor if the corn is not farm-stand fresh. Some Southern cooks might cook this longer but since really fresh corn tastes good raw, long cooking is not necessary.
Votes: 0
Rating: 0
You:
Rate this recipe!
Course Sides, Vegetables
Cuisine American
Prep Time 15 minutes
Cook Time 10 minutes
Servings
people
Ingredients
Course Sides, Vegetables
Cuisine American
Prep Time 15 minutes
Cook Time 10 minutes
Servings
people
Ingredients
Votes: 0
Rating: 0
You:
Rate this recipe!
Instructions
  1. Cut the corn kernels off the cobs.
  2. Scrape the cobs with a knife to release any juice.
  3. Put the corn and butter in a heavy-bottomed sauté pan.
  4. Season with salt and pepper to taste.
  5. Heat gently to warm the corn and butter.
  6. Cook on medium for approximately 3-5 minutes after the butter melts and the corn “starts dancing” in the butter, stirring frequently. Do not brown the corn or butter.
  7. The finished dish: Corn Fried in Butter.
Recipe Notes

Copyright © 2017 by VillaSentieri.com. All rights reserved.

Share this Recipe

Cherries in Brandy

Italians love putting fruit in liquor. Cherries. Grapes. Prunes. The list goes on.

This practice meshes nicely with the Italian practice of making homemade cordials. (For example, see the post on homemade limoncello.) The liquor in which the fruit macerates becomes, in essence, a cordial that can be drunk on its own or with the fruit.

I learned to make cherries in liquor from my mother-in-law. She learned from her mother.  She even remembers  her grandmother making them. You can bet the chain of cherries in brandy goes back way further than that. She does grapes, too, in exactly the same way.

Here’s a picture of my in-laws with my (now) husband circa 1959. Pretty Italian, huh?

My mother-in-law hails from the little town of Treppo Grande way north of Venice. Treppo Grande is in Friuli which is known for its wine, especially white wines.

My mother-in-law’s parents circa 1929.

They also make a mean grappa in Friuli. After all, you’ve got to do something with all that leftover grape pomace from making wine.  It can be fermented one more time and distilled into an Italian version of white lightening.

My mother-in-law’s grandmother.

Actually preserving fruit in alcohol had a long tradition in Europe. Americans may be most familiar with the German tradition of Rumtopf. Traditionally, Rumtopf is made from an array of fruit, using the best of what ripens in sequence from early summer through early fall, mixed with over-proof rum and sugar. In addition to being made from a mixture of fruits, the proportion of sugar used in Rumtopf is much greater than would be used in Italian alcohol-preserved fruits.

Rumtopf makes a great topping for ice cream or cake. In college I even used it as the fruit layer in upside-down cake.

What a difference a few years makes. My in-laws with my husband (right) and (now) brother-in-law.

Cherries and grapes preserved in alcohol (we use brandy or grappa) will keep for years though at some point the texture starts to suffer. Traditionally, these fruits would be put up in the summer for consumption during Christmastime. Some years we make such a supply of them that we work through them for years afterwards.

Popping one of these cherries into a Manhattan is a real treat!

This is what our current stash of cherries and grapes in liquor looks like. We have “vintages” dating back a few years, including cherries that we picked from cherry trees belonging to Rich DePippo and Doug Howe as well as Bruce Donnell.

The traditional way to serve this is as a digestive after dinner. Put a few cherries or grapes in a cordial or shot glass and add a bit of the liquid from the jar. Drink the liquid then roll the fruit, one at a time, into your mouth. You’ll need to extrude the cherry pit after freeing it from the flesh.


Follow us


Click HERE to join our mailing list and you’ll never miss a recipe again!

Print Recipe
Cherries in Brandy
Use the best, peak season fruit you can find. Cherries and grapes work equally well in this recipe. The amount of sugar is a matter of preference but I find these proportions work well. We’ve made this using domestic brandy and French brandy. Honestly, I don’t think the price differential of imported brandy is justified. Grappa is also a traditional spirit but, again, you’d be looking for a pedestrian, but drinkable, grappa, not one of the über-expensive artisanal grappas. The recipe is infinitely expandable and very quick to pull together. If your jars are larger, just increase the sugar. I have collected an (almost) endless supply of these jars from French jams and use them over and over.
Votes: 0
Rating: 0
You:
Rate this recipe!
Course Miscellaneous
Cuisine Italian
Prep Time 10 minutes
Servings
persons
Ingredients
Course Miscellaneous
Cuisine Italian
Prep Time 10 minutes
Servings
persons
Ingredients
Votes: 0
Rating: 0
You:
Rate this recipe!
Instructions
  1. Wash the fruit and dry thoroughly.
  2. Remove the stems from the cherries.
  3. Put the fruit into the jar, fitting it in snugly but not smashing it.
  4. Add the sugar.
  5. Fill jar with brandy or grappa to cover the fruit.
  6. Put the lid on the jar.
  7. Turn the jar a few times a day until the sugar is fully dissolved.
  8. Put the jar in a cool, dark place and forget about it for 3-4 months.
  9. When ready to serve, put two cherries in a cordial glass along with some of the liquid.
Recipe Notes

Copyright © 2017 by VillaSentieri.com. All rights reserved.

Share this Recipe

Green Beans with Parmesan Cheese

August 7, 2017

It’s Saturday morning, August 5th and I’m sitting on an airplane writing this post.  I’m bound for Baltimore to visit the younger of my two nephews and his wife and their son.  I have meetings in Washington, DC on Monday and Tuesday so I’m taking this opportunity to visit.

The family members and relatives with whom I am closest are scattered around and I don’t see enough of any of them.

What does all of this have to do with green beans, you might ask?

Everything.

And nothing.

Food is my connector. It connects me to people and places. It evokes memories. It helps to create new ones. It’s a set of shared experiences.

I can’t make my mother’s long-simmered tomato sauce without evoking a slew of memories. My strongest olfactory memory from childhood is being gently awakened by the smell of garlic sizzling in olive oil on Sunday morning as my mother began to make tomato sauce for that day’s dinner. This is the sauce I am making on Sunday at my nephew’s house.

Most recipes that enter my repertory do so because of their connection with people and places. They document my personal history in edible form and cement memories of good times shared with family and friends. Many are family recipes, mine or those of people I know. Some are not, like the Italian Walnut Crostata I created to replicate one I had sitting at a little bar in Venice drinking grappa with my father-in-law in 1996.

That crostata has family connections of a sort. One of the favorite non-Italian desserts in our family is nut roll, brimming with ground sweetened walnuts and encased in just enough lightly sweet yeasted dough to hold it together as it is rolled and baked. While nut roll is more of a Central and Eastern European dessert, it was common in Johnstown, Pennsylvania where I grew up with people from a wide range of ethnic backgrounds.

My Aunt Margie’s nut roll filling is flavored with citrus, hewing toward the Italian, while my mother’s has milk and honey, pointing more towards Eastern Europe. I suspect, though cannot prove, that my Aunt Margie’s filling is more like her mother’s (my Italian grandmother) and my mother’s is more like my father’s mother’s (my Slovak grandmother).

Nut roll is a pastry that I truly miss but it is challenging to make and I have never tackled it despite having my mother’s and my Aunt Margie’s recipes. Except for the one time my cousin, Donna, made it and sent me some and the two times that Michael Alcenius sent me some he made using my Aunt Margie’s recipe, I have been in a nut roll blackout since Aunt Margie died.

The walnut crostata was a revelation. There, in an easy-to-make Italian sweet pastry crust (pasta frolla), was a filling of sweetened, ground walnuts. It wasn’t nut roll but it certainly evoked all the right taste sensations.

I used my husband’s Great Aunt Fidalma’s recipe for pasta frolla and Aunt Margie’s recipe for nut roll filling, to create a dessert that is both reminiscent of that night shooting grappa with my father-in-law in Venice and that preserves recipes from my family and my husband’s family.

Now that I’ve gotten my mouth (and maybe yours) watering for walnut crostata, we’re going to make green beans! I hope, though, that you have a better understanding for the reason this blog exists: to document and preserve traditional recipes along with some sort of a personal story or vignette.

Having just said that, I can’t tell you precisely where this recipe came from but it’s been in my repertory for decades. It is the essence of simplicity, a hallmark of much of Italian home cooking. It also lends itself to being made almost exclusively in advance, making it a perfect dish for a last-minute put-together when entertaining or making a more complicated main course.


Follow us


Click HERE to join our mailing list and you’ll never miss a recipe again!

Print Recipe
Green Beans with Parmesan Cheese
The beans can be cooked in advance and shocked in ice water to stop cooking. The garlic can be sautéed in olive oil in advance, too. Just before serving, heat the oil and toss the beans briefly to warm them. In a serving bowl toss the beans with Parmesan cheese, salt and pepper. This dish can easily be doubled or tripled. Adjust the amount of Parmesan cheese and garlic to your taste. The olive oil is an integral part of the “sauce” so be generous.
Votes: 0
Rating: 0
You:
Rate this recipe!
Course Sides, Vegetables
Cuisine Italian
Servings
Ingredients
Course Sides, Vegetables
Cuisine Italian
Servings
Ingredients
Votes: 0
Rating: 0
You:
Rate this recipe!
Instructions
  1. Wash the beans and cut off the ends. I like to cut the ends at an angle for a better appearance.
  2. Bring a large pot of salted water to a boil.
  3. Meanwhile, bruise the garlic with the side of a chef’s knife.
  4. Add the olive oil and garlic to a skillet, large enough to hold the beans, and heat on medium-low heat until the garlic begins to sizzle.
  5. Sauté, over low to medium-low heat until the garlic is golden.
  6. Remove and discard the garlic.
  7. Remove the oil from the heat.
  8. When the water comes to a boil, add the beans and boil until crisp-tender. This will take just a few minutes depending on the beans and your elevation. The beans should not be crunchy but they should have a distinct “toothiness” and almost squeak as you bite into them.
  9. Drain the beans.
  10. If preparing the beans in advance, shock in ice water.
  11. Add the drained beans to the garlic-flavored olive oil. Heat gently if the beans are cold.
  12. Off the heat, mix in the parmesan cheese, salt to taste, and a generous amount of freshly ground black pepper.
  13. Toss well and serve immediately.
Recipe Notes

Copyright © 2017 by VillaSentieri.com. All rights reserved.

Share this Recipe

Fried Zucchini Blossoms (Fiori di Zucca Fritti)

August 2, 2017

Fried Zucchini Blossoms are one of the joys of summer at our house.

Simple, unadorned flowers, coated with a small amount of an equally simple batter (flour, salt and water), are addictive.

Stuffed zucchini blossoms are common and often quite good but in my estimation the stuffing does not pay homage to the blossom.  One really tastes the stuffing, not the blossom.  This is fine if one has such an overabundance of zucchini blossoms that one can squander them by stuffing them.


A zucchini blossom in our courtyard container garden.

Don’t get me wrong, I like stuffed zucchini blossoms but I’d much rather nibble my way through the crispy fried flowers with a cocktail.  Bourbon, did someone say bourbon?

On a summer trip to Italy a few years back, one of the pizzas that I kept seeing was topped with zucchini blossoms alternating with anchovies.  It made a striking presentation (which I suppose was the point) but there was no way the taste of the blossoms could stand up to the anchovies.  But taste isn’t everything.  I’ll admit that appearance is equally important.

When I was in college I ate fried food with abandon.  Most of it was fried in lard that I rendered.  My roommate and I would sometimes do an entire meal of fried food in the Italian manner, a frito misto.  These days I rarely eat fried foods except for fried zucchini blossoms and fried sage leaves in the summer.

Over my years of frying I have tried many different batters, with and without eggs (some with whole eggs mixed into the batter and others with the yolk used as part of the liquid and the stiffly beaten white folded in at the last minute to lighten the coating), with and without baking powder, and with club soda or seltzer in place of water or milk, among other variations.  In the end, I settled on the simplest of batters that I had at Great Aunt Fidalma’s house in Tuscany: flour, salt and water.

It works beautifully, turning out a thin crunchy coating.

You can use the batter on most any kind of vegetable though watery vegetables like zucchini and mushrooms are challenging.

My only alternate coating (when I’m cooking in the Italian manner… which is most of the time) is the one my mother used for cauliflower.  She would par-boil the cauliflower, cut it into florets, dip it in egg, and then coat it with fine, dry breadcrumbs.  Because some of the breadcrumbs come off during the frying, the oil has to be strained after every few batches of florets are fried otherwise the loose breadcrumbs start to burn imparting a burnt taste to the cauliflower.  It’s really pretty easy to accomplish as long as you’re prepared for it.

I set up a very fine mesh strainer over an empty pot and use it to strain the oil.  A quick wipe of the pot used for frying and the strained oil can be poured right back in and the pot put back on the heat.  The whole process takes less than 30 seconds.

I’ve always fried in a pot on the stove, never in a dedicated deep fryer.  I’ve never even used a thermometer to test the temperature of the oil.  I flick a drop of water on the oil and watch how it skitters across the top to judge when the oil is hot enough.  There’s a lot of trial and error learning involved in this method so I’d recommend you invest in a deep-frying thermometer (or even a dedicated deep fryer) if you’re not already skilled at frying.

My two favorite pots for deep frying are a Lodge cast iron pot and an Indian-style karahee.  The cast iron is better at holding the temperature steady but the karahee uses less oil because of its curved bottom.  A karahee can only be used on a gas stove, however.

This is the Indian-style Karahee that I brought back from Guyana in the 1970’s.  Fifty-one percent of the population of Guyana trace their ancestry to the Indian subcontinent.

Although I use lard for some baked goods, I don’t deep fry in in on a regular basis any longer.  I use corn oil.  I think it works a little better than other vegetable oils for frying.  Results are even better if one adds a small amount of oil that was previously used for frying to the pot with the fresh oil.

Fried zucchini blossoms are always served informally in our house.  Since they are best right after frying, with just a moment to cool down, everyone gathers in the kitchen, cocktails in hand.  When the first batch comes out of the oil, the flowers are put on absorbent paper while the next batch is battered and put in the oil.  The previous batch is then salted and passed around.  It’s about one minute from the time the flowers come out of the oil until they are being eaten.


Follow us


Click HERE to join our mailing list and you’ll never miss a recipe again.

Print Recipe
Fried Zucchini Blossoms
These zucchini flowers are coated with the simplest of batters. The amount of water needed cannot be determined precisely as it will depend on the flour to some extent. Refrigerating the batter allows the flour to fully hydrate, after which it will need to be thinned with a bit more water. Cold batter also sticks to food better than warm batter. Gently scraping the battered flower on the edge of the bowl allows for the amount of batter to be controlled. The flowers should just brown slightly otherwise they can start to taste bitter. Zucchini flowers are very delicate and do not stand up well to rinsing under water so only wash them if absolutely necessary. One cup of flour will make enough batter for at least two dozen flowers.
Votes: 0
Rating: 0
You:
Rate this recipe!
Prep Time 20 minutes
Cook Time 30 minutes
Passive Time 1 hour
Servings
persons
Ingredients
Prep Time 20 minutes
Cook Time 30 minutes
Passive Time 1 hour
Servings
persons
Ingredients
Votes: 0
Rating: 0
You:
Rate this recipe!
Instructions
  1. A batch of flowers ready to be cleaned.
  2. To clean the flowers, remove the stem end by breaking the flower where it creases, about ½ inch above the stem.
  3. Pull out the stamen and stigma.
  4. Remove any green bits (calyx) at the base of the flower.
  5. Lay the flowers on a tray or plate, cover lightly, and refrigerate until ready to use.
  6. Mix the flour and the salt.
  7. Add the water, a little at a time to the center of the flour, stirring in a circular motion with a fork to incorporate more and more of the flour.
  8. Xxxx
  9. Keep the flour and water mixture thick until all the flour is incorporated. The stiffness of the batter will break up any lumps that might form. You can tell from the ridges in this batter that it is thick. Thinner batter will have a smooth surface.
  10. After a thick batter is formed, continue to add water, mixing well after each addition, until the batter thinly coats the fork.
  11. Cover and refrigerate the batter for at least one hour and up to one day.
  12. When ready to use, thin the batter with more water until it once again lightly coats a fork.
  13. Bring oil to frying temperature, approximately 350°F.
  14. Dip a flower into the batter, scraping off excess batter on the edge of the bowl.
  15. Drop the battered flower into the batter and continue to add flowers, without crowding.
  16. Turn the flowers frequently.
  17. Just as they begin to turn golden, remove the flowers from the oil allowing excess oil to drip into the pan.
  18. Put the flowers on absorbent paper. Batter the next batch and put the flowers in the oil.
  19. Salt the previous batch and serve while still hot.
  20. Repeat!
Recipe Notes

Copyright © 2017 by VillaSentieri.com. All rights reserved.

Share this Recipe