Melinda’s Drunken Prunes

October 30, 2017

Italians love to put things in alcohol.

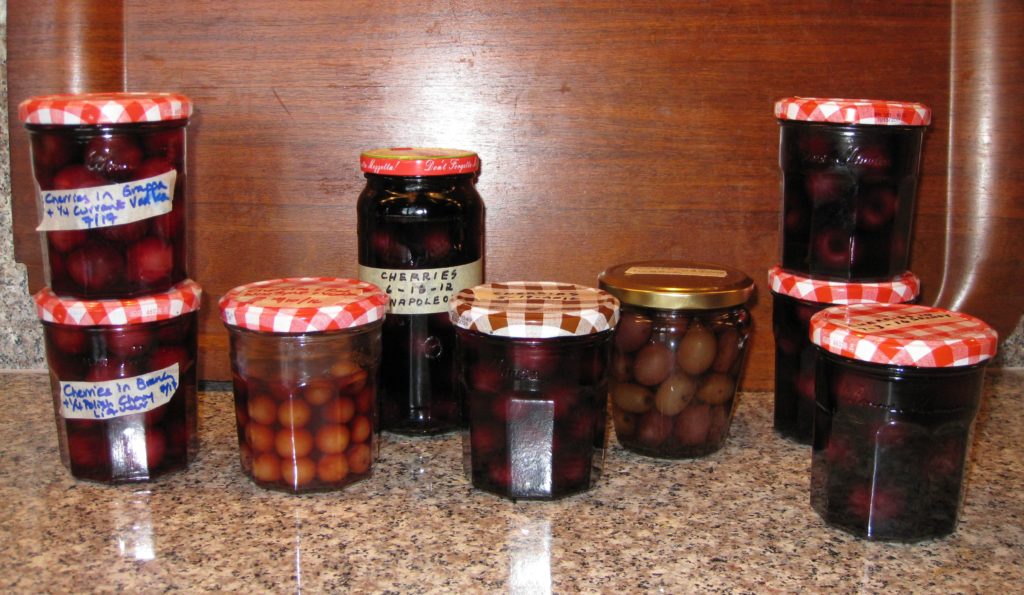
In the short life of this blog, we’ve already covered limoncello, cherries in brandy, and liquore al lauro.

Of course, it’s entirely possible that I love to put things in alcohol. If so, I’m not alone!

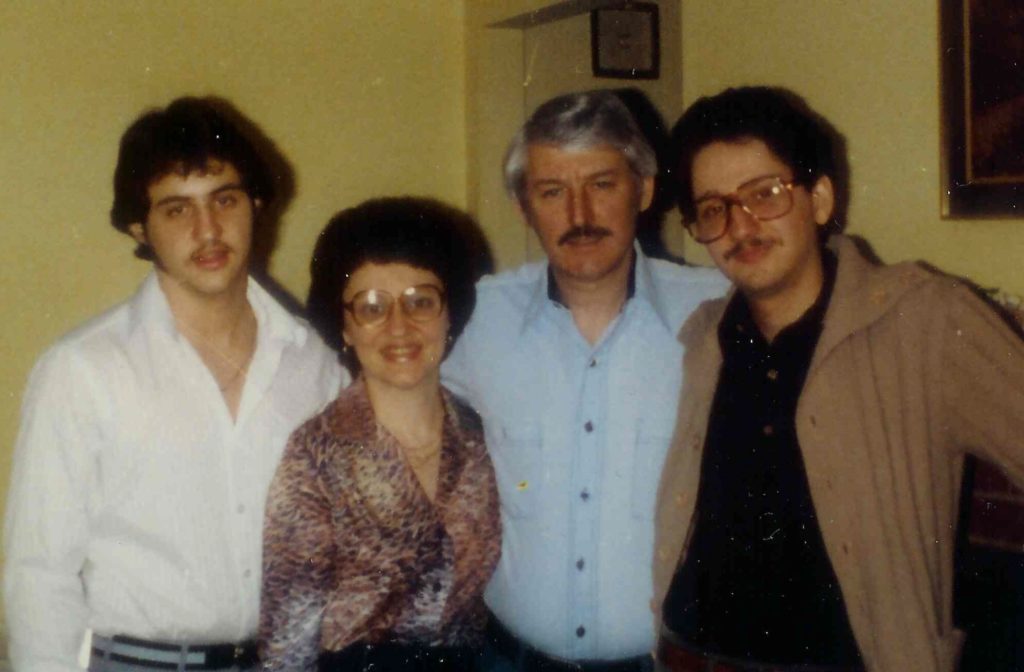
Melinda Orlando and I started working together in early 1989 when I moved to Chicago and became the Medical Director (Chief Medical Officer in today’s terminology) of Chicago-Read Mental Health Center, at the time a 600-bed psychiatric hospital with approximately 7000 admissions per year.


Follow us on Instagram:  click HERE!


Melinda and I have worked together ever since. Most recently she and I were business partners in The Mihalik Group, LLC (TMG). Though we sold the company last year, we still do a limited amount of consulting.

In our twenty-odd years at TMG we traveled a lot and ate at a lot of restaurants. We frequently joked that we probably ate more dinners together during that time than either of us did with our spouses.

At Chicago-Read, Melinda and I bonded early-on over a love of good food, especially Italian. Chicago-Read was located adjacent to a large Italian-American community. There were some really good Italian restaurants, butchers, pasta shops, and grocery stores just minutes away. It wasn’t a struggle to maintain my weight in those days so eating lunch at one of the nearby restaurants happened often.

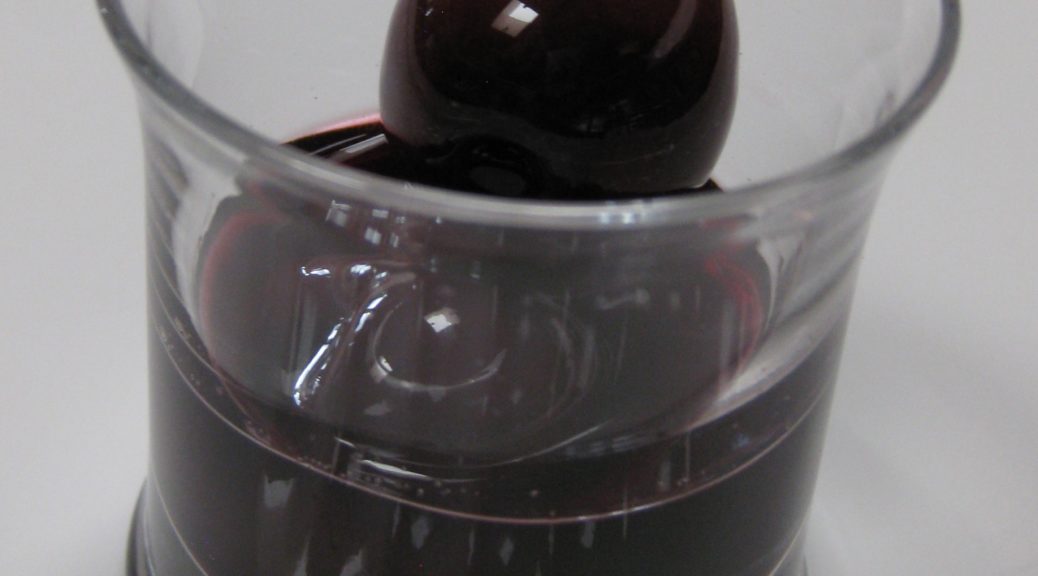
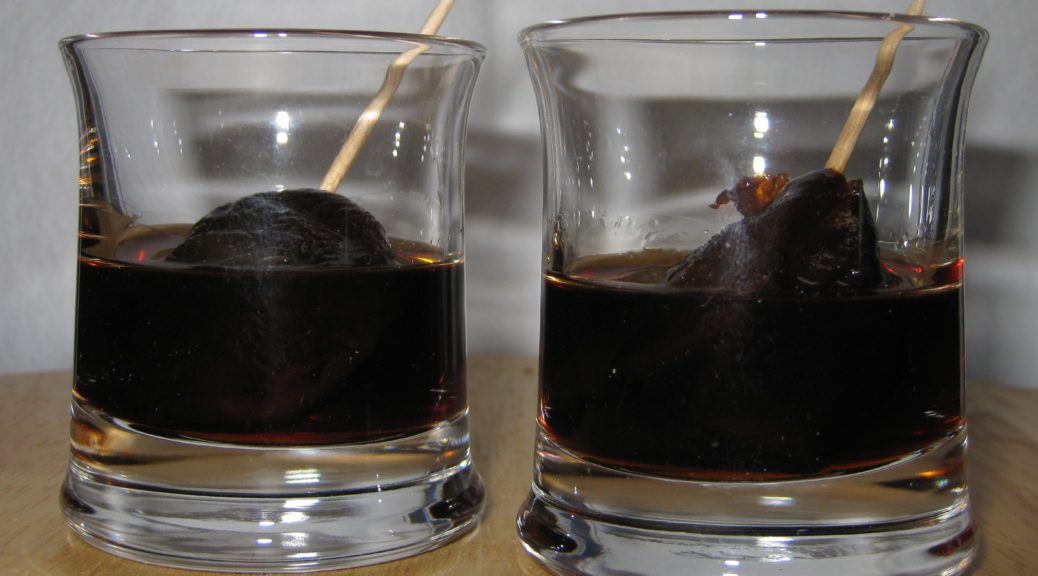
This recipe for drunken prunes came from Melinda’s Grandmother.

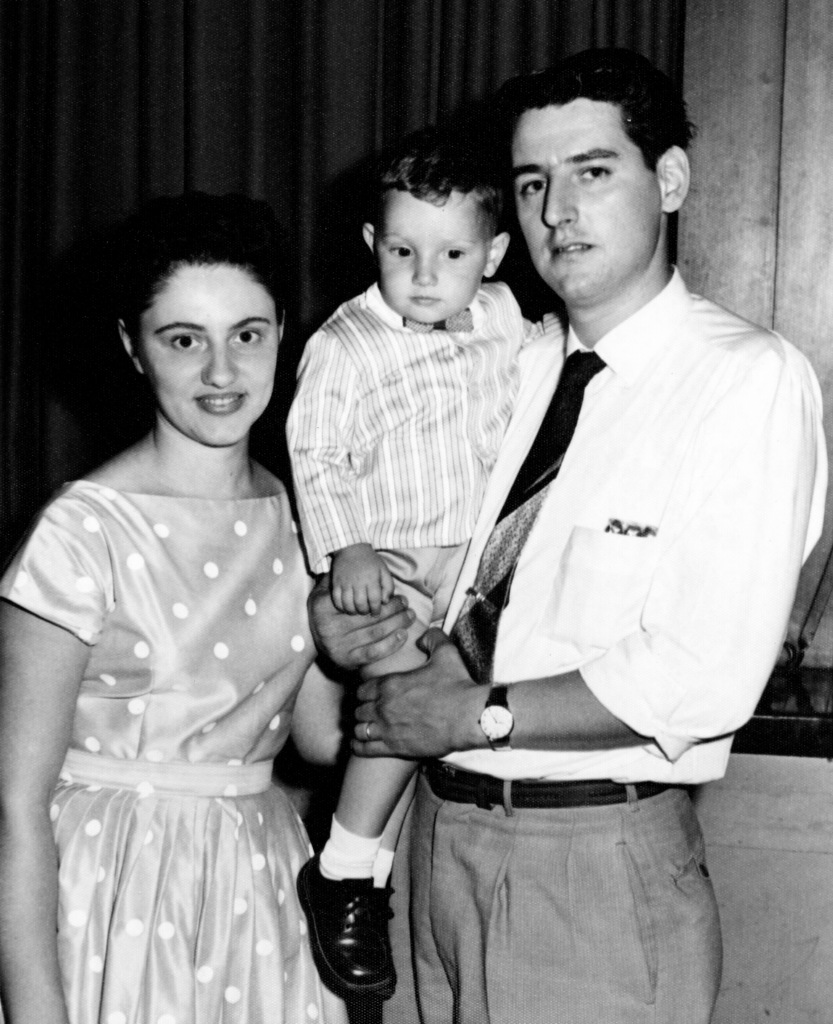
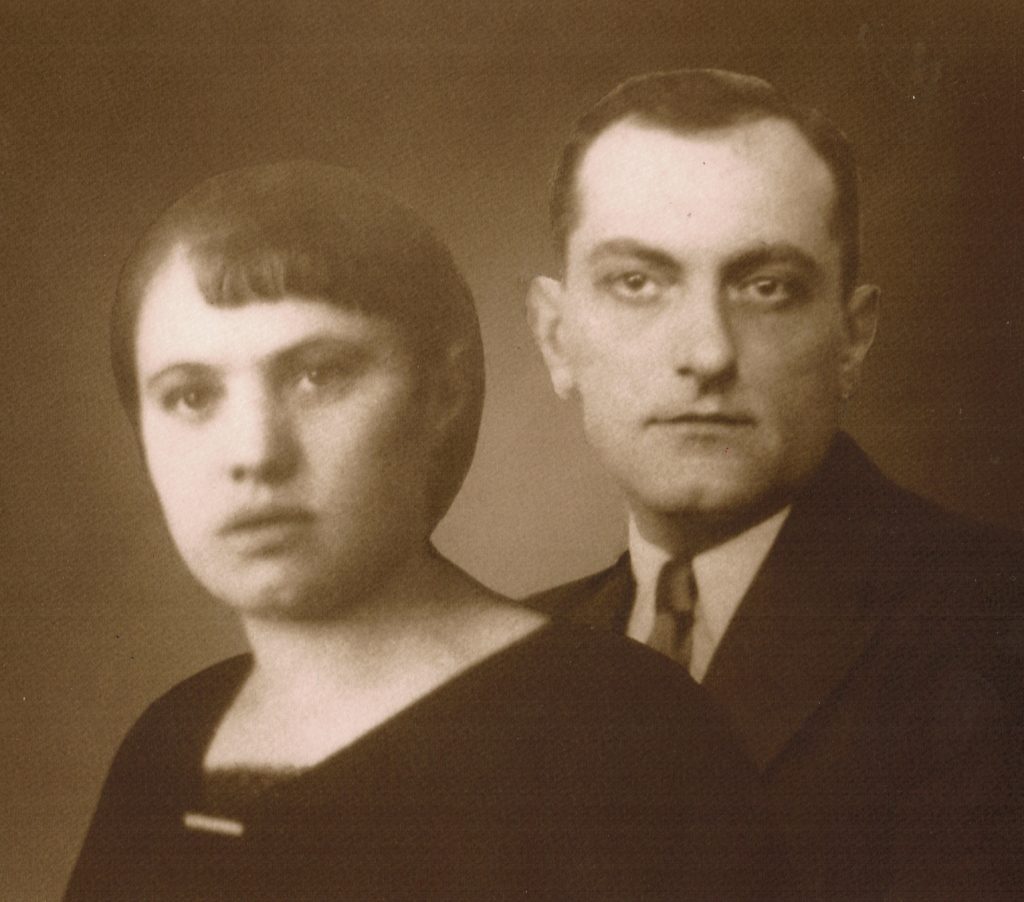
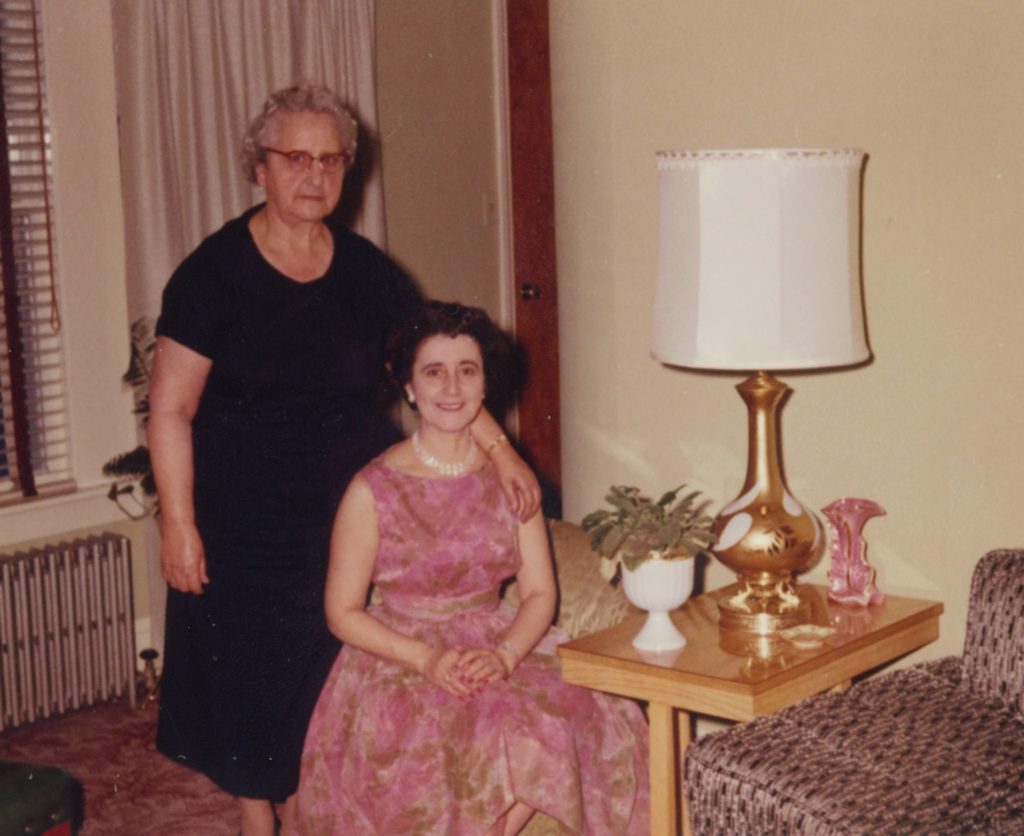
Melinda’s grandmother came to the US as a young wife with two children. A third, Melinda’s father, was born onboard the ship. After going through Ellis Island she traveled to Chicago by train to meet her husband.

At one point, Melinda’s grandmother rented an apartment on Grand Avenue and took in boarders. These were day laborers who were working to save enough to bring their families to this country. They slept on the floor of the apartment and used the toilet in the hall. Baths were taken by all at Hull House down the street. They paid “rent” and got sleeping space, breakfast (coffee and something baked) and dinner (always including pasta).

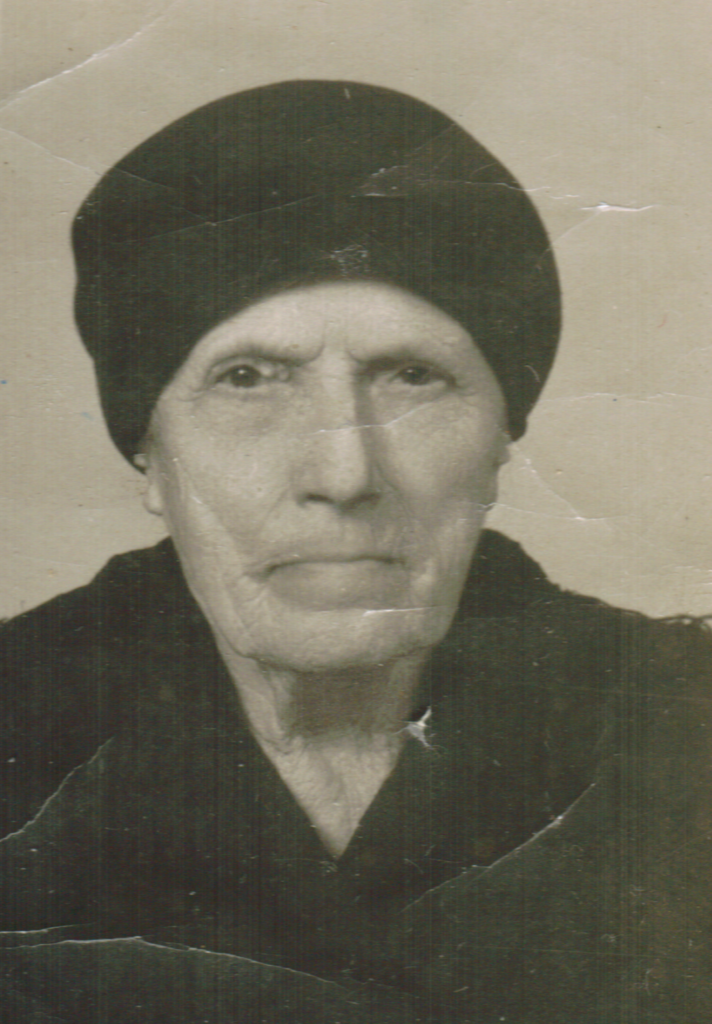
Melinda’s grandmother was frugal, eventually saving enough to buy a building in Elmwood Park, at the end of the trolley line out of the city. The building became home for her and her five children (her husband was out of the picture), a store (selling candy and cigarettes), and a “bar” (providing beer for a nickel and a free bowl of pasta). It had the only telephone booth in the area. Eventually there was a jukebox and it became a popular place on weekends.

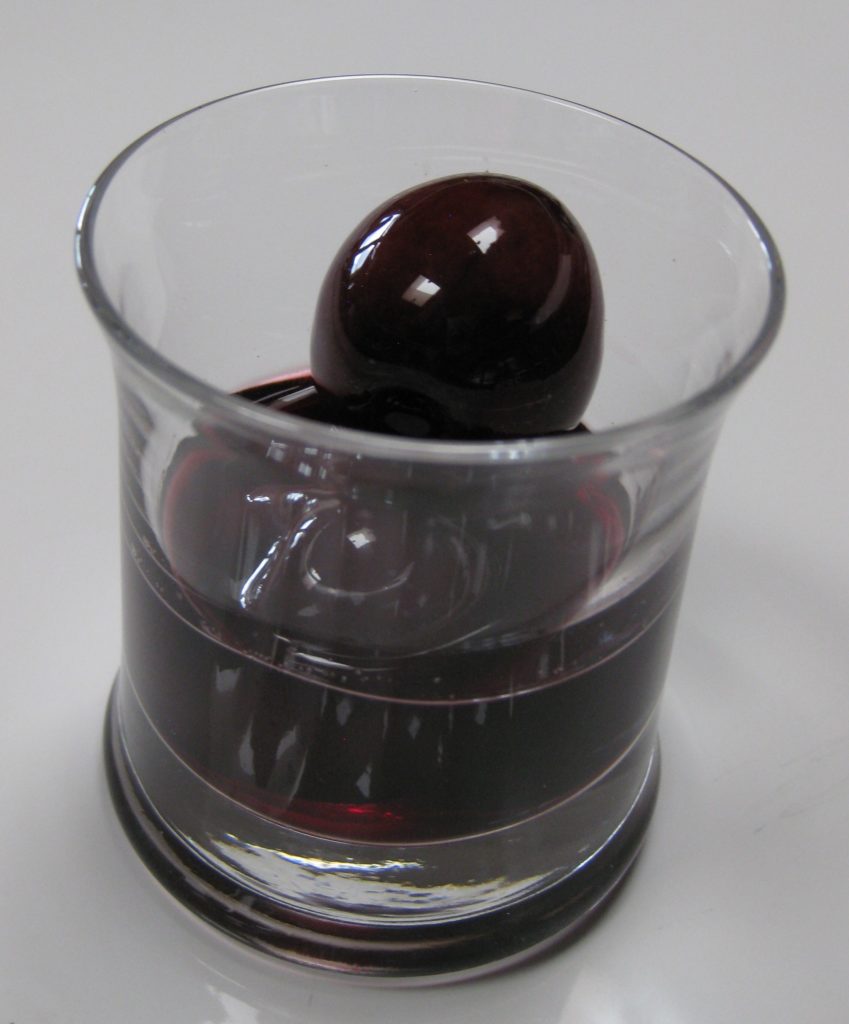
Melinda’s grandmother served drunken prunes in a shot glass speared on a toothpick, with some of the grappa poured into the glass.

Melinda’s Grandmother, center, and her five children including Melinda’s father, far right

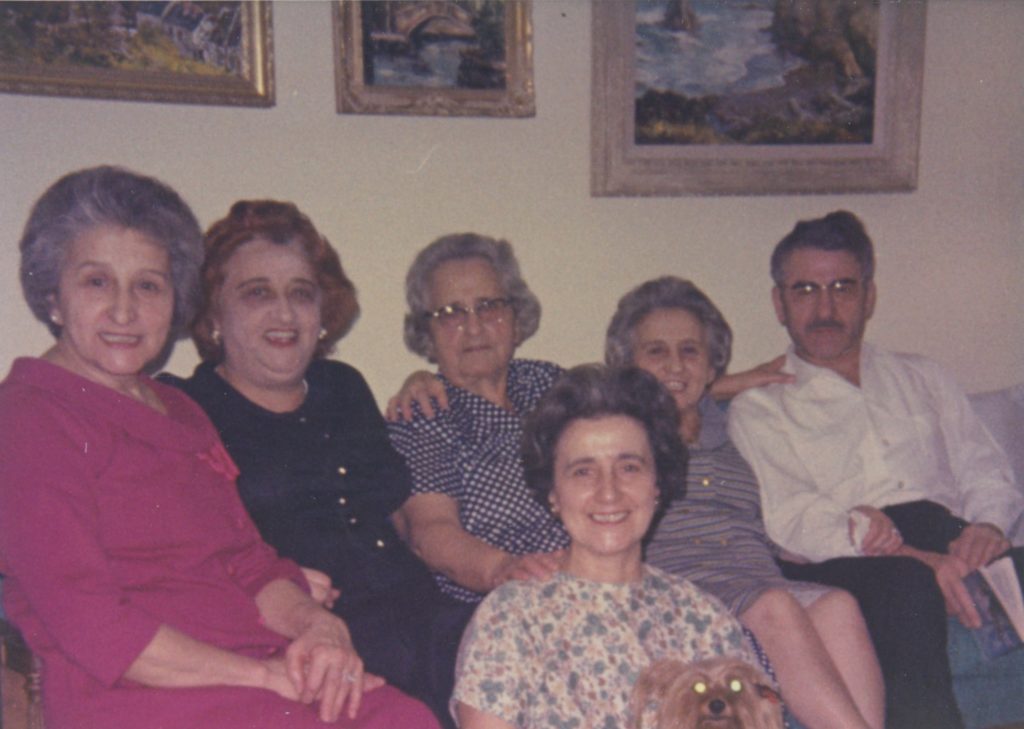
If not served at family events, the prunes generally accompanied a game of canasta among Grandma’s “women friends” and were intended to be nibbled on. Never were they eaten in a bite or two.  Seconds were rare, though they did occur.  (I’d love to know what the women said of those who had a second prune but that information is lost to history.)

Christmas at Melinda’s Grandmother’s house

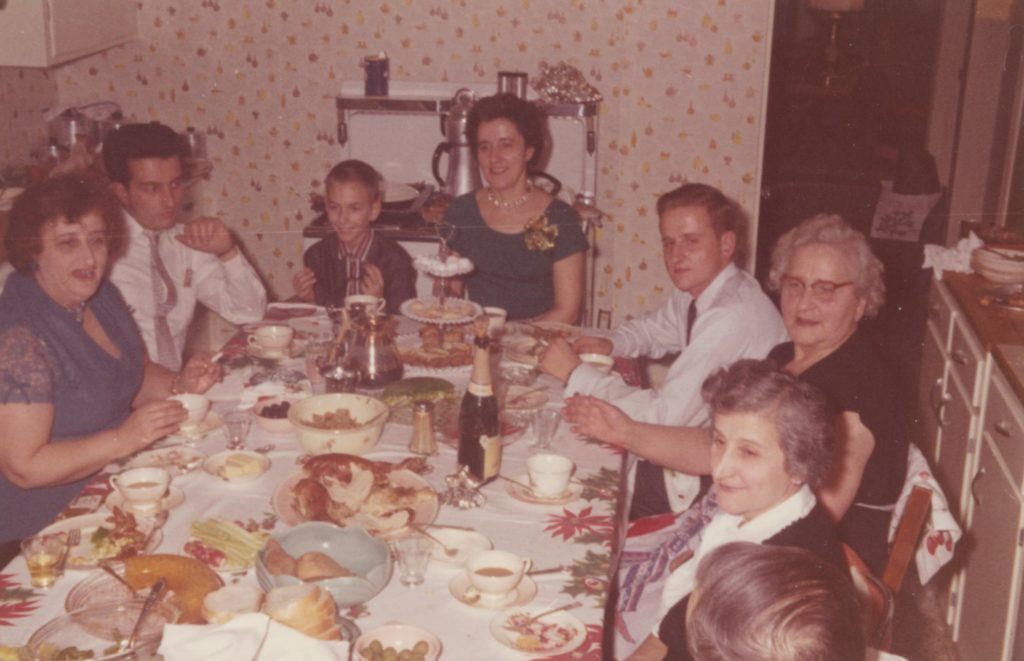
Before canasta, there was always lunch, almost always pasta, and dessert, usually pound cake.  Occasionally the pound cake was used to sop up the grappa in the bottom of the shot glass if it wasn’t  consumed outright.  A glass (single, of course) of wine was sipped all afternoon.

Melinda’s Grandmother and Aunt Enes, the youngest of the five children. Enes and her husband gave up their house to live with Melinda’s Grandmother

Drunken prunes were only served in the winter, never in the summer. As to what took their place for those summer canasta games, we’ll just need to wait for the next installment from Melinda!


Follow us


Click HERE to join our mailing list and you’ll never miss a recipe again!

Print Recipe
Melinda's Drunken Prunes
The amount of sugar will vary based on personal preference. I suggest starting with the smaller quantity and then adjusting after a month. Once you find your “sweet spot” you can put all the sugar in at the beginning.
Votes: 0
Rating: 0
You:
Rate this recipe!
Cuisine Italian
Prep Time 5 minutes
Passive Time 4 months
Servings
quart
Ingredients
Cuisine Italian
Prep Time 5 minutes
Passive Time 4 months
Servings
quart
Ingredients
Votes: 0
Rating: 0
You:
Rate this recipe!
Instructions
  1. Place prunes in a one quart glass jar.
  2. Add 1/3 cup sugar.
  3. Add grappa.
  4. Cover tightly.
  5. Rotate the jar several times daily until the sugar dissolves.
  6. Store the prunes in a cool spot out of direct sunlight.
  7. After one month taste and add additional sugar to taste.
  8. Allow the prunes to age for at least four months total before serving.
  9. Serve the prunes individually in shot glasses with a toothpick. Pour some of the grappa over the prunes.
  10. Nibble on the prunes holding them with the toothpick and sip the prune-infused grappa, preferably while playing canasta.
Recipe Notes

Copyright © 2017 by VillaSentieri.com. All rights reserved.

Share this Recipe

Cherries in Brandy

Italians love putting fruit in liquor. Cherries. Grapes. Prunes. The list goes on.

This practice meshes nicely with the Italian practice of making homemade cordials. (For example, see the post on homemade limoncello.) The liquor in which the fruit macerates becomes, in essence, a cordial that can be drunk on its own or with the fruit.

I learned to make cherries in liquor from my mother-in-law. She learned from her mother.  She even remembers  her grandmother making them. You can bet the chain of cherries in brandy goes back way further than that. She does grapes, too, in exactly the same way.

Here’s a picture of my in-laws with my (now) husband circa 1959. Pretty Italian, huh?

My mother-in-law hails from the little town of Treppo Grande way north of Venice. Treppo Grande is in Friuli which is known for its wine, especially white wines.

My mother-in-law’s parents circa 1929.

They also make a mean grappa in Friuli. After all, you’ve got to do something with all that leftover grape pomace from making wine.  It can be fermented one more time and distilled into an Italian version of white lightening.

My mother-in-law’s grandmother.

Actually preserving fruit in alcohol had a long tradition in Europe. Americans may be most familiar with the German tradition of Rumtopf. Traditionally, Rumtopf is made from an array of fruit, using the best of what ripens in sequence from early summer through early fall, mixed with over-proof rum and sugar. In addition to being made from a mixture of fruits, the proportion of sugar used in Rumtopf is much greater than would be used in Italian alcohol-preserved fruits.

Rumtopf makes a great topping for ice cream or cake. In college I even used it as the fruit layer in upside-down cake.

What a difference a few years makes. My in-laws with my husband (right) and (now) brother-in-law.

Cherries and grapes preserved in alcohol (we use brandy or grappa) will keep for years though at some point the texture starts to suffer. Traditionally, these fruits would be put up in the summer for consumption during Christmastime. Some years we make such a supply of them that we work through them for years afterwards.

Popping one of these cherries into a Manhattan is a real treat!

This is what our current stash of cherries and grapes in liquor looks like. We have “vintages” dating back a few years, including cherries that we picked from cherry trees belonging to Rich DePippo and Doug Howe as well as Bruce Donnell.

The traditional way to serve this is as a digestive after dinner. Put a few cherries or grapes in a cordial or shot glass and add a bit of the liquid from the jar. Drink the liquid then roll the fruit, one at a time, into your mouth. You’ll need to extrude the cherry pit after freeing it from the flesh.


Follow us


Click HERE to join our mailing list and you’ll never miss a recipe again!

Print Recipe
Cherries in Brandy
Use the best, peak season fruit you can find. Cherries and grapes work equally well in this recipe. The amount of sugar is a matter of preference but I find these proportions work well. We’ve made this using domestic brandy and French brandy. Honestly, I don’t think the price differential of imported brandy is justified. Grappa is also a traditional spirit but, again, you’d be looking for a pedestrian, but drinkable, grappa, not one of the über-expensive artisanal grappas. The recipe is infinitely expandable and very quick to pull together. If your jars are larger, just increase the sugar. I have collected an (almost) endless supply of these jars from French jams and use them over and over.
Votes: 0
Rating: 0
You:
Rate this recipe!
Course Miscellaneous
Cuisine Italian
Prep Time 10 minutes
Servings
persons
Ingredients
Course Miscellaneous
Cuisine Italian
Prep Time 10 minutes
Servings
persons
Ingredients
Votes: 0
Rating: 0
You:
Rate this recipe!
Instructions
  1. Wash the fruit and dry thoroughly.
  2. Remove the stems from the cherries.
  3. Put the fruit into the jar, fitting it in snugly but not smashing it.
  4. Add the sugar.
  5. Fill jar with brandy or grappa to cover the fruit.
  6. Put the lid on the jar.
  7. Turn the jar a few times a day until the sugar is fully dissolved.
  8. Put the jar in a cool, dark place and forget about it for 3-4 months.
  9. When ready to serve, put two cherries in a cordial glass along with some of the liquid.
Recipe Notes

Copyright © 2017 by VillaSentieri.com. All rights reserved.

Share this Recipe

Roasted Turkey Broth

May 5, 2017

I grew up in a house where there was absolutely no use for the carcass from a roasted turkey.  Other than my sister and I fighting over who got the crispy skin from the turkey breast, the skin went into the trash heap too.

You might imagine my surprise when, in college, I discovered that people actually did things with carcasses from roast turkey, like make broth to be used for turkey noodle soup.

To be sure, my recipe for turkey noodle soup will be posted later this month but in the meantime I would encourage you to make broth from the bones of most any roast, be it turkey, chicken, duck, pork, or beef.  Then, be creative with how to use it.

Broths made from roasted meat bones and bits of meat have a really savory quality that you won’t get from a broth made with uncooked meat.  You can’t always use them interchangeably so think about how the roasted-meat savoriness will play off the other flavors in the dish.

Roasted meat broths usually work well in hearty soups, for example, or as the liquid in a pot of Southwestern style cooked beans.  Frozen in small containers or ice cube trays, you can use the broth as the liquid for a quick pan sauce or to enrich gravy.

In fact, when I make gravy for Thanksgiving, I start by roasting a couple of Cornish game hens or a few pounds of chicken or turkey wings until they are very, very brown.  I use the roasted meat and some vegetables to make a rich, dark brown broth.  I concentrate the broth even more by boiling it down to about 3-4 cups.  While the turkey is roasting, I use the broth to make gravy, which I simmer for a couple of hours until it’s silky.  When the turkey is cooked, I deglaze the pan, skim the fat off, strain out the solids, and add the liquid to the gravy that has been bubbling away for a couple of hours.  By the time the turkey has rested and been carved, the gravy has reduced, again, to the right consistency.  The gravy is rich and savory and, more importantly, there’s enough to smother everyone’s mashed potatoes and turkey.  Doing it this way also removes the last-minute rush of actually making gravy on-the-spot from the pan drippings while you’re trying to get the meal on the table.

You might ask why I am dealing with a roasted turkey in spring rather than November.  Easter Dinner!  In addition to ham, I always make turkey since some of our friends don’t eat critters with more than two legs.  So, just for fun, here are a few pictures from Easter, complete with the bleeding lamb cake we always have for dessert.

I have a couple of different types of fat separators.  One is the more common style that resembles a small watering can with a spout that draws from the bottom of the liquid.  My preferred one, however, has an opening on the very bottom.  You just pour in the liquid, allow the fat to rise to the top, and squeeze the handle.  The opening opens and out pours the fat-free liquid from the bottom.  You can find a picture of it on my equipment page.

Print Recipe
Roasted Turkey Broth
Unless I need an absolutely clear broth, I prefer to use the pressure cooker. It gets the job done in an hour of cooking and makes a more flavorful broth than simmering it on the stove. However, the broth is somewhat cloudy. If you don’t want to use a pressure cooker and you don’t want to have to think about a pot on the stove, make the broth in a slow-cooker for 6-8 hours. If your pressure cooker or slow-cooker won’t accommodate 3½ quarts of water, use as much as you can and then dilute the final product to 3 quarts.
Votes: 0
Rating: 0
You:
Rate this recipe!
Course Miscellaneous
Cuisine American
Prep Time 15 minutes
Cook Time 5 hours
Passive Time 4 3/4 hours
Servings
quarts
Ingredients
Course Miscellaneous
Cuisine American
Prep Time 15 minutes
Cook Time 5 hours
Passive Time 4 3/4 hours
Servings
quarts
Ingredients
Votes: 0
Rating: 0
You:
Rate this recipe!
Instructions
  1. Thinly slice the carrots, celery and onion.
  2. Combine all the ingredients in a stockpot.
  3. Bring to a boil, reduce the heat, and simmer for 4-6 hours, stirring occasionally. Alternatively, cook at 10 pounds pressure for one hour or in a slow-cooker on low for 6-8 hours.
  4. Strain the broth.
  5. Because the broth will likely develop a gelatin-like quality on cooling, I suggest removing the fat using a fat separator while the broth is still warm.
  6. Add water to make three quarts.
Recipe Notes

I never add salt to any broth that I make unless I am making it for a specific purpose and I can plan for the final product. Broth with salt can make a dish too salty if the liquid needs to be reduced. The salt in a broth can also slow down the tenderization of dried beans. This might not be much of an issue at lower elevations but at 8000 feet getting dried beans to soften can be a challenge and anything that hinders the process is to be avoided.

Copyright © 2017 by VillaSentieri.com. All rights reserved.

Share this Recipe

Home-Rendered Lard

April 18, 2017

Blame Upton Sinclair and Crisco.

The quality of baked goods hasn’t been as good since we abandoned lard in a wholesale way in the early 20th century in favor of partially hydrogenated vegetable shortening, with Crisco being the most recognized brand.

And our health has been the worse for it.

Study after study has shown that partially hydrogenated vegetable shortening, because of trans-fats, creates more cardiovascular disease than the animal fats, like lard and butter, it was meant to replace.

Most vegetable shortening was reformulated in the first decade of the 21st century to reduce the amount of partially hydrogenated fat but this still has not resolved all the health-related concerns.  There are two main reasons.  Many products still contain some partially hydrogenated fat.  It’s just that if there is less than half a gram per “serving” the manufacturer can list the amount as zero on the label.  The other reason is that the fully hydrogenated fats that have replaced most of the partially hydrogenated fats have been shown to alter metabolism in unpredictable ways.  It will likely take us decades to determine their true health consequences.

Several years ago I took a weeklong course at the Culinary Institute of America at Greystone in St. Helena, California.  Called “Healthy Kitchens, Healthy Lives” it was sponsored by Harvard University and the Culinary Institute of America.  It was a week of hands-on cooking, cooking demonstrations, and lectures aimed at health care professionals.  A major take-away point for me was one of the Harvard faculty emphasizing that there was “zero tolerance” for trans-fats.  It was as clear a statement on the issue as I had ever heard.

My solution (and it’s been my solution since the early 1980’s when there were enough studies about the effects of partially hydrogenated fats to convince me) is to only use either vegetable oils and fats, like olive oil, corn oil, canola oil or coconut oil, among others, or animal fats, like lard and butter.

I also try to maintain fidelity to the types of fats and oils that would be used traditionally in a given cuisine.  Thus, while I cook with coconut oil when making Indonesian food, for example, I won’t use it when I’m cooking Italian food.  For the same reason, I won’t use olive oil when I’m cooking Sri Lankan food.

As a youngster, I remember looking at a lot of hand-written recipes.  It was amazing to me to see how Crisco (and it really was Crisco at the time) came to replace what would obviously have been lard in a more traditional version of the recipe.  This is true for Totos, the Italian Chocolate Spice Cookies that were the subject of one of my first blog posts.

If I’ve convinced you that you don’t want to use solid vegetable shortening and you really want to try lard, you might ask why I’m suggesting that you render it rather than just buy lard from the supermarket.

Have you looked at the label of a block or tub of lard at the supermarket lately?

Well, it’s not just pure old lard any longer.  It’s lard and…you guessed it…hydrogenated lard!  There are also a number of preservatives thrown in for “good measure.”

You can, however, buy artisanal lard that only contains pure, rendered lard.  You may have a difficult time finding these products depending on where you live.  You’ll also pay dearly for them; something in the range of $20 to $24 per pound!

So, while I didn’t make a big deal out of the lard called for in my post on Totos, I’m suggesting now that you may want to render your own lard as a replacement for the solid vegetable shortening you’re currently using (both for your health and for the quality of your food) and because I will be posting a number of recipes where lard will be a key ingredient in the coming months.

I understand that rendering your own lard isn’t sexy.  Nobody is going to wax poetic about food containing lard the way they might for the perfect long-simmered Southern Italian ragu.  But it’s really not that difficult or time-consuming and having the best ingredients, not just the most convenient, will “up” your cooking game!

I started rendering lard for cooking my junior year in college.  (Kind of geeky, I know.)  I used it with abandon.  I had fried foods several times per week and every now and then I would make a complete meal of fried foods, what Italians call Frito Misto.

Unfortunately, I now accumulate extra weight in a way I didn’t in college.  So, I eat less fried food but when I do, I want it to taste great.  For that, there’s always lard.

Print Recipe
Home-Rendered Lard
Leaf fat is the best for rendering into lard but can be difficult to obtain. The next best is fatback. I’m lucky enough that I can buy good-quality pork fat from my local supermarket but I don’t really get to specify leaf fat versus fatback. However, an easy rule of thumb is, the firmer the fat, the better the lard. Don’t use soft caul fat for rendering lard. You want firm pieces of fat. Starting with some water in the pan allows the fat to begin to render without risk of browning. Rendering lard can take a few hours but it is mostly hands-off and yields a product that is superior to what is commercially available in supermarkets.
Votes: 0
Rating: 0
You:
Rate this recipe!
Course Miscellaneous
Cuisine General
Prep Time 20 minutes
Cook Time 3 hours
Passive Time 2 3/4 hours
Servings
Ingredients
Course Miscellaneous
Cuisine General
Prep Time 20 minutes
Cook Time 3 hours
Passive Time 2 3/4 hours
Servings
Ingredients
Votes: 0
Rating: 0
You:
Rate this recipe!
Instructions
  1. Remove any meat that is clinging to the fat as well as any discolored areas of fat.
  2. Cut the fat into long strips approximately ½ inch wide.
  3. Run the strips of fat through a meat grinder. If you don’t have a meat grinder, you can chop the fat by hand but this is very tedious.
  4. Put the ground fat and water into a heavy-bottomed pot.
  5. Cover the pot. Heat on low till some of the fat begins to render.
  6. Uncover the pot. Increase the heat to medium-low and cook, uncovered, stirring every 20 minutes or so until the fat is mostly rendered and the remaining bits of unrendered fat are just beginning to turn golden. This can take 2-3 hours.
  7. For the best quality pure white lard, do not brown any of the “cracklings” though a slight golden color is fine.
  8. Strain the lard into a metal container while still hot. Allow to cool uncovered then cover tightly and refrigerate.
  9. Lard will keep a very, very long time in the refrigerator.
Recipe Notes

Copyright © 2017 by VillaSentieri.com. All rights reserved.

Share this Recipe