October 3, 2018
I apologize for the “radio silence” for the past few weeks. I was traveling in Europe and did not have a reliable internet connection. I was planning on keeping up my regular posting schedule, and I had everything with me that I needed (having cooked and photographed all the dishes in advance) but it just wasn’t realistic to upload pictures at a snail’s pace.
Today’s recipe is a bit of a departure from what I usually post. It’s an adaptation of a recipe from David Lebovitz, the only food blogger that I regularly follow.
How I found out about David, and this particular recipe, is curious.
Join our mailing list and you’ll never miss a recipe again!
In mid-2016 my business partner, Melinda Orlando, and I sold the health care consulting business that I founded in 1994 and that we built together. We brought our two long-term employees, Joe Kohberger, who celebrated his 20th anniversary with The Mihalik Group this year, and Zorina Granjean, who celebrated her 15th anniversary this year, to Santa Fe for a weekend along with their spouses.
It was a time devoted to enjoying each other’s company, exploring good food and drink in Santa Fe, and a way for Melinda and I to say “thank-you” to Joe and Zorina for all they did to make The Mihalik Group successful.
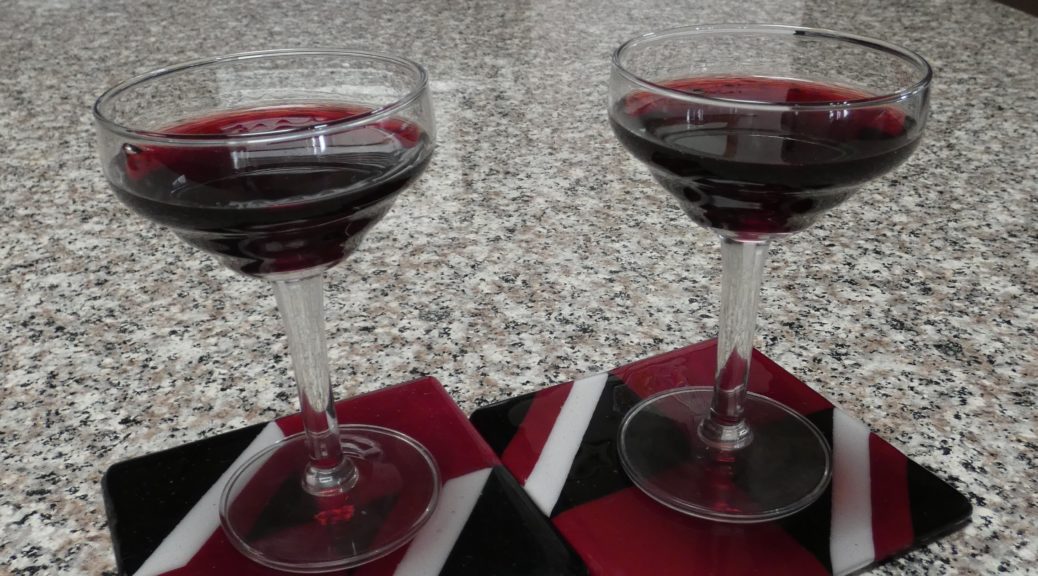
During one of our conversations, Zorina mentioned a recipe for a cherry aperitif that she got from a food blog that she followed. The really interesting part is that the aperitif didn’t actually contain cherries but cherry leaves!
Based on Zorina’s recommendation, Rich DePippo and I whipped up a few batches in 2017 using leaves from his cherry trees. Truth be told, as much as I like infusing alcohol with different botanicals (see my recipe for Limoncello, Melinda’s Drunken Prunes, and Liquore al Lauro for examples), I would never have tried this recipe based on cherry leaves rather than cherries and cherry pits.
That would have been a mistake!
Follow us on your social media platform of choice
![]()
![]()
![]()
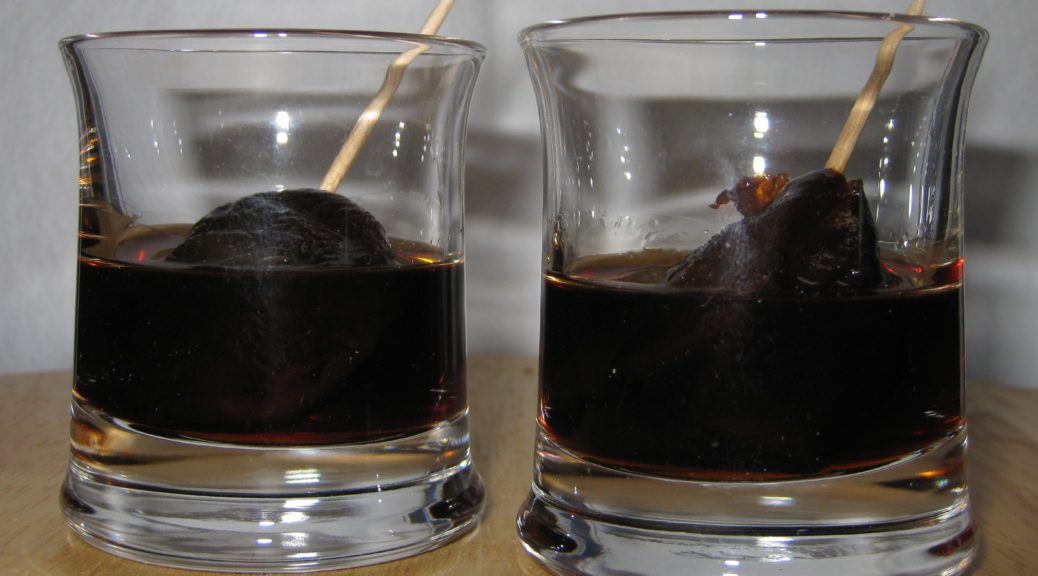
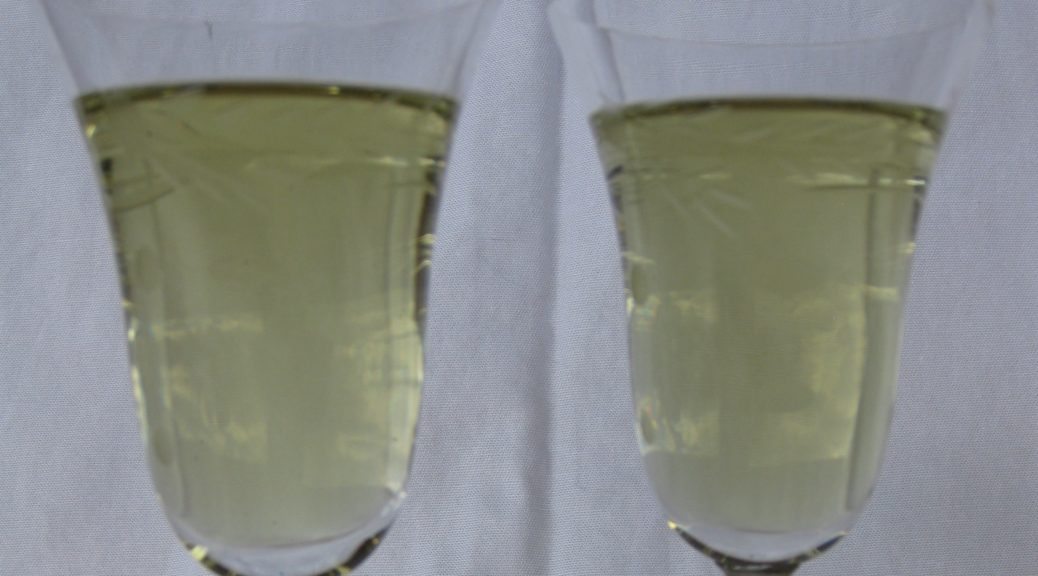
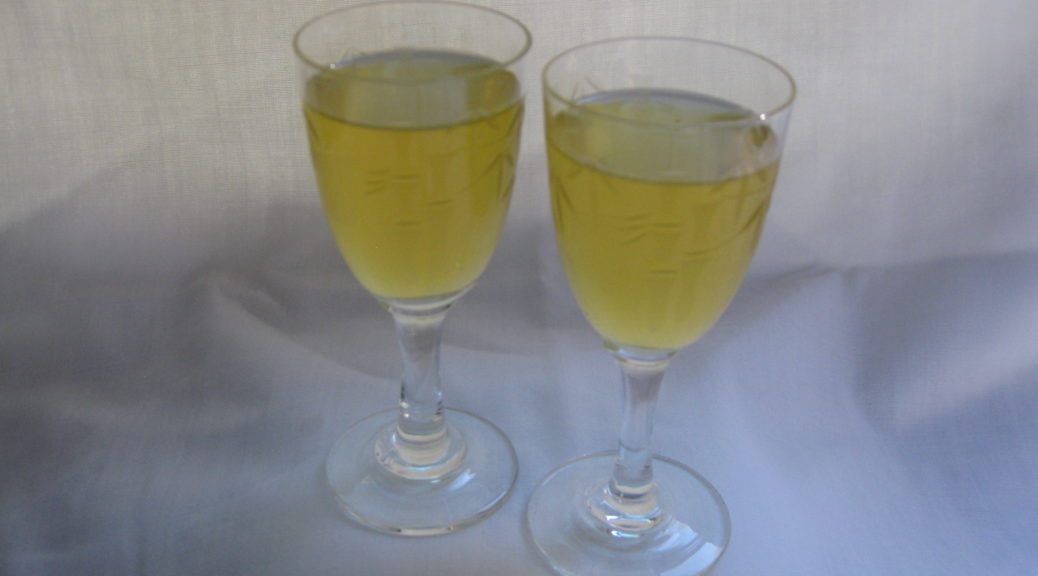
It’s a great pre-dinner drink served over (lots of) ice, with or without a twist of citrus peel. It’s not very alcoholic but it’s very flavorful. Plus, it’s a cinch to make (assuming you can get a fistful of cherry leaves).
It’s very good made with just cherry leaves but adding one of the other botanicals changes its character. The cherry flavor is still there but the aperitif becomes more complex.
Don’t use expensive wine or vodka. Pedestrian alcohol works quite well. In fact, I usually use red wine from a Trader Joe’s box.

| Prep Time | 20 minutes |
| Passive Time | 7 days |
| Servings |
liters
|
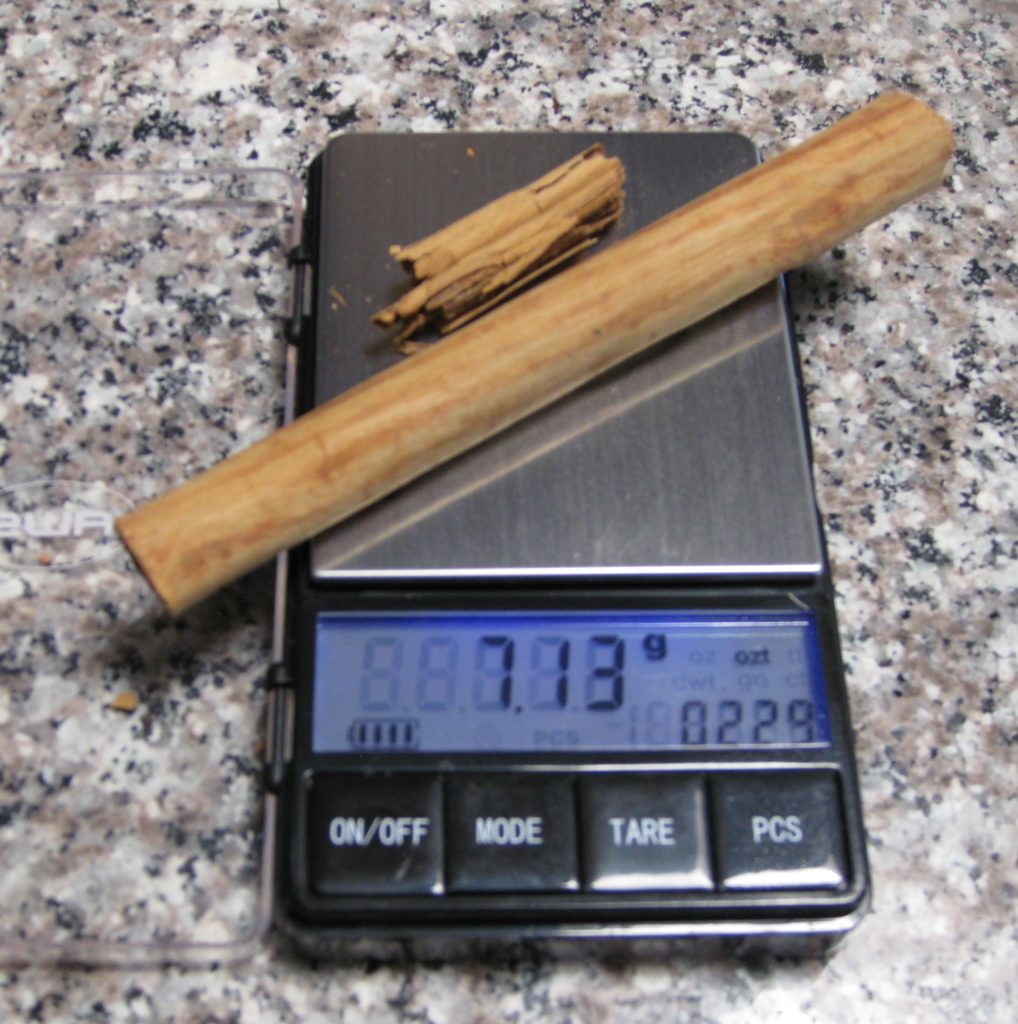
- 15 grams cherry leaves approximately 50-60 leaves
- 1 liter fruity red wine such as merlot or shiraz
- 125 milliliters vodka
- 100 grams sugar
- 12 whole black peppercorns
- 3.25 grams dried culinary lavender
- 1 whole vanilla bean split in half
- 2 whole star anise
- 1 cinnamon stick approximately 8 centimeters or 3 inches long
Ingredients
Basic Ingredients
Optional Botanicals (use only one per batch)
|
|
- Combine all ingredients in a large jar with a tight-fitting lid.

- Swirl the jar to completely dissolve the sugar.

- Keep the jar at room temperature but out of direct sunlight.
- Swirl the jar daily for seven days.
- Strain and discard the solids.
- Pour the aperitif into bottles with tight-fitting lids.

- Refrigerate the aperitif several weeks before using.
- Serve over ice with a citrus peel, if you would like.
Copyright © 2018 by Villa Sentieri, LLC. All rights reserved.