August 15, 2018
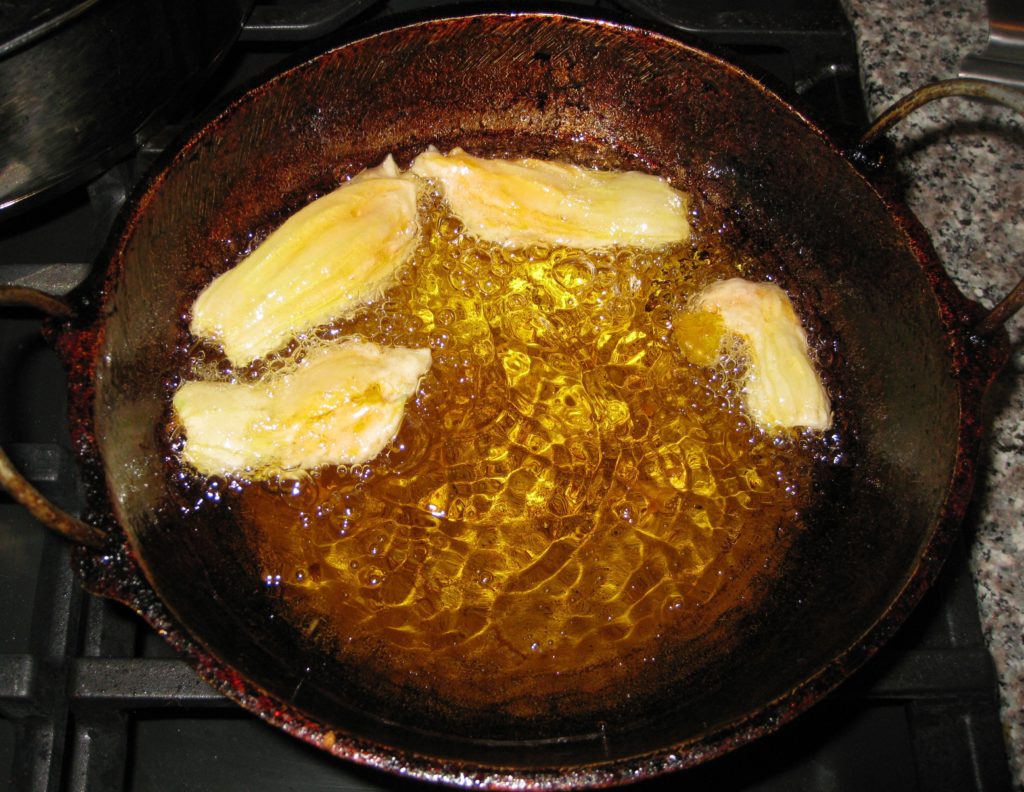
One of the glories of summer produce is zucchini.
We eat our fill of fried zucchini blossoms but also zucchini itself in many ways, among them sautéed in olive oil with aromatics and herbs, made into a frittata, boiled and dressed with olive oil, stuffed with ricotta and mint, cooked in a light tomato sauce, made into calabacitas, and most definitely, used in risotto.
Join our mailing list and you’ll never miss a recipe again!
Although there are exceptions, such as Risotto Friulano and Risotto alla Milanese, most risotti that I make contain vegetables. As far as actually cooking the rice goes, the technique doesn’t vary.
Aromatics (shallot, onion and/or garlic, depending on the risotto) are sautéed in olive oil. The rice is added and cooked slightly. A bit of wine is added and cooked away then the liquid (almost always broth but I make a killer champagne risotto and I also have a risotto recipe that uses carrot juice) is added in small amounts and cooked off before more is added. Cheese and a bit of butter are stirred in at the end.
What varies for me is how the vegetables are prepared and when they are added.
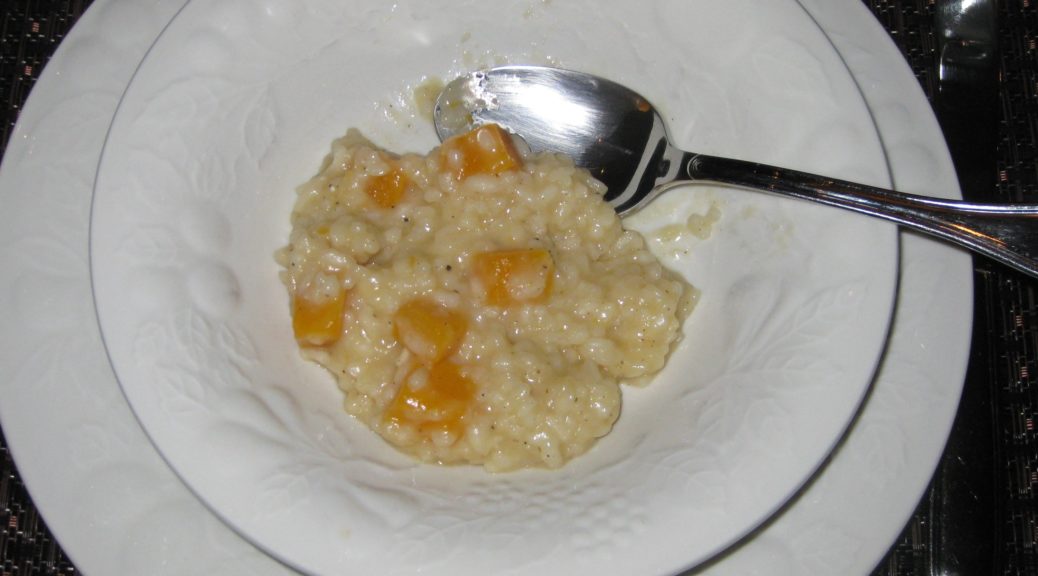
Some vegetables are cooked in advance then added to the rice when it is nearly done. I do this, for example with the mushrooms for Risotto ai Funghi (Mushroom Risotto). Other vegetables are put in at the very end and cooked briefly. This method works best for vegetables that don’t really require cooking to be edible. Believe it or not, really good summer corn fits into this category as do frozen peas. The third method is to sauté the vegetable in the olive oil before the rice is added. This is the method I use for Butternut Squash Risotto.
Follow us on your social media platform of choice
![]()
![]()
![]()
It is also possible to add the vegetables part-way through cooking the rice though I rarely use this method because it is not possible to guarantee the vegetables will be cooked properly when the rice is done.
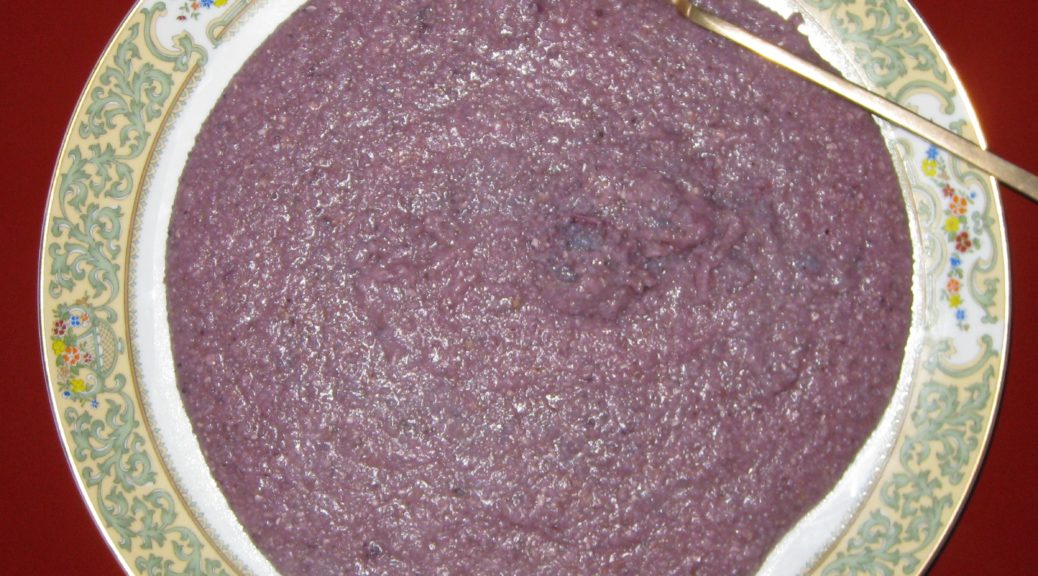
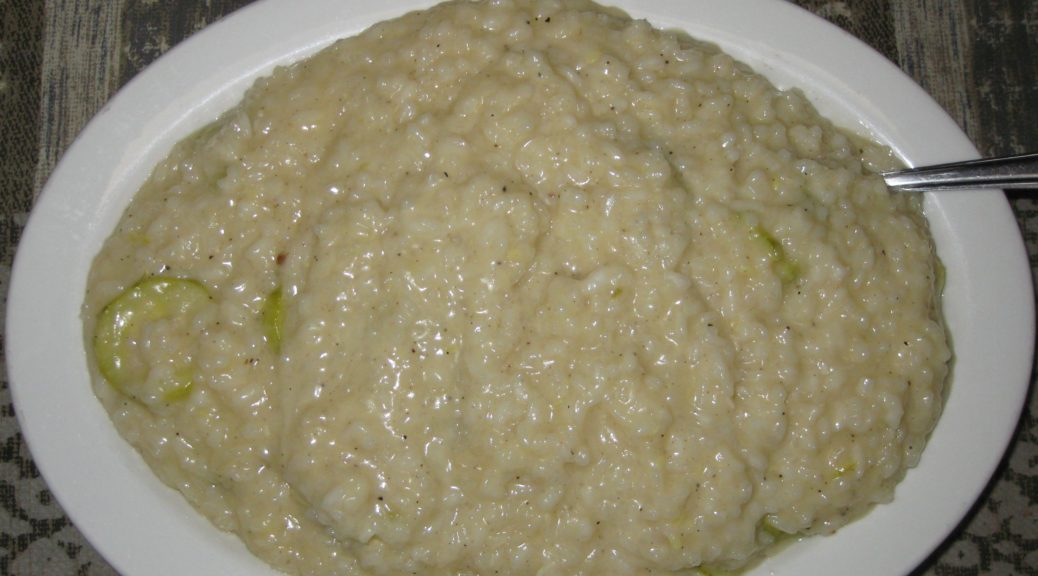
Despite the difference in texture, zucchini can be added at the beginning as with butternut squash. The final texture is different, with the butternut squash being cooked but still holding its shape completely while the zucchini will soften much more but will still be recognizable.
Once you get the hang of cooking the rice for risotto, you can turn any vegetable into a risotto by just considering which of the cooking techniques to use.

| Prep Time | 15 minutes |
| Cook Time | 45 minutes |
| Servings |
people
|
- 3-4 medium zucchini
- 1/2 medium yellow onion finely chopped
- 2 cloves garlic minced
- 1/4 cup extra virgin olive oil
- 2 cups Arborio rice or other rice for risotto
- 1/2 cup dry white wine
- 2 quarts chicken broth
- 1/2 cup Parmigiano Reggiano cheese
- 2 tablespoons parsley finely minced, optional
- salt to taste
- black pepper freshly ground, to taste
- 2 tablespoons butter
Ingredients
|
|
- Bring the broth to a bare simmer.
- Meanwhile, peel the zucchini then slice into ½-inch thick rounds.


- In a heavy-bottomed three-to-four-quart saucepan, heat the oil over medium to medium-high heat.
- Sauté the onion and garlic in the oil, stirring frequently, until the onion becomes translucent.

- Increase the heat to medium-high. Add the zucchini and ½ teaspoon of salt.
- Sauté the zucchini until the greenish color changes to a slightly less vibrant shade and the edges of the zucchini rounds become just a little less sharp, approximately 5-7 minutes.

- Add a few grindings of black pepper.
- Add the rice and stir until coated with oil.
- Sauté several minutes until the outer edges of the rice grains become translucent while the center remains white, approximately 5 minutes.

- Add the wine. Stir frequently, but not constantly, until the wine has totally evaporated. You will begin to see some starch leaching out of the rice. More and more of the starch will leach out as you cook the rice. This is what will make a creamy sauce, not a large quantity of butter, cheese or cream.
- When the wine has evaporated, add 1/2 cup of the simmering broth. Stir thoroughly, paying particular attention to loosening any spots where the starch seems to be sticking to the bottom of the pan. You don’t want to brown (or worse yet, burn) the starch.

- Stir frequently, but not constantly, until the broth has evaporated.
- If the broth is unsalted, as I recommend, add 1 ½ teaspoons of salt to the rice as you begin to add the broth. If the broth contains salt, do not add salt until the end.
- Keep repeating the process with ½ cup of simmering broth each time: cooking, stirring, and loosening any spots that are sticking until each addition of broth evaporates. The heat should stay as close as possible to medium high. The moderate boiling of the liquid will coax starch out of the rice to create the creaminess that is the hallmark of a good risotto.

- Begin tasting for doneness after approximately 3 cups of simmering broth have been added. When the rice is al dente, firm but not crunchy in the center, add another ½ cup of simmering broth, stir, and remove the rice from the heat.

- Off the heat, stir in the Parmesan cheese, butter, parsley, if using, and freshly ground black pepper to taste. Taste and adjust salt.


- In two or three small additions, add as much of the broth as the risotto will absorb without becoming watery. Stir thoroughly.

- Serve immediately.

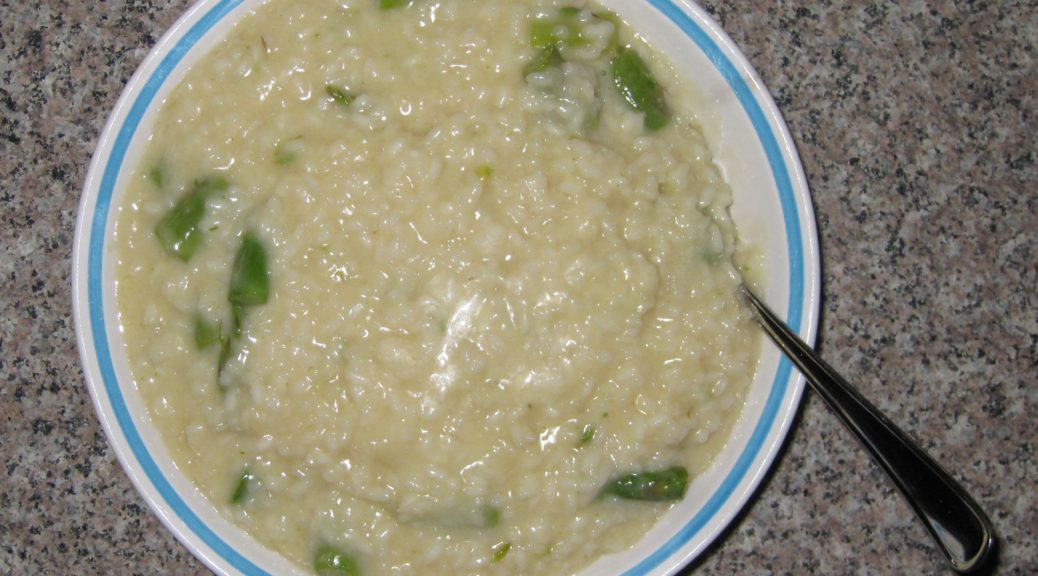
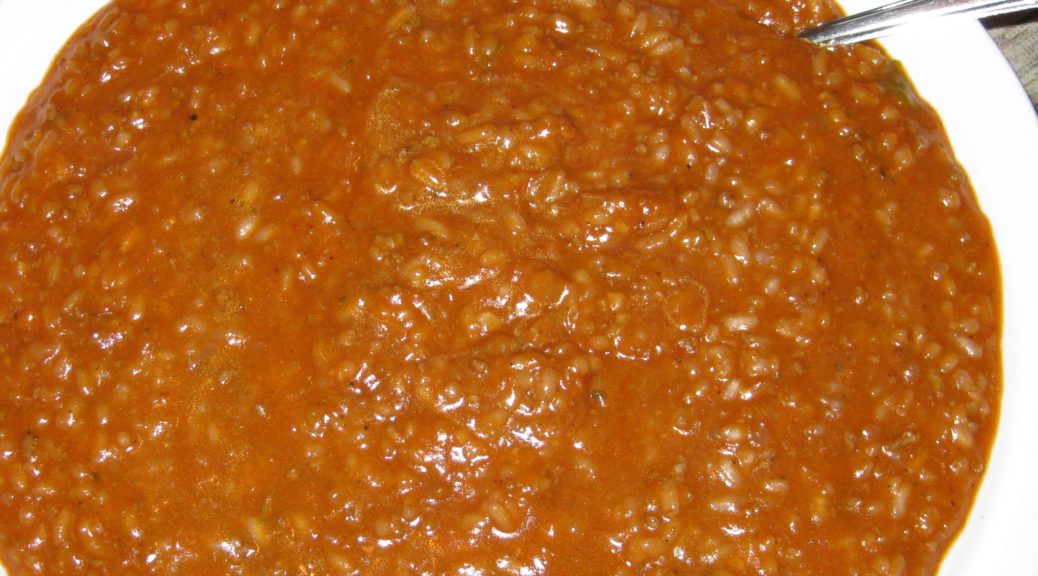
With risotto, the goal is to have rice grains that are still al dente (but not crunchy) in the middle surrounded by a creamy liquid. An Italian risotto should be creamy from the starch in the rice, augmented with a very modest amount of butter and cheese. Risotto served in America is often overly rich from butter, cheese, and sometimes cream.
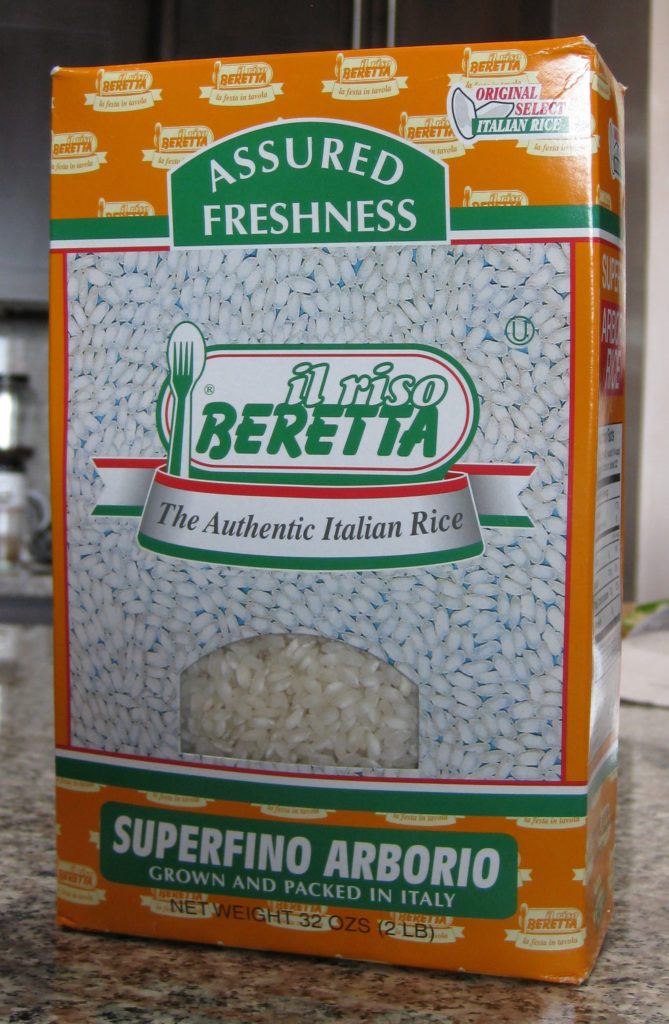
Risotto rice is a short grain rice that cooks slowly, making it much easier to achieve an al dente texture because it takes a while to actually overcook it. The three types of rice for risotto are Arborio, Carnaroli, and Vialone Nano. Arborio is the easiest one to find though the other two are more forgiving than Arborio when it comes to overcooking.
I recommend buying good quality rice imported from Italy. It really isn’t priced that differently from domestic. Do not wash the rice.
Copyright © 2018 by Villa Sentieri, LLC. All rights reserved.


")
")
")
")
")
")