
February 11, 2022
I’m a little more than halfway through a week’s visit to Bologna. Bologna is referred to as la dotta, la grassa, la rossa: the learned, the fat, the red.
“The learned” relates to Bologna as the seat of the oldest university in the western world and the top-rated university in Italy. It has a highly educated population.
“The red” refers to the color of the terra cotta tiles on many of the roofs.
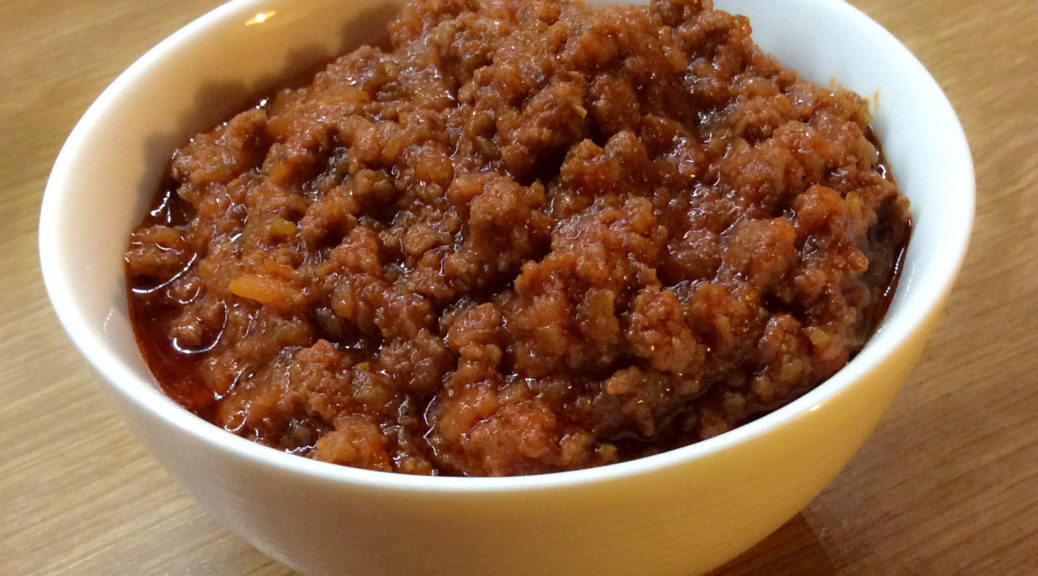
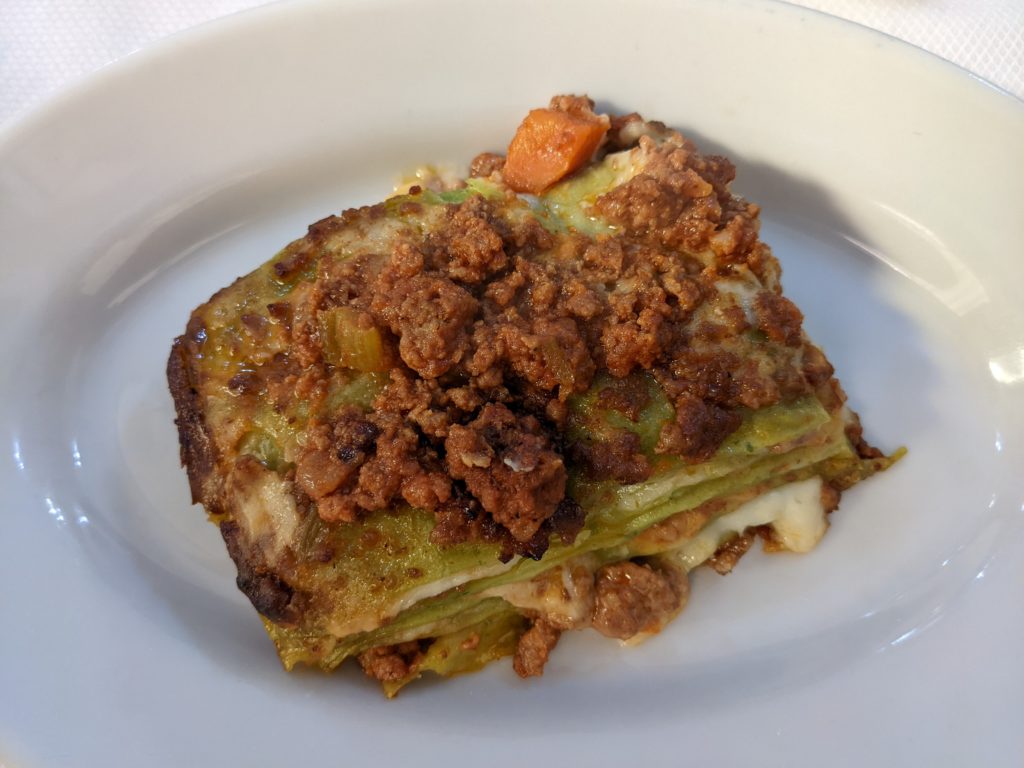
“The fat” is well earned based on the food. This is the land of mortadella, ragù Bolognese, tagliatelle, tortellini, lasagna al forno (aka lasagna Bolognese), prosciutto, parmigiano reggiano, and balsamic vinegar of Modena among other traditional, and dare I say, famous foods.
Join our mailing list and you’ll never miss a recipe again!
Let’s not forget gelato. While I don’t think Bologna can claim title to the originator of gelato, they have perfected a style made with eggs that is consummately smooth. A gelateria is often referred to as a cremeria in Bologna.
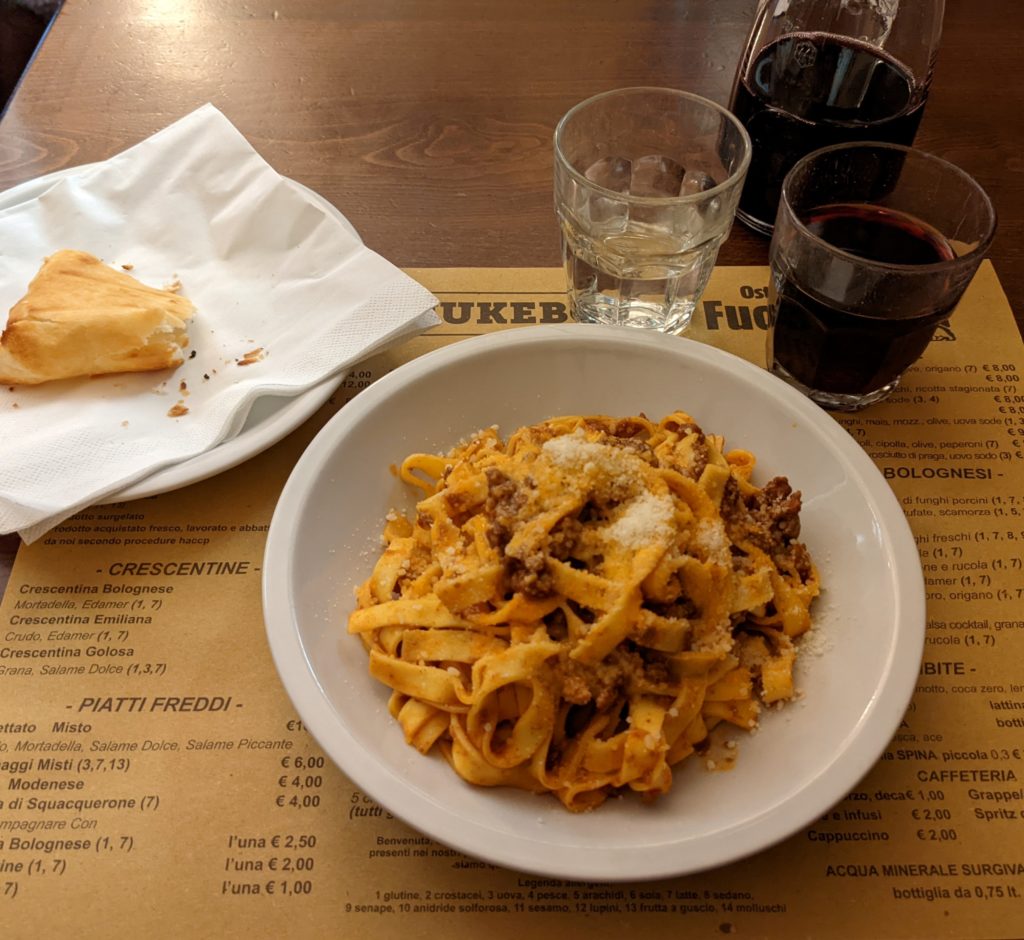
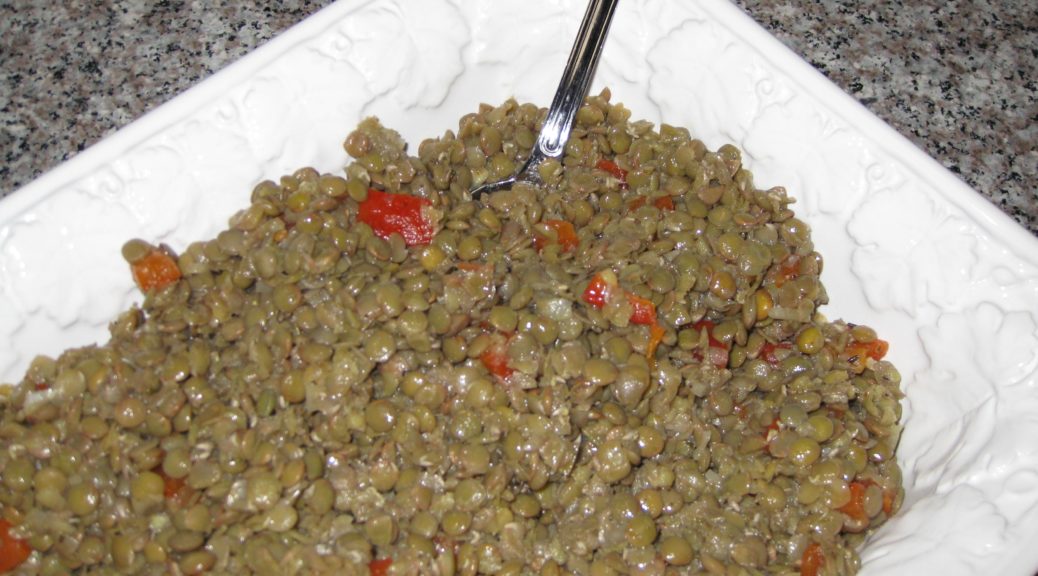
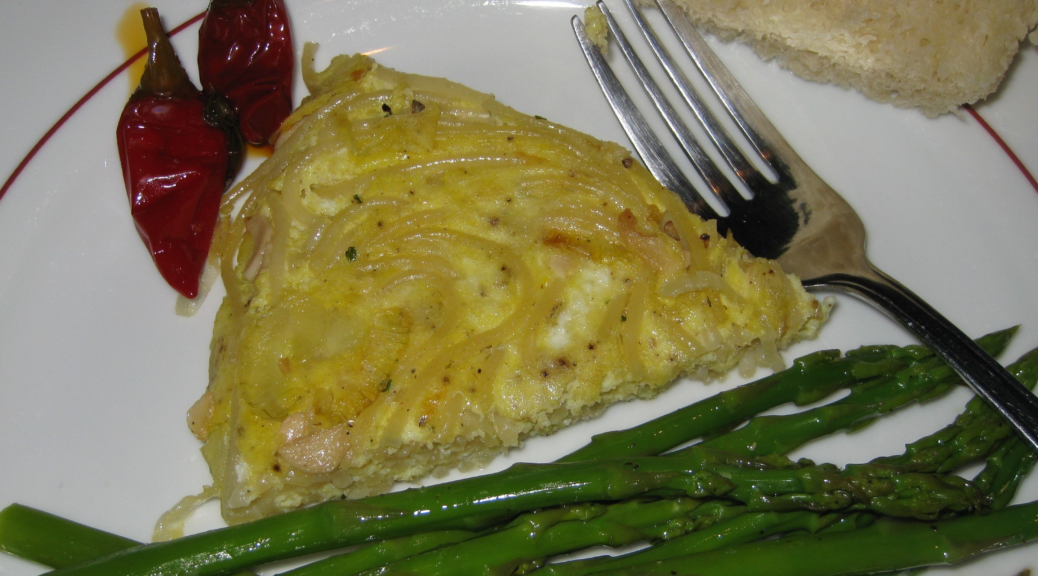
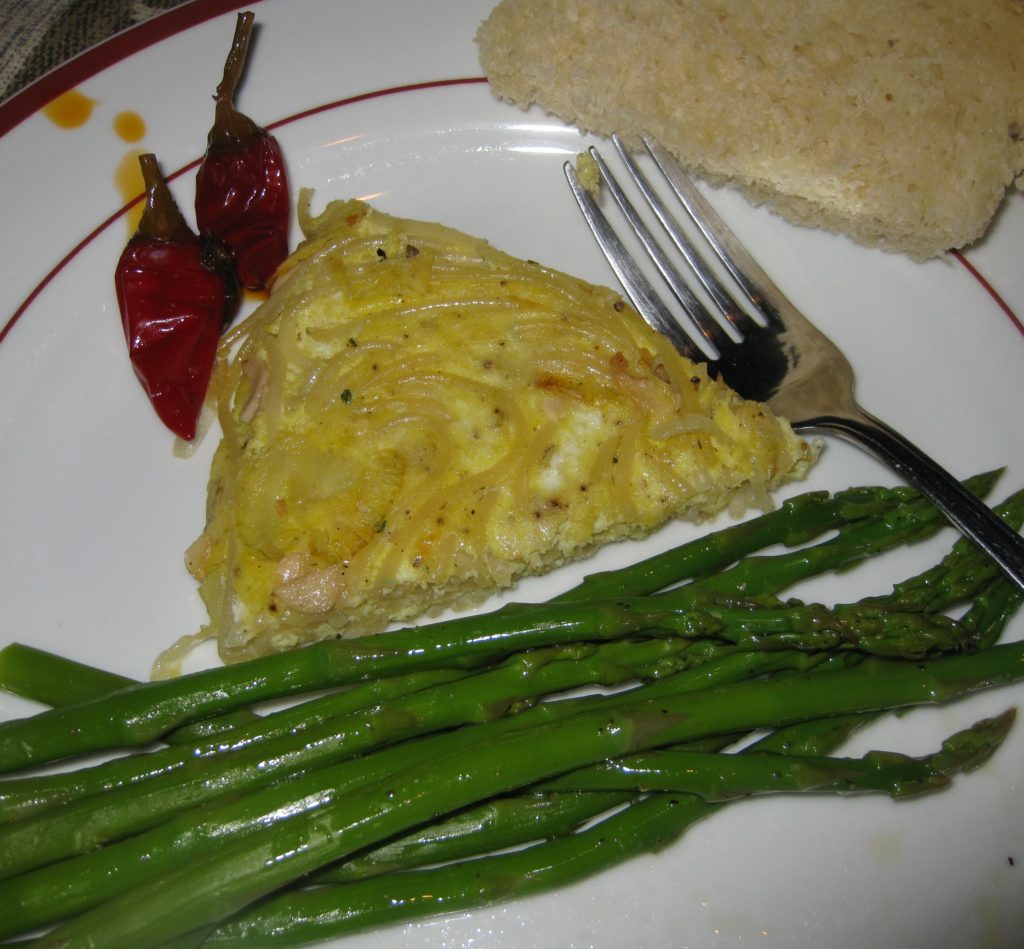
My main goal being here is to eat. I want to taste some of the iconic foods of the region in the cathedral to food that is Bologna. To that end, I’ve had dishes with ragù Bolognese three times in the last three days. Though there were slight differences, the preparations tasted amazingly similar. That got me to thinking about consistency.
I know that there’s an official recipe for Pesto alla Genovese which I reference in my post on pesto. That got me to thinking about other official recipes. After some internet sleuthing, I discovered that there’s an Italian Academy that, after substantial research, codifies and registers what it considers to be the official recipes for traditional dishes. (Of course there is! This is Italy. Food is paramount.) Access to these recipes is quite limited. (Of course it is! This is Italy. Food is rigorously protected.)
Follow us on social media
![]()
![]()
![]()
My primary culinary interest is traditional recipes. Discovering the existence of this academy has been a revelation for me. So much so that I decided to occasionally post their recipes, translated into English with notes on ingredients and techniques as appropriate to enable my readers to recreate the taste of the original.
So much of what passes for Italian food in the States is far from the original.
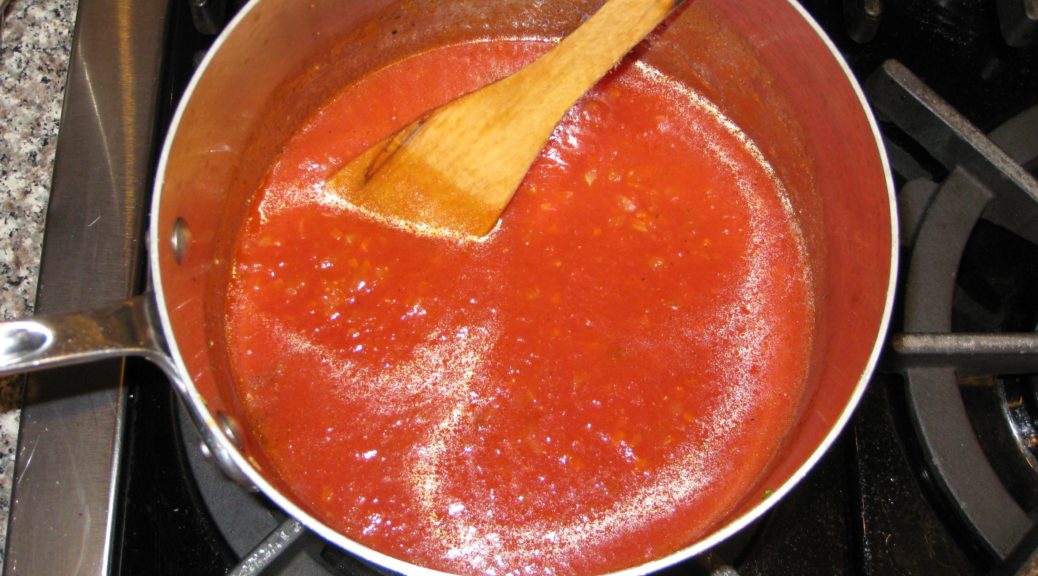
I’ll be quick to add that credible variations on these official recipes exist but the very existence of the official ones sets a standard of comparison. Several years ago, I posted a recipe for Ragù Bolognese. You will see the similarity. The main differences in my version are a greater proportion of tomatoes and the absence of dairy. It is a very good ragù, and one that I continue to make on a regular basis. But today, I’m giving you the official recipe.
Enjoy!
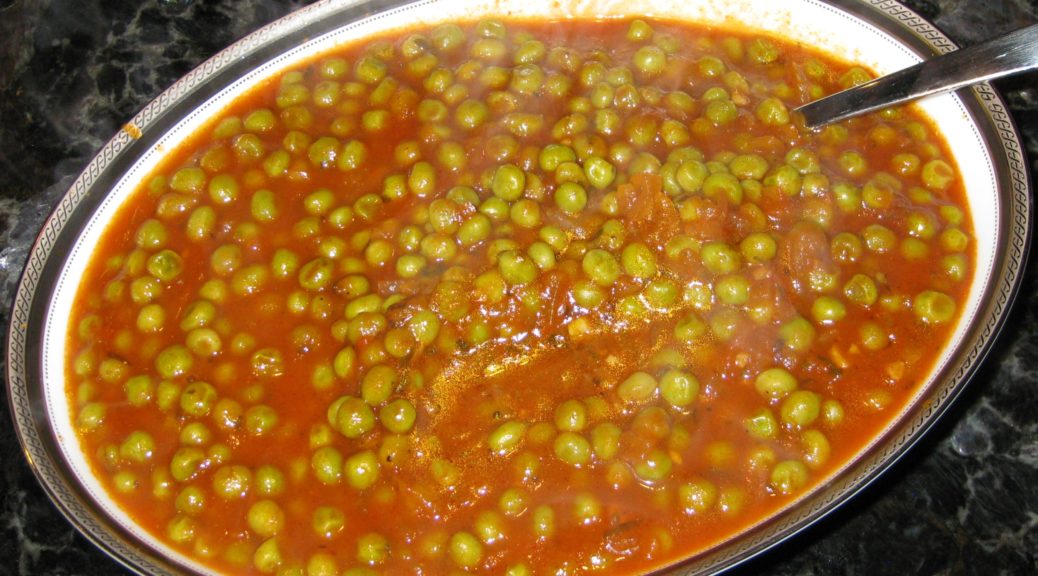
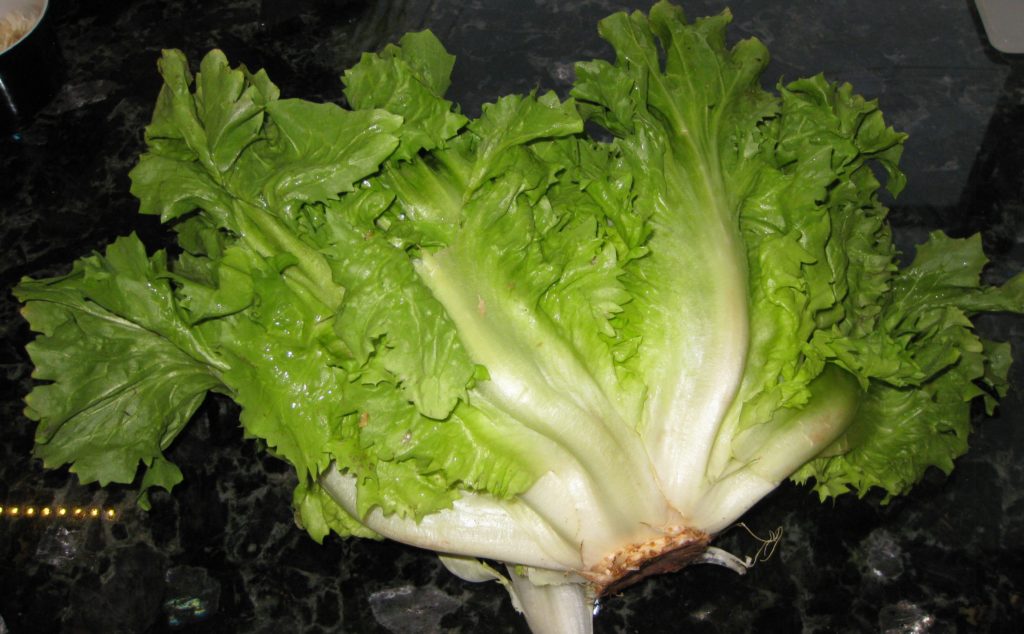
(Photo: Erikatrioschi, CC BY-SA 4.0 <https://creativecommons.org/licenses/by-sa/4.0>, via Wikimedia Commons)

| Prep Time | 15 minutes |
| Cook Time | 2 1/2 hours |
| Servings |
people
|
- 300 g coarsely ground beef diaphragm [e.g. hanger or skirt steak] or belly [e.g. plate or flank steak] or shoulder [e.g. chuck]
- 150 g pancetta diced then finely chopped
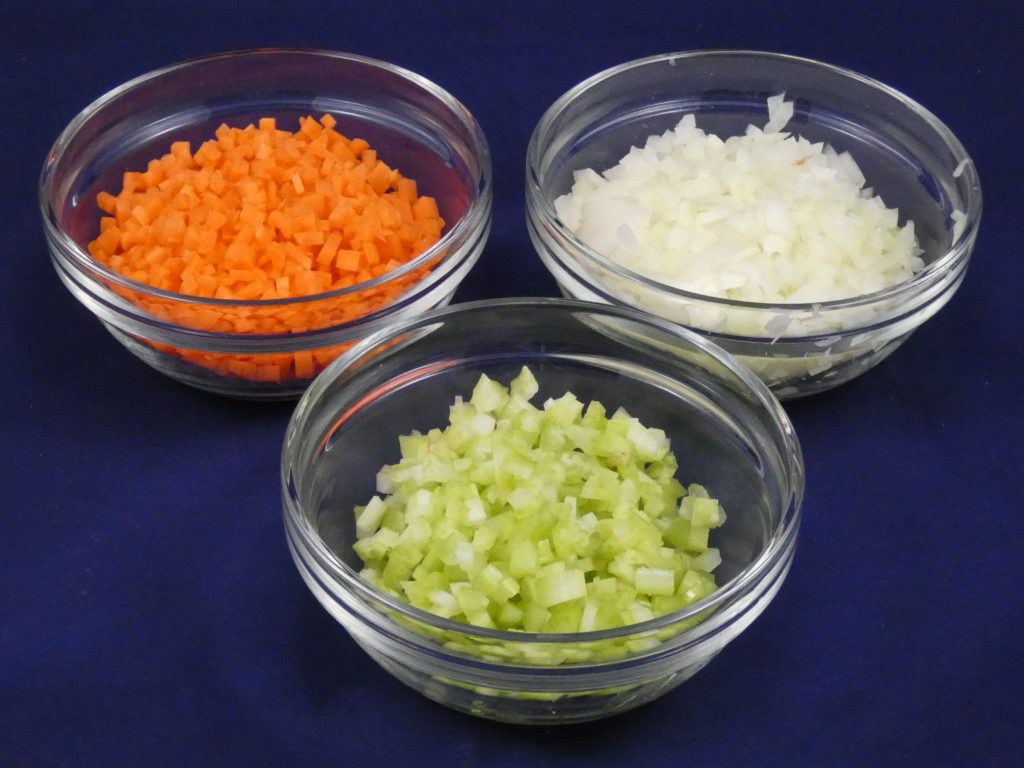
- 50 g carrot finely diced
- 50 g celery finely diced
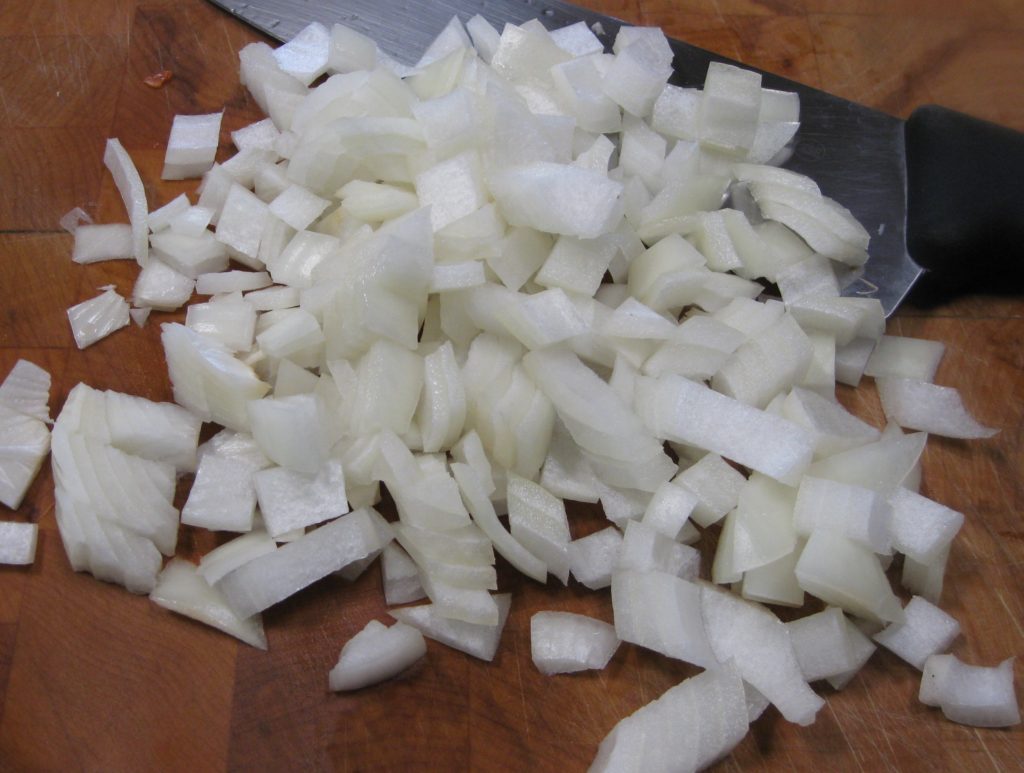
- 50 g onion finely diced
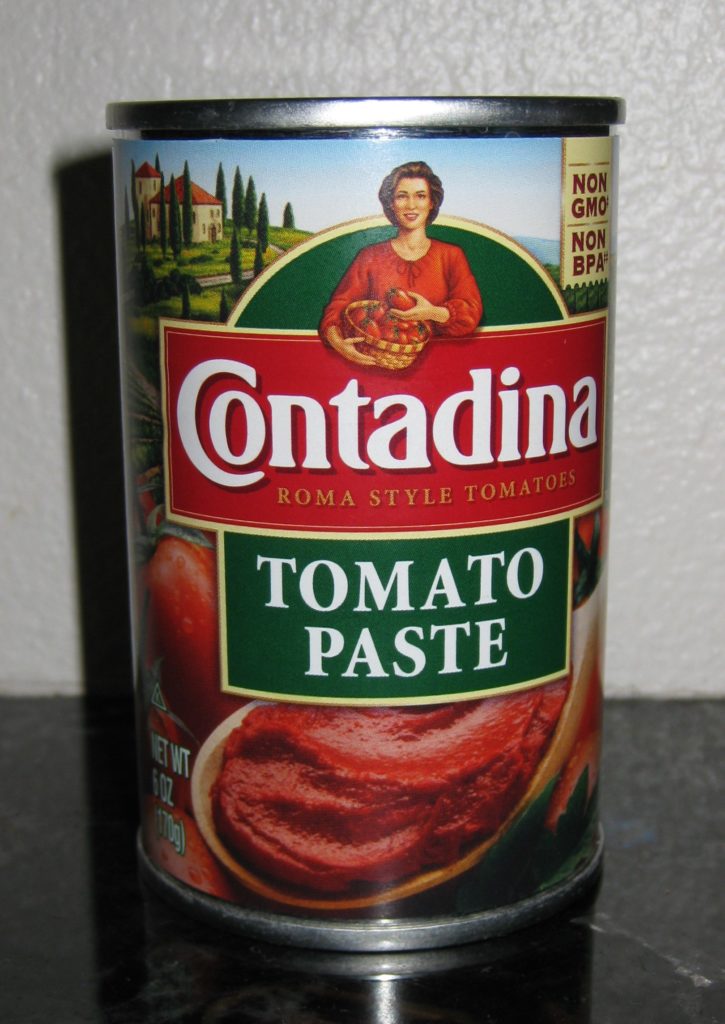
- 300 g tomato puree
- 100 ml dry red wine
- 200 ml whole milk
- Broth as needed
- 45 ml extra virgin olive oil or 50 g butter
- salt to taste
- black pepper freshly ground, to taste
- 100 ml light whipping cream approximately 30% fat (optional, see below)
Ingredients
|
|
- Sauté the pancetta in a heavy-bottomed pot, approximately 7-8 inches in diameter (20 cm). Render as much fat as possible without browning the pancetta. A little gold color is fine.
- Add the olive oil or butter along with the carrot, celery, and onion. Sauté gently until softened, without browning, approximately 10 minutes.
- Add the beef and mix well. Sauté until it sizzles (that is, until all liquid has evaporated and the beef begins to cook in the fat).
- Add the wine and cook gently until it completely evaporates.
- Add the tomato puree. Season with salt and pepper. Cover and simmer for two hours, adding broth as needed when the ragù becomes too thick.
- During the last few minutes add the milk. This will counteract the acidity of the tomatoes.
- Taste and adjust the seasoning.
- If the ragù is going to be used for dried pasta (instead of fresh pasta or lasagna), it is customary to add the cream, otherwise not.
Copyright © 2022 by Villa Sentieri, LLC. All rights reserved.


")
")
")
")
")
")
")
")
")
")


")
")
")
")
")
")
")

")
")
")
")
")
")
")
")
")
")

")
")
")
")
")
")
")
")
")
")
")
")
")
")
")
")

")
")
")
")
")
")
")

")
")
")
")
")
")
")
")
")
")
")
")
")
")