Focaccia Barese (Focaccia from Bari)

January 11, 2023

Never Explain.  Never Apologize.

Somebody famous once said that.

Well, according to Wikipedia, lots of famous people said that but the first, perhaps, is John Arbuthnot Fisher, a British Admiral of the Victorian and Edwardian eras.

I’m about to do both!

It’s been nearly a year since my last blog post.  And many months had elapsed between my next-to-last blog post and that one.  I’m sorry!
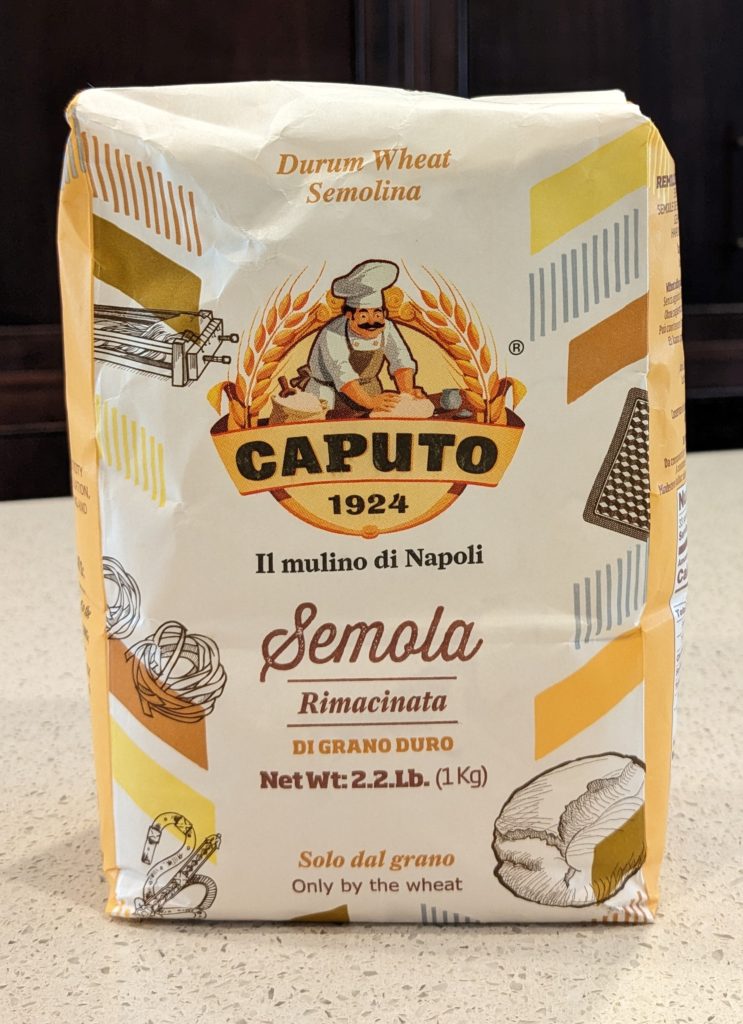
Semola Remacinata, the finest grind of durum wheat flour in Italy.

It amazes, and gratifies me, however, that during that long dry spell I continued to get messages from new readers of the blog and new subscribers to my emails.


Join our mailing list and you’ll never miss a recipe again!


Now let me explain.

Since August 2021 I have been working on a book about how to make artisan Italian gelato.  All the time that I would have devoted to testing recipes and writing blog posts, and more, went to testing recipes for and, ultimately, writing the book.

I sent the manuscript to the publisher on November 1st.  I’ve since revised the manuscript based on multiple rounds of feedback from the developmental editor.  The text is now undergoing line editing.  The photoshoot was completed a few weeks ago and photos were tentatively selected for the book.
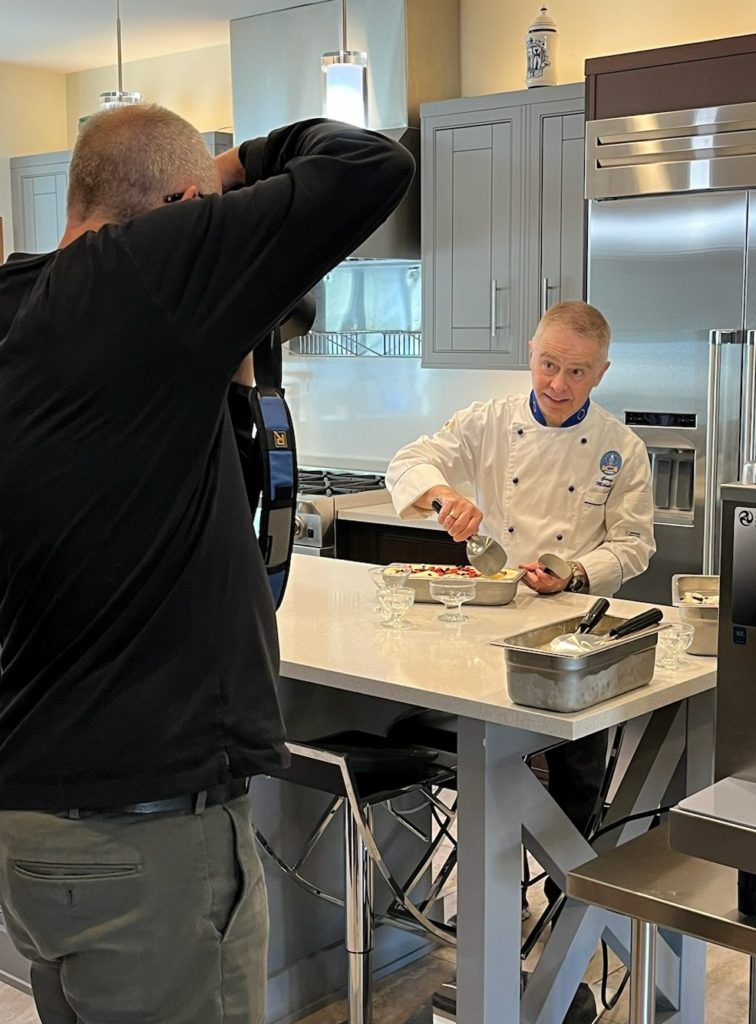
A shot of the photoshoot for my upcoming book on artisan Italian gelato.

I’m anxiously awaiting options for page layout and cover design.  And not-so-anxiously awaiting feedback from the line editor.

Finding myself with more flexibility, I am planning on doing more baking than gelato-making for the next few months.  Winter in Palm Springs is the time to use the oven!

In fact, I had planned to make a coconut almond cake today, my second in less than two weeks.   My goal is to keep at it until I reproduce a taste memory of a coconut almond cake that I ate, one and only one time, in 1967 (or summer arrives in Palm Springs, whichever comes first).  It’s probably a fool’s errand but it is giving focus to my baking efforts.
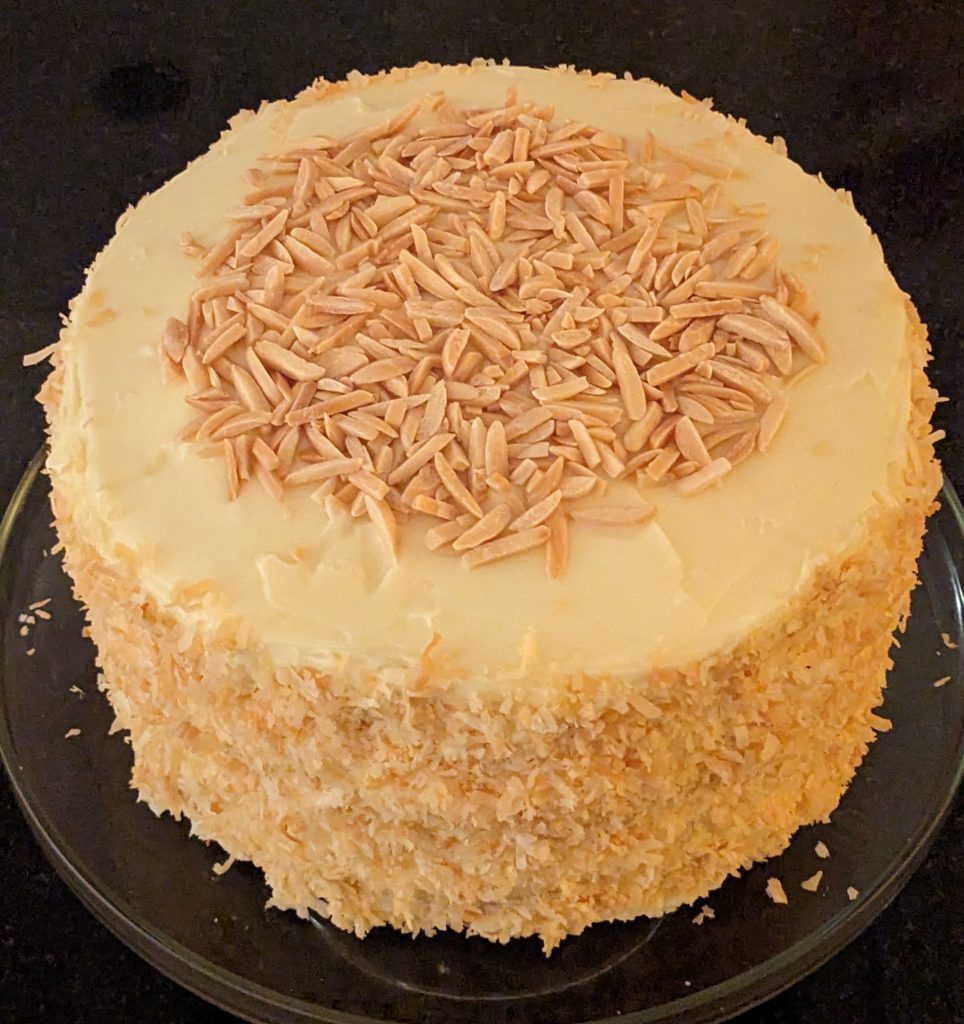
My first coconut almond cake of the winter baking season.

Follow us on social media


A water leak last evening, while I was making dinner, means that the water to the house is shut off until the plumber gets here later today.  No water means no baking.  No baking means that I can repurpose my time to do my first blog post in nearly a year.

I promise to do my best to be more regular in posting.
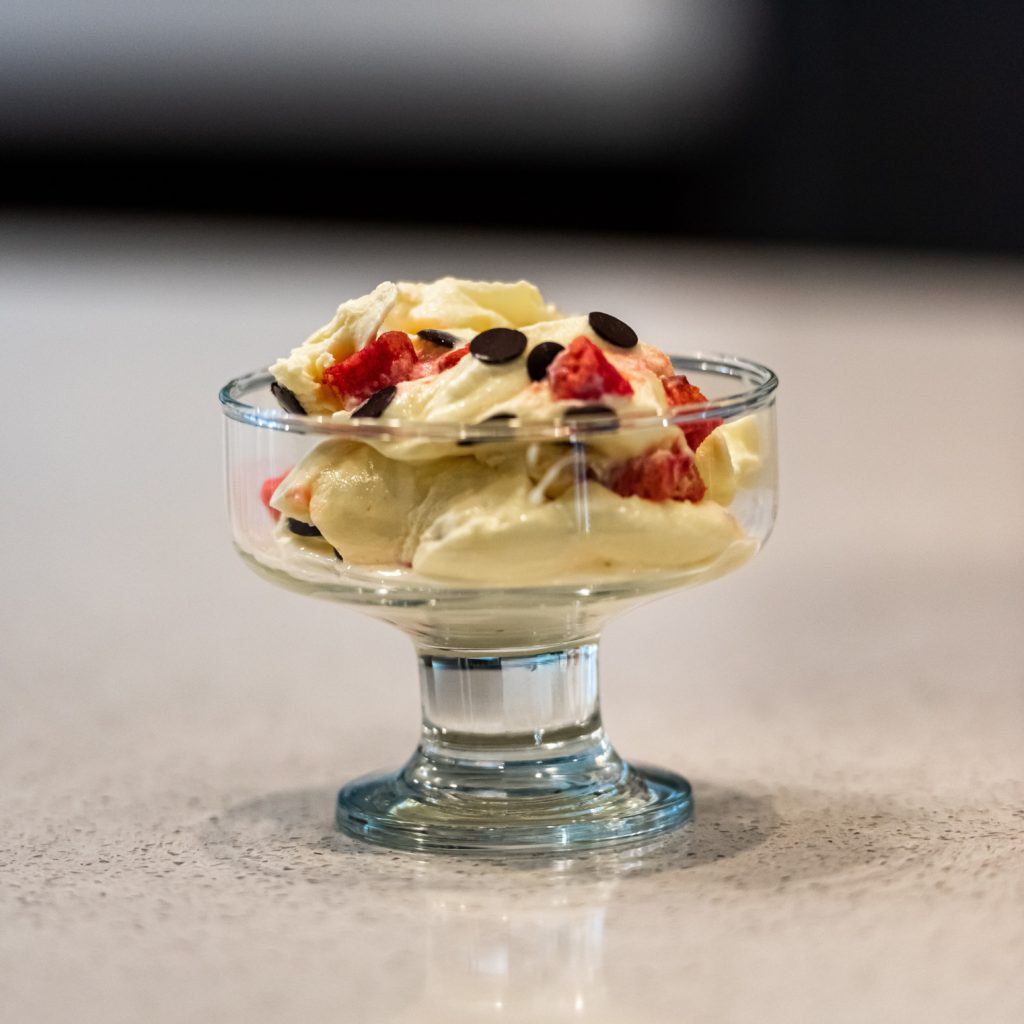
Gelato alla Zuppa Inglese, one of over 75 gelato recipes in my upcoming book. This is an egg-based gelato studded with cake soaked in Italian Alkermes liquore and dark chocolate chips.

Now, let’s pivot to a recipe:  Focaccia Barese (Focaccia from Bari).

I like to serve homemade bread with dinner as much as possible.  This is a recipe that I turn to over and over to put a really tasty bread on the table with minimal active time and often little advance planning.
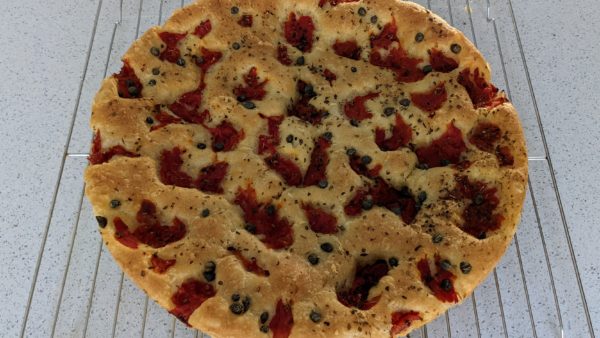
Print Recipe
Focaccia Barese (Focaccia from Bari)
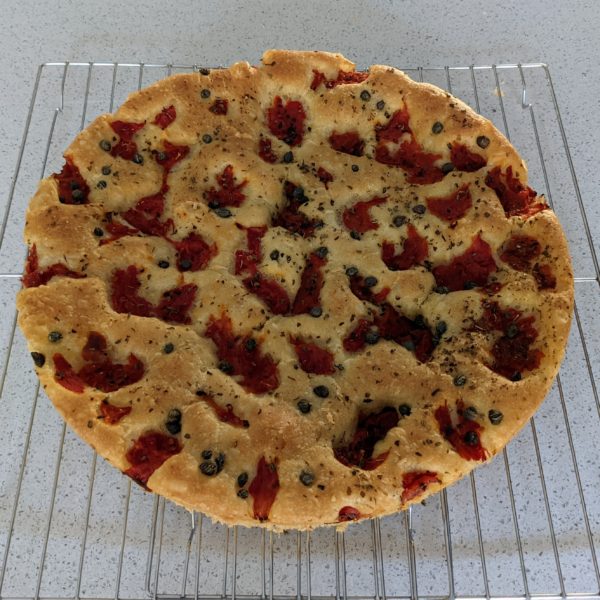
Focaccia is a yeast-risen bread that is made from a dough that has such a high proportion of water that it is almost a batter. Crushed tomatoes as well as capers and/or olives are strewn on top. A good sprinkling of dried oregano and a few glugs of good olive oil round out the flavor. In Italy, flour made from durum wheat comes in three grinds: fine, medium, and coarse, called semola (or semola remacinata, meaning “twice ground”), semolina, and semolino respectively. I usually use semola imported from Italy for this bread. If buying domestic semolina (in English, we use the same word, regardless of the grind) look for one that is finely ground.
Votes: 0
Rating: 0
You:
Rate this recipe!
Cuisine Italian
Prep Time 25 minutes
Cook Time 35 minutes
Passive Time 3 hours
Servings
loaf
Ingredients
Cuisine Italian
Prep Time 25 minutes
Cook Time 35 minutes
Passive Time 3 hours
Servings
loaf
Ingredients
Votes: 0
Rating: 0
You:
Rate this recipe!
Instructions
  1. Put flour, semola, and yeast in the bowl of a stand mixer. Using the paddle, NOT the dough hook, begin to mix on low.
  2. Slowly drizzle in the water. When the water is fully mixed in, sprinkle in the sugar.
  3. Add the salt and beat on medium high you see strings of gluten form in the dough, approximately 4-5 minutes. The dough will get stretchy and if you pull a bit, it should look stringy.
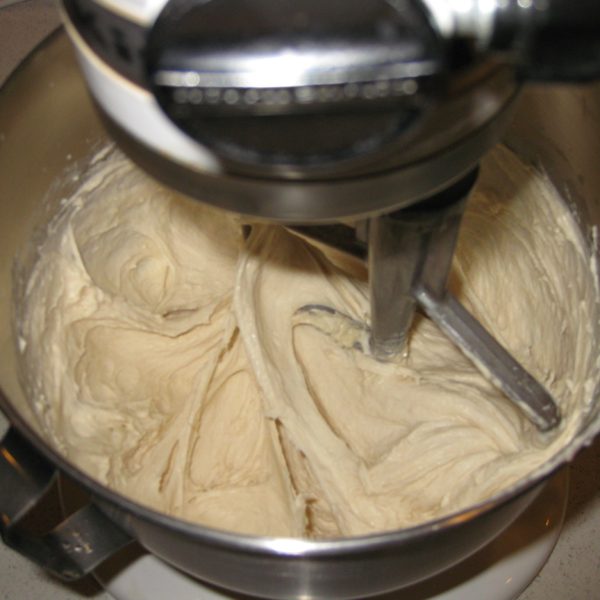
  4. Drizzle in the extra-virgin olive oil and mix on medium until well combined.
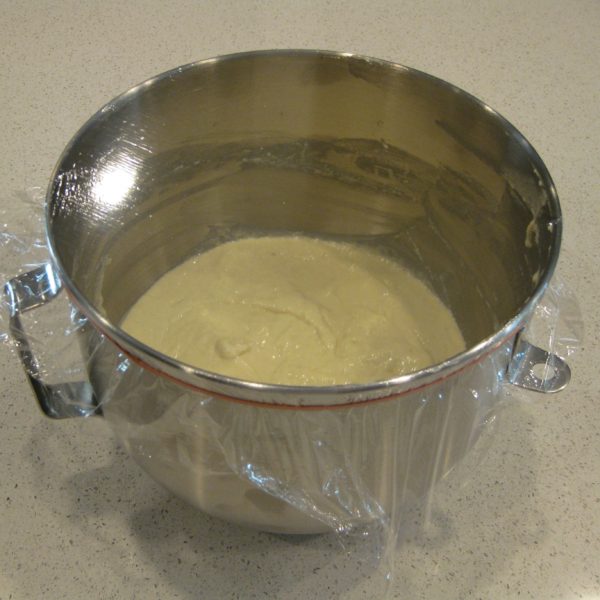
  5. Cover the bowl with plastic wrap and allow to rise for about two hours.
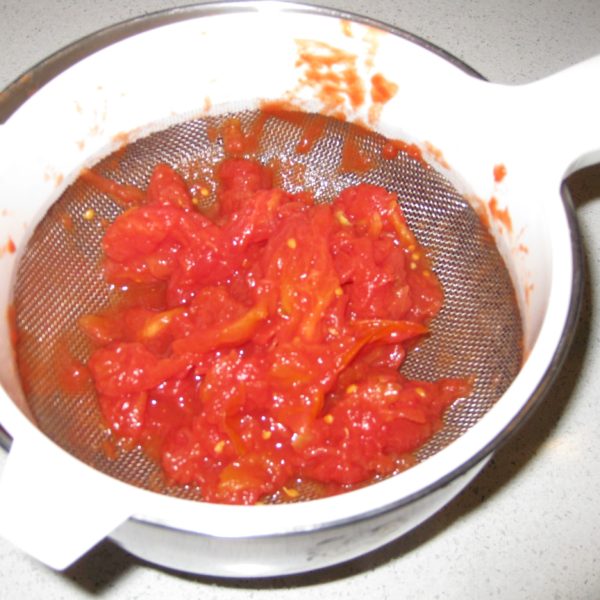
  6. Meanwhile, drain the canned tomatoes through a sieve. If the tomatoes are whole, coarsely crush them by hand and allow to drain further. If you are using diced tomatoes, crushing is not needed.
  7. Oil a circular baking pan, 12” in diameter x 2” high with more extra-virgin olive oil.
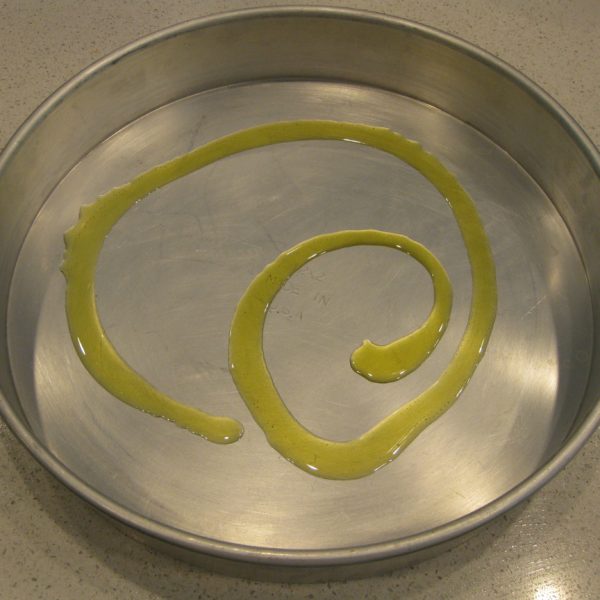
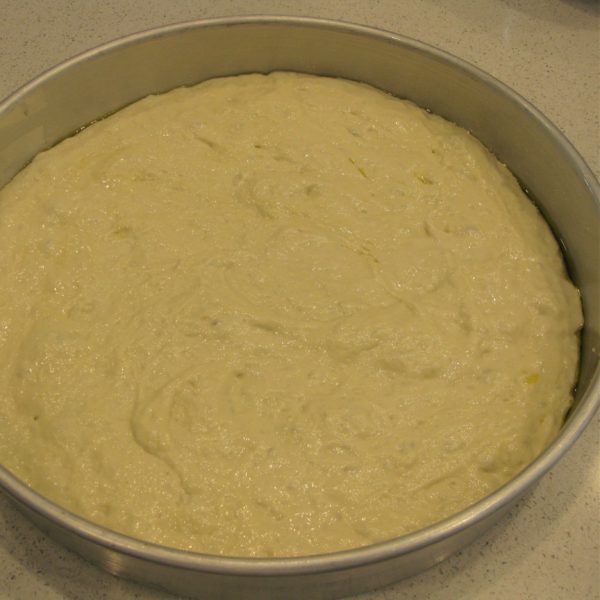
  8. Pour in the dough. Lightly oil your fingertips and press into the dough, without stretching, until it is evenly spread out in the pan.
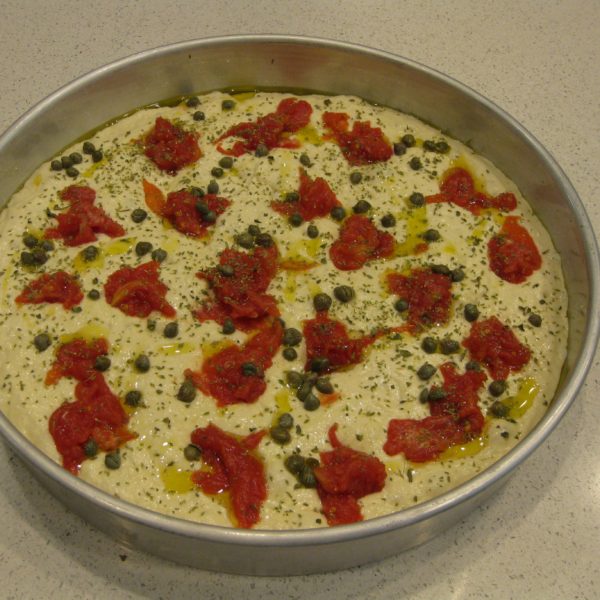
  9. Arrange crushed tomatoes, capers, and olives, if using, on top. Drizzle with more extra-virgin olive oil. Sprinkle with oregano.
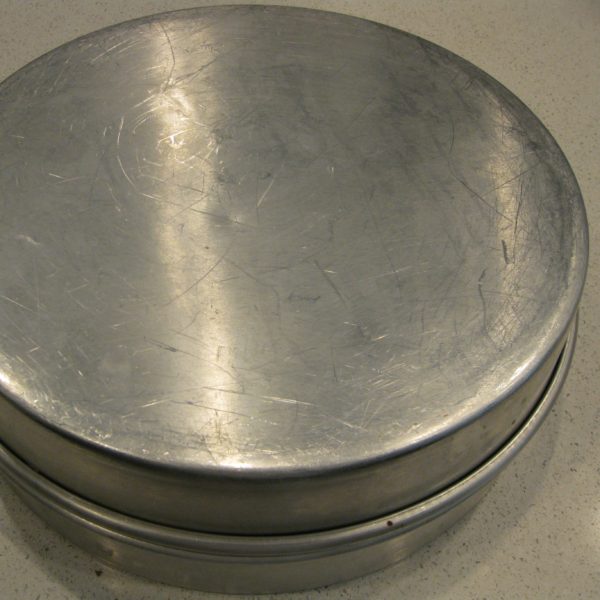
  10. Cover the pan and allow to rise. If you have another baking pan of the same size, turn it upside down and use it as a cover. If not, invert a large bowl over the baking pan. Whatever you do, be sure there is some space above the rim of the pan so that the dough has room to rise.
  11. When the dough reaches the top of the pan, carefully transfer it to the oven so it doesn’t deflate.
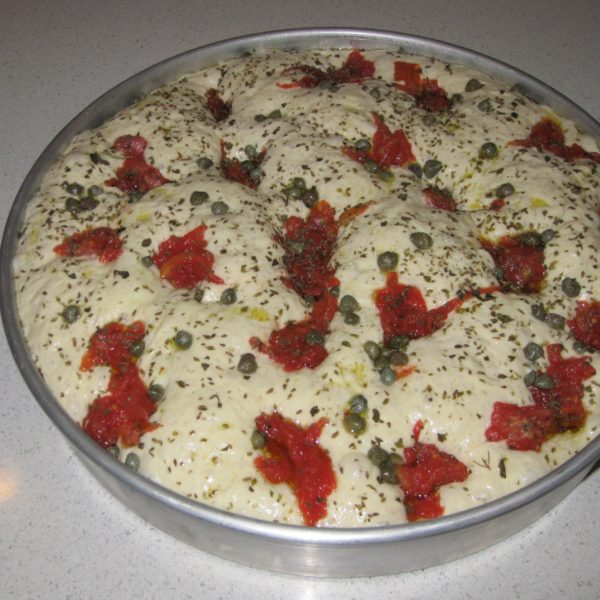
  12. Bake at 375°F with convection (or 400°F without convection) for approximately 35 minutes, turning once or twice, until browned and just beginning to pull away from the sides of the pan.
  13. Cool the bread in the pan set on a rack before removing it.
Recipe Notes

Copyright © 2023 by Villa Sentieri, LLC. All rights reserved.

Share this Recipe

Pollo allo Scarpariello (Chicken Shoemaker Style)

October 8, 2021

Unappetizing pictures!

Sometimes really delicious food makes unappetizing pictures.

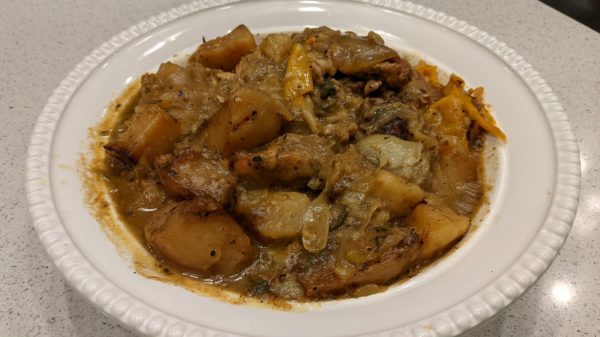
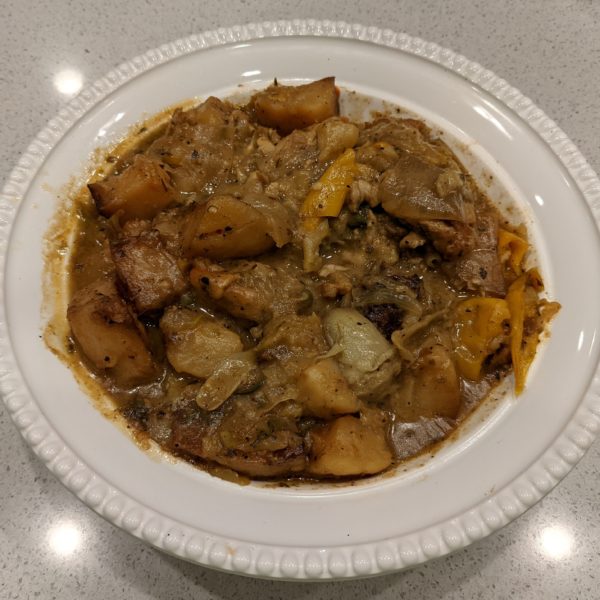
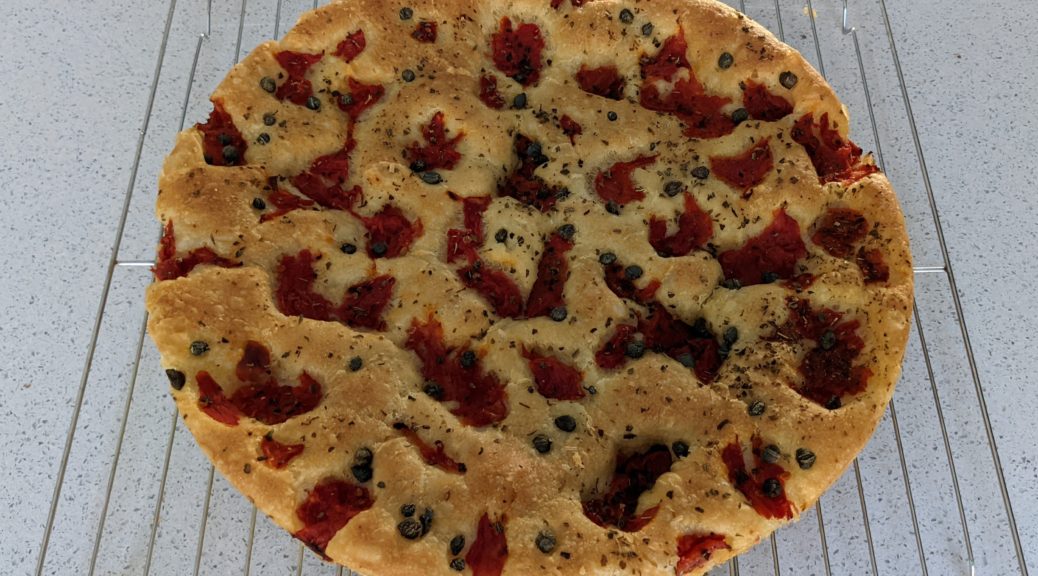
Take Chicken Scarpariello, for example.  By the time the chicken is unctuous, the potatoes creamy, and the sauce tangy the dish is unappetizingly brown (at least in a photograph).  I discovered this when looking at the photographs I had taken for this blog post.

This is really a shame because the taste is superb.

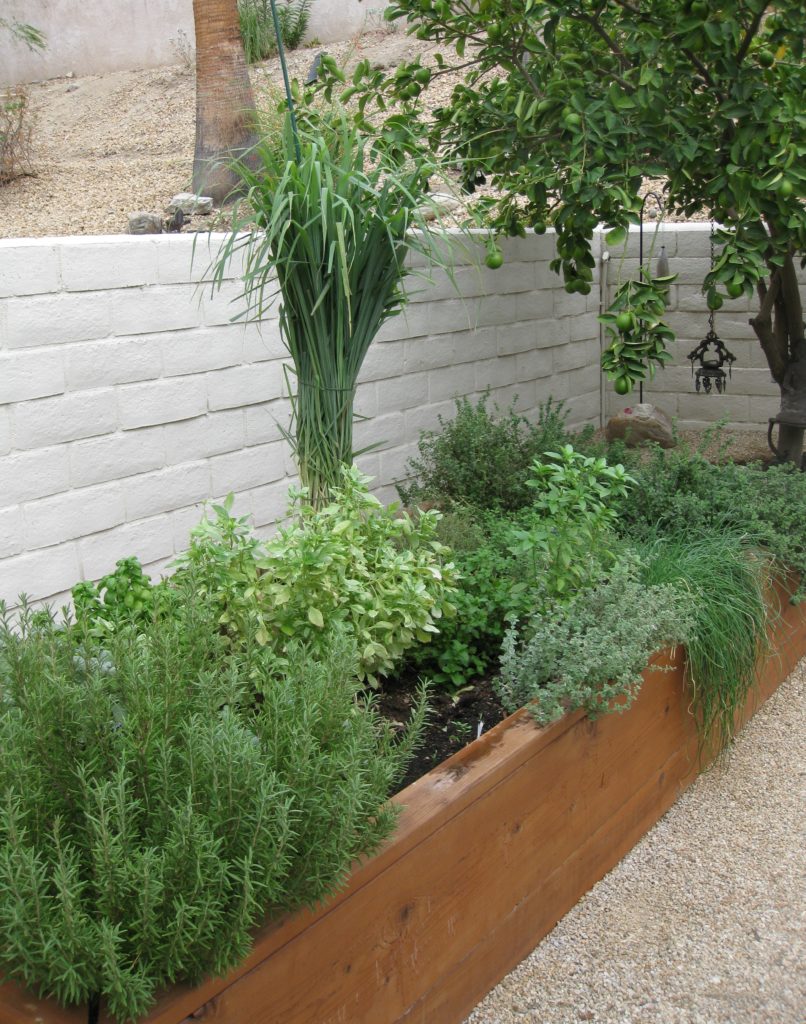
We’re several weeks into planting our new vegetable beds but these herbs have been going strong since March 2021. They were cut back drastically last week to encourage growth.

Brown food can be challenging to photograph, especially brown food in a brown sauce.  Food stylists might solve this problem by using barely cooked potatoes that look pale and peppers that are still yellow and green, not really cooked as required by the dish.  This doesn’t represent reality.  The dish, cooked properly, will never look like the photograph.  This is an approach that I think is inherently unfair.

I’m willing to admit that some of the problem relates to my picture-taking ability.  My photographic ability isn’t great but even that meager ability sometimes suffers because I’m hastily taking photographs as I’m trying to put the food on the table.


Follow us on your social media platform of choice


If I weren’t doing that, I could carefully plate a piece of chicken with the potatoes and peppers artfully arranged off to the side, lots of white space on the plate, and a few colorful garnishes or side dishes.  I could even wipe a little of the sauce off of the potatoes to make them lighter in color.  All this would mitigate the “brown problem” but it just isn’t practical because the food I post on the blog is something that I actually made to eat at the moment it is ready.

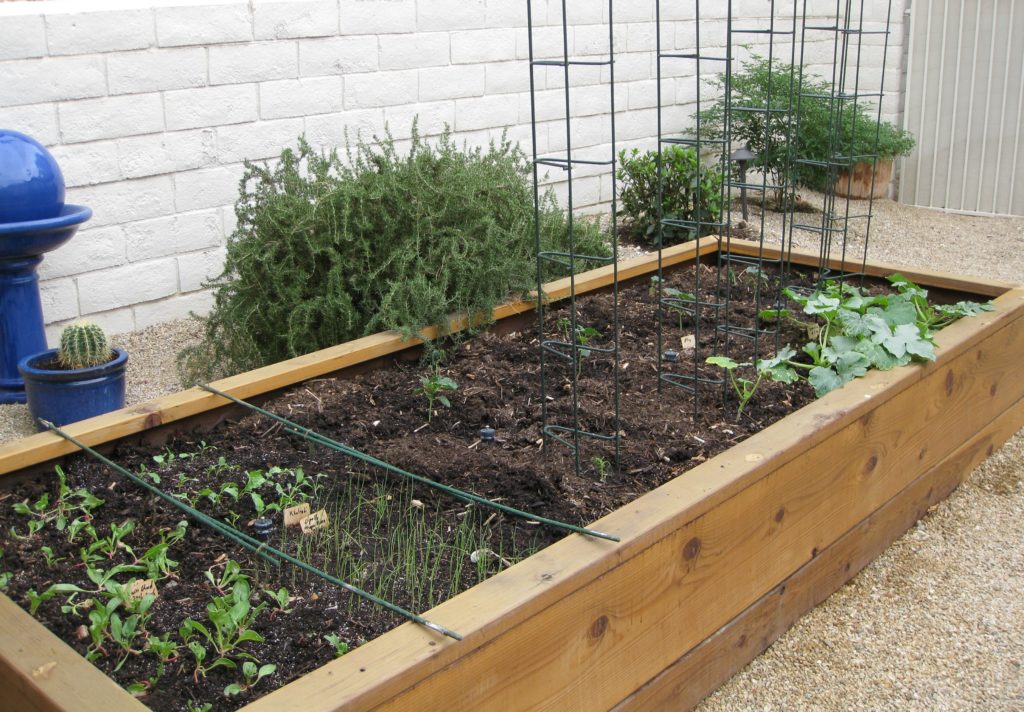
One of three vegetable beds beginning to sprout.  In the back, not in the bed, are four plants: rosemary, bay, chile pepper, and niepita.

I guess I could spend time carefully taking pictures and serve cold food but that approach wouldn’t last long in my household.

I could cook specifically for the blog and not worry about serving the food, at least not the day I cook it.  That would create a major leftover problem.  Besides, many dishes aren’t at their best when reheated.  On the other hand, many foods are better if made in advance.  So, I guess this is a partial solution to the problem that could work on a case-by-case basis depending on what the dish is.


Join our mailing list and you’ll never miss a recipe again!


I can think of other potential solutions but each has its problem.  This could include having a photographer arrange the plate and photograph it (presumably while I’m having dinner with the rest of the household).

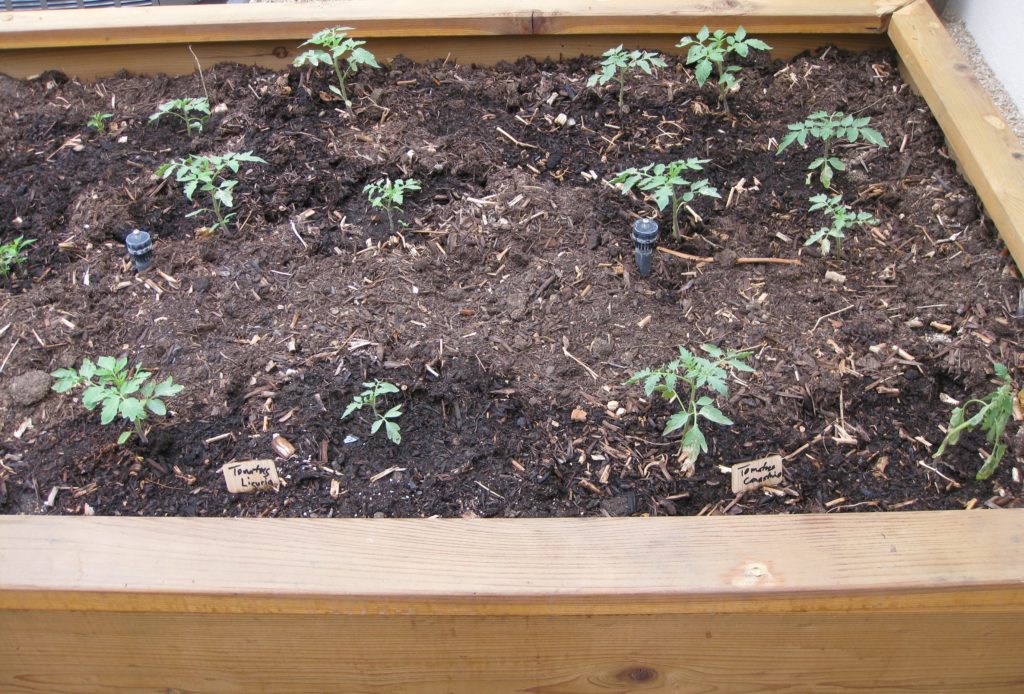
We’re looking forward to a winter crop of tomatoes!

Alternatively, I could serve everyone then spend time arranging a plate to photograph, hoping to join the dinner table before everyone is finished.

I’ll keep working on a fix to the issue but, in the meantime, I encourage you to try this Italian-American dish.  It scales up easily so you can feed a crowd if you need to.  The leftovers are pretty incredible, too!

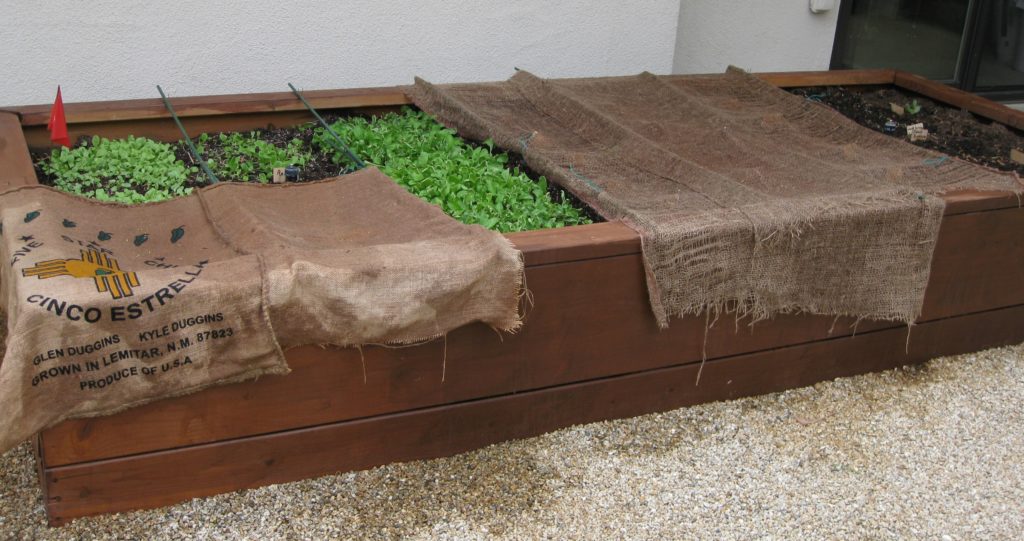
Greens for salad being started directly in the bed.

American websites, including the New York Times, usually say the name of this dish translates as Chicken Shoemaker Style.  However, you won’t find the word “scarpariello” in an Italian dictionary.  To be sure, the word “scarpa” means shoe but the Italian word for shoemaker is “calzolaio.”  Scarpariello, however, is the word for shoemaker in the Neapolitan dialect, which gives a clue as to which immigrant group might have been responsible for creating this Italian-American favorite.

Print Recipe
Pollo allo Scarpariello (Chicken Shoemaker Style)
Scarpariello means shoemaker in the Neapolitan dialect. This may give a clue as to the origins of this Italian-American favorite. The dish builds on a classic combination in the cooking of many regions of Italy: chicken cooked with wine and vinegar. The capers are optional. Use sweet or hot pickled peppers as you prefer or, if you want to spice it up, add some crushed red pepper when sautéing the garlic. If you don't have a stove-to-oven pot large enough to hold all the ingredients, do the browning in a large saute pan then assemble everything in a large baking dish.
Votes: 0
Rating: 0
You:
Rate this recipe!
Course Mains, Poultry
Prep Time 30 minutes
Cook Time 2 1/2 hours
Servings
people
Ingredients
Course Mains, Poultry
Prep Time 30 minutes
Cook Time 2 1/2 hours
Servings
people
Ingredients
Votes: 0
Rating: 0
You:
Rate this recipe!
Instructions
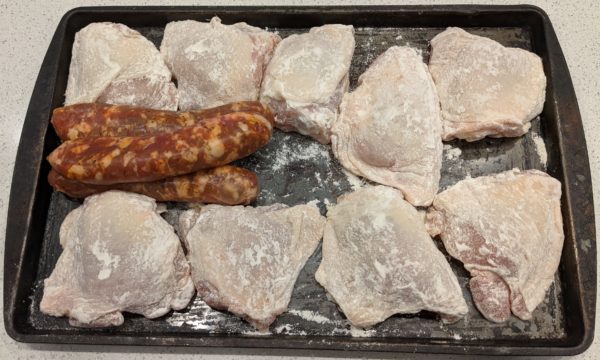
  1. Dredge the chicken in flour. Reserve.
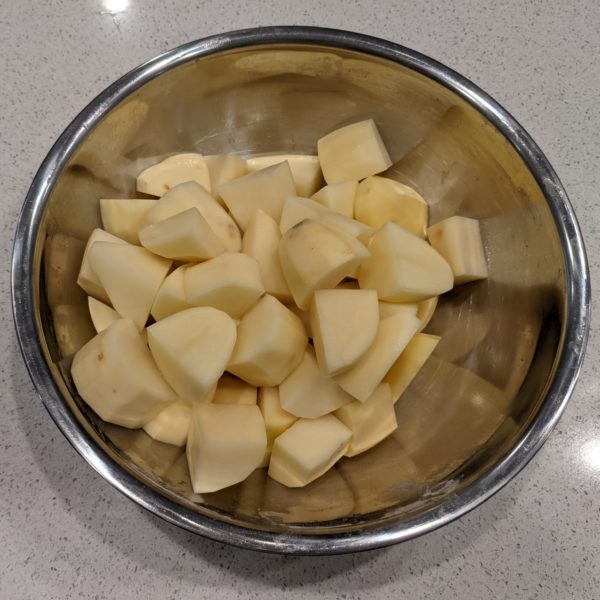
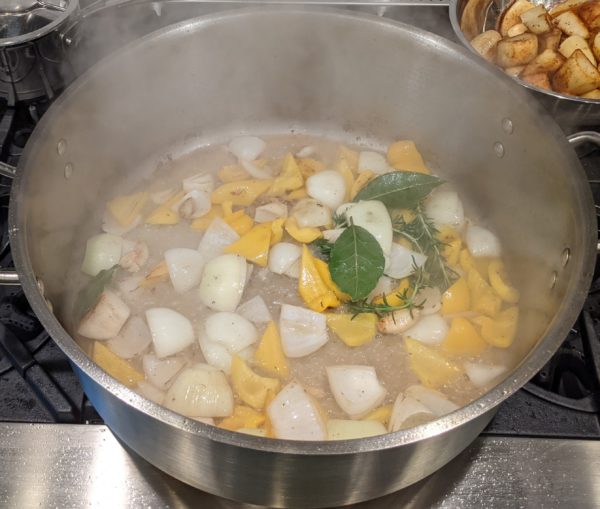
  2. Peel the potaotes and cut in large chunks.
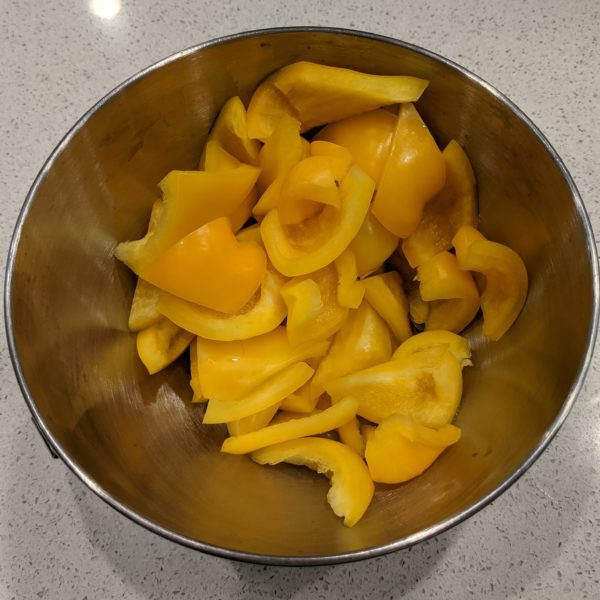
  3. Cut the Bell peppers in triangles
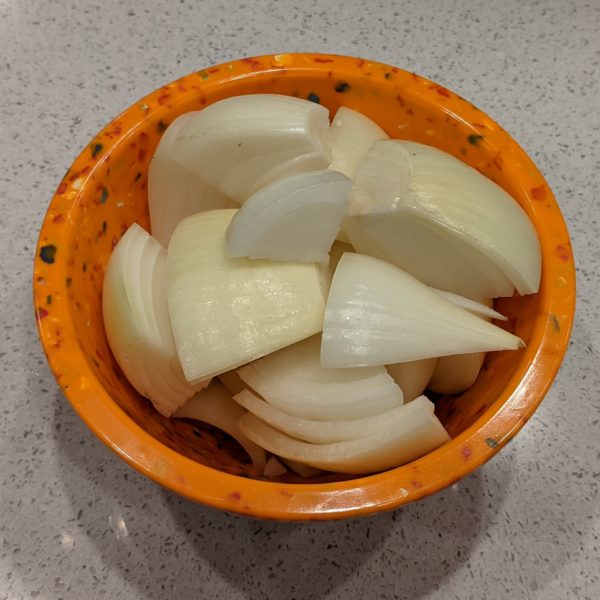
  4. Cut the onions in eighths
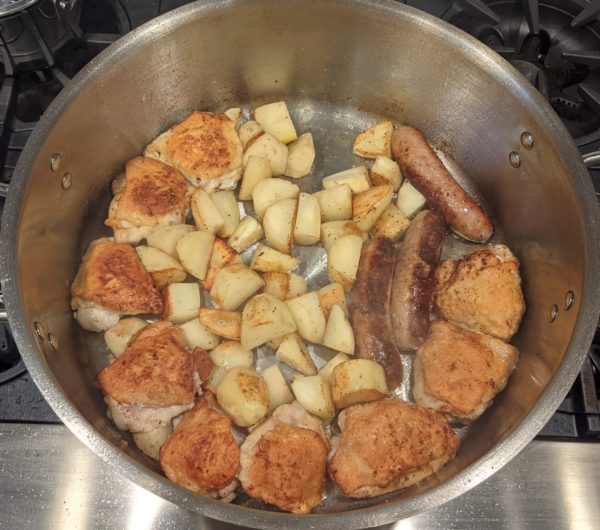
  5. In a large stove-to-oven pot, heat the olive oil. Brown the chicken, sausage, and potatoes. Do this in batches, if necessary.
  6. Remove everything from the pot. Cut the cooked sausage into 1 ½ inch long pieces.
  7. Add the garlic to the oil remaining in the pot and sauté until it is fragrant and golden.
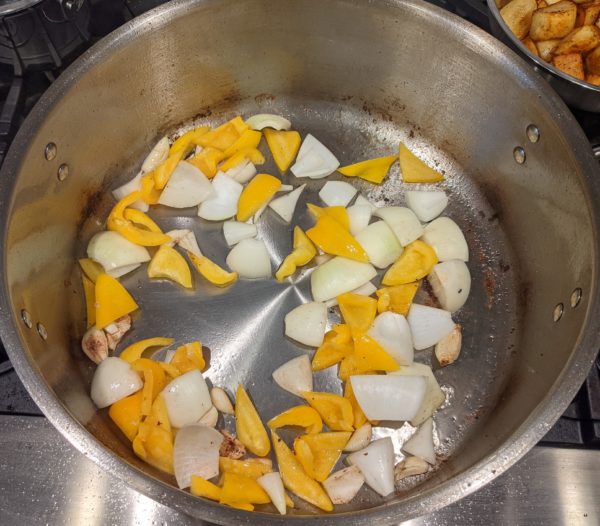
  8. Add the bell pepper and onion, season with salt, and sauté until the onion is beginning to soften and turns gold and brown in spots.
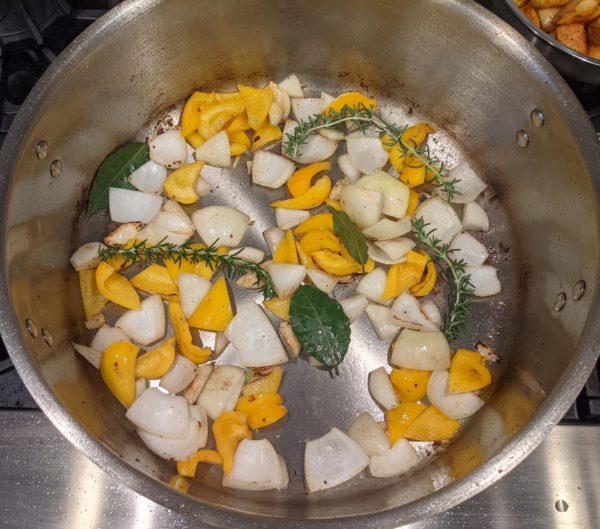
  9. Add the rosemary and bay leaves and sauté briefly.
  10. Add the wine and deglaze.
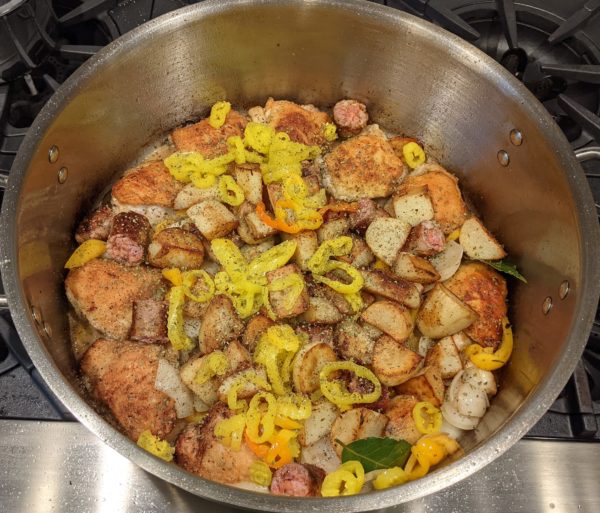
  11. When wine is almost completely evaporated, return chicken, sausage, and potatoes to the pot along with any accumulated juices.
  12. Add about 1 cup of chicken broth and the vinegar along with the pickled peppers. Season well with salt, pepper, and oregano.
  13. Bring to a boil, cover, and put in the oven at 350°F.
  14. An hour later, stir the contents of the pot. Add the drained artichoke hearts and capers, if using. Add more broth if needed to keep the contents from sticking. Adjust the seasoning.
  15. Cook for another hour until chicken is very tender and potatoes are cooked through.
  16. Stir in parsley and serve.
Recipe Notes

Copyright © 2021 by Villa Sentieri, LLC. All rights reserved.
Share this Recipe

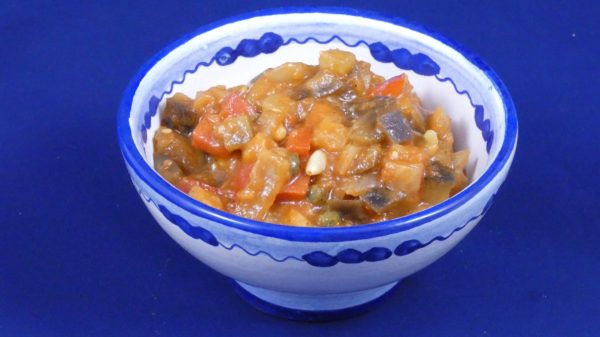
Caponata: A Taste of Sunny Sicily

January 22, 2020

The origins of both caponata and its name are unknown but that doesn’t keep some “authorities” from making definitive statements about both its origins and its name.  Other authors are more cautious about how they approach the topic.  There are many theories.  There are perhaps more theories about the origins of the dish and its name than there are versions of caponata itself, and that’s saying a lot.

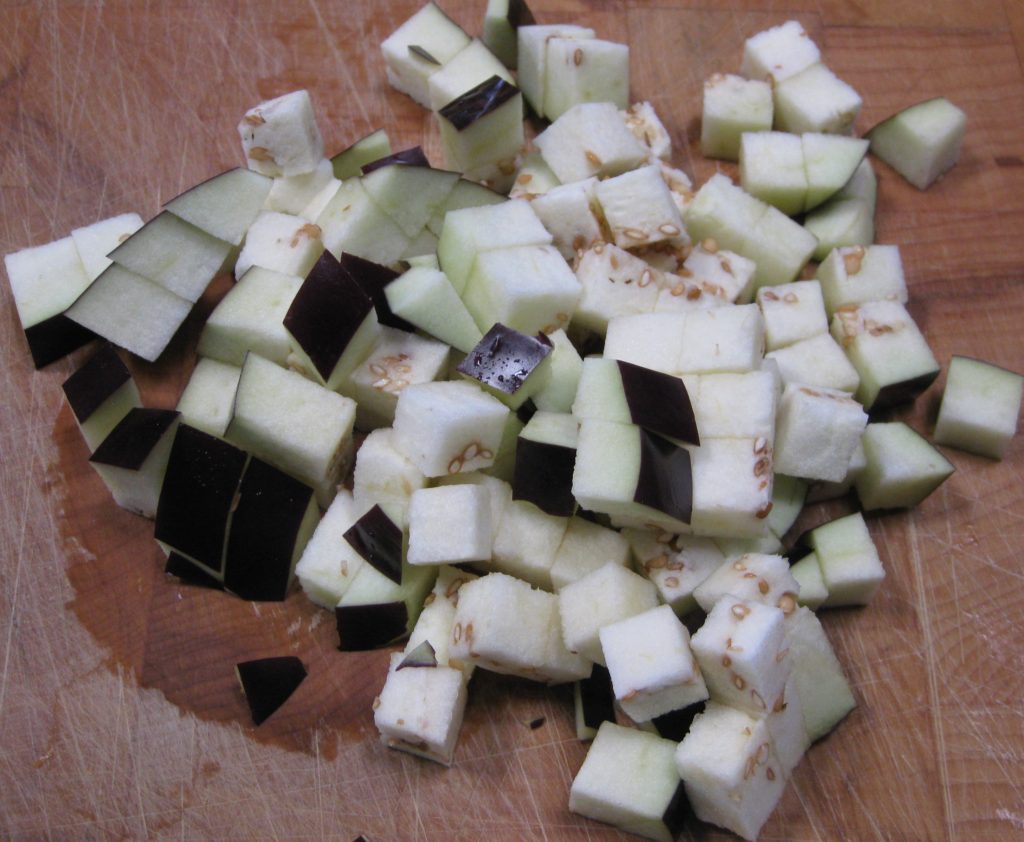
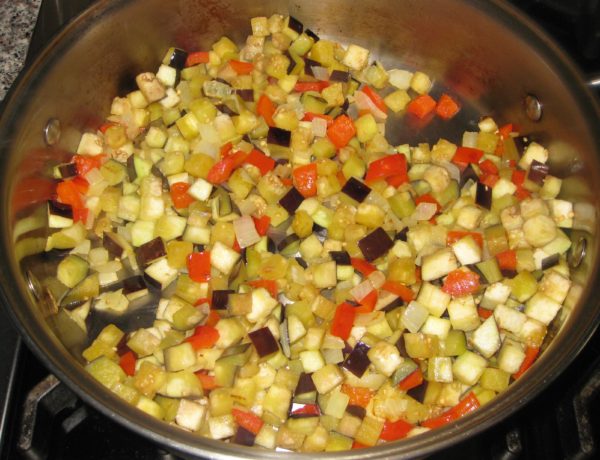
Leaving the skin on the eggplant improves the texture of the caponata.

What we do know is that caponata, as we now know it, is Sicilian though there are traditional Neapolitan versions as well.


Join our mailing list and you’ll never miss a recipe again!


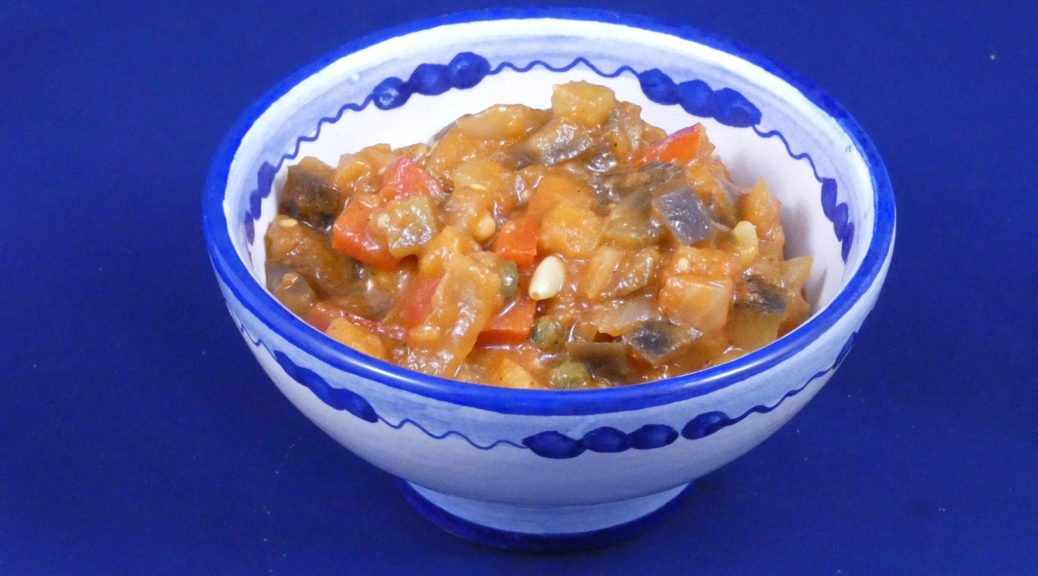
At its most basic caponata is a vegetable dish (though some versions include fish) with eggplant typically being the predominant ingredient (though there are other versions, such as one with artichokes) in a lightly sweet and sour sauce that usually contains some tomato product (fresh tomatoes or tomato sauce of some sort) and capers.

Beyond the basics, caponata has numerous traditional regional variations from different areas of Sicily.  There are also the endless variations introduced by individual cooks.

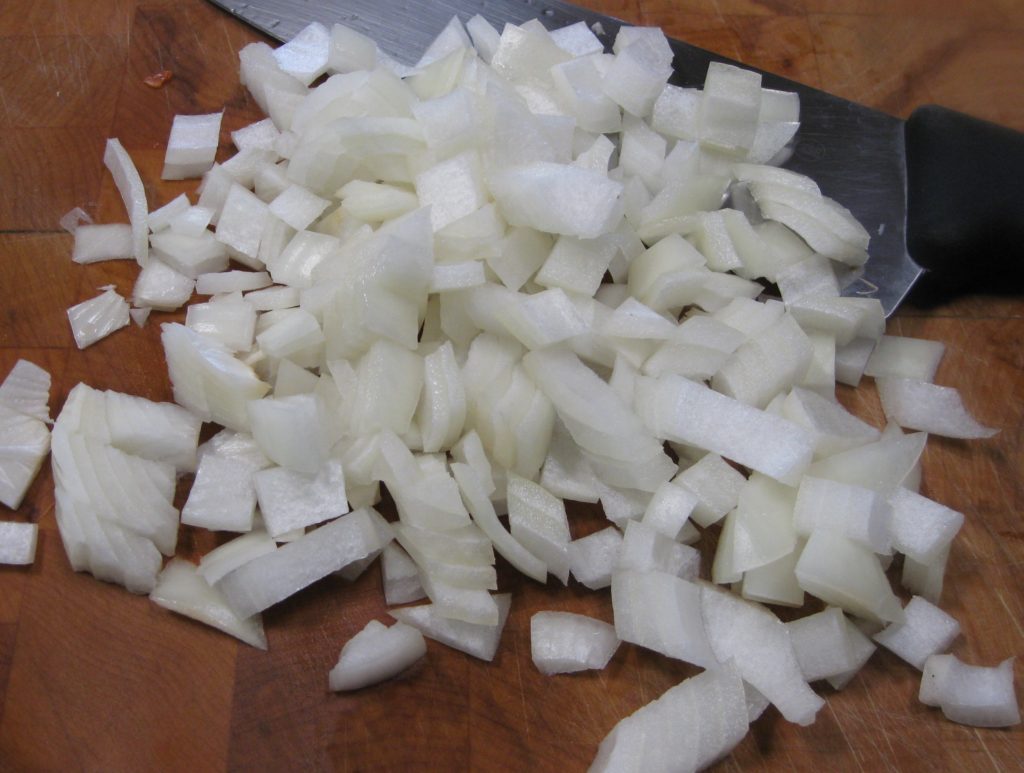
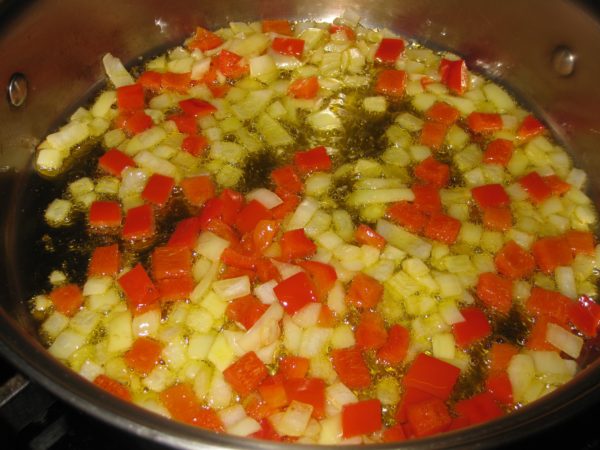
Onions are a common addition to caponata.

One could add or subtract celery, sweet peppers, zucchini, olives, pine nuts, almonds, and raisins (to name a few).

The eggplant can be fried, sautéed, or steamed (but almost always with the skin on).

Caponata can be served on a slice of toasted bread (crostino), as (part of) an antipasto, as a side dish (contorno), or as a main dish (secondo).  Though not traditional, I like tossing it with pasta.

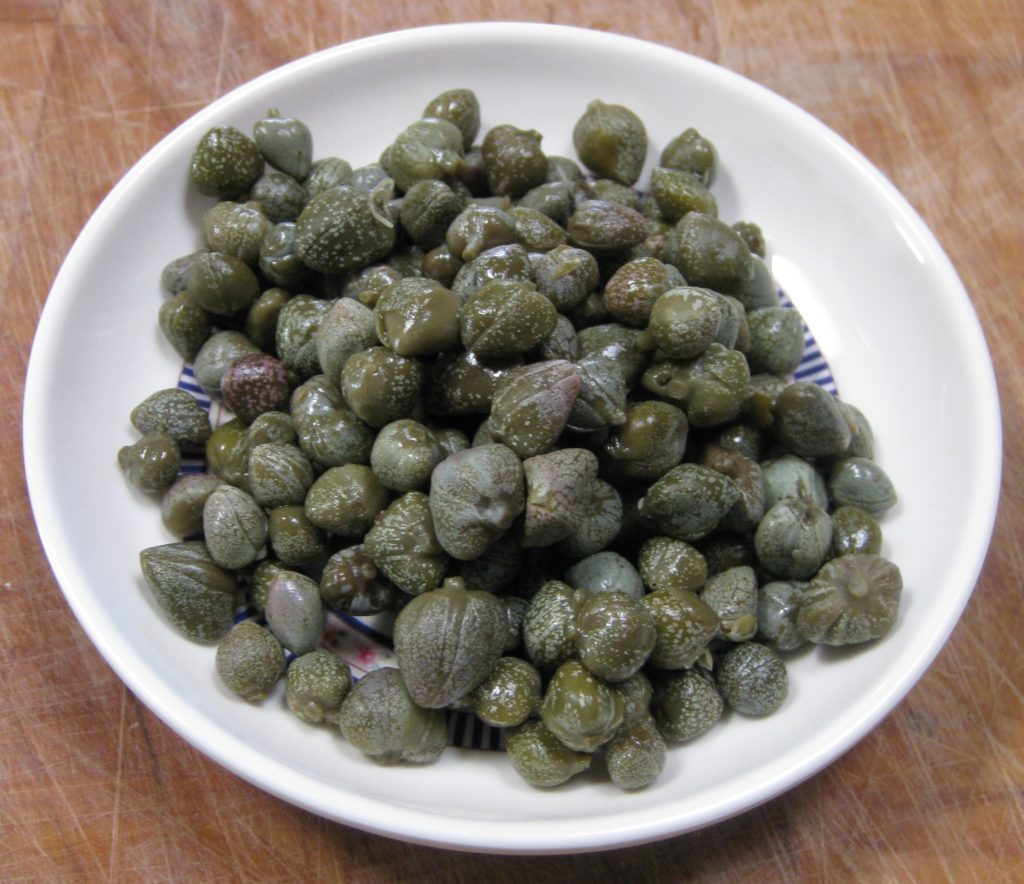
Capers are in virtually every traditional version of caponata. Some authorities suggest the name “caponata” may be related to the word “caper.”

I prefer caponata that is neither aggressively sweet nor sour and, while the vegetables should not be mushy, I don’t want to hear a crunch when I bite down.


Follow us on your social media platform of choice


If I were drowning in home-grown tomatoes during harvest season, I’d probably work on perfecting a version that uses fresh tomatoes.  Since that’s not the case, my version uses tomato sauce.  The advantage is that I can make it year-round as the necessary vegetables are always available and of good quality.

Though it should not be frozen, caponata can be canned.  In fact, one of the demonstrations that I did for students at the Italian Culinary Institute this past September was how to can caponata.

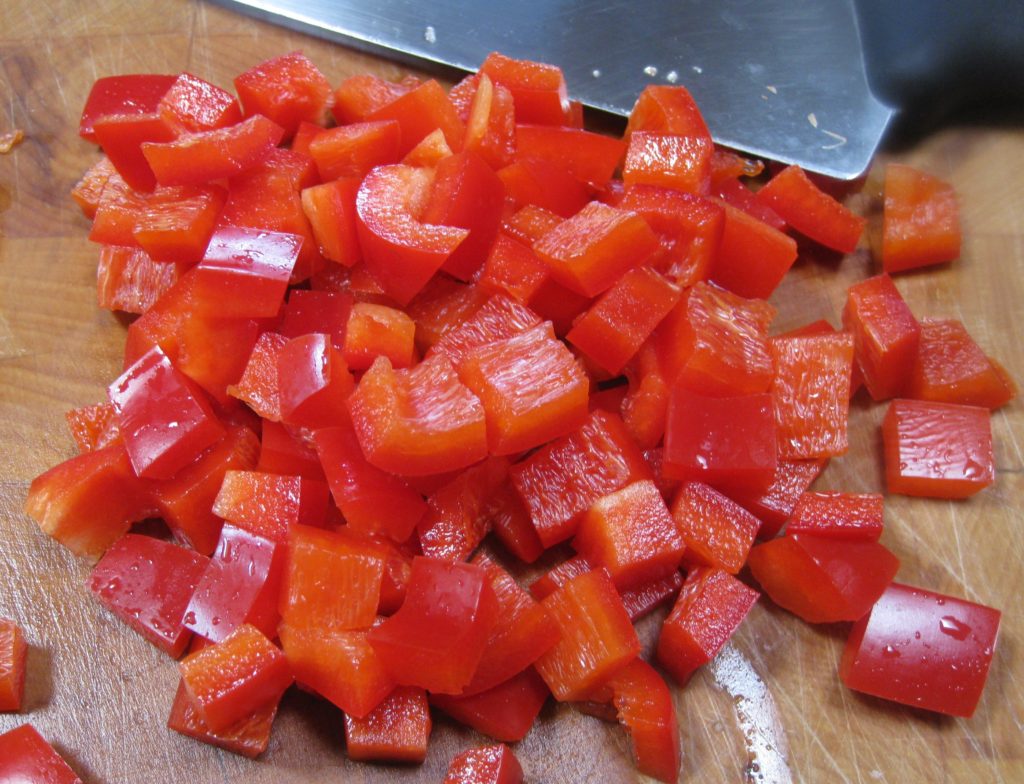
Sweet peppers are traditional in some versions of caponata.

Unlike Italy, where the best eggplants and peppers are available only “in season” that’s not true in the United States.  Rather than canning a large batch of caponata, I just make it whenever I want some.

I hope you enjoy this version of caponata.

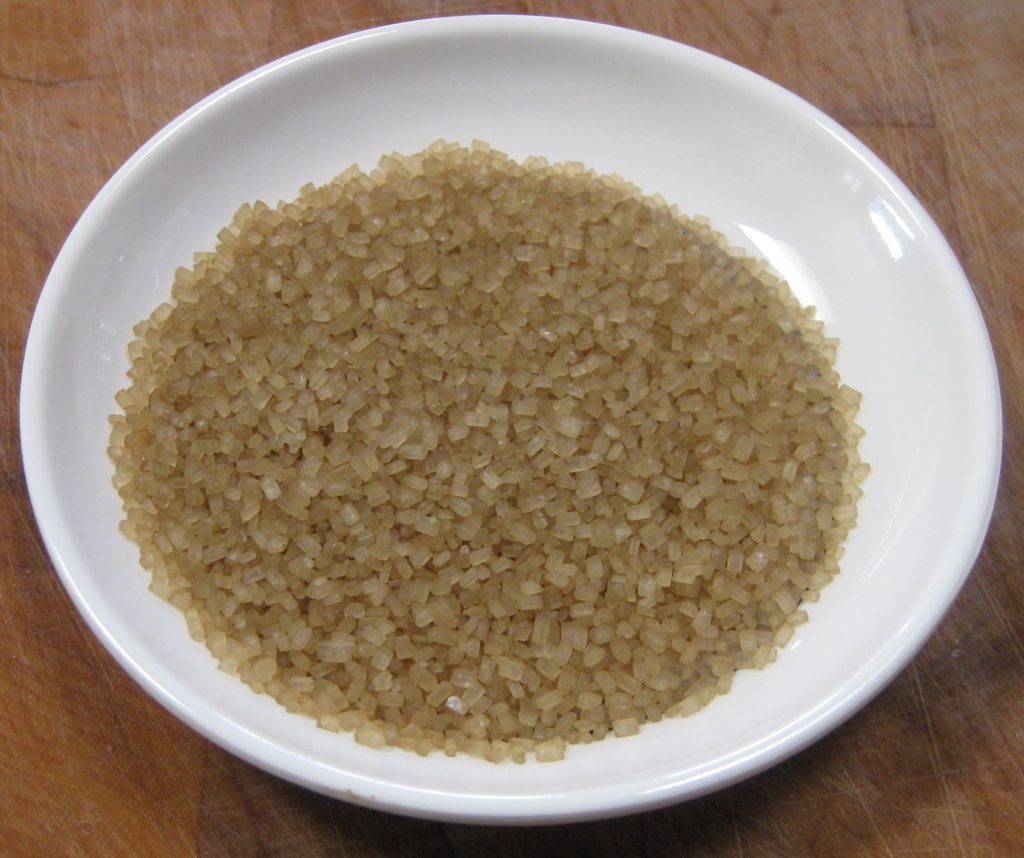
Turbinado or Demerara sugars are good substitutes for Italian “cane sugar” (zucchero di canna).

If you want to get more into the fray about the origins of caponata or its name, or the different versions, you can look here, here, here, here, here, or here.

Print Recipe
Caponata: A Taste of Sunny Sicily
There is a link to the recipe for Basic Tomato Sauce in the Notes section below. Any simple tomato sauce, or even tomato puree, could be substituted. If vegetable broth is not available water can be used. To my American readers, I apologize for the metric measures. You can convert to American measures by using the dropdown menu below. Turbinado and Demerara sugars are most similar to the “cane sugar” used in Italy. American light brown sugar would work in this recipe since the quantity is small. You can use either vinegar-packed or salt-packed capers.
Votes: 0
Rating: 0
You:
Rate this recipe!
Prep Time 30 minutes
Cook Time 45 minutes
Servings
cups
Ingredients
Prep Time 30 minutes
Cook Time 45 minutes
Servings
cups
Ingredients
Votes: 0
Rating: 0
You:
Rate this recipe!
Instructions
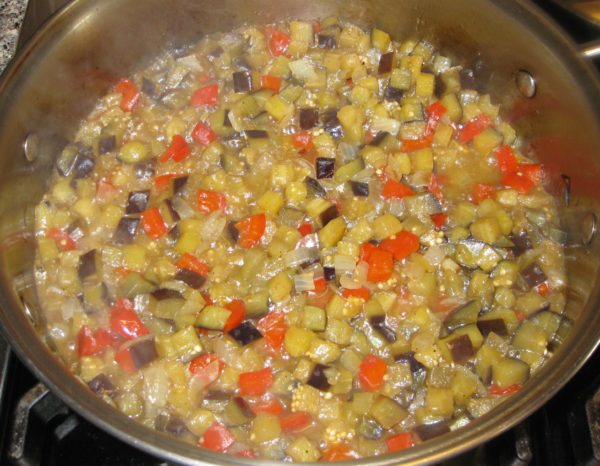
  1. Sauté the peppers and onions in olive oil with a pinch of salt until the onions become translucent.
  2. Add the eggplant and sauté until most, but not all, of the eggplant has become translucent.
  3. Add the vegetable stock and salt and pepper to taste. Cover and cook until just tender, 5-10 minutes.
  4. Remove cover. Quickly evaporate any remaining liquid.
  5. Add sugar and vinegar. Cook over moderately high heat until almost dry.
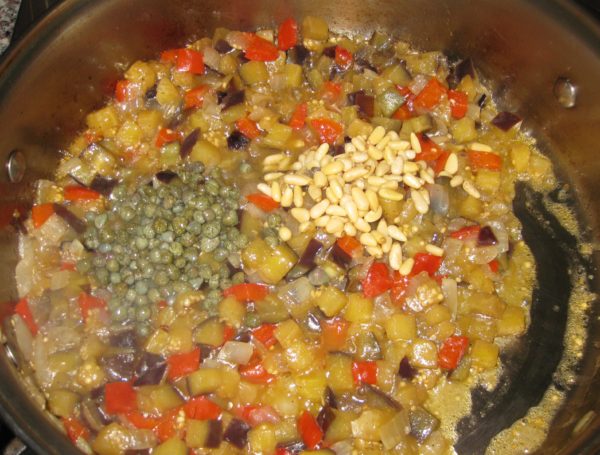
  6. Add the capers and pine nuts.
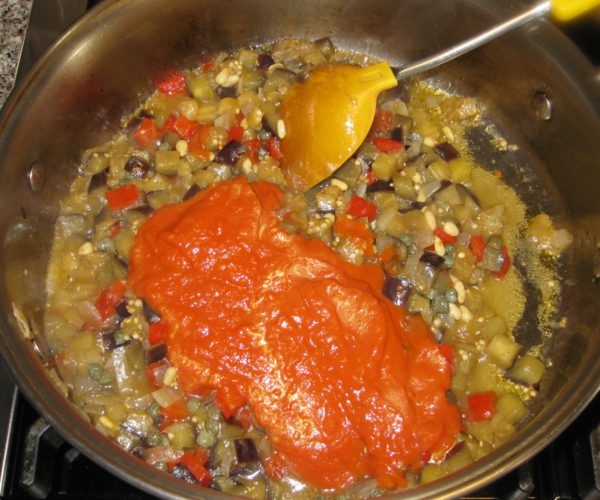
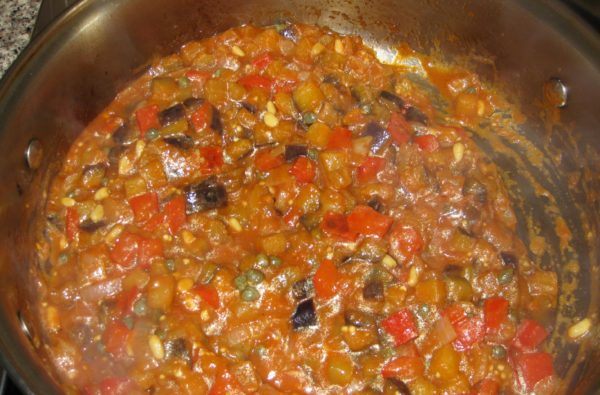
  7. Add the tomato sauce. Simmer briefly to blend flavors, 5-10 minutes.
  8. Adjust salt and pepper while cooking.
  9. Refrigerate.
  10. Bring to room temperature for serving.
Recipe Notes

The recipe for Basic Tomato Sauce can be found here.

Copyright © 2020 by Villa Sentieri, LLC. All rights reserved.
Share this Recipe