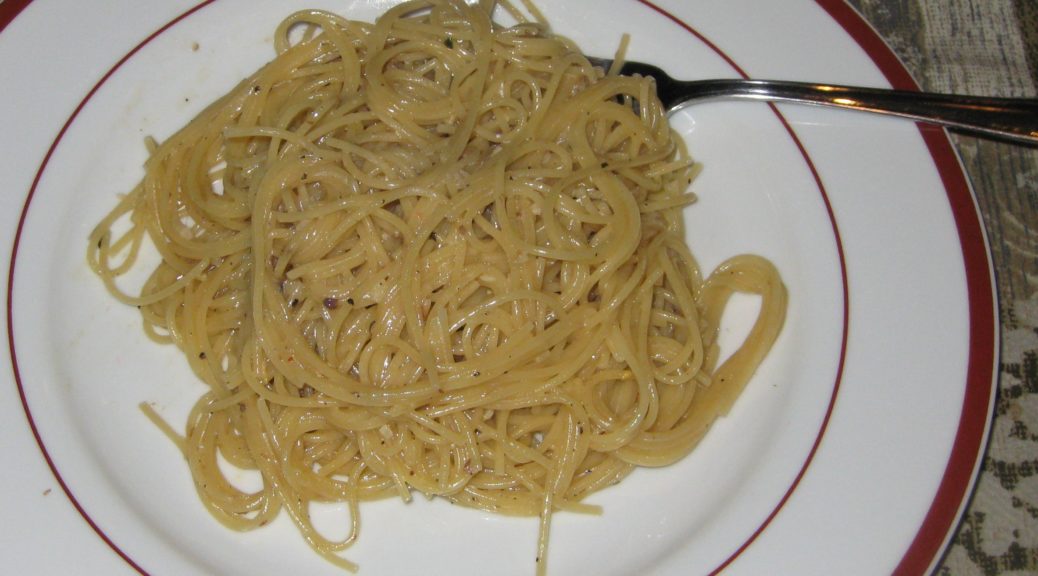
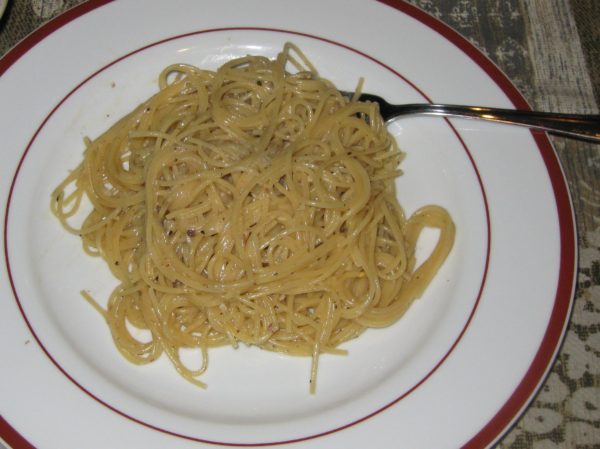
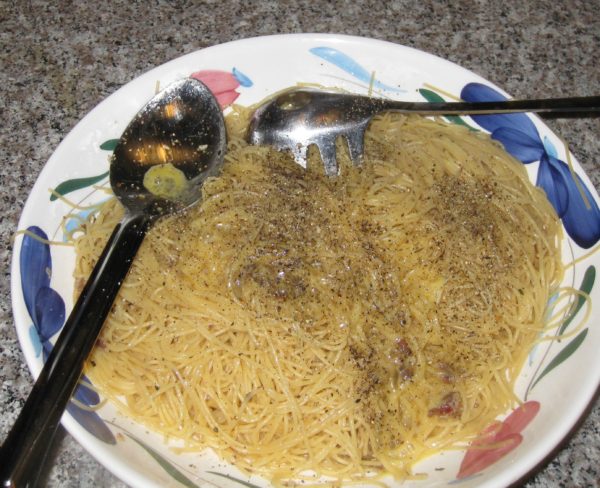
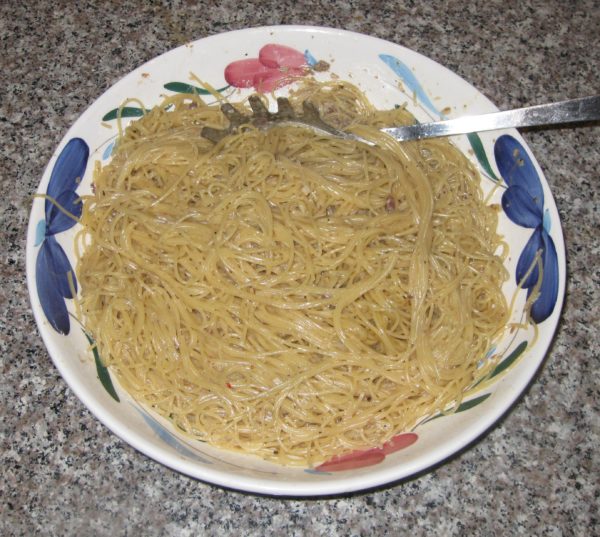
Spaghetti alla Carbonara

21 March 2023

Cacio e Pepe, Pasta alla Gricia, Spaghetti all’Amatriciana, and Spaghetti alla Carbonara are the Holy Quaternity of Roman pasta dishes.

The sauce for Cacio e Pepe is little more than Pecorino Romano cheese emulsified into some of the pasta-cooking water to make a glossy sauce.  Pasta alla Gricia adds cured pork, usually guanciale, to Cacio e Pepe.  Amatriciana adds tomato to Gricia while  Carbonara adds egg to Gricia.

And there you have it, arguably the four most important pasta dishes of Roman cuisine.

The origins of Spaghetti alla Carbonara are murky.  Given the obvious relationship between these four pasta dishes one might think that there’s not much to talk about, one just naturally leading into the other.  However, there is some intriguing evidence, and a little speculation, about the origins of Carbonara.


Join our mailing list and you’ll never miss a recipe again!


The evidence and speculation go like this.  During the Allied liberation of Rome during WWII, the bacon and (powdered) eggs of American GI rations were combined with pasta to make a proto-Carbonara.  Some Italians agree with this, and some do not.  Those who do not usually insist that the cured pork product of choice is guanciale (cured pork jowl) not pancetta (cured pork belly) let alone American bacon.

But think about it.  How likely is it that the Romans had any cured pork hanging around near the end of WWII?  It’s more likely that they consumed anything that was consumable by then.  The existence of guanciale in any significant quantity is unlikely.  In addition, the first reference to Spaghetti alla Carbonara appeared in the newspaper La Stampa in 1950, indicating it was a favorite of American GIs.

Of course, it’s entirely possible that Spaghetti alla Carbonara existed prior to WWII and was made with guanciale.  After the Allied liberation of Rome, it’s reasonable to see how GI rations of (powdered) egg and bacon could have been substituted for fresh eggs and guanciale.  It’s also possible, even probable, that if it existed before the 1940s, Carbonara wasn’t written about because it was part of the cuisine of the poor (cucina povera).  Despite our current fascination with traditional cuisine, until recently culinary history largely focused on foods eaten by the upper classes, not the poor.


Follow us on social media


Unless more evidence comes to light, we may never know the origins of Spaghetti alla Carbonara.  Even so, there are some things we can say definitively:

  1. Adding cream to Carbonara is an abomination!
  2. If not the original meat, American bacon has a legitimate place in the history of Carbonara.
  3. Carbonara is delicious, whether made with guanciale, bacon, or pancetta.  Yes, each is different but each is delicious!  I’ve used all of them.  I prefer bacon but I’ll never turn down a well-made dish (or three) of Spaghetti alla Carbonara regardless of what cured pork product went into it.

The most challenging part of making carbonara is to incorporate the eggs, getting them to thicken into a sauce without either remaining raw or turning into scrambled eggs.  I’ve got a little trick that eliminates these concerns.

Read on!
Print Recipe
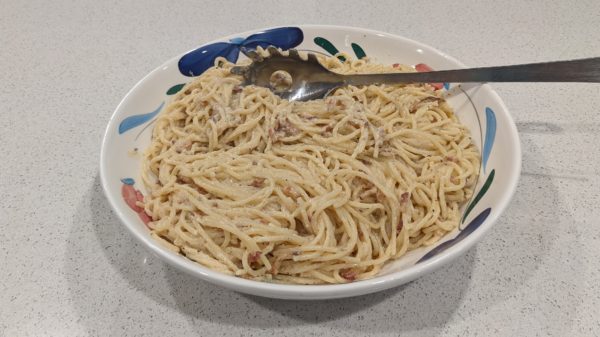
Spaghetti alla Carbonara
Spaghetti alla Carbonara is one of the four classic Roman pasta dishes, along with Cacio e Pepe, Pasta alla Gricia, and Spaghetti all’Amatriciana. It can be made with guanciale, American bacon, or pancetta though guanciale and bacon probably have the greatest claim on tradition. My preference is bacon. If using guanciale, I sometimes decrease the amount by 10% because it usually has more fat than either bacon or pancetta.
Votes: 0
Rating: 0
You:
Rate this recipe!
Prep Time 15 minutes
Cook Time 20 minutes
Servings
people
Ingredients
Prep Time 15 minutes
Cook Time 20 minutes
Servings
people
Ingredients
Votes: 0
Rating: 0
You:
Rate this recipe!
Instructions
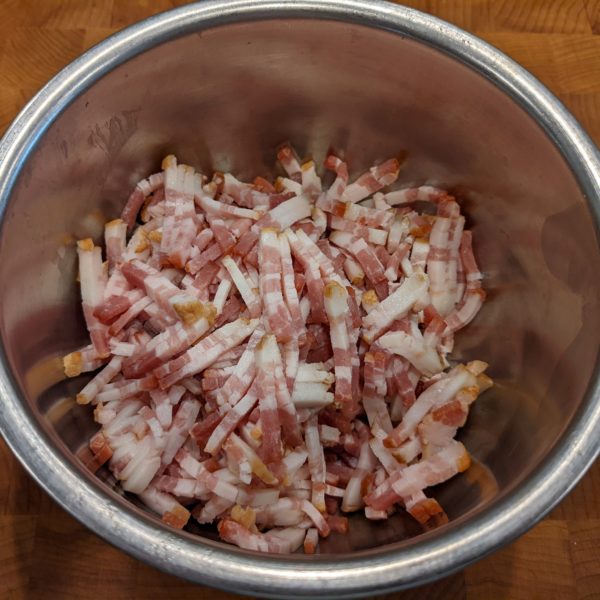
  1. Cut the bacon into matchstick-size pieces.
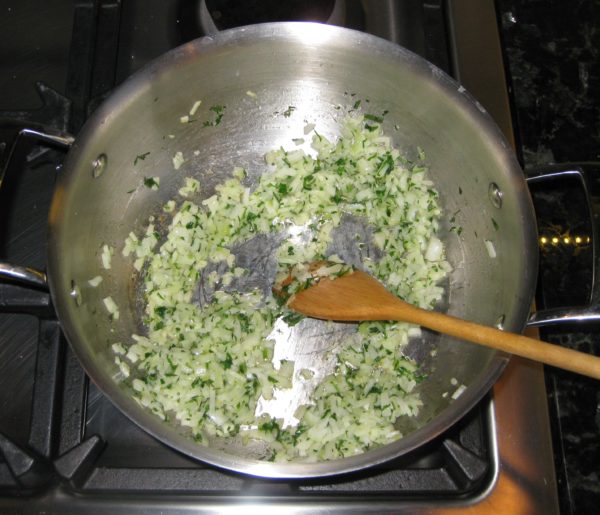
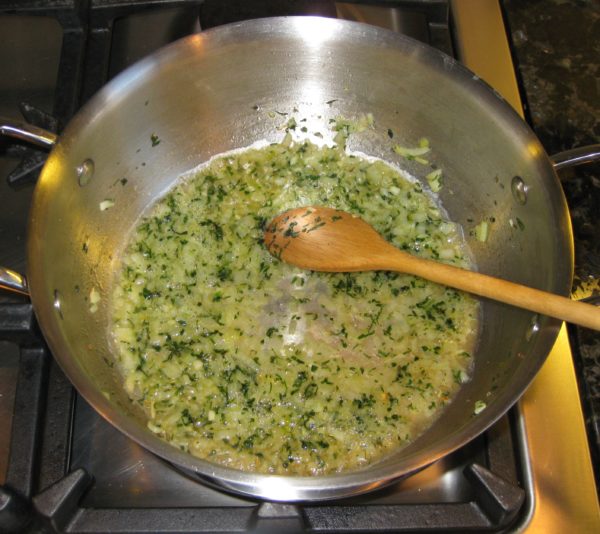
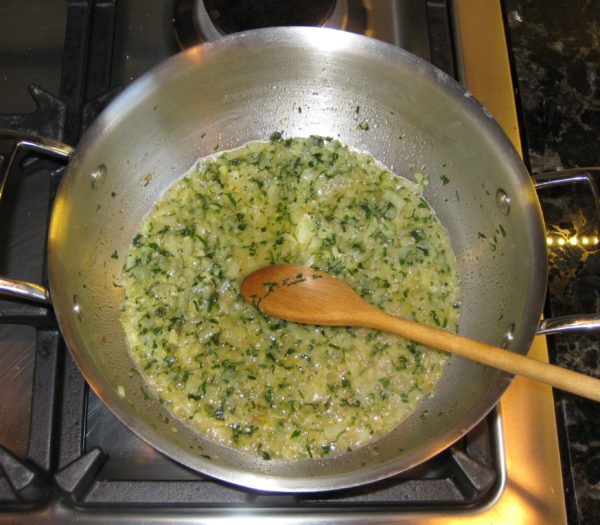
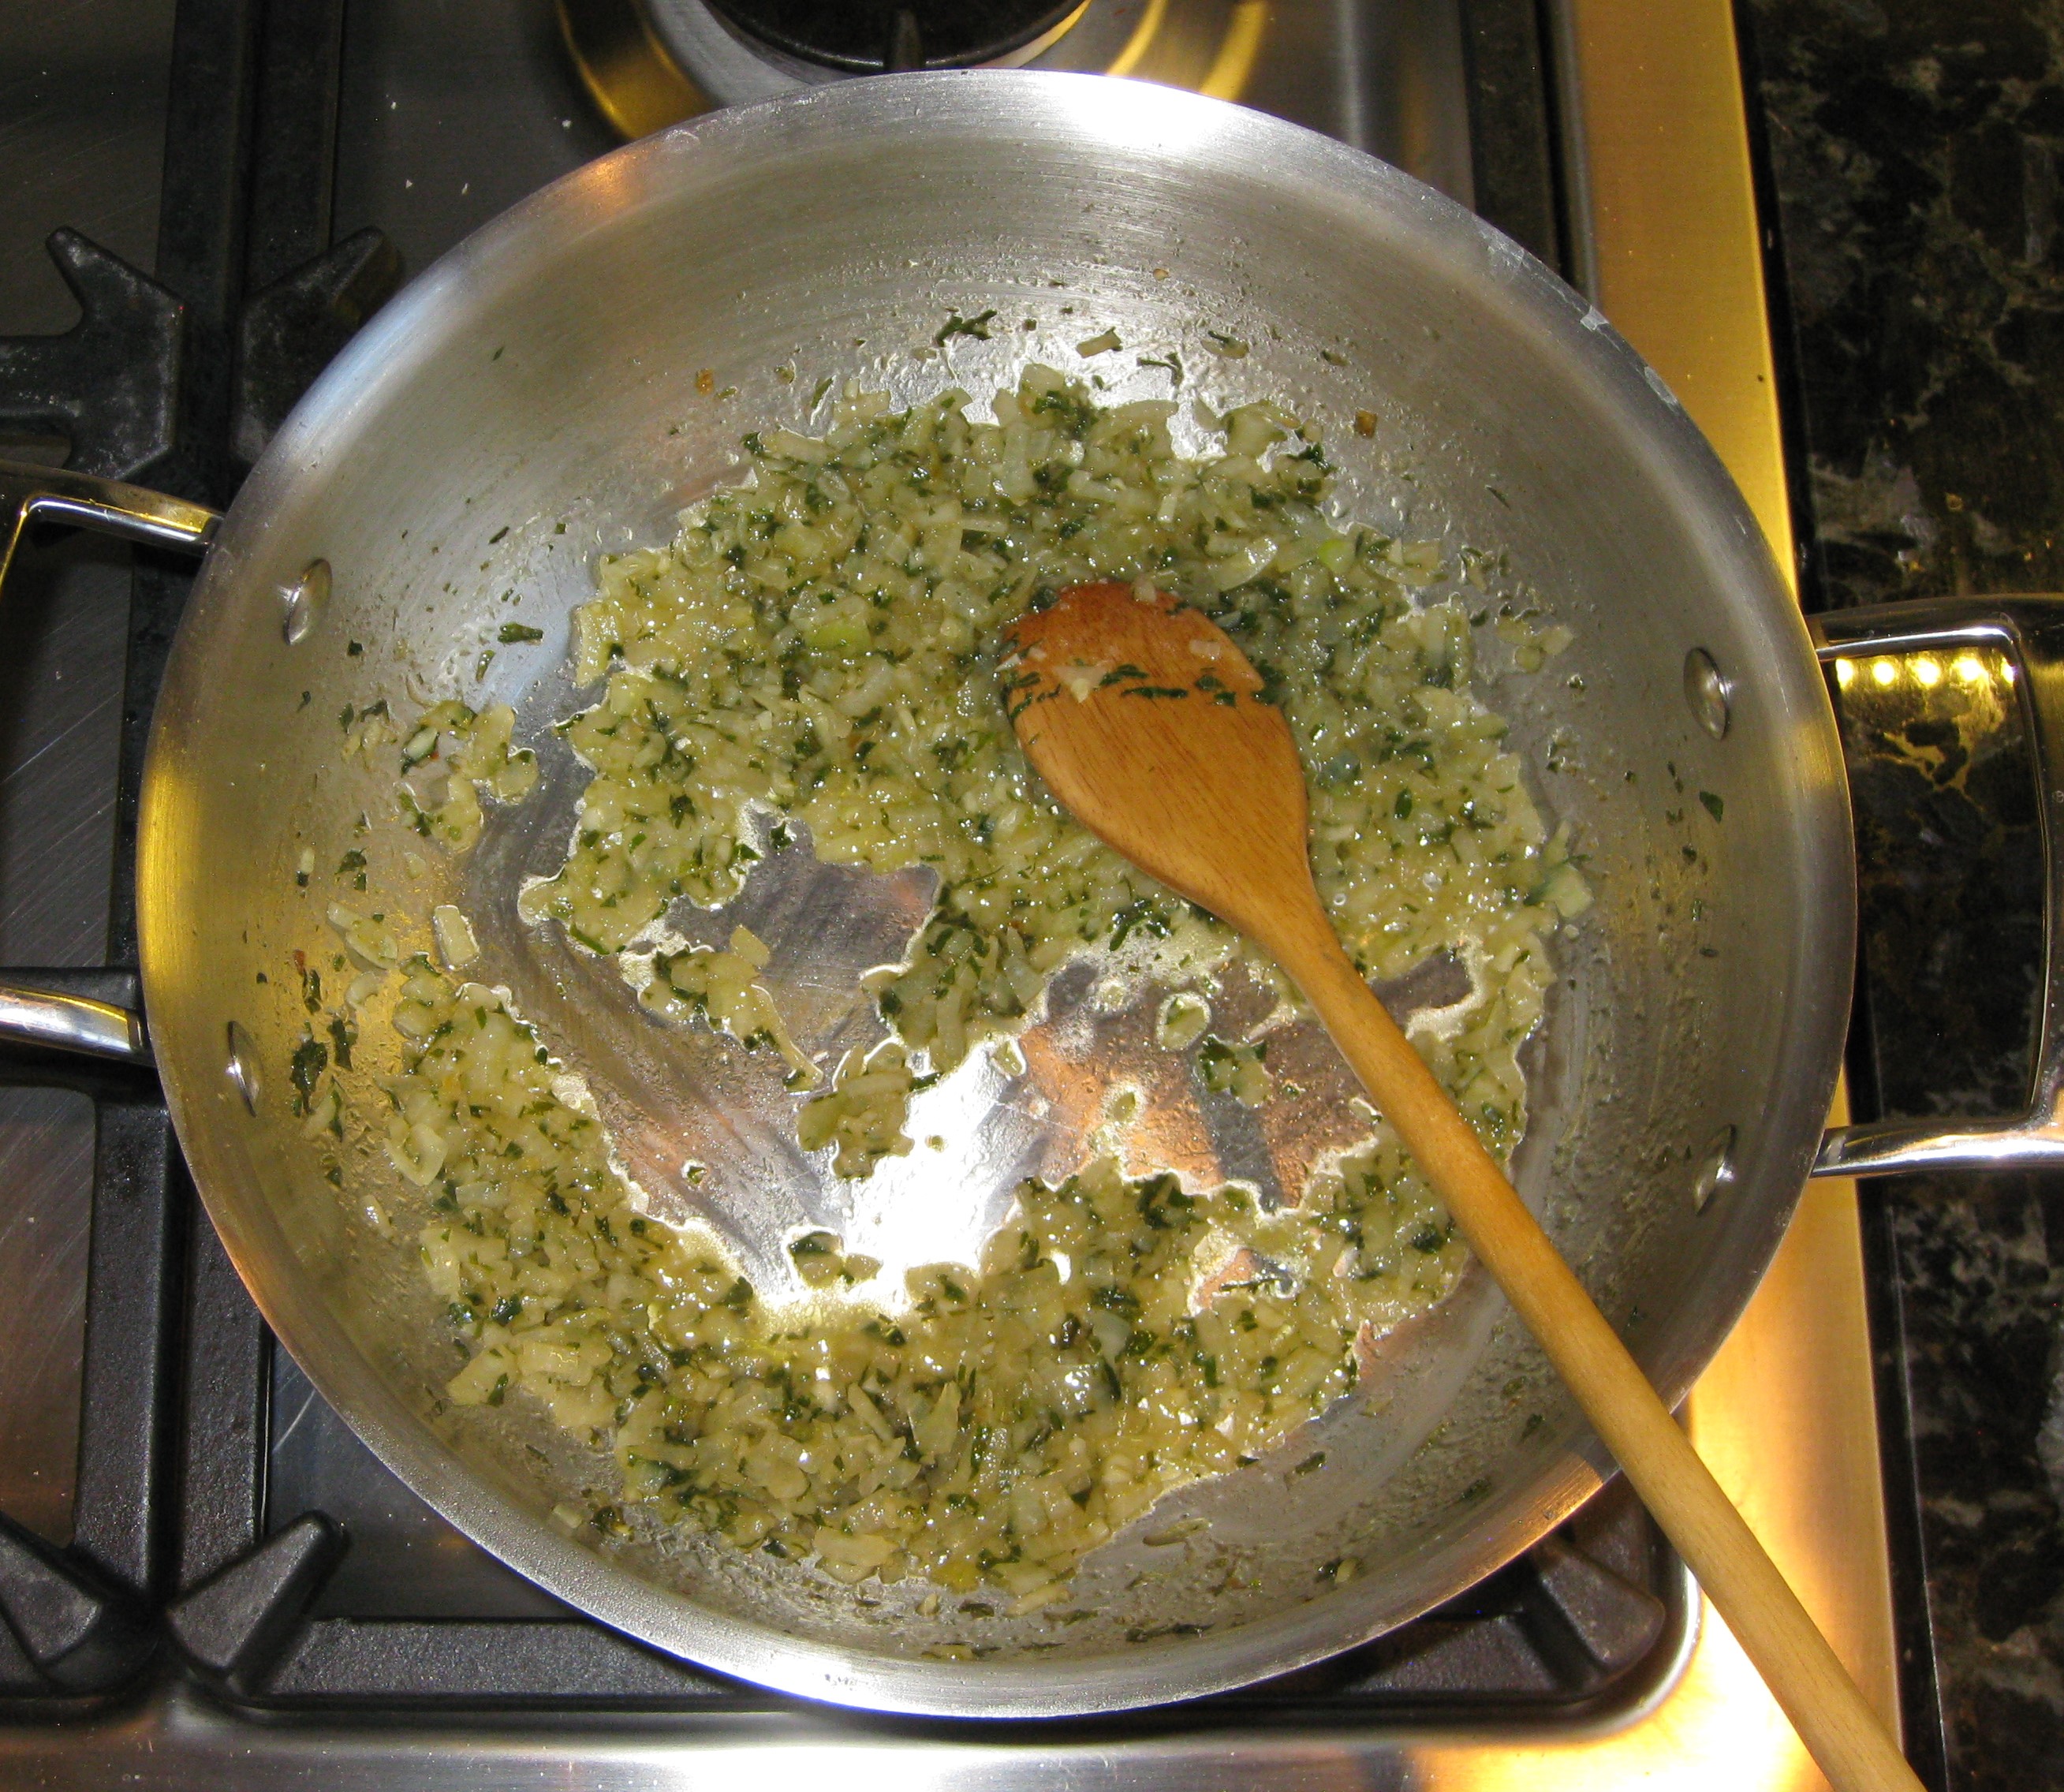
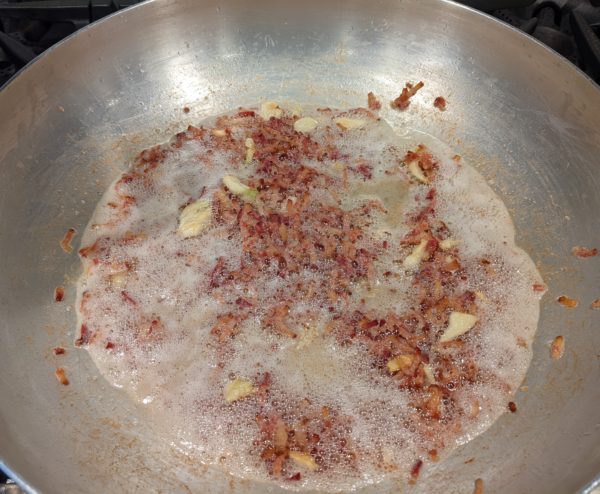
  2. Sauté the bacon in a dry sauté pan until some fat renders.
  3. Add the garlic and sauté until the garlic is quite golden, but not brown. Remove the garlic and reserve. If the bacon is not well browned, continue cooking.
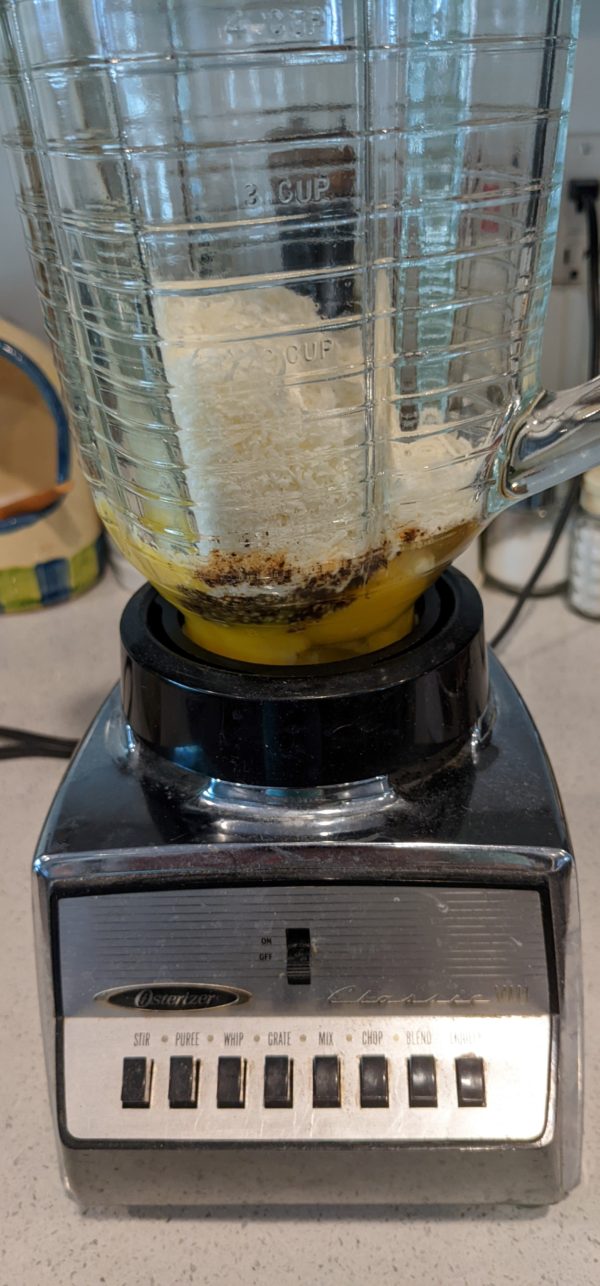
  4. Meanwhile, combine the eggs, egg yolks, Pecorino Romano cheese, 2 teaspoons black pepper, and reserved cooked garlic in a blender jar. Reserve.
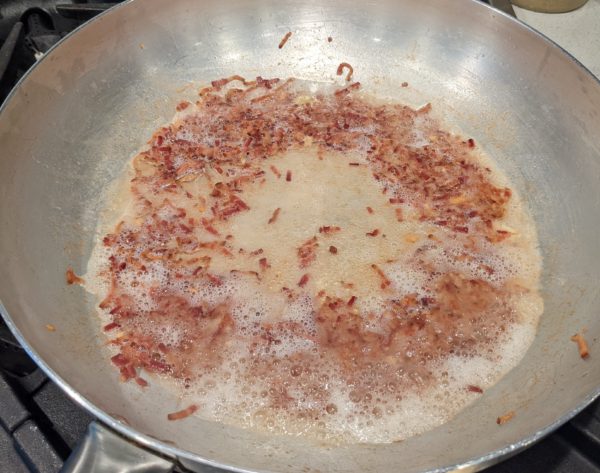
  5. When the bacon is brown, add the wine and remove from the heat unless you are adding the pasta immediately. The dish can be made several hours ahead to this point.
  6. Cook the spaghetti in salted water until just shy of al dente.
  7. Just before draining the pasta, reheat the bacon and cook off the wine.
  8. Add the pasta to the bacon and sauté on medium to medium-high heat.
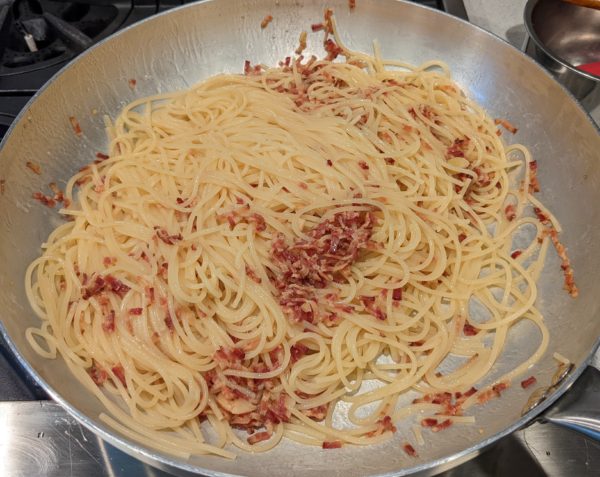
  9. Add pasta-cooking water, about one ladleful at a time, and continue cooking the pasta, stirring frequently, until al-dente. There should be enough liquid to coat the pasta in a thick "sauce."
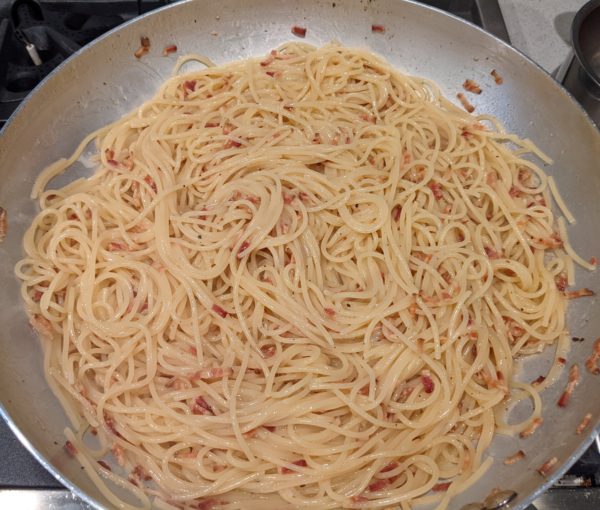
  10. Just as the pasta reaches al dente, turn on the blender. Blend the contents thoroughly and then add about 120 ml (½ cup) of the hot pasta cooking liquid while the blender is still running.
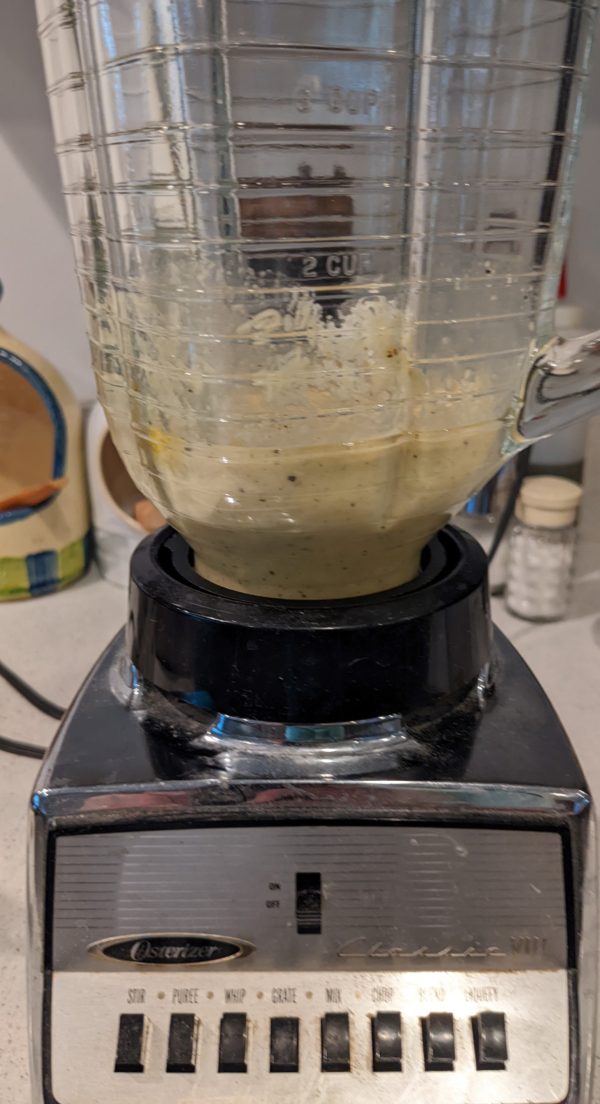
  11. Off the heat, add the blended egg mixture to the pasta along with the parsley, if using, and even more freshly ground black pepper.
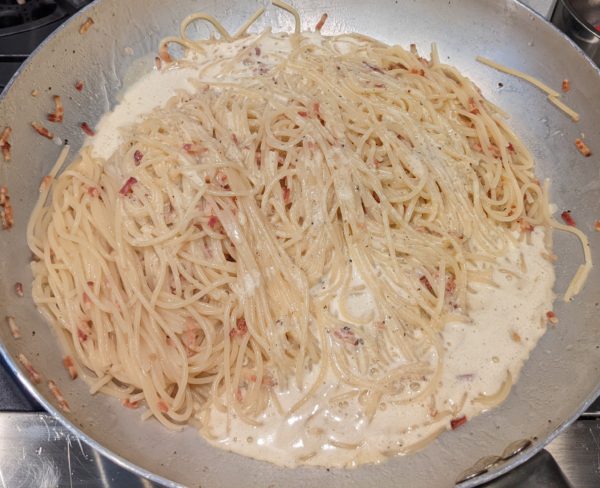
  12. Mix well to turn the eggs into a creamy sauce, adding pasta-cooking water if needed. Taste and adjust salt and pepper.
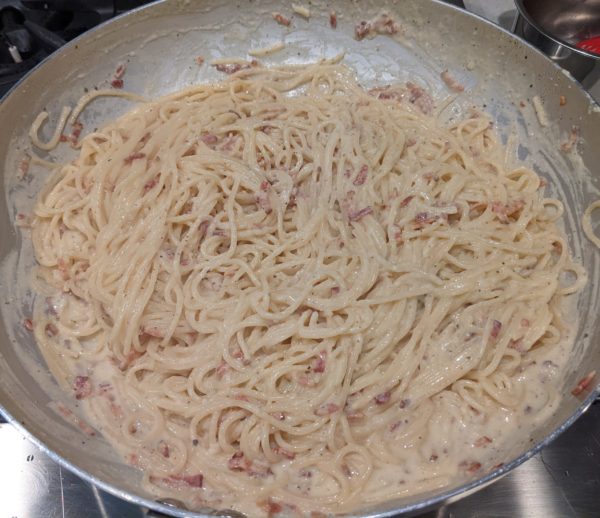
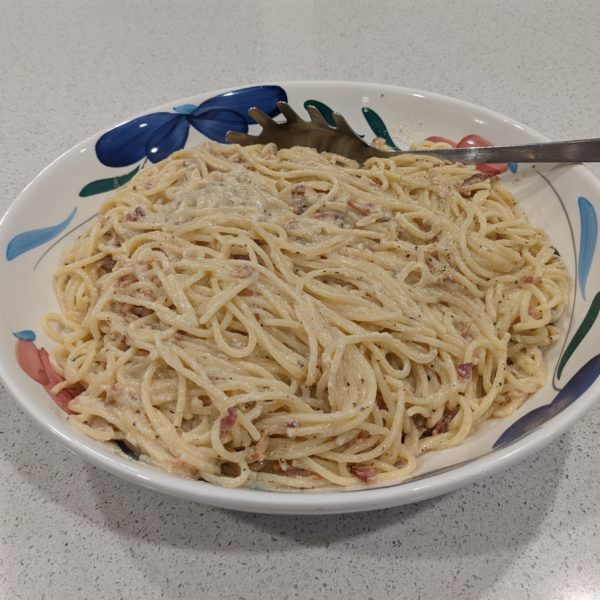
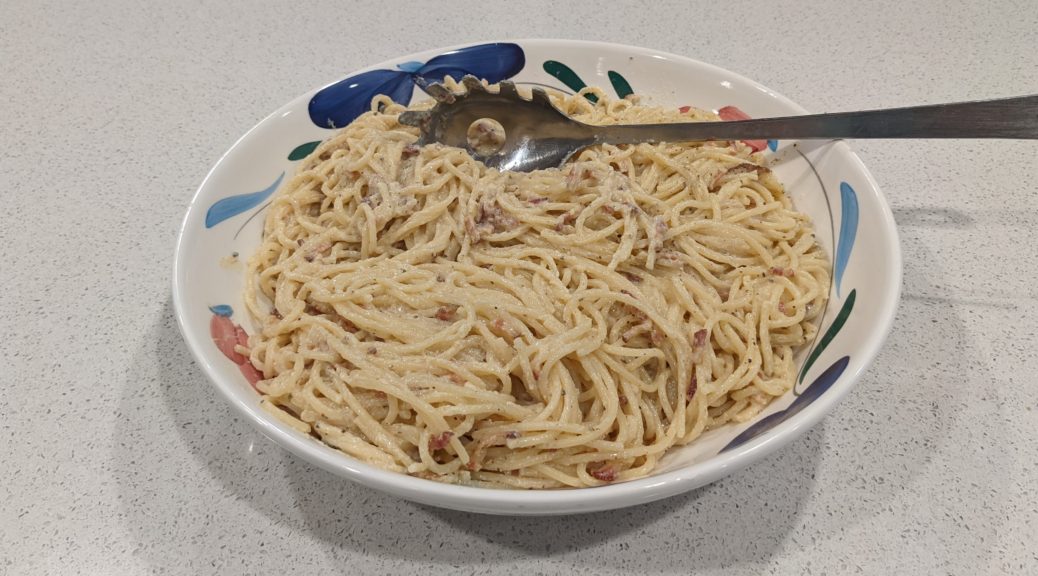
  13. Pour into a warmed serving bowl and serve immediately.
Recipe Notes

Copyright © 2023 by Villa Sentieri, LLC. All rights reserved.

Share this Recipe

Carciofi e Patate (Artichokes and Potatoes)

January 13, 2021

January 7th is International Porchetta Day.

It was declared so by the participants in a charcuterie class at the Italian Culinary Institute in January 2019.

There is a private Facebook group of individuals who subscribe to the cult of porchetta.  We agree to make porchetta annually on January 7th.

The charcuterie class in question began on January 7, 2019, one week before my three-month Master of Italian Cuisine course began.  I made a point of getting to Italy early, really early, as I didn’t want to find myself in class with a sharp knife in my hand the day after landing, jetlagged from a 29-hour trip and an eight-hour time change.

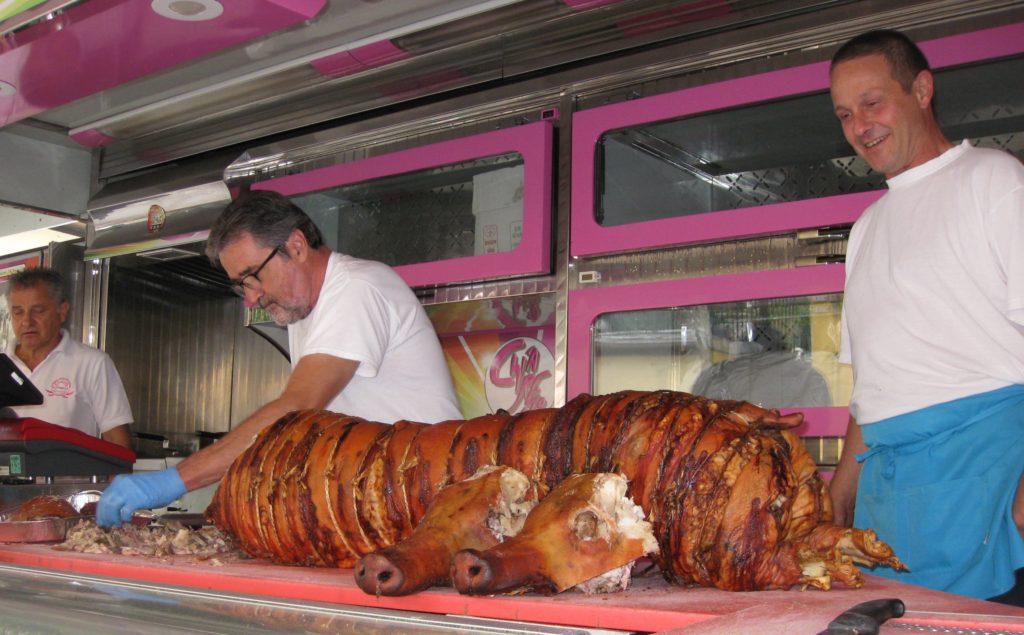
A traditional porchetta at a street fair in Bagni di Lucca.

I arrived the evening of January 8th, almost a week before my course started. I was invited to go to dinner with the charcuterie class.  I described that first chaotic day in my first dispatch from Calabria.


Join our mailing list and you’ll never miss a recipe again!


The next day, Chef John invited me to sit in on the charcuterie class.  Although not officially part of the class, I shared meals and course time with the group.

When International Porchetta Day was declared, with the date matching the first day of the charcuterie course, I became a member.

Traditionally porchetta is made with a whole pig, and not a small suckling pig, but a BIG one!

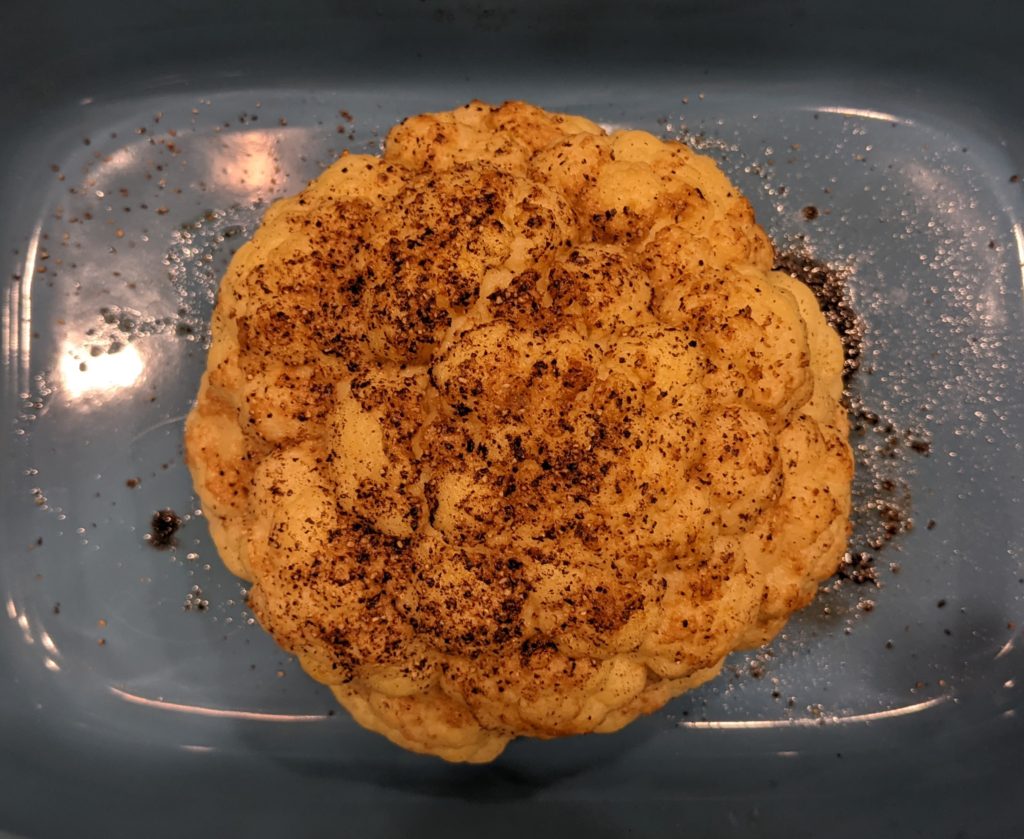
Roasted cauliflower is an easy and dramatic side dish.

When porchetta is made at home, it’s done with a smaller cut of meat.  I use the shoulder, aka Boston Butt.  At the Italian Culinary Institute, they use two cuts, the capo collo and a pork belly.  The capo collo is a long muscle group in the shoulder that, in essence, is a large cylinder.  The shoulder, and by extension the capo collo, contain beautiful marbling that makes a luscious roast.

At the Italian Culinary Institute, the belly is rolled around the capo collo.  The fat of the belly protects the capo collo.  It also makes a beautiful presentation.  It also adds about 8 pounds to the weight of the roast.  So, unless you’re cooking for a very large crowd, using the shoulder alone will more than likely be ample.

Given the limitations of the lock-down in Palm Springs where I’ve been sheltering in place, six of us, members of our COVID Pod, celebrated International Porchetta Day.

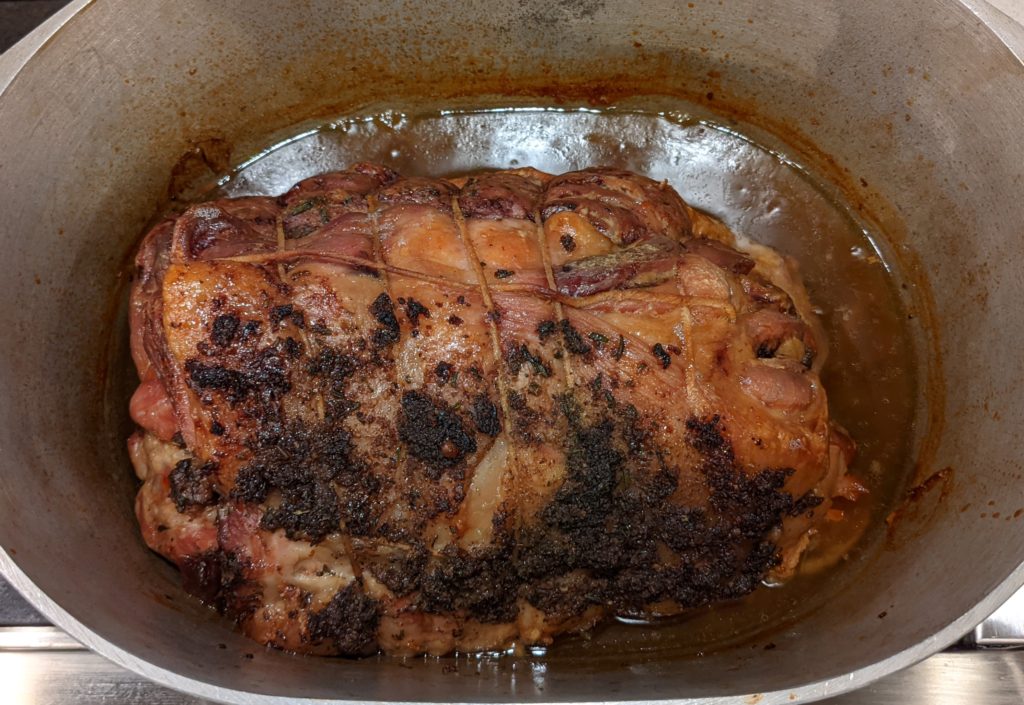
My porchetta ready for the serving platter.

Porchetta was obviously the centerpiece of the meal and I made my traditional version.  Here’s a link to my Porchetta recipe.

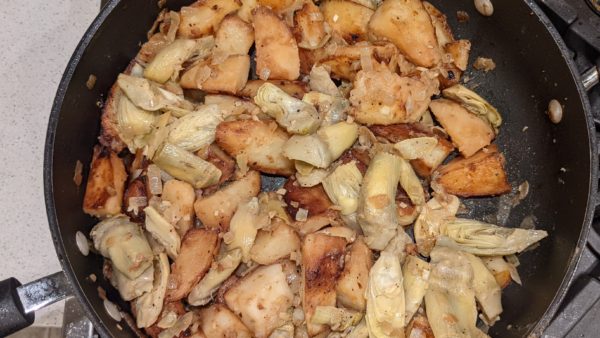
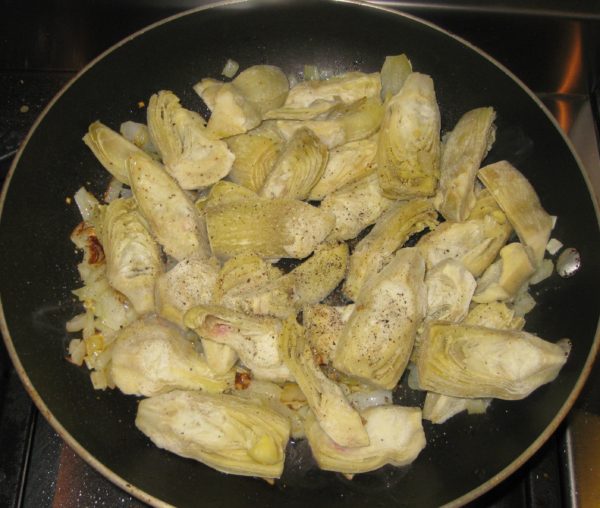
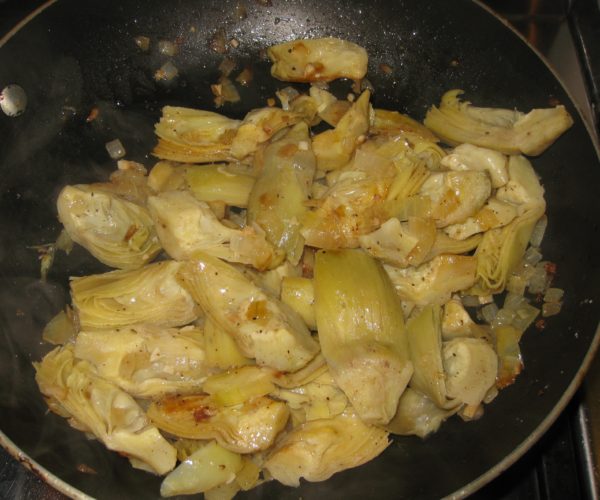
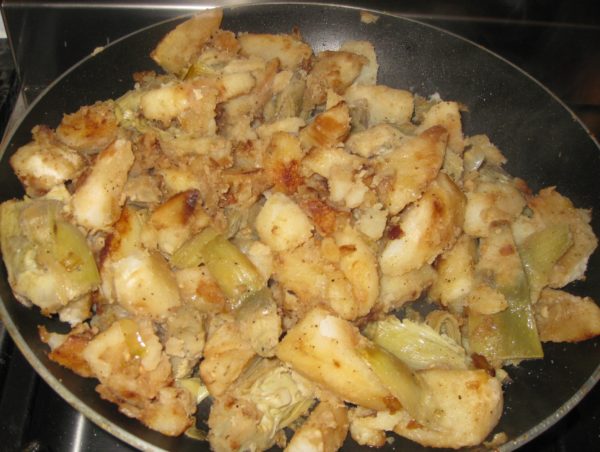
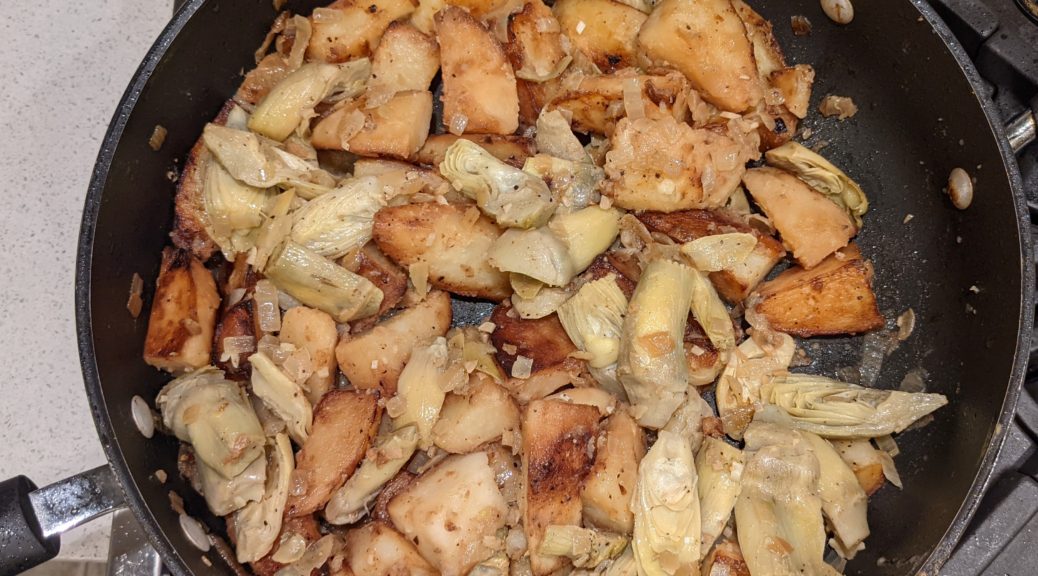
I focused on side dishes that would compliment the roast and settled on a whole roasted cauliflower and a Roman dish called Carciofi e Patate (artichokes and potatoes).  For dessert we had an Olive Oil Cake.


Follow us on your social media platform of choice


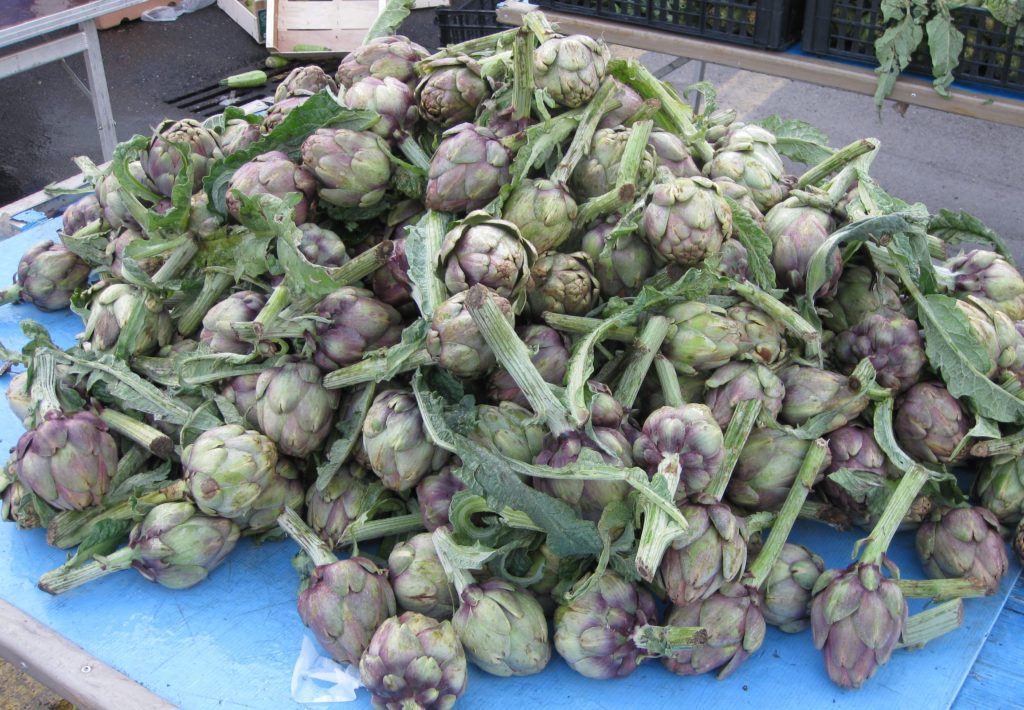
Carciofi e Patate is traditionally made with whole artichokes, lots of them!  In season, one can buy 12 artichokes for €1 in Italy!  That’s right, about 10¢ each!!! I once used 12 artichokes when I made the dish as part of Easter Dinner.  I spent more than $50 on artichokes for that one dish.  Clearly when Italians describe the dish as “economical” they have no idea about artichoke prices in the United States.

Artichokes in a market in Calabria.

While I prefer the dish made with fresh artichokes, I won’t do that again until I’m in Italy during artichoke season.  Frozen artichokes work well and are much more budget-friendly.

Print Recipe
Carciofi e Patate (Artichokes and Potatoes)
Carciofi e Patate is a classic Roman recipe. It pairs well with most roasts.
Votes: 0
Rating: 0
You:
Rate this recipe!
Prep Time 20 minutes
Cook Time 45 minutes
Servings
people
Ingredients
Prep Time 20 minutes
Cook Time 45 minutes
Servings
people
Ingredients
Votes: 0
Rating: 0
You:
Rate this recipe!
Instructions
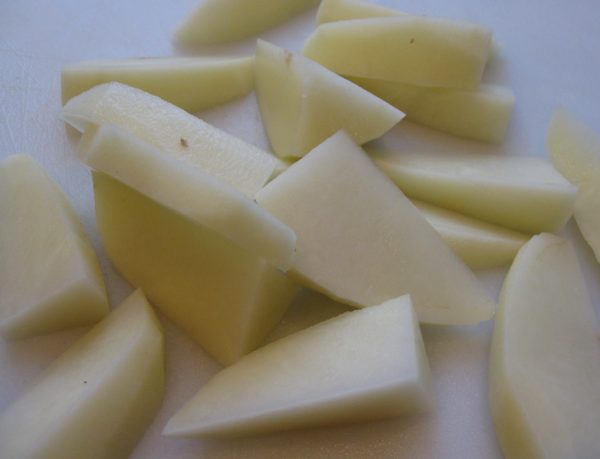
  1. Peel potatoes and cut in 8 wedges unless the potatoes are very large or very small.
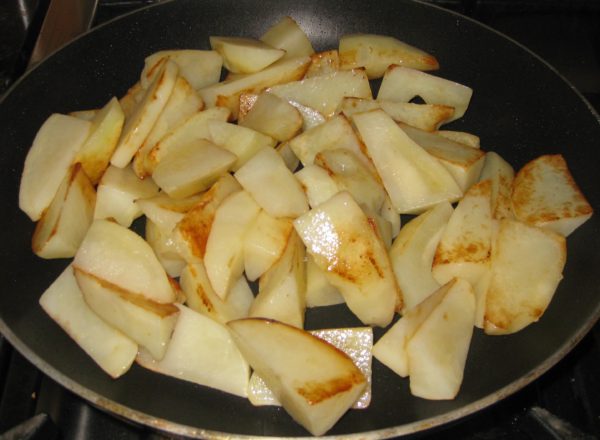
  2. Brown the potatoes in the three tablespoons of extra-virgin olive oil in a large sauté pan over high heat.
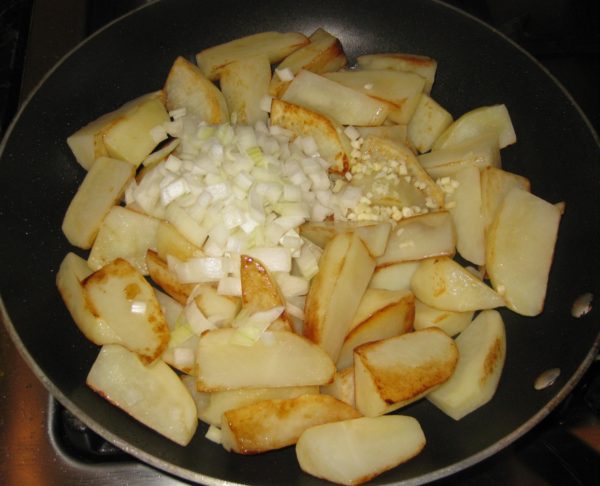
  3. When the potatoes are well-browned, reduce the heat to medium. Add half the onions and garlic.
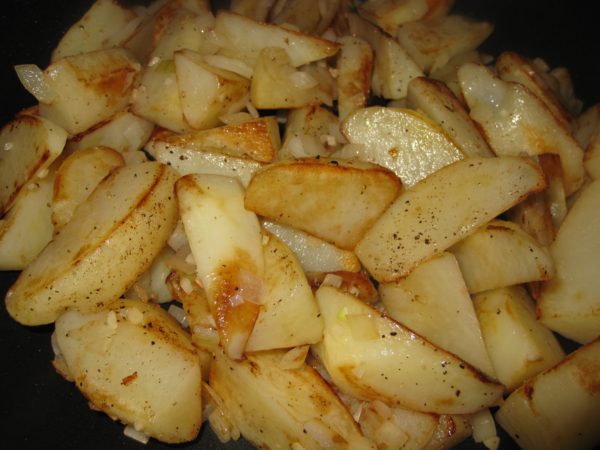
  4. Sauté until the onion is golden.
  5. Season with salt and freshly ground black pepper to taste. Add approximately ½ cup of water. Cover and cook on medium heat until cooked through, adding more water as needed, approximately 25 minutes. There should be no water left when the potatoes are cooked.
  6. Meanwhile, sauté the remaining onions and garlic in the remaining extra-virgin olive oil in a sauté pan.
  7. When the onions are golden, add the artichokes and salt and pepper to taste. Sauté briefly.
  8. Add white wine, cover and braise until barely tender, approximately 10 minutes. The artichokes will cook further with the potatoes so do not over-cook them.
  9. Add artichokes to the pan with the potatoes.
  10. Sauté, uncovered, about 10 minutes longer, to meld flavors. Adjust salt and pepper.
  11. Stir in parsley and serve.
Recipe Notes

Copyright © 2021 by Villa Sentieri, LLC. All rights reserved.
Share this Recipe

Pollo alla Romana (Chicken with Sweet Peppers)

January 15, 2020

I will forever remember Ferragosto as the day the music died.

Ferragosto is celebrated on the fifteenth of August throughout Italy.  Originating during the Roman Empire, apparently in 18 BCE by Emperor Augustus, Ferragosto was originally held on August 1st.  Ultimately, the Catholic Church moved the date to August 15th to coincide with the Assumption, a “holy day of obligation,” thus imposing a secular holiday on a religious holy day.

Ferragosto is a day to feast.  It is also the day that the late-night revelry in the piazza of Bagni di Lucca comes to an end.


Join our mailing list and you’ll never miss a recipe again!


Those of you who have been following my blog for a while know that I spent the month of August 2019 in Tuscany cooking with Great Aunt Fidalma.

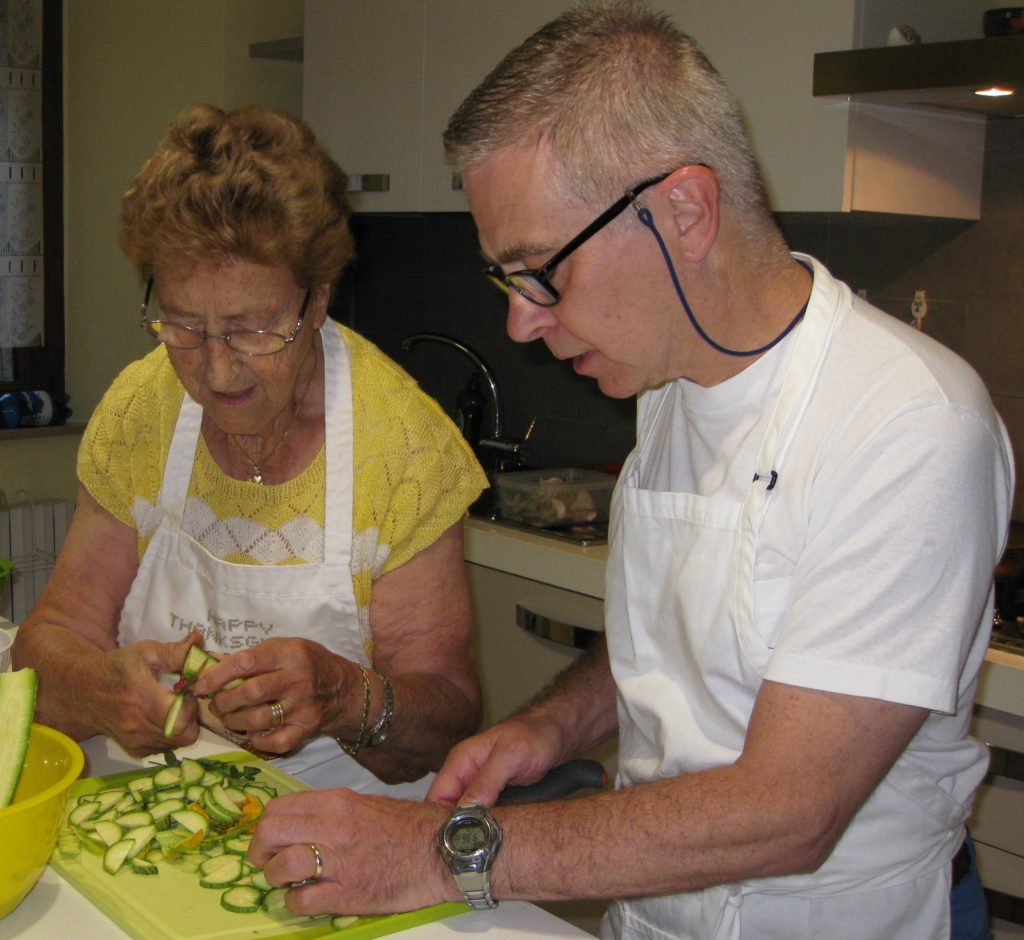
Cutting zucchini with Great Aunt Fidalma in her kitchen in Benabbio.

I rented a charming little apartment overlooking the piazza in Bagni di Lucca, a town near the village of Benabbio where Aunt Fidalma lives.

The piazza becomes the locus of loud music (70’s disco, karaoke, Italian pop) late into the night (or early into the morning depending on your perspective) on the weekends in August as well as during several August festival days.

A view from my terrace of the late-night revelry in the piazza of Bagni di Lucca.

The music precludes sleep.  Even if one could find ear plugs sufficient to drown out the sound, the building, and thus the bed, vibrate to the bass.

Ferragosto, August 15th, is the end of the late-night music.


Follow us on your social media platform of choice


Today, January 15th, marks five months since Ferragosto.  Pollo alla Romana (also known as pollo con i peperoni [chicken with sweet peppers]) is traditionally served on Ferragosto.  Given the five-month anniversary, today seems like an appropriate day to post the recipe.

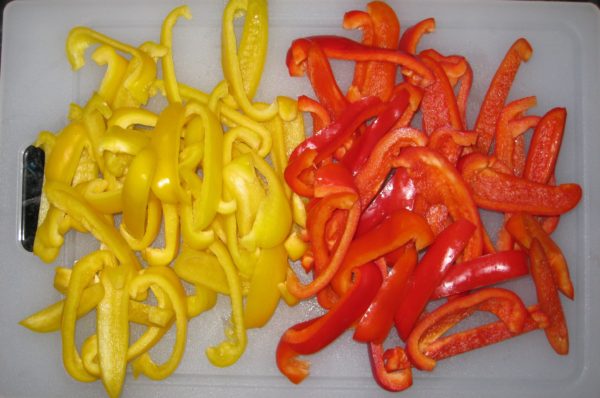
As you might guess from the name, Pollo alla Romana is from the area around Rome.  It is a simple dish made with chicken, sweet peppers (traditionally red and yellow ones) and tomatoes.  It can be cooked in the morning and served at room temperature later in the day making it a perfect summer dish.

It has become one of my go-to dishes for entertaining when I don’t want a lot of last-minute fuss to distract from enjoying cocktails with my guests.  Made earlier in the day, the dish reheats beautifully in the time it takes to drink a bourbon.

Print Recipe
Pollo alla Romana (Chicken with Sweet Peppers)
Traditionally this dish would be made with a cut-up chicken. I prefer to use just thighs as I think they take well to braising, which breasts don’t. You can use cut-up chicken parts if you prefer. When a dish says something should be fall-apart tender, I take that literally. It’s the way I grew up eating chicken cooked by my Italian-American mother. That means, for me, the chicken should braise in the liquid for at least 90 minutes if you’re close to sea level and longer if you're at a higher elevation. You can short-circuit that if you want but I think the texture of the dish will suffer.
Votes: 0
Rating: 0
You:
Rate this recipe!
Course Mains, Poultry
Cuisine Italian
Prep Time 30 minutes
Cook Time 2 1/2 hours
Servings
people
Ingredients
Course Mains, Poultry
Cuisine Italian
Prep Time 30 minutes
Cook Time 2 1/2 hours
Servings
people
Ingredients
Votes: 0
Rating: 0
You:
Rate this recipe!
Instructions
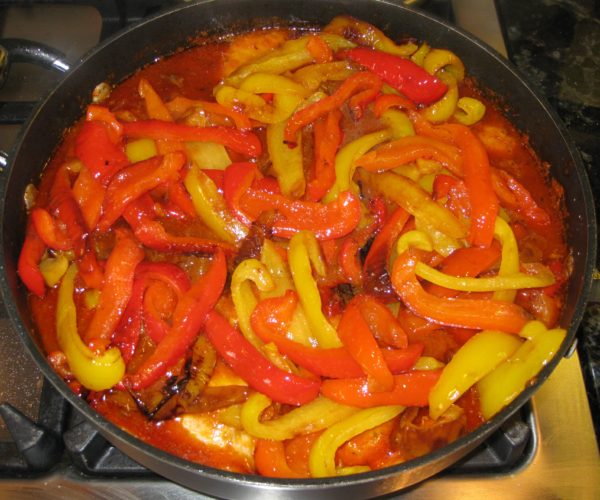
  1. Pass the can of tomatoes through a food mill to remove seeds and hard bits of tomato. Reserve the tomato puree.
  2. Slice the peppers into triangular pieces or thick strips.
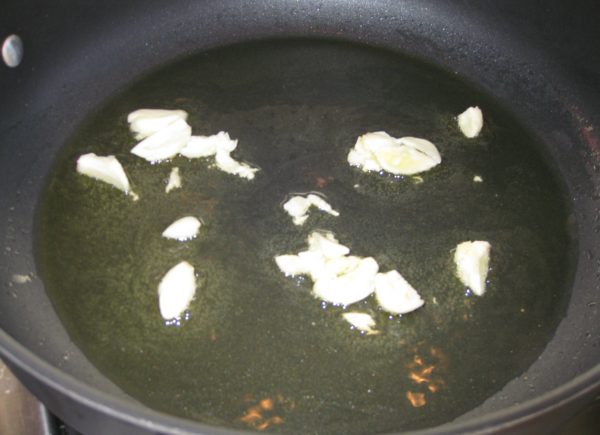
  3. Using a large heavy-bottomed sauté pan, sauté the garlic in the olive oil over medium heat until medium brown. Discard the garlic.
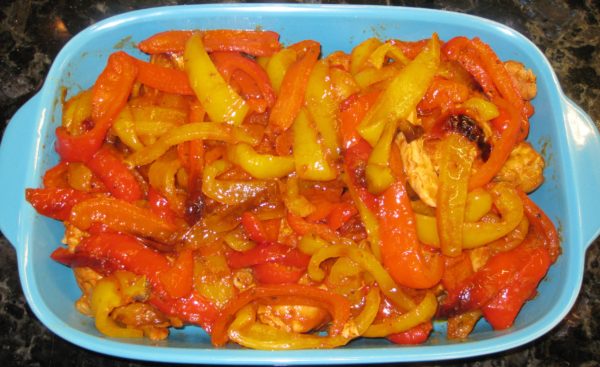
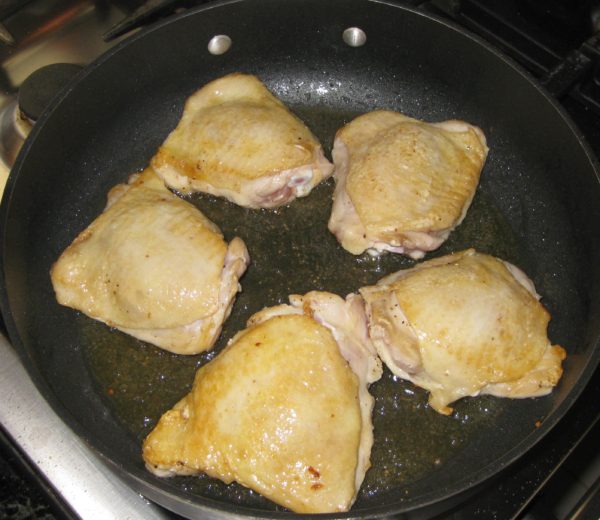
  4. Sauté the chicken in the garlic-flavored oil over high heat, starting skin side down to render additional fat from the skin, flipping twice, until well browned. Remove and reserve chicken.
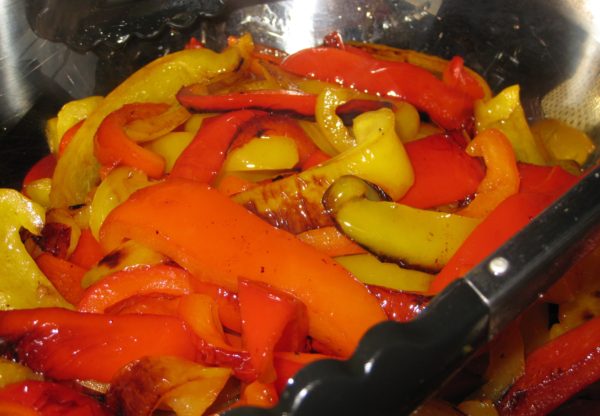
  5. Add the peppers to the oil and sauté briefly over high heat to put a light char on some of them. Remove and reserve peppers.
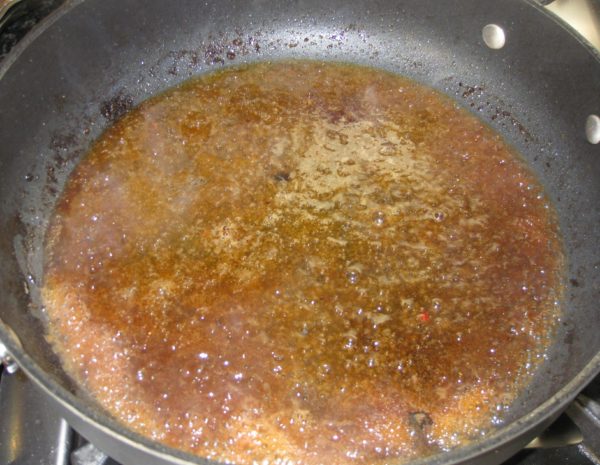
  6. Add the wine to the sauté pan, bring to a boil, and scrape up all the brown bits.
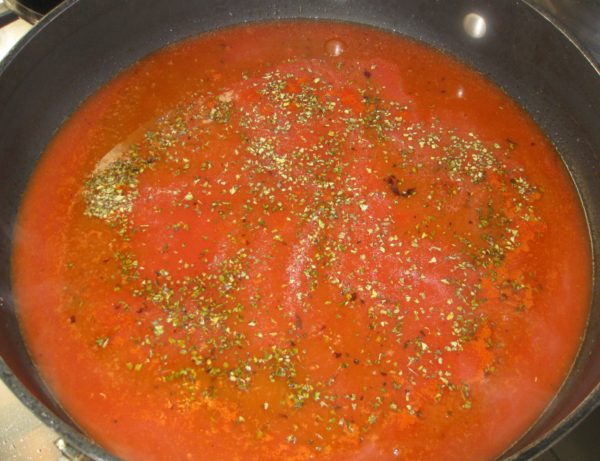
  7. After the wine evaporates, add the broth, tomato puree and oregano. Mix well.
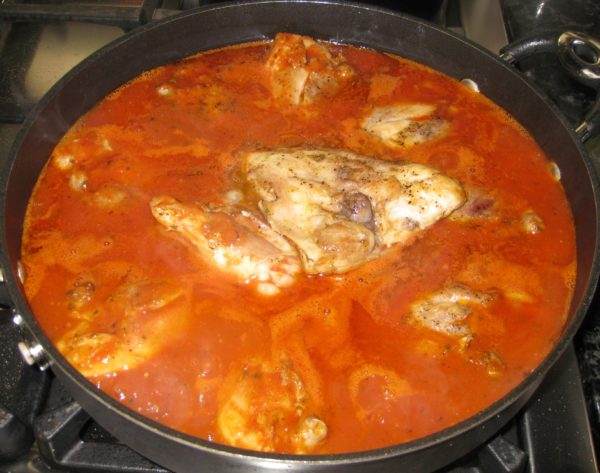
  8. Add the chicken, skin side down, along with any accumulated juices. Season with salt and pepper.
  9. Simmer, partially covered, approximately 30 minutes (or, if you live at high altitude as I do, 60 minutes). Turn the chicken over. Remove and discard the skin (the skin adds lots of flavor as well as collagen to the sauce for a great mouth-feel so please use bone-in and skin-on thighs).
  10. Add the peppers and continue to braise, partially covered, for approximately another hour until the chicken is literally fall-apart tender. During cooking, taste and adjust salt, pepper, and oregano.
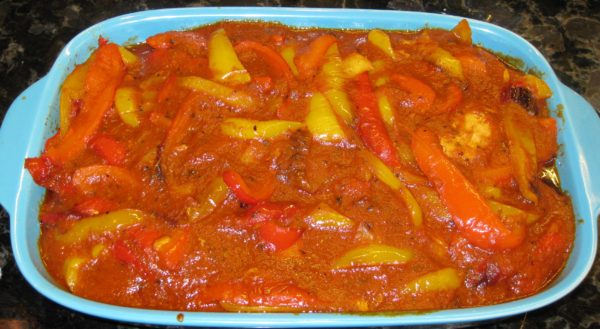
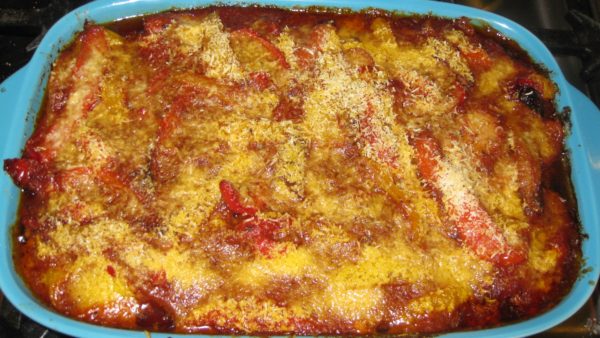
  11. Transfer the chicken and peppers to an oven-proof casserole.
  12. If the sauce is not thick, boil quickly to reduce it. Pour the sauce over the chicken.
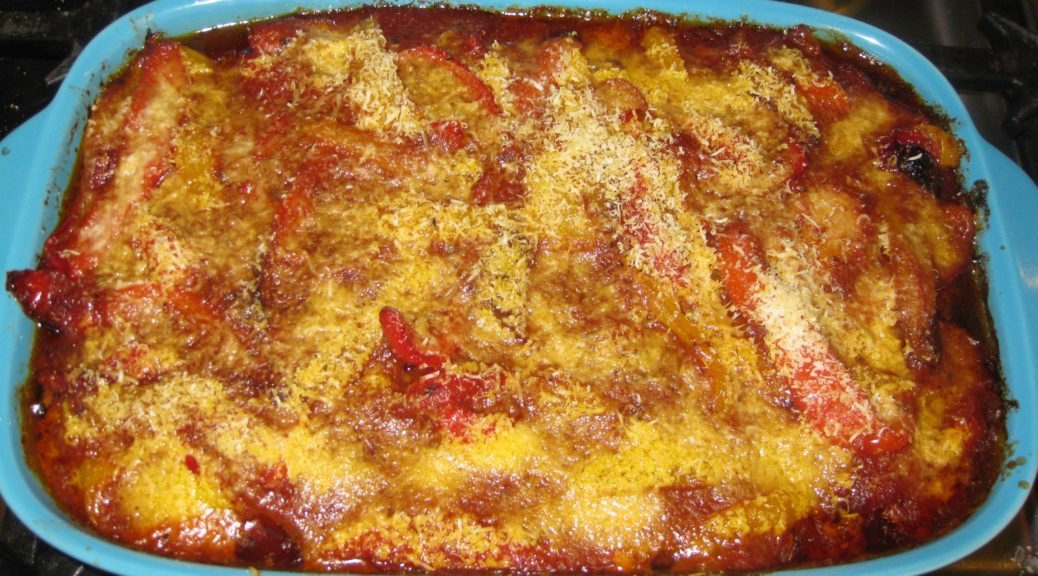
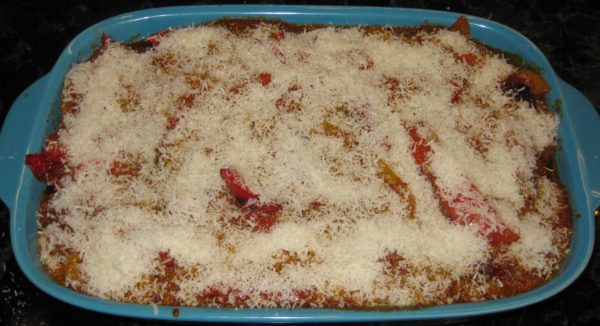
  13. Sprinkle the top with Pecorino Romano cheese.
  14. Bake at 350°F to brown the top, approximately 15-20 minutes.
Recipe Notes

Copyright © 2020 by Villa Sentieri, LLC. All rights reserved.
Share this Recipe

Risotto with Zucchini

August 15, 2018

One of the glories of summer produce is zucchini.

We eat our fill of fried zucchini blossoms but also zucchini itself in many ways, among them sautéed in olive oil with aromatics and herbs, made into a frittata, boiled and dressed with olive oil, stuffed with ricotta and mint, cooked in a light tomato sauce, made into calabacitas, and most definitely, used in risotto.

Join our mailing list and you’ll never miss a recipe again!

Although there are exceptions, such as Risotto Friulano and Risotto alla Milanese, most risotti that I make contain vegetables.  As far as actually cooking the rice goes, the technique doesn’t vary.

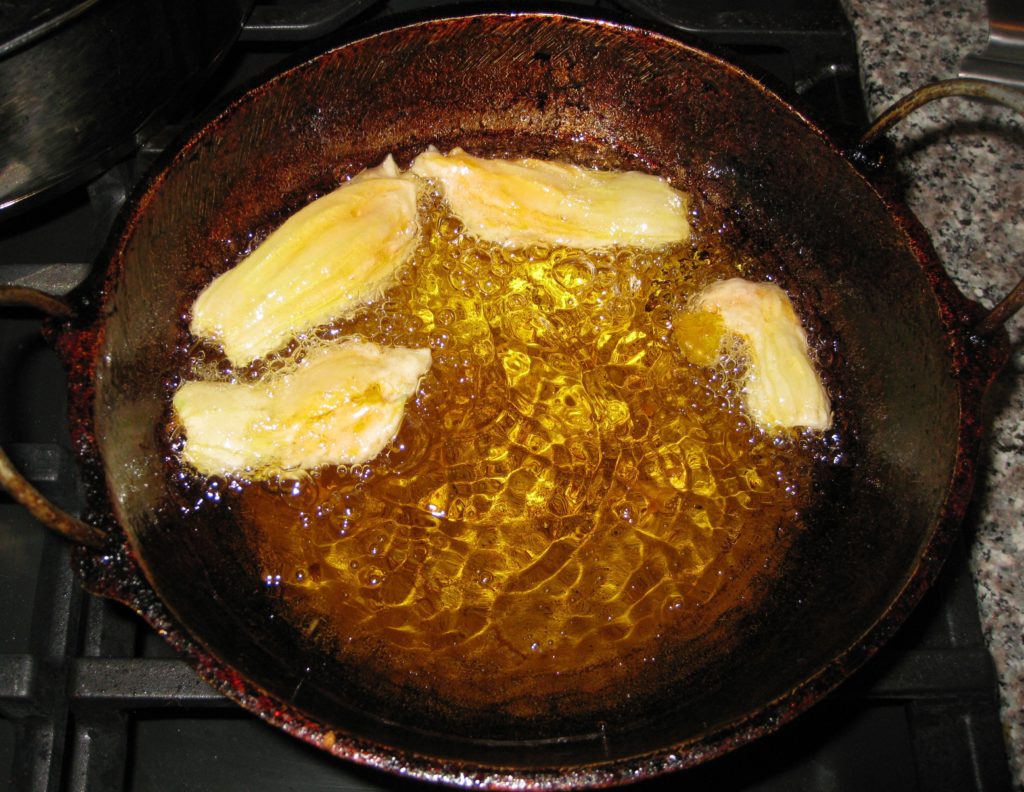
Fried zucchini blossoms are a much-loved summertime treat in our house

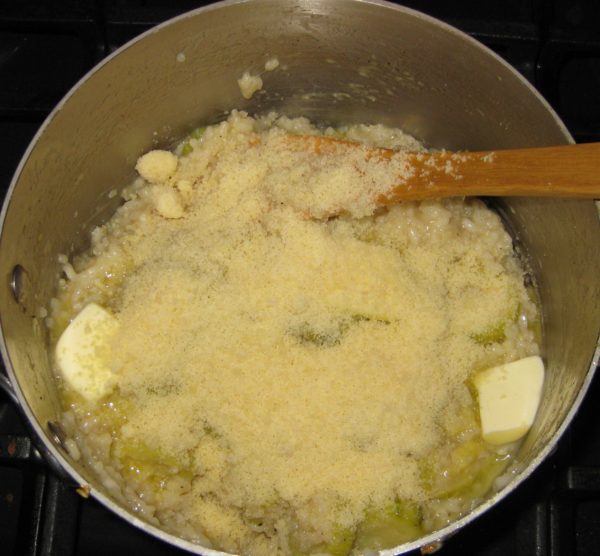
Aromatics (shallot, onion and/or garlic, depending on the risotto) are sautéed in olive oil.  The rice is added and cooked slightly.  A bit of wine is added and cooked away then the liquid (almost always broth but I make a killer champagne risotto and I also have a risotto recipe that uses carrot juice) is added in small amounts and cooked off before more is added.  Cheese and a bit of butter are stirred in at the end.

What varies for me is how the vegetables are prepared and when they are added.

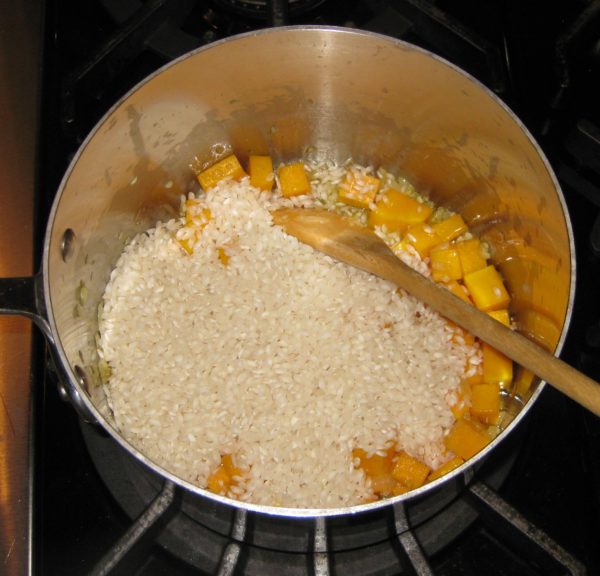
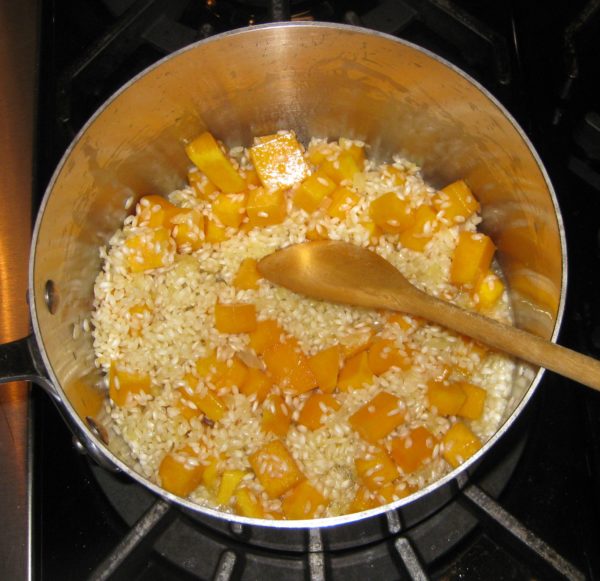
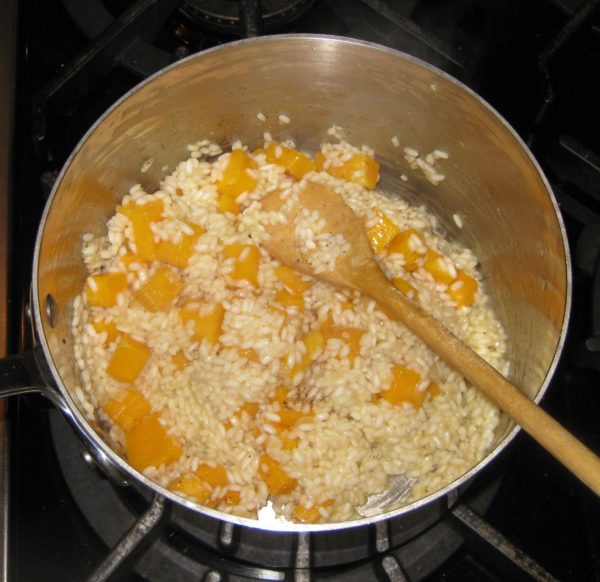
Some vegetables are cooked in advance then added to the rice when it is nearly done.  I do this, for example with the mushrooms for Risotto ai Funghi (Mushroom Risotto).  Other vegetables are put in at the very end and cooked briefly.  This method works best for vegetables that don’t really require cooking to be edible.  Believe it or not, really good summer corn fits into this category as do frozen peas.  The third method is to sauté the vegetable in the olive oil before the rice is added.  This is the method I use for Butternut Squash Risotto.

Follow us on your social media platform of choice


It is also possible to add the vegetables part-way through cooking the rice though I rarely use this method because it is not possible to guarantee the vegetables will be cooked properly when the rice is done.

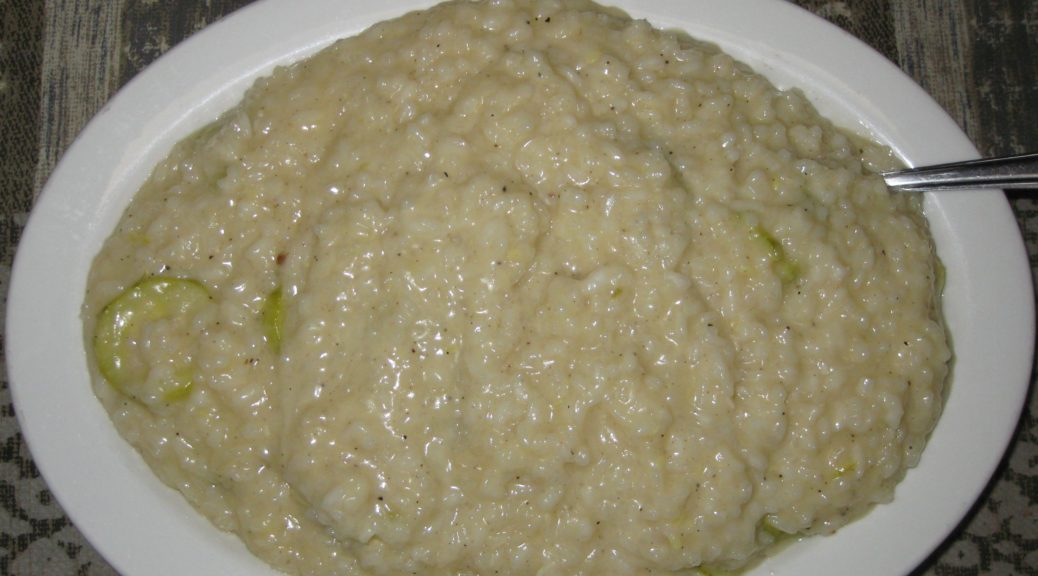
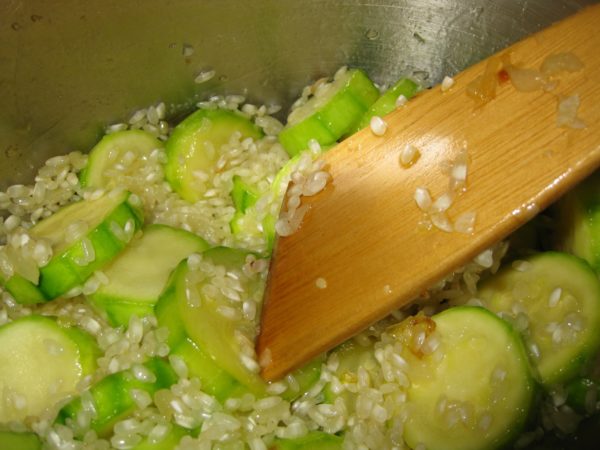
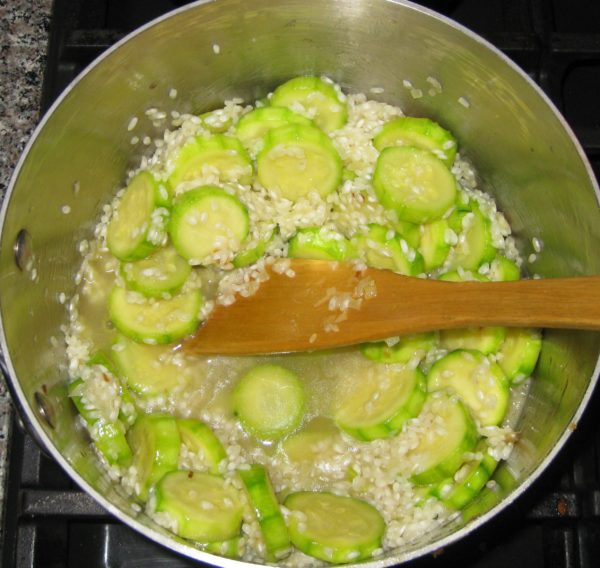
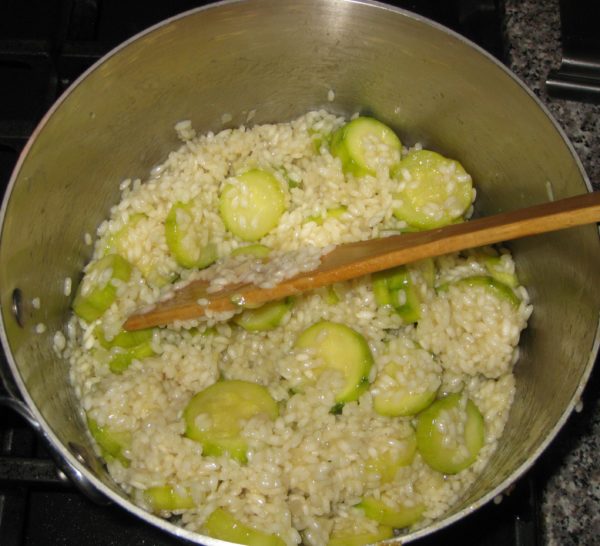
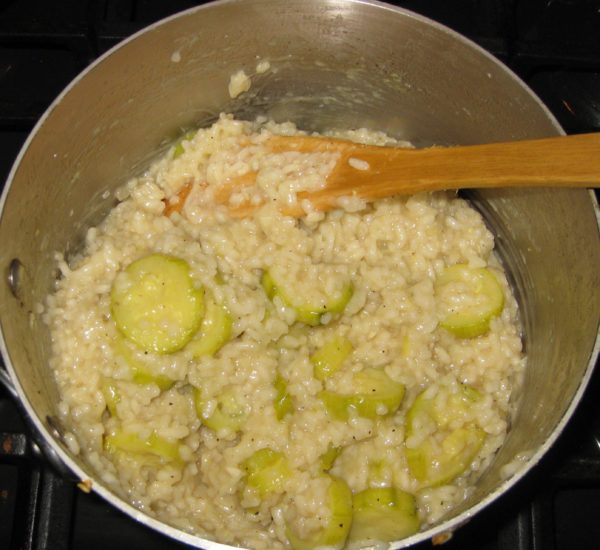
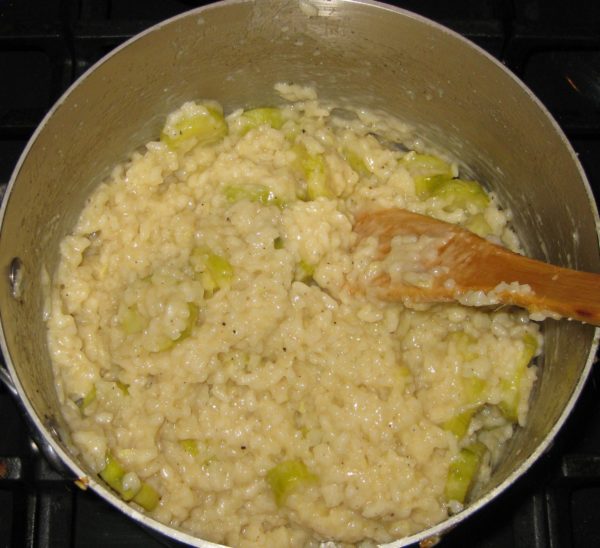
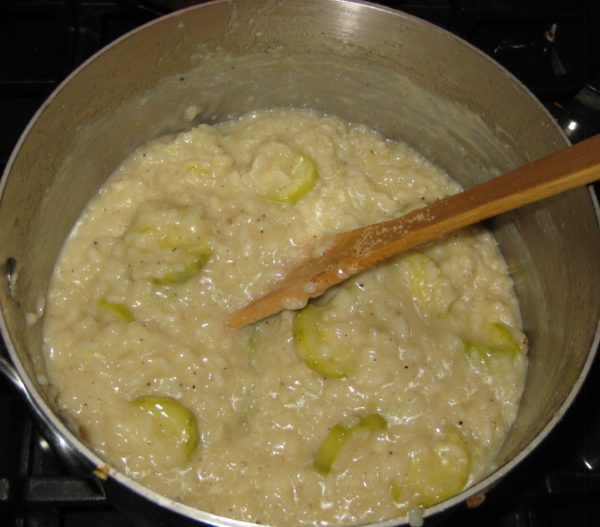
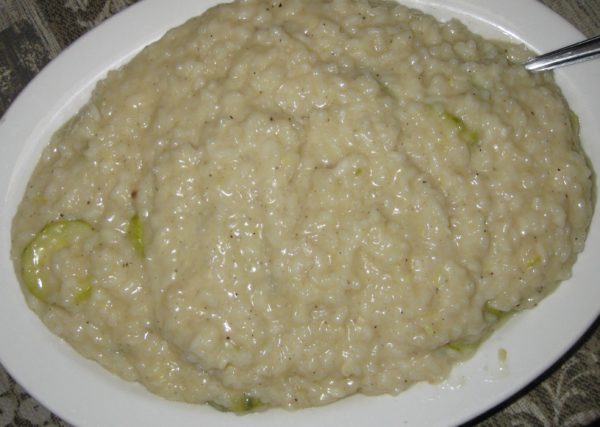
Despite the difference in texture, zucchini can be added at the beginning as with butternut squash.  The final texture is different, with the butternut squash being cooked but still holding its shape completely while the zucchini will soften much more but will still be recognizable.

Once you get the hang of cooking the rice for risotto, you can turn any vegetable into a risotto by just considering which of the cooking techniques to use.

Print Recipe
Risotto with Zucchini
Broth for risotto should be light in flavor, not a heavy stock. The broth should add the barest amount of background flavor but allow the other ingredients in the risotto to shine. Risotto uses a lot of broth. It is important that the broth have minimal salt so as not become overly salty. I never salt my homemade broth for this reason. If it seems that you will run out of broth before the risotto has finished cooking, put some water on to heat. It is important that all liquid added to the risotto, other than the initial addition of wine, be at a simmer.
Votes: 0
Rating: 0
You:
Rate this recipe!
Prep Time 15 minutes
Cook Time 45 minutes
Servings
people
Ingredients
Prep Time 15 minutes
Cook Time 45 minutes
Servings
people
Ingredients
Votes: 0
Rating: 0
You:
Rate this recipe!
Instructions
  1. Bring the broth to a bare simmer.
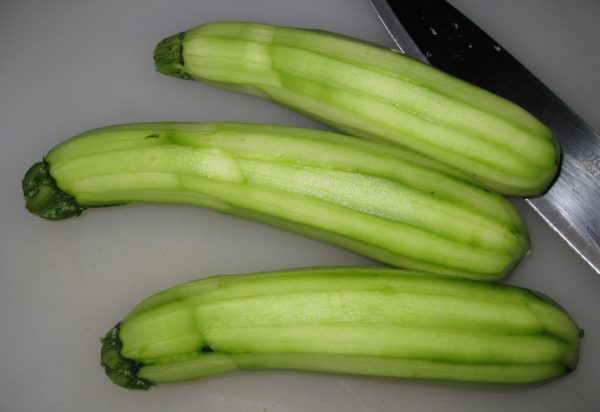
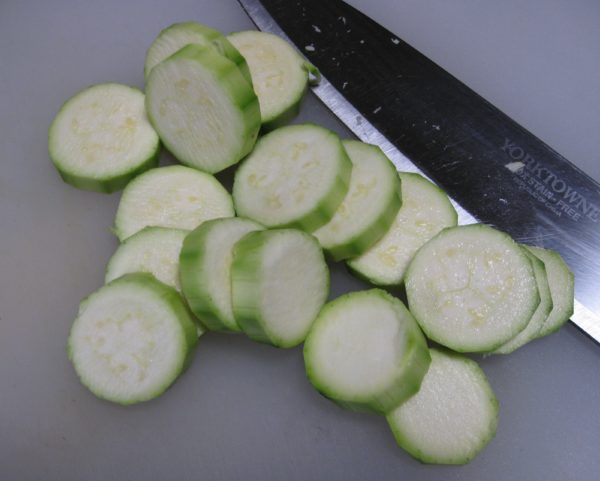
  2. Meanwhile, peel the zucchini then slice into ½-inch thick rounds.
  3. In a heavy-bottomed three-to-four-quart saucepan, heat the oil over medium to medium-high heat.
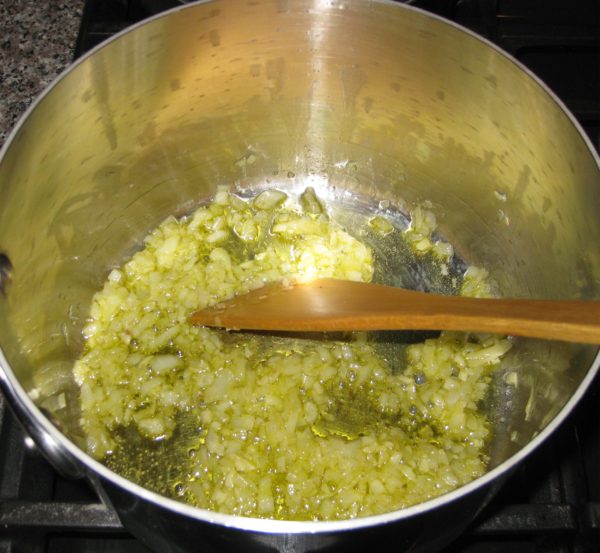
  4. Sauté the onion and garlic in the oil, stirring frequently, until the onion becomes translucent.
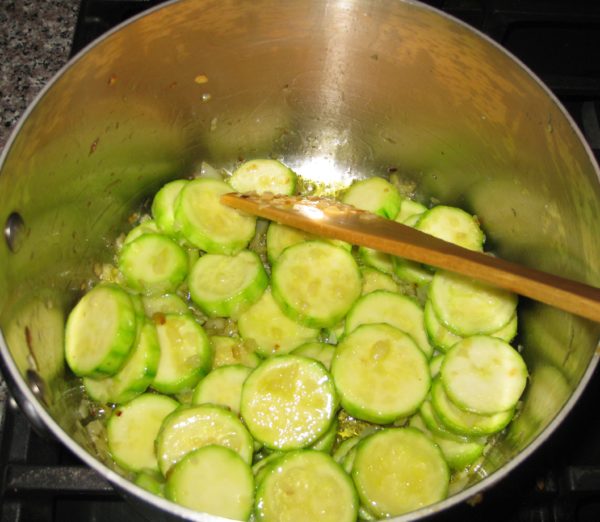
  5. Increase the heat to medium-high. Add the zucchini and ½ teaspoon of salt.
  6. Sauté the zucchini until the greenish color changes to a slightly less vibrant shade and the edges of the zucchini rounds become just a little less sharp, approximately 5-7 minutes.
  7. Add a few grindings of black pepper.
  8. Add the rice and stir until coated with oil.
  9. Sauté several minutes until the outer edges of the rice grains become translucent while the center remains white, approximately 5 minutes.
  10. Add the wine. Stir frequently, but not constantly, until the wine has totally evaporated. You will begin to see some starch leaching out of the rice. More and more of the starch will leach out as you cook the rice. This is what will make a creamy sauce, not a large quantity of butter, cheese or cream.
  11. When the wine has evaporated, add 1/2 cup of the simmering broth. Stir thoroughly, paying particular attention to loosening any spots where the starch seems to be sticking to the bottom of the pan. You don’t want to brown (or worse yet, burn) the starch.
  12. Stir frequently, but not constantly, until the broth has evaporated.
  13. If the broth is unsalted, as I recommend, add 1 ½ teaspoons of salt to the rice as you begin to add the broth. If the broth contains salt, do not add salt until the end.
  14. Keep repeating the process with ½ cup of simmering broth each time: cooking, stirring, and loosening any spots that are sticking until each addition of broth evaporates. The heat should stay as close as possible to medium high. The moderate boiling of the liquid will coax starch out of the rice to create the creaminess that is the hallmark of a good risotto.
  15. Begin tasting for doneness after approximately 3 cups of simmering broth have been added. When the rice is al dente, firm but not crunchy in the center, add another ½ cup of simmering broth, stir, and remove the rice from the heat.
  16. Off the heat, stir in the Parmesan cheese, butter, parsley, if using, and freshly ground black pepper to taste. Taste and adjust salt.
  17. In two or three small additions, add as much of the broth as the risotto will absorb without becoming watery. Stir thoroughly.
  18. Serve immediately.
Recipe Notes

With risotto, the goal is to have rice grains that are still al dente (but not crunchy) in the middle surrounded by a creamy liquid. An Italian risotto should be creamy from the starch in the rice, augmented with a very modest amount of butter and cheese. Risotto served in America is often overly rich from butter, cheese, and sometimes cream.

Risotto rice is a short grain rice that cooks slowly, making it much easier to achieve an al dente texture because it takes a while to actually overcook it. The three types of rice for risotto are Arborio, Carnaroli, and Vialone Nano. Arborio is the easiest one to find though the other two are more forgiving than Arborio when it comes to overcooking.

I recommend buying good quality rice imported from Italy. It really isn’t priced that differently from domestic. Do not wash the rice.

Copyright © 2018 by Villa Sentieri, LLC. All rights reserved.
Share this Recipe

Aunt Margie’s Pasta è Ceci (Pasta and Chickpeas)

May 4, 2018

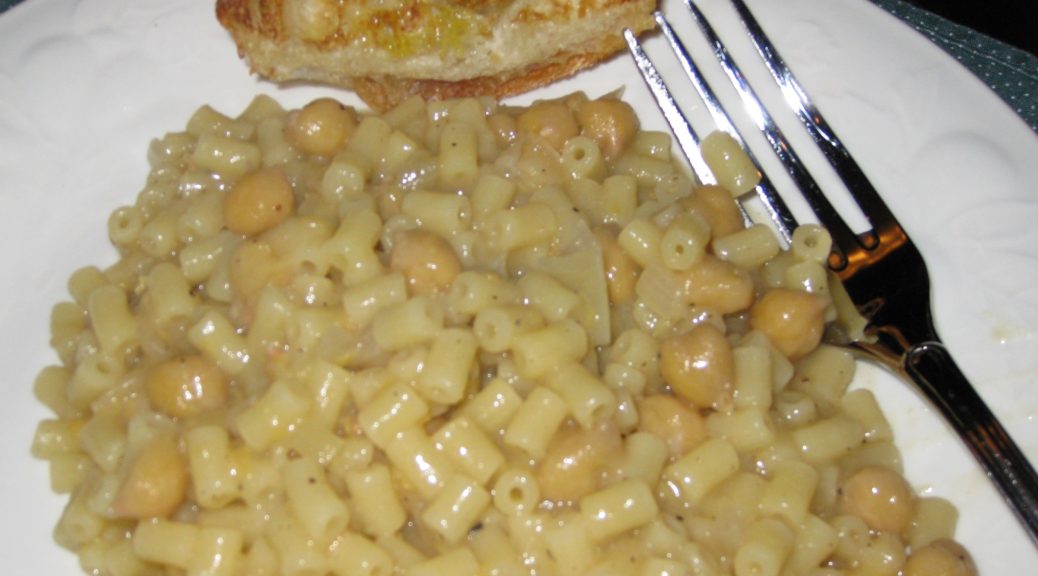
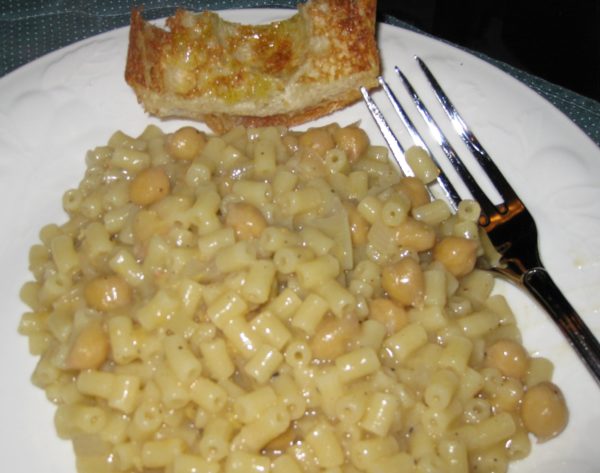
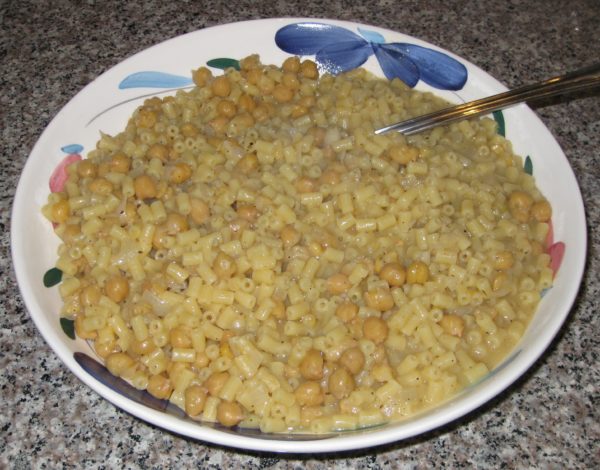
Beans and Macaroni. Pasta è Fagioli.  Even Pasta Fazool to quote Dean Martin.

It’s a classic combination and there are as many variations as there are cooks!  (Google returned 6,300,000 entries for “beans and macaroni,” 588,000 for “pasta è fagioli,” and 57,900 for “pasta fazool!”)

This is my interpretation of Aunt Margie’s, which she made with chickpeas.

At Aunt Margie’s 90th birthday party in September 2010.  From left to right, Aunt Margie’s grandson, Jim, me, Aunt Margie, my cousin Donna (Aunt Margie’s daughter)

It couldn’t be more different from my mother’s which was made with baby lima beans.

Aunt Margie’s was made with water and oil.  My mother’s had tomato sauce.


Follow us on your social media platform of choice


Aunt Margie’s was quite soupy.  My mother’s was just slightly “saucy.”

They grew up in the same house and learned to cook from the same mother.  I wish I had thought to ask either of them where their respective recipes came from and why they were so different.

My cousin Donna and I in the lobby of the Hilton Plaza in Miami Beach, 1970

One thing that both versions had in common, though, is that they were frequently served on Fridays, which our families observed as meatless back then.  (When Fridays were no longer meatless, my father joked that it was because the Vatican sold its fisheries.)

But Friday or no, pasta è fagioli, or, in this case, more specifically pasta è ceci (ceci means chickpeas), is consummate comfort food.  Admittedly, pasta è fagioli does not need to be meatless but it very often is.  (Actually, I made a non-meatless version earlier this week with guanciale, cured pork jowl.)


Click HERE to join our mailing list and you’ll never miss a recipe again!


Aunt Margie and Uncle Joe were like second parents to me.  I spent many (most?) summer days at Aunt Margie’s, getting there in the morning and staying until dinnertime or later.  My cousin, Donna, is nine months younger than I am.  Her neighbor Ricky Slivosky is nine months younger than she is.  The three of us hung out pretty much all summer.  That made Aunt Margie’s house the logical choice.

Aunt Margie got a little too much sun while we were staying at the Beau Rivage Resort in Miami Beach, 1971

Our families often vacationed together.  Florida was a favorite destination.  Once every 5 years Uncle Joe had 13 weeks of vacation (ahh, the glory days of American steel manufacturing…and collective bargaining).  Those years were likely to include a trip to California.

Aunt Margie really didn’t like vacations.  Several times I witnessed what I believe was an annual ritual.  Uncle Joe would be loading the suitcases in the trunk of the car and Aunt Margie would be standing beside him still trying to convince him to cancel the vacation.  Aunt Margie never won.

Beau Rivage Resort, Bal Harbour, Florida

Those vacations were always by car; two days to Florida and four days to California.  Aunt Margie ate the same lunch every day of every trip: bacon, lettuce, and tomato sandwiches on white toast, hold the mayo.  Only after we reached our destination did she resume a “regular” diet!

We always had fun and even Aunt Margie seemed to enjoy herself (a minor episode of seasickness, notwithstanding).

Aunt Margie getting seasick on the boat trip from Miami to the Bahamas, 1970

My father didn’t always go on vacation with us due to his work schedule.  He made it on the 1970 trip to Florida, which included several days in the Bahamas which we reached by boat from Miami.  The only food memory I have of that trip is going to an Italian restaurant in Freeport where the garlic bread was so garlicky that it was bitter.  The food itself must have been pretty good as we went back again.  Unfortunately, the garlic bread was just as bad the second time around.

Print Recipe
Aunt Margie's Pasta è Ceci (Pasta and Chickpeas)
Aunt Margie’s Pasta è Ceci was more soupy than my mother’s Pasta è Fagioli. It had no tomato sauce. This is my interpretation. I have made the liquid a little thicker by emulsifying the cheese and oil at the end. Aunt Margie never used wine. That is my addition. To prepare dry chickpeas, combine 1 pound of dry chickpeas, 7 cups of water, 1 tablespoon salt, 2 bruised garlic cloves, one bay leaf, ½ teaspoon whole black pepper, and a piece of Parmesan cheese rind. Cook in the Instant Pot for 15 minutes or simmer, partially covered, adding more water if needed, till tender but not mushy. If not using the Instant Pot, add the salt after about 15 minutes of simmering. Measure out 3 ½ cups of cooked chickpeas. Reserve the remainder for another use. Use the cooking liquid as described below. Aunt Margie's pasta è ceci was usually so soupy that it was served in bowls. Feel free to make yours as loose as you would like.
Votes: 1
Rating: 5
You:
Rate this recipe!
Prep Time 10 minutes
Cook Time 45 minutes
Servings
people
Ingredients
Prep Time 10 minutes
Cook Time 45 minutes
Servings
people
Ingredients
Votes: 1
Rating: 5
You:
Rate this recipe!
Instructions
  1. Measure out three cups of chickpea-cooking liquid or use the liquid from canned chickpeas adding water to make three cups.
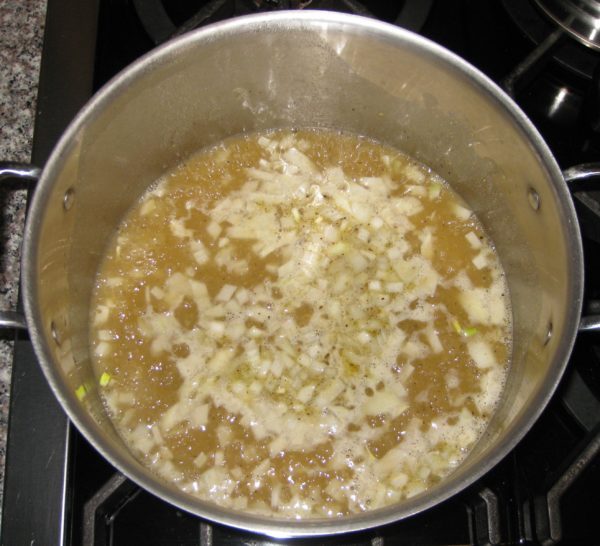
  2. Combine chickpea liquid, white wine, diced onion, oregano and black pepper in a Dutch oven large enough to hold the cooked pasta comfortably. Bring to a boil and simmer approximately 20 minutes, until the onion is tender.
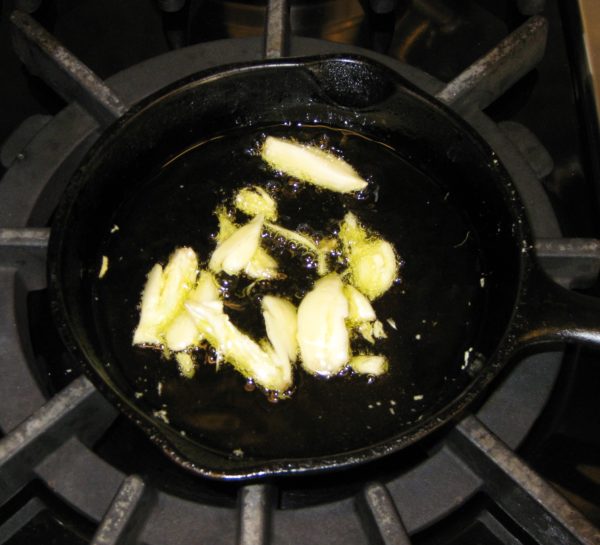
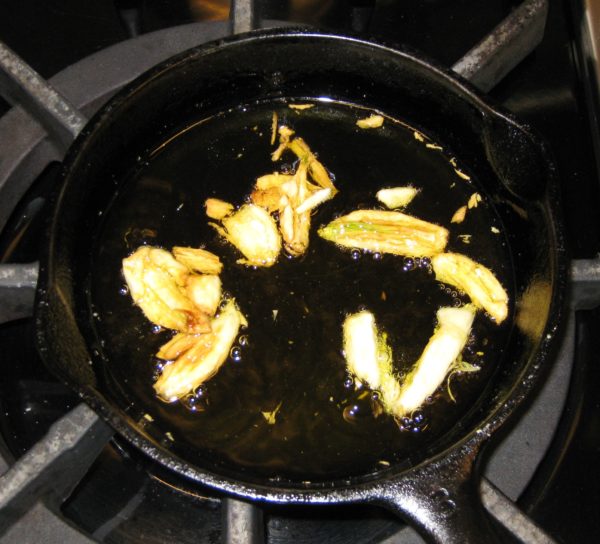
  3. Meanwhile, brown the garlic in 1/3 cup of olive oil over gentle heat.
  4. When the garlic is brown, remove it and reserve the oil.
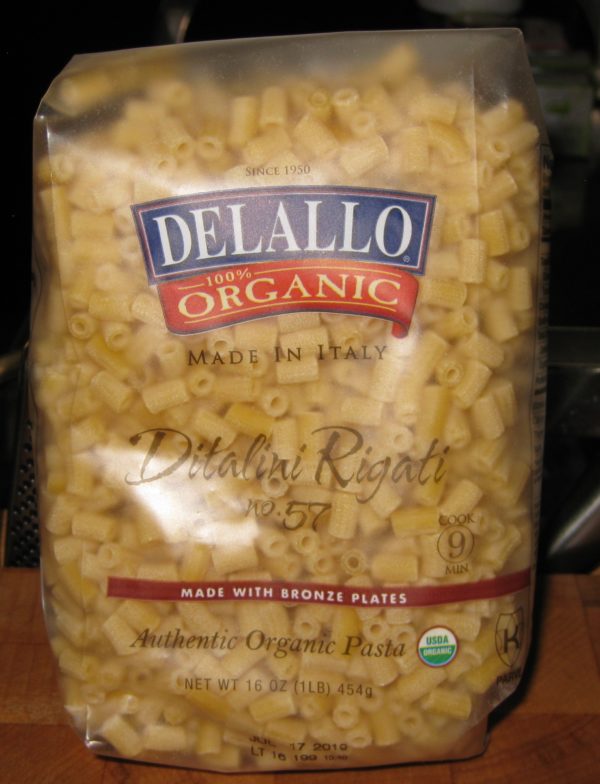
  5. Cook the pasta in two quarts of heavily salted, boiling water until the pasta retains just a little crunch at the very center.
  6. Reserve at least two cups of the pasta-cooking water.
  7. Pour some of the remaining pasta-cooking water into the serving bowl to warm it while proceeding with the recipe.
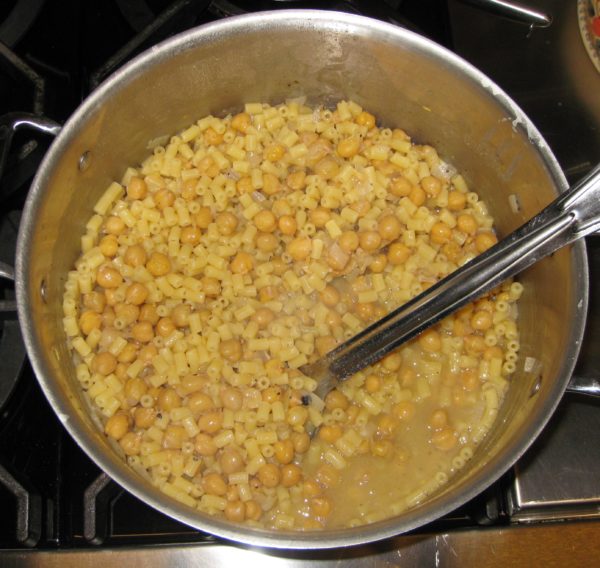
  8. Drain the pasta and immediately add it to the seasoned chickpea-cooking liquid along with the chickpeas.
  9. Add the garlic-infused oil and salt and black pepper to taste.
  10. Simmer gently, covered, until the pasta is just al dente. Add some of the reserved pasta-cooking water as needed.
  11. When the pasta is al dente, add more of the reserved pasta-cooking water, if necessary, to make a slightly soupy mixture.
  12. Remove from the heat.
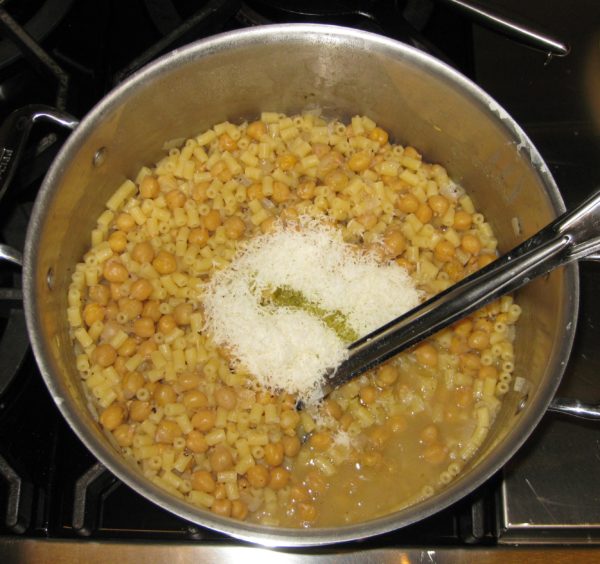
  13. Stir in the Romano cheese and 1/4 cup of olive oil to create a glossy sauce.
  14. Add a bit more of the pasta-cooking water if needed to thin the sauce as the combination of cheese and olive oil will create an emulsion that will thicken the sauce.
  15. Taste and adjust salt and pepper.
  16. Serve immediately with additional freshly grated Pecorino Romano cheese.
Recipe Notes

Copyright © 2018 by VillaSentieri.com. All rights reserved.

Share this Recipe

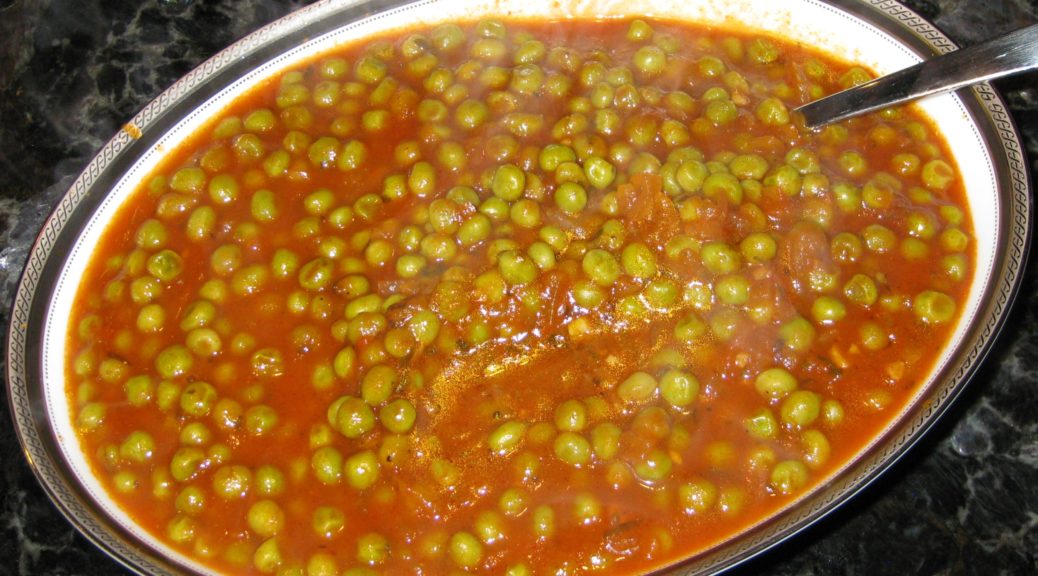
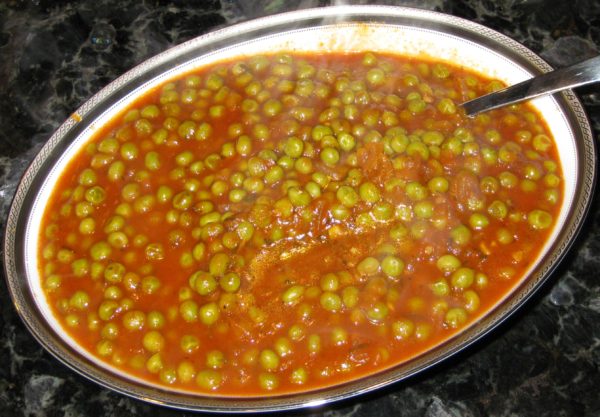
Piselli in Umido (Peas in Tomato Sauce)

April 11, 2018

Italians have knack for combining a modest array of vegetables into an almost endless cannon of dishes, each of which is distinctive, even if the interrelationships of the various parts are obvious.

This dish of peas cooked in tomato sauce is from my husband’s paternal grandmother, Amerina Pieri.

I learned to make this from my mother-in-law, Marisa, Amerina’s daughter-in-law.


Follow us on your social media platform of choice


Everyone who makes it adds his or her own signature.  Mine is not exactly like my mother-in-law’s and I’m sure hers is not just like Zia (Aunt) Ida’s, Amerina’s daughter.

Interestingly, Nonni (as we all called her) used canned peas.  In talking with my father-in-law (who grew up eating this) and my mother-in-law, they were pretty sure Nonni would not have used canned peas in Italy unless she possibly canned them herself.  Somehow canned peas became the norm in America.

Amerina Pieri (aka Nonni or Nonni’merina) Christmas 2005

And, while canned peas produce a pretty good dish, I prefer something a little fresher.  Because really good fresh peas are available for only a few weeks a year at the Farmers Market in Santa Fe, I usually use frozen peas.

If the frozen peas haven’t been in your freezer so long that they start to dry out and freeze into a block they are superior to “fresh” peas except during the few weeks a year when they are really locally-grown and truly fresh.


Click HERE to join our mailing list and you’ll never miss a recipe again!


My mother-in-law usually uses canned tomato sauce when making this, as did Nonni (at least when she made it on this side of the Atlantic Ocean!).

I use tomato paste and water.  If you read the ingredient lists on cans of tomato sauce that you can buy in the United States, you will find that most are made from tomato paste and water, so why not just do it yourself?  Those few brands of tomato sauce that are not made from diluted tomato paste are a little too sour for my taste.  I would opt for a good-quality tomato puree instead.

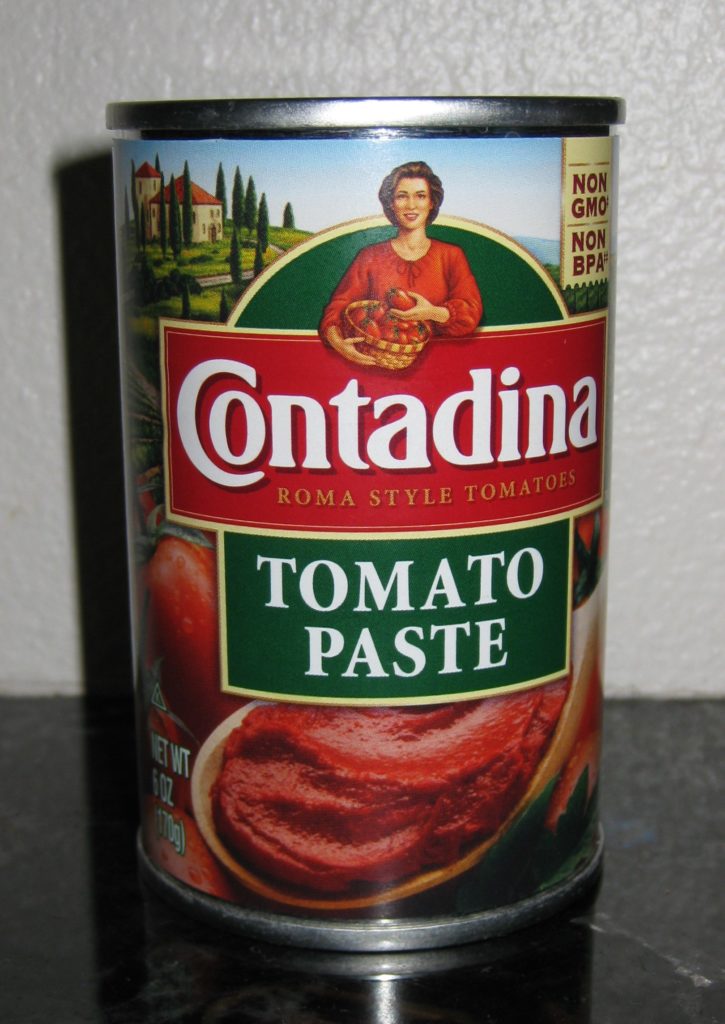
My favorite brand of domestically produced tomato paste

Tomato paste has a richer flavor than tomato sauce or tomato puree.  I attribute this to the extra cooking that is needed to concentrate the tomatoes.  Those little cans provide the foundation of a taste that could otherwise only be achieved with hours of simmering.

Homemade tomato puree would be another good option if you want a fresher, more summery taste.  Here’s where you can find my recipe.


If you have a favorite family recipe and a bit of a story to tell, please email me at santafecook@villasentieri.com and we can discuss including it in the blog. I am expanding the scope of my blog to include traditional recipes from around the country and around the world. If you haven’t seen Bertha’s Flan or Melinda’s Drunken Prunes, take a look.  They will give you an idea of what I’m looking for.


Print Recipe
Piselli in Umido (Peas in Tomato Sauce)
Fresh or canned peas can be used in place of frozen. Fresh peas will take longer to cook. The canned peas should be cooked briefly to avoid overcooking. I like to rinse off frozen vegetables to remove any ice crystals on the exterior. I find the ice crystals can carry a “freezer” taste.
Votes: 0
Rating: 0
You:
Rate this recipe!
Course Sides, Vegetables
Cuisine Italian
Prep Time 10 minutes
Cook Time 75 minutes
Servings
people
Ingredients
Course Sides, Vegetables
Cuisine Italian
Prep Time 10 minutes
Cook Time 75 minutes
Servings
people
Ingredients
Votes: 0
Rating: 0
You:
Rate this recipe!
Instructions
  1. Sauté the onion, garlic, sage, parsley and ½ teaspoon of salt in the olive oil in a heavy-bottomed saucepan till the onion is translucent.
  2. Add the wine and cook, stirring frequently, until it evaporates.
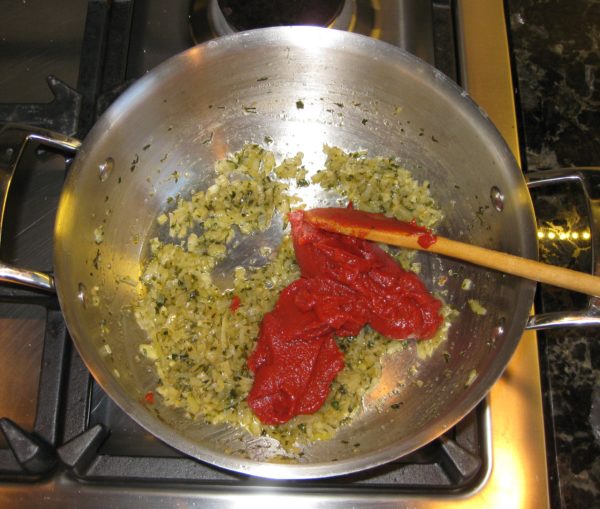
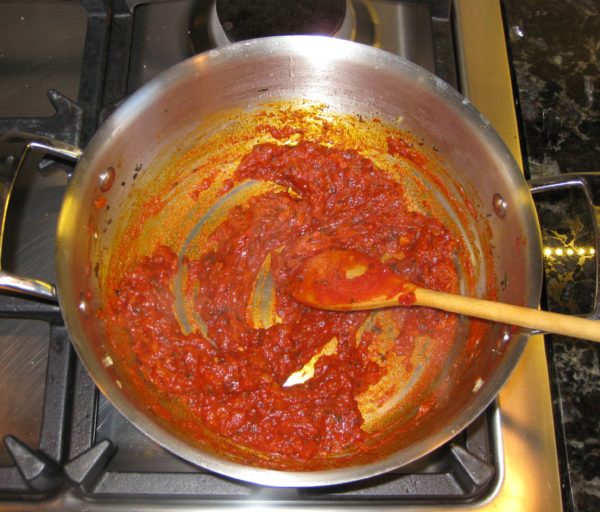
  3. Add the tomato paste and sauté until it becomes slightly darker, 3-4 minutes.
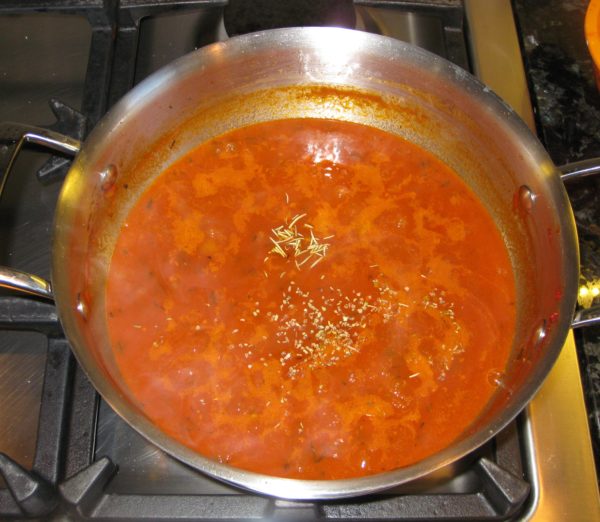
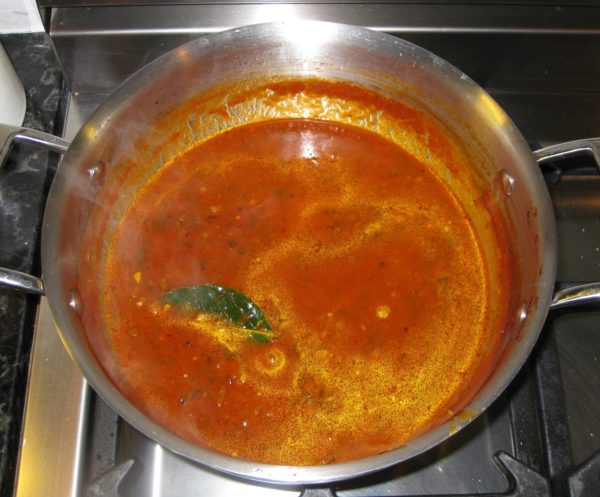
  4. Add the water, sugar, bay leaf, rosemary, oregano, and salt and pepper to taste.
  5. Simmer, partially covered, until thickened, approximately 45 minutes.
  6. Adjust seasoning.
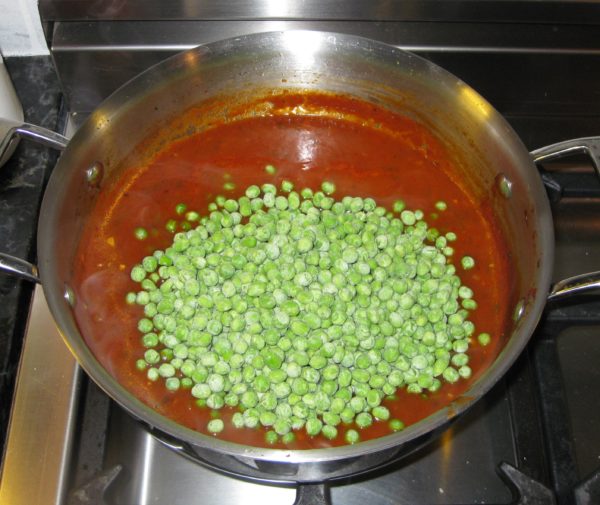
  7. Rinse the frozen peas under cool water to remove any ice crystals.
  8. Add the frozen peas to the sauce.
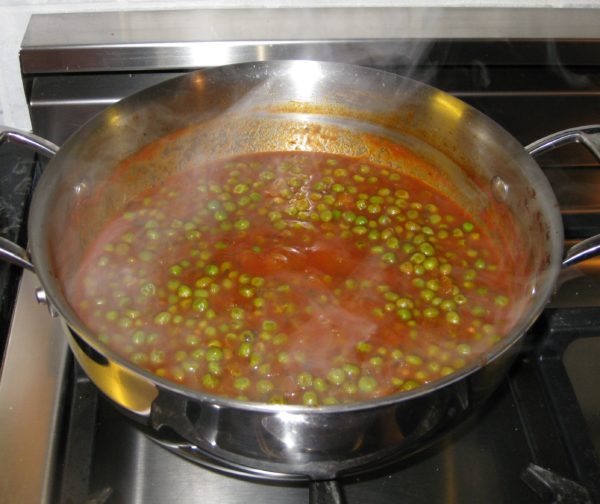
  9. Simmer approximately 15 minutes, adjusting seasoning once again, if needed.
Recipe Notes

Copyright © 2018 by VillaSentieri.com. All rights reserved.
Share this Recipe

Risotto with Butternut Squash

February 22, 2018

Risotto isn’t really a recipe.  It’s a technique.

Yes, there are a few quintessentially classic risotti for which precise instructions are needed (like Risotto alla Milanese) but, in general, you can adapt the technique to use an array of vegetables and other ingredients.

Risotto with Asparagus is a good example of a risotto where the vegetables are pre-cooked and added near the end.  The same can be done with both peas and mushrooms, for example.

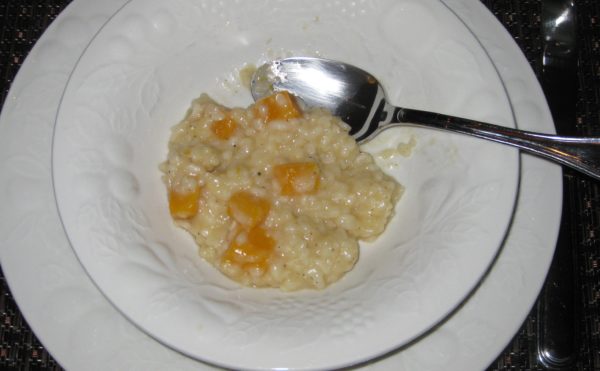
Risotto with Butternut Squash is an example of a risotto where the vegetables are added at the beginning and complete their cooking as the rice cooks.  Though you wouldn’t think it would work, Risotto with Zucchini works the same way, as long as the zucchini are cut into thick slices.


Click HERE to join our mailing list and you’ll never miss a recipe again!


In a traditional Italian meal, risotto, pasta, and soup are all considered the same course:  the first course (Il Primo Piatto).  The first course follows the antipasto (which means, literally, before the pasta).  Il Primo Piatto is followed by the second course (Il Secondo Piatto), consisting of fish, meat, or poultry and accompanied by several side dishes (contorni).  The first and second courses have almost equal weight in an Italian meal; very different from an American meal.

While restaurants often par-cook a risotto so that it can be quickly finished for service, I find that cooking a risotto at home is best done “in the moment.”  That means I only make risotto for a small group when everyone can hang out in the kitchen during the 45 minutes, or so, that it takes to cook.  That pretty much consumes the cocktail hour.  Because of this, for me, risotto is a dish for family or very close friends.


Follow us on your social media platform of choice


Risotto isn’t something I grew up eating.  It is traditionally a Northern Italian dish.  I also don’t remember Auntie Helen, who was from Rome, making risotto either.

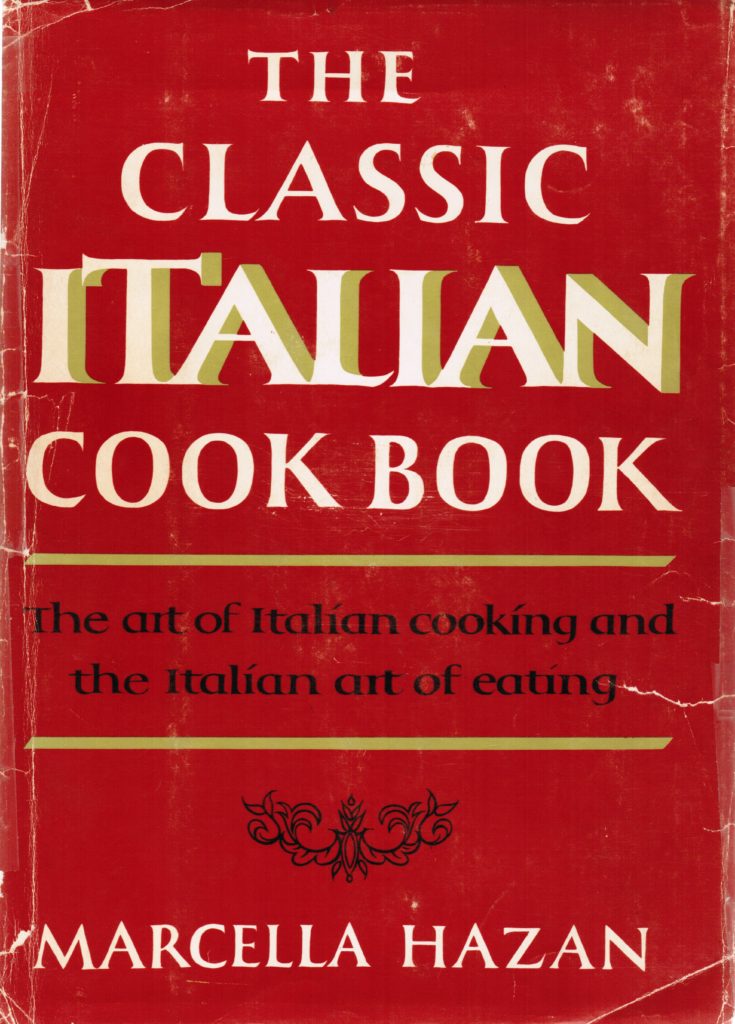
As with much of Northern Italian cooking, my first introduction was through Marcella Hazan’s The Classic Italian Cookbook.  Beyond that, my Italian repertoire grew based on trips to Italy, cooking with Italian friends, and ultimately, marrying into my husband’s very Northern Italian family.

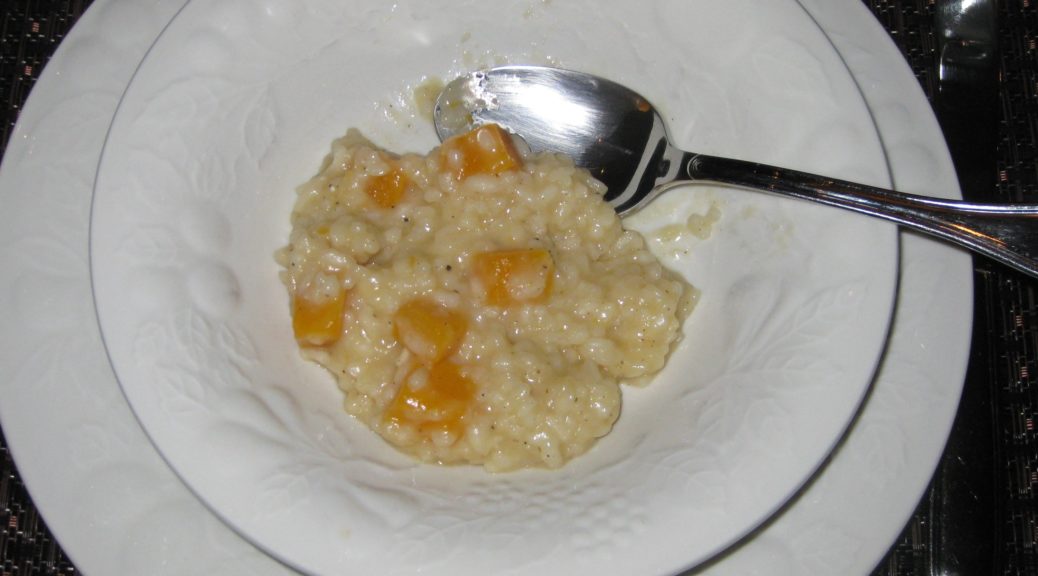
Risotto with butternut squash is a wonderful dish for late fall and winter.


If you have a favorite family recipe and a bit of a story to tell, please email me at santafecook@villasentieri.com and we can discuss including it in the blog. I am expanding the scope of my blog to include traditional recipes from around the country and around the world. If you haven’t seen Bertha’s Flan or Melinda’s Drunken Prunes, take a look.  They will give you an idea of what I’m looking for.


It is important to use what the Italians would call “riso per risotto” (rice for risotto).  The rice used for risotto is short-grained.  It can absorb a lot of liquid, turning creamy in the process while still maintaining the ideal “al dente,” (toothy) quality at the very core.  The most commonly available types of rice for risotto are Arborio, Carnaroli, and Vialone Nano.   Far and away, Arborio is the most common.

Since creaminess is the goal, rice used for risotto shouldn’t be washed.  The little extra starch on the grains will improve the texture.

A well-made risotto gets almost all of its creamy texture from the cooking method, not from the addition of butter, cheese, or cream.  To be sure, a bit of butter and Parmigiano Reggiano cheese are almost always added at the end but this should be for flavor, not to compensate for poor technique.

My most common quibble with risotto made in the United States is that it is overly rich with butter and cheese and (heaven forbid) sometimes cream.

To coax creaminess out of the rice, broth is added in small amounts and completely cooked off before the next bit is added.  In general, the amount of broth I add each time is no more than 1/3 the quantity of rice I start with.  For example, if I’m using one cup of rice, I add no more than 1/3 cup of broth each time liquid is needed.  The rice should be stirred frequently, but not constantly.

Print Recipe
Risotto with Butternut Squash
Broth for risotto should be light in flavor, not a heavy stock. The broth should add the barest amount of background flavor but allow the other ingredients in the risotto to shine. Risotto uses a lot of broth. It is important that the broth have minimal salt so as not to result in an overly salty dish. I never salt my homemade broth for this reason. If it seems that you will run out of broth before the risotto has finished cooking, put some water on to heat. It is important that all liquid added to the risotto be at a simmer.
Votes: 0
Rating: 0
You:
Rate this recipe!
Prep Time 15 minutes
Cook Time 45 minutes
Servings
people
Ingredients
Prep Time 15 minutes
Cook Time 45 minutes
Servings
people
Ingredients
Votes: 0
Rating: 0
You:
Rate this recipe!
Instructions
  1. Bring the broth to a simmer.
  2. Meanwhile, heat a three or four quart heavy-bottomed saucepan over medium high heat. Add the olive oil.
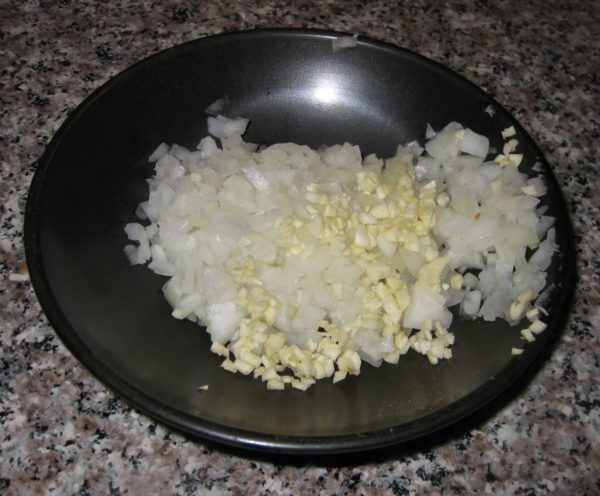
  3. When the oil is hot, add the onion and garlic.
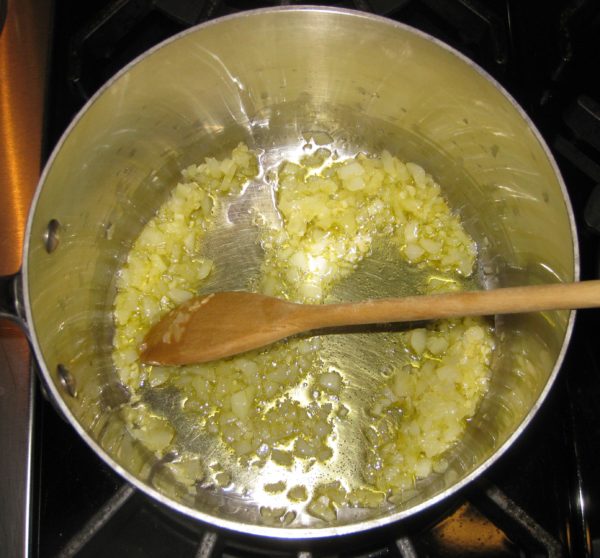
  4. Sauté, stirring frequently until the onion softens and turns translucent. Do not brown the onion. You may need to reduce the heat.
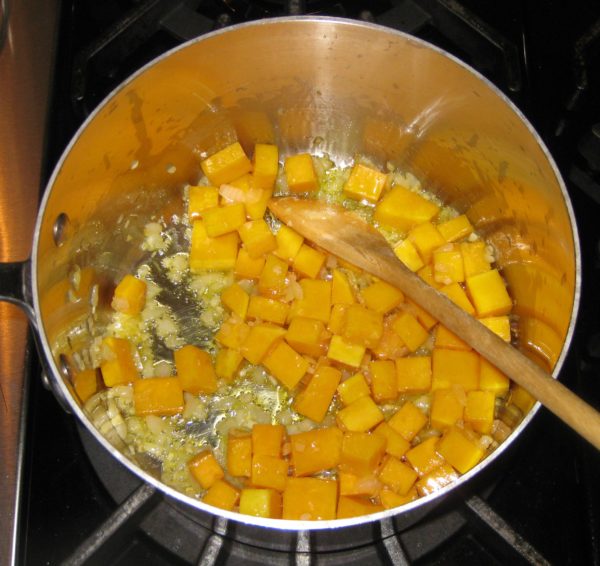
  5. When the onion is soft, return the heat to medium high and add the butternut squash.
  6. Sauté, stirring often, until the squash starts to soften, about five minutes. Be careful not to brown the onion or garlic.
  7. Add 1/3 cup of wine and immediately cover the pot. Cook another five minutes, stirring occasionally.
  8. Remove the cover and cook off any remaining wine.
  9. With the heat still on medium high, add the rice.
  10. Continue cooking, stirring frequently, until the outer portion of the rice becomes translucent while the inside remains opaque white.
  11. Add the remaining 2/3 cup of wine. Stir frequently, but not constantly, until the wine has totally evaporated. You will begin to see some starch leaching out of the rice. More and more of the starch will leach out as you cook the rice. This is what will make a creamy sauce, not a large quantity of butter, cheese, or cream.
  12. When the wine has evaporated, add a scant ½ cup of simmering broth. Stir thoroughly paying particular attention to loosening any spots where the starch seems to be sticking to the bottom of the pan. You don’t want to brown (or worse yet, burn) the starch.
  13. Stir frequently, but not constantly, until the broth has evaporated.
  14. If the broth is unsalted, as I recommend, you can add a teaspoon of salt to the rice as you begin to add broth. If the broth contains salt, I recommend not adding salt until the end.
  15. Keep repeating the process with a scant ½ cup of broth, cooking, stirring, and loosening any spots that are sticking until each addition of broth evaporates. The heat should stay as close as possible to medium high. The moderate boiling of the liquid will coax starch out of the rice to create the creaminess that is the hallmark of a good risotto.
  16. Add the sage after about 20 minutes of cooking.
  17. Begin tasting the rice for doneness at the same time. It will probably still be quite crunchy at the very core. Until you get the hang of it, I suggest testing a rice grain each time you add more broth so you develop a sense of how quickly the texture changes.
  18. Continue cooking, adding simmering broth or water as needed, until the rice is al dente. Once the rice is cooked, add another 1/2 cup of simmering broth, stir, and then immediately remove the rice from the heat.
  19. Off the heat, stir in the butter and Parmesan cheese.
  20. Stir in enough additional simmering broth or water to create a creamy “sauce.” The starch that you have coaxed out of the rice, plus the modest amount of butter and cheese, should allow you to add at least another ½ cup of liquid, possibly more.
  21. Taste and add salt and freshly ground black pepper to taste.
Recipe Notes

Check out the introduction to my recipe for Risotto with Asparagus for more information on making risotto.

Copyright © 2018 by VillaSentieri.com. All rights reserved.
Share this Recipe

Spaghetti with Tuna Sauce

January 17, 2018

Tomatoes…and tuna…not clams or squid…as a sauce for pasta…quite a challenge for me as a young adult!

Although pasta (spaghetti, really) with red sauce and clams or squid was in my wheelhouse as an adolescent, the idea of a red sauce with tuna was, most definitely, not!

My undergraduate advisor, and later my business partner when I set up my psychiatric practice in Philadelphia, Gene d’Aquili, was a first-generation American of Italian and French descent.  I frequently cooked at his home in Berwyn on Philadelphia’s Main Line.  (If you read the obituary link above, you will notice a comment about a sign that read “Fantasyland.”  I was the person who had that sign painted after years of Gene referring to his estate by that name.  I had the sign painted in Guyana on a trip when I was doing research for my doctoral dissertation and ended up on the Guyana Airways float for the Mashramani parade but that’s a whole other story!)

The 1981 Guyana Airways Mashramani float. I was supposed to represent one of the Canadian pilots.

Click HERE to join our mailing list and you’ll never miss a recipe again!


Gene’s father’s family was from Rome.  Gene’s grandparents emigrated to the United States with their four children, Gene’s father Guido, and Guido’s three sisters, very early in the 20th century.  One of the sisters died not long after coming to the United States.  The other two, Auntie Helen and Auntie Louise, are the reasons I now drink bourbon (Auntie Louise) and know a lot about traditional Roman cuisine (Auntie Helen).

The family home is now part of the American Embassy in Rome.  There are several buildings that are part of the American Embassy but I believe the palazzo pictured below was the one the d’Aquili family owned before coming to the United States.

One of the American Embassy buildings in Rome that I believe was the d’Aquili palazzo.

Follow us on your social media platform of choice


Gene’s father, Guido, was a fine artist of the New Hope School.  In a previous post, I included some pictures of some of the Old King Cole murals that he painted for a private club in Trenton, NJ.  Those murals ended up in the dining room of the carriage house I rented on the d’Aquili estate in Berwyn, PA when I was in medical school.

One of Gene’s ancestors was Antoniazzo Romano, a famous artist of the 15th century.  His father’s artistic bent is part of a long family tradition.

The Annunciation by Antoniazzo Romano

For one dinner at “Fantasyland,” really known as “Salus House,” Gene and his wife, Mary Lou, wanted to serve spaghetti with tuna sauce; a classically Italian dish but completely unknown to me at the time.

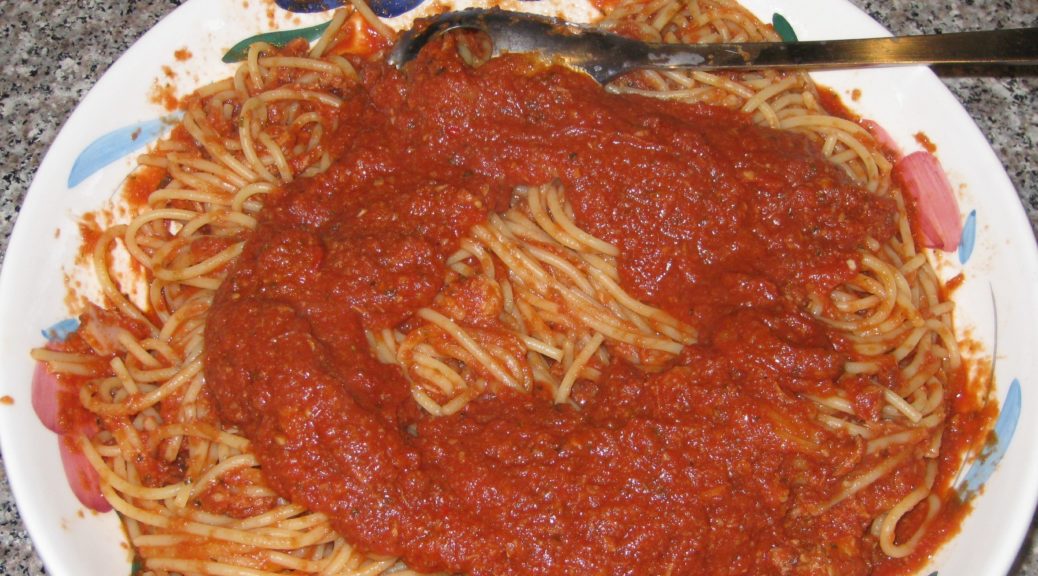
I winged it based on his description.  It was basically a simple tomato sauce (what we as Americans might call Marinara but what Italians would call Pomodoro) with tuna simmered into it.

It was good, and although many years went by before I made it again, it stuck in my memory.

I’ve tweaked the recipe over the years but it really hasn’t varied much from my initial foray into making spaghetti with tuna sauce based on Gene’s description.


If you have a favorite family recipe and a bit of a story to tell, please email me at santafecook@villasentieri.com and we can discuss including it in the blog. I am expanding the scope of my blog to include traditional recipes from around the country and around the world. If you haven’t seen Bertha’s Flan or Melinda’s Drunken Prunes, take a look.  They will give you an idea of what I’m looking for.


Print Recipe
Spaghetti with Tuna Sauce
Although mushrooms are not strictly traditional, their presence is not really noticeable and I think they add a bit of savoriness to the sauce. You can omit them if you wish. It is important to use good quality tuna to avoid any “tinny” taste. Italian Tonno is ideal but a good American brand will work fine. The small amount of sugar is intended to counteract the sourness that some canned tomatoes can have. Adjust up or down to your taste. The presence of the sugar should not be detectable, however.
Votes: 0
Rating: 0
You:
Rate this recipe!
Prep Time 15 minutes
Cook Time 1 hour
Servings
people
Ingredients
Prep Time 15 minutes
Cook Time 1 hour
Servings
people
Ingredients
Votes: 0
Rating: 0
You:
Rate this recipe!
Instructions
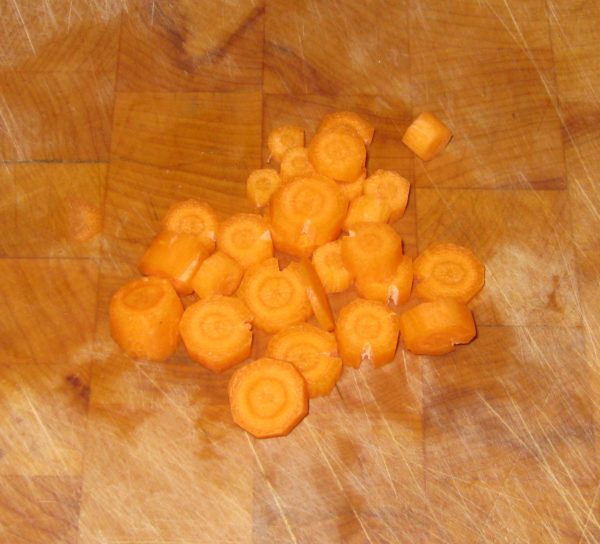
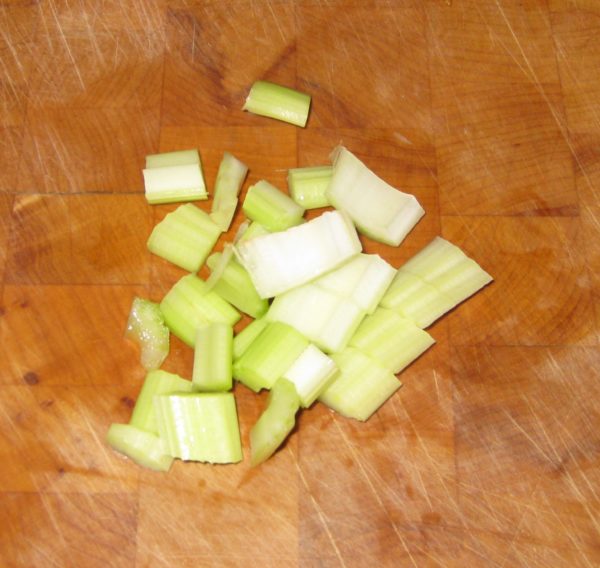
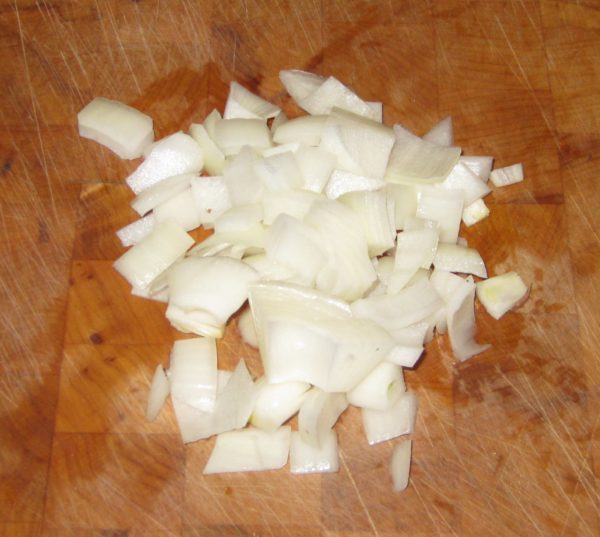
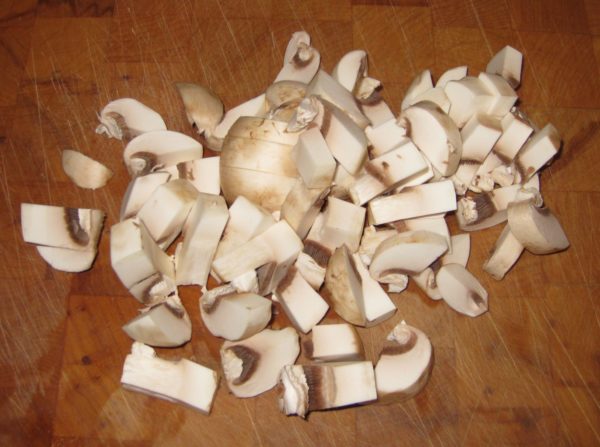
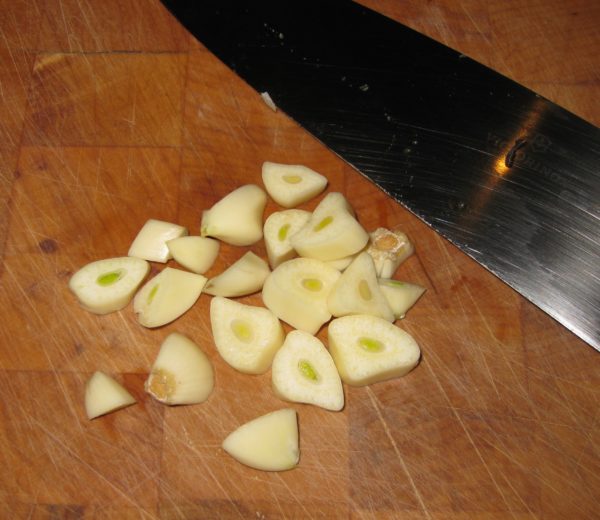
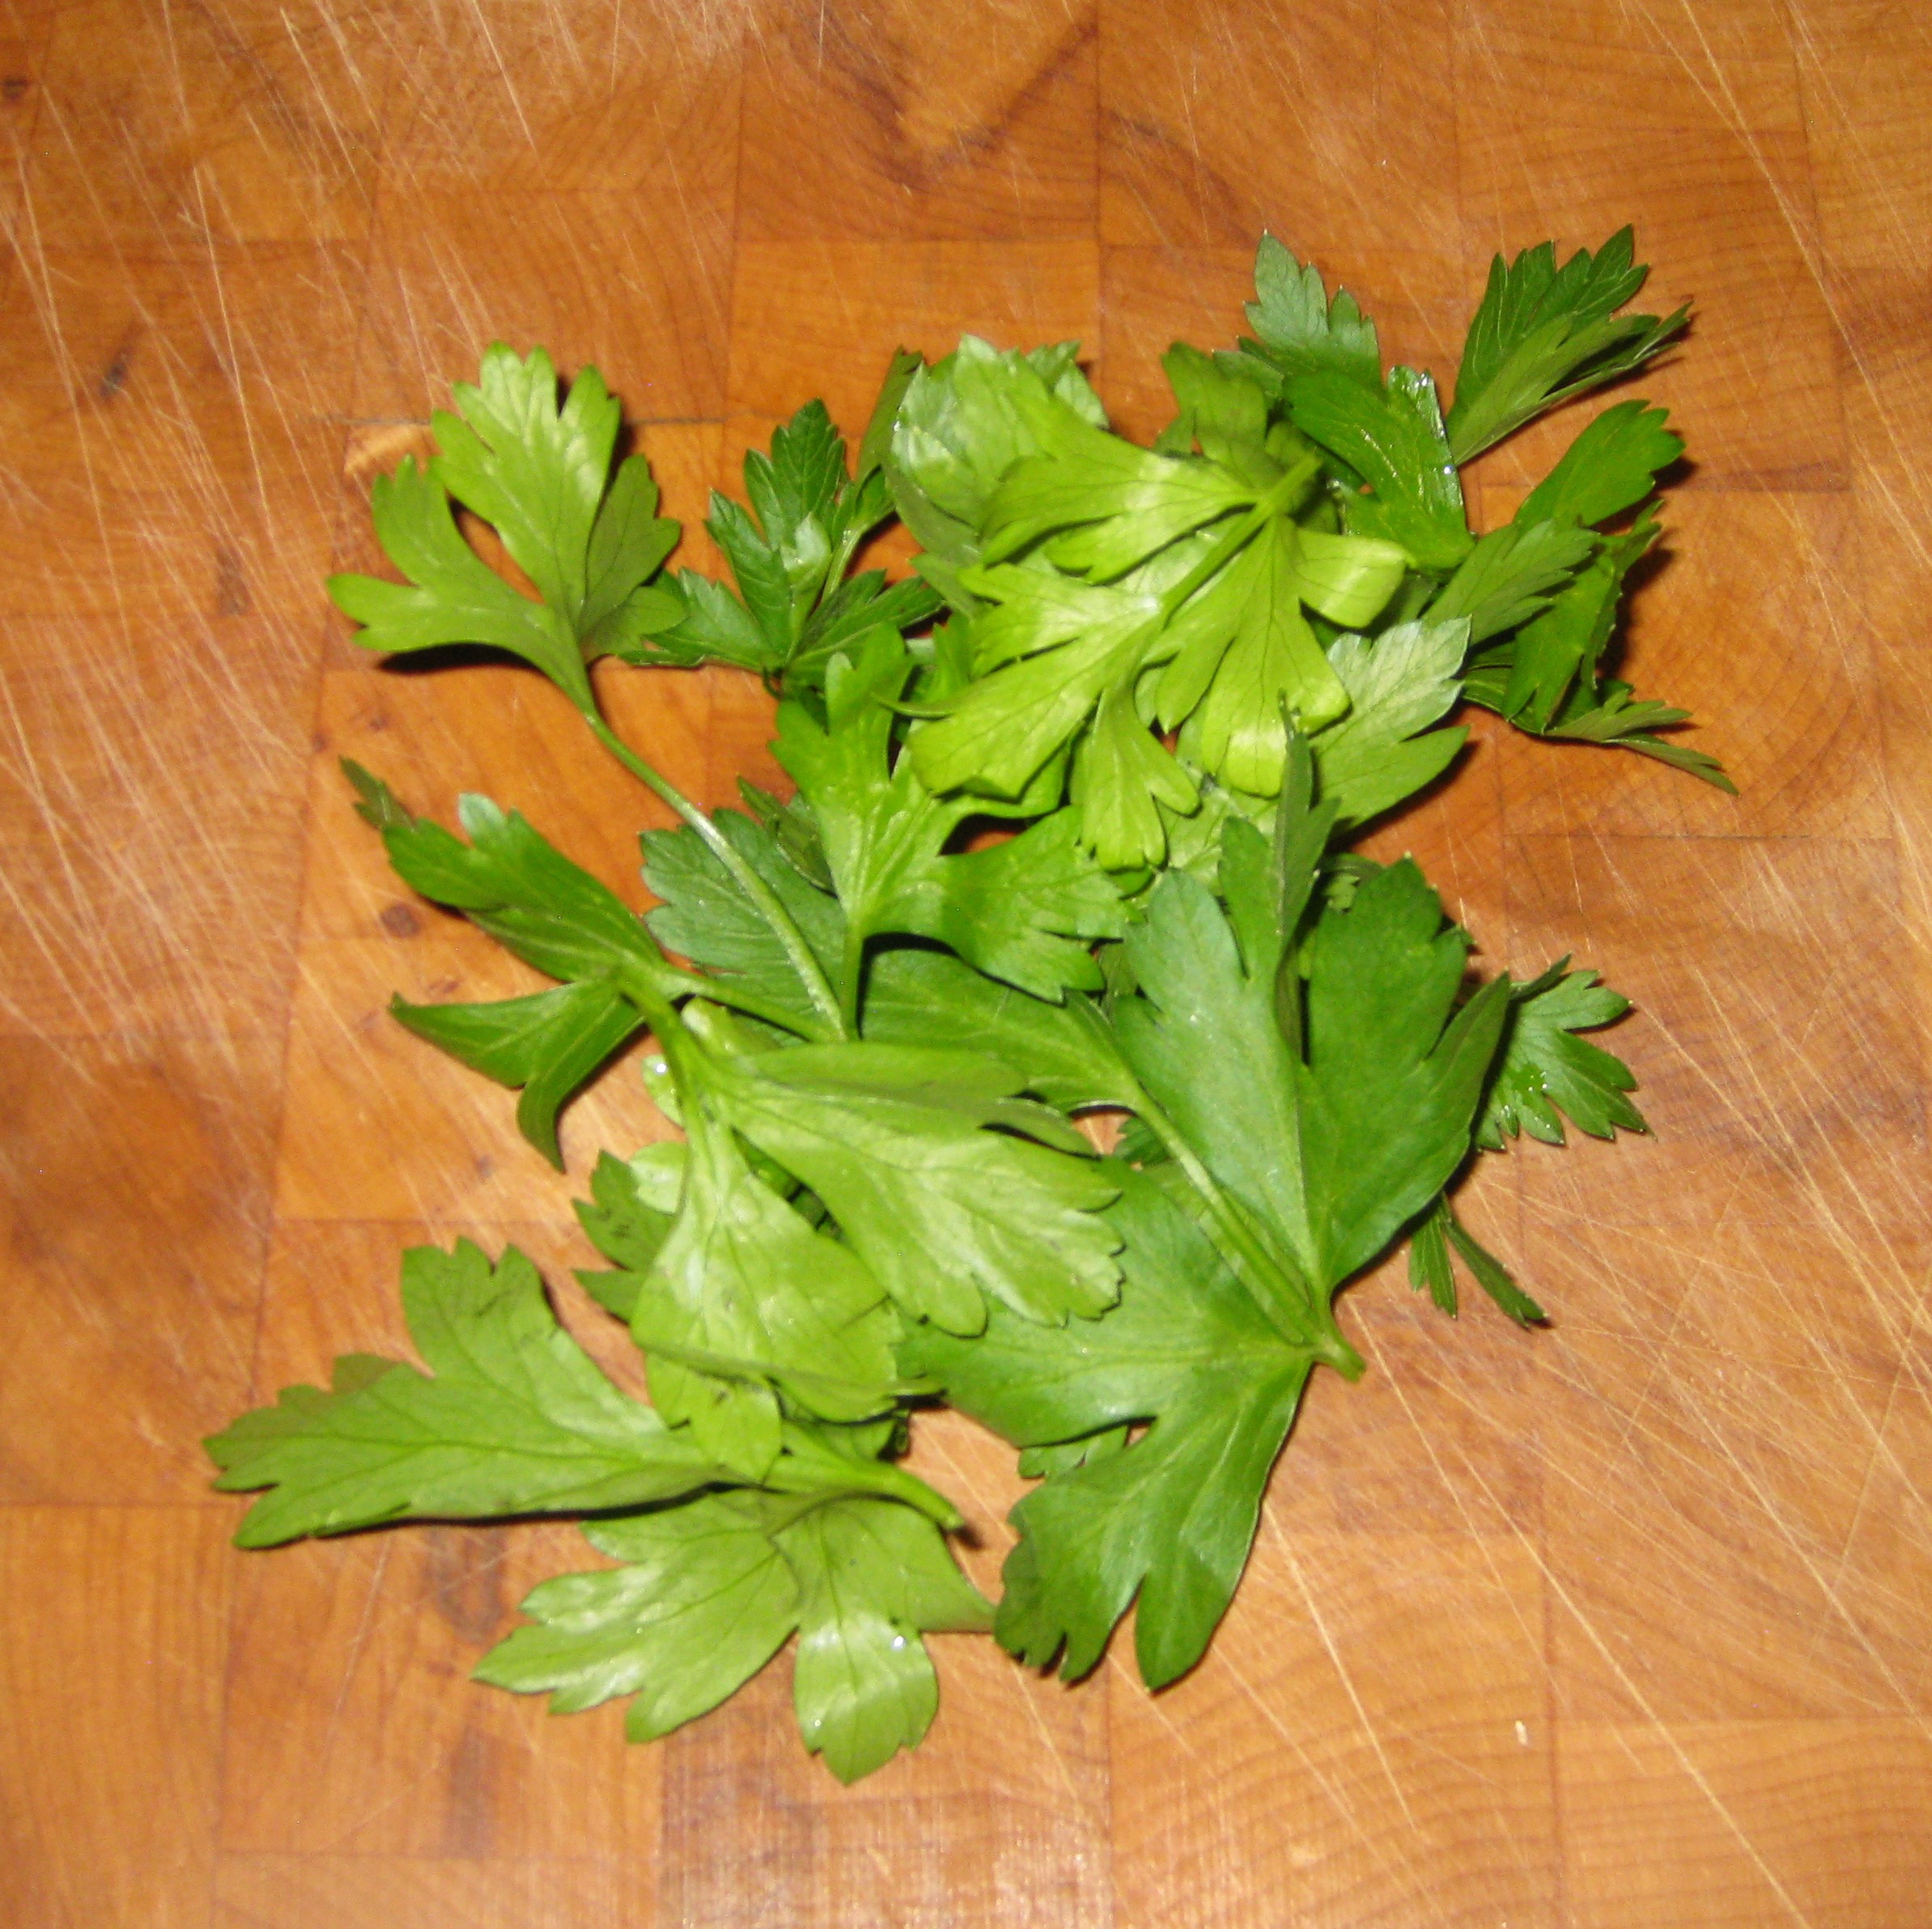
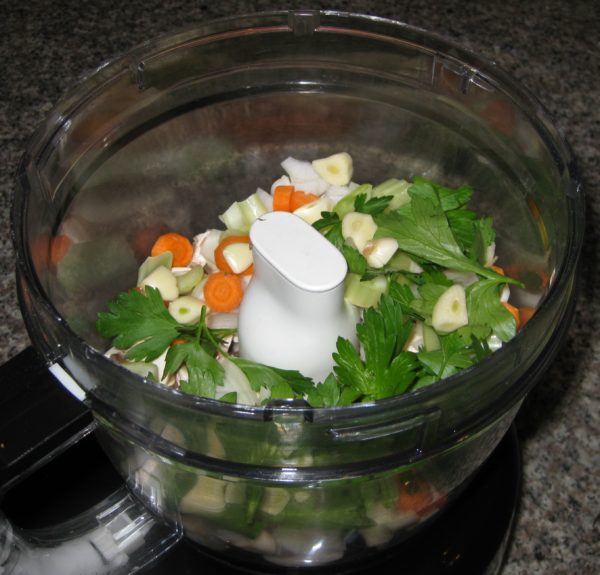
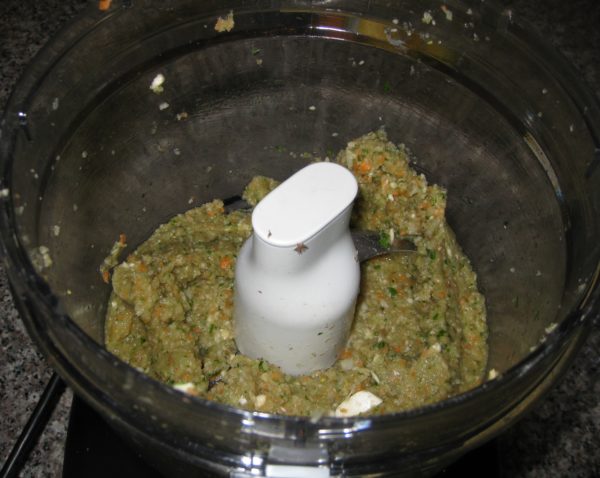
  1. Coarsely chop the carrot, celery, onion, mushrooms, garlic, and parsley.
  2. In a food processor finely mince the chopped vegetables.
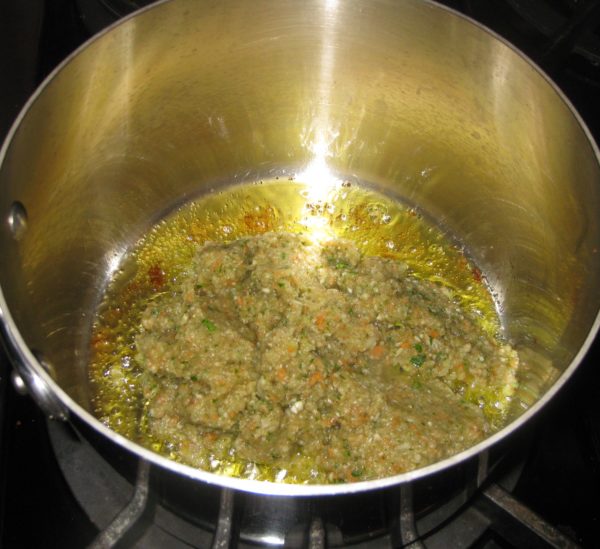
  3. Heat the olive oil in a heavy-bottomed saucepan.
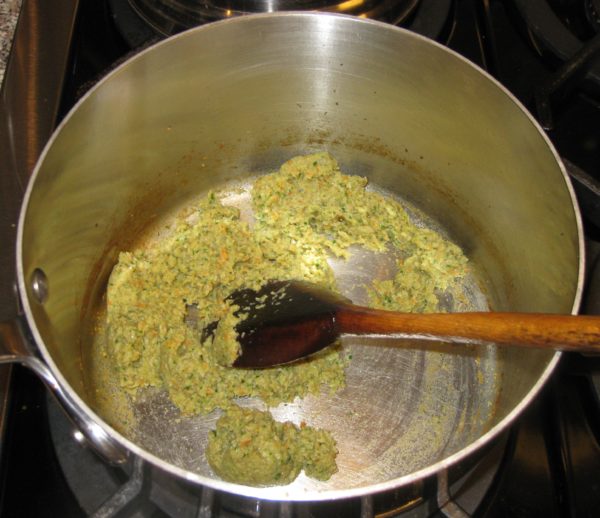
  4. Add the minced vegetables and sauté on medium high heat, stirring often, until golden.
  5. Add the red pepper and sauté a minute or two more.
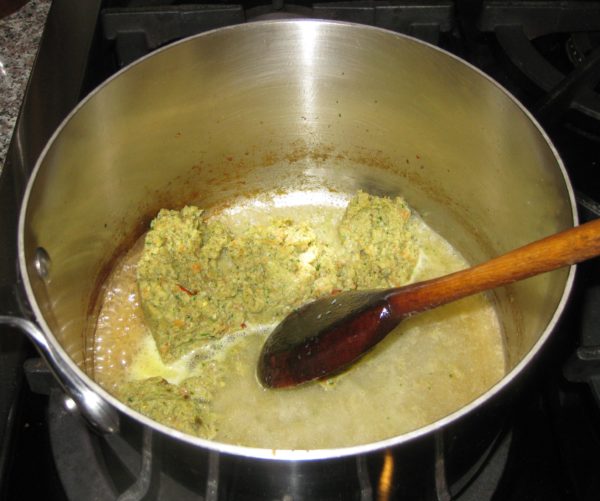
  6. Add the wine and quickly evaporate, stirring often.
  7. Add the basil and oregano. Stir well.
  8. Add the tomato puree, water, sugar, 1 ½ teaspoons salt and black pepper to taste.
  9. Simmer uncovered approximately 30 minutes, stirring occasionally.
  10. Add the tuna and simmer 10 minutes more.
  11. Adjust seasoning.
  12. This makes enough to generously sauce one pound of spaghetti.
Recipe Notes

Copyright © 2018 by VillaSentieri.com. All rights reserved.
Share this Recipe

Spaghettini con Acciughe (Spaghettini with Anchovies)

January 1, 2018

In our house pasta mostly was dressed with a red sauce, specifically my mother’s long-simmered Southern Italian-style sauce.  In Western Pennsylvania, we called it “sauce” or sometimes “spaghetti sauce” though it was used on much more than spaghetti.  Further east, in Philadelphia, New York, and New Jersey the term “gravy” was common, but not where I lived.

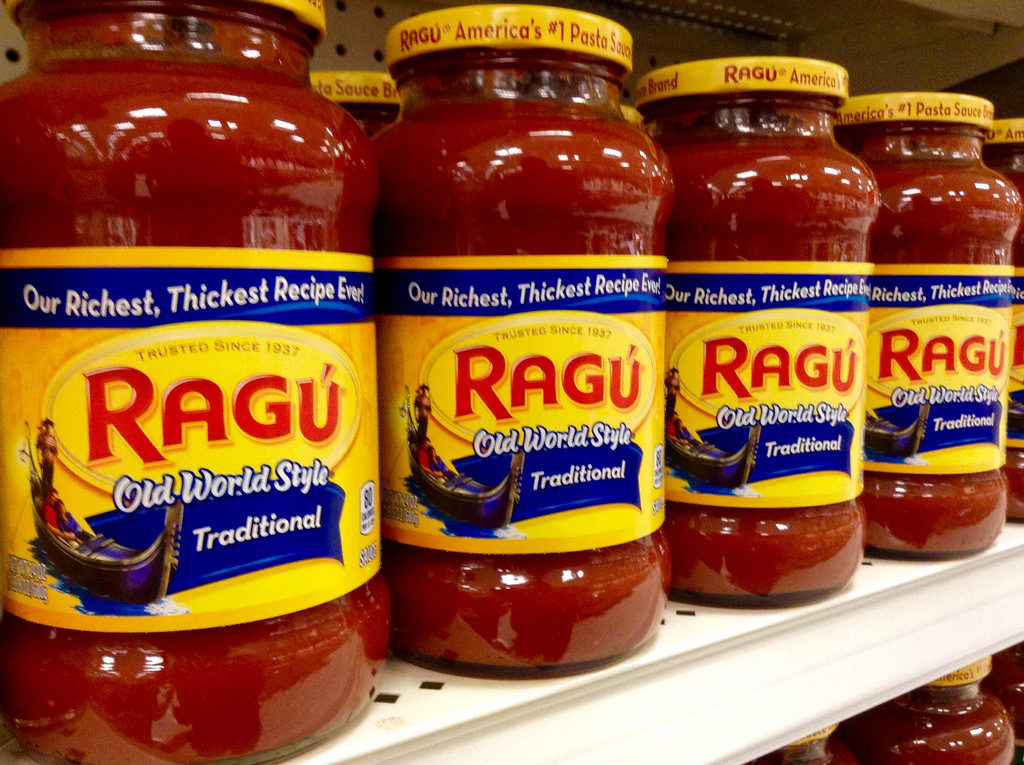
Now I mostly use the Italian word “sugo” which is a general term for sauce, though commonly used for a tomato-based sauce.  The word ragù definitely connotes a tomato-based sauce, specifically with meat.  It also happens to be a trademarked name, though with a different accent mark on the last letter:  Ragú.

I found it interesting that Ragú was started in 1937 in Rochester, New York by Assunta and Giovanni Cantisano, Italian immigrants who sold the sauce from their front porch.  In 1969, the company was sold to Chesebrough-Pond’s.  The brand became the best-selling pasta sauce in the country and ultimately achieved a reported 60% share of the pasta sauce market in the United States.


Click HERE to join our mailing list and you’ll never miss a recipe again!


Purchased pasta sauce was something that NEVER entered our house!

When pasta wasn’t served with a red sauce, it was typically served as Pasta è Fagioli (Pasta and Beans) and, once a year, on Christmas Eve, with crispy breadcrumbs and anchovies.  You can find my mother’s recipe for Pasta è Fagioli here and mine here.  In the coming months you’ll get my Aunt Margie’s recipe and Louis Evangelista’s recipe for Pasta è Fagioli.

Although not something I grew up with, a simple sauce of anchovies, garlic and olive oil is now a favorite in my household.

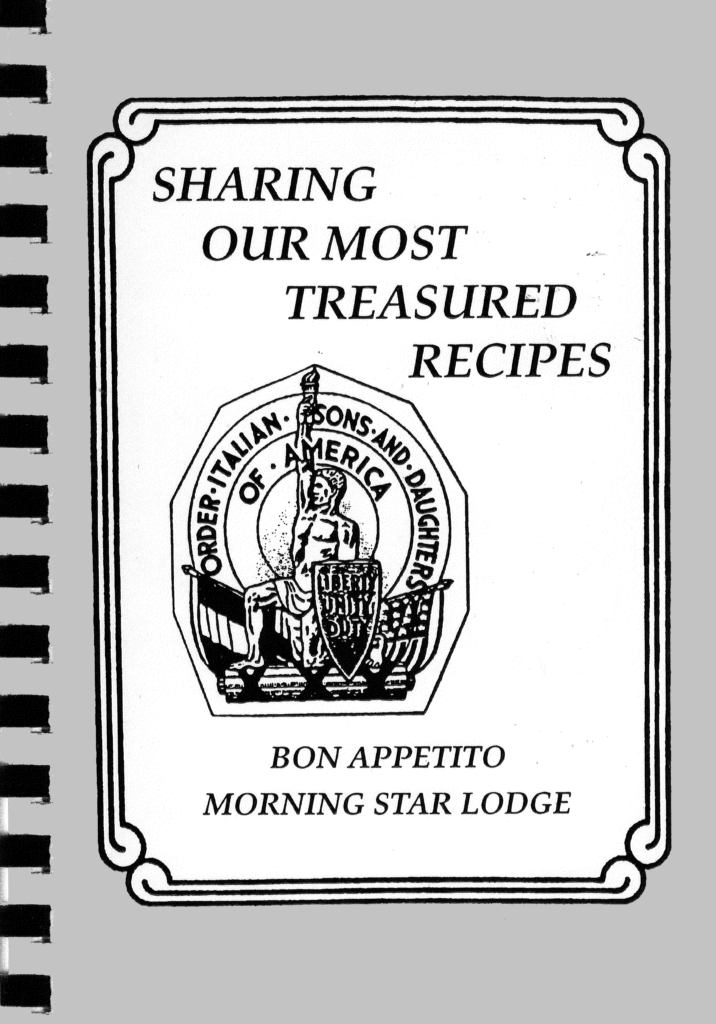
My recipe is adapted from one by G. J. Gillotti (whose family also hails from Calabria) in Our Most Treasured Recipes, published in 1993 by the Morning Star Lodge of the Order of Italian Sons and Daughters of America.  The sauce comes together from pantry staples in the time it takes to bring the pasta water to a boil.


Follow us on your social media platform of choice


Morning Star Lodge is in Pittsburgh, about 70 miles from my hometown of Johnstown, PA.  If you’ve been following my blog, you know I have both Italian and Slovak roots.  There are lots of people of Italian and Eastern European extraction in Western Pennsylvania.  I found it interesting to peruse the pages of this ostensibly Italian cookbook.  Among many Italian and Italian-American favorites are Eastern European dishes like holubki (stuffed cabbage), sweet sour kielbasa, and pierogi casserole.  This speaks to the melting pot that is Western Pennsylvania!


If you’ve gotten this far, I hope you’re interested in trying this recipe but I fear there are many of you who hear the word anchovy and stop cold in your tracks.  If any of you are still reading, however, I would encourage you to try this recipe.  The anchovies provide a background savory note but really are not front and center!


If you have a favorite family recipe and a bit of a story to tell, please email me at santafecook@villasentieri.com and we can discuss including it in the blog. I am expanding the scope of my blog to include traditional recipes from around the country and around the world. If you haven’t seen Bertha’s Flan or Melinda’s Drunken Prunes, take a look.  They will give you an idea of what I’m looking for.


Print Recipe
Spaghettini con Acciughe (Spaghettini with Anchovies)
Buy good quality anchovies packed in olive oil. The difference in price between low-end and high-end anchovies is not that much but the difference in taste is astounding. Good anchovies will have only the slightest smell “of the sea” when you open the can. After cooking, they will fade into the background leaving a savory (umami) note without any fishiness. Italians rarely use cheese in dishes that contain fish. I prefer spaghettini in this dish. Spaghettini is thinner than spaghetti but thicker than angel hair (vermicelli).
Votes: 0
Rating: 0
You:
Rate this recipe!
Prep Time 15 minutes
Cook Time 40 minutes
Servings
people
Ingredients
Prep Time 15 minutes
Cook Time 40 minutes
Servings
people
Ingredients
Votes: 0
Rating: 0
You:
Rate this recipe!
Instructions
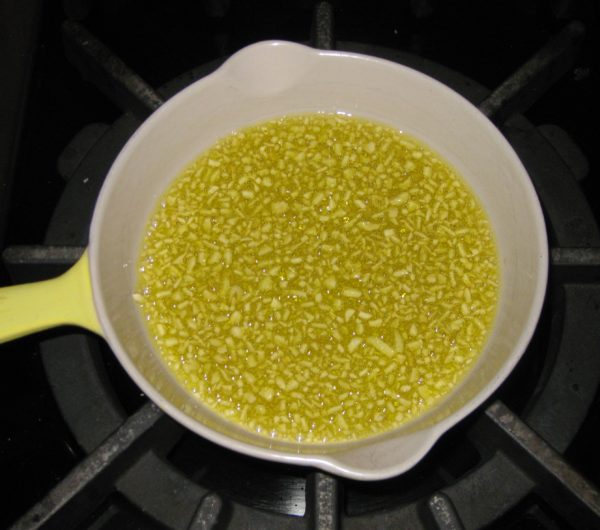
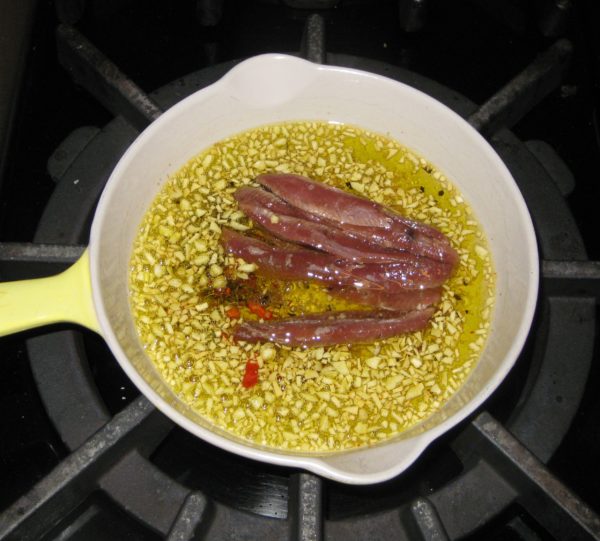
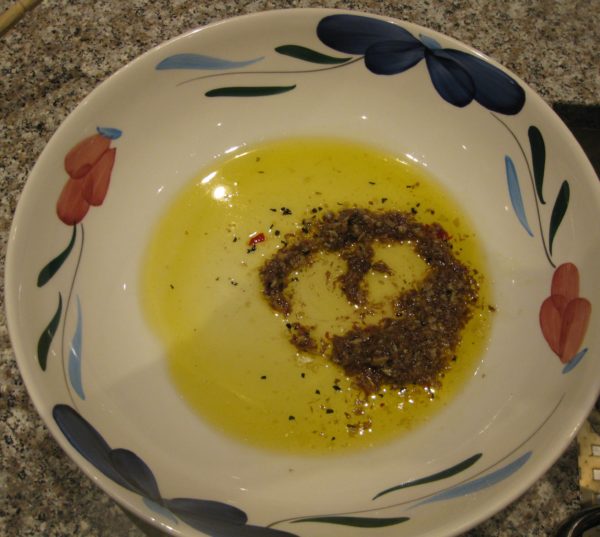
  1. In a small frying pan gently sauté garlic in olive oil until golden brown.
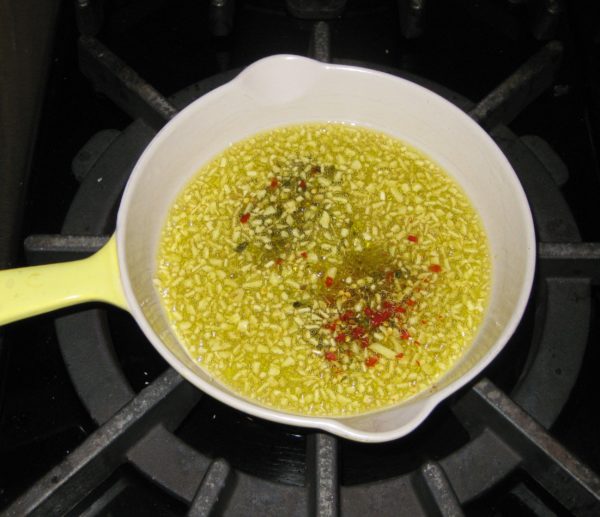
  2. Add the fennel seed, red pepper, oregano, and basil and cook for approximately 30 seconds.
  3. Add the anchovies and their oil.
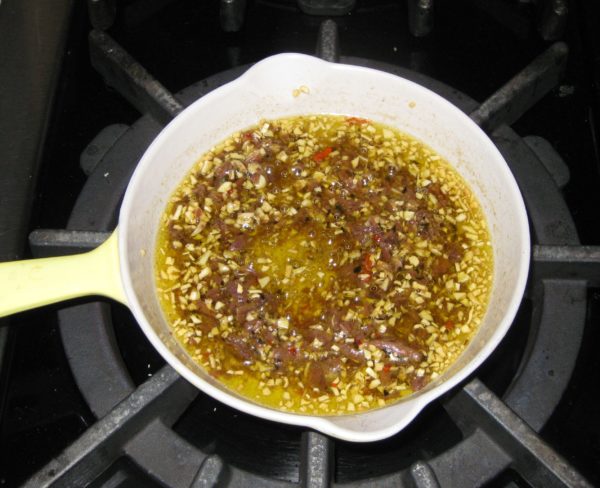
  4. Cook gently, stirring frequently, until anchovies disintegrate. This will only take a few minutes.
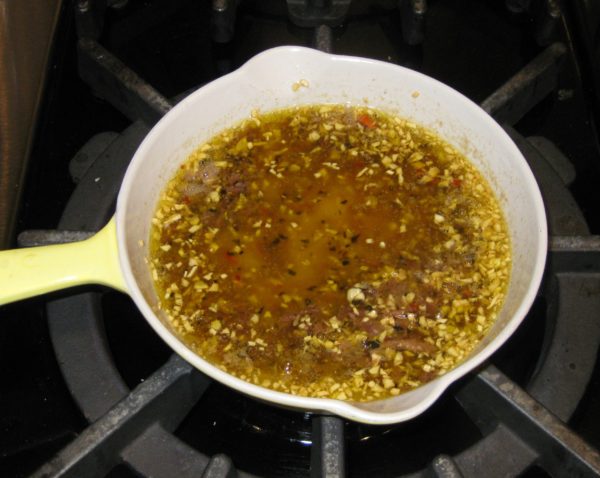
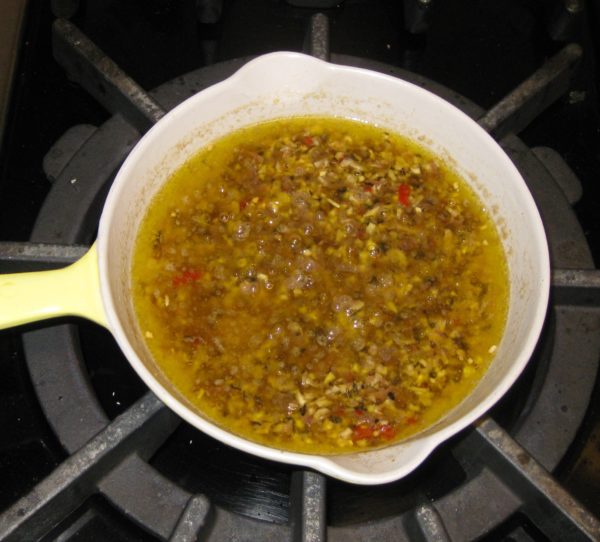
  5. Add white wine and simmer gently till most of the wine has evaporated and the anchovies have thoroughly disintegrated. Remove the pan from the heat.
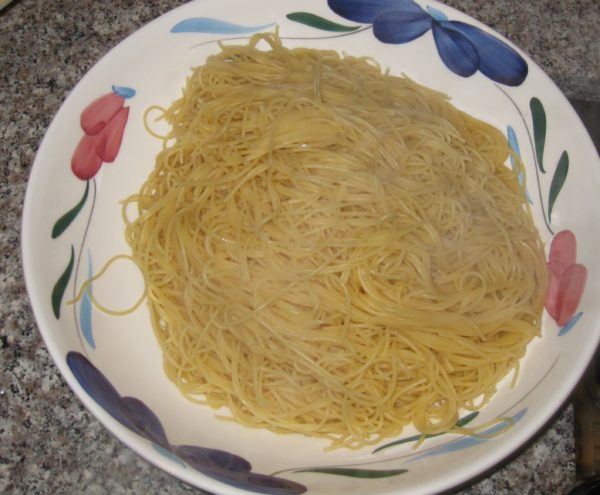
  6. Meanwhile cook pasta in 3 quarts of boiling water seasoned with 1/3 cup of salt until just al dente.
  7. As the pasta nears completion, use some of the pasta water to warm the serving bowl. This is important as the egg will cook in the hot pasta and if the bowl is cold, the pasta will lose too much heat to do this effectively.
  8. Just before draining the pasta, reheat the olive oil-anchovy mixture on medium-low.
  9. Drain pasta, reserving at least one cup of the pasta-cooking water.
  10. Drain and quickly dry the warmed serving bowl.
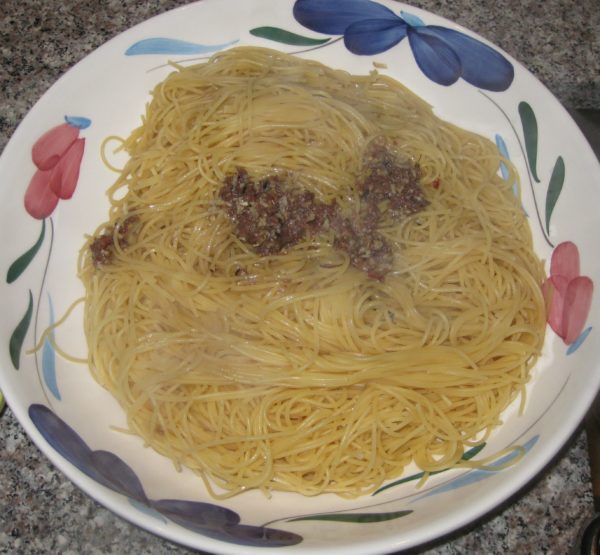
  11. Put half of the olive oil-anchovy mixture in the warmed serving bowl.
  12. Add the drained pasta.
  13. Top with the remaining olive-oil anchovy mixture.
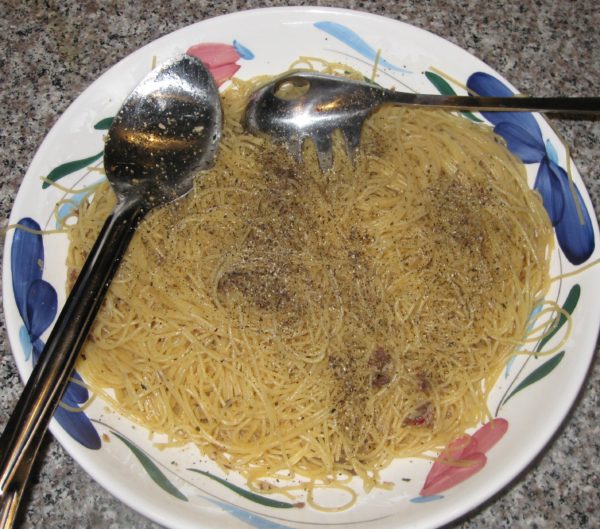
  14. Toss pasta.
  15. Add black pepper and beaten egg. Toss until well mixed.
  16. In a leap of faith, add about ½ cup of the reserved (still hot) pasta-cooking water. Toss well.
  17. Drizzle in approximately ¼ cup of finishing olive oil. Toss well.
  18. Add more pasta-cooking water, if needed, to make a glossy sauce. You probably can’t go wrong with adding at least another ¼ cup of pasta-cooking water.
Recipe Notes

Copyright © 2018 by VillaSentieri.com. All rights reserved.
Share this Recipe

Cannellini and Fennel Soup

January 3, 2018

A few years ago I was at a party and struck up an interesting conversation with a couple of guys originally from the East Coast.  One of the guys was of Italian heritage and the conversation turned to food, naturally!

He described a soup he grew up eating that included fennel stalks as well as the bulb.

It caught my interest because I’d not encountered a recipe that used the stalks before; some of the fronds, yes, but not the stalks.  It always seems like such a waste to me to throw them out as they contain so much flavor.

But they’re tough!


Click HERE to join our mailing list and you’ll never miss a recipe again!


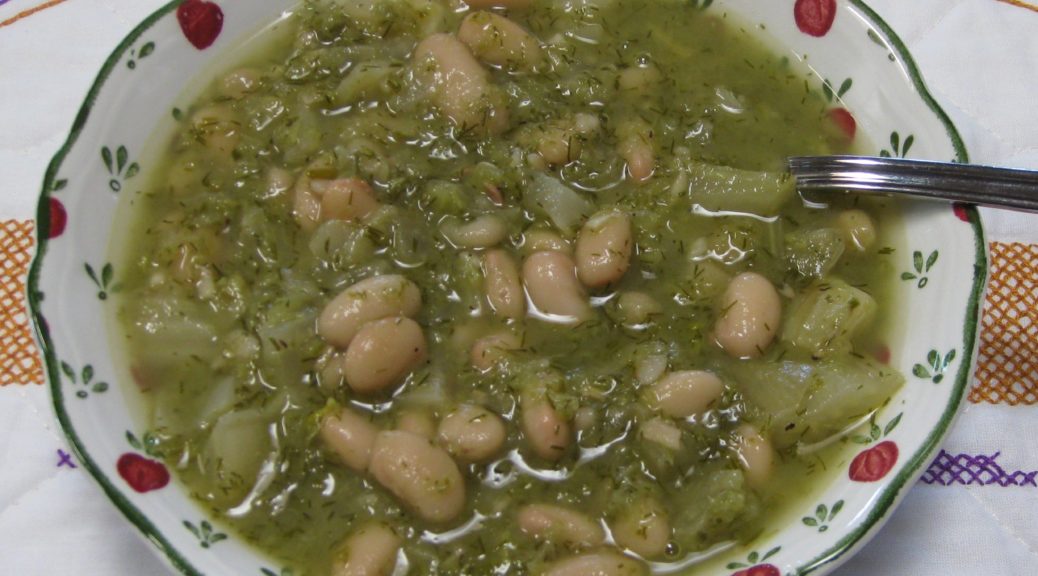
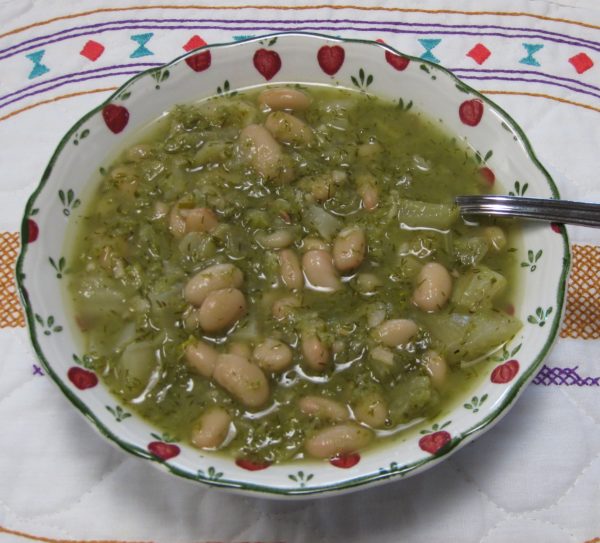
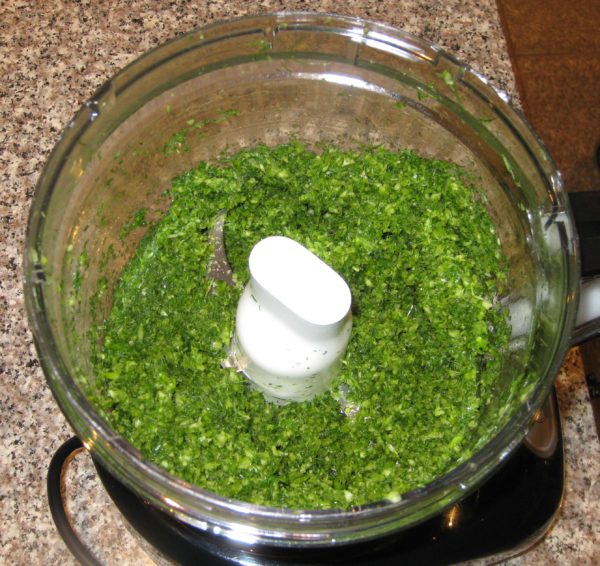
In this soup, the stalks are pureed in a food processor and added to the diced bulb and some cannellini beans.

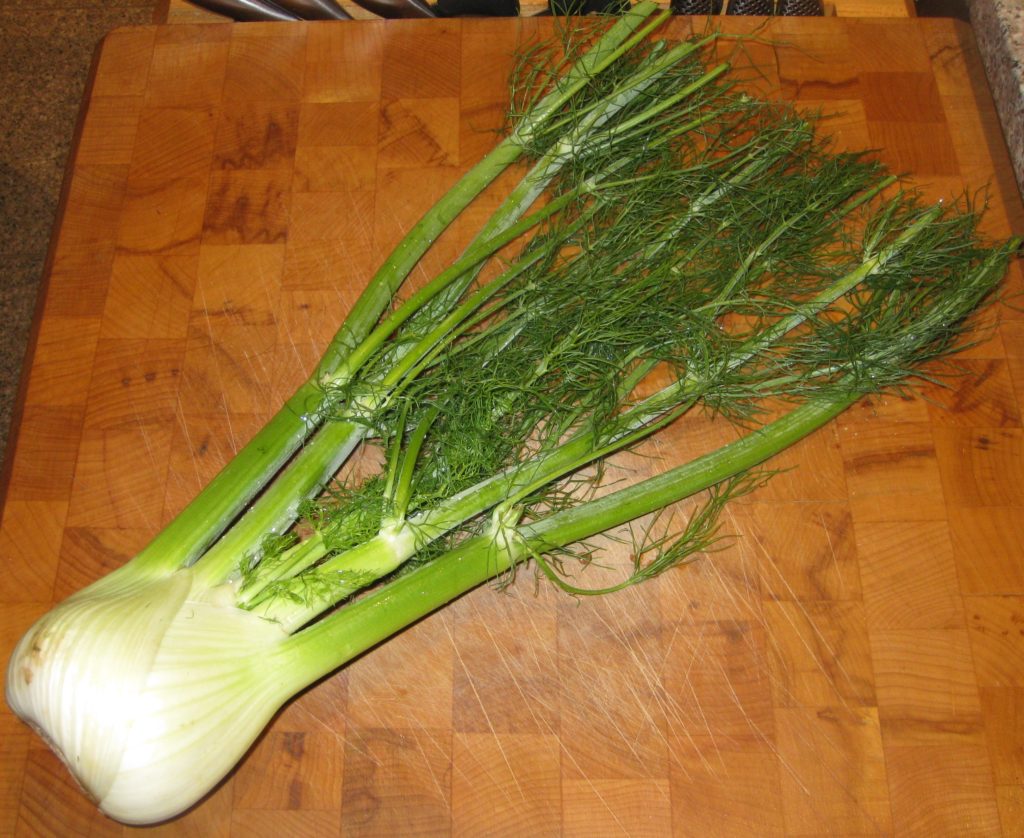
Fennel bulb and stalks. For most preparations only the white bulb is used. This soup uses the stalks, too.

It is wonderfully flavorful, completely vegetarian, and comes together in a snap.

If you have some of my Cannellini alla Toscana lurking in your freezer, by all means use them in the soup.  If not, canned cannellini will work just fine.

As for the guys who gave me the recipe, I can’t find anyone who knows who they might be.  I’ve talked to the hosts of the party and they’re stumped.  I always like to include a personal interest story along with each recipe and I’ve truly exhausted what I know about this particular version of this soup.


Follow us on your social media platform of choice


From my research, however, I can tell you that this appears to be a popular soup in Italy given the number of recipe variations I was able to turn up written in Italian.  Most contain meat, such as speck, and other vegetables, such as carrots and celery.  One even contains seaweed!  None of the recipes is quite as simple as this one…and I love the simplicity.

Give it a try and let me know what you think.


If you have a favorite family recipe and a bit of a story to tell, please email me at santafecook@villasentieri.com and we can discuss including it in the blog. I am expanding the scope of my blog to include traditional recipes from around the country and around the world. If you haven’t seen Bertha’s Flan or Melinda’s Drunken Prunes, take a look.  They will give you an idea of what I’m looking for.


Print Recipe
Cannellini and Fennel Soup
This is one of the very few recipes I have seen that uses the stalks of the fennel plant, not just the bulb. Adding the stalks and fronds really intensifies the fennel flavor. You can substitute 4 cans (approximately 15 ounces each) of cannellini beans in place of the home-cooked beans. See the notes section, below, for a link to the Cannellini alla Toscana recipe. You can easily cut this recipe in half.
Votes: 0
Rating: 0
You:
Rate this recipe!
Cuisine Italian
Prep Time 20 minutes
Cook Time 1 hour
Servings
people
Ingredients
Cuisine Italian
Prep Time 20 minutes
Cook Time 1 hour
Servings
people
Ingredients
Votes: 0
Rating: 0
You:
Rate this recipe!
Instructions
  1. Cut the stalks and fronds off the fennel.
  2. Coarsely chop the stalks.
  3. Grind the chopped stalks and fronds in a food processor. Reserve.
  4. Dice the fennel bulbs.
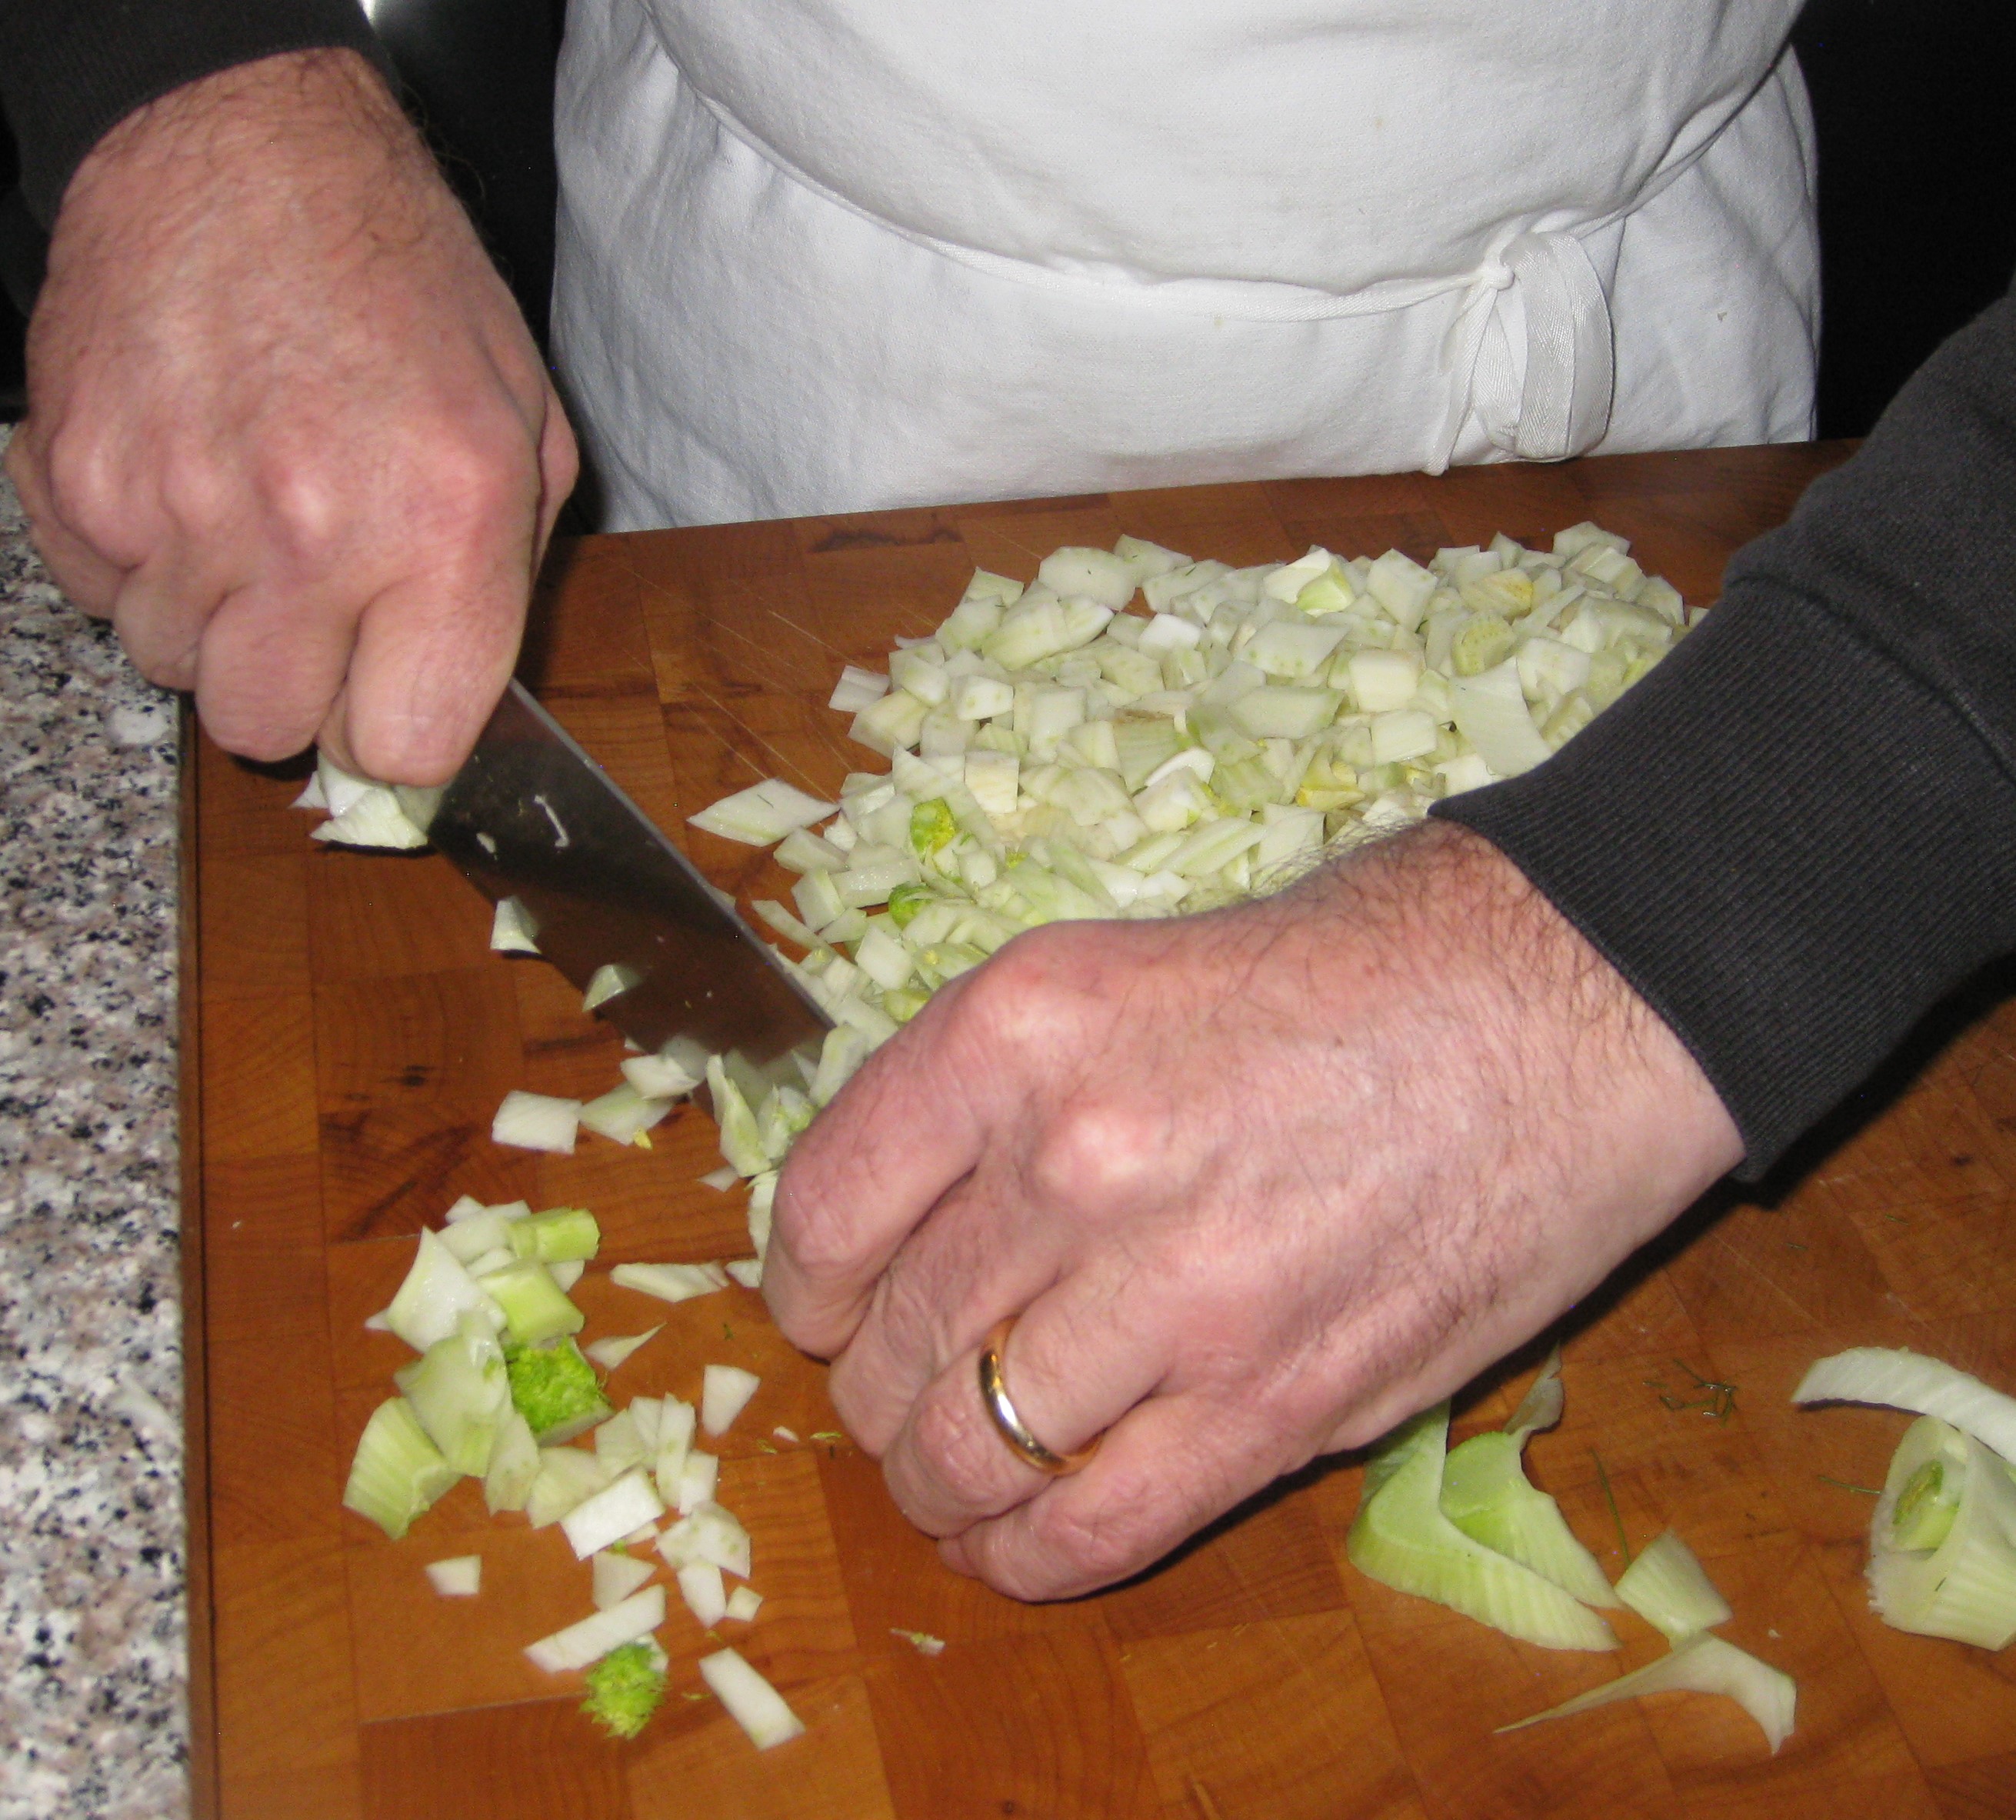
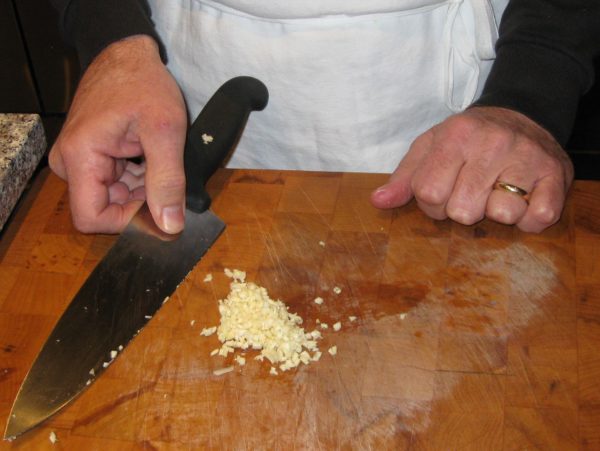
  5. Mince the garlic.
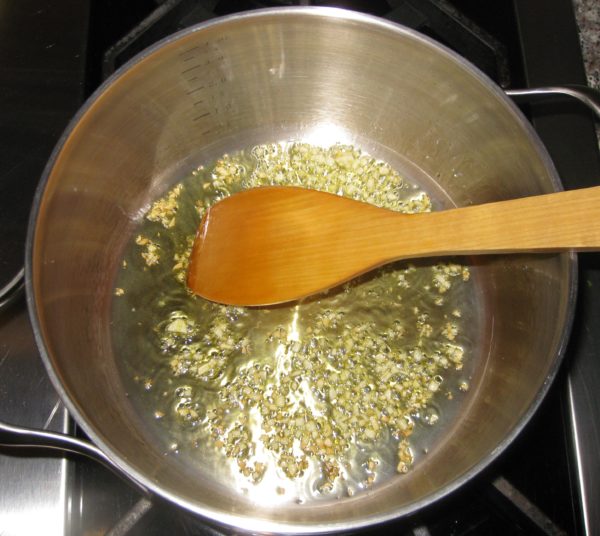
  6. Sauté the garlic in the olive oil until fragrant.
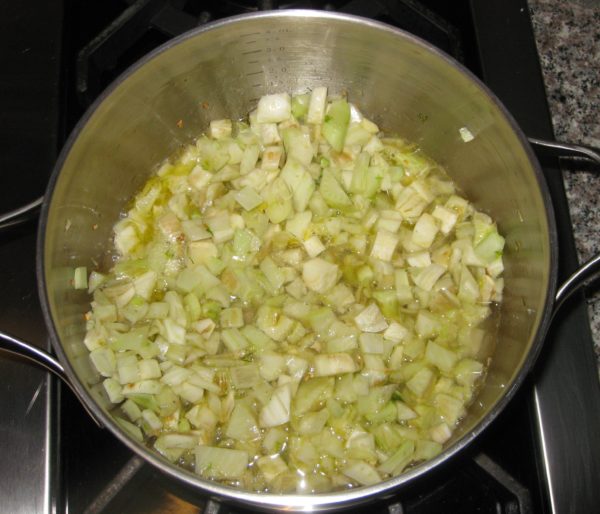
  7. Add the diced fennel. Season with salt. Sauté approximately 5 minutes.
  8. Add the wine. Cover the pot and cook until the fennel begins to soften.
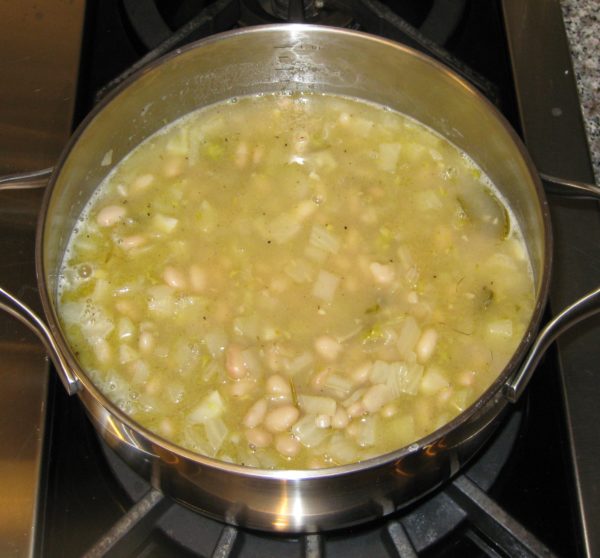
  9. Add the cooking liquid from the cannellini (but not the beans) adding water if necessary to cover the fennel. Simmer until the fennel is almost completely cooked.
  10. Add the cannellini. Simmer 10 minutes.
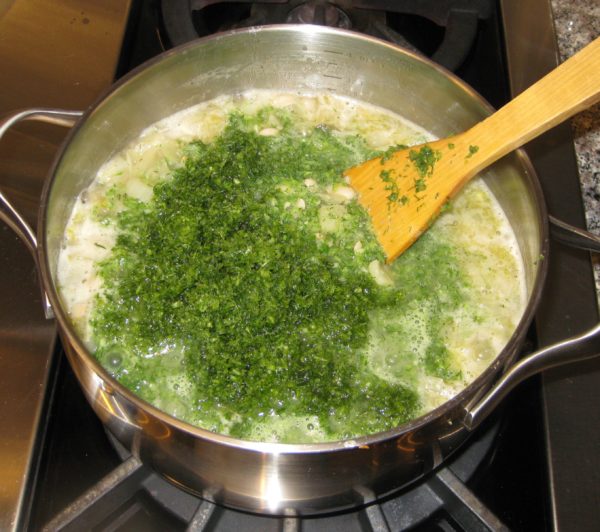
  11. Add the ground fennel stalks and fronds and salt and pepper to taste.
  12. Season with salt and pepper.
  13. Simmer for 15 minutes, until fennel is tender but not mushy.
  14. Serve with grated Parmigiano Reggiano cheese.
Recipe Notes

Here’s where you can find the recipe for Cannellini alla Toscana.

Copyright © 2018 by VillaSentieri.com. All rights reserved.
Share this Recipe