February 3, 2021
This recipe is for Mike.
It’s for all of you, too, but especially for Mike.
Mike dutifully reads all of my posts and recipes but says he’ll never make any of them despite the fact that he’s a good cook.
I challenged myself to post a recipe that Mike COULD make if Mike CHOSE to make it. (Hint: that means it’s fast and easy!)
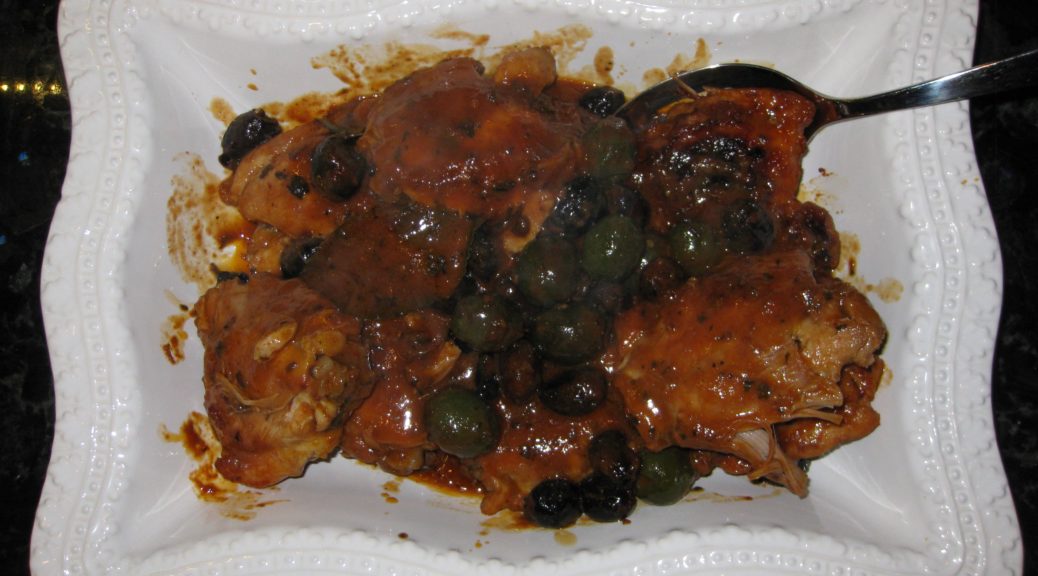
Most of us are not going to cure our own olives. Even in Italy that’s true. But starting with good quality cured olives and seasoning them to make them unique is quite another thing.
Join our mailing list and you’ll never miss a recipe again!
Many years ago, when we were living in Chicago, and had a very productive garden plot, fall “harvest” season saw lots of foods being made and preserved for the coming months. One of the ways we made use of abundant fresh herbs was to put up gallons of olives with herbs and a light vinegar brine. It was a technique I learned from a friend in Santa Fe, Joe Hoffman.
The vinegar allowed the olives to be kept for months and months without deterioration. Done right, they weren’t sour. In fact, I thought the vinegar treatment mellowed some of the bitterness that olives can have.
“Joe Hoffman’s Marinated Olives” were a staple nibble during cocktail hour for most of our dinner parties for many years.
Our herb harvest since moving to Santa Fe hasn’t been as abundant as it was in Chicago so I haven’t made these olives in a while. What I do make is an utterly different style of marinated olive that can be prepared just a few hours before serving time. These olives will last in the refrigerator for several weeks, though not as long as Joe Hoffman’s olives.
Follow us on your social media platform of choice
![]()
![]()
![]()
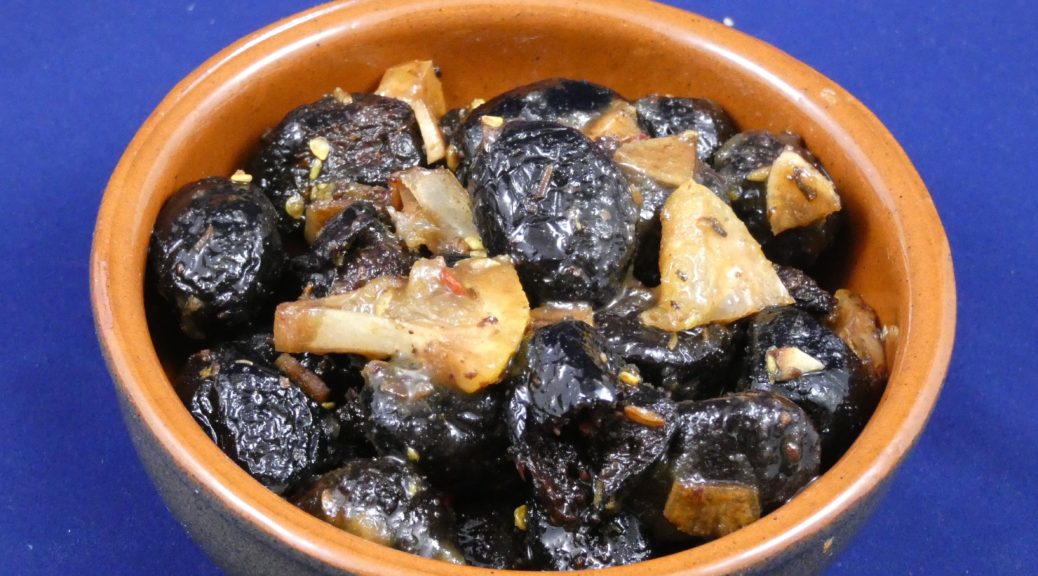
The original recipe, which I have since modified, came from Jo Bettoja’s In a Roman Kitchen.
These olives pack a major flavor punch and never cease to get raves from dinner guests.

| Prep Time | 10 minutes |
| Passive Time | 3 hours |
| Servings |
|
- 1/2 pound oil-cured black olives
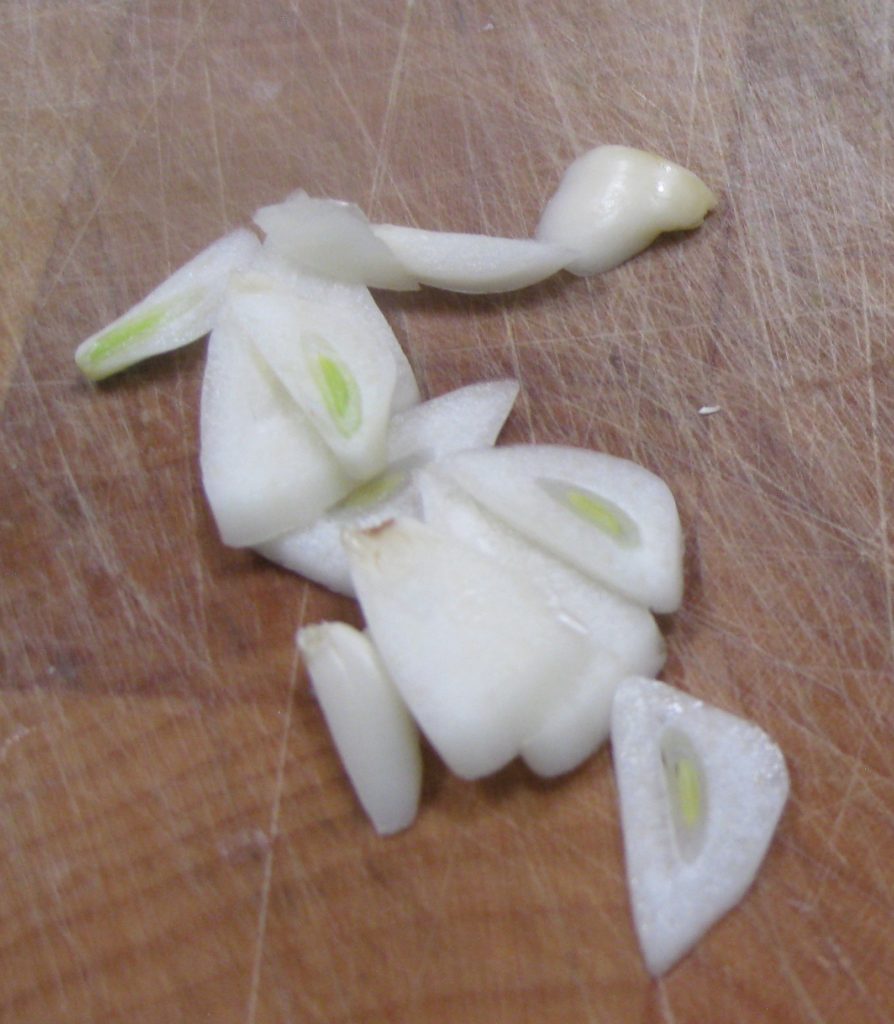
- 2 cloves garlic cut into slivers
- 1/4 teaspoon crushed red pepper or to taste
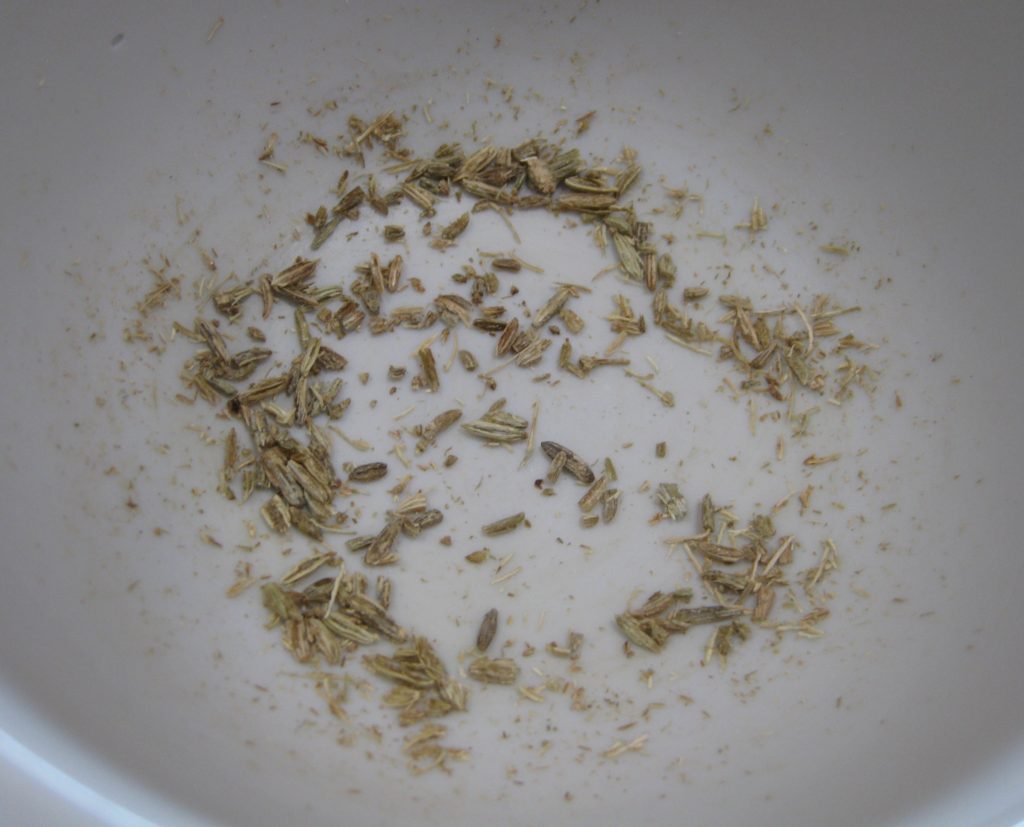
- 1/2 teaspoon dry oregano
- 1/4 teaspoon fennel seeds crushed
- 3 tablespoons extra virgin olive oil
- 2 teaspoons fresh lemon juice
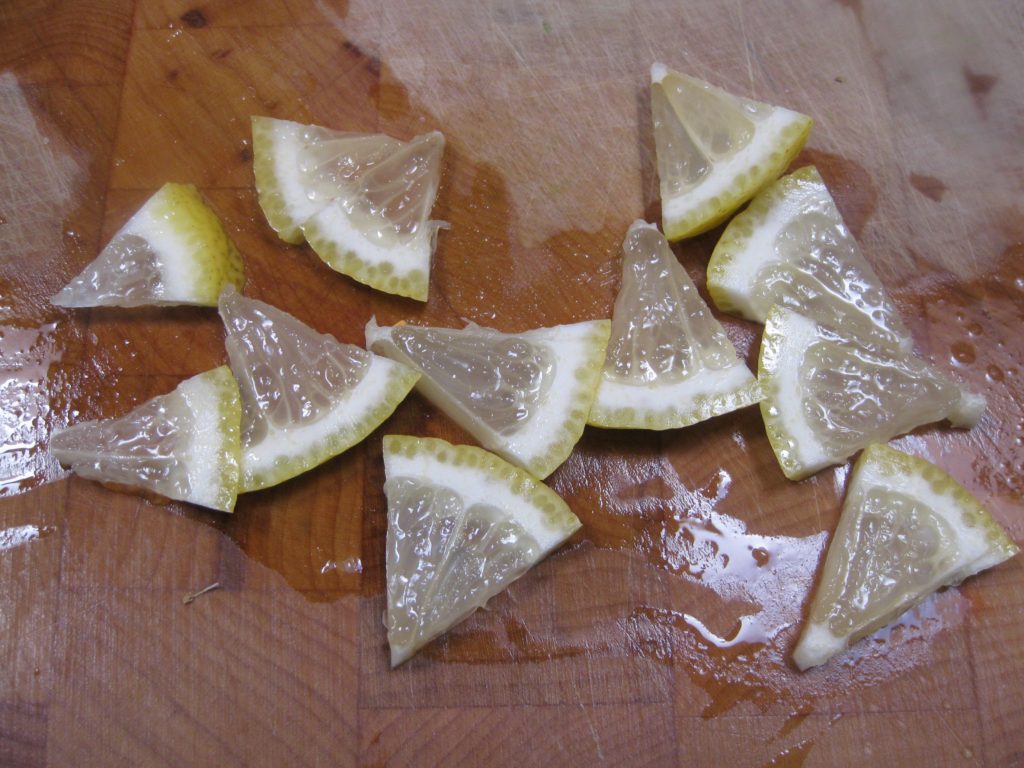
- thin lemon slices cut from about two wedges of lemon
Ingredients
|
|
- Combine all ingredients. Mix well. Cover and allow to sit at room temperature a few hours, stirring occasionally.

Copyright © 2021 by Villa Sentieri, LLC. All rights reserved.


")
")
")
")
")
")
")
")
")
")
")
")
")
")
")
")
")
")
")
")
")
")
")
")
")
")
")