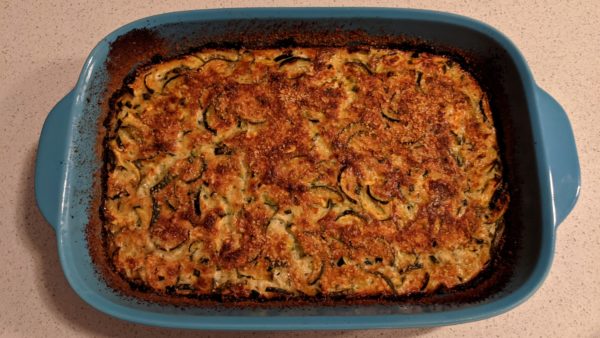
Sformato di Zucchini (Italian Zucchini Bake)

September 15, 2021

A lot has happened in the seven months since my last blog post.  I’m sure you’ll understand why I haven’t posted in a while.

We’re no longer in Santa Fe!

That’s right, we’ve moved full time to Palm Springs, California.

An aerial view of the “new” Villa Sentieri, foreground, with the hiking trail just beyond, that prompted the name of the Villa.

It was, and remains, exceedingly difficult to have left all our close friends in Santa Fe but Palm Springs called to us.


Join our mailing list and you’ll never miss a recipe again!


We get two growing seasons each year.  Since we’re just a few hundred feet above sea level, I don’t need to be concerned about testing recipes at high altitude.  The weather is pretty darn great, too!

The variety of what we can grow here is amazing.  We have ten citrus trees, three fig trees and an apricot tree.  We’re considering adding a pomegranate tree.  We have table grapes trellised up a side wall.  There are four raised beds for herbs and vegetables.

Frank grew the most awesome tomatoes this year.  I have quite a stash of homemade passata (tomato puree) in the freezer.
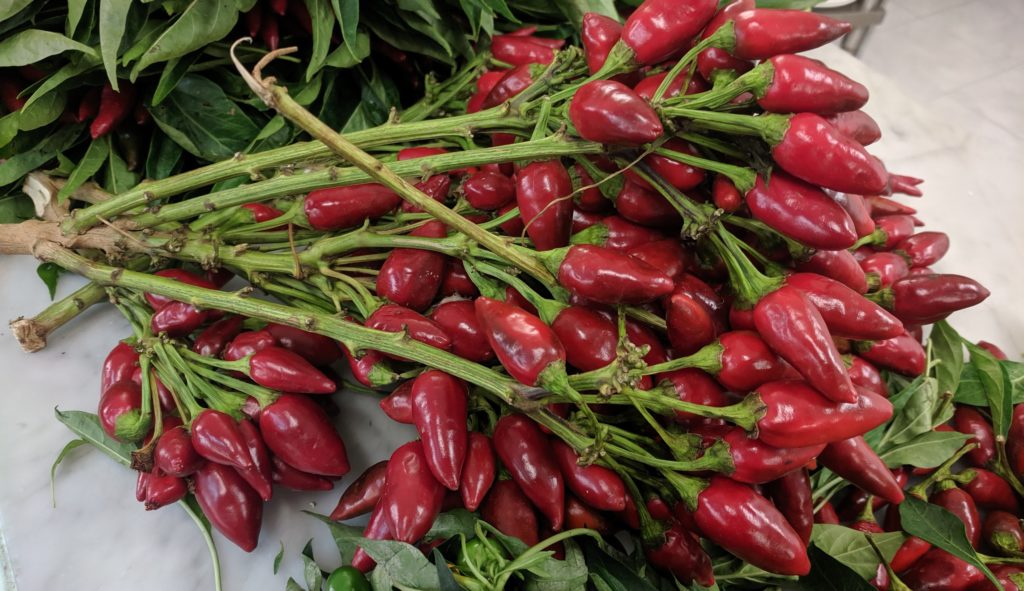
Naso di Cane (Nose of the Dog) peppers from Calabria. Seeds I brought back in 2019 just got planted in our garden in Palm Springs. I’m hoping to make “Olio Santo” (Holy Oil, aka Hot Chile Oil) in a few months.

The timing of our seasons takes a bit of getting used to.  Our first season pretty much ended in June.  That’s probably the time that most of you were just getting started with your gardens.  Though the herbs have continued to grow through the summer heat, all the vegetables were done by the end of June.


Follow us on your social media platform of choice


Right now we have an abundance of fresh limes.  The other citrus trees have fruit but it won’t be ripe for a few more months.

The vegetable beds sat fallow for the summer.  Just a few days ago, Frank planted them with seeds for what will be our second harvest of the year.  That will take place in November and December.

The “new” Villa Sentieri has an interior atrium with a koi pond filled with 17 koi.

Though we’re not harvesting vegetables at the moment, this is the perfect time for zucchini in most of the country.  When there’s an abundance of zucchini, sformato is the answer.
Print Recipe
Sformato di Zucchini (Italian Zucchini Bake)
This was the first item that I cooked with Zia Fidalma at her home in Tuscany in August 2019. Green beans, cut in small pieces, can be prepared the same way except the beans are boiled and not sautéed. A combo of beans and zucchini is also possible. Zia does not usually add herbs to her sformato but since she had some niepita she added it. Though you’re not likely to have niepita (aka mentuccia romana), unless you grow your own, adding a small amount of marjoram or oregano is a welcome addition. If you don’t have fresh herbs, use a light sprinkling of dry herbs. In any case, herbs are totally optional.
Votes: 0
Rating: 0
You:
Rate this recipe!
Cuisine Italian
Prep Time 20 minutes
Cook Time 2 hours
Servings
people
Ingredients
Cuisine Italian
Prep Time 20 minutes
Cook Time 2 hours
Servings
people
Ingredients
Votes: 0
Rating: 0
You:
Rate this recipe!
Instructions
Besciamella
  1. In a small heavy-bottomed saucepan, melt the butter.
  2. Add the flour and sauté briefly until the raw smell is gone. Do not brown the flour.
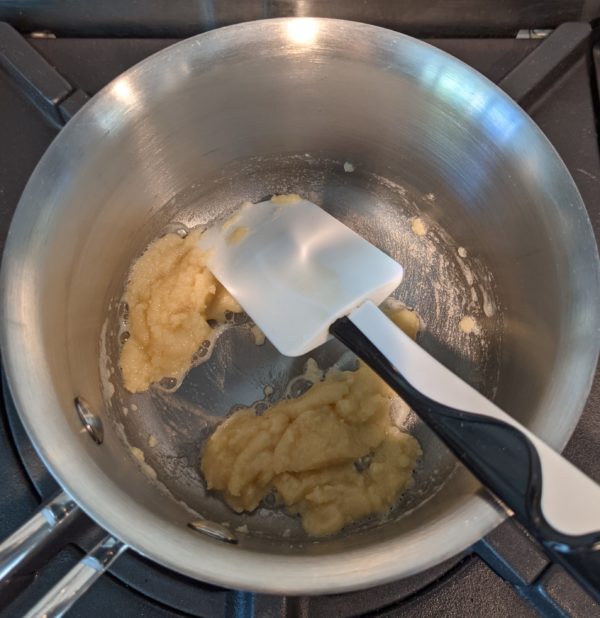
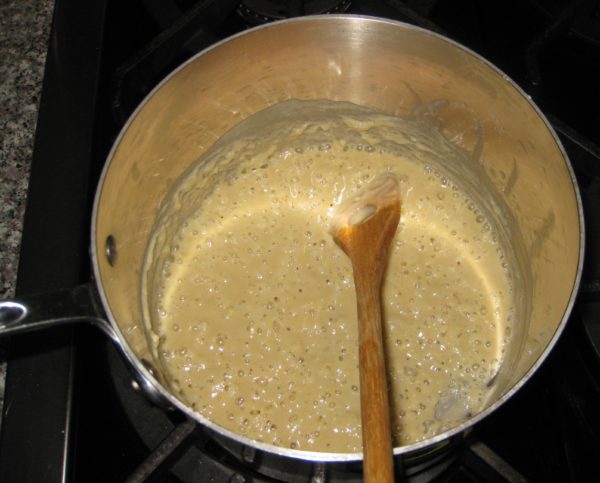
  3. Add the milk a little at a time, stirring well after each addition to avoid lumps.
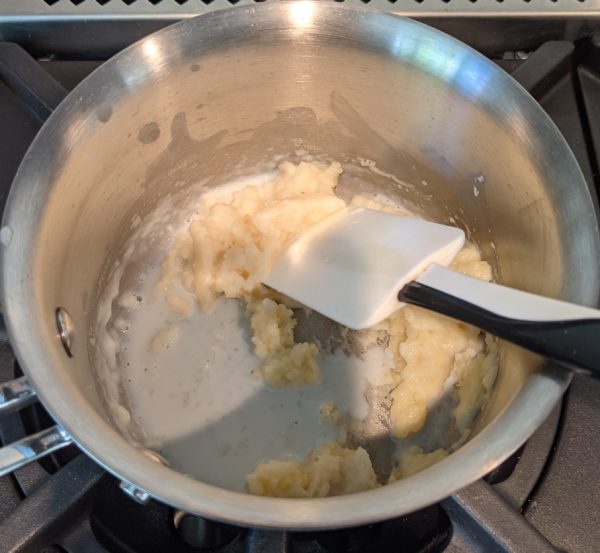
  4. After all the milk has been added, bring the mixture to a boil, stirring constantly and scraping the bottom of the pan. Boil for one minute.
  5. Remove from the heat and stir in the nutmeg.
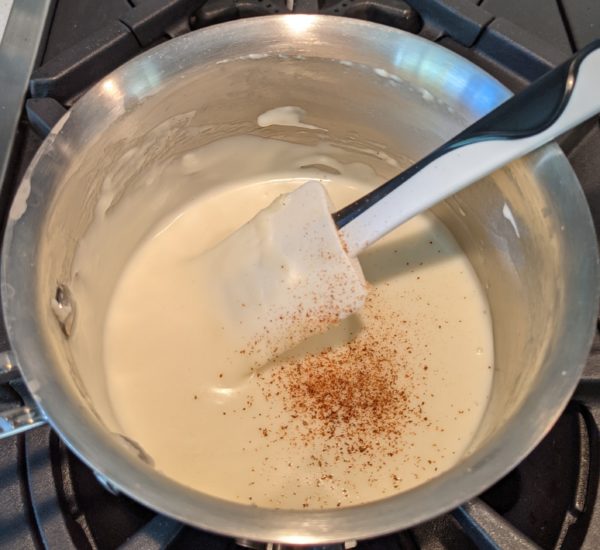
  6. If not using immediately, pour the besciamella into a heat-proof bowl and cover with plastic wrap touching the surface to avoid the formation of a skin.
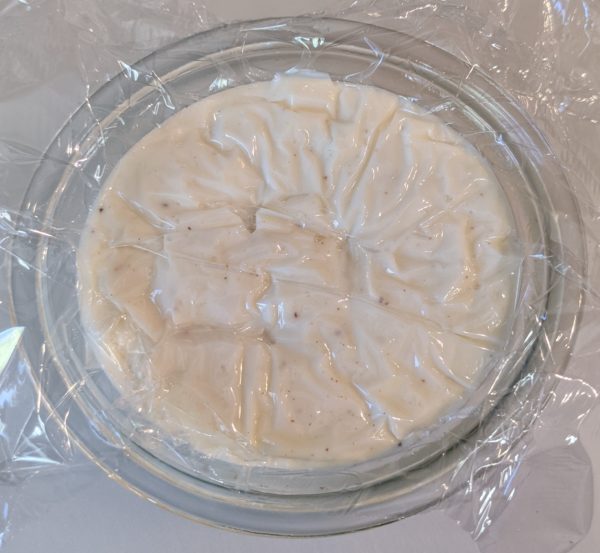
  7. Refrigerate if the besciamella will not be used within an hour or two.
Sformato
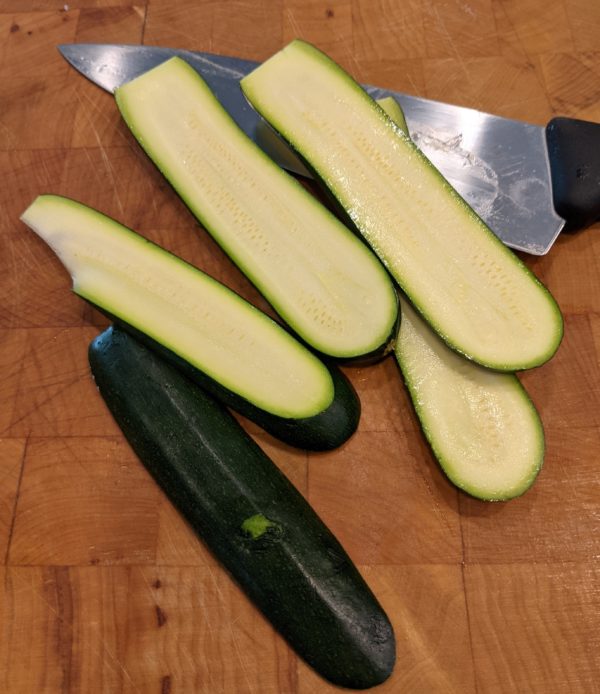
  1. Do not peel the zucchini. Cut off the stem ends and slice the zucchini lengthwise about 3/16 inch thick then crosswise the same thickness to make thick matchsticks.
  2. Sauté the garlic in the olive oil until fragrant.
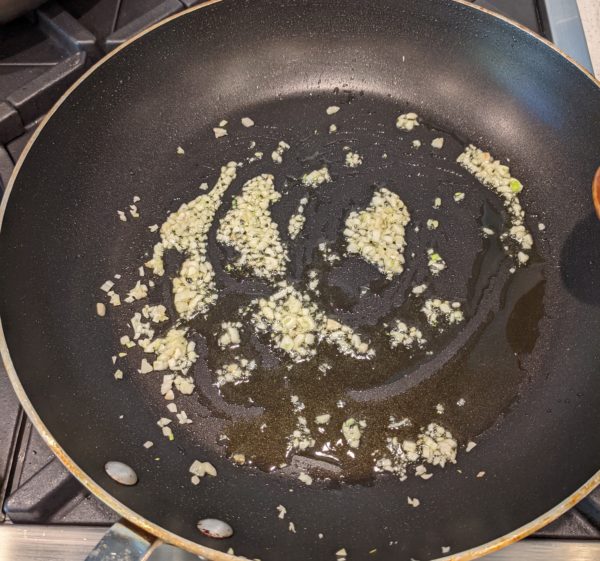
  3. Add the cut zucchini, chopped flowers and minced niepita if using. Season with salt and pepper and sauté briskly until just barely tender.
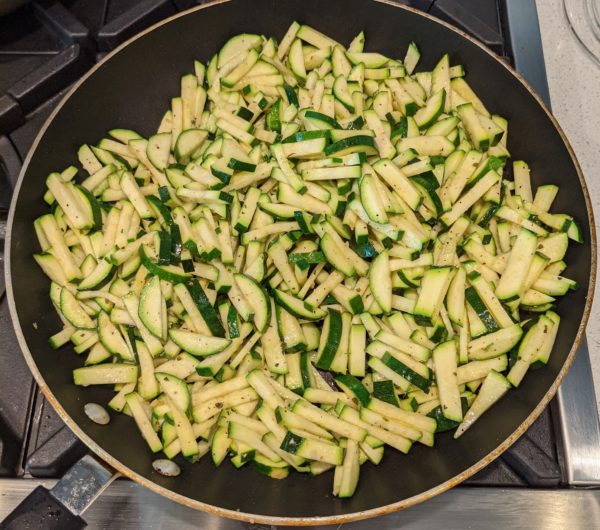
  4. Mix the cooked zucchini with the besciamella, nutmeg, and Parmigiano.
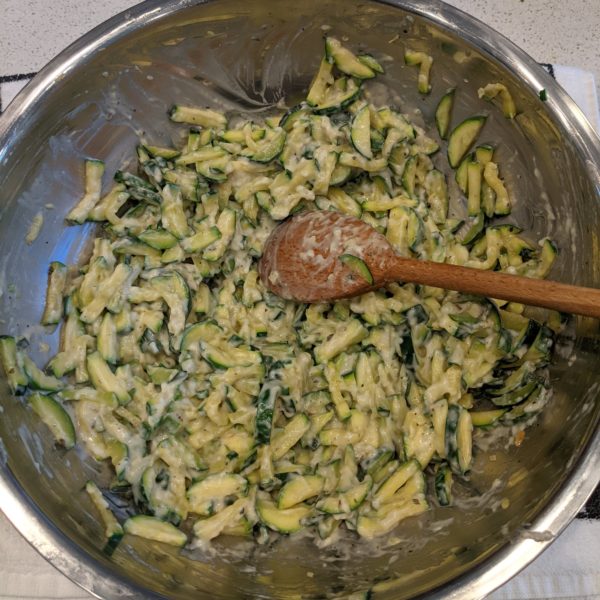
  5. Stir in the eggs after the mixture is cool enough to not cook the eggs.
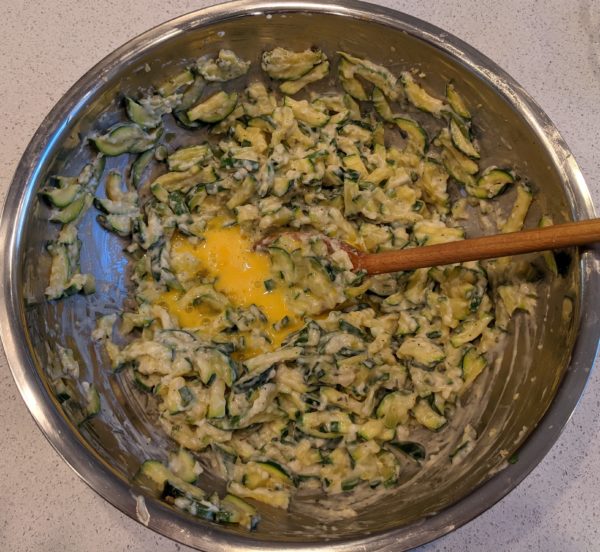
  6. Taste and adjust salt and black pepper.
  7. Butter a baking dish, approximately 7 ½” x 11”.
  8. Sprinkle the buttered dish with fine dry breadcrumbs.
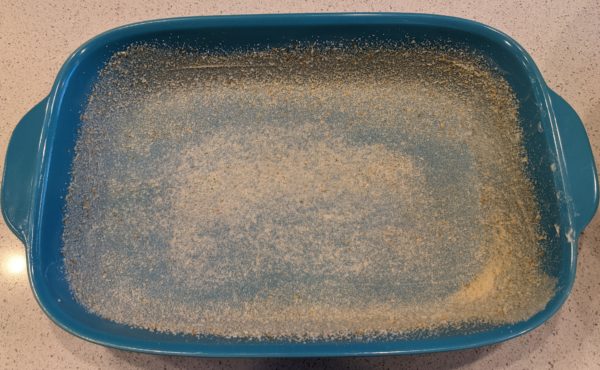
  9. Pour the zucchini mixture into the prepared baking dish. It should be about ¾ inch thick.
  10. Bake at 400°F till very brown on top, approximately 90 minutes. Cool 10 minutes before cutting.
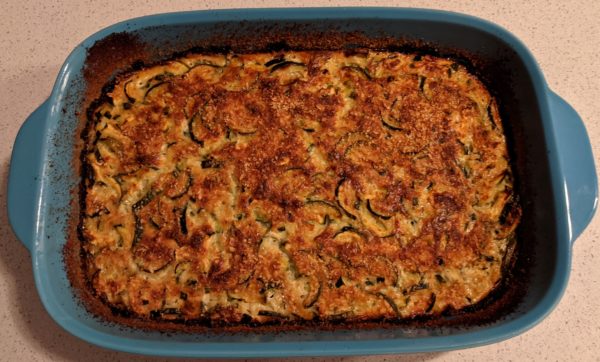
  11. Serve warm or at room temperature.
Recipe Notes

Copyright © 2021 by Villa Sentieri, LLC. All rights reserved.

Share this Recipe

Salsa Friulana di Marisa (Marisa’s Friulan Tomato Sauce)

June 11, 2018

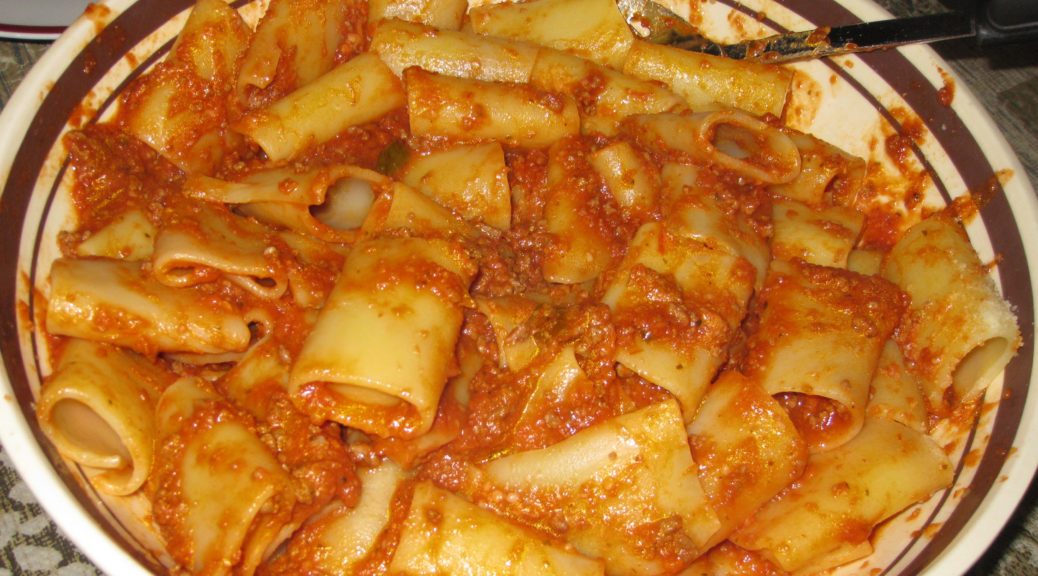
Ma’s spaghetti sauce.  That’s what my husband calls it.

That’s pretty similar to what most of us of Italian heritage who grew up in the United States called the sauce that our mothers (yes, it was almost always the mothers) made most frequently.

It isn’t as if there aren’t more pasta sauces than one can count.  It’s just that for everyone I know of Italian heritage, there’s one that stands out above the rest.

For my husband’s family, this is the one.


Join our mailing list and you’ll never miss a recipe again!


It’s actually quite similar to Ivana’s sauce.  Ivana is married to my mother-in-law’s cousin Olvino.  Ivana grew up in Friuli but in a different town.  There are subtle differences in her sauce and my mother-in-law’s sauce, but if you read both recipes you’ll certainly see the similarities.

My mother-in-law doesn’t remember when she learned to make this sauce, or even if she learned from her mother or her aunt.  She does remember, however, that her father asked her how she could get married (she was engaged to my father-in-law) without knowing how to cook.

My mother- and father-in-law on their wedding day (apparently before she knew how to cook)

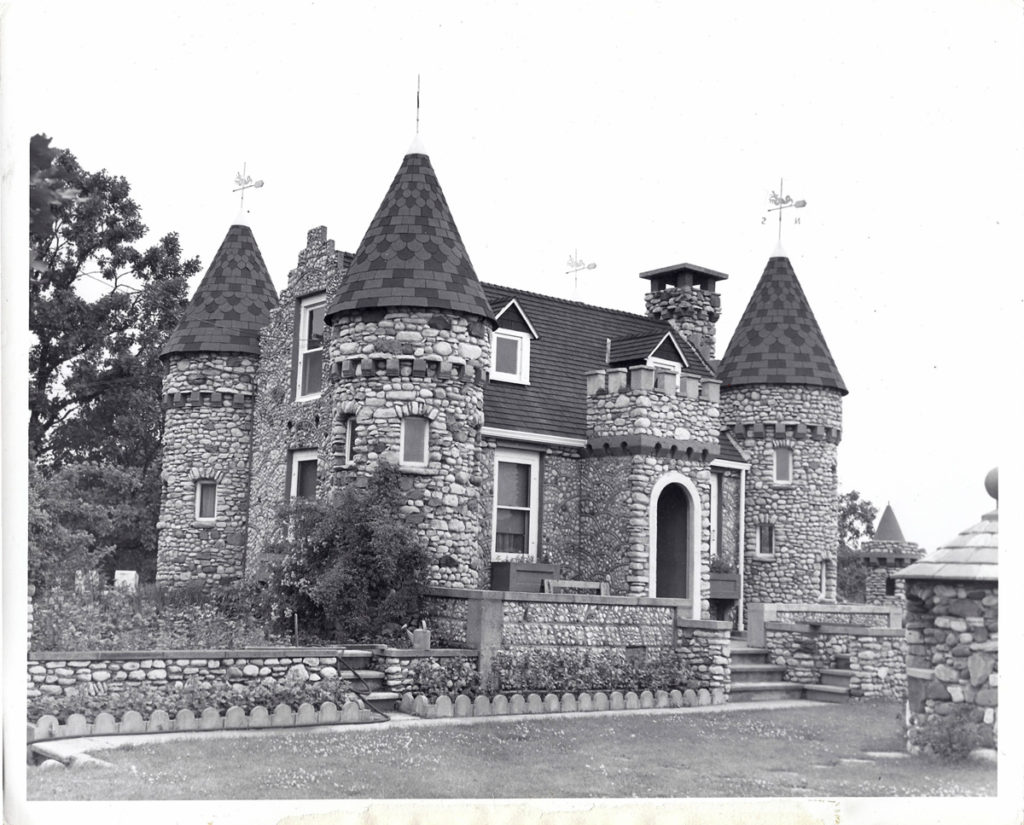
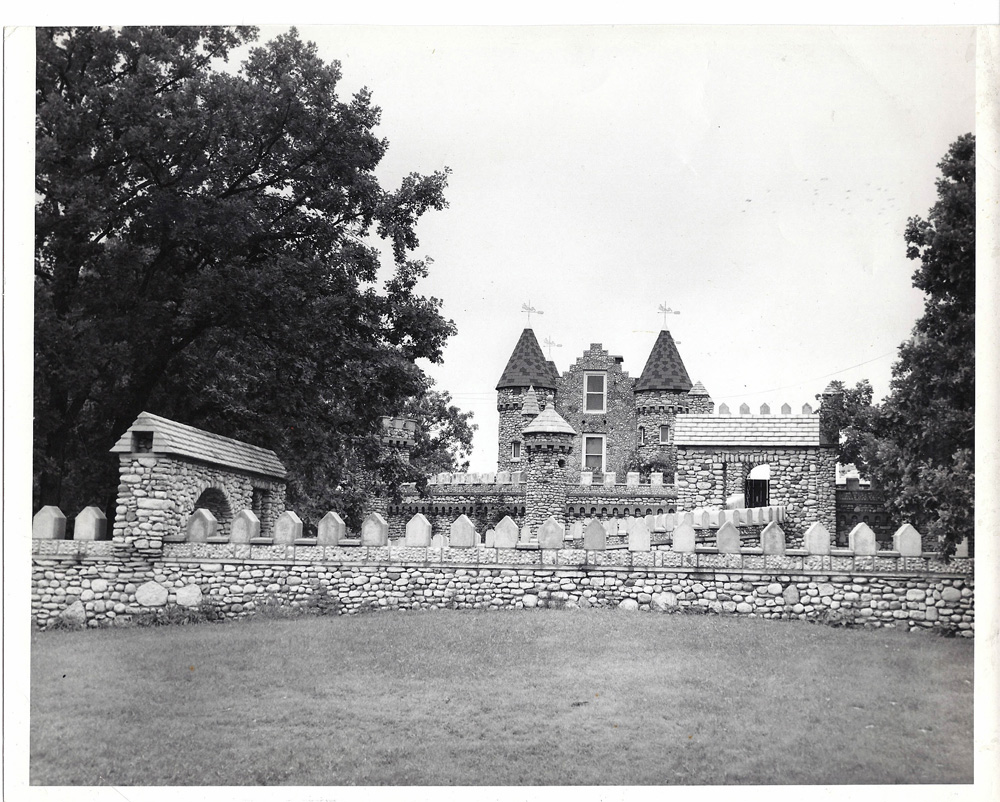
She got married, ultimately learned to cook, and then headed up the kitchen in Castleview, the restaurant that she and my father-in-law owned in Fox River Grove, Illinois.  The restaurant was named Castleview because it had a view of an adjacent…you guessed it…castle…well, sort of a castle.   For more information on the castle, you can look here.

The Bettendorf Castle in Fox River Grove, Illinois

By the time I came on the scene, it was difficult to catch more than a glimpse of the castle from the restaurant due to the growth of trees and other vegetation.

Another view of the Bettendorf Castle

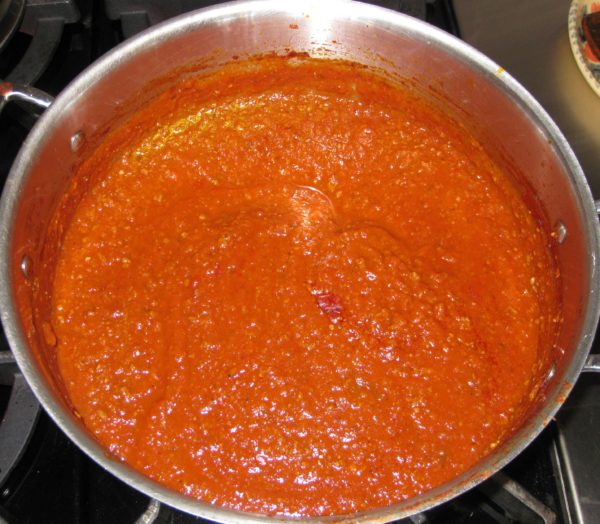
My mother-in-law thought my version of her sauce was “pretty good.”  She did note that it was thicker than hers; probably because I cook it longer but also potentially due to a different brand of tomatoes.  If you want it thinner, cook it less or (my preference) just add more water or put a splash of pasta-cooking water in the bowl with the pasta and the sauce.  (Just between you and me, when I’m putting dinner on the table using my mother-in-law’s sauce, I usually boil it down a bit because it seems a little thin to me!)


Follow us on your social media platform of choice


In a few weeks I’ll be posting a recipe for Friulan Risotto that incorporates this sauce.  Stay tuned.

Print Recipe
Salsa Friulana di Marisa (Marisa's Friulan Tomato Sauce)
The amount of water needed will vary based on how thick the tomato puree is, how much liquid evaporates during cooking, and how thick or thin you like your sauce. Feel free to add more water during cooking if the mixture is becoming too thick. If the sauce is too thin uncover near the end of cooking and increase the heat to cook off more water.
Votes: 0
Rating: 0
You:
Rate this recipe!
Prep Time 20 minutes
Cook Time 3 hours
Servings
quarts
Ingredients
Prep Time 20 minutes
Cook Time 3 hours
Servings
quarts
Ingredients
Votes: 0
Rating: 0
You:
Rate this recipe!
Instructions
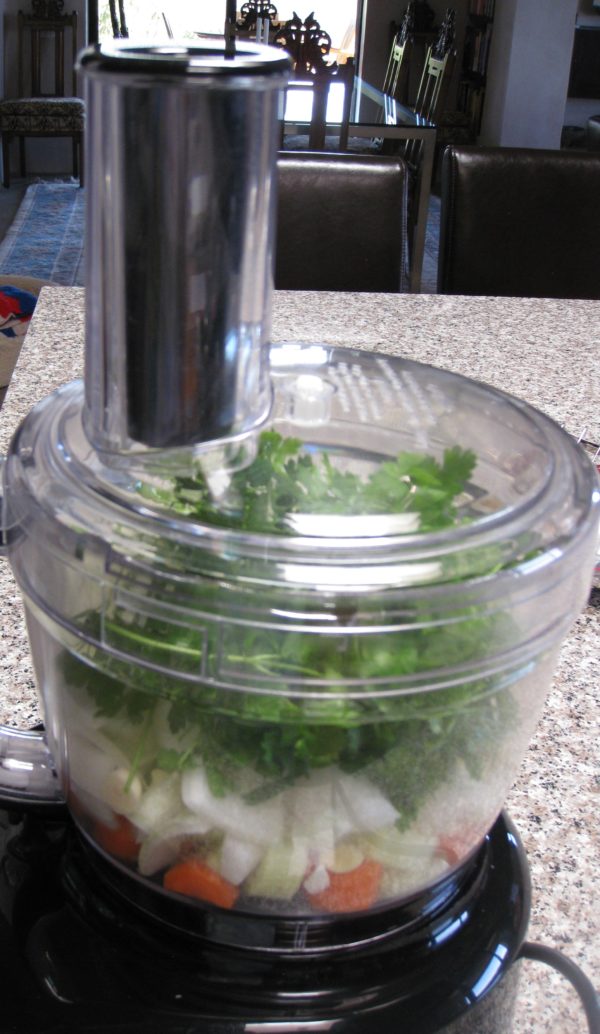
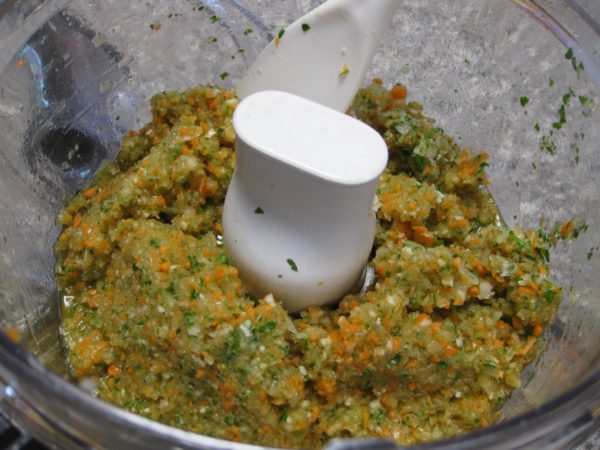
  1. Finely chop the parsley, carrots, celery, onion, and garlic in food processor.
  2. There should be a bit of texture to the mixture, not a puree. Reserve.
  3. Puree the crushed tomatoes in the food processor.
  4. Rinse the cans out with some of the water. Add the water to the pureed tomatoes. Reserve.
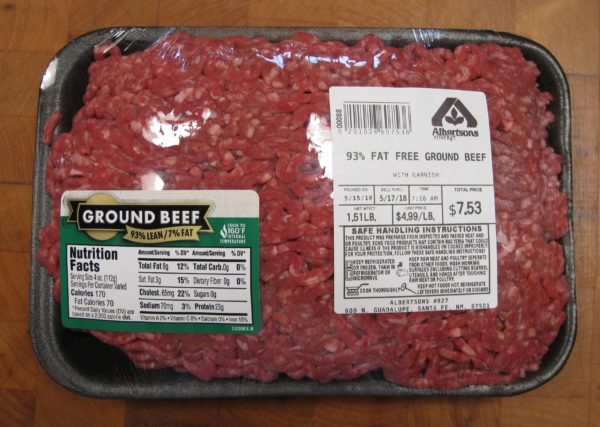
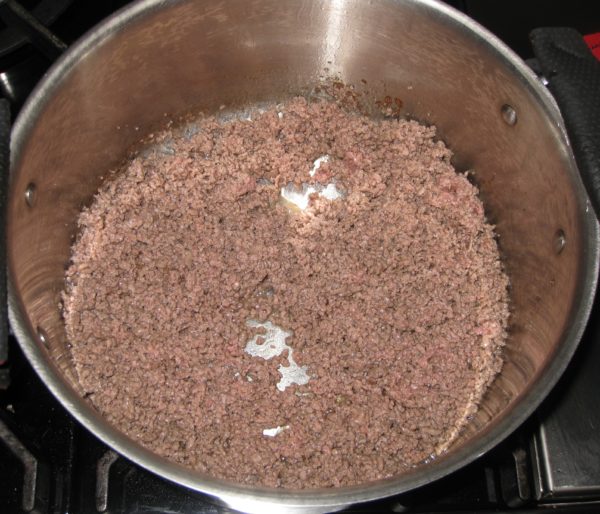
  5. Sauté the beef in the olive oil on high heat until no pink remains.
  6. Add the chopped vegetables.
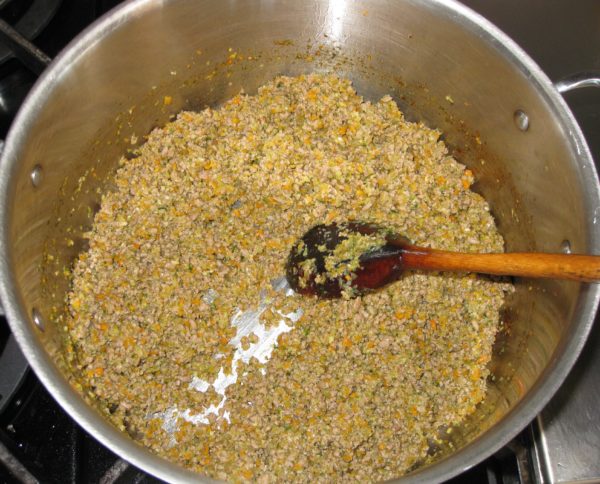
  7. Sauté on high heat until all the liquid evaporates and then continue to sauté until the mixture darkens slightly and smells cooked.
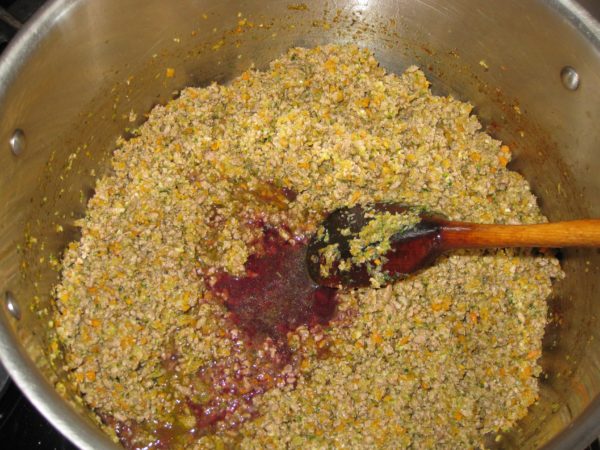
  8. Add the wine and continue to cook until the wine has evaporated.
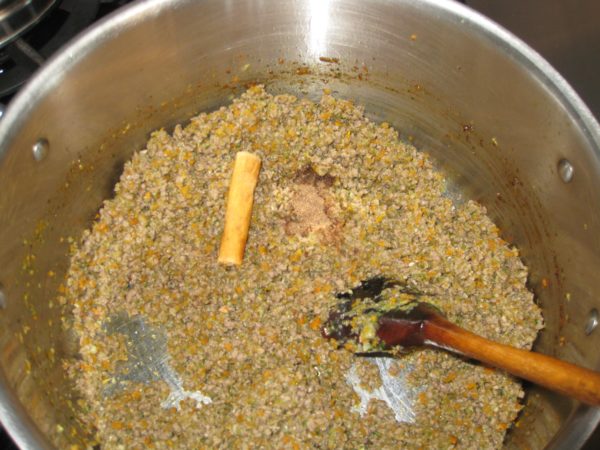
  9. Add the allspice, nutmeg, and cinnamon. Stir well.
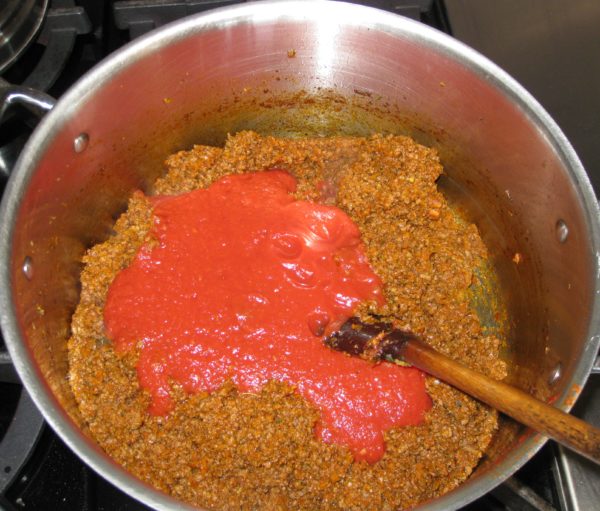
  10. Add the tomato paste and sauté until it begins to smell sweet, approximately 5 minutes at medium-high heat.
  11. Meanwhile, rinse tomato paste can out with some of the water and add it to the pureed tomatoes.
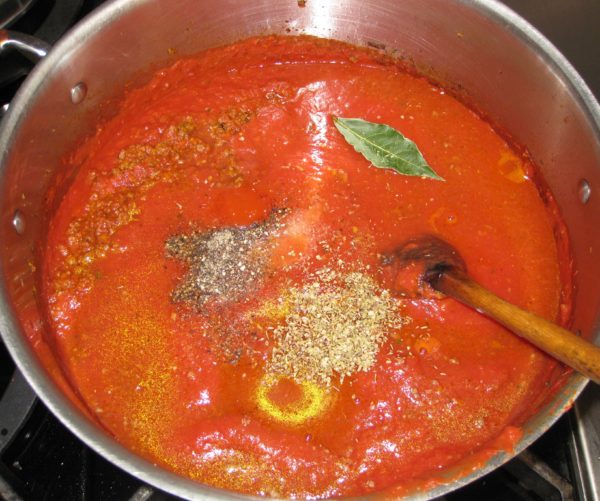
  12. Add pureed tomatoes, bay leaf, oregano, basil and remaining water.
  13. Bring to a boil, reduce heat and simmer, partially covered for about 2 ½ hours, stirring every 20 minutes.
  14. After about an hour of cooking, begin to taste and adjust seasoning.
  15. Serve with the pasta of your choice.
Recipe Notes

Copyright © 2018 by Villa Sentieri, LLC. All rights reserved.
Share this Recipe

Pancetta

March 19, 2018

I didn’t grow up with a tradition of curing meats at home.  There was a long tradition of homemade hot Italian sausage headed up by Uncle Joe Medile but no meat curing.

I started curing meats in medical school.  These were wet-cured products, corned beef and pickled pork.  I used them primarily to make West Indian food which was a significant part of my repertory at the time.

I bought myself a container of salt peter (sodium nitrate) and mixed my cures from old recipes.  The use of salt peter is no longer permitted commercially for wet cures and only as a minor addition to a cure containing sodium nitrite for meats that require a long, dry cure.  Wet cures are now made with sodium nitrite only.


Follow us on your social media platform of choice


During a long, dry cure, the sodium nitrate breaks down into sodium nitrite, acting like a time-release curing agent.

I frequently had two large containers of wet cure in my kitchen, one for beef and one for pork.  Refrigeration wasn’t necessary, which was a good thing, because I didn’t have lots of extra refrigerator space as a medical student.

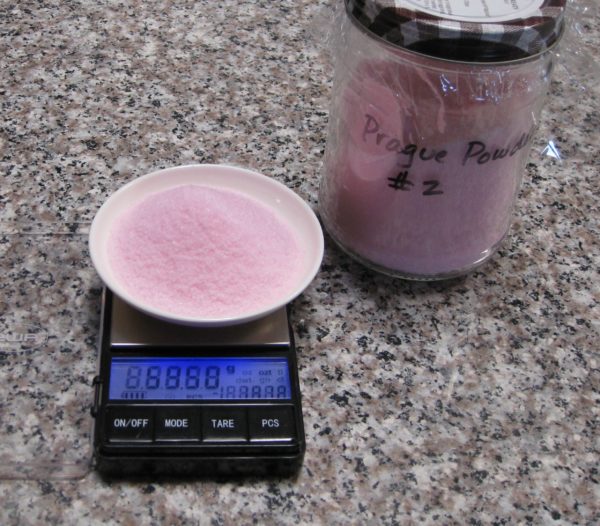
Because of the small quantities of nitrates and nitrites used to cure meat, it is much easier to buy curing salt that consists mostly of table salt with appropriate amounts of curing salt mixed in.  Prague Powder #1 is a mixture of salt and sodium nitrite.  It is used for wet curing and for dry curing that doesn’t extend for weeks.  Prague Powder #2 is salt with both sodium nitrite and sodium nitrate.  It is used for dry curing.  Prague Powders are always colored pink to differentiate them from ordinary salt.

After my first year of medical school my meat curing came to an end as I was involved in much more demanding clinical rotations and then ultimately internship and residency.


Click HERE to join our mailing list and you’ll never miss a recipe again!


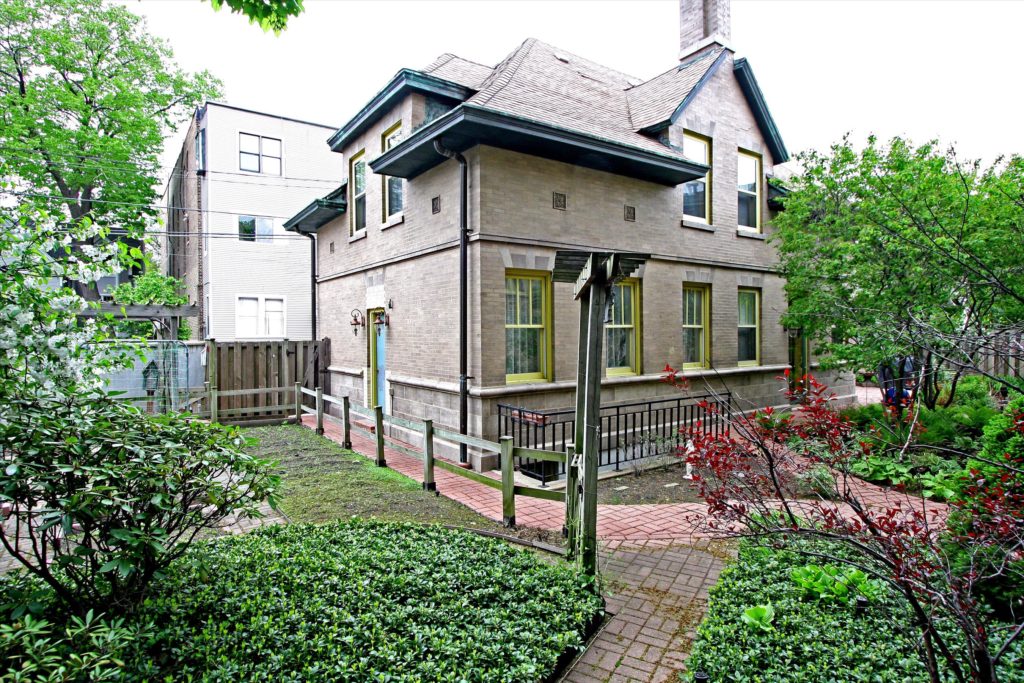
Though I occasionally made Italian sausage, I didn’t start curing meats again until around 2000 when we had a temperature and humidity controlled wine cellar at The Henry Rohkam House, our home in Chicago.

The Rohkam House in Chicago when we lived there

It actually started innocently enough.  When she heard about our wine cellar, Aunt Margie (my mother’s sister and Uncle Joe’s wife) asked me if I was going to make salami.  I hadn’t thought about it until that point but it seemed clear to me that she had memories of “the old Italian guys,” perhaps even her father, making salami and curing it in their wine cellars.

There was a temperature and humidity controlled wine cellar in the basement of the Coach House that was perfect for curing salumi of various types

For several years, I made different types of cured salumi including Calabrese salami and pepperoni.

It was fun, and really pretty easy.  It was also rewarding to slice up one’s own homemade salami for an antipasto platter when company arrived.

The drawing room at Villa Sentieri

Although we have a temperature and humidity controlled wine cellar at Villa Sentieri in Santa Fe, I haven’t made salami since moving there full time in 2012.  I have, however, made pancetta.  In fact, for a number of years now the only pancetta that I’ve used has been my own home-cured version.

The wine cellar at Villa Sentieri. We’ve been trying to drink down our collection, hence the bare look!

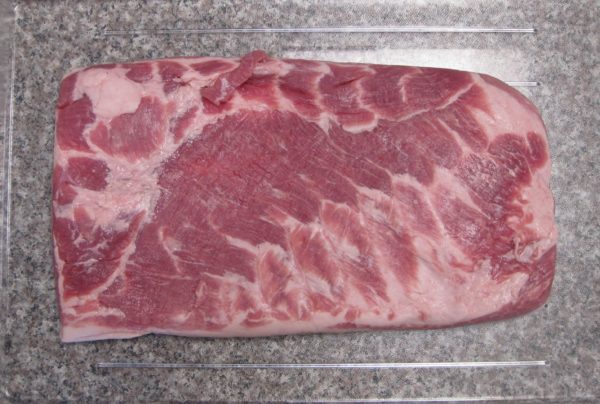
It’s even easier than making salami.  You just weigh out the ingredients, rub them on a slab of pork belly and refrigerate it.  There is no grinding of meat and stuffing of casings.  Although it takes several months to turn pork belly into pancetta, the actual active time can’t amount to more than 30 minutes over the entire time period, and most of that is the initial step of weighing out the ingredients and rubbing them on the meat.

Although I now buy about an eight-pound piece of pork belly when making pancetta, I started making pancetta with one-pound pieces from my butcher.  If you’re at all inclined to try home curing meat, a small quantity of pancetta is a great place to start.


If you have a favorite family recipe and a bit of a story to tell, please email me at santafecook@villasentieri.com and we can discuss including it in the blog. I am expanding the scope of my blog to include traditional recipes from around the country and around the world. If you haven’t seen Bertha’s Flan or Melinda’s Drunken Prunes, take a look.  They will give you an idea of what I’m looking for.


Print Recipe
Pancetta
The amounts below are for 450 grams of pork belly, approximately one pound. You will need to increase the ingredients proportionately if the pork belly is larger. Measurements are critical with the salt and Prague Powder. If you are making a larger quantity, a small electric coffee mill can be used to grind the spices. Just be certain they are finely powdered before mixing with the salt.
Votes: 0
Rating: 0
You:
Rate this recipe!
Prep Time 30 minutes
Passive Time 5 weeks
Servings
variable
Ingredients
Prep Time 30 minutes
Passive Time 5 weeks
Servings
variable
Ingredients
Votes: 0
Rating: 0
You:
Rate this recipe!
Instructions
  1. Weigh out the ingredients, increasing the amount in proportion to the weight of the pork belly.
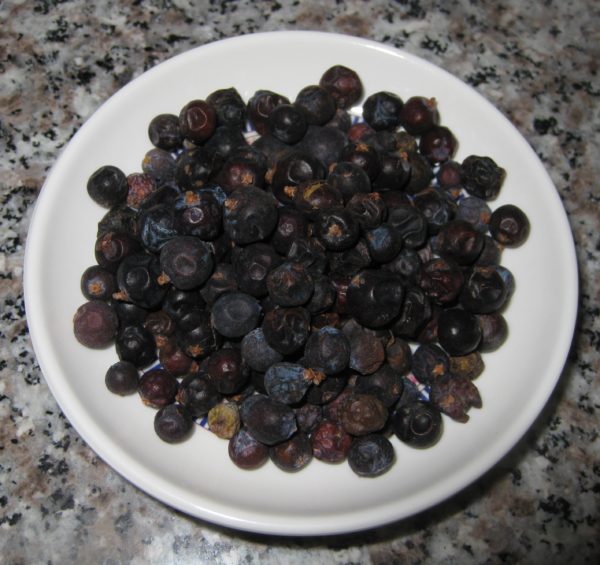
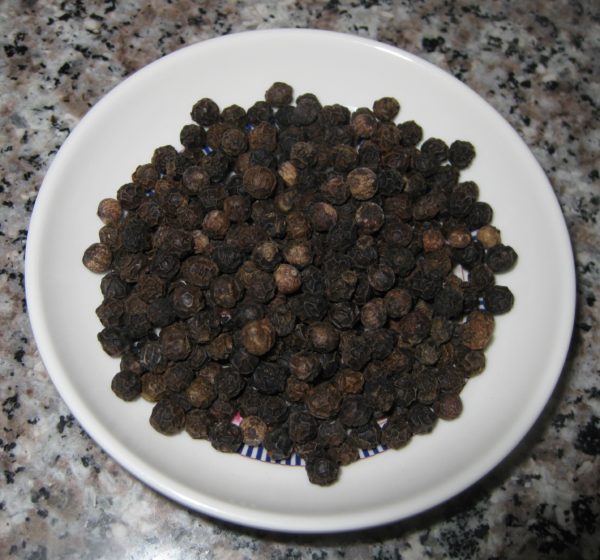
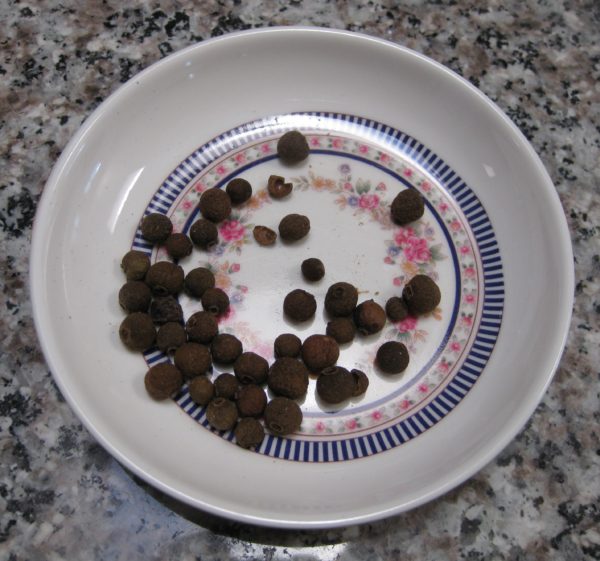
  2. Finely grind the juniper berries, peppercorns, allspice, and cloves in a mortar or small electric coffee grinder.
  3. Juniper berries
  4. Black peppercorns
  5. Allspice berries
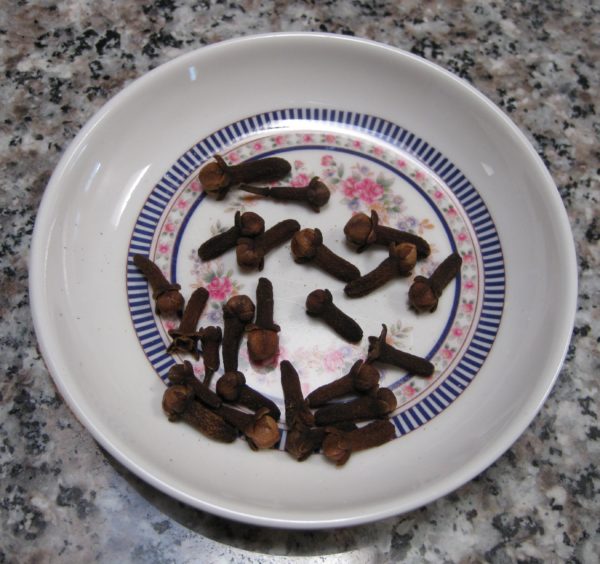
  6. Cloves
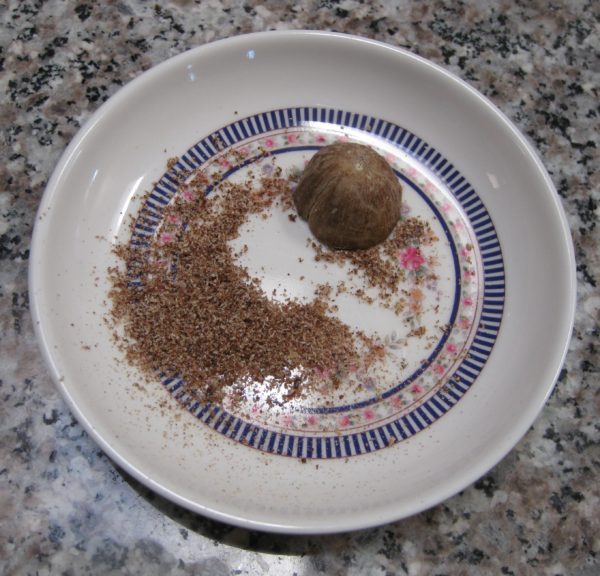
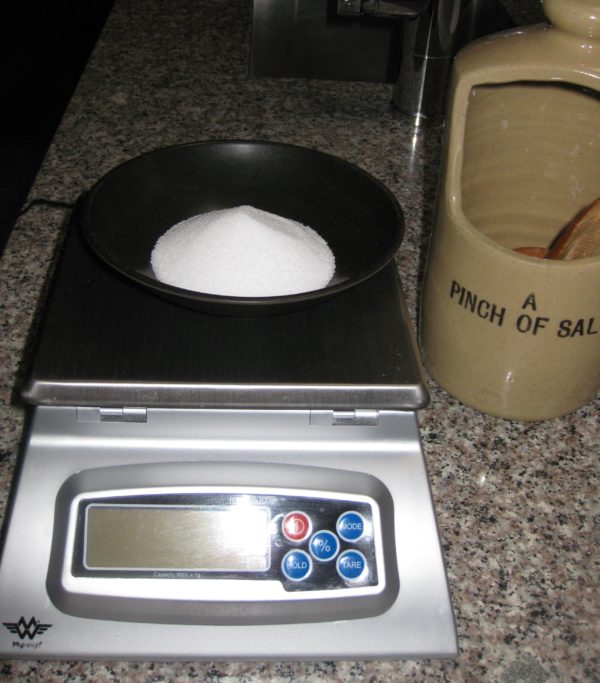
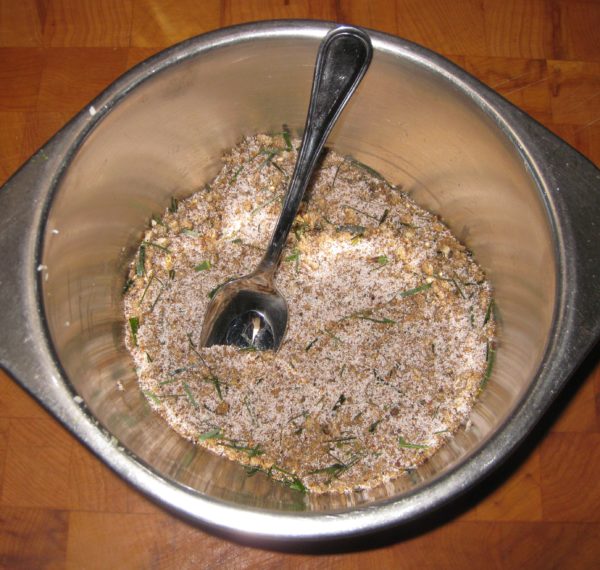
  7. Combine the ground spices with the nutmeg, shredded bay leaf, garlic, salt and Prague Powder #2.
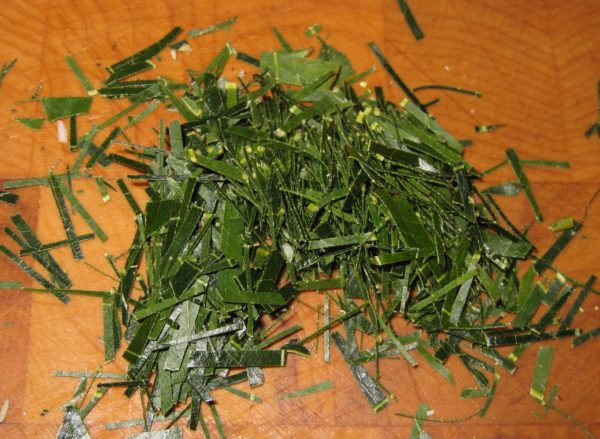
  8. Bay leaf
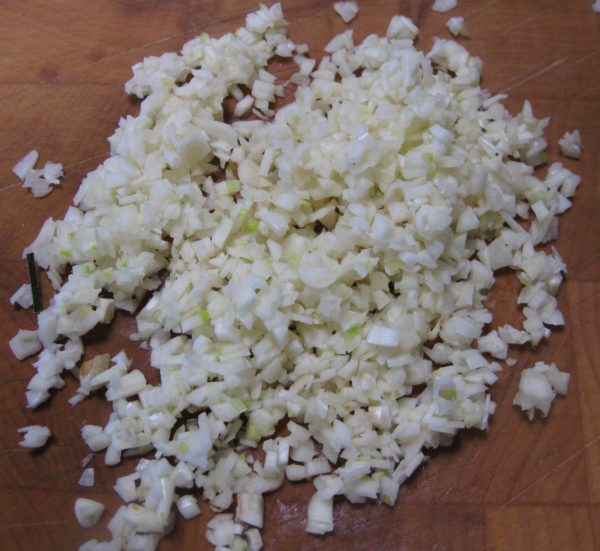
  9. Garlic
  10. Canning and pickling salt
  11. Prague Powder #2
  12. Mix well.
  13. Place the pork belly in a non-reactive container with a tight-fitting cover.
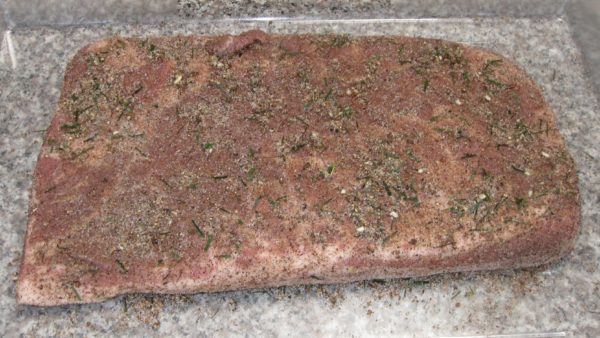
  14. Rub the cure over the meat, massaging it in.
  15. Refrigerate the pork belly, tightly covered, turning every 2-3 days for 7-10 days, until it is of a uniform firmness. Some liquid will leach out of the pork.
  16. Rinse the cured pork belly to remove excess cure.
  17. Pat the cured pork belly dry.
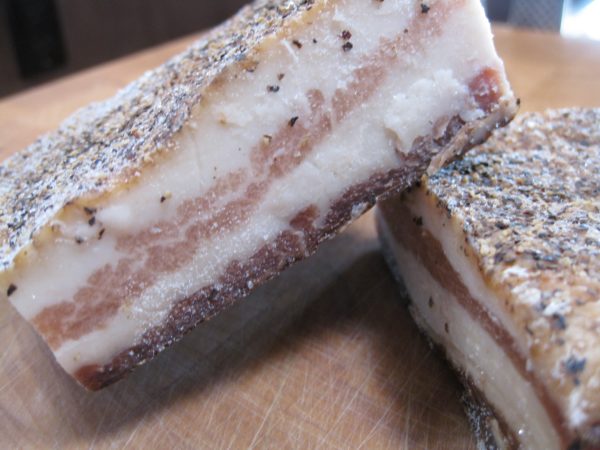
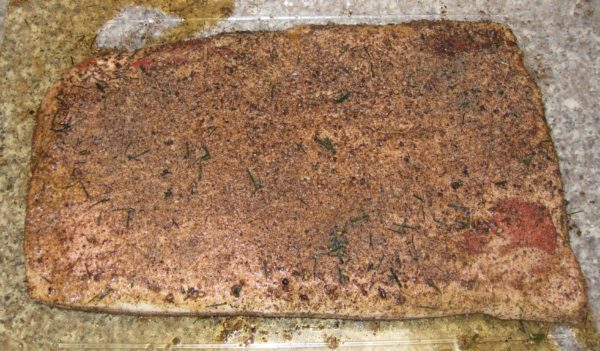
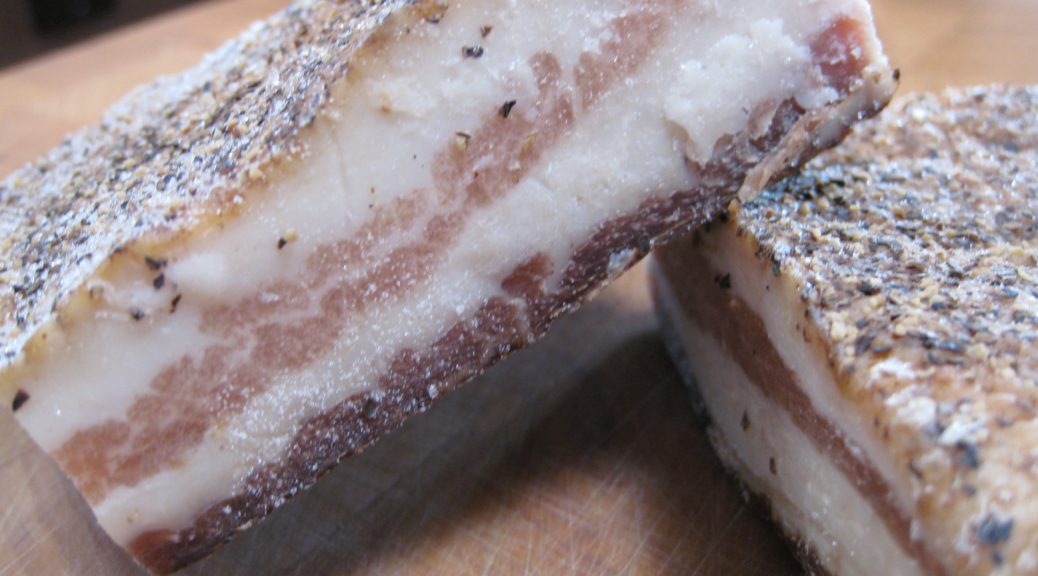
  18. Season the pancetta with a generous amount of coarsely ground black peppercorns.
  19. Weigh the cured pork belly and write down the weight and the date.
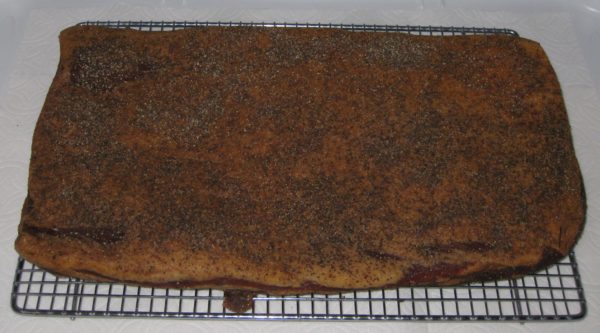
  20. Put the cured pork belly fat side up on a non-reactive rack over a shallow tray and refrigerate, uncovered, until it loses 20-25% of its weight, approximately 4 weeks.
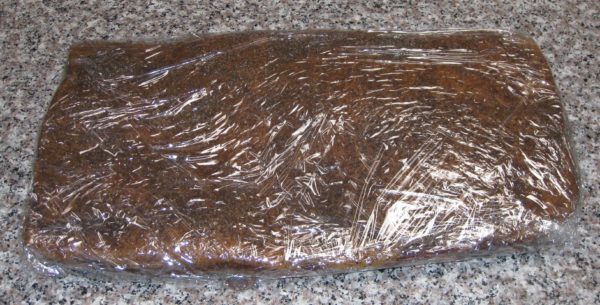
  21. Wrap it tightly in plastic wrap and refrigerate approximately one week to allow it to evenly hydrate. Even so, the edges will be drier than the middle.
  22. If you are not using the pancetta within a few weeks, cut it into pieces and freeze, tightly wrapped.
Recipe Notes

Copyright © 2018 by VillaSentieri.com. All rights reserved.
Share this Recipe

Croquetas de Jamon (Cuban Ham Croquettes)

May 1, 2017

In early 2014, my husband and I were lucky enough to go to Cuba with two close friends.  This was prior to the loosening up of restrictions on travel by Americans to the island nation.

Because of the guidelines governing such travel, we had to spend a significant portion of our time interacting with Cubans, not being tourists.  We visited a schools for the arts and music, toured cultural sites, attended lectures, saw a cigar factory, and met with some Cubans in their homes, among other activities.

All of Cuba is divided up into small units that are under the watchful eye of a trusted local who reports any unusual activities to the authorities.  These units could be a section of a street, for example, or a multi-unit building.  What turned out to be one of the most memorable events was meeting with the residents of one such building one evening in Cienfuegos.

The children put on a small performance, we had refreshments, then spent several hours chatting with the building’s residents.  It seemed to us that everyone was quite open, talking about the challenges, as well as the benefits (such as free education and health care) of life in Cuba.  In fact, while it seems that most Cubans we met were in favor of a more open society they were understandably very protective of their access to education and health care.

One man, seemed particularly open about the difficulties of life in Cuba.  This was surprising to us as his wife was the designated party operative responsible for overseeing this particular building.  Our suspicions seemed to be confirmed when he disappeared into their apartment shortly before the evening ended after his wife gave him “the look.”  As our vehicle was pulling away from the building, he ran out and waved us good-bye.  Clearly he had been banished from the meeting but kept a watchful eye from his apartment, exiting at just the right moment.

In addition to spending the major portion of our trip interacting with Cubans we were prohibited from actually going to the beach!  This was supposed to be an educational and cultural interchange, not fun.

Even more interesting is that, at the time, Americans were prohibited from buying Cuban cigars and rum.  Mind you, I’m not talking about bringing these items back to the United States which was definitely forbidden, but buying and using them while in Cuba.

This would seem to be a singularly difficult rule to enforce and I can’t say that anybody paid particular attention to it.  One of our most pleasant experiences was sitting at a park on the waterfront in Cienfuegos sipping rum (from plastic cups) smoking cigars and watching the sun set.

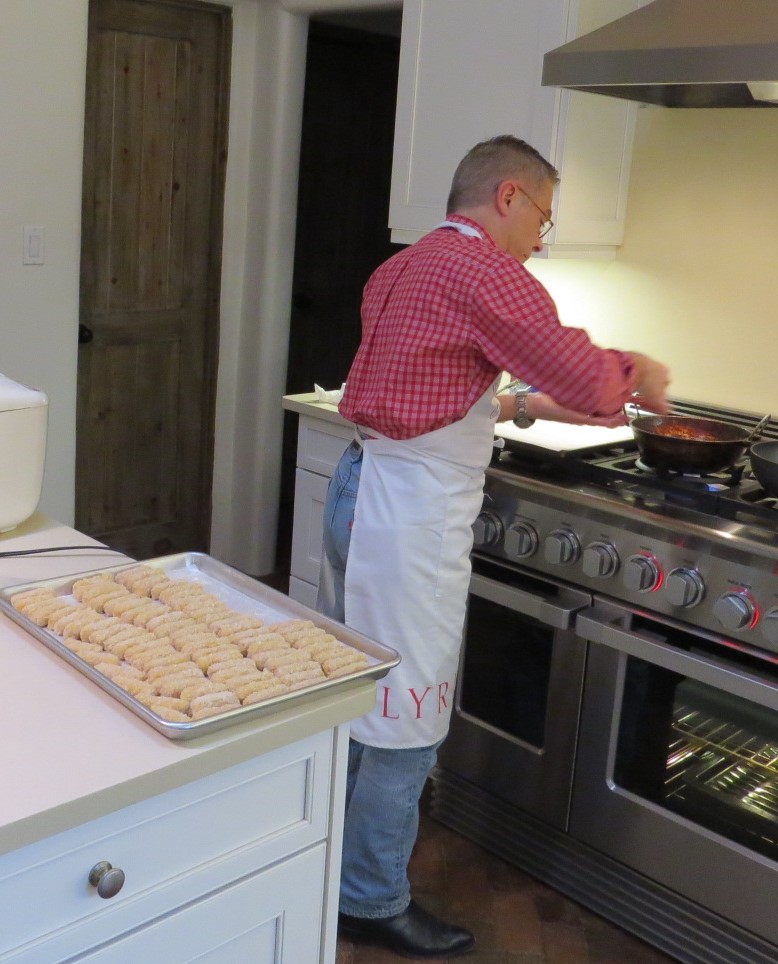
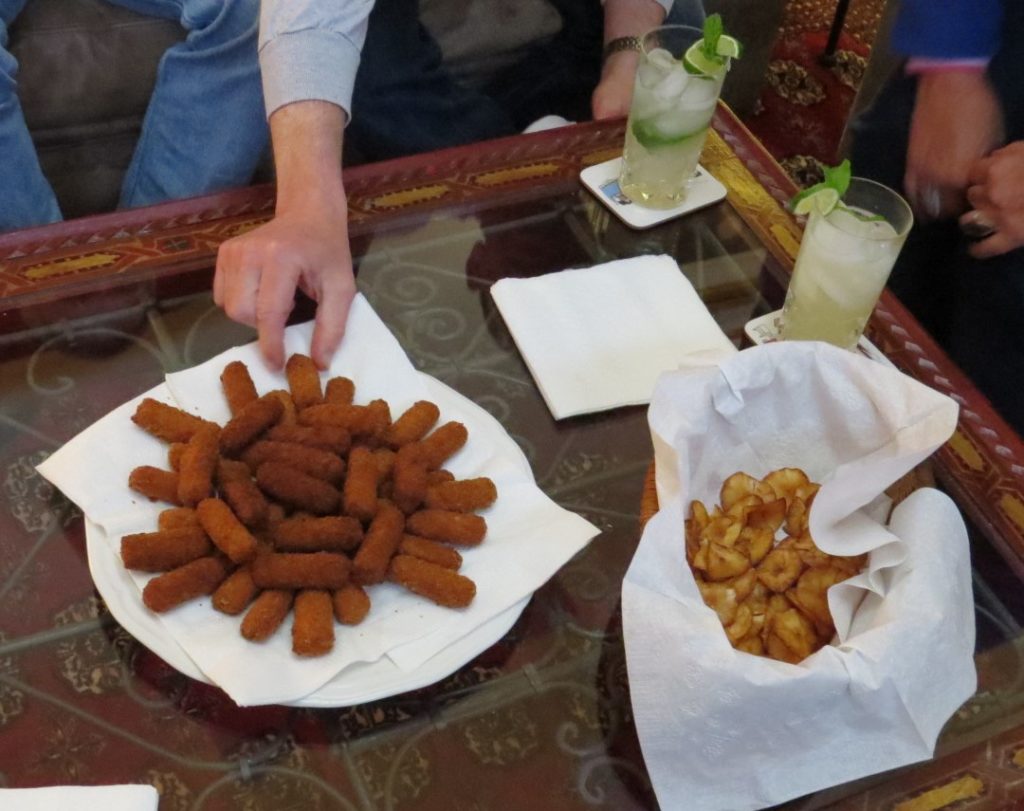
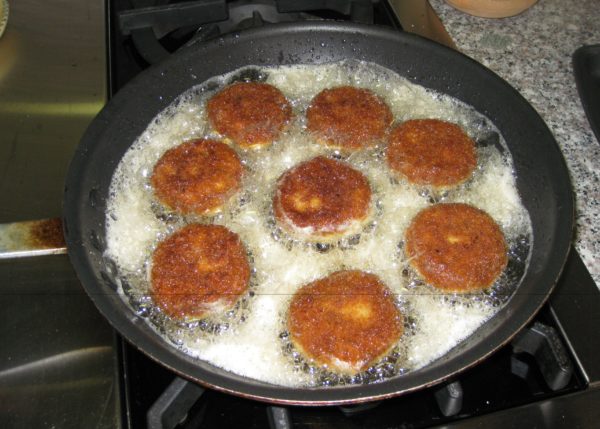
We ate a lot of croquetas in Cuba and drank a lot of rum punch, mojitos, and cariocas.  After we got back we pulled together a Cuban dinner with a few other friends.  I made the traditional finger-sized croquetas—seven dozen of them, actually!  Here is a picture of me frying them as well as a platter full of cooked ones along with some plantain chips and mojitos.

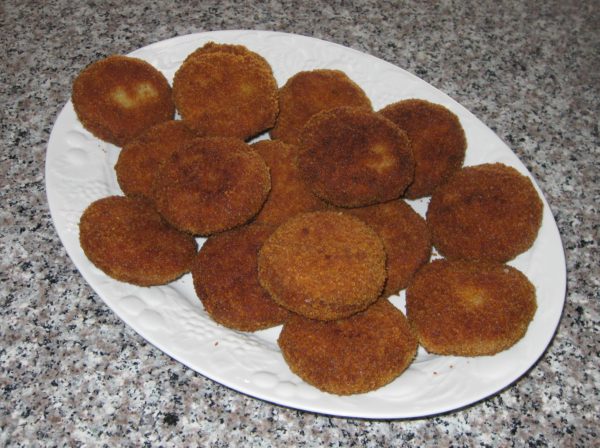
For this post, since I was cooking them as an entrée rather than as a nibble with cocktails, I made them larger.

Print Recipe
Croquetas de Jamon (Cuban Ham Croquettes)
Instead of ham, croquetas can be made with cooked fish, salted cod, or potatoes among other ingredients. Cracker crumbs are the standard coating used in Cuba but fine dry breadcrumbs will work fine. I really like using plain panko crumbs whizzed in the food processor to finely pulverize them. They give an amazing crunch! If you are making these to serve as nibbles, you should get seven dozen. If you are making larger croquetas to serve as a main course, this recipe will make 16. Two or three of the larger croquetas will serve one person depending on what else is being served.
Votes: 0
Rating: 0
You:
Rate this recipe!
Prep Time 1 hour
Cook Time 20 minutes
Passive Time 9 hours
Servings
people
Ingredients
Prep Time 1 hour
Cook Time 20 minutes
Passive Time 9 hours
Servings
people
Ingredients
Votes: 0
Rating: 0
You:
Rate this recipe!
Instructions
  1. If the ham was cooked with a sweet glaze, rinse the glaze off using warm water.
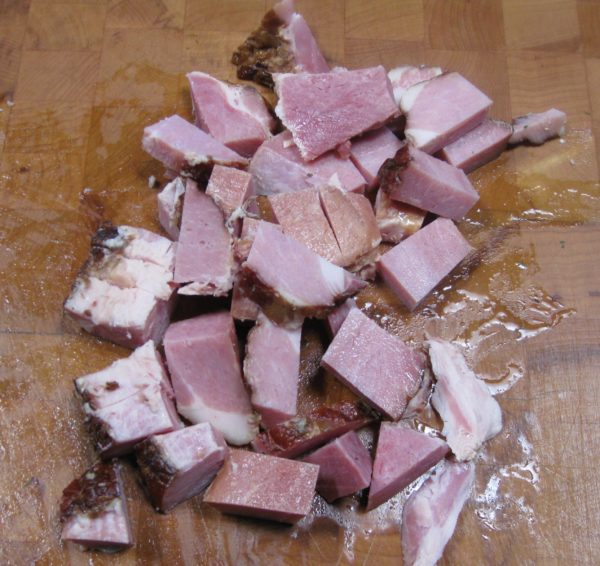
  2. Cut the ham into one-inch cubes.
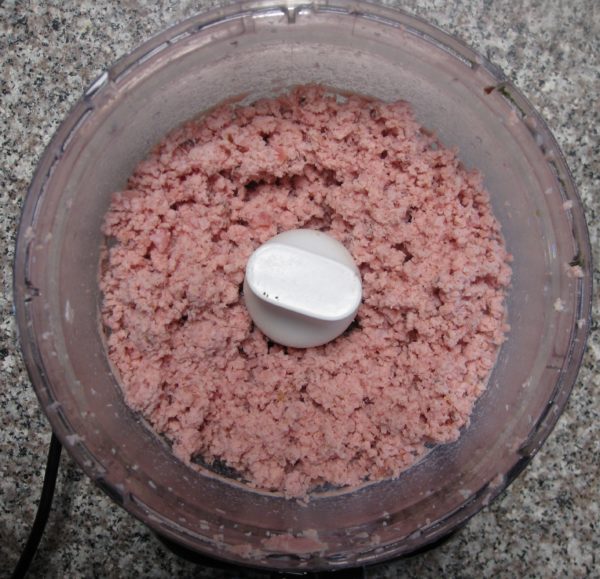
  3. Finely grind the ham in a food processor or meat grinder. Reserve the ground ham.
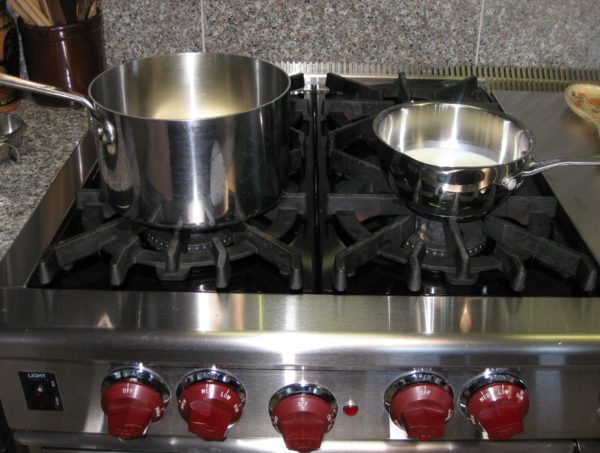
  4. Over medium heat, warm the milk in a small saucepan.
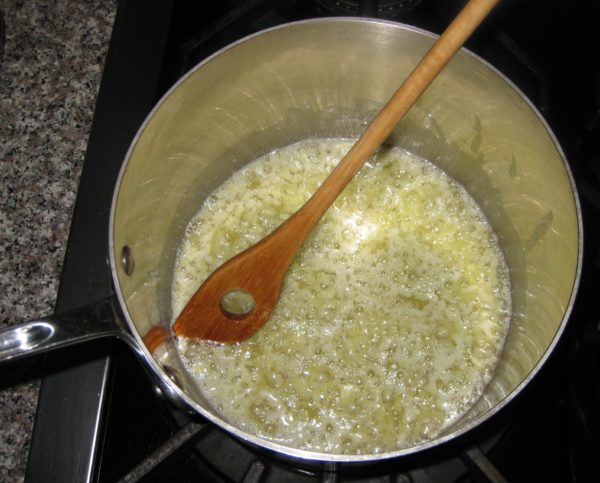
  5. Meanwhile, in a two-quart heavy bottomed pan, sauté the onion in butter on medium heat until soft, approximately 4-5 minutes.
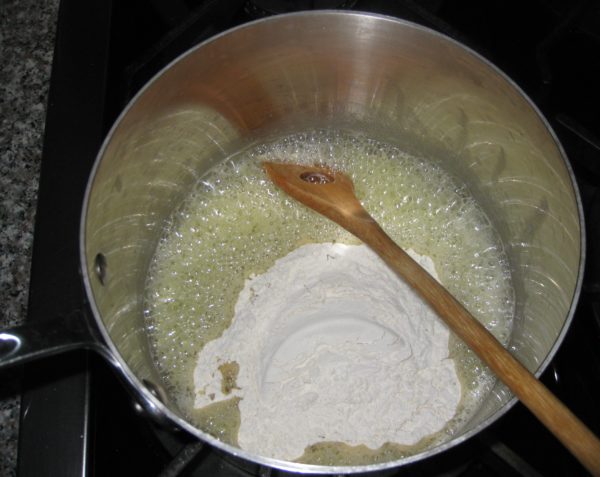
  6. Add the flour to the onion-butter mixture and cook for about two minutes, stirring constantly. Do not brown the flour.
  7. Note, the flour will appear golden from the combination of the butter and the onions.
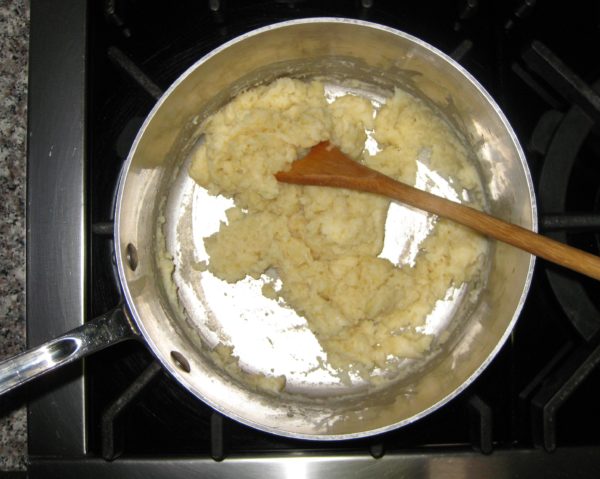
  8. Add about three tablespoons of the warm milk to the flour mixture. Stir well to fully incorporate. Continue adding about three tablespoons of warm milk at a time, stirring well after each addition, until all the milk has been incorporated. The mixture will form a rather heavy dough.
  9. Continue to cook the dough for 2-3 minutes, stirring constantly, without browning.
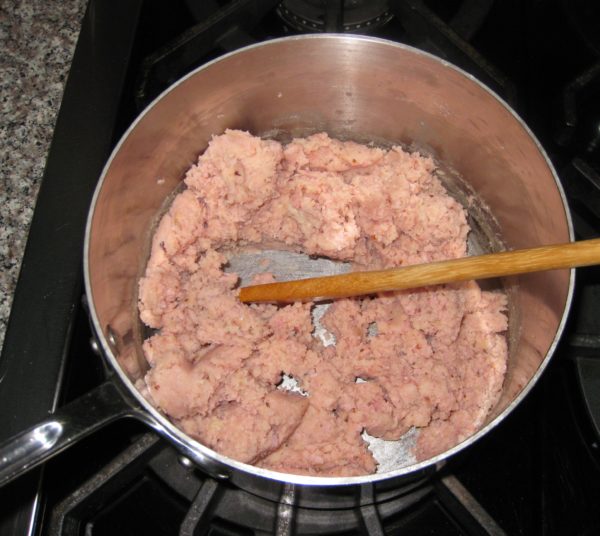
  10. Reduce the heat to low and stir in the ham. Keeping the mixture warm makes it much easier to blend the ham into the dough which would otherwise seize up with the addition of cold ham.
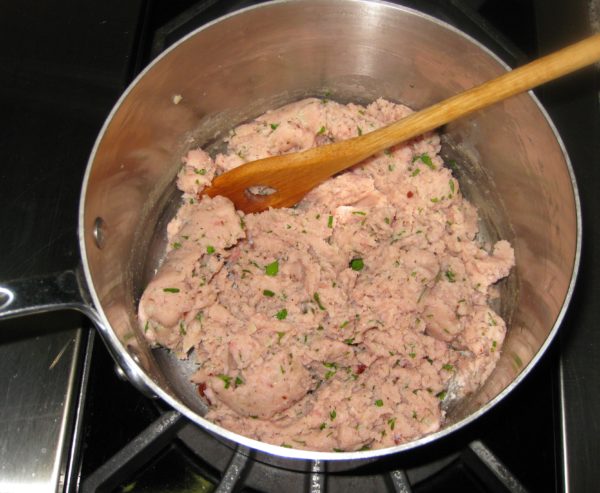
  11. Off the heat, stir in the nutmeg and parsley. Taste and adjust salt and pepper.
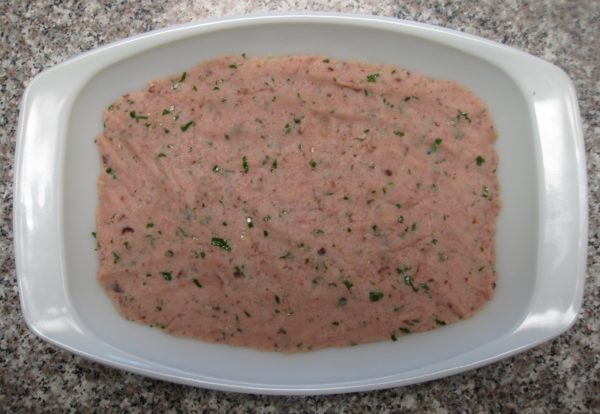
  12. Spread the mixture into a small oblong pan. Cool to room temperature uncovered.
  13. Cover and refrigerate until very cold, about six hours or overnight.
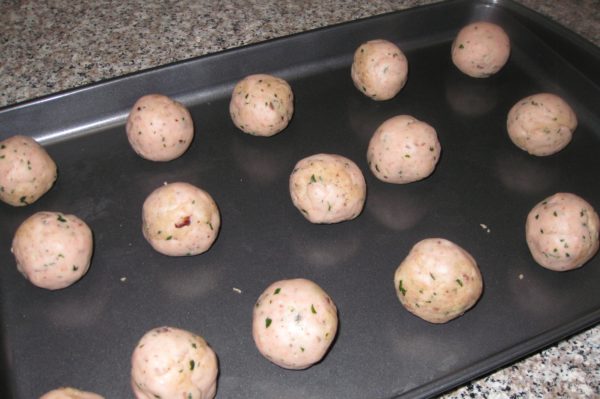
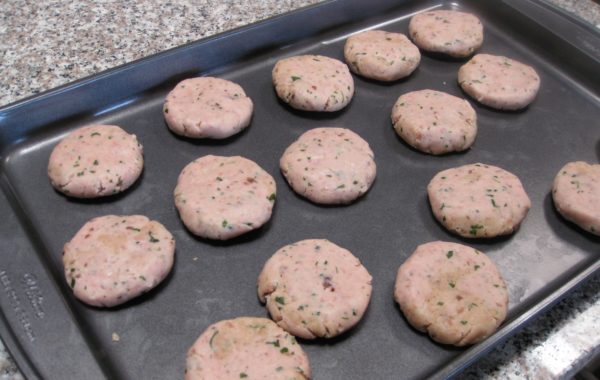
  14. Form the croquetas. If making small ones, roll portions of the dough into ½ inch diameter cylinders. Cut the cylinders into pieces about 2 inches long. If making larger croquetas, divide the mixture into 16 pieces. Roll each piece into a ball then flatten into a patty about ½ inch thick. Put the croquetas in a single layer on a cookie sheets. Refrigerate the croquetas until very cold.
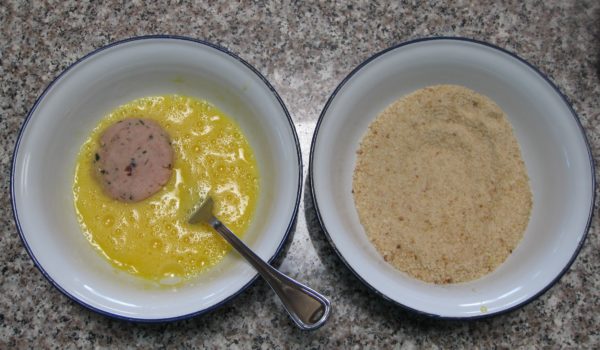
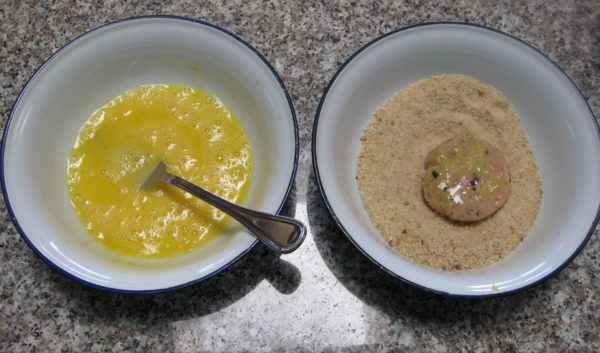
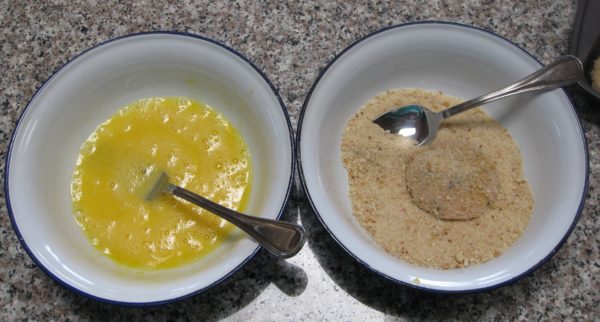
  15. To bread the croquetas, beat 3 eggs seasoned with ½ teaspoon of salt. Dip the croquettes in the beaten egg then roll in crumbs.
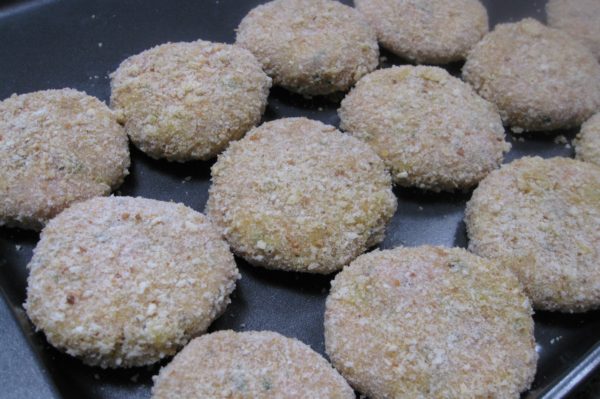
  16. Put the croquetas onto cookie sheets once again. Refrigerate until cold.
  17. Repeat the egg and crumb coating a second time. The second coating is necessary to get the traditional crunch. Refrigerate several hours or overnight.
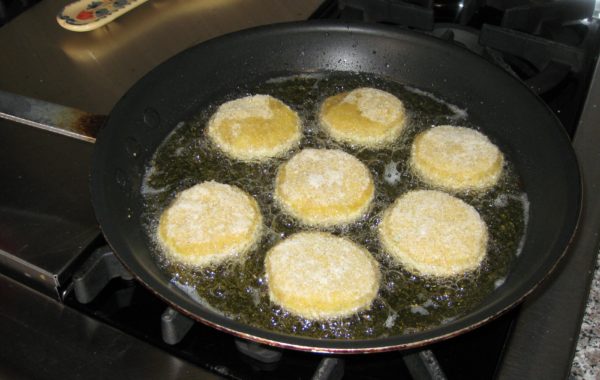
  18. Cook the croquetas in a deep fryer at 350°F until deep brown. Alternatively, put ½ inch of oil in a heavy bottomed frying pan. Bring the oil to 350°F. Fry the croquetas, turning once, until deeply browned. Drain briefly on absorbent paper. Keep the croquetas warm in a low oven until they are all fried.
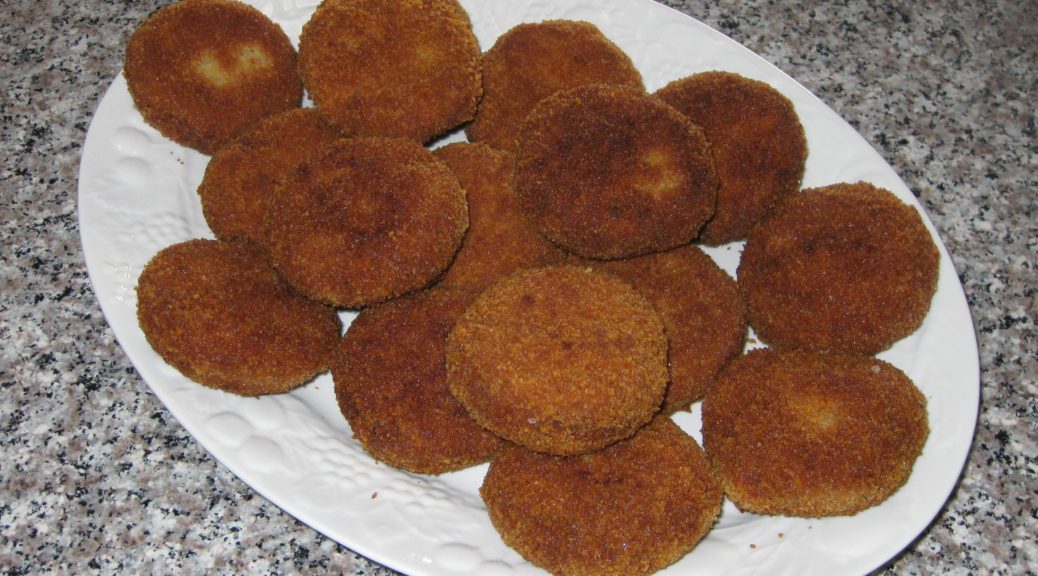
  19. The croquetas ready to serve.
Recipe Notes

Copyright © 2017 by VillaSentieri.com. All rights reserved.

Share this Recipe