Ricotta Fatta in Casa (Home-Made Ricotta)

March 25, 2020

I’ve been at home now for more than two weeks with just a weekly shopping trip to take me “off the mountain” as we say in our house.

This has given me ample time to catch up on some projects and start others.  It certainly gives me a lot more leeway to plan out a lot of cooking adventures.

Three days ago, I made 19 pounds of ‘ndjua.  It was a great project for a Sunday.  Well, these days, almost every day is like Sunday.

‘Nduja hanging in our wine room to age.

Making the ‘nduja, which is roughly 25% red pepper, wiped me out of the supply of peperoncino piccante in polvere (ground hot red pepper) that I brought back from Calabria in September.  In fact, I had to supplement with red pepper from India that I bought at an international food store in Las Vegas, NV a couple of months ago for just such an eventuality.


Join our mailing list and you’ll never miss a recipe again!


I’ve used up half of my supply of nero di seppia (cuttlefish ink… what, in America, we call squid ink except that it’s not from squid…it’s from cuttlefish), also brought back from Calabria.

The same is true for my lievito madre, powdered mother yeast.  It’s a combination of commercial yeast and “natural” yeast.  It’s sort of like a sourdough starter except that it’s not sour and you don’t keep the culture going.  You just use the powdered stuff as needed.

These are all common supermarket or open-air market items in Italy.

A view from the villa where we hope to spend the month of September.

We have plans to spend a month in a villa in Calabria this fall.  I have been honing my shopping list for months but I’m now concerned that the trip might not happen as planned.  It’s still a bit too early to know for sure but I’m getting myself mentally prepared for cancellation.

Meanwhile, I do what I love.  I cook.  Even if it means that I might use up precious supplies with the prospect that there may be no reasonable means of restocking in the near future.


Follow us on your social media platform of choice


Two days ago, I made stuffed and rolled flank steak.  One day last week I made a batch of black pasta (with, ahem, cuttlefish ink) that I tossed with fresh scallops and mushrooms. I made a killer sous vide rib eye roast on Sunday.  It bobbed along, all seasoned up, in a vacuum sealed bag with my sous vide doing all the hard work while I made ‘nduja.

The ‘nduja was done, and hung, in time for me to pour a bourbon, take the roast out of the bag and sear it, and cook some veggies.
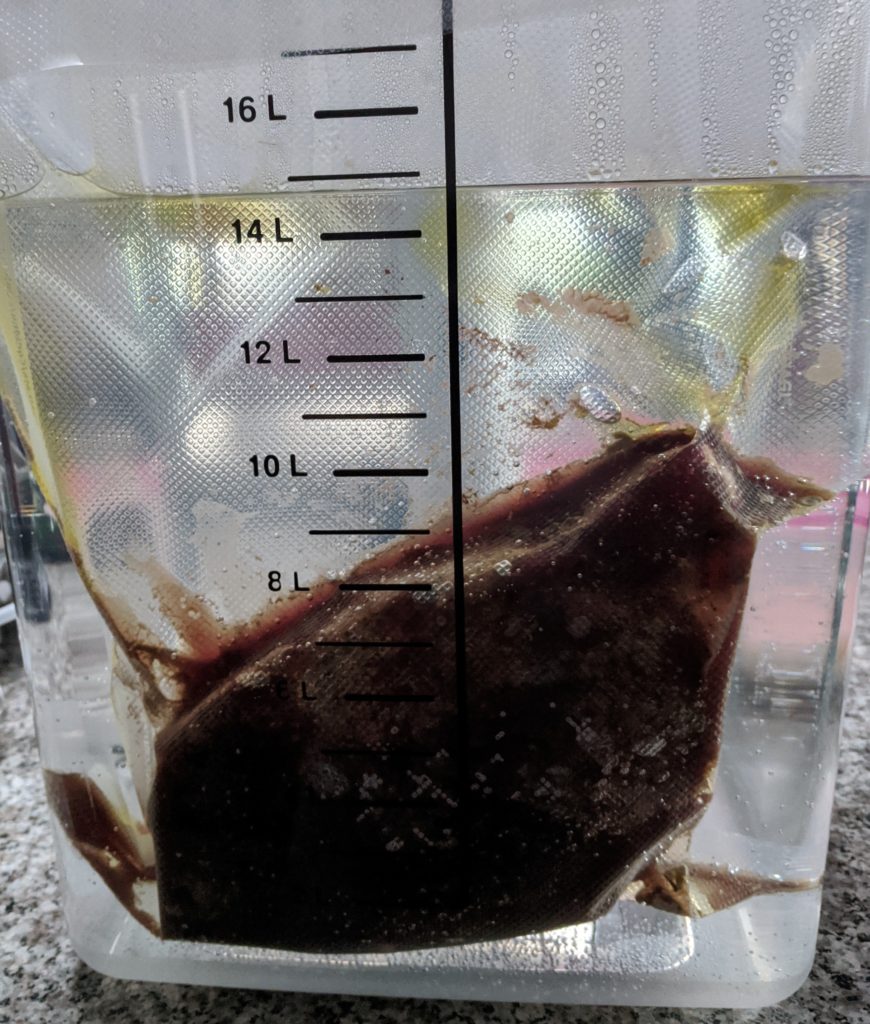
Rib eye cooked unattended sous vide while I made ‘nduja.

I’m comforted to know that in about two months there’ll be lots of ‘ndjua to enjoy.

If you’re stuck at home, why not consider making something new—like ricotta.  All you need is milk, vinegar and salt (and, if you wish, a little cream).  Once you’ve made ricotta, you can drizzle it with honey and serve it for dessert or turn it into Sancarlin and serve it with some garlicky crostini.
Print Recipe
Ricotta Fatta in Casa (Home-made Ricotta)
You can replace the cream with an equal amount of whole milk but using cream improves the yield. Because the boiling point of water (and thus milk) is much lower where I live in Santa Fe, I target a temperature between 192°F and 195°F. At sea level, you can go up to 203°F. What you don’t want to do is to have bubbles break the surface of the milk, though there will be some foaming around the edges.
Votes: 0
Rating: 0
You:
Rate this recipe!
Cuisine Italian
Prep Time 15 minutes
Cook Time 20 minutes
Passive Time 30 minutes
Servings
pounds
Ingredients
Cuisine Italian
Prep Time 15 minutes
Cook Time 20 minutes
Passive Time 30 minutes
Servings
pounds
Ingredients
Votes: 0
Rating: 0
You:
Rate this recipe!
Instructions
  1. Warm the milk, cream, and salt in a heavy bottomed pan over medium heat.
  2. Stir occasionally until it reaches 170°F. Stir more frequently after that, and almost constantly once it reaches 185°F until the targt temperature is reached, 192°F or higher as described in the headnote.
  3. When it reaches the target temperature, add the vinegar and stir well. Turn off the heat and move the pot off the heating element. Even if you’re using a gas stove the grate will remain hot and can increase the temperature of the milk too much.
  4. Allow the milk to sit undisturbed. Curds should form a raft floating on top in 10 minutes. If curds do not form, add 1 tablespoon more vinegar, stir well, and wait 5-10 minutes more.
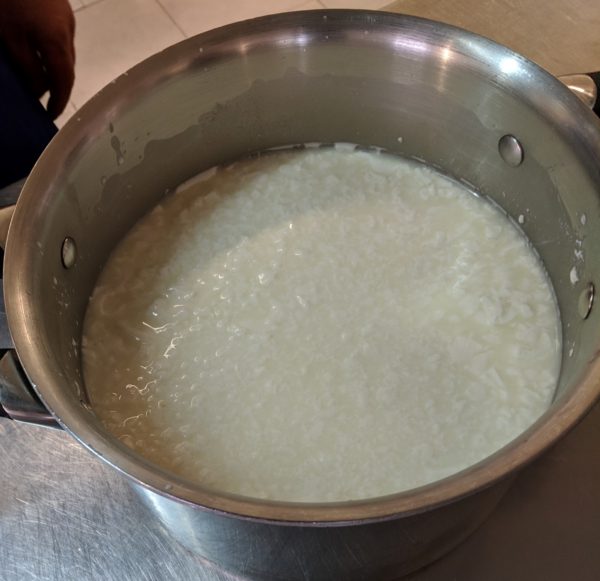
  5. Cut the curds into one-inch cubes with a knife.
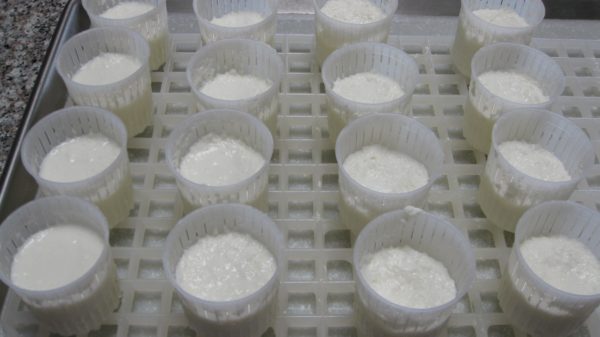
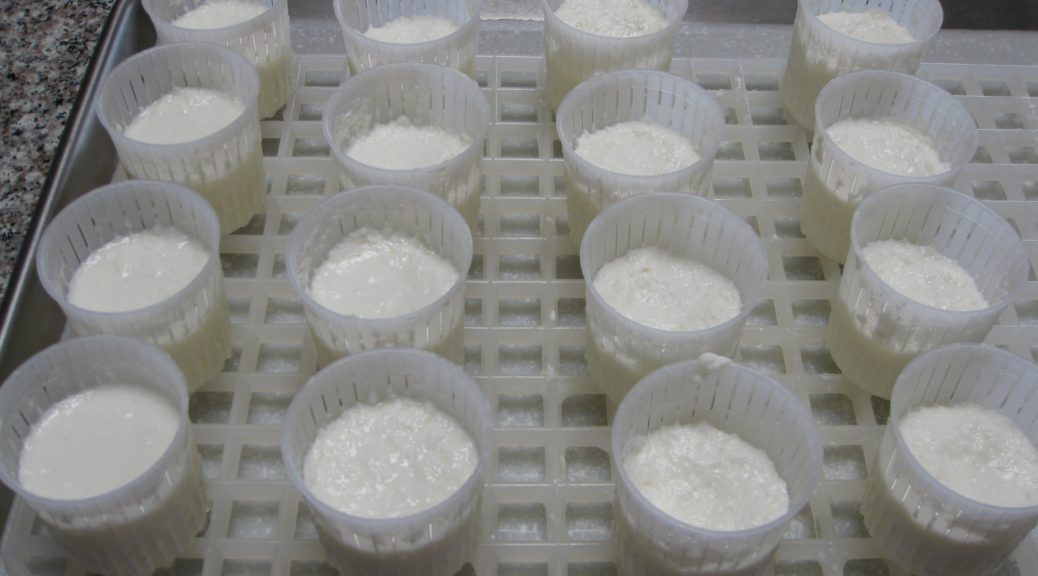
  6. Lift the curds into cheese molds set on a grate to drain.
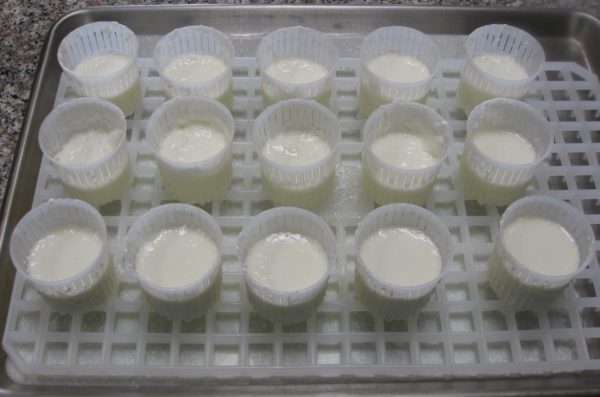
  7. Alternatively put the curds into a strainer lined with a double thickness of cheesecloth.
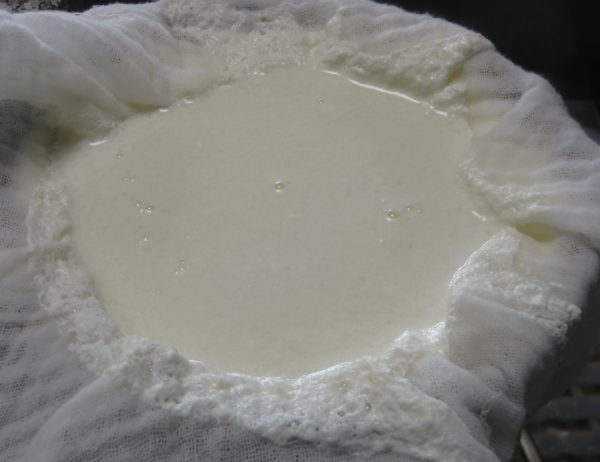
  8. Drain until the ricotta is as dry as desired based on how you plan to use it. The ricotta will be slightly stiffer once it is chilled so do not drain it too much.
  9. Once drained, the ricotta can be stored with the bottom sitting in a little of the whey to keep it moist. It will not reabsorb liquid once it has drained out.
Recipe Notes

Copyright © 2020 by Villa Sentieri, LLC. All rights reserved.

Share this Recipe

Smoky Baked Beans

June 1, 2018

In my first year of medical school (I know that only because of the apartment that I was living in at the time) my parents and my Aunt Ann came to visit for a weekend.  I’ve talked about Aunt Ann in previous blog posts, like this one that includes her recipe for Pineapple Cream Cheese Pie.  She was married to my father’s brother, Jano.

As often happened with my mother, the conversations frequently veered to food.  On this occasion, for some reason, my Aunt Mary’s baked beans.

Aunt Mary was really my mother’s Aunt Mary by marriage.  She was my Great Aunt Mary.  Actually, by the time I knew her, she wasn’t really my aunt, great or otherwise, because she and my mother’s Uncle Derp had gotten divorced.  Nonetheless, we all still called her Aunt Mary.  Well, really, due to some bizarre twist, we called her Aunt Mary Derp if we were referring to her in a conversation and it wasn’t otherwise clear which of the several Aunt Marys in the family was the one we meant.  Why we appended the name of her ex-husband to hers rather than using her last name, I’ll never know!!


Join our mailing list and you’ll never miss a recipe again!


In any case, my parents both talked about Aunt Mary’s baked beans.  They recalled that she baked them overnight.  My mother came up with a reasonable facsimile of what went into the beans.

We tried to do the initial boiling of the beans in a slow cooker while we went out for the day.  That was a failure.  On the low setting, the beans were still hard after hours and hours of cooking.  That got remedied by a quick boil on the stove.

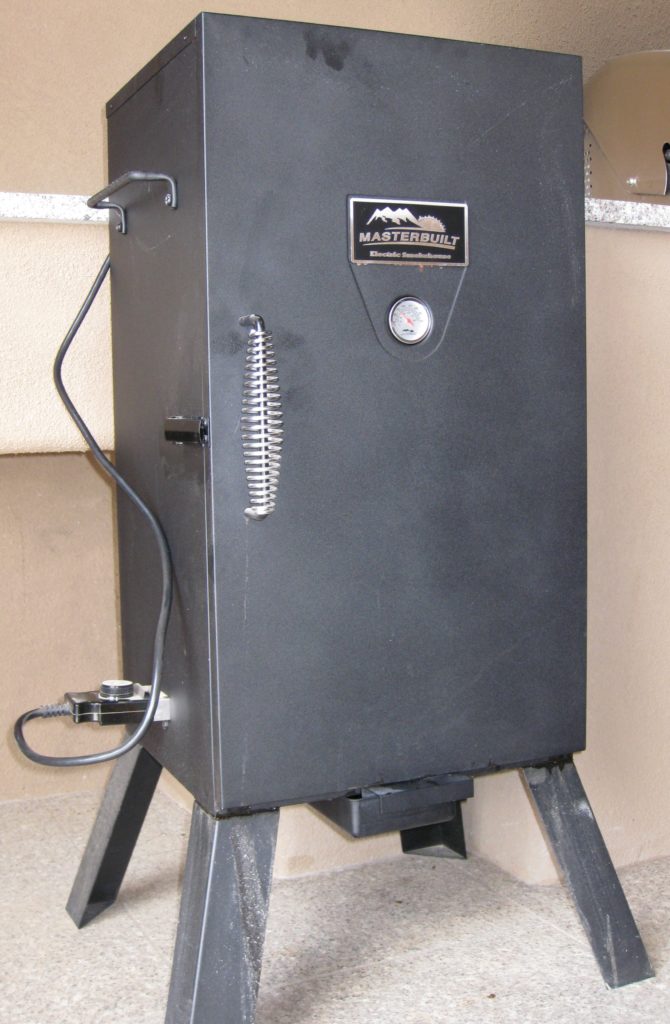
My smoker has an adjustment for the heat output but not temperature, per se. If the wind or external temperature change, the internal smoker temperature changes, too.

We took the par-boiled beans and mixed them with all the other ingredients and put them in the oven overnight.  That was failure number two, but one we couldn’t recover from.  The long cooking period created a burnt taste in the beans given the high sugar content.  The beans hadn’t actually dried out but they must have gotten hot enough to start caramelizing the sugar.  The road from caramel to burnt isn’t long.  Unless one doesn’t get more than six hours sleep, we discovered that it wasn’t ideal to bake the beans overnight!

Eventually, I figured it out.  The recipe for my version of Aunt Mary’s Baked Beans now sits proudly on the hard drive of my computer along with two recipes of my own development.  I also have this great hack for doctoring canned baked beans that I learned from my cousin Shirley (it always generates requests for the recipe that I artfully dodge) but that isn’t actually written down anywhere.


Follow us on your social media platform of choice


Today, we’re going to focus on my recipe for baked beans cooked in a smoker.  I’ll also share a trick for making these in the oven if you don’t have a smoker.

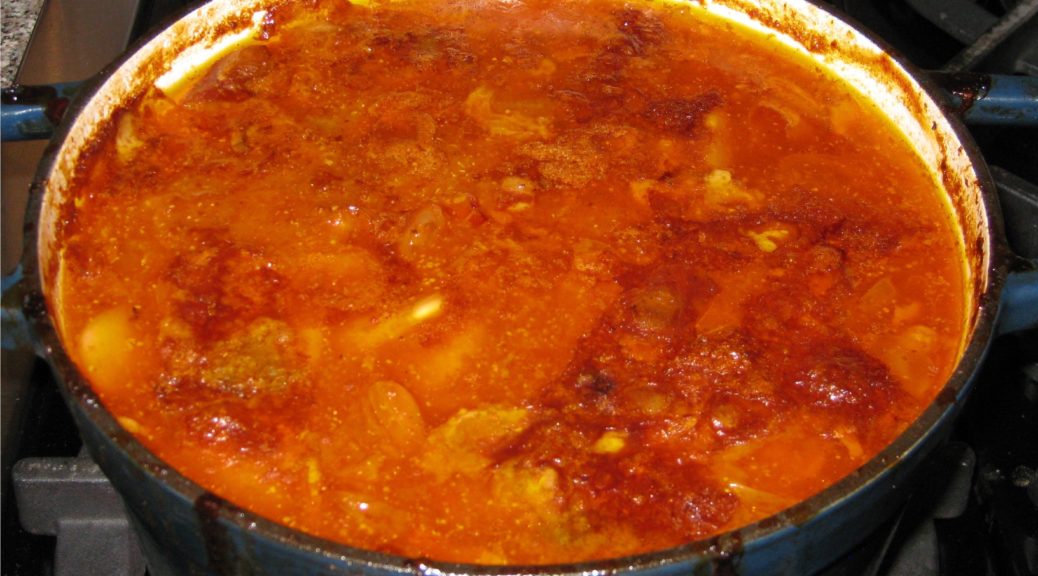
When I make these, I put them on the bottom rack of my smoker, uncovered, with meat on the racks above.  Meat juices drip into the beans making them extra tasty!  The high humidity in the smoker keeps the uncovered beans from drying out.

Print Recipe
Smoky Baked Beans
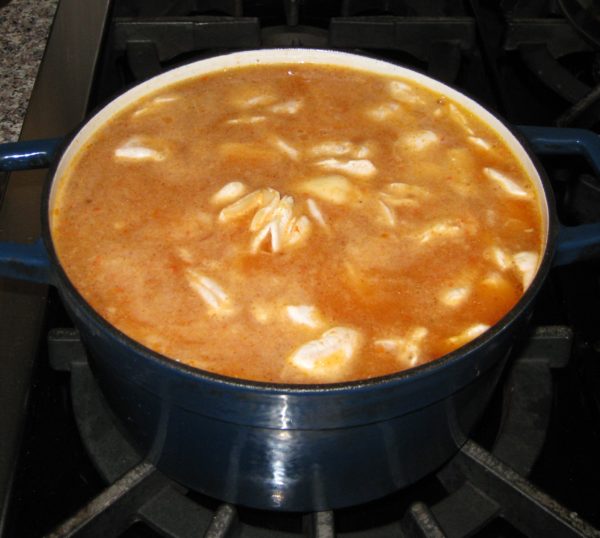
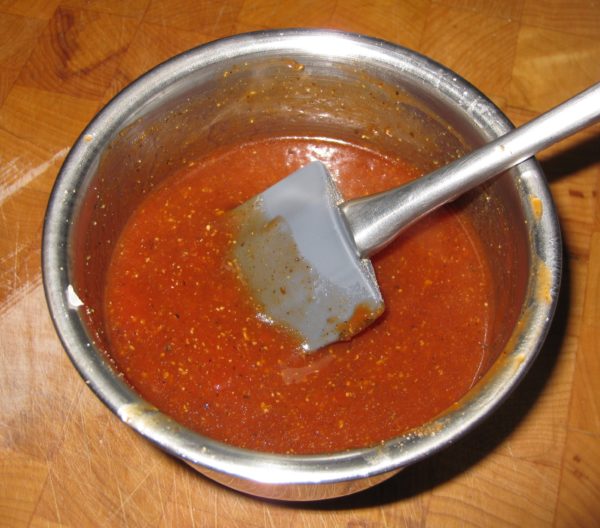
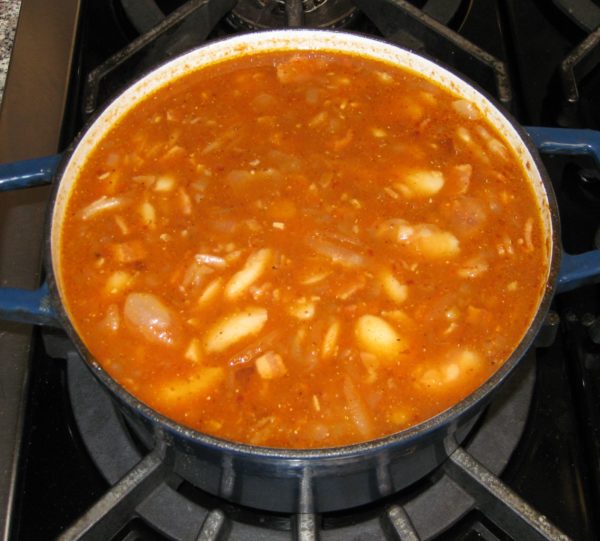
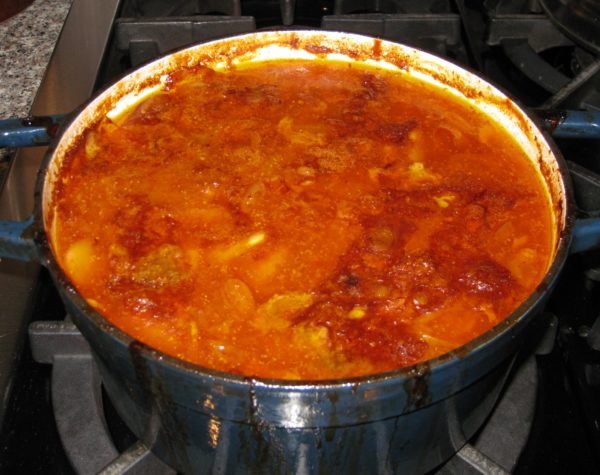
Adding salt to the bean-soaking liquid is optional. It seasons them and also decreases the cooking time. I find it especially useful where I live as water boils at less than 198°F and beans take much longer to cook. If you don’t have a smoker, add 1 teaspoon of Liquid Smoke seasoning and cook the beans in the oven with a cover. As a reality check, if you’re paying close attention to the photos, you’ll notice that these are “adult” lima beans not baby lima beans. There must have been a run on baby lima beans when I went shopping for the ingredients for this recipe as none of the markets had them.
Votes: 0
Rating: 0
You:
Rate this recipe!
Prep Time 30 minutes
Cook Time 8 hours
Passive Time 12 hours
Servings
people
Ingredients
Prep Time 30 minutes
Cook Time 8 hours
Passive Time 12 hours
Servings
people
Ingredients
Votes: 0
Rating: 0
You:
Rate this recipe!
Instructions
  1. Wash and pick over the beans.
  2. Dissolve 1 ½ tablespoons salt, if using, in 2 quarts of water. Add the beans.
  3. Soak the beans for about 12 hours in the refrigerator.
  4. Drain and rinse the beans.
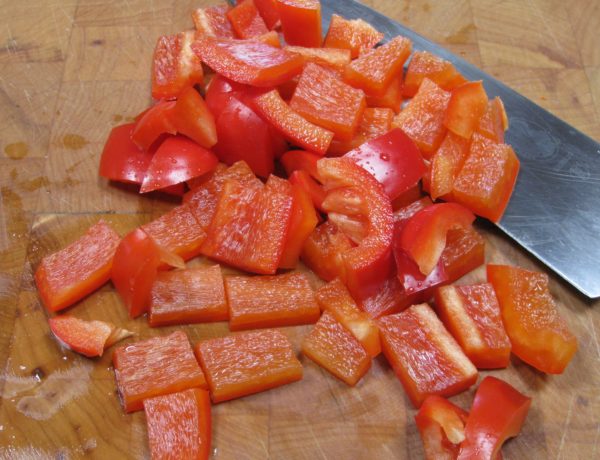
  5. Coarsely chop the red Bell pepper.
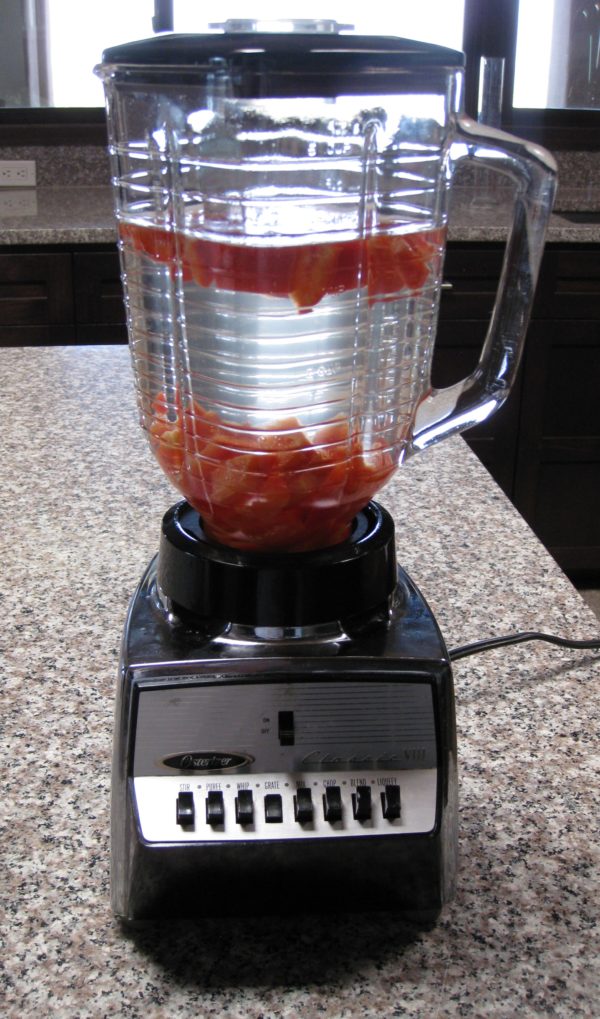
  6. In a blender jar, combine the Bell pepper with some of the 6 cups of water.
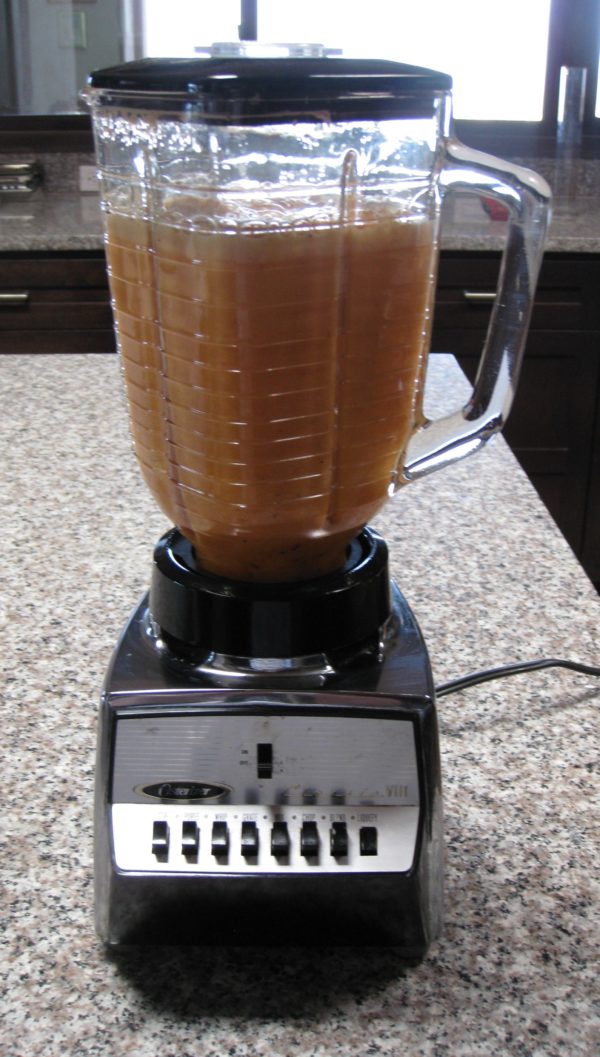
  7. Puree the Bell pepper.
  8. Add the chipotle pepper, if using, and puree again. Reserve the pepper puree.
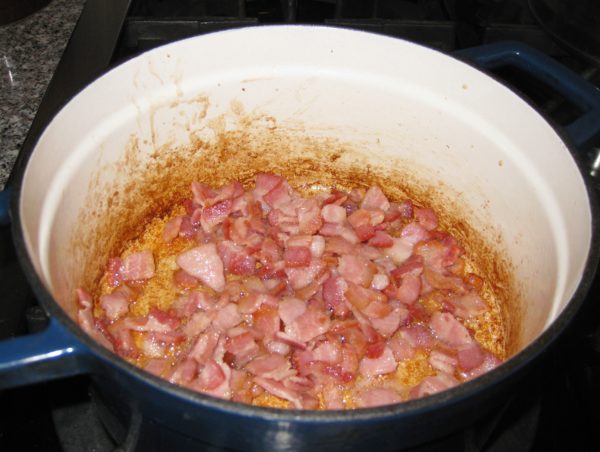
  9. Sauté the bacon until golden.
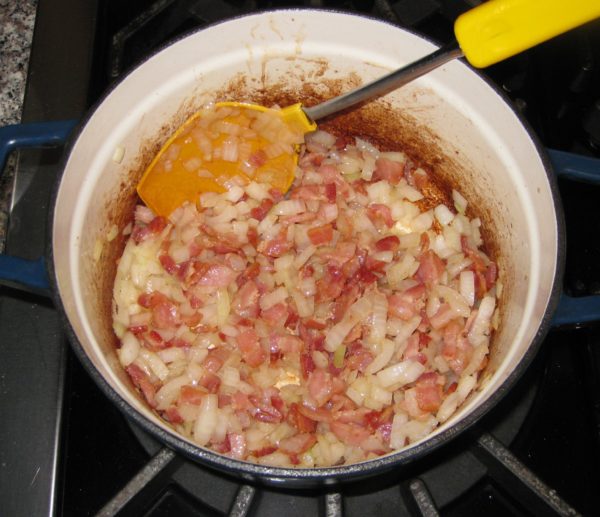
  10. Add the onion and sauté until soft.
  11. Add the garlic and sauté until fragrant.
  12. Add the drained beans, pepper puree, remaining water, and bay leaves.
  13. Gently boil, partially covered until almost tender (1 to 2 hours). Add water from time to time if needed. The beans should be just barely covered with liquid at the end.
  14. Combine the ketchup, white wine, brown sugar, Worcestershire sauce, mustard, salt and black pepper.
  15. Stir the ketchup mixture into the cooked beans.
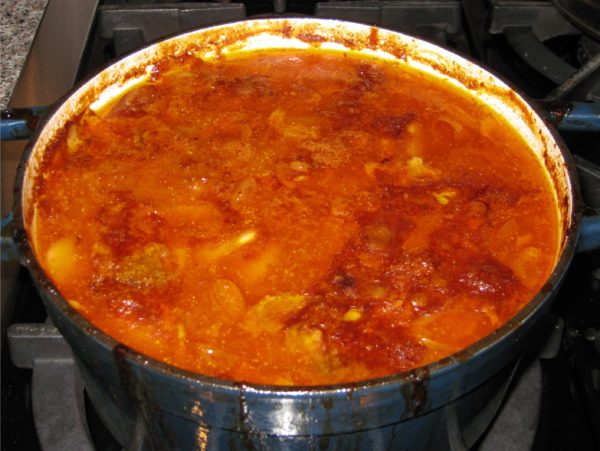
  16. Return to a simmer on the stovetop then bake (uncovered if using a smoker or covered if using the oven) at 225°F for six hours, stirring once or twice.
Recipe Notes

Copyright © 2018 by Villa Sentieri, LLC. All rights reserved.
Share this Recipe