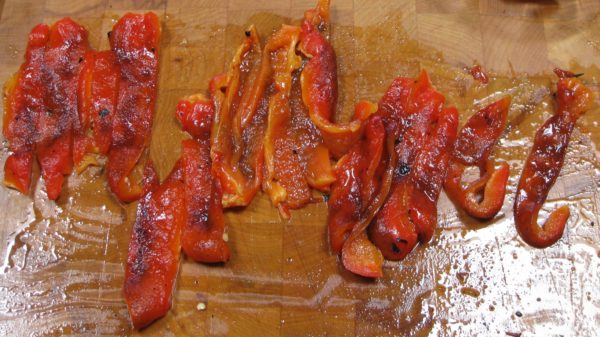
Pollo allo Scarpariello (Chicken Shoemaker Style)

October 8, 2021

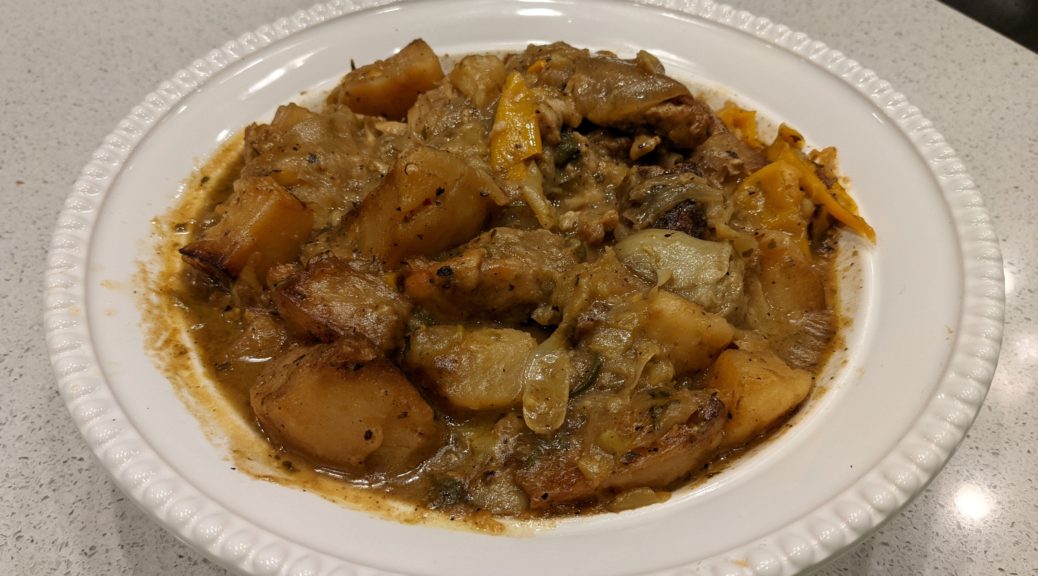
Unappetizing pictures!

Sometimes really delicious food makes unappetizing pictures.

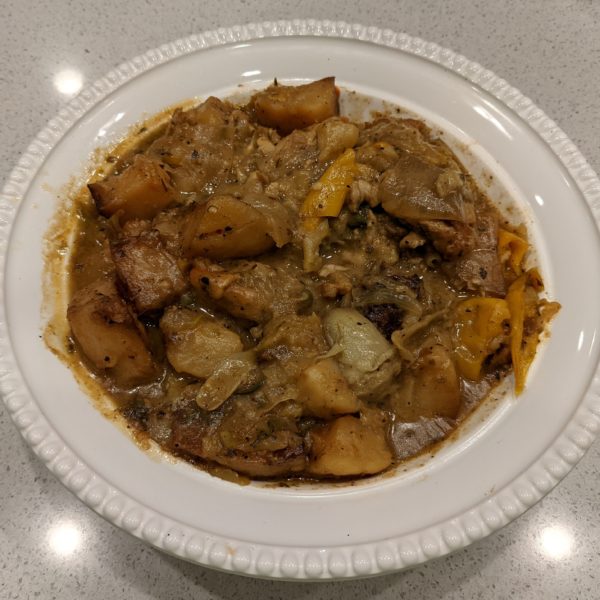
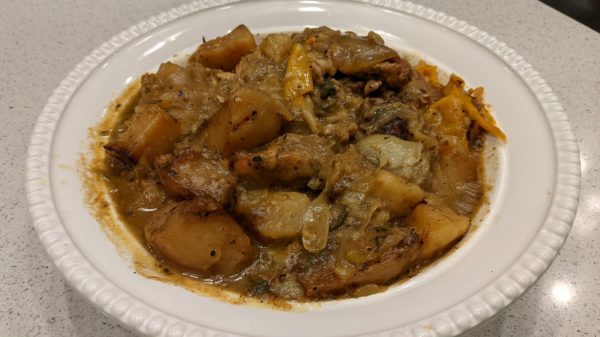
Take Chicken Scarpariello, for example.  By the time the chicken is unctuous, the potatoes creamy, and the sauce tangy the dish is unappetizingly brown (at least in a photograph).  I discovered this when looking at the photographs I had taken for this blog post.

This is really a shame because the taste is superb.
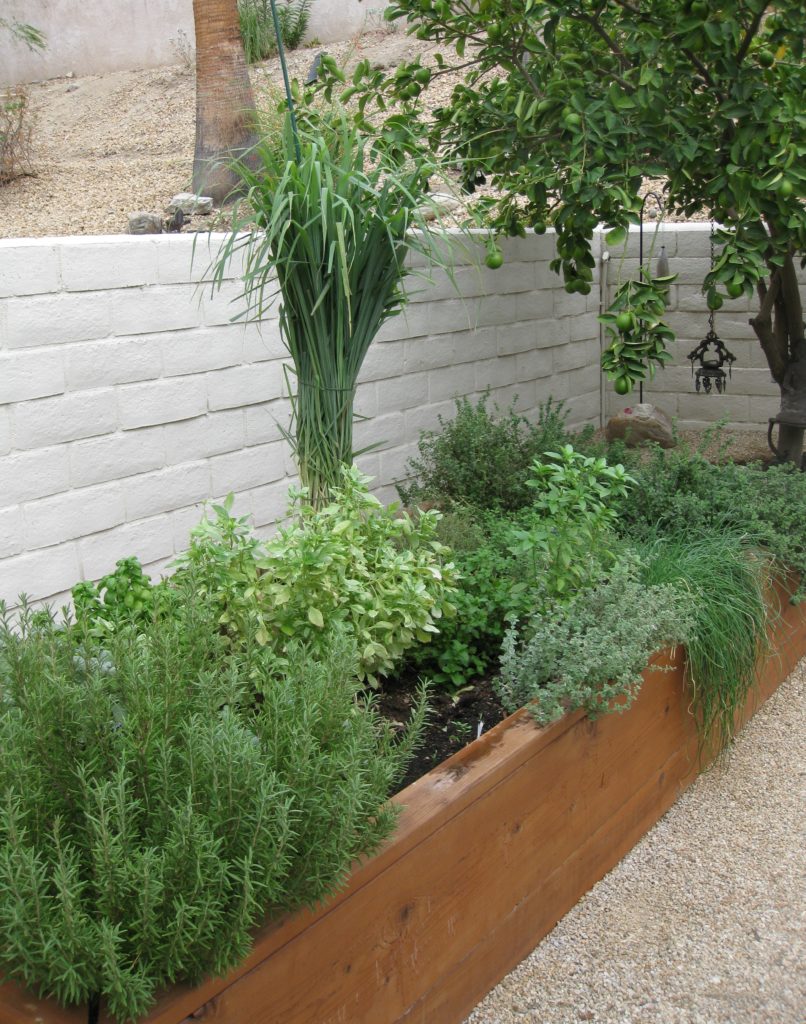
We’re several weeks into planting our new vegetable beds but these herbs have been going strong since March 2021. They were cut back drastically last week to encourage growth.

Brown food can be challenging to photograph, especially brown food in a brown sauce.  Food stylists might solve this problem by using barely cooked potatoes that look pale and peppers that are still yellow and green, not really cooked as required by the dish.  This doesn’t represent reality.  The dish, cooked properly, will never look like the photograph.  This is an approach that I think is inherently unfair.

I’m willing to admit that some of the problem relates to my picture-taking ability.  My photographic ability isn’t great but even that meager ability sometimes suffers because I’m hastily taking photographs as I’m trying to put the food on the table.


Follow us on your social media platform of choice


If I weren’t doing that, I could carefully plate a piece of chicken with the potatoes and peppers artfully arranged off to the side, lots of white space on the plate, and a few colorful garnishes or side dishes.  I could even wipe a little of the sauce off of the potatoes to make them lighter in color.  All this would mitigate the “brown problem” but it just isn’t practical because the food I post on the blog is something that I actually made to eat at the moment it is ready.
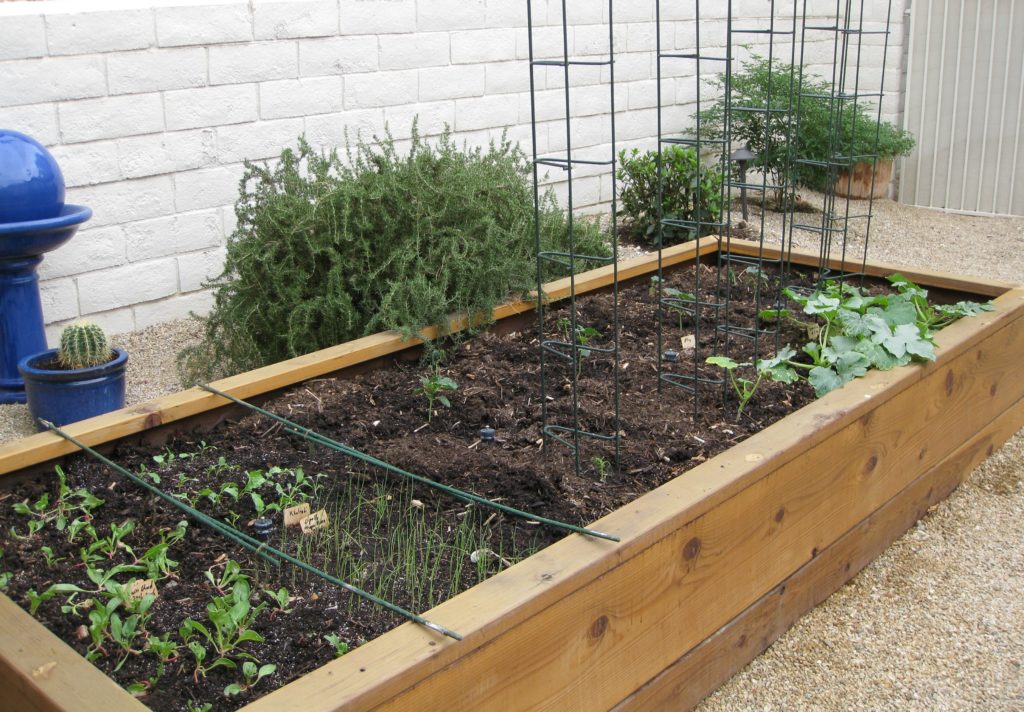
One of three vegetable beds beginning to sprout.  In the back, not in the bed, are four plants: rosemary, bay, chile pepper, and niepita.

I guess I could spend time carefully taking pictures and serve cold food but that approach wouldn’t last long in my household.

I could cook specifically for the blog and not worry about serving the food, at least not the day I cook it.  That would create a major leftover problem.  Besides, many dishes aren’t at their best when reheated.  On the other hand, many foods are better if made in advance.  So, I guess this is a partial solution to the problem that could work on a case-by-case basis depending on what the dish is.


Join our mailing list and you’ll never miss a recipe again!


I can think of other potential solutions but each has its problem.  This could include having a photographer arrange the plate and photograph it (presumably while I’m having dinner with the rest of the household).
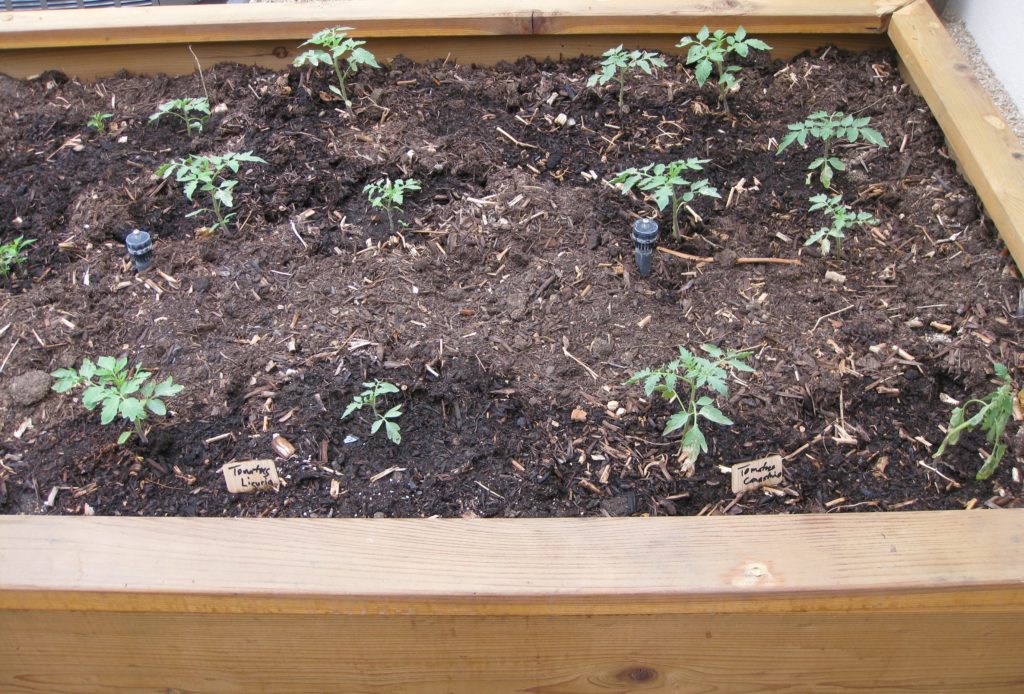
We’re looking forward to a winter crop of tomatoes!

Alternatively, I could serve everyone then spend time arranging a plate to photograph, hoping to join the dinner table before everyone is finished.

I’ll keep working on a fix to the issue but, in the meantime, I encourage you to try this Italian-American dish.  It scales up easily so you can feed a crowd if you need to.  The leftovers are pretty incredible, too!
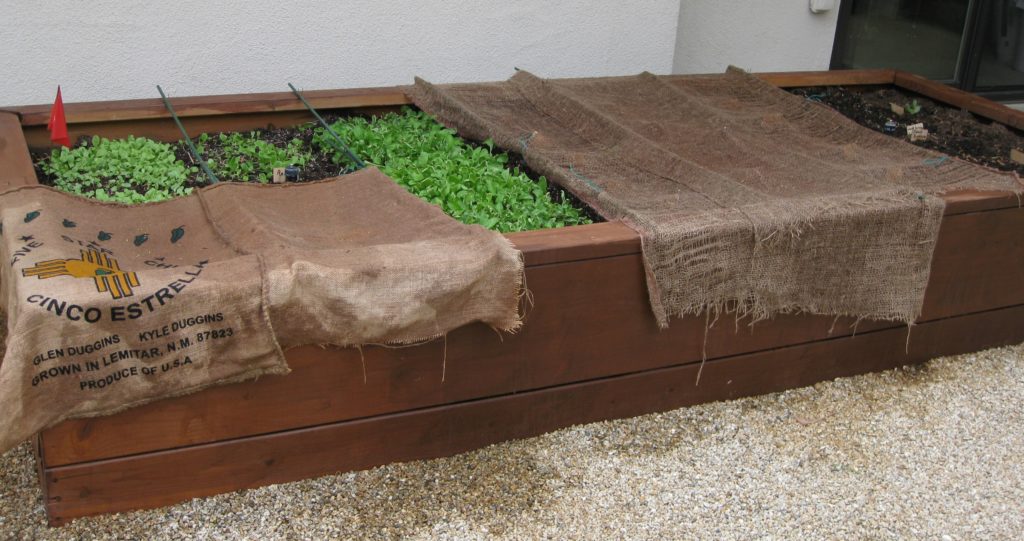
Greens for salad being started directly in the bed.

American websites, including the New York Times, usually say the name of this dish translates as Chicken Shoemaker Style.  However, you won’t find the word “scarpariello” in an Italian dictionary.  To be sure, the word “scarpa” means shoe but the Italian word for shoemaker is “calzolaio.”  Scarpariello, however, is the word for shoemaker in the Neapolitan dialect, which gives a clue as to which immigrant group might have been responsible for creating this Italian-American favorite.
Print Recipe
Pollo allo Scarpariello (Chicken Shoemaker Style)
Scarpariello means shoemaker in the Neapolitan dialect. This may give a clue as to the origins of this Italian-American favorite. The dish builds on a classic combination in the cooking of many regions of Italy: chicken cooked with wine and vinegar. The capers are optional. Use sweet or hot pickled peppers as you prefer or, if you want to spice it up, add some crushed red pepper when sautéing the garlic. If you don't have a stove-to-oven pot large enough to hold all the ingredients, do the browning in a large saute pan then assemble everything in a large baking dish.
Course Mains, Poultry
Prep Time 30 minutes
Cook Time 2 1/2 hours
Servings
people
Ingredients
Rate this recipe!
Instructions
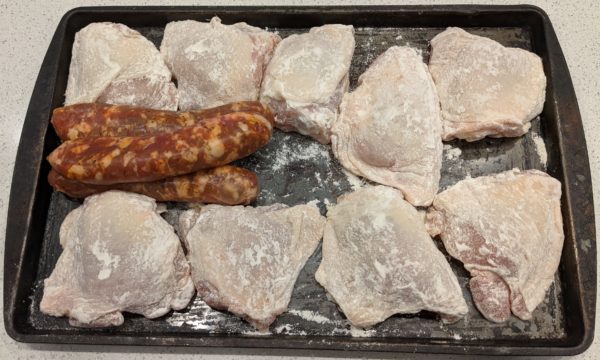
  1. Dredge the chicken in flour. Reserve.
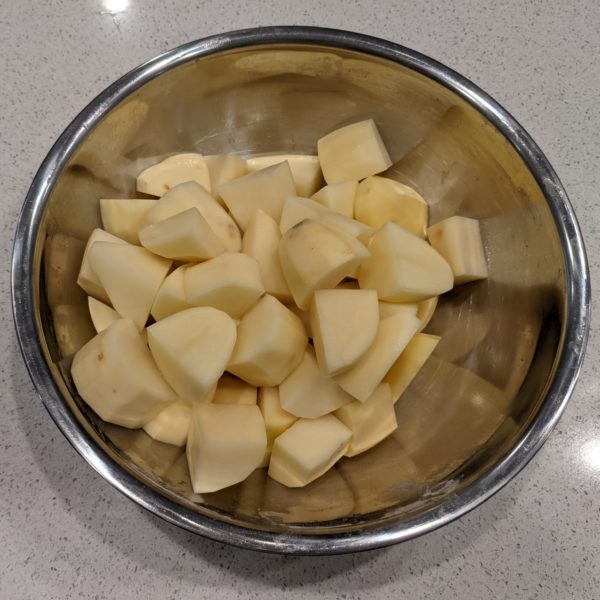
  2. Peel the potaotes and cut in large chunks.
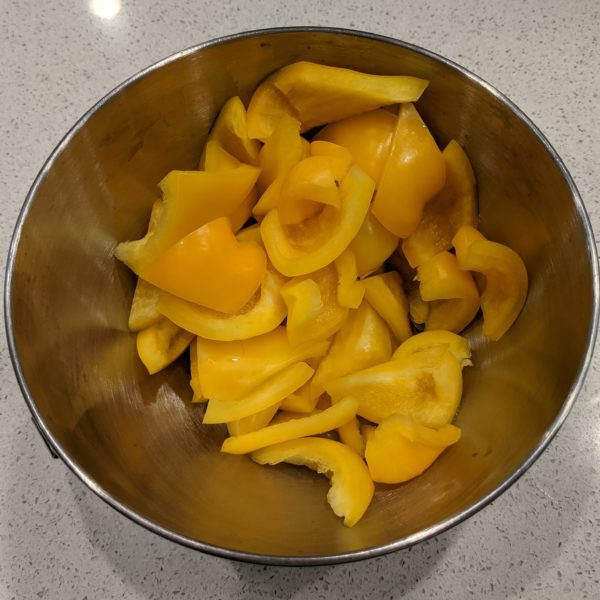
  3. Cut the Bell peppers in triangles
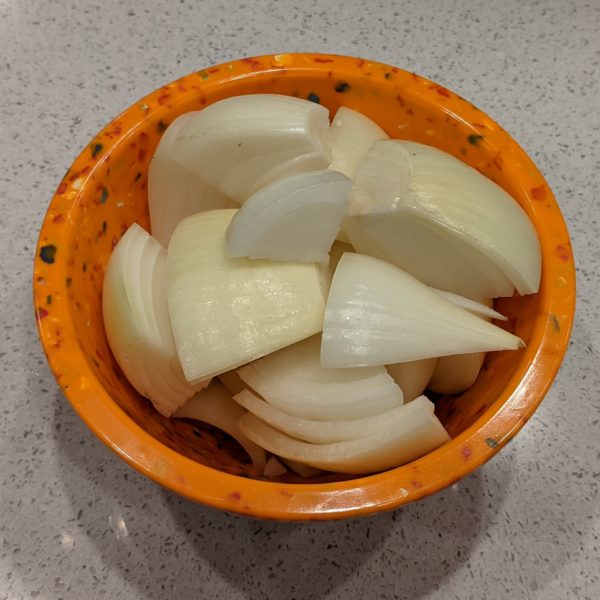
  4. Cut the onions in eighths
  5. In a large stove-to-oven pot, heat the olive oil. Brown the chicken, sausage, and potatoes. Do this in batches, if necessary.
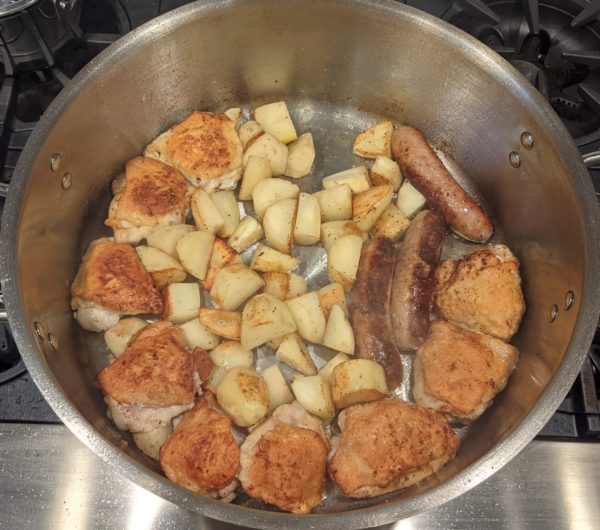
  6. Remove everything from the pot. Cut the cooked sausage into 1 ½ inch long pieces.
  7. Add the garlic to the oil remaining in the pot and sauté until it is fragrant and golden.
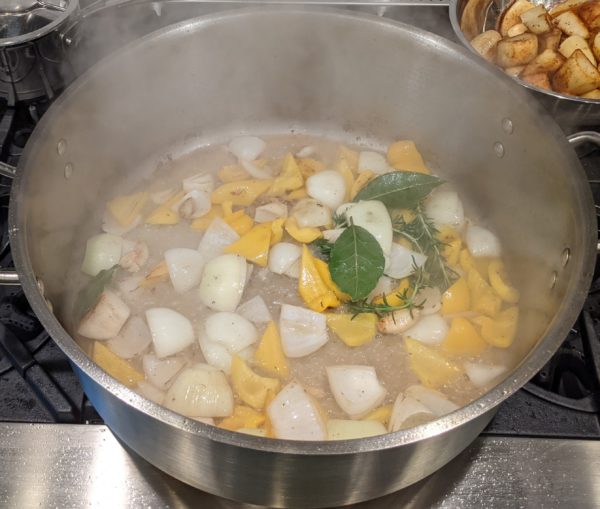
  8. Add the bell pepper and onion, season with salt, and sauté until the onion is beginning to soften and turns gold and brown in spots.
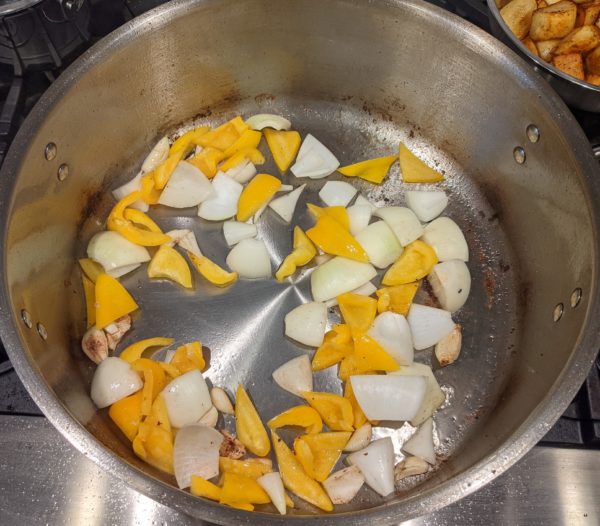
  9. Add the rosemary and bay leaves and sauté briefly.
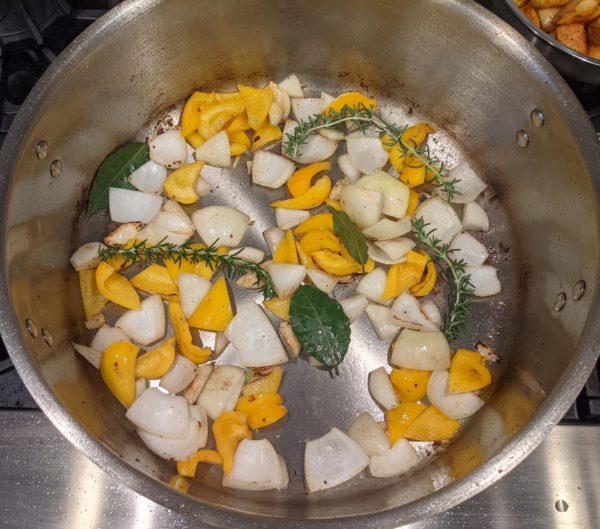
  10. Add the wine and deglaze.
  11. When wine is almost completely evaporated, return chicken, sausage, and potatoes to the pot along with any accumulated juices.
  12. Add about 1 cup of chicken broth and the vinegar along with the pickled peppers. Season well with salt, pepper, and oregano.
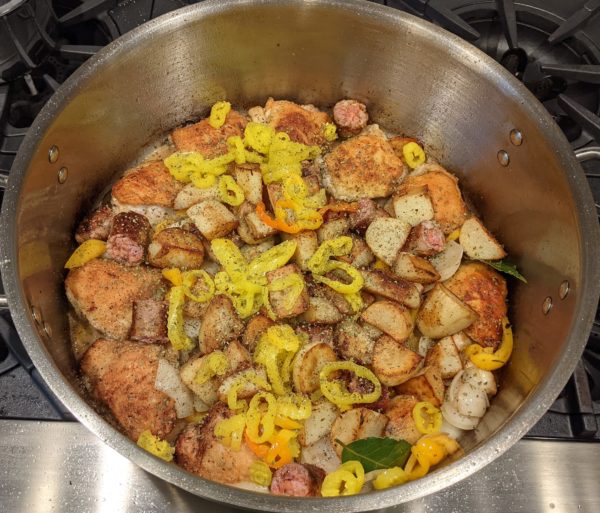
  13. Bring to a boil, cover, and put in the oven at 350°F.
  14. An hour later, stir the contents of the pot. Add the drained artichoke hearts and capers, if using. Add more broth if needed to keep the contents from sticking. Adjust the seasoning.
  15. Cook for another hour until chicken is very tender and potatoes are cooked through.
  16. Stir in parsley and serve.
Recipe Notes

Copyright © 2021 by Villa Sentieri, LLC. All rights reserved.

Share this Recipe

Angie’s Marinated Pasta Salad

December 12, 2018

After driving a circuitous route for two days (I’ll explain why in a minute), I got home to Santa Fe from Palm Springs last Wednesday to a surprise.

My husband and I had plans to attend the holiday party for the Department of Psychiatry at the University of New Mexico, where he is Associate Professor, on Friday.  The surprise was that the party was a potluck and we had to bring a dish.

So, there I was on Wednesday evening, exhausted after two days of driving, with no prior knowledge that I had to produce a dish for a Friday event, coupled with the logistic challenge that I had to leave home around noon on Friday and ultimately make it to the party in Albuquerque by 7:00 PM with a dish in tow that I could neither refrigerate nor heat up!

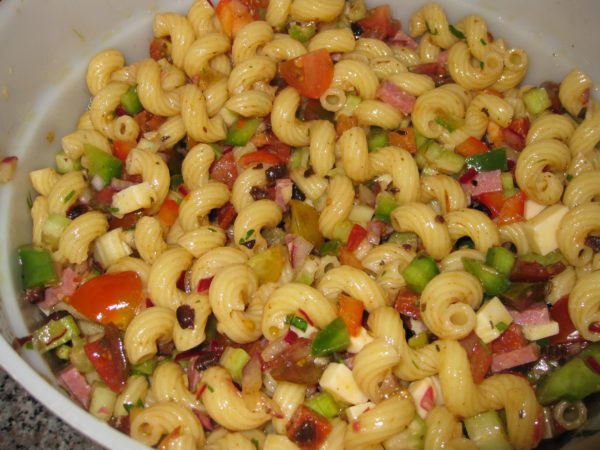
It didn’t take long before I settled on my cousin Angie Catanese’s Marinated Pasta Salad.  This is a recipe that I’ve been making for about 45 years and it never fails to please.  It has so much stuff in it besides pasta that it’s almost a misnomer to just refer to it as a pasta salad!

Join our mailing list and you’ll never miss a recipe again!

I went grocery shopping on Thursday morning, assembled the salad Thursday afternoon, and the rest is history!

You might also enjoy my cousin Angie’s recipe for Pickled Hot Peppers.


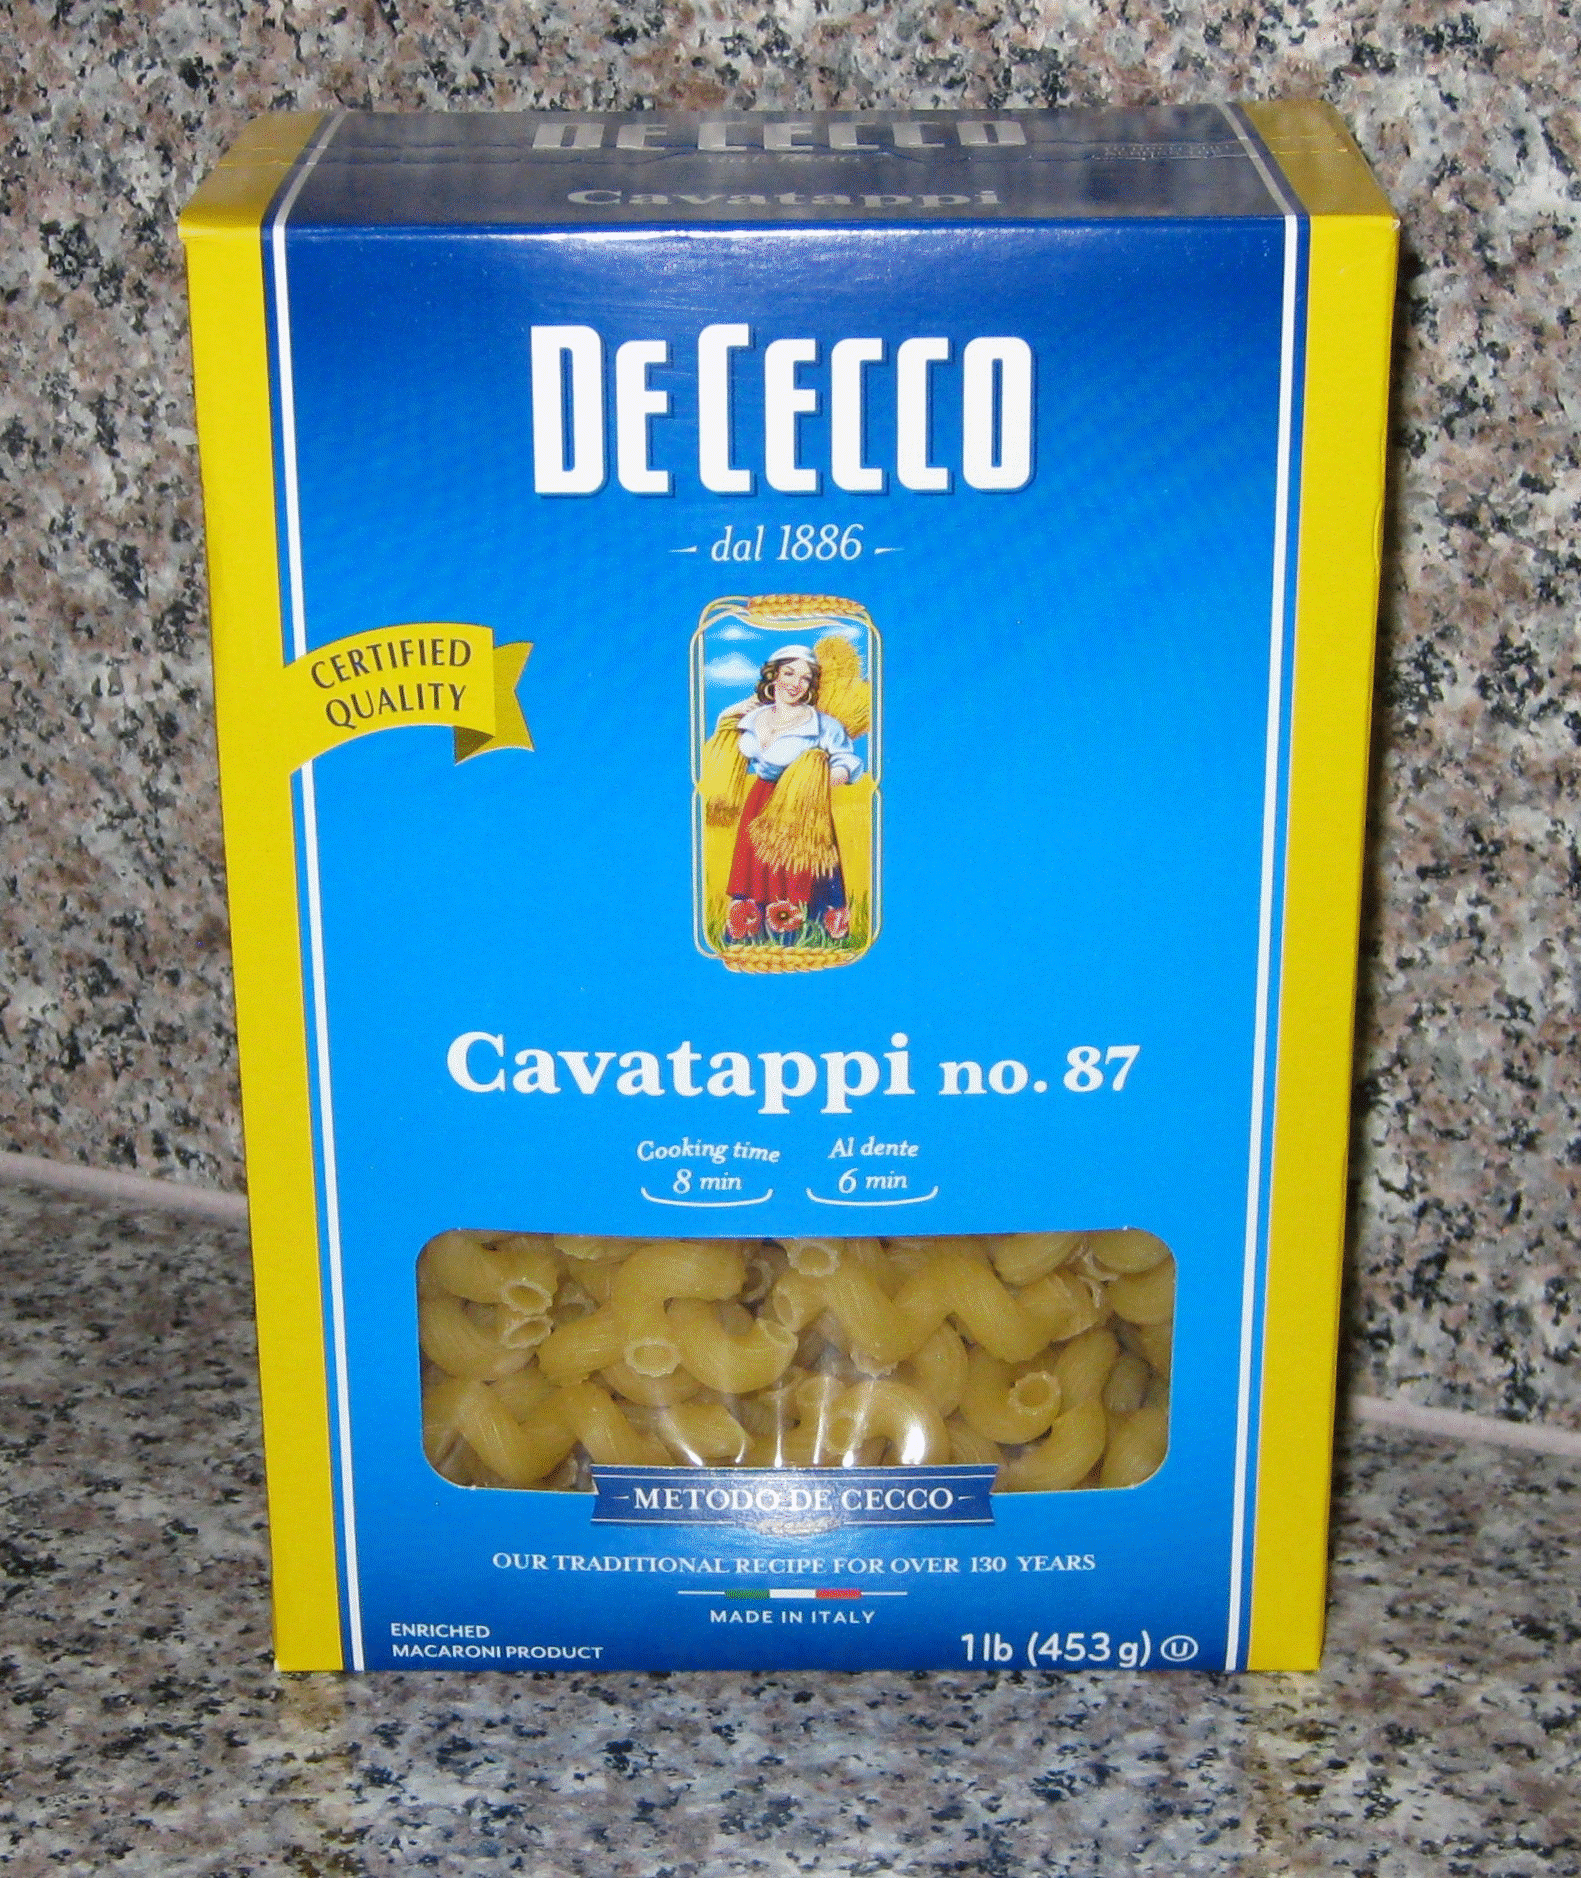
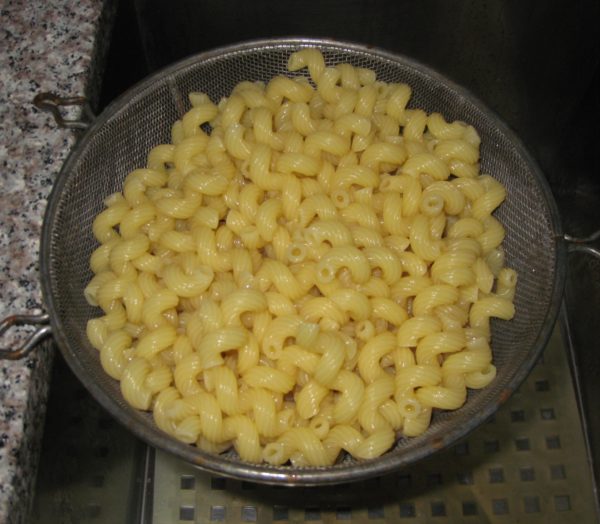
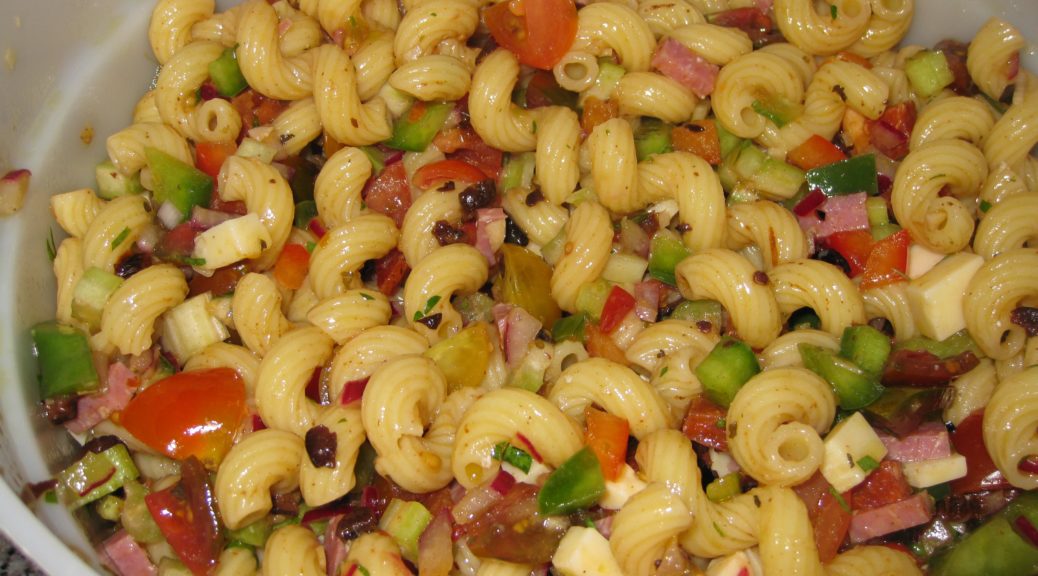
The availability of pasta in many different shapes has ballooned over the decades. Cavatappi makes a great replacement for shells in this pasta salad.

Now, for an explanation as to why you haven’t heard from me in two months and what will be coming up for the blog…

In early October I went to Palm Springs to complete recipe testing for the Trio Restaurant Cookbook.  One can’t really test recipes for a cookbook at 8,000 feet in elevation so I spent five weeks in Palm Springs testing and finalizing over 125 recipes for the cookbook.  I had intended to continue posting to the blog during this time but very quickly found it impossible to fit in anything other than grocery shopping, recipe testing, and note-taking!

I got back to Santa Fe a few days before Thanksgiving then, less than a week after Thanksgiving was back on my way to California to go to the Consulate General of Italy in Los Angeles to apply for a visa.

In early January I am going to Italy to attend a three-month intensive course in Italian cuisine geared toward professional chefs at the Italian Culinary Institute.  Because I’ll be in Italy more than 90 days I need a visa.

Follow us on your social media platform of choice


My visa appointment was Friday and I was planning on spending the weekend in Palm Springs then driving back to Santa Fe on Tuesday.  The consular official said my visa would be ready by Tuesday so, rather than trust my luck (and my passport) to FedEx, I decided to drive back to Los Angeles to retrieve my passport.

It took me 3 hours and 45 minutes to drive the 122 miles from our home in Palm Springs to the consulate!  I got my passport in about 5 minutes then did some shopping at Eataly, conveniently located across the street from the Italian Consulate.  (I’d love to know who was responsible for securing THAT location!)  I then reversed course and started the drive back to Santa Fe, passing within a few miles of our home in Palm Springs where I had started the day.  I spent the night in Payson, Arizona then finished the drive Wednesday (which is when this story began).

The entrance to the Consulate General of Italy in Los Angeles which is conveniently located across the street from Eataly!

While I’m in Italy I will most likely be posting fewer recipes than usual.  I hope to chronicle some of my experiences at the Institute and pass on some tips and pointers on Italian food.  I hope you’ll stick with me during that time.  When I return, I’ll be back to my regular schedule of posting recipes.

Oh, and by the way, judging from how the pasta salad disappeared at the party, I think it was a hit!

Print Recipe
Angie’s Marinated Pasta Salad
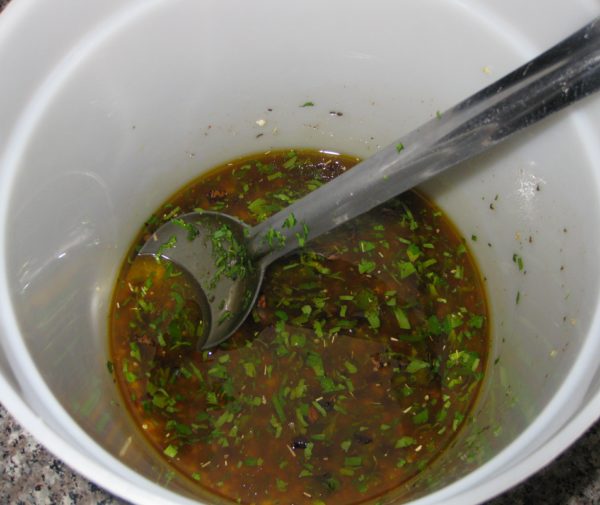
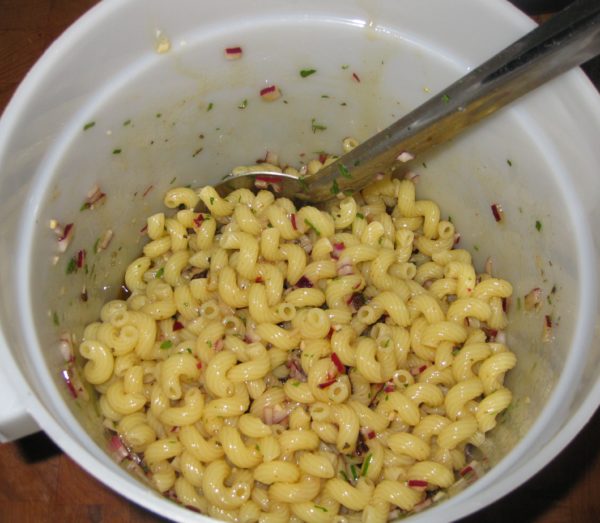
There is so much “stuff” in this that it could easily be the basis of a light meal with just some bread and cheese. Angie’s original recipe called for shells but other types of medium-size pasta work just as well. In fact, I think the cavatappi are especially nice given their unusual shape. If you are making this when tomatoes are at their peak, use three medium-sized tomatoes in place of the cherry and grape tomatoes. You can use 2 cups of purchased Italian salad dressing instead of the homemade dressing if you’re so inclined, though the flavor will obviously be somewhat different.
Prep Time 1 hour
Cook Time 10 minutes
Passive Time 16 hours
Servings
people
Ingredients
Salad Ingredients
Dressing
Rate this recipe!
Instructions
  1. In a large mixing bowl, combine all the dressing ingredients and set aside.
  2. Cook the pasta in abundantly salted water until just cooked but still slightly al dente.
  3. Meanwhile, cut-up all the ingredients.
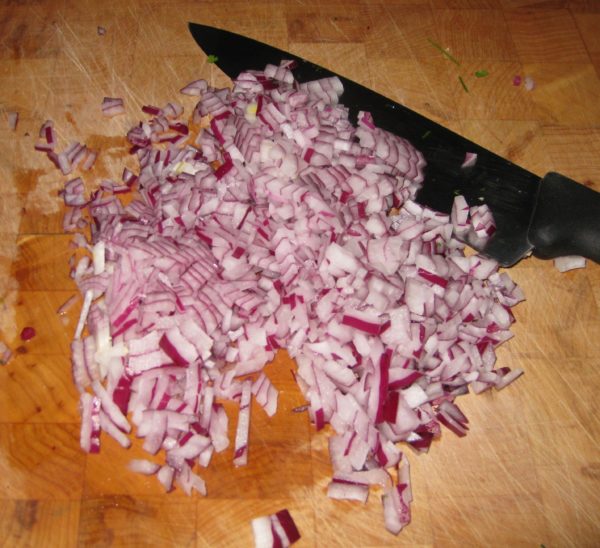
  4. Onion
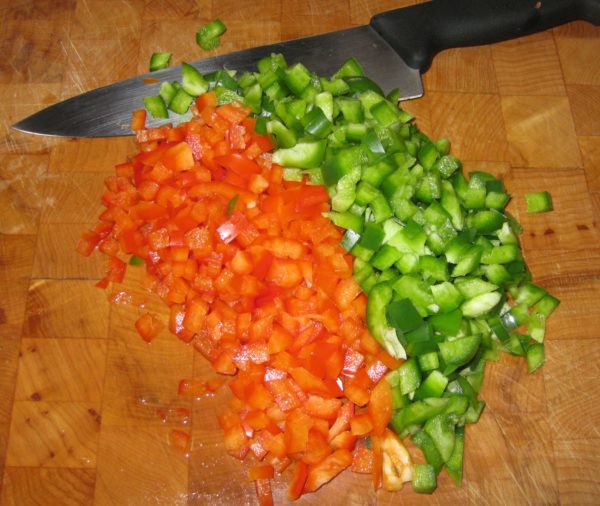
  5. Bell pepper
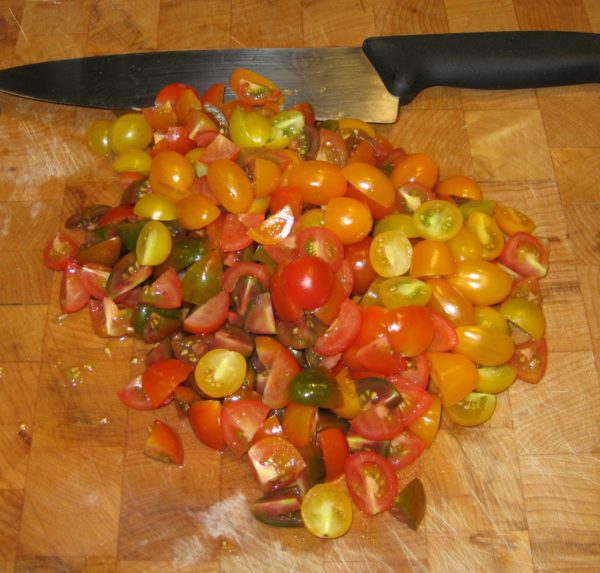
  6. Tomatoes
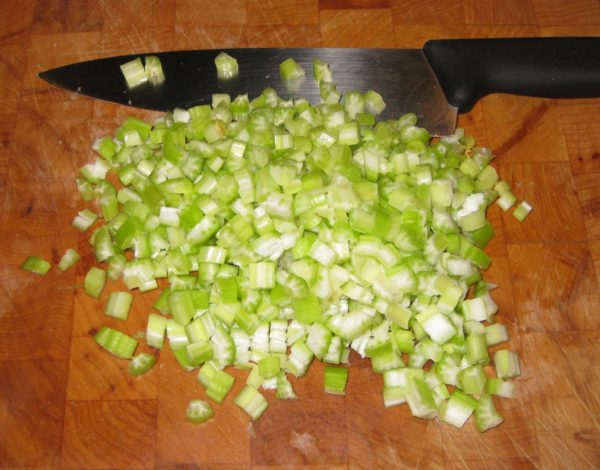
  7. Celery
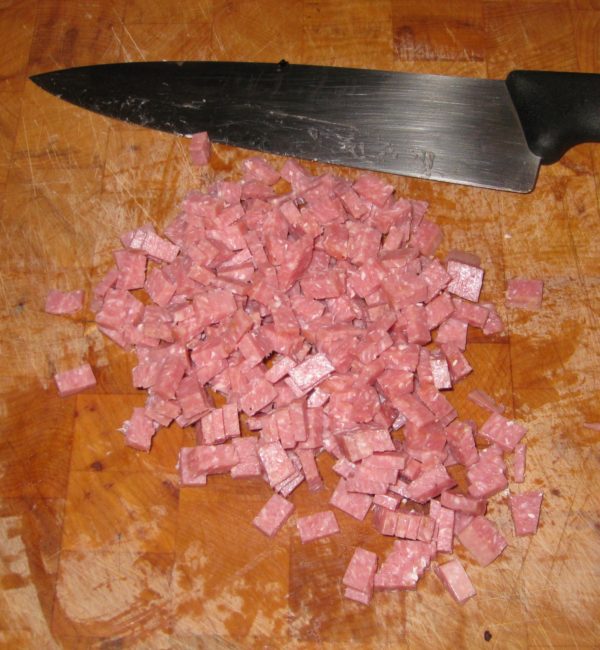
  8. Genoa salami
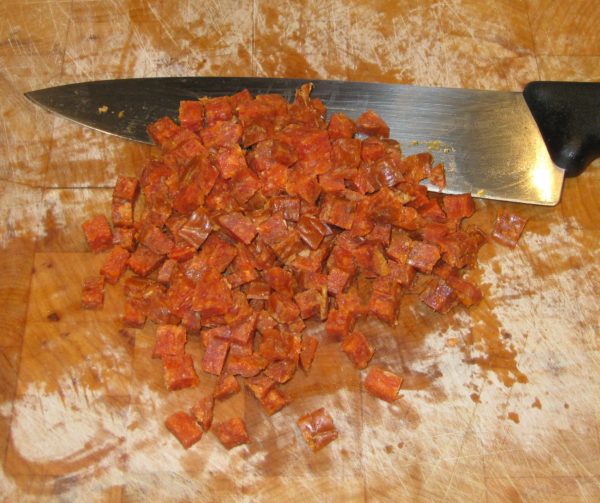
  9. Pepperoni
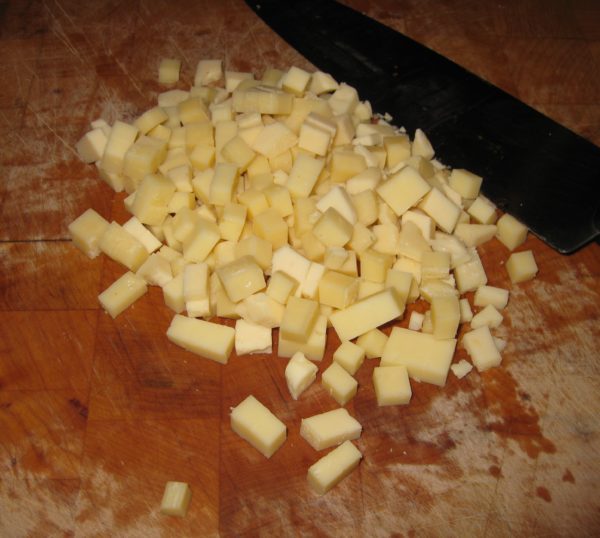
  10. Provolone
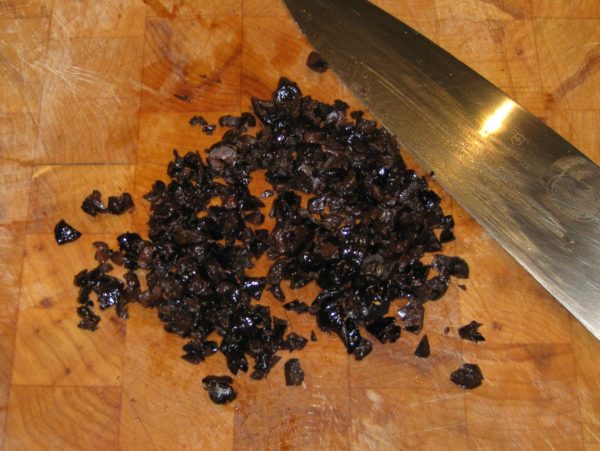
  11. Oil-cured olives
  12. When the pasta is cooked, drain and rinse in cool water to stop cooking.
  13. Stir the pasta and diced onion into the dressing. Allow to cool to room temperature.
  14. When the pasta is cool, stir in all remaining ingredients.
  15. Refrigerate overnight before serving.
Recipe Notes

Copyright © 2018 by Villa Sentieri, LLC. All rights reserved.
Share this Recipe

Italian Roasted Peppers

May 28, 2018

I wish I had a pithy story to tell about roasted peppers.

I don’t really, except to say that after reviewing a dozen, or so, recipes to see how they compare with my method, I’ve discovered that NONE of them does it right.  (I know.  That sounds pretty narcissistic, doesn’t it?)

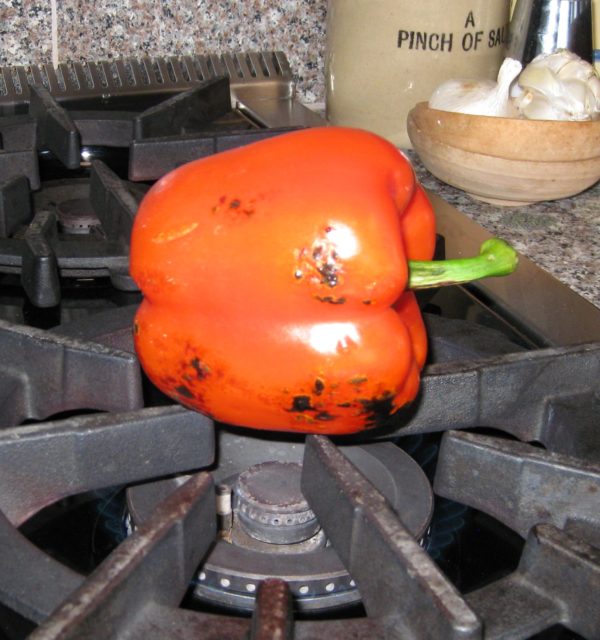
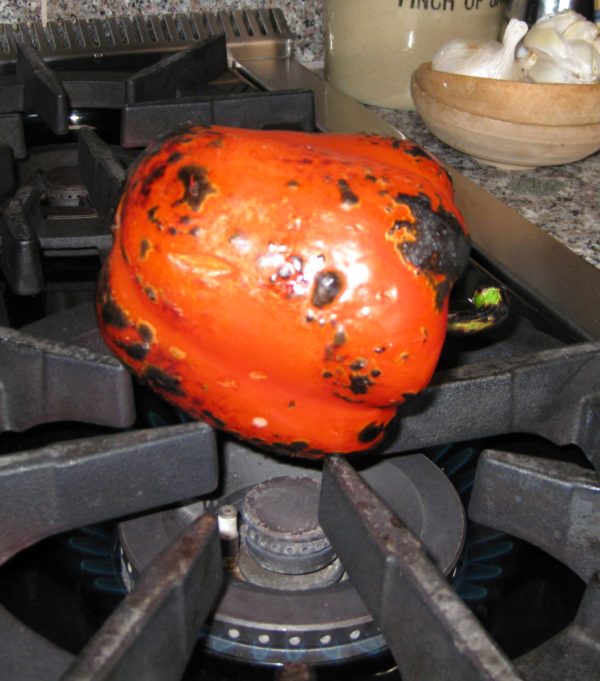
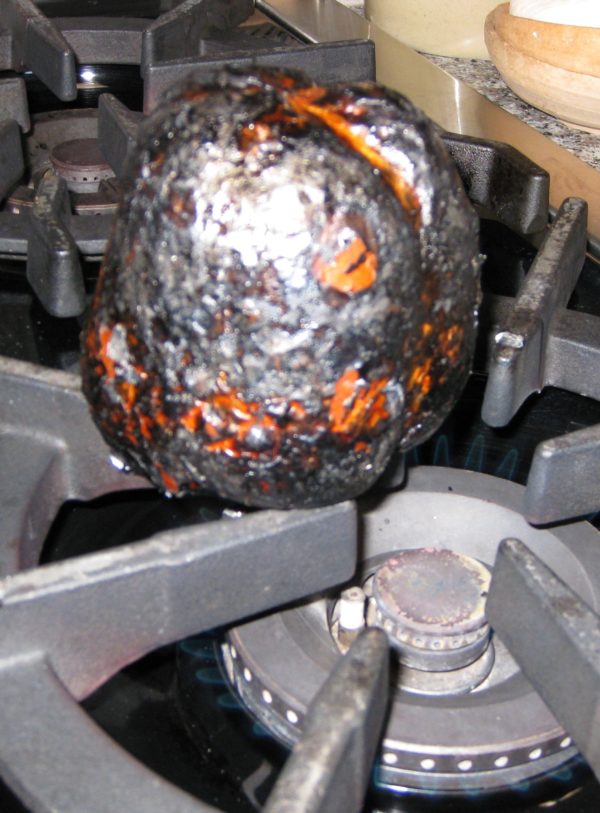
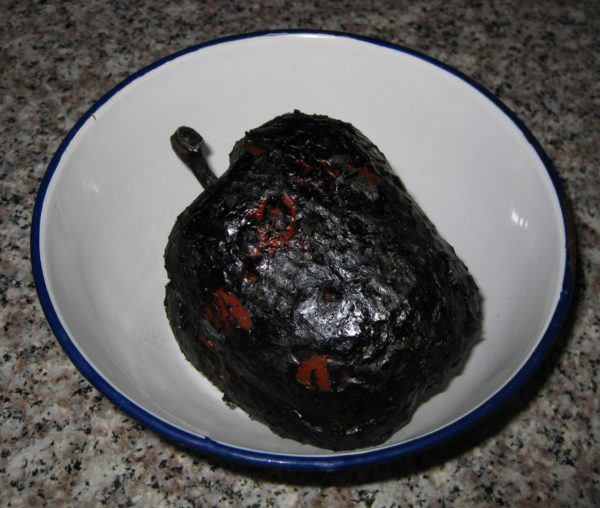
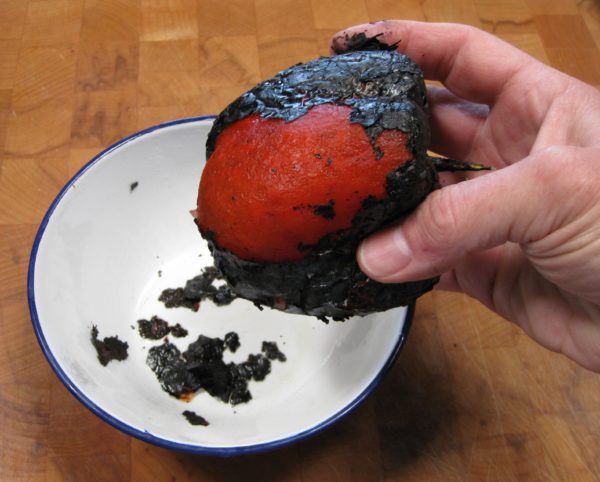
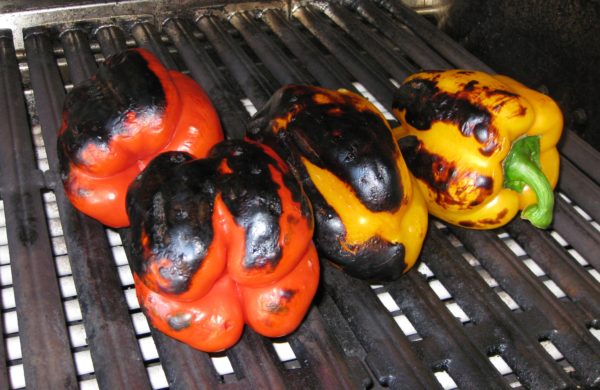
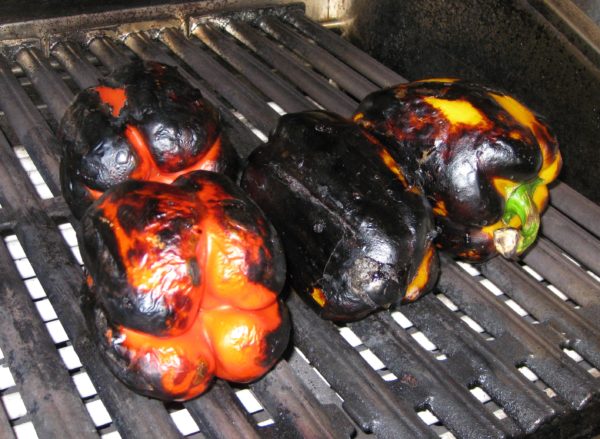
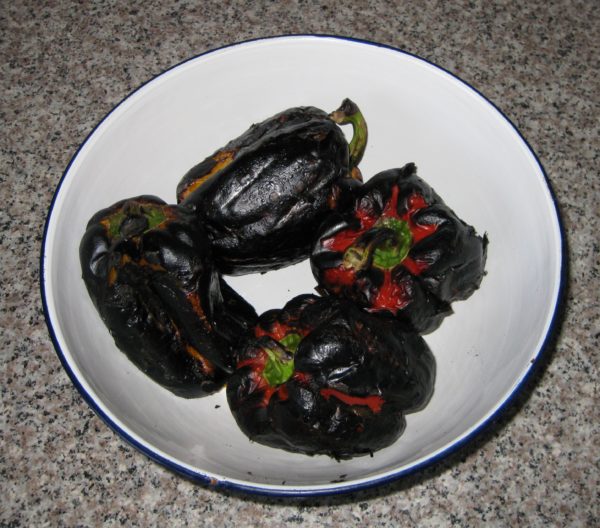
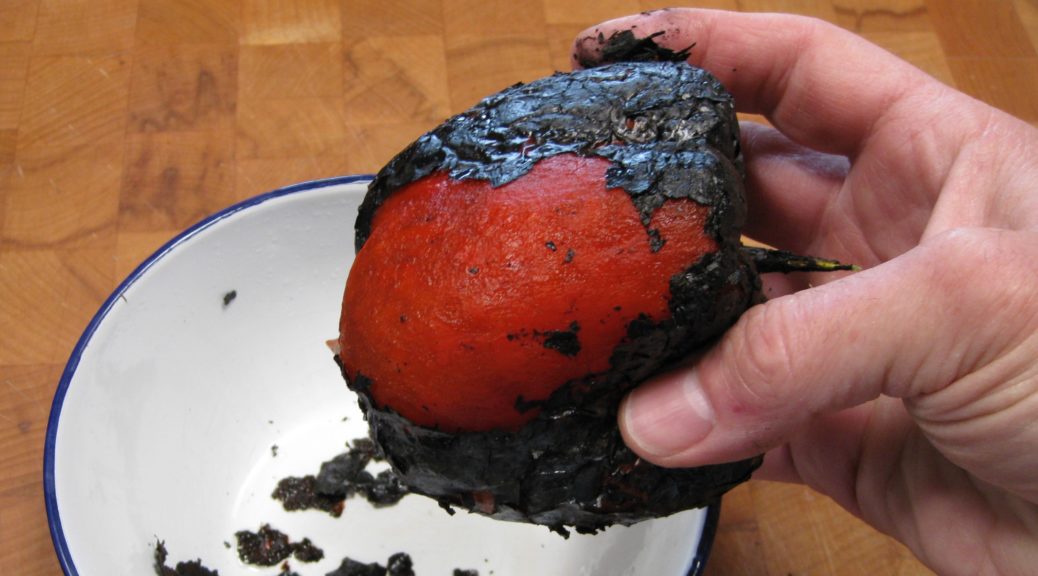
In a nutshell, you want to turn the skin jet black and you want to do it as quickly as possible.  Then you want to put them in a covered non-reactive container for about 10 minutes before peeling them.

The recipes that I found included the following (erroneous) steps:

1.      Roasting them in the oven.

2.      Cutting them before cooking.

3.      Cooking them too long.

4.      Not sufficiently blackening and blistering the skin.

5.      Putting them in a paper bag after roasting.

And don’t even get me started about putting oil on them before roasting!

Here’s the skinny…


Join our mailing list and you’ll never miss a recipe again!


The longer you cook them, the softer the flesh of the pepper becomes.  If you really want any structure at all, you want to get the blackening of the skin done quickly.

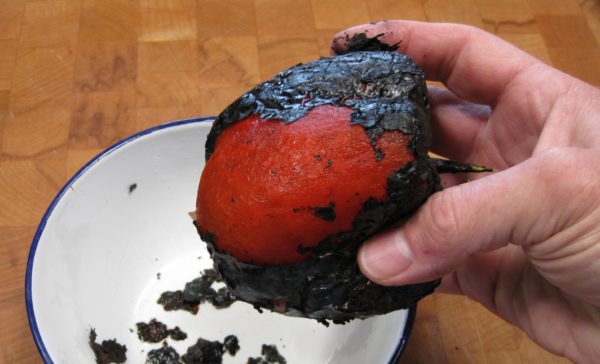
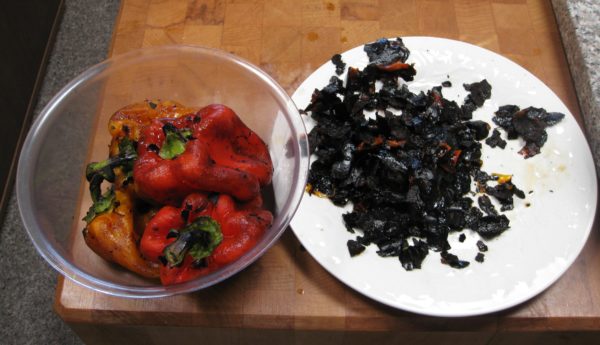
You really want the skin to be completely black.  First, this will cause the skin to peel off easily.  Second, it will add the smokiness that you want in a good roasted pepper.  No, they won’t taste burnt.  You will notice, if you give this recipe a try, that the places where the skin isn’t burnt won’t peel off very easily.

The main goals of cooking them fast and completely blackening the skin mean you really can’t roast them in the oven.  You need direct heat.

You don’t want to cut them because you won’t be able to rotate them sufficiently to blacken the skin all over.  They’re harder to handle if cut.  Besides, they’ll dry out.

Sometimes juice will leak out while the peppers are cooling.  If you put them in a paper bag, the bag will absorb the flavorful juice, and that would be a shame!

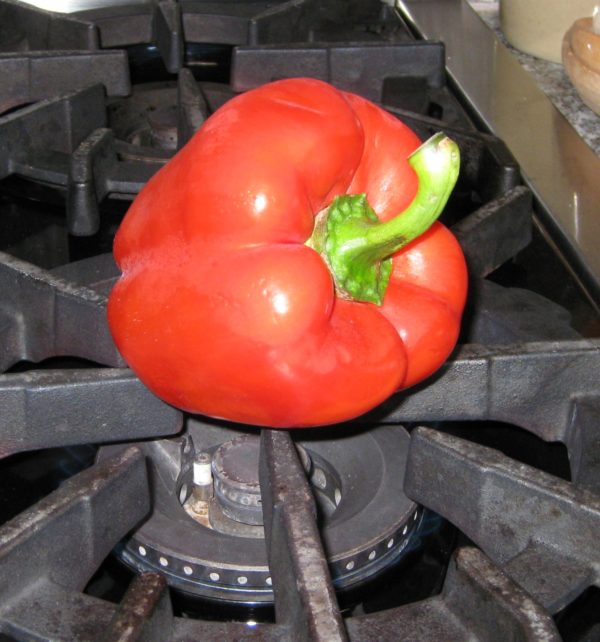
If I’m roasting one or two peppers, I’ll do it directly over the burner on a gas stove.  Oh, and for that one writer who suggested lining the burners with aluminum foil, get a life!  Not that much juice comes out of the peppers and what does is likely to get vaporized on the cast iron grate.  If a drop or two lands anywhere else on the stove, it’s just as likely to land in a spot that you can’t cover with aluminum foil as it is to land on the foil itself.


Follow us on your social media platform of choice


If I’m roasting more than a couple of peppers, I’ll do it on my gas grill.

You can use a broiler if you don’t have a gas stove or a gas grill, though I find the broiler a little less friendly to use.

As for heat, crank it up:  medium high on a burner, high on a gas grill.  The goal is to blacken the skin as quickly and as evenly as possible.  The longer it takes to do this (that is, the lower the heat) the more the flesh of the pepper will soften.  The pepper should hold its shape after roasting, not collapse.

I use roasted peppers in lots of dishes.  Auntie Helen’s Lentil Salad is a good example.

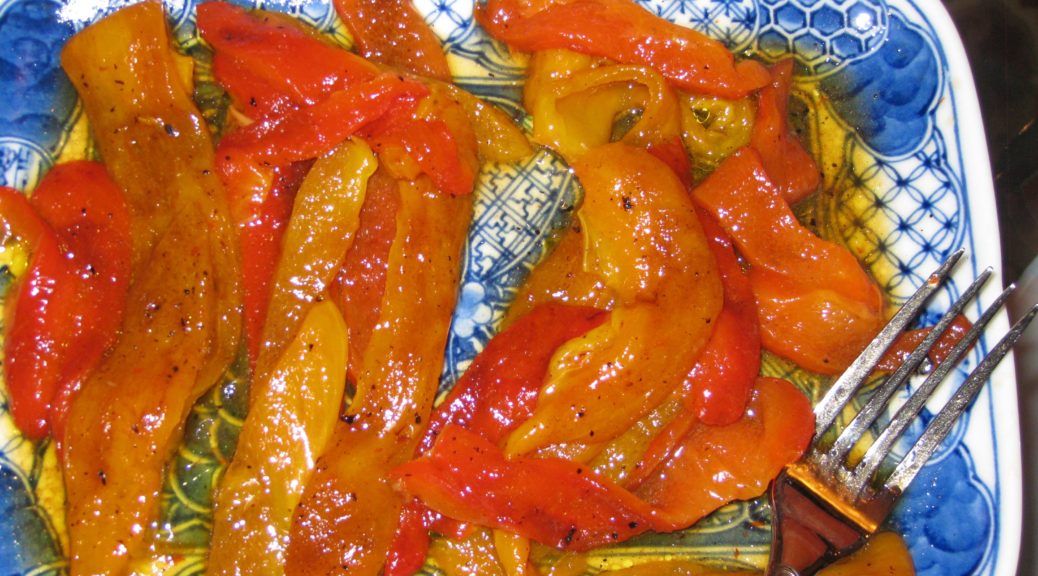
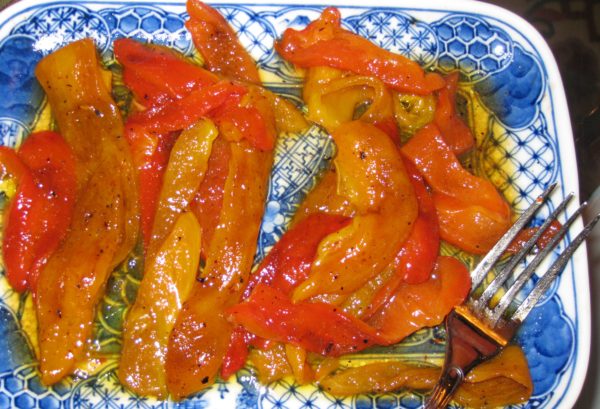
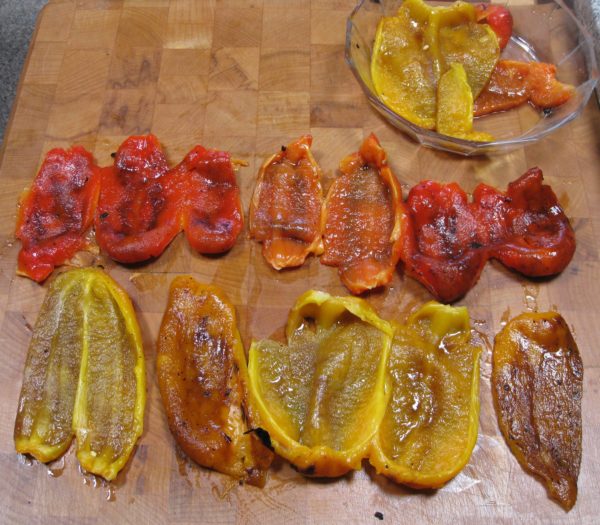
The simplest way to use roasted peppers is to cut them in strips after peeling off the skin and toss them with a little extra virgin olive oil and salt.  They make an excellent side dish.  Since they’re served at room temperature they can be made in advance.  Using different colored peppers makes it festive.

If you like peppers, and you’ve never roasted your own, please give this recipe a try.  I think you’ll be surprised at how easy it is and how much better the peppers taste that the ones in the jar!

Print Recipe
Italian Roasted Peppers
Roast the peppers using direct heat, set as high as possible. For one or two peppers, I use the burners on my gas stove. For more, I use my gas grill. A broiler (gas or electric) works too. The directions below are for a gas burner but the same technique works for a gas grill and a gas or electric broiler. The pepper won’t obviously touch the heat source if using a grill or a broiler.
Course Sides, Vegetables
Cuisine Italian
Prep Time 10 minutes
Cook Time 10 minutes
Passive Time 10 minutes
Servings
or more
Ingredients
Rate this recipe!
Instructions
  1. If using a gas burner, set the burner to medium high.
  2. Using long-handled tongs, put the pepper directly on the grate above the flame (where you would ordinarily set the pot).
  3. As the skin begins to blacken, move and rotate the pepper to get the skin evenly black.
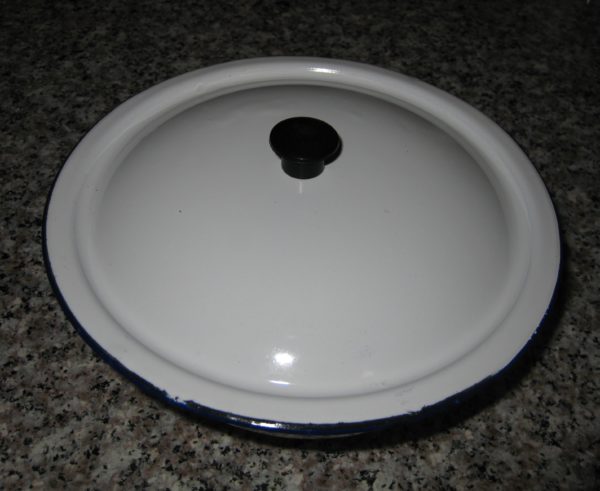
  4. When the skin is evenly blackened, put the pepper in a non-reactive heat-proof bowl with a lid, such as one made from glass or enamel.
  5. Cover and allow to cool for 10 minutes.
  6. Rub off the skin. It helps to keep a bowl of water nearby to dip your fingers into to remove the skin that will inevitably stick to your fingers.
  7. Catch any juice that runs out of the peppers to add back once the peppers are peeled, cleaned, and cut.
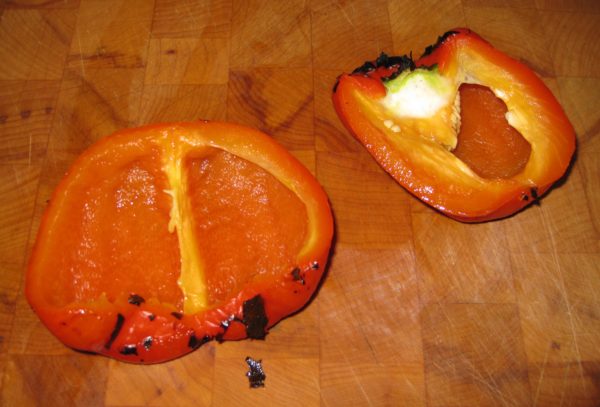
  8. Cut the peppers in half from top to bottom. Remove the stem, ribs, and seeds.
  9. Use as directed in the recipe.
Recipe Notes

Copyright © 2018 by Villa Sentieri, LLC. All rights reserved.
Share this Recipe

Roasted Sweet Peppers

October 2, 2017

Roasted peppers are a classic of Italian cuisine. They are a perfect example of ingredient-driven cooking. All that is required are good peppers, good olive oil, and a few minutes of scorching heat. There’s no way to hide bad ingredients, since there are only two (not counting salt).

A wonderful presentation is to prepare an array of roasted vegetables such as peppers, onions, zucchini, tomatoes, eggplant, and scallions served artfully arranged on a platter and anointed with extra-virgin olive oil and sea salt.

It’s a “wonderful” presentation because it looks beautiful, it tastes great, it’s easy to prepare, and it can all be done in advance and served at room temperature. It makes an impressive antipasto platter in the winter and an inviting warm-weather side-dish in the summer.

But let’s not get carried away. Peppers are classic and work very well on their own. If you like how they turn out you can experiment with other vegetables.

The first time I got serious about making these was back in the late 1980s when we lived in Chicago. We had a four story townhouse. The top floor was the master suite with a very large deck. We had redwood planters made to encircle the perimeter of the deck. In addition, we added scores of pots and, when things got a little too crowded on our deck, we expanded to Billy and Carla’s deck next door!

We grew an amazing amount of produce on that deck. I can’t begin to remember all of it but it included tomatoes, tomatillos, sweet peppers, hot peppers, eggplant, a fig tree, corn, cucumbers, zucchini, and an abundance of herbs including enough basil to feed a small country. We installed a grape arbor but the grapes didn’t do well.

We bought an upright freezer and put it in the garage so that we could put up food from the garden.

One year I roasted peppers and conserved them under a layer of olive oil in the refrigerator. They were good but I subsequently discovered that the USDA recommends against this technique as the covering of oil creates an environment where anaerobic bacteria, like the one that causes botulism, can grow.

After that first year, I didn’t preserve roasted peppers in olive oil again but I did make flavored olive oils and flavored vinegars every year right up until we moved full-time to Santa Fe. The USDA has the same recommendation regarding putting herbs in oil but, for some reason, I chose to ignore the advice.

These days, when I want roasted peppers, I just buy fresh peppers at the farmers market, farm stand, or supermarket and roast them. Luckily Bell peppers are available year-round.

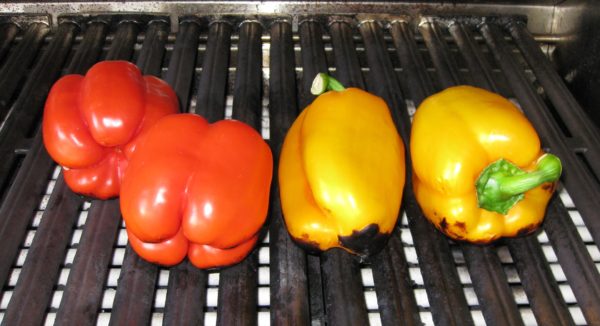
In addition to good-quality ingredients, scorching heat is required. The idea is to blacken and blister the skin quickly. If you do that too slowly the flesh of the pepper cooks too much and becomes mushy. For all practical purposes, you cannot blacken the skin too quickly. The flesh will always cook enough to be good. My usual method, as described here, is to use my gas grill on very high heat. If I only want to roast one or two peppers, I put them directly on the gas flame of my stove. Like I said, you cannot blacken the skin too quickly.

As good as the peppers are on their own, they can be used as ingredients in other dishes. Remember the uncooked tomato sauce I posted a few weeks ago? I said that the dish could be made with roasted peppers when tomatoes aren’t in season. Now that tomato season is coming to an end, consider roasting a few extra peppers and using them to make pasta later in the week.


Follow us


Click HERE to join our mailing list and you’ll never miss a recipe again!

Print Recipe
Roasted Sweet Peppers
Red, yellow, and orange bell peppers are sweeter than green ones because they are fully ripe. I usually use an array of different colored peppers. Many recipes suggest steaming the peppers in a paper bag after roasting. I don’t like using a bag as it absorbs the juice that comes out of the peppers. A heatproof bowl with a tight-fitting lid allows the peppers to steam and preserves the pepper juices.
Prep Time 15 minutes
Cook Time 15 minutes
Passive Time 20 minutes
Servings
Ingredients
Rate this recipe!
Instructions
  1. Heat a gas grill on the highest setting for at least 10 minutes.
  2. Put the peppers on the grill. Cover the grill
  3. Keep the heat on high.
  4. Turn the peppers every few minutes until the skin is evenly blackened.
  5. You will probably have to stand the peppers on their bottom end to get that part blackened.
  6. When the skin is black, put the peppers in a heatproof dish with a tight-fitting cover.
  7. Cover and allow the peppers to cool and steam for 10-20 minutes. This will finish cooking the peppers and loosen the skin.
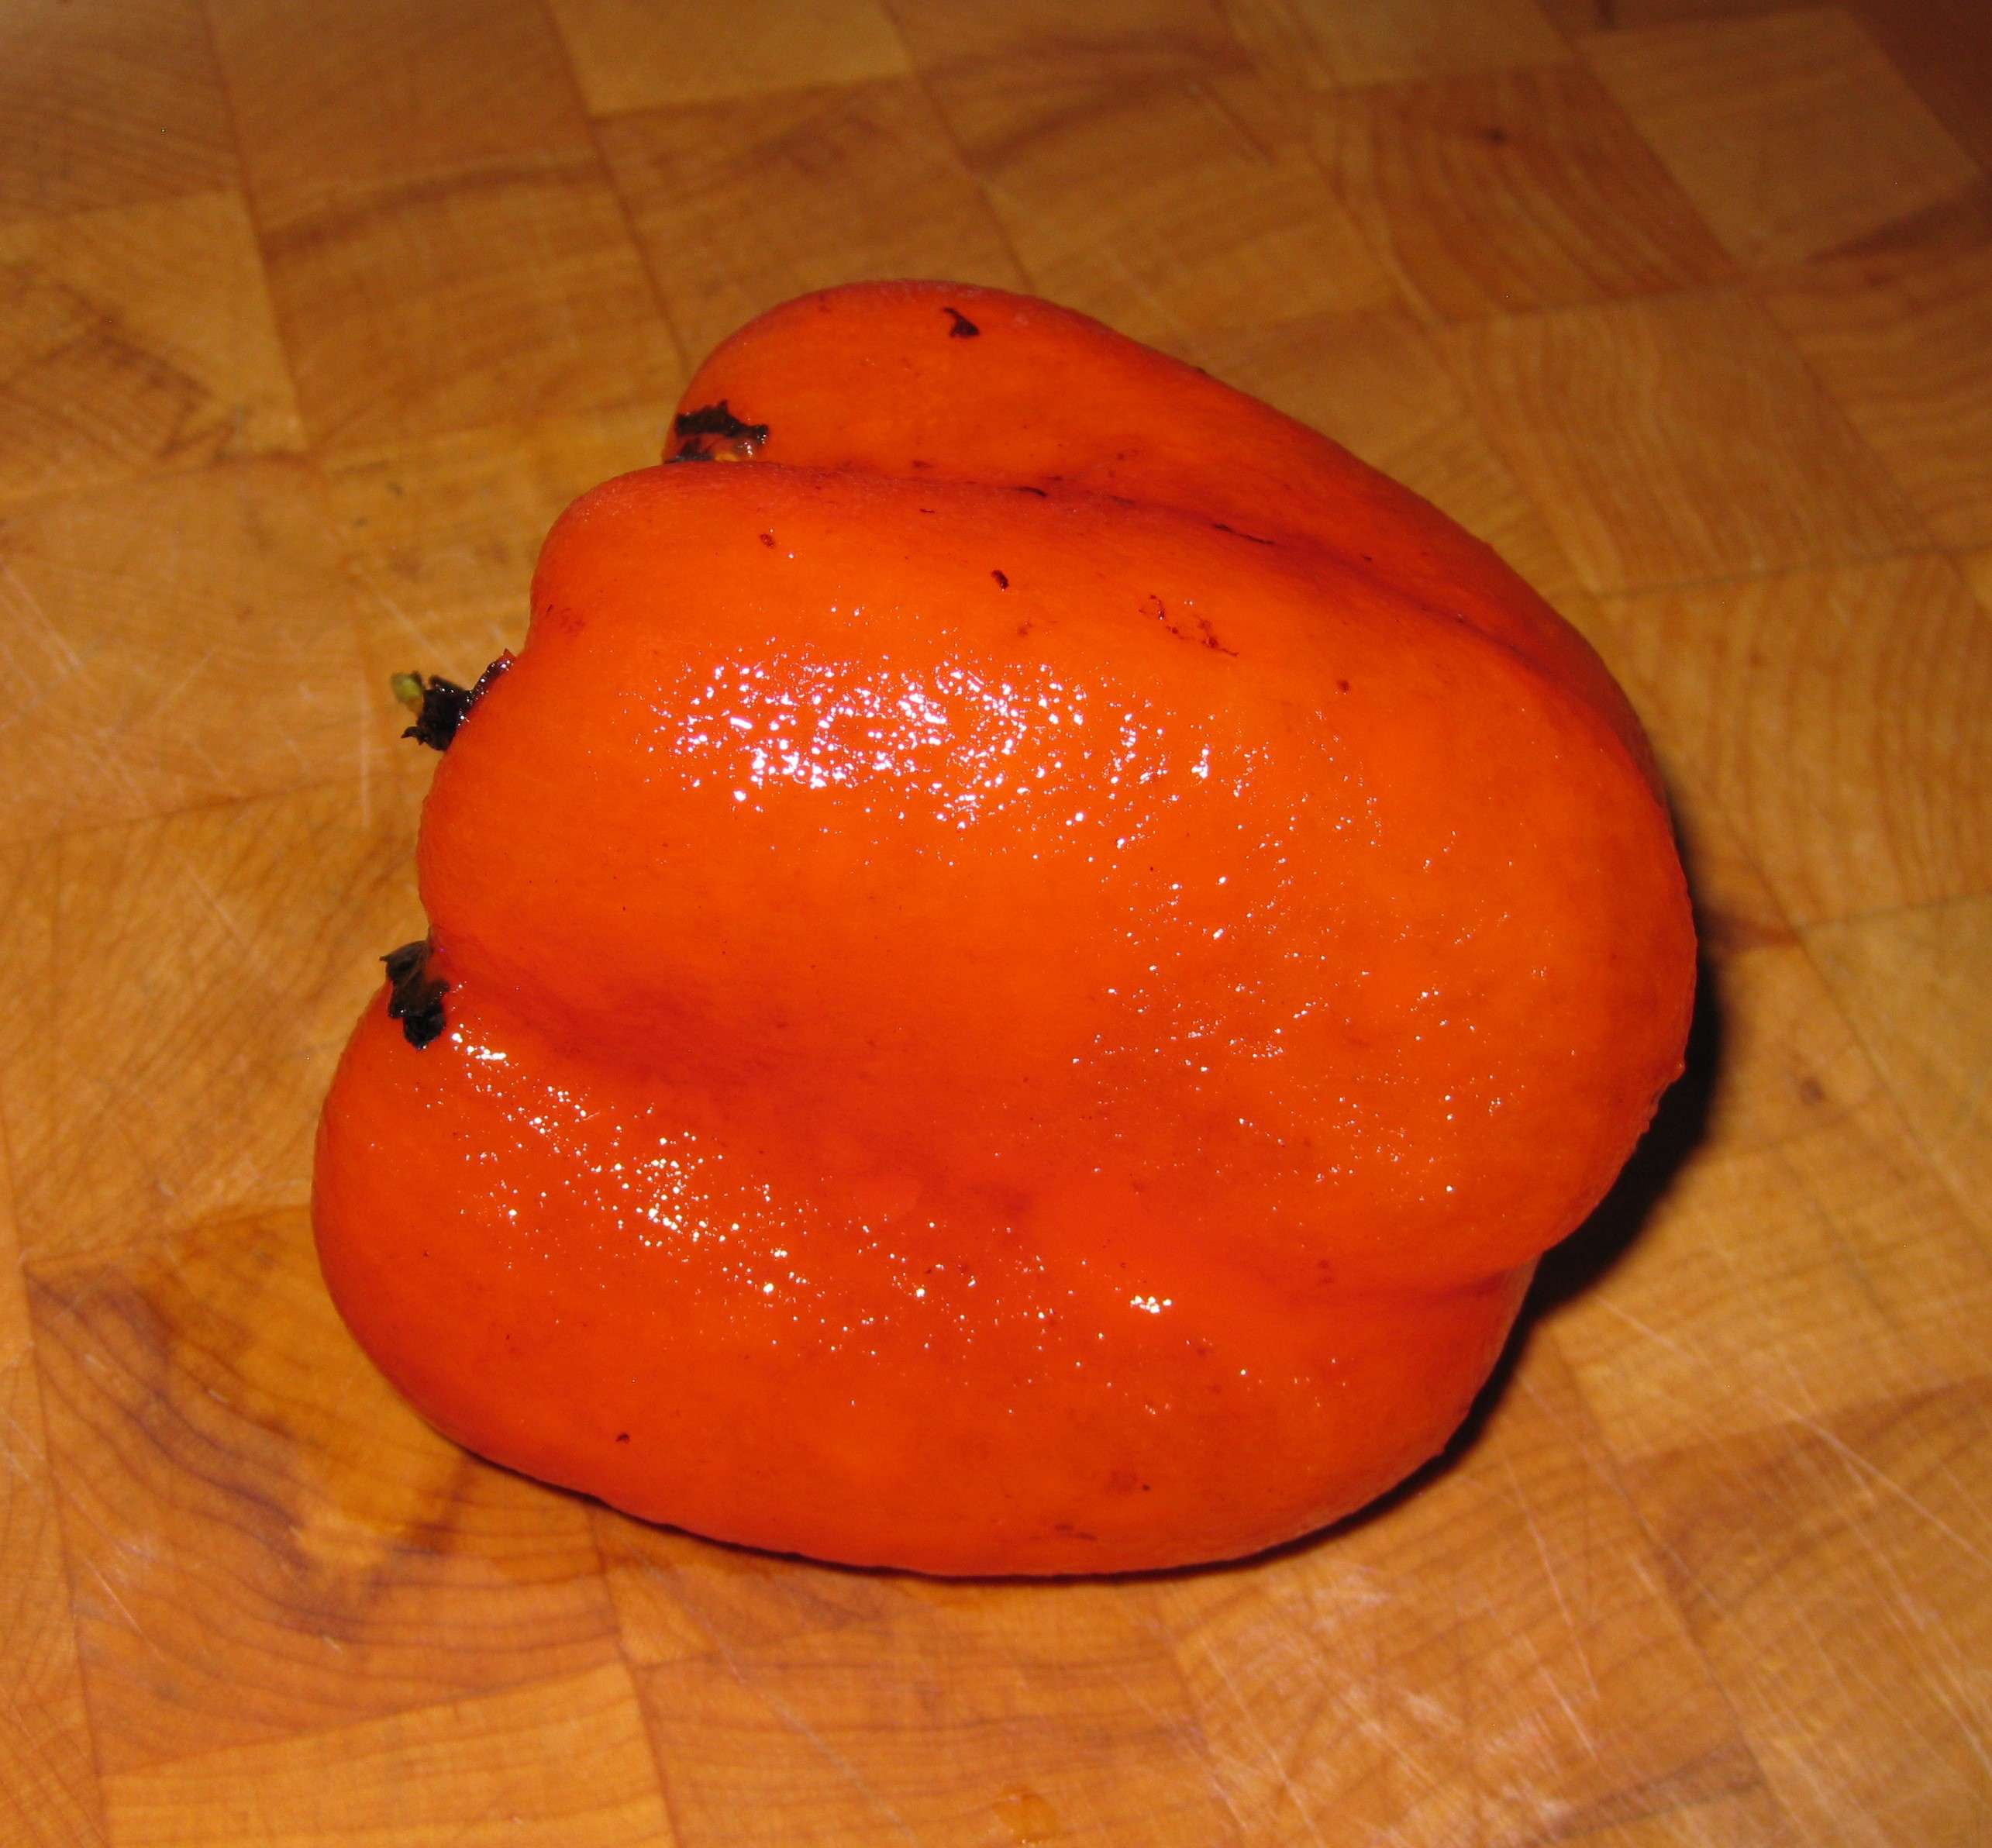
  8. Holding the peppers over the dish to catch any liquid, remove the blistered skin using your fingers. The skin should slip off easily.
  9. Split the peppers in half. Using the tip of a sharp knife, remove the fleshy ribs of the peppers. Remove the seeds.
  10. Slice the peppers lengthwise in ½ inch wide strips.
  11. Pour the collected juices over the peppers, straining out seeds and skin.
  12. Sprinkle the peppers with olive oil, approximately 1 tablespoon per pepper. Toss well.
  13. Cover tightly and allow the peppers to sit at room temperature for an hour or two.
  14. When ready to serve, toss again and sprinkle liberally with coarse sea salt.
  15. The peppers can be made a day or two in advance and refrigerated after tossing with olive oil. Allow the peppers to come to room temperature for an hour or two before salting and serving.
Recipe Notes

Copyright © 2017 by VillaSentieri.com. All rights reserved.
Share this Recipe