Chinese Roast Pork

April 25, 2018

Throughout junior year in college I predominantly ate Chinese, West Indian, and Sri Lankan food.  To be sure, I made Italian and a smattering of other cuisines but that year was really an intensive study in three cuisines.

My roommate, Ray Hugh, was from Guyana.  His grandparents emigrated from China to Guyana around 1870.  My grandparents emigrated from Italy (on my mother’s side) and Slovakia (on my father’s side) to the United States a few decades later.

Ray Hugh in 1975 from the first page of my 1975 scrapbook

I learned a lot about Chinese food, especially Hakka Chinese, from Ray.  We also went to Chinese restaurants regularly so my palate got accustomed to the different regional cuisines of China.  We spent six weeks the summer after junior year staying with his mother outside of London.  I learned a lot about Chinese (and West Indian) food from her.


Click HERE to join our mailing list and you’ll never miss a recipe again!


As for West Indian, my primary influences were, again, Ray Hugh, Valrie Tracey, and Gloria Lannaman.  Though located on the South American mainland, Guyana was administered (then called British Guiana) as part of the British West Indies and it definitely has a West Indian cultural heritage.

Valrie and Gloria were from Jamaica.  I posted my version of a recipe for Valrie’s Easter Bun a few weeks ago.  If I get in the right frame of mind, I’ll post my interpretations of her recipes for curry goat and for home-salted mackerel cooked in coconut milk.  Admittedly, these may be a stretch for most of my readers but they fulfill the blog’s goal of highlighting traditional recipes from around the world.

From Gloria, I got a wonderful pot roast recipe with allspice (called pimento in Jamaica) and a shockingly pink rum punch recipe.  I still use her technique for sautéing baked ham with caramelized onions and Scotch Bonnet peppers for a quick supper or served on crackers with cocktails.   These will all appear in due course.

Valrie Tracey in 1975, also from the first page of my 1975 scrapbook

As I’ve described several times, Nanacy and Reggie Rajapakse were my primary instructors in the art of Sri Lankan cooking…along with a couple of cookbooks by Charmaine Solomon, who Nanacy and Reggie knew.

For much of the summer that Ray and I spent with his mother near London, we explored the city almost every day.  We’d have breakfast, walk to the train station in New Malden, and take the train to London.  We’d be home for dinner, usually.  Lunch was frequently at a restaurant in Chinatown—you know, the Cantonese ones with roast pork, roast ducks, and other roasted animal parts hanging in the window.  That was where I honed my taste for Cantonese roast pork—minus the bright red food coloring.


Follow us on your social media platform of choice


In these restaurants, lunch was a bowl of rice and some sort of roasted meat, hacked to bite-size bits with a very heavy cleaver.  There was nary a vegetable in sight.  When I mentioned to Ray, once, that a vegetable would be nice, he walked over to the chef, who was putting together everyone’s lunch right inside the front window of the store, with rows of glistening roasted meat on hooks hanging in front of him.  The chef pulled a few greens from somewhere, dipped them in a bubbling cauldron of broth momentarily, and put them in my bowl along with the rice and roast pork.  He was very gracious about it but I realized that vegetables were not the point of a restaurant like this.  From then on I was happy to eat rice and roasted meat for lunch, choosing to balance out my diet at the other two meals of the day.

The third and final picture on the first page of one of my 1975 scrap book is this picture of me

Friday, July 4, 1975 was one of the days we did not go into London from Ray’s mother’s house.  Instead, we stayed home and made hamburgers and hot dogs (well, that being England and then being then, they were bangers, really) and a few of the usual trimmings.  Ray and I along with his mother and two sisters, and his younger sister’s boyfriend, Clive, sat outside in the charming little backyard (what the Brits call a “garden”) eating.  Clive asked what we were celebrating.  I told him we were celebrating the independence of the United States from Britain.  That didn’t go over really well but he was a good sport about it.

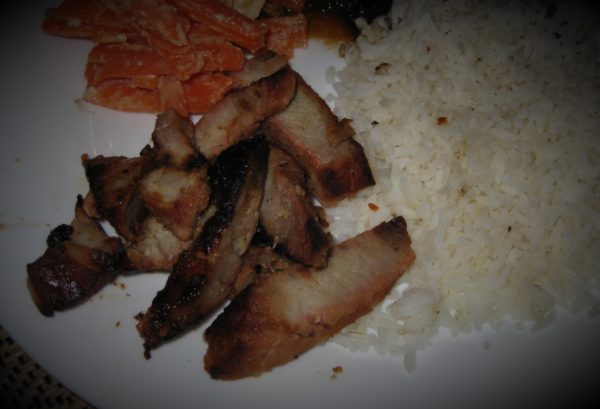
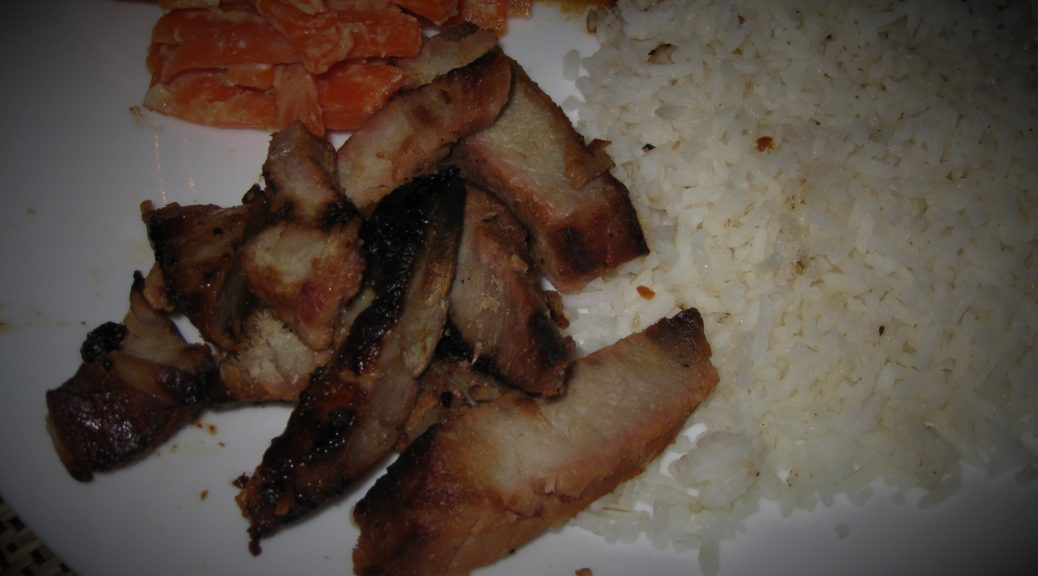
From that summer of eating Cantonese Roast Pork in London’s Chinatown, I got home wanting to be able to make it.  Ray and I roomed together senior year as well.  That’s when I perfected my recipe for roast pork.  It involves marinating strips of pork overnight then hanging them from hooks in the oven and roasting them.  It sounds fussy, but it’s really quite easy.
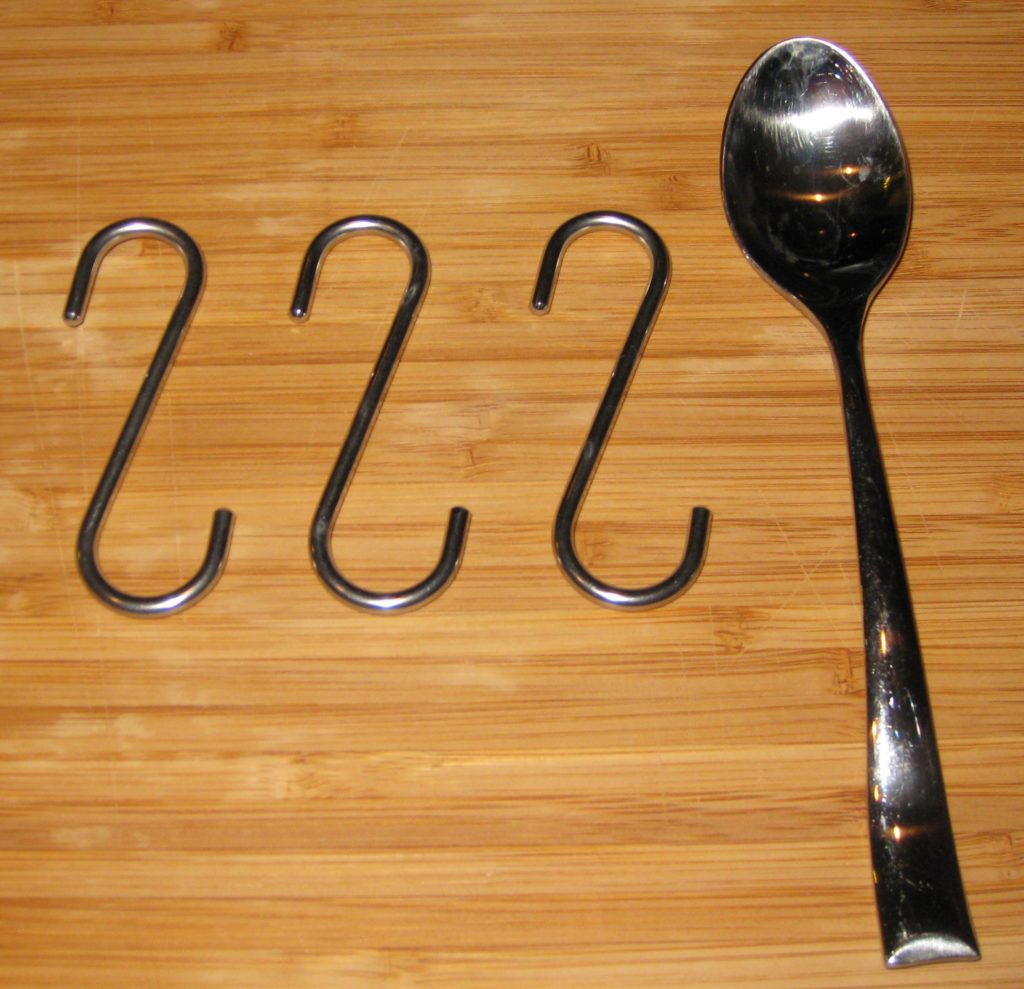
Stainless steel “s” hooks are the best for hanging the pork in the oven

This Cantonese-style roast pork is totally different from Ray’s Five Spice Roast Pork, which I like equally well.
Print Recipe
Chinese Roast Pork
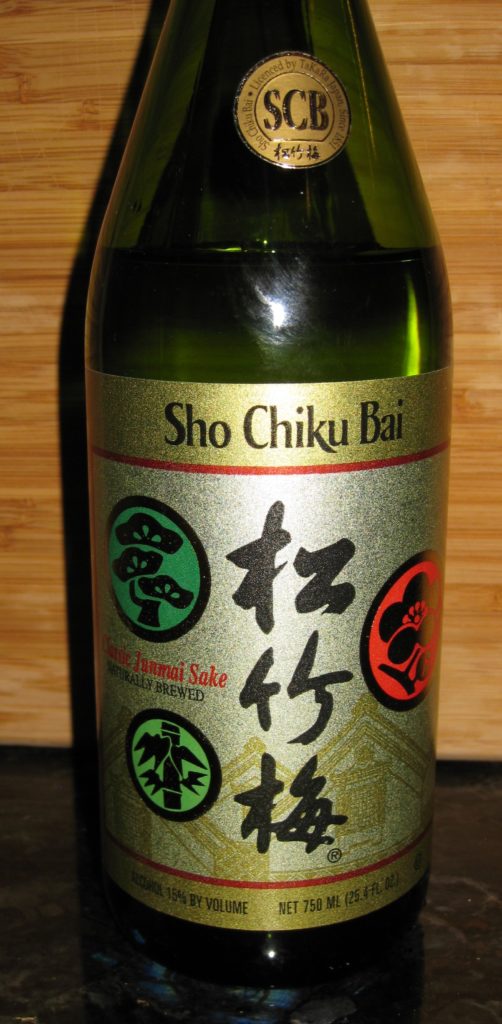
This roast pork is not as red as the roast pork often seen in Chinese restaurants as it does not use artificial coloring. Thick-cut boneless pork chops work well. It is best for the meat to have a layer of fat to provide some moisture while roasting. The thin fat cap should not be removed. The difference in taste between Chinese rice wine, sake, and pale dry sherry is not really noticeable in this dish given the other very flavorful ingredients. Good quality Chinese rice wine can be difficult to find. I prefer a reasonably-priced, good-quality domestic Sake, such as Sho Chiku Bai. Do not use the unfiltered (nigori) sake, however.
Votes: 0
Rating: 0
You:
Rate this recipe!
Course Mains, Meats
Cuisine Chinese
Prep Time 15 minutes
Cook Time 1 hour
Passive Time 24 hours
Servings
people
Ingredients
Course Mains, Meats
Cuisine Chinese
Prep Time 15 minutes
Cook Time 1 hour
Passive Time 24 hours
Servings
people
Ingredients
Votes: 0
Rating: 0
You:
Rate this recipe!
Instructions
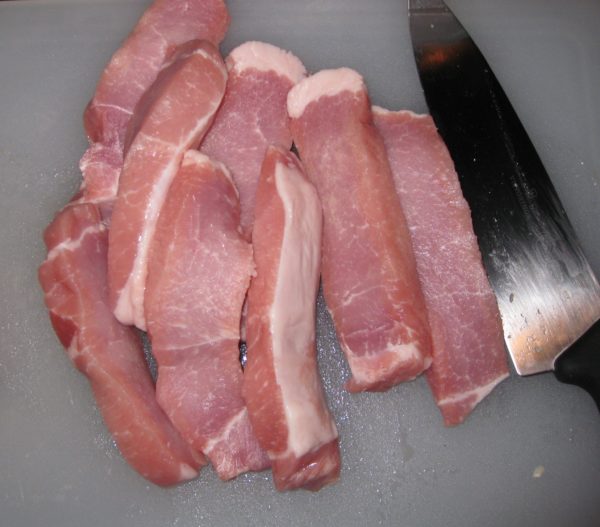
  1. Cut pork into 1½ x 1½ x 4 inch strips.
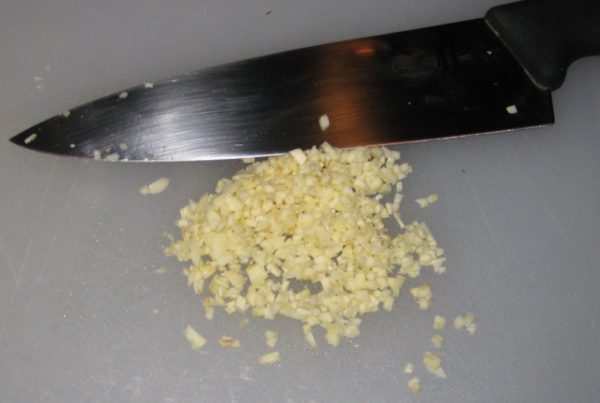
  2. Mince the garlic.
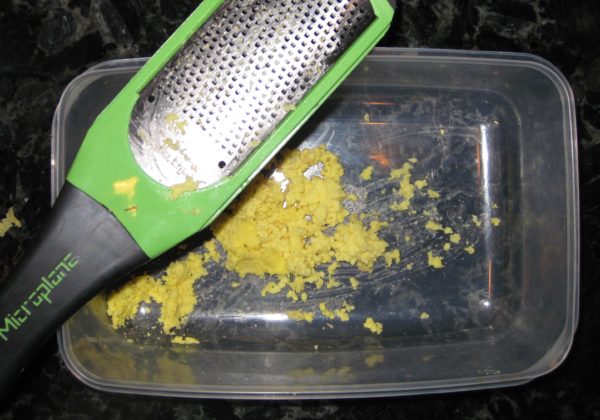
  3. Grate the ginger.
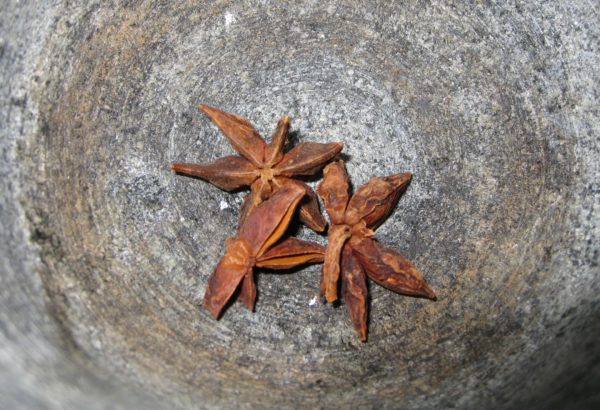
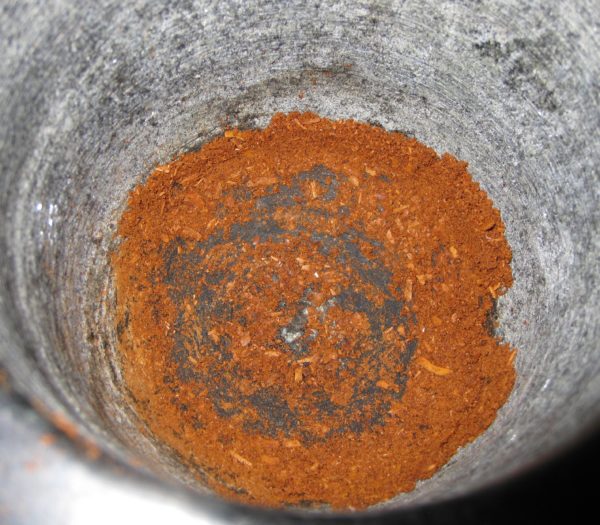
  4. Crush the star anise in a mortar.
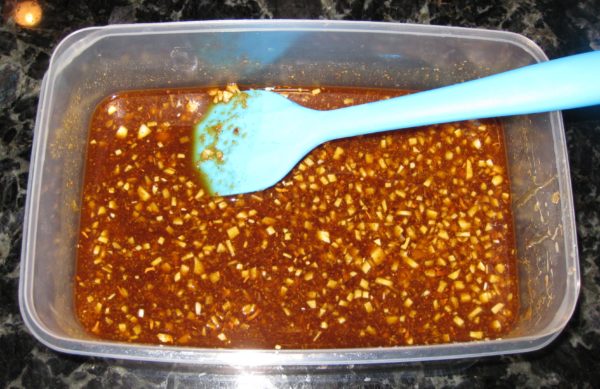
  5. Combine the ginger, garlic, hoi sin sauce, crushed star anise, sake, soy sauce and honey. Mix well.
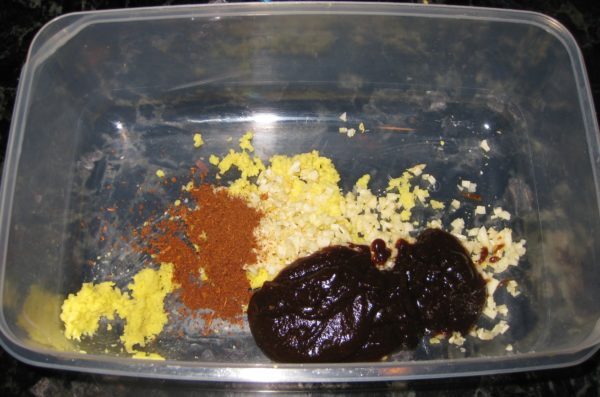
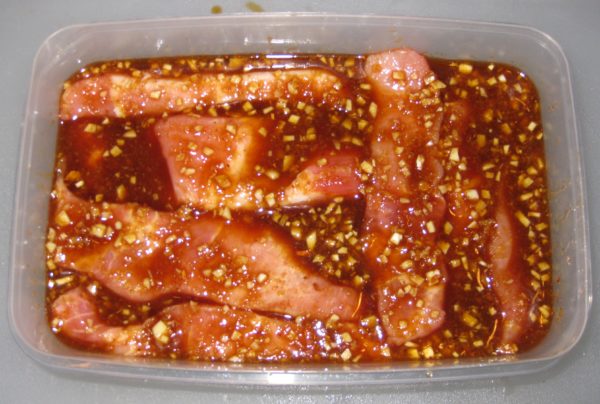
  6. Add the pork strips and toss to coat.
  7. Marinate the pork at least 2 hours, but preferably overnight turning once or twice.
  8. To roast, put one oven rack in the top position and another in the bottom position. Preheat the oven to 350°F.
  9. Hang each strip of pork from an "S" shaped hook on the top rack. Put a roasting pan below the pork, filled with water, to catch the drippings.
  10. Roast at 350°F for 30 minutes. Increase the temperature to 450°F and cook for another 20-25 minutes.
  11. Remove the pork strips from the oven. Slice them crosswise, approximately 1/3 inch thick. Pile the pork on a platter to serve.
Recipe Notes

Sho Chiku Bai sake is reasonably priced and good to drink as well as to cook with.
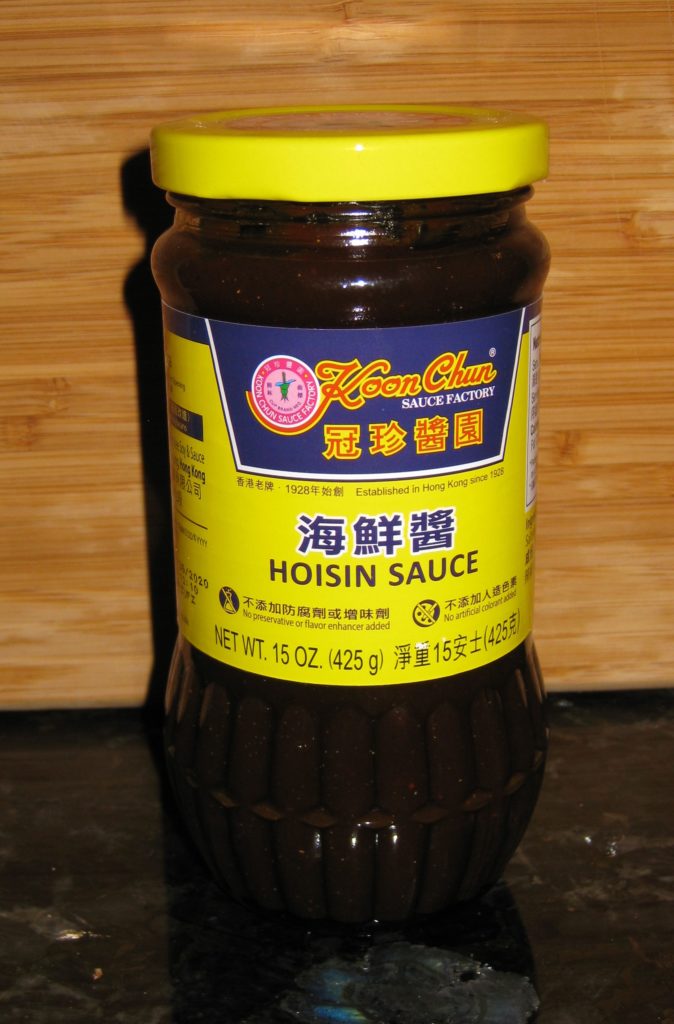
Hoisin sauce is available in Asian markets and many well-stocked supermarkets.
Copyright © 2018 by VillaSentieri.com. All rights reserved.

Share this Recipe

Baklava with Walnuts and Almonds

February 23, 2018

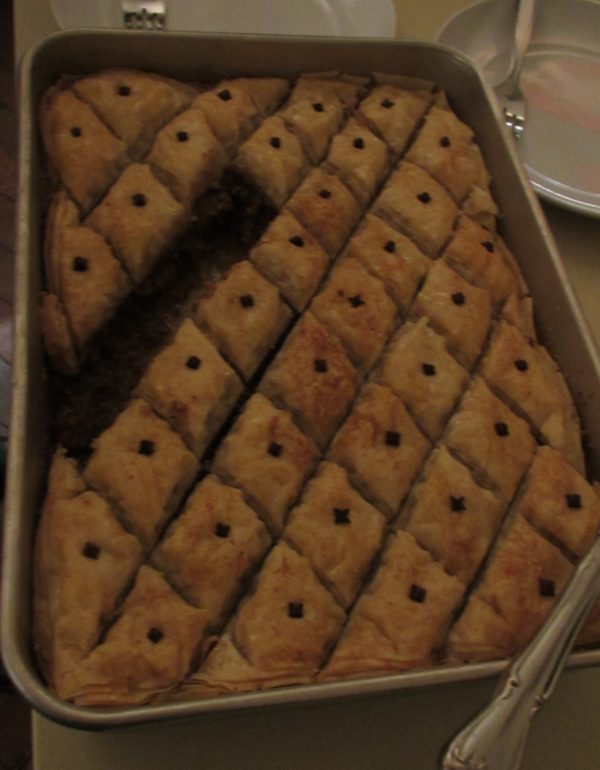
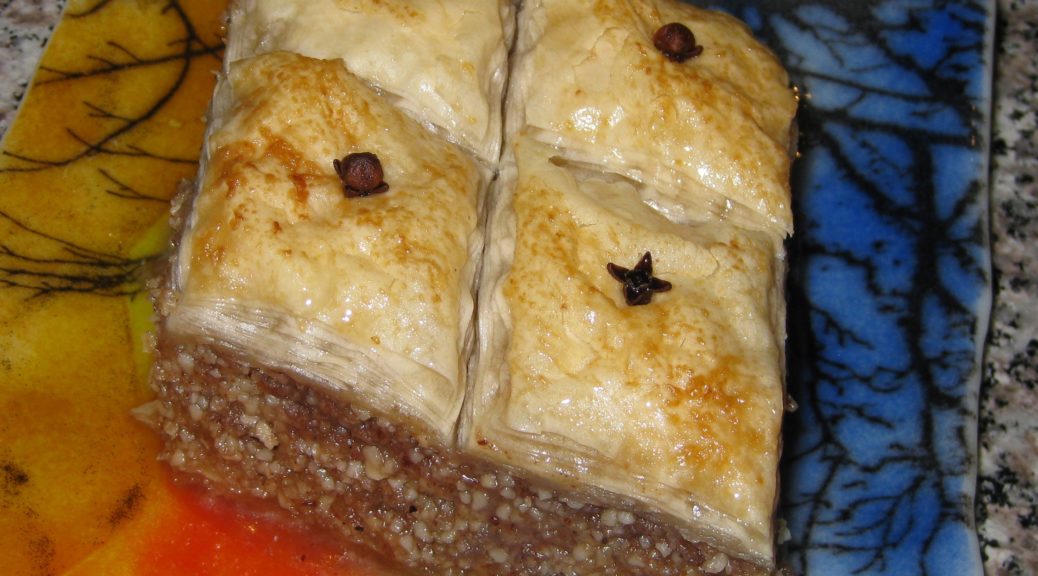
Syrup desserts are popular from the Eastern Mediterranean through the Arabian Peninsula.  Among syrup desserts, baklava is one of my favorites.

I rarely make baklava but the first time I did was junior year in college.  That same recipe is the one that I still make.

Styles of baklava vary.  More nuts.  Less nuts.  More syrup.  Less syrup.  Different aromatics.  While I like them all, I tend towards the more Arabic preparations which, in my experience, include more nuts and syrup than their more restrained Greek counterparts.

Perhaps that’s why a friend, of Greek heritage, said that my baklava didn’t look like anything a Greek ever made!  Admittedly, however, the recipe came from a Greek and I think I have been true to the recipe but, hey, I’m not Greek so who am I to say what could have come out of a Greek kitchen.


Click HERE to join our mailing list and you’ll never miss a recipe again!


I spent much of 2010 living in Dubai.  The consulting company that I started in the mid 1990’s landed a contract with the United Arab Emirates Ministry of Health in late 2009.  In January 2010 I moved to Dubai.

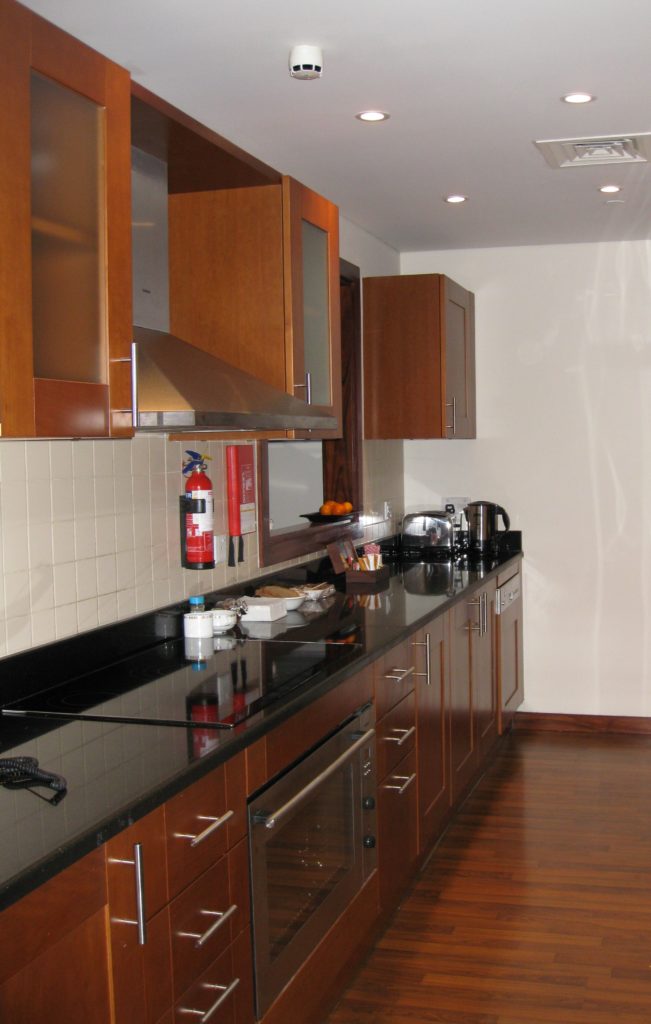
A view of one part of the kitchen in my Dubai apartment

Shopping for food in Dubai is just amazing.  The sheer number of expats (at the time it was estimated that 95% of the people living in Dubai were expats!) means that the supermarkets are truly multinational affairs, even the relatively small ones.

It was rare that I could not find brands with which I was familiar.  I’m sure expats from almost every country had the same experience.  The supermarkets were stocked with brands from around the world.  It truly was the most amazing grocery shopping I have ever experienced outside of the food halls at Harrods and KaDeWe.  But remember, Harrods and KaDeWe are most decidedly upscale affairs.  In Dubai I was just going to the (plain, ordinary) supermarket!

A small section of the food hall at KaDeWe in Berlin (By Blorg (Own work) [GFDL (http://www.gnu.org/copyleft/fdl.html), CC-BY-SA-3.0 (http://creativecommons.org/licenses/by-sa/3.0/)], via Wikimedia Commons)
I spend a week in Germany during the summer of 2010, right in the middle of my Dubai experience.  I found shopping in German supermarkets to be a much more “foreign” affair than shopping in the supermarkets in Dubai.  Rarely was there a brand I recognized in Germany.  Shopping involved intense reading of labels because I was not familiar with the products and their contents…or their quality.

A view of the Arabian Gulf and the man-made Palm Jumeriah Island in the distance from my apartment

Produce in Dubai could be hit or miss due to the distance most of it traveled.  Although there was a nascent horticultural industry in Dubai, I could never find truly local produce.  On several occasions I tried to find a store that purported to sell local produce but my driver could never locate it, even with the address!


Follow us on your social media platform of choice


The closest we had to “local” produce was from Iran, the source of Romaine lettuce and cauliflower, as I recall, among other produce.  Considering that Iran and the United Arab Emirates are only 90 miles away at their closest point, and considering how far produce can travel in North America from fields in California to the Northeast, 90 miles really counts as local, even if there is an international border among two not-so-friendly countries involved!

Another view from the apartment looking at Dubai Marina

In the supermarkets, prepared food counters overflowed with Middle Eastern items and my fridge was always stocked with hummus, pita with zatar, olives, and other meze.

I also had access to world-class syrup desserts, including baklava!!!

Another fascinating aspect of most of larger supermarkets in Dubai was the existence of a room at the back that was usually labeled with something like “Pork for Non-Muslims.”  In this space once could find the most amazing cured pork products from Italy, Spain, and Europe in general!

Dubai Marina at ground level

Alas, items containing alcohol were difficult to obtain.  This included vanilla extract.  The available non-alcohol-based “extract” was just not the same.  Luckily vinegar was just as good, even if it was labeled “Grape Vinegar” rather than “Wine Vinegar!”

I hope you enjoy this baklava.  Just don’t make it for a Greek friend!


If you have a favorite family recipe and a bit of a story to tell, please email me at santafecook@villasentieri.com and we can discuss including it in the blog. I am expanding the scope of my blog to include traditional recipes from around the country and around the world. If you haven’t seen Bertha’s Flan or Melinda’s Drunken Prunes, take a look.  They will give you an idea of what I’m looking for.


Print Recipe
Baklava with Walnuts and Almonds
Try to find phyllo that is either 9” x 13” or 18” x 13”. If it’s the latter, cut the stack of sheets in half to make them all 9” x 13”. I have found that covering the stack of phyllo with a damp towel, as some authors recommend, after you remove every sheet isn’t necessary if you move quickly. However, before you start, moisten a dish towel and keep it handy in case there are any breaks in the action, in which case you should definitely cover the stack of unused phyllo. While it is not essential to clarify the butter, removing the milk solids will prevent uneven browning of the top of the baklava.
Votes: 0
Rating: 0
You:
Rate this recipe!
Prep Time 1 hour
Cook Time 1 1/2 hours
Passive Time 24 hours
Servings
pieces
Ingredients
Bakalva
Syrup
Prep Time 1 hour
Cook Time 1 1/2 hours
Passive Time 24 hours
Servings
pieces
Ingredients
Bakalva
Syrup
Votes: 0
Rating: 0
You:
Rate this recipe!
Instructions
Baklava
  1. Clarify the butter.
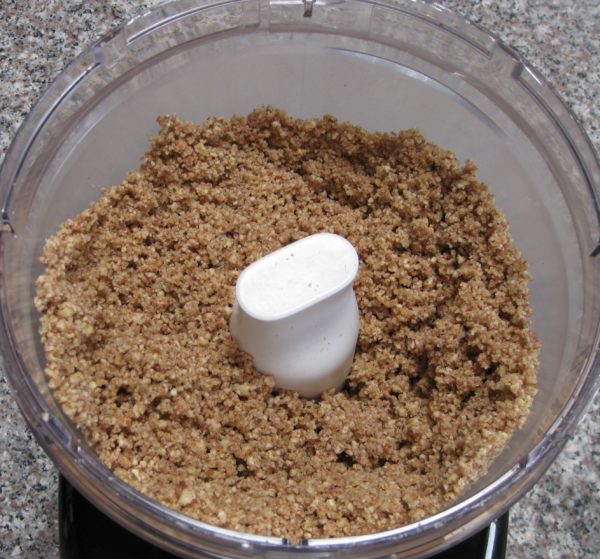
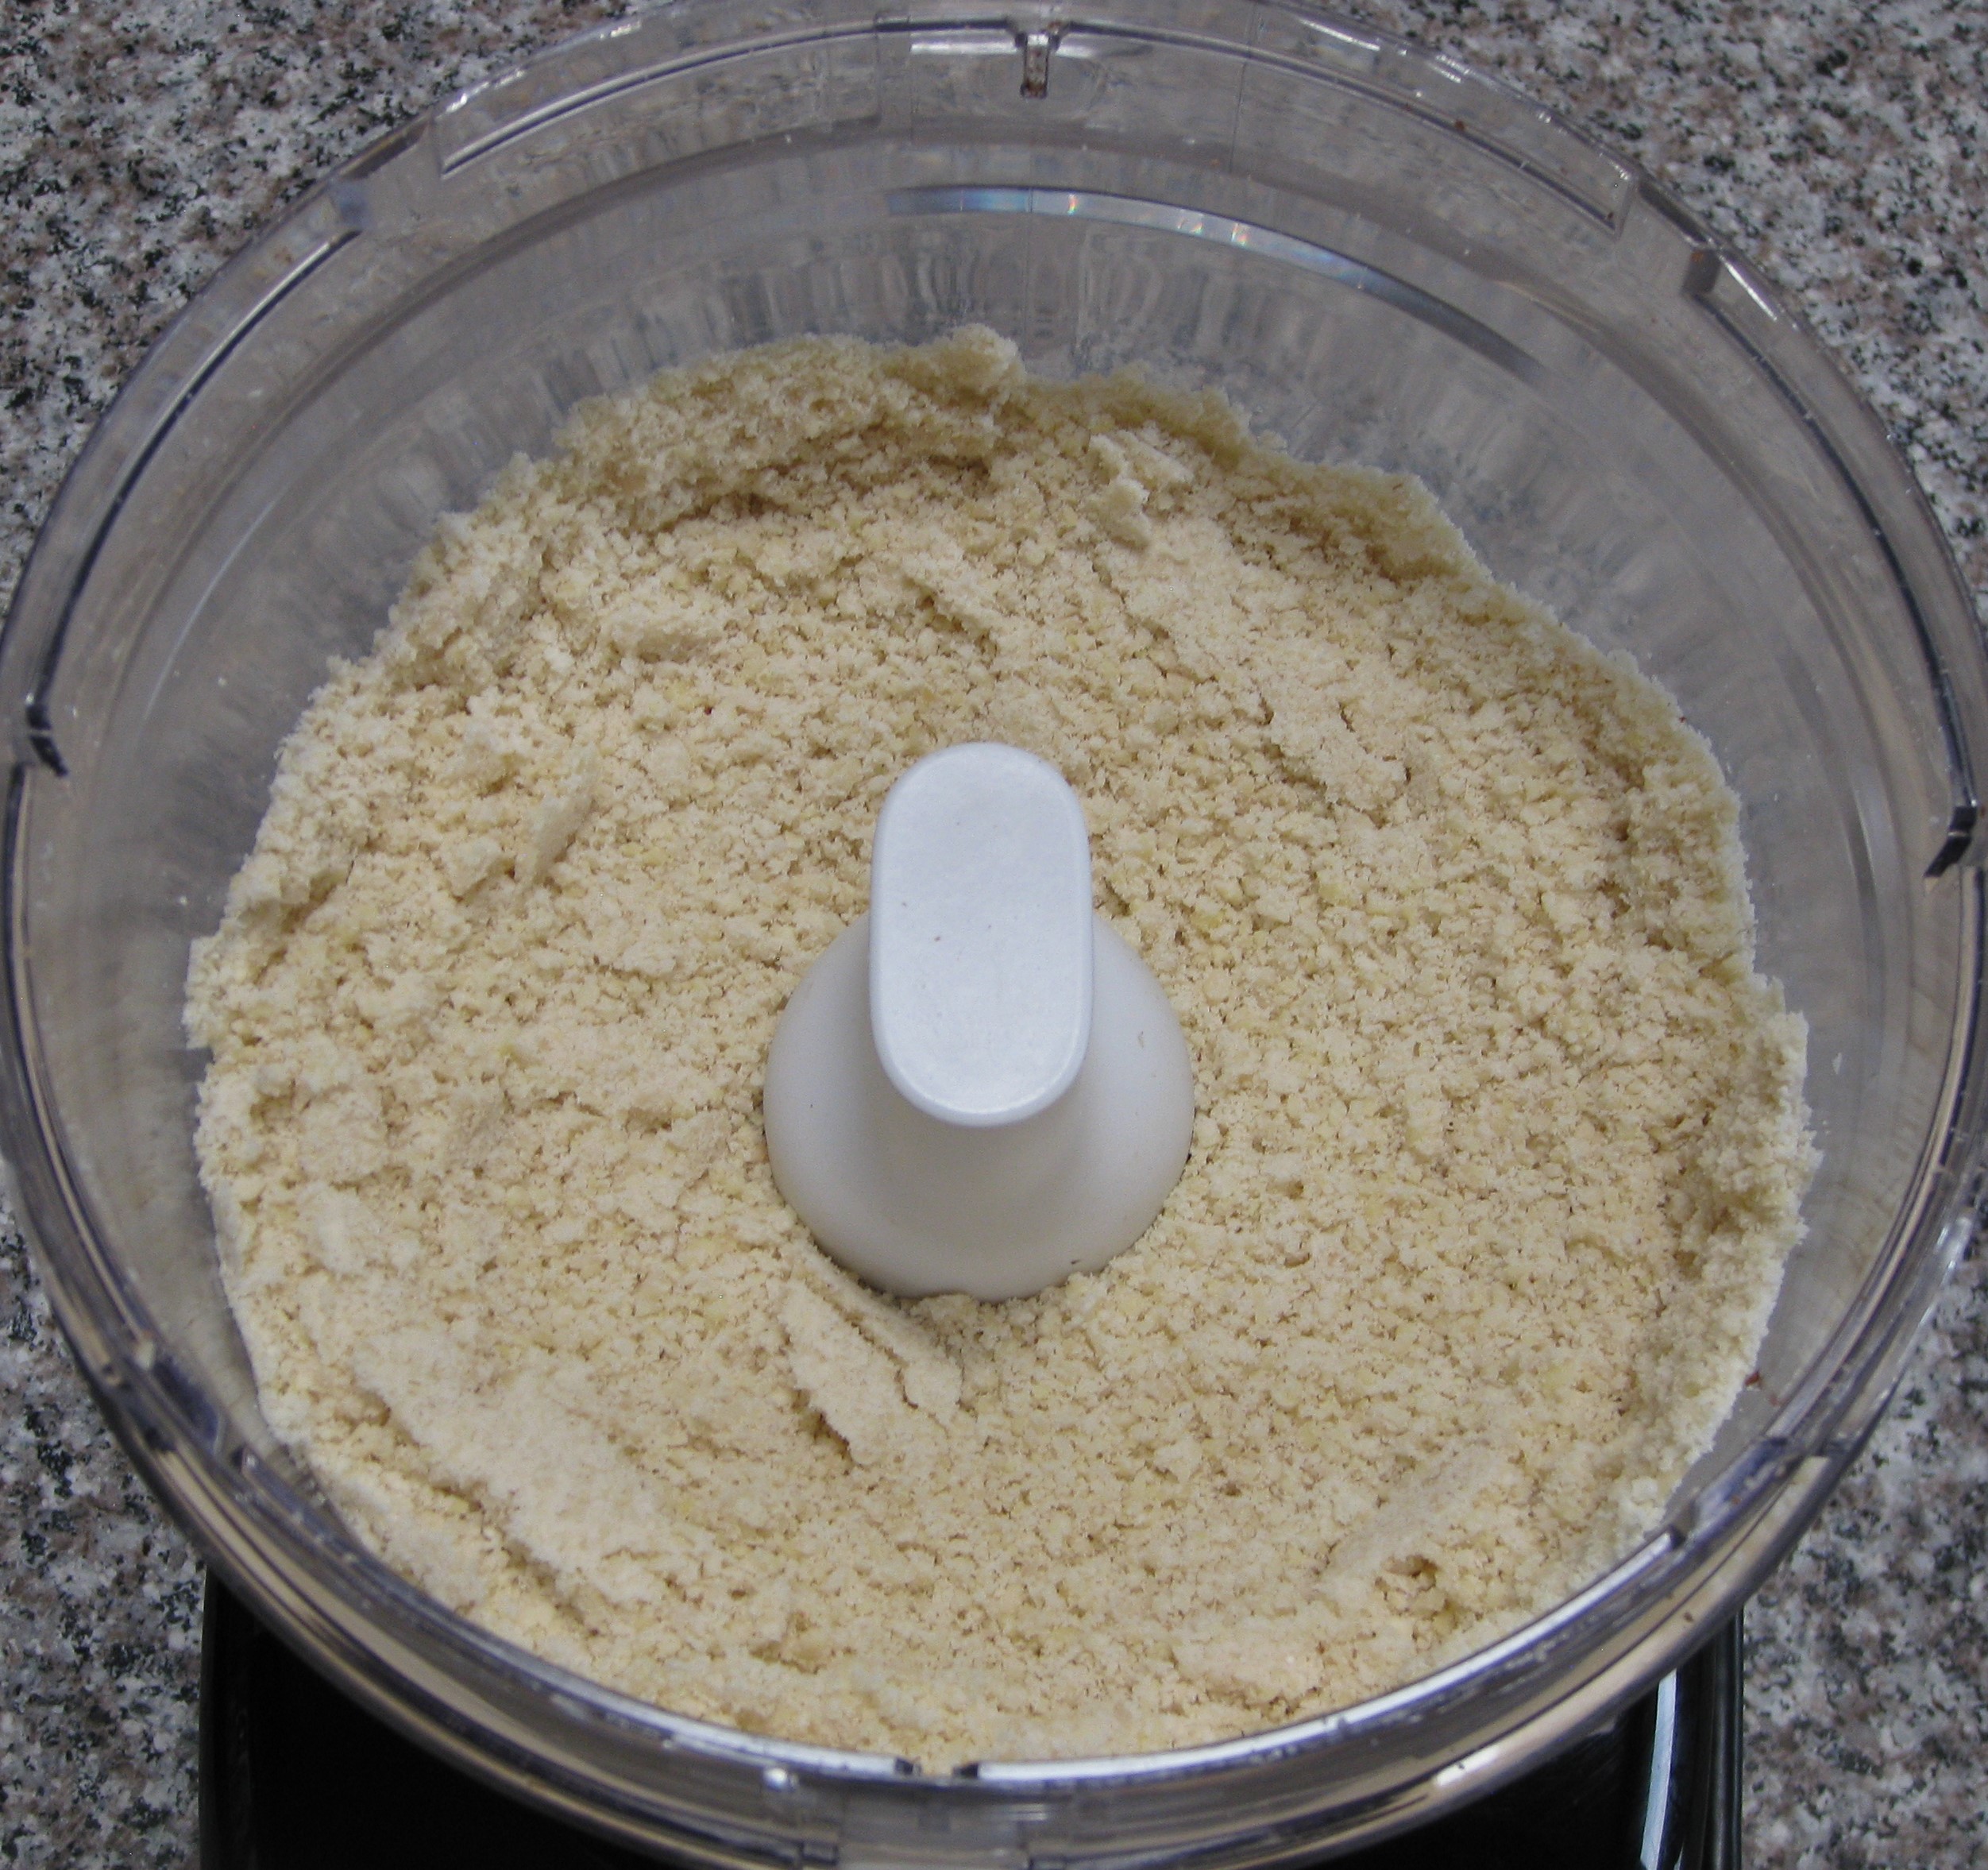
  2. Finely grind the almonds and walnuts.
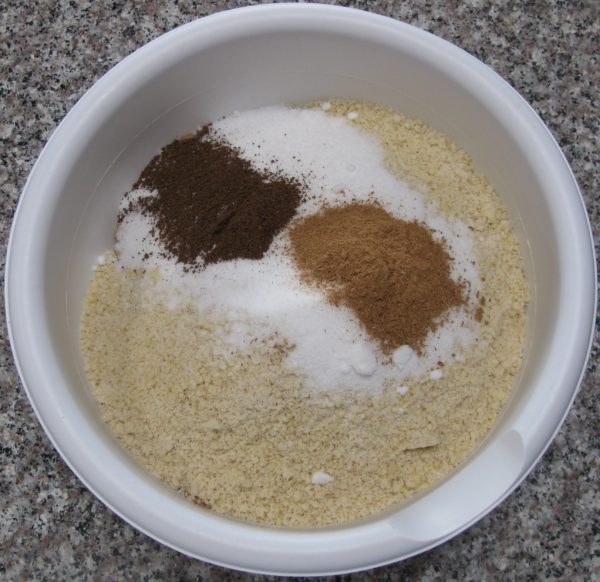
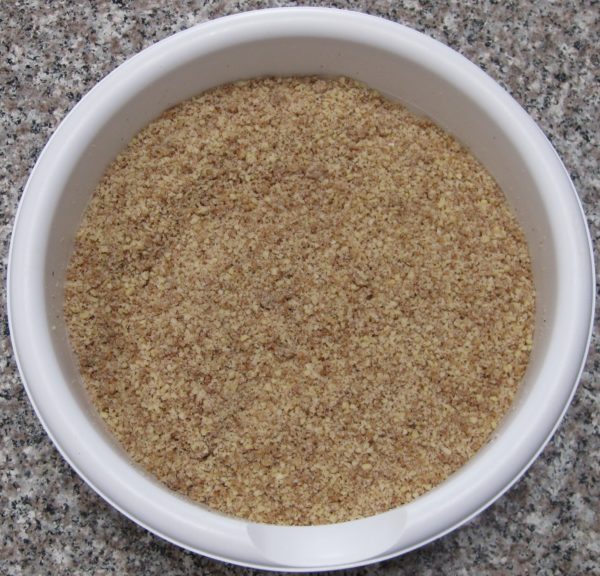
  3. Mix nuts, cinnamon, allspice and sugar.
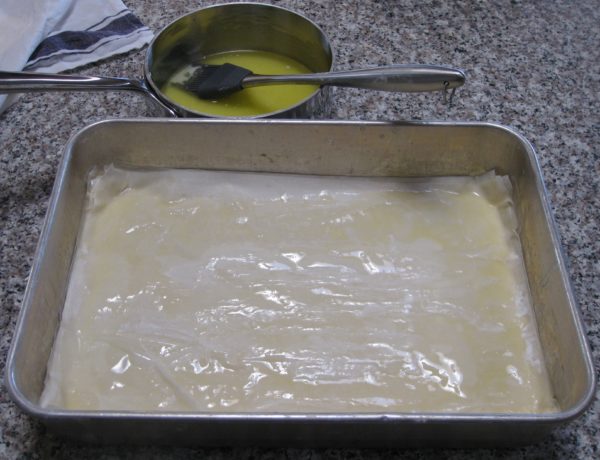
  4. Brush a 9-inch b 13-inch baking pan with butter.
  5. Lay a sheet of phyllo and brush it with butter.
  6. Repeat until 12 sheets have been used.
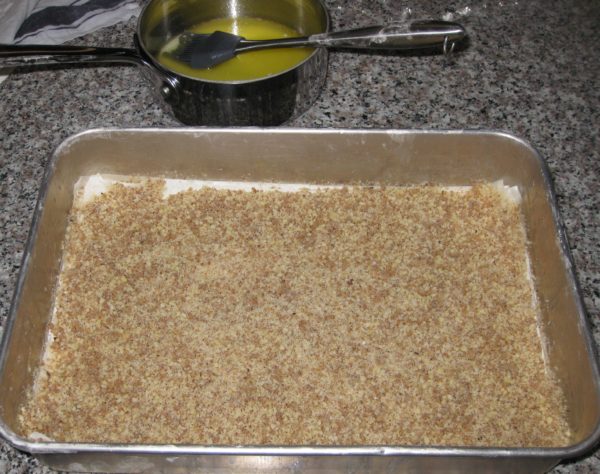
  7. Spread a layer of nuts, approximately 1 cup, on top of the phyllo.
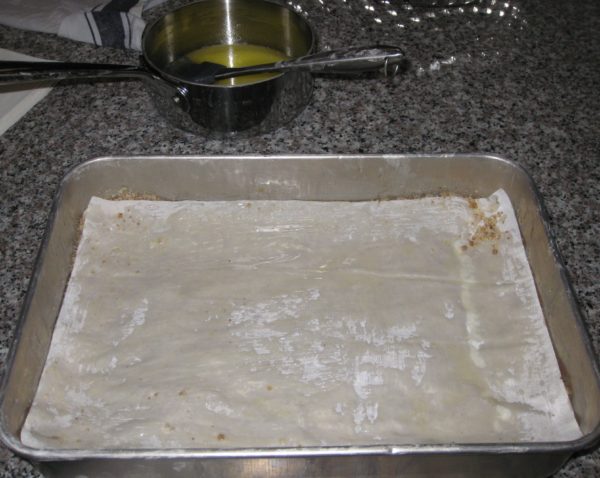
  8. Cover with a sheet of phyllo, brushing it with butter.
  9. Repeat 1 cup of nuts covered with one sheet of phyllo until all the nuts have been used up.
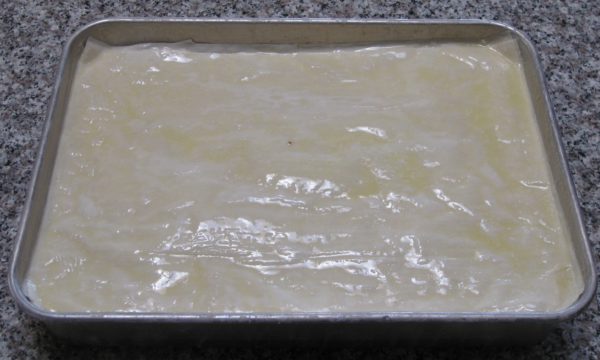
  10. Top with all the remaining sheets of phyllo individually adding them and brushing each sheet with butter.
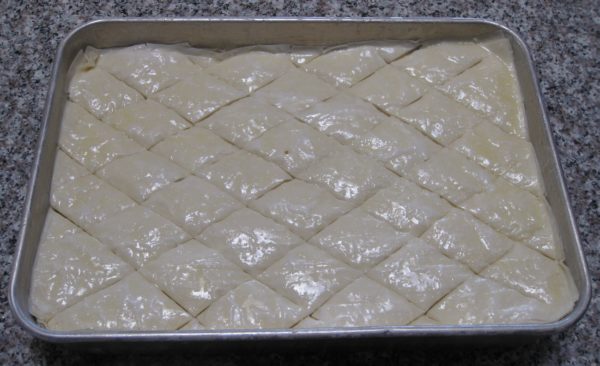
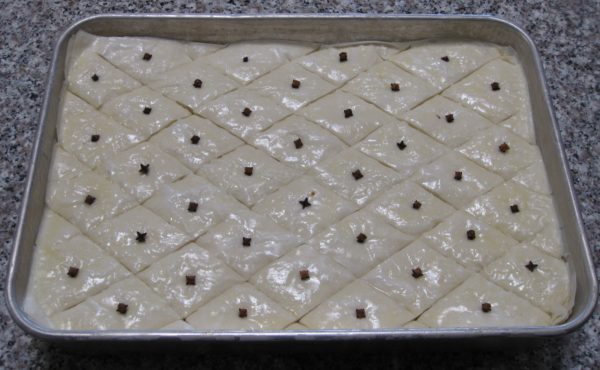
  11. Score the top few sheets of phyllo in a diamond pattern. Cut from one corner to the opposite corner.
  12. Make three more rows of cuts, evenly spaced, in each direction parallel to the first cut for a total of 7 cuts.
  13. Repeat in the opposite direction.
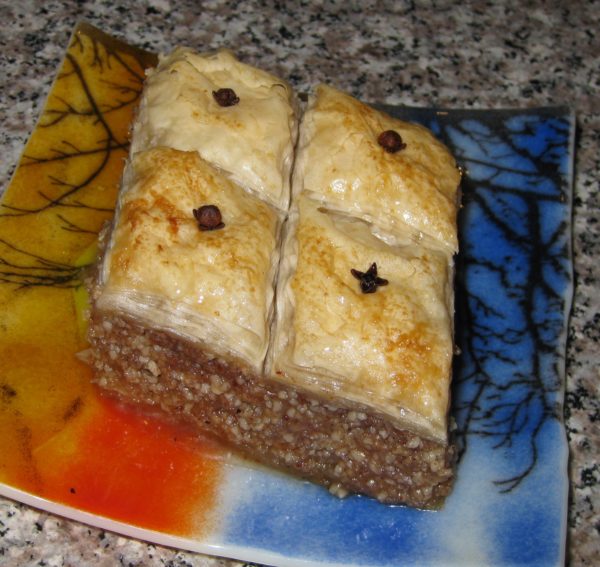
  14. Put a clove in the center of each diamond.
  15. Sprinkle the top lightly with water to reduce curling while baking.
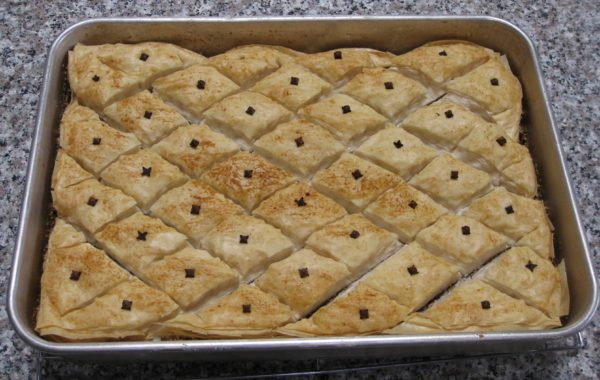
  16. Bake 350°F for 1½ hours, until golden.
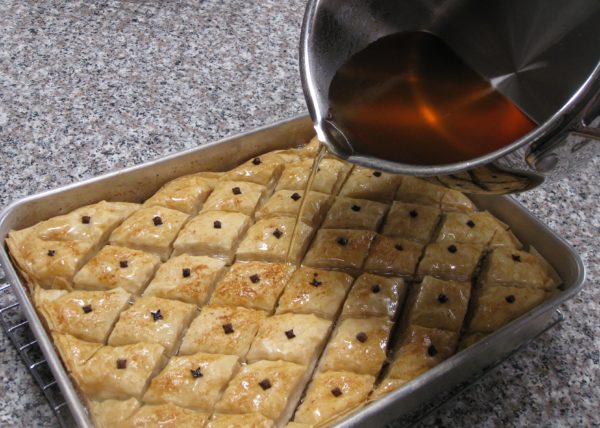
  17. Pour hot honey syrup over the hot baklava as it comes from the oven.
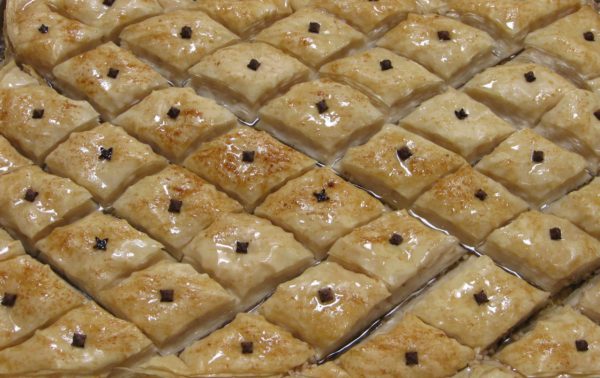
  18. The baklava is best if allowed to sit at room temperature, uncovered for about a day before serving.
Syrup
  1. As the baklava is nearing completion, make the syrup.
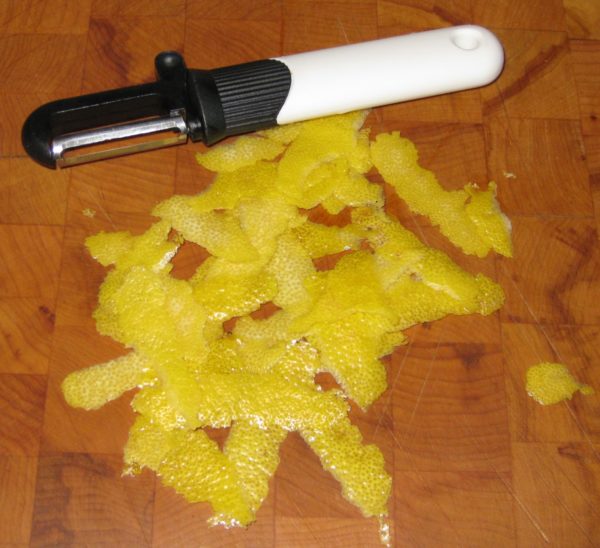
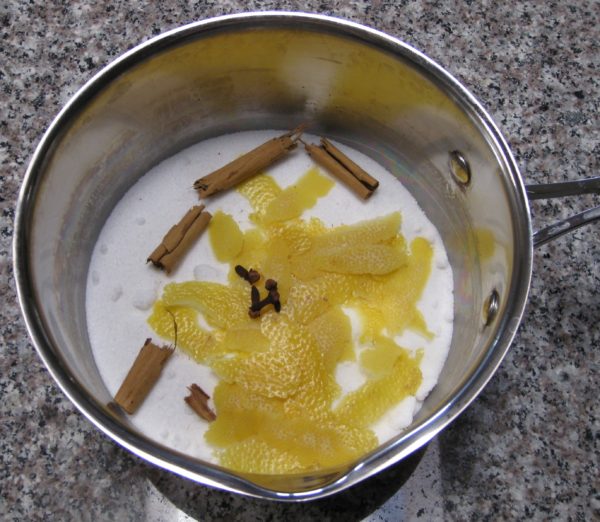
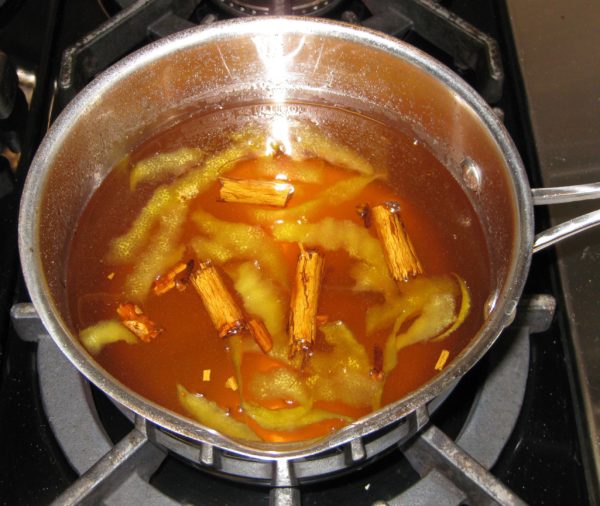
  2. Combine lemon zest, sugar, water, cinnamon, and cloves in a heavy-bottomed sauce pan.
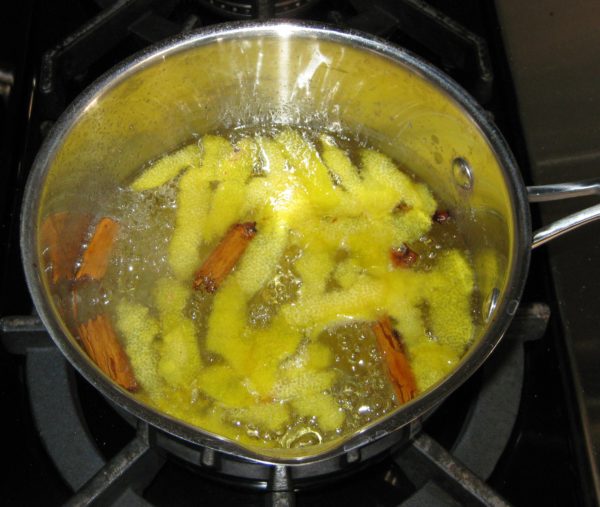
  3. Bring to a boil, lower heat and continue cooking without stirring until syrupy, approximately 15 minutes. (218°F to 220°F if you want to measure using a candy thermometer.)
  4. Stir honey into hot syrup.
  5. Remove from the heat.
  6. Using a small strainer, remove the solids.
  7. Reheat the syrup immediately before removing the baklava from the oven.
  8. Stir in lemon juice and rum or brandy.
Recipe Notes

Copyright © 2018 by VillaSentieri.com. All rights reserved.
Share this Recipe

Totos (Italian Chocolate Spice Cookies)

December 21, 2016

Homemade cookies and pastries were staples of my childhood.  Trays of cookies showed up for holidays, celebrations, weddings, funerals, and, sometimes, for no apparent reason.

My mother along with relatives and friends set up a cookie-making operation that went on every night for weeks leading up to my sister’s wedding.  The overseer was Annie Castagnola, a family friend.  She had a thin spiral-bound 3-inch-by-5-inch notebook of cookie recipes.  The notebook was the kind we used in grade school to write down our homework assignments.  Annie’s recipes were a curated collection gathered from a host of “old Italian women,” my grandmother included.

The little notebook was coveted by more than a few cooks.  Annie, however, did not share her recipes, even when those recipes came from relatives of the very people who were asking for them.  I know, my mother was one of those people who wanted some of her mother’s recipes.  Annie wouldn’t budge.  The situation got resolved, however, during the cookie-baking marathon for my sister’s wedding.  One night, Annie left her little notebook at our house overnight.  Nobody’s confessing, but there are a few cookie recipes in my mother’s recipe box (sitting on my bookcase) written in my twelve-year-old hand.

Annie died a while back.  Her little notebook is most likely gone forever and along with it the baking secrets of a whole group of “old Italian women.”

Of all the cookies that showed up throughout the year, my favorites were the various kinds of cakey cookies, my mom’s Genets, Aunt Margie’s aptly named “Colored Cookies,” and my cousin Angie Catanese’s Sesame Seed Cookies, to name a few.  These cakey cookies, which were not very sweet by American standards, were usually little balls but not always.  Genets are lemon flavored knots.  Colored Cookies are vanilla flavored balls, each made with four or five pinches of dough of different colors rolled together.  Sesame cookies are little logs, perfect for dunking into some Vin Santo.  For me, though, the best of these cakey cookies are Totos, little chocolate spice balls.

Print Recipe
Totos (Italian Chocolate Spice Cookies)
These little chocolate balls are intended to have a good kick from an array of spices. Lard is the traditional shortening to use. I render my own. If you need these to be vegetarian, or you just don't want to use lard, you can use solid vegetable shortening. Heck, you can even use clarified butter but that is way off the traditional scale!
Votes: 21
Rating: 3.81
You:
Rate this recipe!
Cuisine Italian
Prep Time 45 minutes
Cook Time 2 hours
Servings
dozen cookies
Ingredients
Cookies
Icing
Cuisine Italian
Prep Time 45 minutes
Cook Time 2 hours
Servings
dozen cookies
Ingredients
Cookies
Icing
Votes: 21
Rating: 3.81
You:
Rate this recipe!
Instructions
Cookies
  1. In a small saucepan, melt the lard over low heat. When just melted, remove the lard from the heat and allow to cool slightly.
  2. Meanwhile, combine the flour, cocoa, baking powder, baking soda, salt, cloves, cinnamon, allspice, and nutmeg together. Reserve.
  3. Make the icing and reserve.
  4. Put the sugar into a large mixing bowl. Add the cooled but still liquid lard and mix well until thoroughly combined. The mixture will be gritty. I recommend doing this by hand with a mixing spoon but you could use a portable electric mixer.
  5. Add the eggs one at a time to the sugar and lard mixture, mixing well after each addition. The sugar should dissolve as the eggs are added.
  6. Add the milk, honey, vanilla extract and lemon extract to the egg mixture. Mix until well combined.
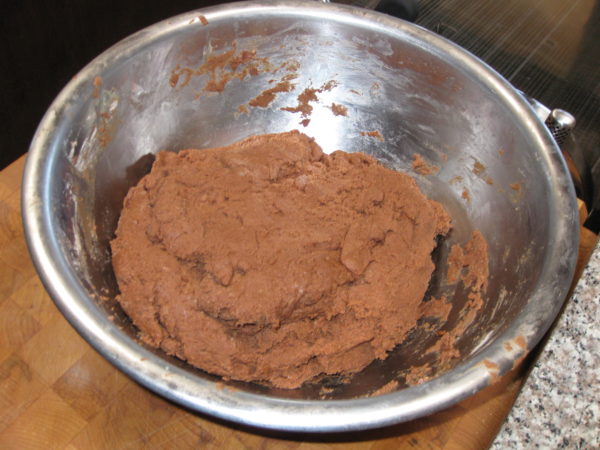
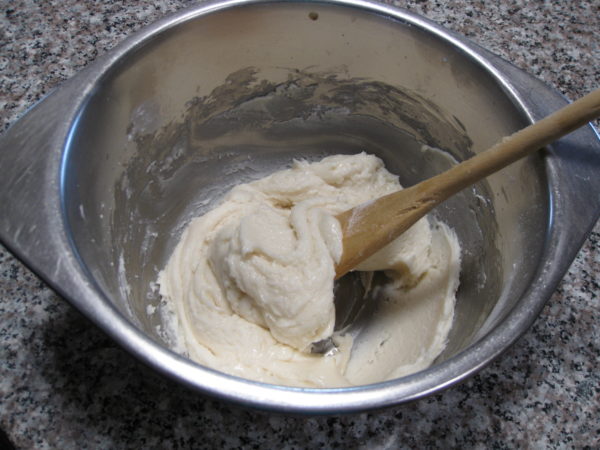
  7. Add the reserved dry ingredients. At this point there really is no better option than to reach into the mixture with your hand and get everything well combined. The dough will be somewhat sticky. Be certain that all the dry bits are scraped off the bottom and sides of the bowl and combined into the dough.
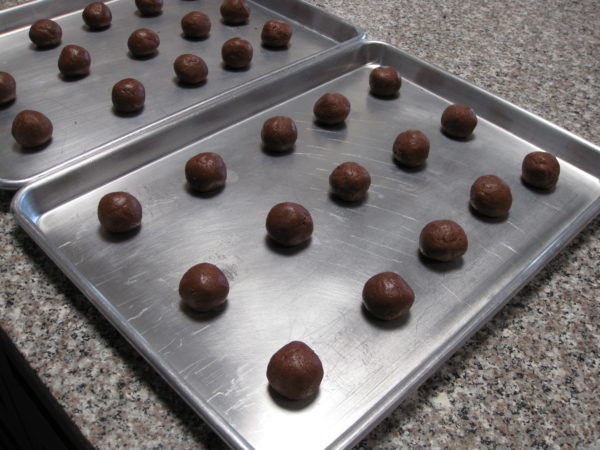
  8. Roll the dough into walnut-sized balls. If you want to weigh the first few to get the size correct, they should be between 21 and 22 grams.
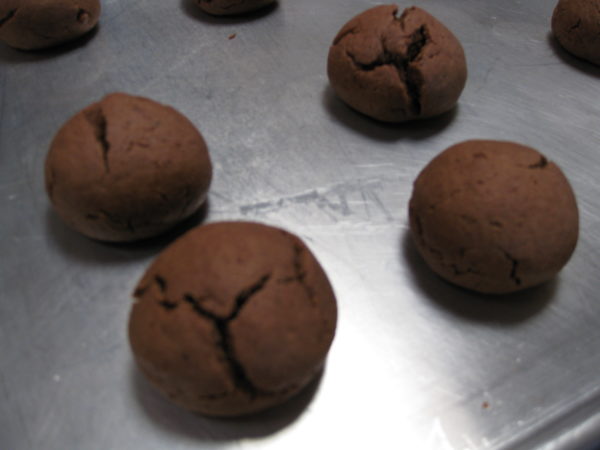
  9. Space the cookies several inches apart on ungreased cookie sheets. Bake at 375°F for 8-10 minutes until the cookies are very slightly browned on the bottom but still soft when touched. They have a tendency to crack as they bake. This is normal. You can bake two trays at a time, one in the lower third of the oven and one in the upper third. Be sure to switch the top and bottom cookie sheets after five minutes and also turn them front to back.
  10. As soon as you remove the cookies from the oven, carefully put them on cooling racks.
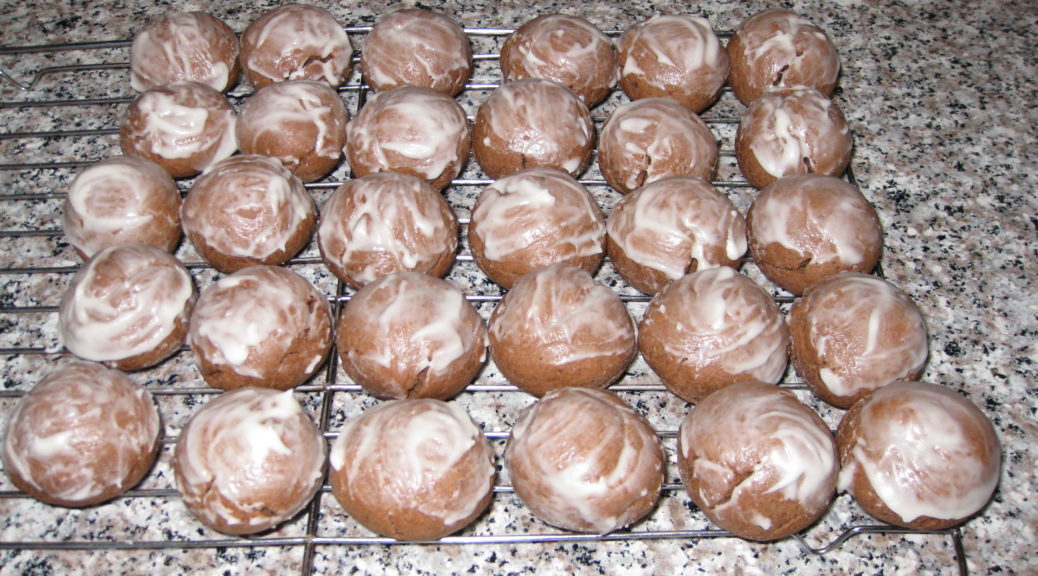
  11. Ice them immediately by holding a cookie with one hand and using the tip of your finger to spread a dollop of icing on the top half of each cookie. The icing should be a glaze, not a thick coating. Put the iced cookies on cooling racks to cool completely.
  12. Well wrapped, the cookies can be refrigerated for several weeks or frozen for several months.
Icing
  1. Melt the butter. Add the sugar, vanilla (or lemon) extract and 2 tablespoons of milk. Mix well. Add more milk, a teaspoon at a time, if needed, to make a thick icing that will hold its shape and spread well.
  2. It may be necessary to add a bit of milk from time to time if the icing stiffens up over the course of icing each batch of cookies as they come out of the oven.
Recipe Notes

Check out my method for rendering lard.

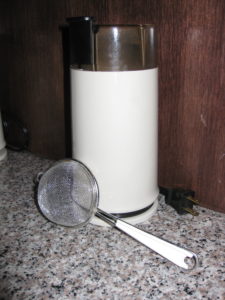
I prefer to grind my own spices using a small electric coffee grinder, except for the nutmeg, of course, for which I use a small grater. It is best to pass the ground spices through a small strainer to get out any small bits. If you don’t grind your own spices be sure to buy really fresh ground ones so the flavor is vibrant.

This recipe doesn’t involve any strenuous beating so the first few steps can easily be completed by hand with a sturdy mixing spoon rather than with a mixer. Similarly, after adding the dry ingredients, the dough only needs to be mixed enough to come together. This is easily (and traditionally) done with your hand though I suppose a dough hook would work, too.

Copyright © 2016 by VillaSentieri.com. All rights reserved.
Share this Recipe