Mike’s (Justifiably Famous) Carrot Cake

August 25, 2017

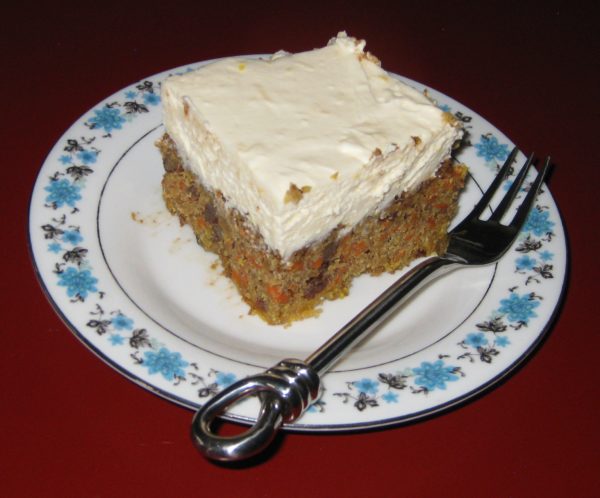
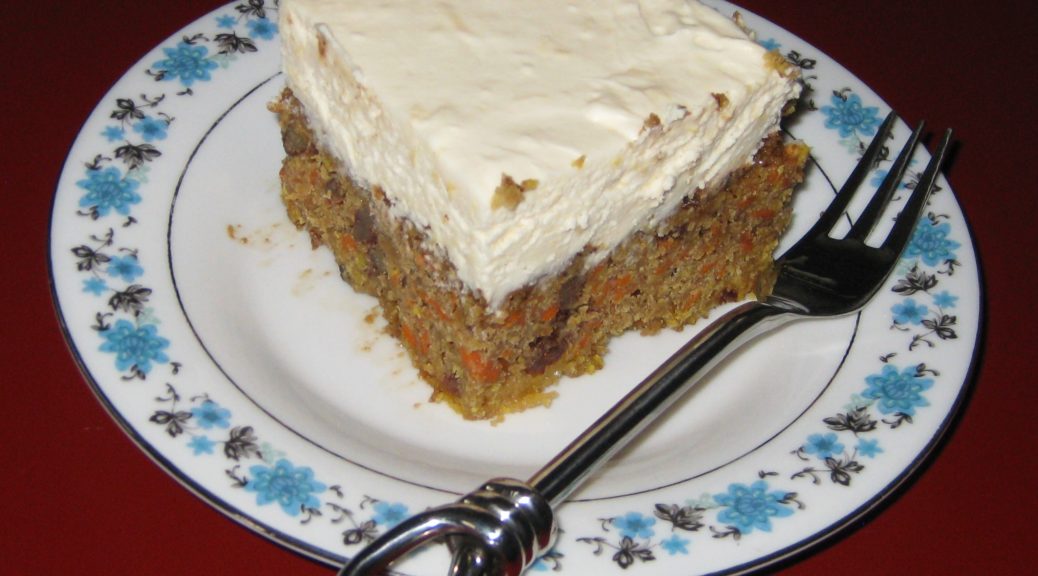
Mike Abramson says his carrot cake is the best ever.

Janet Carlson doesn’t necessarily agree.

For now, the controversy will need to simmer as I only have Mike’s (Justifiably Famous) Carrot Cake recipe, though I have suggested to Janet that she and Mike have a carrot cake bake-off.

Mike makes no apologies for having stolen the recipe from Tom Grier, originally of Grier, Georgia.

The story goes something like this…

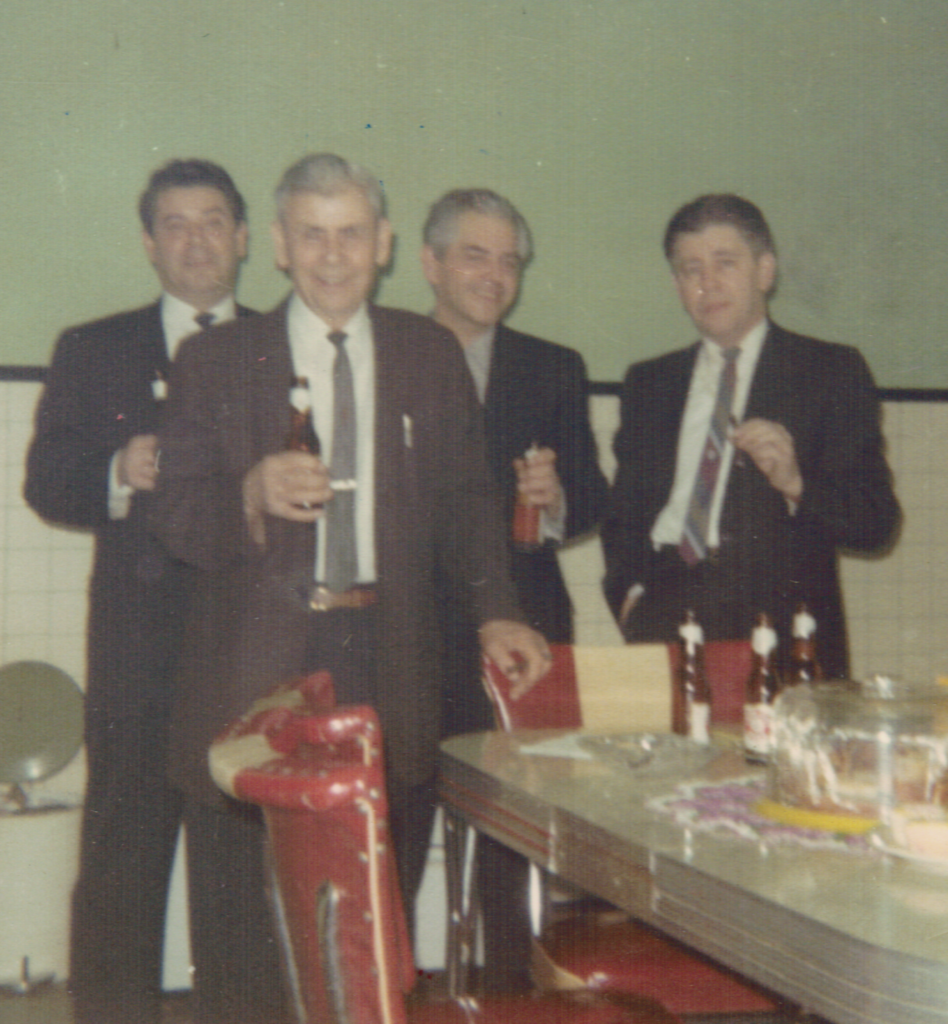
In the 1970’s a group of four friends from San Francisco bought a weekend house, they named Aros, near Sebastopol, California. The four owners rotated use of the house, each getting it for a week at a time but also sometimes showing up there together to host parties as in the photo below.

Mike Abramson, second row far right

Over the years, ownership of the house shifted as some individuals sold their interest and others bought in.

At one point, Tom Grier was the youngest owner.

The group met on a quarterly basis in San Francisco to discuss maintenance issues related to the house. As with use of the house, these meetings were held in rotation at the owners’ homes in San Francisco.

Whenever Tom hosted the meeting, he served carrot cake, which Mike believes originated as a Grier family recipe. Tom shared the recipe with Mike and the rest is history. Mike’s (Justifiably Famous) Carrot Cake was born.

But for Janet’s assertion that Mike’s might not be the best carrot cake in the world, well, we’ll just have to wait for the bake-off.
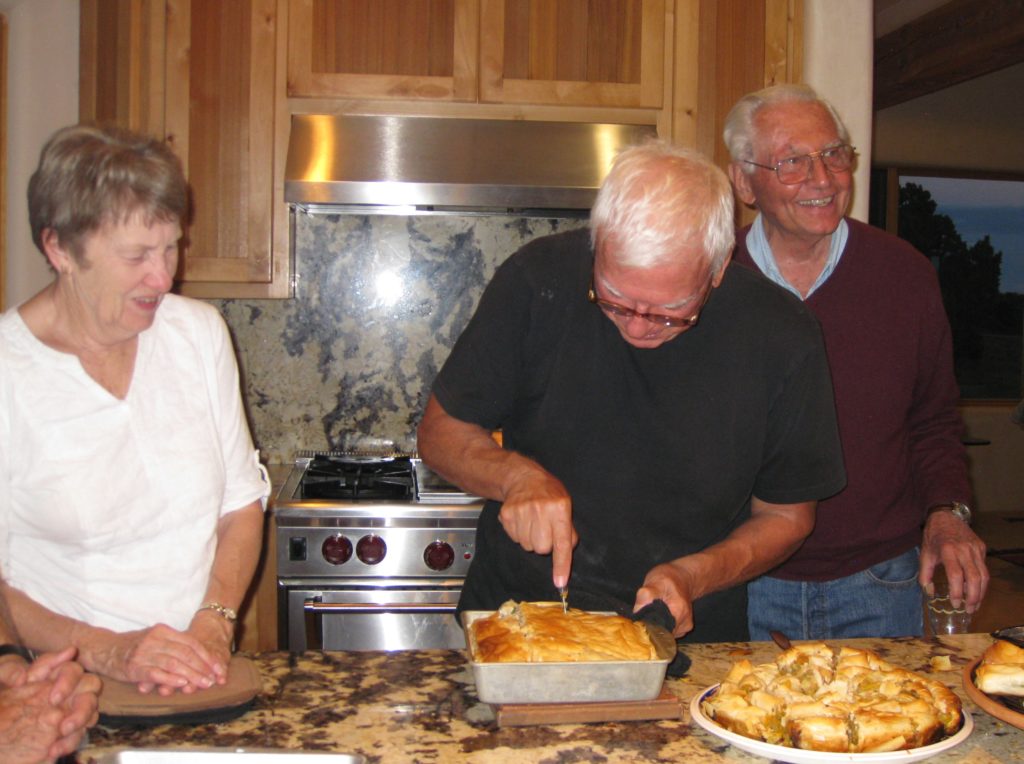
From left to right: Janet Carlson, Richard Valantasis, and Gino Barcone

Follow us


Click HERE to join our mailing list and you’ll never miss a recipe again!
Print Recipe
Mike's (Justifiably Famous) Carrot Cake
This is almost a cross between a spice cake and a carrot cake. The frosting is generous and could easily be reduced by one-third. This recipe is for sea level. If there is interest in adjustments for high altitude, let me know and I’ll post them.
Votes: 0
Rating: 0
You:
Rate this recipe!
Cuisine American
Prep Time 1 hour
Cook Time 40 minutes
Passive Time 2 hours
Servings
people
Ingredients
Cake
Frosting
Cuisine American
Prep Time 1 hour
Cook Time 40 minutes
Passive Time 2 hours
Servings
people
Ingredients
Cake
Frosting
Votes: 0
Rating: 0
You:
Rate this recipe!
Instructions
Cake
  1. Butter and flour a 9” x 13” baking pan.
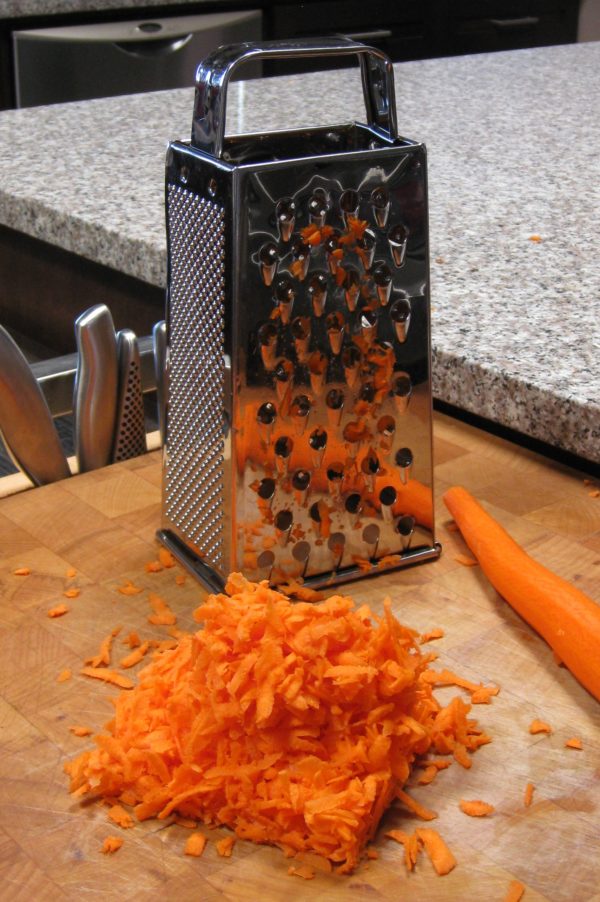
  2. Grate the carrots on the tear-drop holes of a box grater.
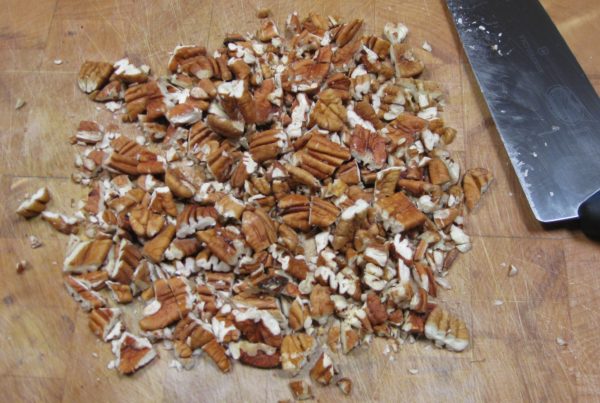
  3. Coarsely chop the nuts.
  4. Combine the flour, baking powder, baking soda, salt, cinnamon, cloves, allspice, nutmeg, and brown sugar in the bowl of a stand mixer. Mix with the paddle.
  5. Add the oil and eggs to the flour mixture. Blend until combined.
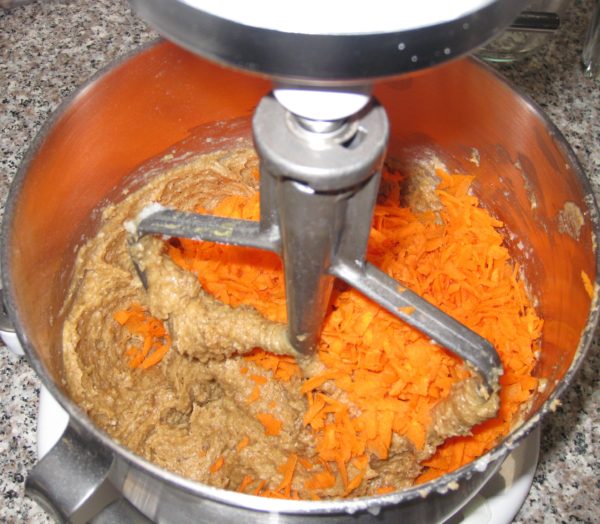
  6. Add the carrots and crushed pineapple with the juice. Mix thoroughly.
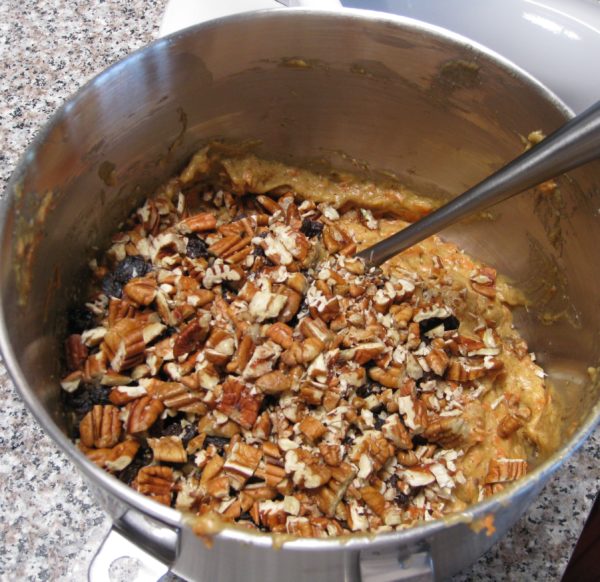
  7. Add the walnuts and raisins. Stir to combine.
  8. Pour into the prepared pan. Bake at 350°F for 35-40 minutes or until the center springs back when lightly touched.
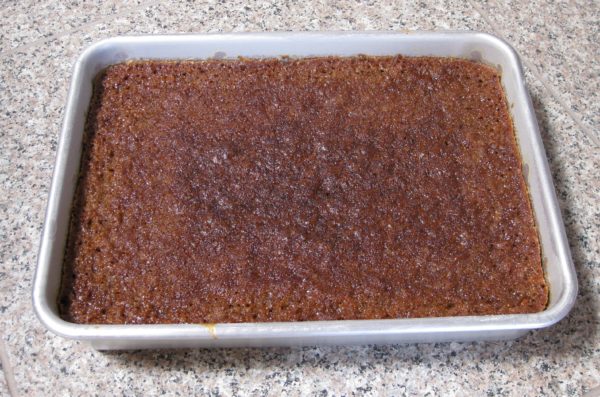
  9. Cool completely in the pan before frosting.
Frosting
  1. Beat cream cheese and butter until light using the paddle of a stand mixer.
  2. Beat in all other ingredients.
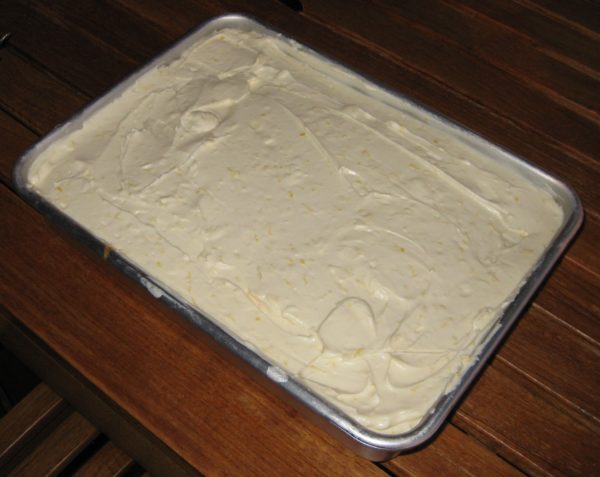
  3. Frost cake when cool.
Recipe Notes

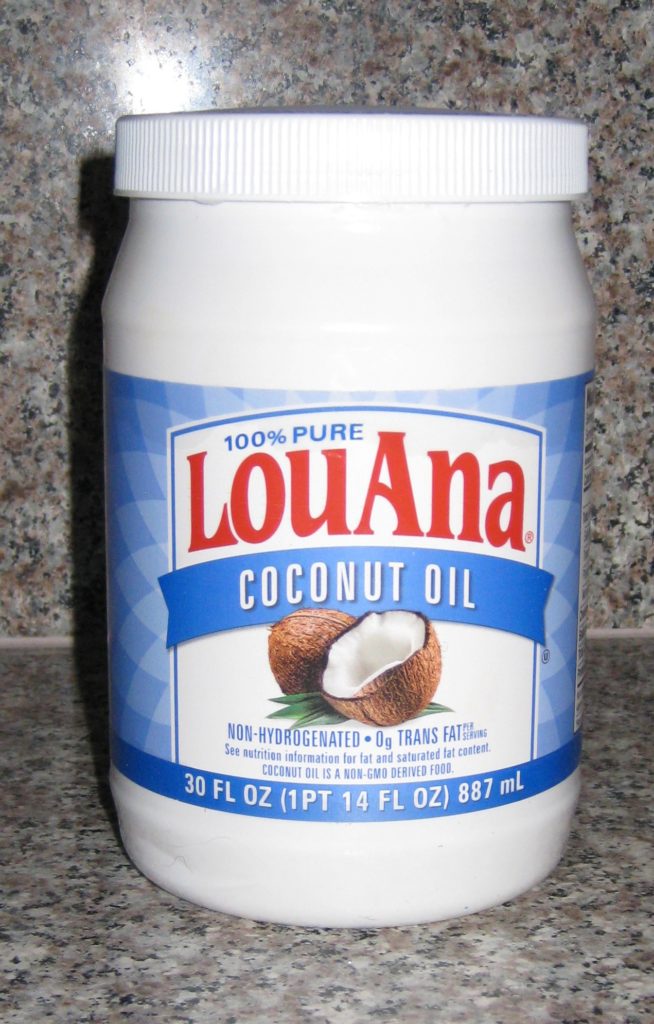
For recipes that call for solid vegetable shortening, such as Crisco, I use coconut oil is due to concerns about the negative health effects of hydrogenated fats.
Copyright © 2017 by VillaSentieri.com. All rights reserved.

Share this Recipe

Aunt Ann’s Pineapple Cream Cheese Pie

June 30, 2017

I grew up at a time, and in a town, where people just dropped in, unannounced, to visit family and friends.

Some evenings we’d stay home.  Some evenings we’d go to town.  This was pretty much every Monday and Thursday when the stores were open until 9:00 PM.  And, mind you, we dressed to go to town!  Other evenings we’d visit family and friends.

Around the age of 5 or 6, when we went to Aunt Ann’s, I’d play with food.  Really.  And not at the table.  I don’t honestly know how this got started but Aunt Ann would spread out a vinyl tablecloth on the beige wall-to-wall carpet in her living room.  (Remember, this was around 1960!)  I would pull pots and pans and mixing bowls and other equipment (like box graters and spoons) out of her kitchen cabinets and haul my stash to the living room.

Aunt Ann circa 1965 at Grandma and Grandpa’s house

Then I’d raid the refrigerator for things like carrots, celery, and so forth.

I’d sit in the living room, on the tablecloth, grating vegetables and mixing things in the various pots and bowls.

My love of cooking has deep roots.

My love of peanut butter not so much.

For some reason, I despised peanut butter at that age.  (I know, that’s almost un-American!)  But just to keep things from being too quiet, Uncle Jano would sometimes walk towards me holding a jar of peanut butter and I would run like a vampire running from a wooden stake.

I don’t know what I thought was going to happen, but I had to escape from the peanut butter.

The ordeal usually ended with me face down on the sofa until Uncle Jano retreated…sometimes only to start again after I pulled my face out of the pillow.

Aunt Ann and Uncle Jano were great fun.  But they were only Aunt Ann and Uncle Jano if you were related to them through Uncle Jano.  If you were related to them through Aunt Ann, they were Aunt Honey and Uncle John.

From left to right: Uncle Jano, my Grandfather, Uncle “Booty” and my Dad, circa 1965 on a Sunday at my Grandparent’s house

Aunt Ann was a great cook.  She was ethnically Russian and made lots of Russian and Eastern European food like mushroom soup, potato soup, kielbasa, chicken paprikash, pierogi, stuffed cabbage, and so forth.

She also made Italian food, which she learned from the wife of the local Mafia Boss who lived down the street.  (I had a colorful childhood.  What can I say?)

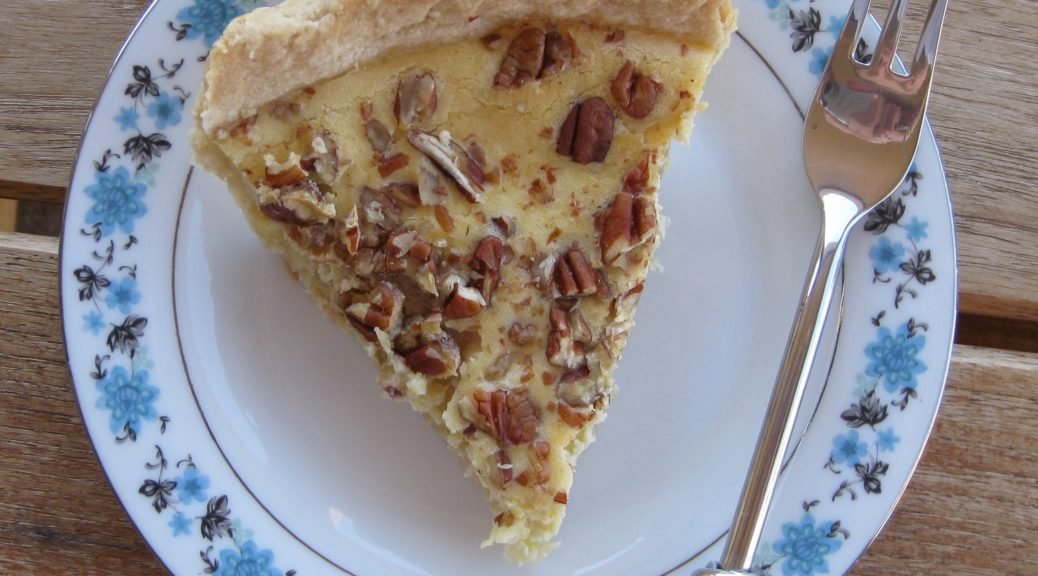
There were the occasional American dishes, like Rum Balls and Pineapple Cream Cheese Pie, too.

Years after those episodes of “cooking” on Aunt Ann’s living room floor, when I was in my teens and twenties, I was always on the lookout for pineapple cream cheese pie when we went to visit.

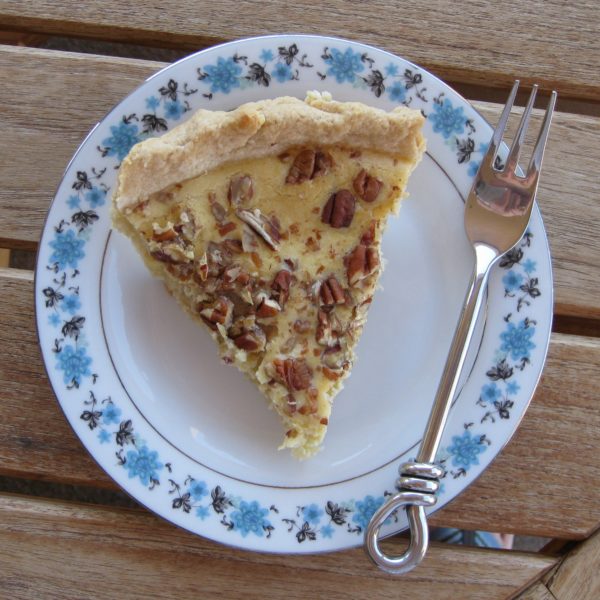
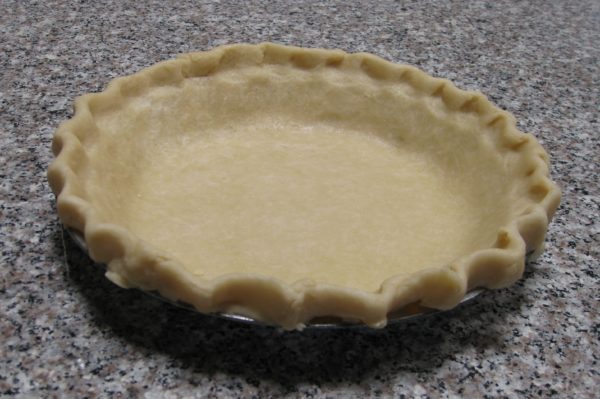
In an attempt to keep this manageable, I am not posting a recipe for pie crust just yet, but I will at a future date.  If you have a favorite pie crust recipe, by all means, make your own.  If not, buy prepared pie crust from the grocery store.  But whatever you do, give this recipe a try if it appeals to you.  It’s always a hit!

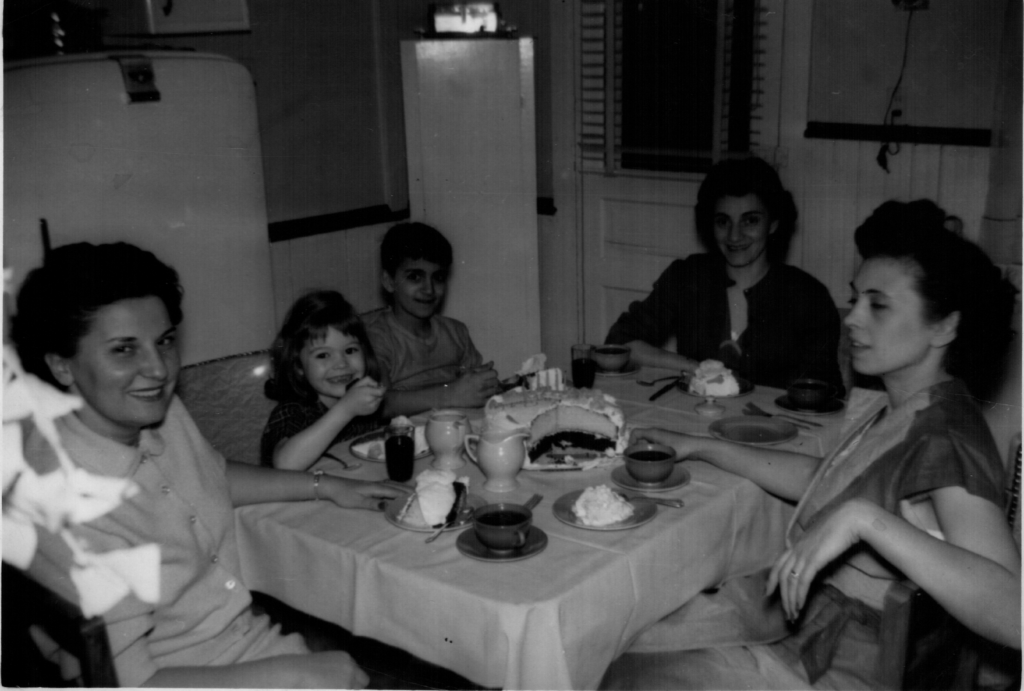
This one is just for fun: Aunt Ann (far left), Aunt Margie (in the back), my mom (far right), my sister and my cousin “Rocky” circa 1950

Click HERE to join our mailing list and you’ll never miss a recipe again!

Print Recipe
Aunt Ann's Pineapple Cream Cheese Pie
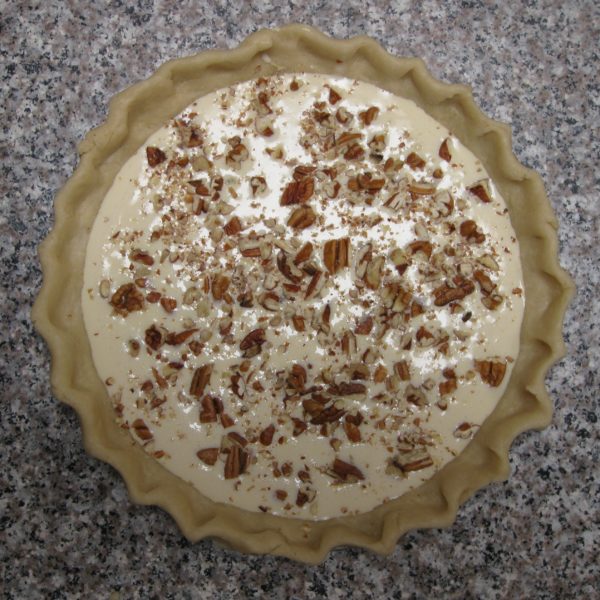
If you don’t have a favorite pie crust recipe, or if you aren’t comfortable making pie crust, buy prepared pie crust. Be sure to purchase NINE INCH DEEP DISH pie crust, however. If you are making your own pie crust, you can use a standard nine inch pie pan, deep dish is not necessary. The cream cheese filling is easier to make in a food processor though an electric mixer works, too. If you are using a mixer, the cream cheese will be much easier to mix if it is at room temperature. This is not critical if you are using a food processor.
Votes: 0
Rating: 0
You:
Rate this recipe!
Cuisine American
Prep Time 30 minutes
Cook Time 1 hour
Servings
pies
Ingredients
Cuisine American
Prep Time 30 minutes
Cook Time 1 hour
Servings
pies
Ingredients
Votes: 0
Rating: 0
You:
Rate this recipe!
Instructions
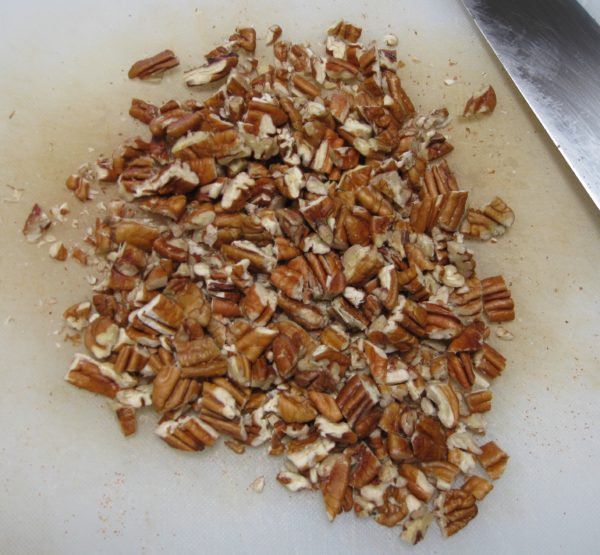
  1. Chop the nuts and reserve.
  2. If making your own crust, prepare and line two nine-inch pie pans. Refrigerate the crust-lined pans until the fillings are prepared.
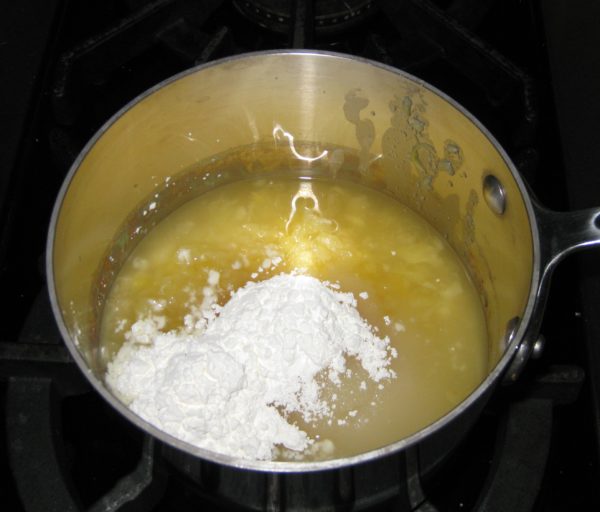
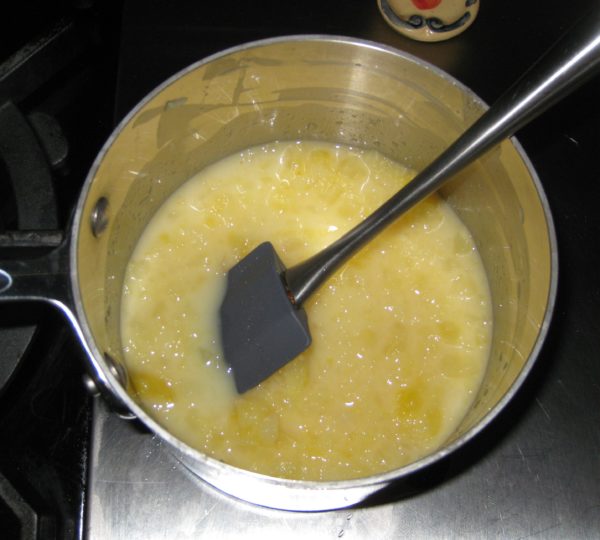
  3. In a small heavy-bottomed saucepan, combine the crushed pineapple, cornstarch, and 1/2 cup of sugar.
  4. Stir until the lumps are gone. The mixture will become cloudy from the cornstarch but will become clear once cooked.
  5. Bring to a boil over medium-high heat, stirring constantly.
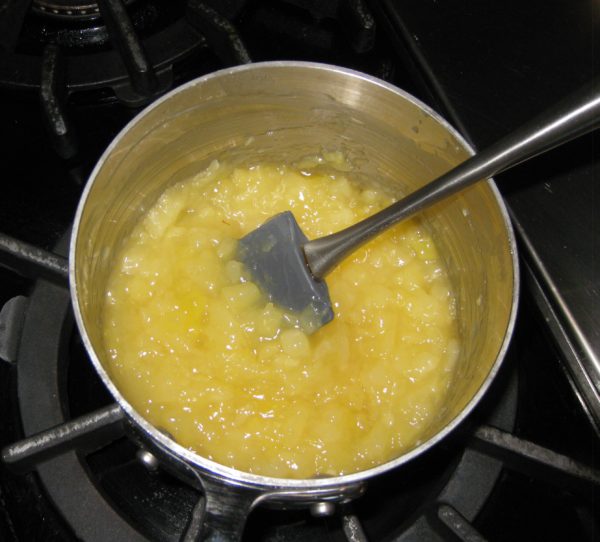
  6. Boil for approximately one minute, until thickened.
  7. Take the pan off the heat and allow the pineapple mixture to cool slightly.
  8. In a food processor or electric mixer, beat the cream cheese well.
  9. Add the remaining 1/2 cup sugar, milk, eggs and vanilla. Mix until the cream cheese is thoroughly combined, all the sugar is dissolved, and there are no lumps.
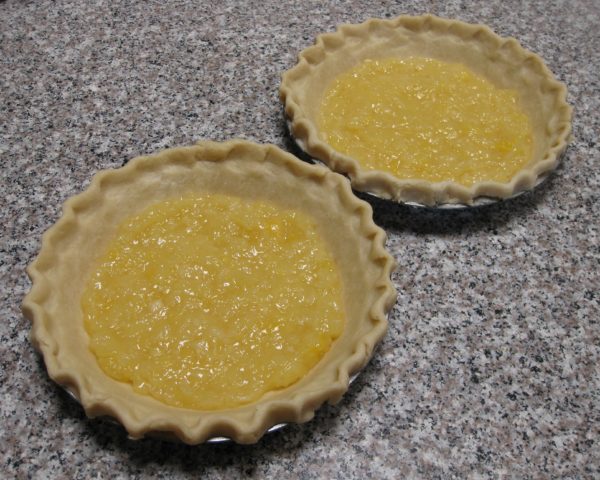
  10. Divide the pineapple filling between the two pie-crust-lined pie pans.
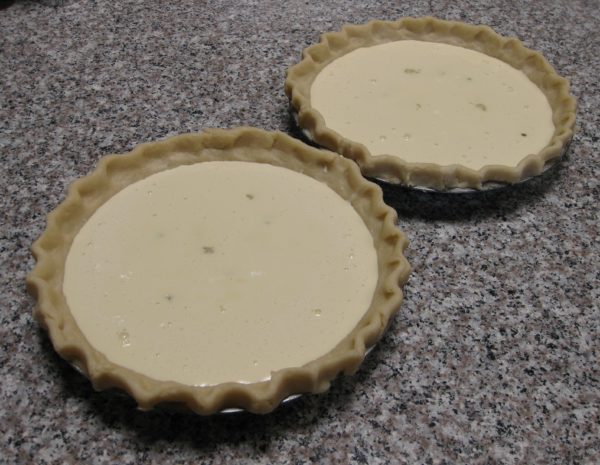
  11. Top each pie with half the cream cheese mixture.
  12. Scatter the chopped nuts on the pies.
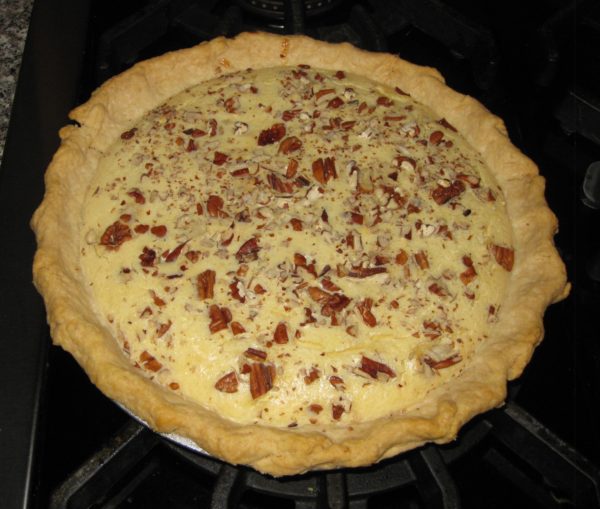
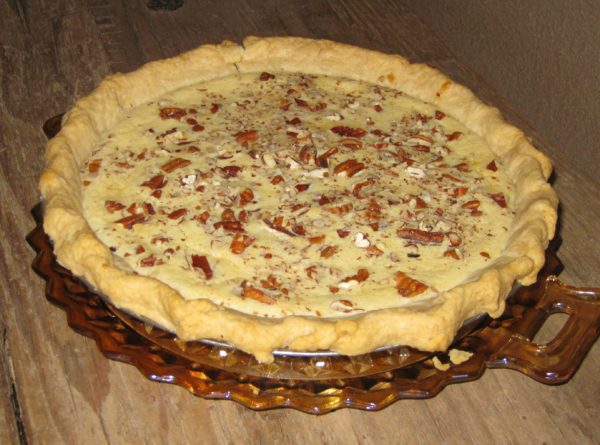
  13. Bake at 350°F for approximately 60 to 65 minutes until the tops of the pies are just beginning to turn golden and the filling is set.
  14. Cool to room temperature before serving. The pies will sink somewhat as they cool.
Recipe Notes

Copyright © 2017 by VillaSentieri.com. All rights reserved.
Share this Recipe

Totos (Italian Chocolate Spice Cookies)

December 21, 2016

Homemade cookies and pastries were staples of my childhood.  Trays of cookies showed up for holidays, celebrations, weddings, funerals, and, sometimes, for no apparent reason.

My mother along with relatives and friends set up a cookie-making operation that went on every night for weeks leading up to my sister’s wedding.  The overseer was Annie Castagnola, a family friend.  She had a thin spiral-bound 3-inch-by-5-inch notebook of cookie recipes.  The notebook was the kind we used in grade school to write down our homework assignments.  Annie’s recipes were a curated collection gathered from a host of “old Italian women,” my grandmother included.

The little notebook was coveted by more than a few cooks.  Annie, however, did not share her recipes, even when those recipes came from relatives of the very people who were asking for them.  I know, my mother was one of those people who wanted some of her mother’s recipes.  Annie wouldn’t budge.  The situation got resolved, however, during the cookie-baking marathon for my sister’s wedding.  One night, Annie left her little notebook at our house overnight.  Nobody’s confessing, but there are a few cookie recipes in my mother’s recipe box (sitting on my bookcase) written in my twelve-year-old hand.

Annie died a while back.  Her little notebook is most likely gone forever and along with it the baking secrets of a whole group of “old Italian women.”

Of all the cookies that showed up throughout the year, my favorites were the various kinds of cakey cookies, my mom’s Genets, Aunt Margie’s aptly named “Colored Cookies,” and my cousin Angie Catanese’s Sesame Seed Cookies, to name a few.  These cakey cookies, which were not very sweet by American standards, were usually little balls but not always.  Genets are lemon flavored knots.  Colored Cookies are vanilla flavored balls, each made with four or five pinches of dough of different colors rolled together.  Sesame cookies are little logs, perfect for dunking into some Vin Santo.  For me, though, the best of these cakey cookies are Totos, little chocolate spice balls.

Print Recipe
Totos (Italian Chocolate Spice Cookies)
These little chocolate balls are intended to have a good kick from an array of spices. Lard is the traditional shortening to use. I render my own. If you need these to be vegetarian, or you just don't want to use lard, you can use solid vegetable shortening. Heck, you can even use clarified butter but that is way off the traditional scale!
Votes: 21
Rating: 3.81
You:
Rate this recipe!
Cuisine Italian
Prep Time 45 minutes
Cook Time 2 hours
Servings
dozen cookies
Ingredients
Cookies
Icing
Cuisine Italian
Prep Time 45 minutes
Cook Time 2 hours
Servings
dozen cookies
Ingredients
Cookies
Icing
Votes: 21
Rating: 3.81
You:
Rate this recipe!
Instructions
Cookies
  1. In a small saucepan, melt the lard over low heat. When just melted, remove the lard from the heat and allow to cool slightly.
  2. Meanwhile, combine the flour, cocoa, baking powder, baking soda, salt, cloves, cinnamon, allspice, and nutmeg together. Reserve.
  3. Make the icing and reserve.
  4. Put the sugar into a large mixing bowl. Add the cooled but still liquid lard and mix well until thoroughly combined. The mixture will be gritty. I recommend doing this by hand with a mixing spoon but you could use a portable electric mixer.
  5. Add the eggs one at a time to the sugar and lard mixture, mixing well after each addition. The sugar should dissolve as the eggs are added.
  6. Add the milk, honey, vanilla extract and lemon extract to the egg mixture. Mix until well combined.
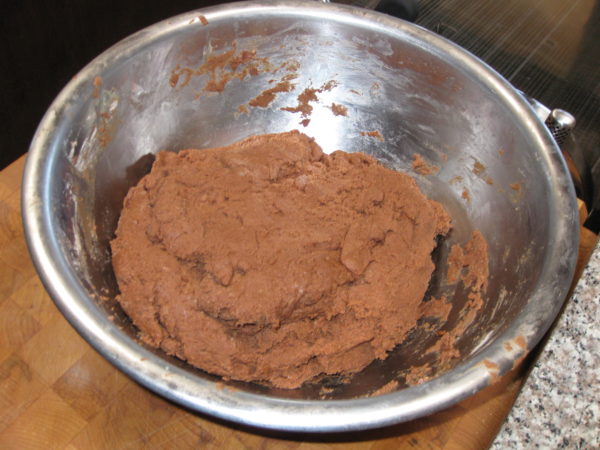
  7. Add the reserved dry ingredients. At this point there really is no better option than to reach into the mixture with your hand and get everything well combined. The dough will be somewhat sticky. Be certain that all the dry bits are scraped off the bottom and sides of the bowl and combined into the dough.
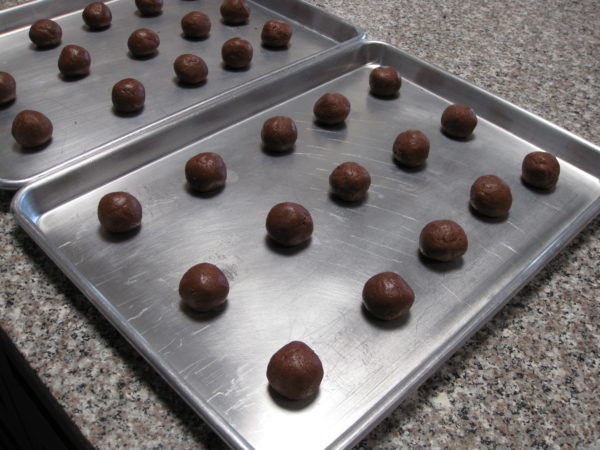
  8. Roll the dough into walnut-sized balls. If you want to weigh the first few to get the size correct, they should be between 21 and 22 grams.
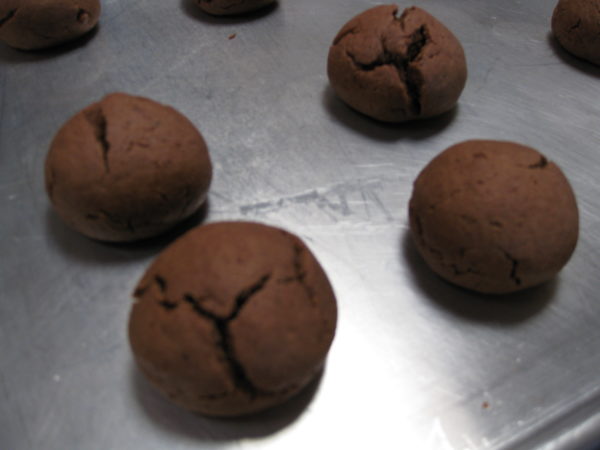
  9. Space the cookies several inches apart on ungreased cookie sheets. Bake at 375°F for 8-10 minutes until the cookies are very slightly browned on the bottom but still soft when touched. They have a tendency to crack as they bake. This is normal. You can bake two trays at a time, one in the lower third of the oven and one in the upper third. Be sure to switch the top and bottom cookie sheets after five minutes and also turn them front to back.
  10. As soon as you remove the cookies from the oven, carefully put them on cooling racks.
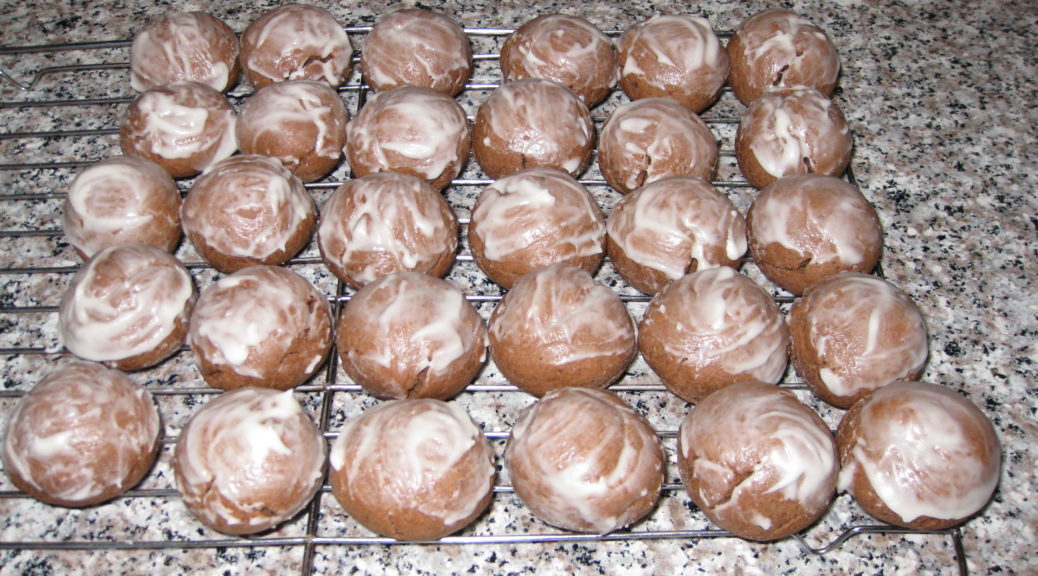
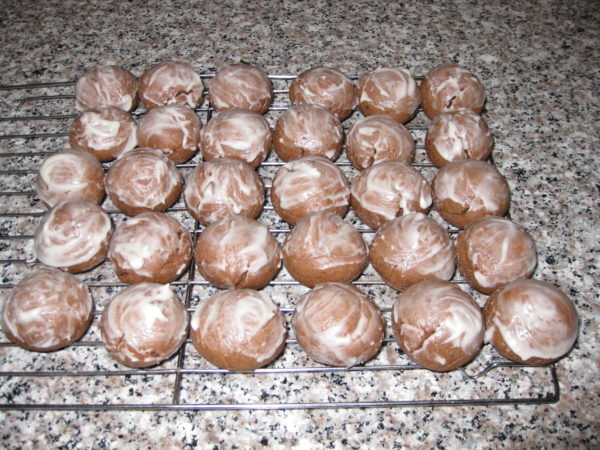
  11. Ice them immediately by holding a cookie with one hand and using the tip of your finger to spread a dollop of icing on the top half of each cookie. The icing should be a glaze, not a thick coating. Put the iced cookies on cooling racks to cool completely.
  12. Well wrapped, the cookies can be refrigerated for several weeks or frozen for several months.
Icing
  1. Melt the butter. Add the sugar, vanilla (or lemon) extract and 2 tablespoons of milk. Mix well. Add more milk, a teaspoon at a time, if needed, to make a thick icing that will hold its shape and spread well.
  2. It may be necessary to add a bit of milk from time to time if the icing stiffens up over the course of icing each batch of cookies as they come out of the oven.
Recipe Notes

Check out my method for rendering lard.

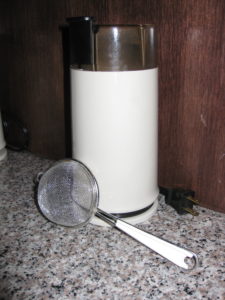
I prefer to grind my own spices using a small electric coffee grinder, except for the nutmeg, of course, for which I use a small grater. It is best to pass the ground spices through a small strainer to get out any small bits. If you don’t grind your own spices be sure to buy really fresh ground ones so the flavor is vibrant.

This recipe doesn’t involve any strenuous beating so the first few steps can easily be completed by hand with a sturdy mixing spoon rather than with a mixer. Similarly, after adding the dry ingredients, the dough only needs to be mixed enough to come together. This is easily (and traditionally) done with your hand though I suppose a dough hook would work, too.

Copyright © 2016 by VillaSentieri.com. All rights reserved.
Share this Recipe