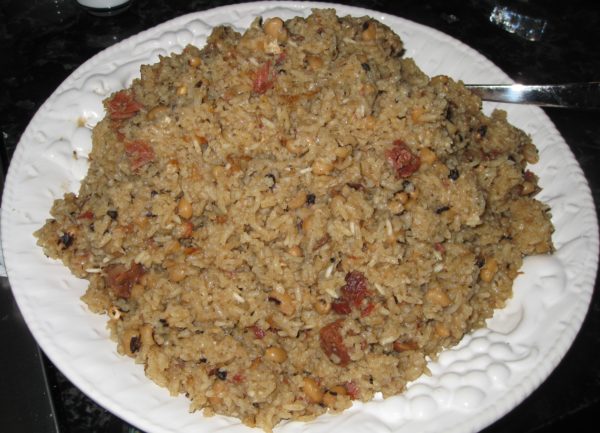
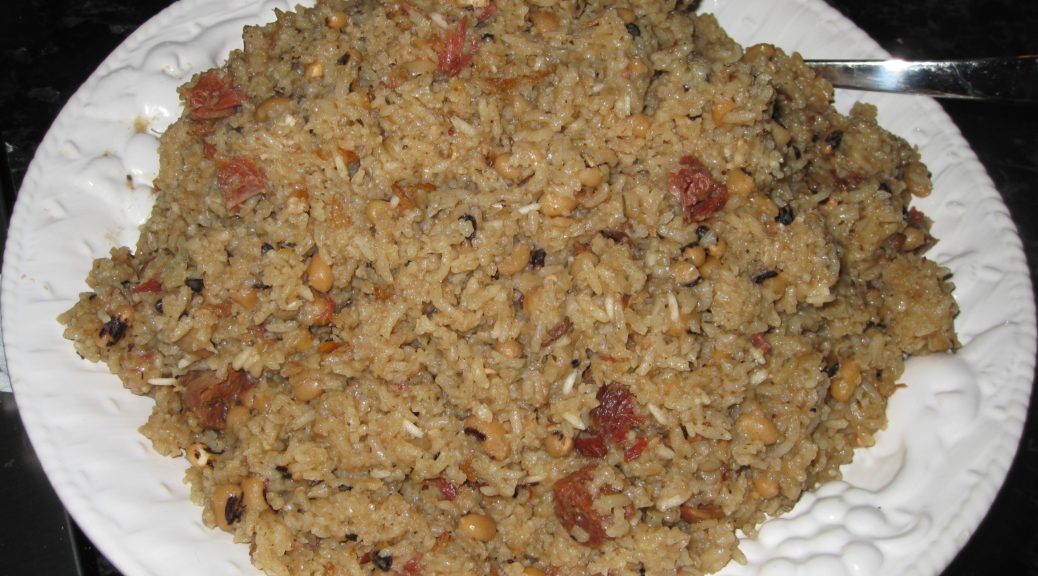
Guyanese “Cook Up” (Rice and Black Eyed Peas Cooked in Coconut Milk)

July 13, 2018

The combination of rice and legumes (peas, beans, lentils) is common throughout much of the world.  Sometimes the beans and rice are cooked together like Cajun Red Beans and Rice, Ecuadorian Gallo Pinto or Italian Risi e Bisi.  Sometimes the beans and rice are cooked separately but served together as with Cuban Black Beans and Rice.  The combination of black beans and rice, mixed into a single dish, is traditionally called Moros y Cristianos, a not very politically correct term that translates as Moors and Christians.

Jamaican Rice and Peas is probably the most well-known version of the combination from the West Indies, a term that is typically applied to the English-speaking parts of the Caribbean.  As I’ve mentioned before, although Guyana is on the South American mainland, it was administered as part of the British West Indies and most definitely has a West Indian culture.

Join our mailing list and you’ll never miss a recipe again!

Jamaican Rice and Peas is typically meatless.  It is most often made with red kidney beans.  Part of the cooking liquid is coconut milk.
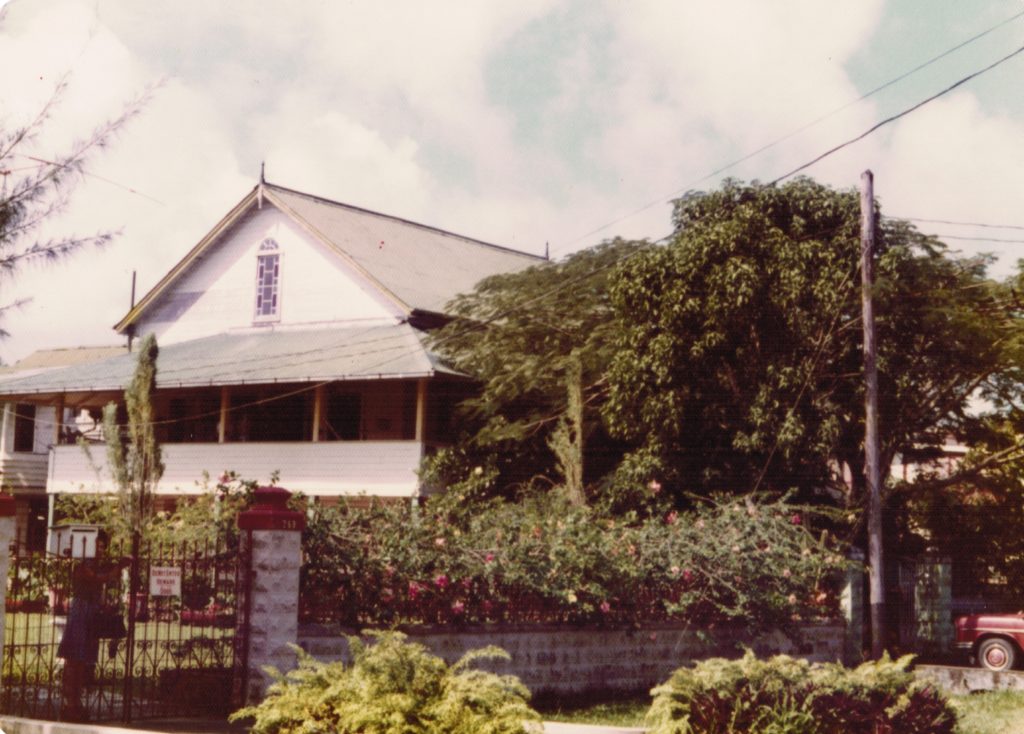
The house where Ray Hugh, my college roommate, grew up and where I stayed on several occasions, Georgetown, Guyana

Cook Up, the Guyanese version of rice and peas, is most definitely not meatless.  In my experience, it is rare to have fewer than two types of meat in Cook Up.  Coconut milk also figures prominently.

I made four trips to Guyana starting just prior to my junior year in college and ending just prior to starting my internship after finishing medical school.  During the first three trips, I stayed with Ray Hugh, my college roommate, at his father’s house.

During the last trip, I was working as a physician at the public hospital in Georgetown, Guyana.  I rented a room in a private house.  That visit was scheduled to last for five months with a brief return to the States for my medical school graduation after about three and a half months.  As graduation approached, and the prospect of working long hours as an intern became more real, I decided that when I flew home for graduation I would stay put and relax for a bit before starting internship.

Follow us on your social media platform of choice


I enjoy going to food markets whenever I travel, be they local convenience stores, supermarkets, open-air markets, or any other variant!  Stabroek Market in Georgetown is a roofed-over open-sided market housed in a sprawling Nineteenth Century building.  Vendors sell food and almost  any other necessity.

Stabroek Market in Georgetown, Guyana (photo: Google, stabroeknews.com)

Although the house where I stayed had a cook, she only cooked lunch, a very substantial lunch I might add!  I sometimes cooked dinner.  Stabroek Market was where I did my shopping.

Thyme figures prominently in Guyanese cooking.  There are three different herbs that are referred to as thyme in Guyana.  The first is what we think of as “regular” thyme, sometimes called French thyme.  The second is referred to as fine-leaf thyme or Guyanese thyme.  The third is called thick-leaf thyme or broad-leaf thyme.

Although there are many varieties of thyme, thick-leaf thyme is not really thyme but a semi-succulent perennial plant that has wide distribution.  Guyanese thyme, which is quite difficult to obtain in the United States may actually be a variety of oregano.  Thyme, oregano, and marjoram are all closely related.

Rather than sweat trying to find different varieties of thyme, I use “regular” (French) thyme and a little oregano and/or marjoram to round out the flavors.  Since no two cooks use the same herbs in the same quantities, and since many Guyanese cooks would just use French thyme, I think the addition of a little oregano and/or marjoram to mimic fine-leaf thyme produces a traditional taste.  However you do it, thyme  should be the predominant flavor.  Since thyme can taste medicinal in large quantities, use it sparingly at first if it’s not an herb you’re accustomed to cooking with.
Print Recipe
Guyanese "Cook Up" (Rice and Peas with Coconut Milk and Meats)
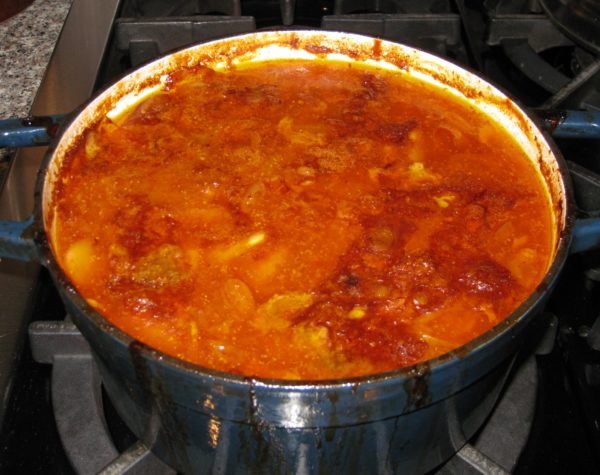
There are more variations of Cook Up than there are Guyanese cooks. Consider this recipe a starting point. You can use more kinds or different meat, such as diced corned beef or pickled pork (essentially made the same was as corned beef but with pork). Typically, in Guyana, the meats and black-eyed peas would be cooked in the same pot, being added when appropriate to finish cooking at the same time. Liquid would be adjusted by sight and the rice and other ingredients added and the cooking finished. When I made this frequently, I had all the timing down and got quite good at estimating the volume of liquid in the pot. These days, I cook the different ingredients in steps, and actually measure the liquid, as described below.
Course Mains, Meats, Poultry
Cuisine West Indian
Prep Time 15 minutes
Cook Time 3 1/2 hours
Passive Time 1 hour
Servings
people
Ingredients
Seasoned Chicken
Smoked Meat Broth
Final Assembly
Rate this recipe!
Instructions
Seasoned Chicken
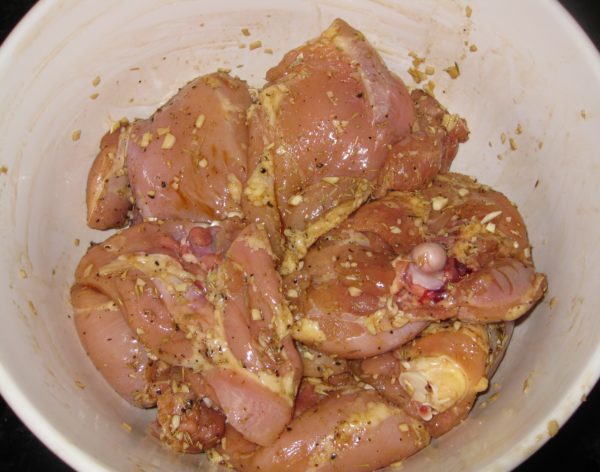
  1. Combine chicken thighs with all chicken seasoning ingredients.
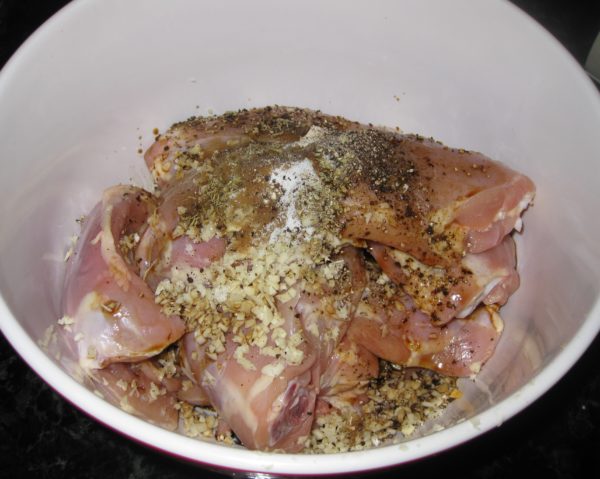
  2. Mix well. Refrigerate several hours or overnight.
Smoked Meat Broth
  1. Make the smoked meat broth using the ham shanks or ham hock and water. You can do this by simmering them, covered, for 4-5 hours; cooking in a pressure cooker or Instant Pot for 60 minutes; or using a slow cooker set on low for 6-8 hours.
  2. When the broth is done, remove and reserve the ham shanks or ham hock. Skim the fat from the broth, add water to make 8 cups, and refrigerate if not using immediately.
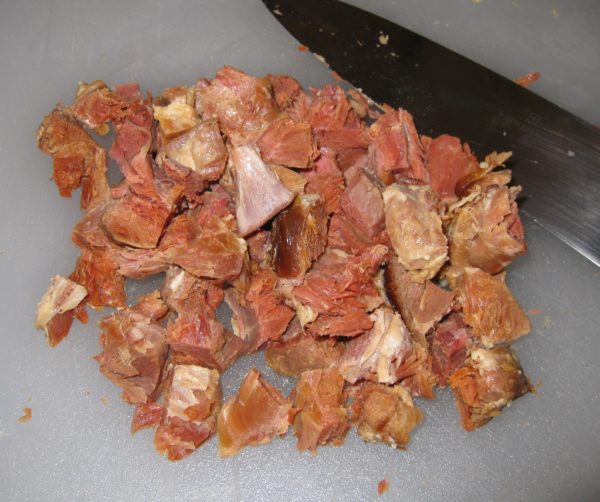
  3. Dice the meat from the ham shanks or ham hock and reserve.
Final Assembly
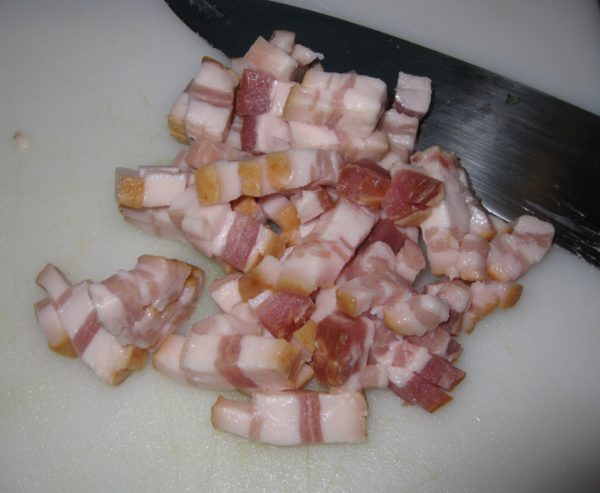
  1. Dice the bacon.
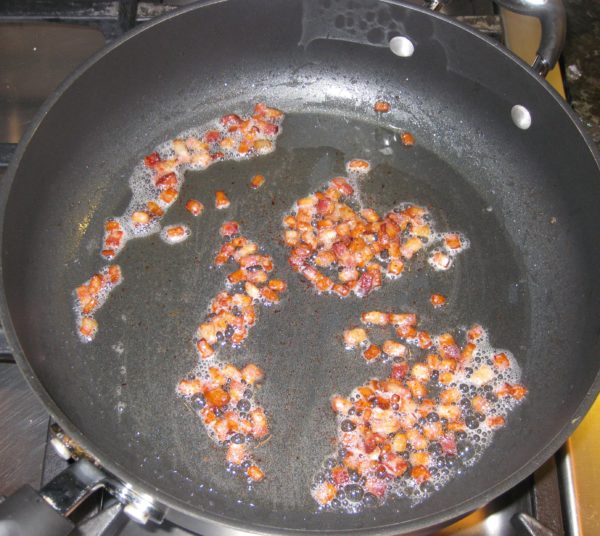
  2. In a large, heavy-bottomed Dutch oven or stockpot with a tight-fitting lid, brown the bacon.
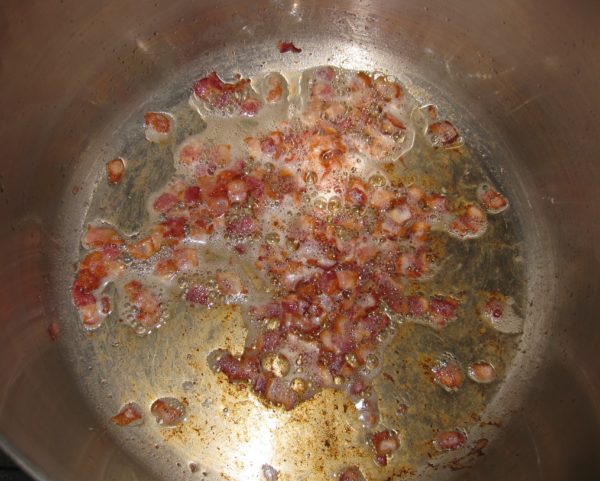
  3. Remove and reserve the bacon.
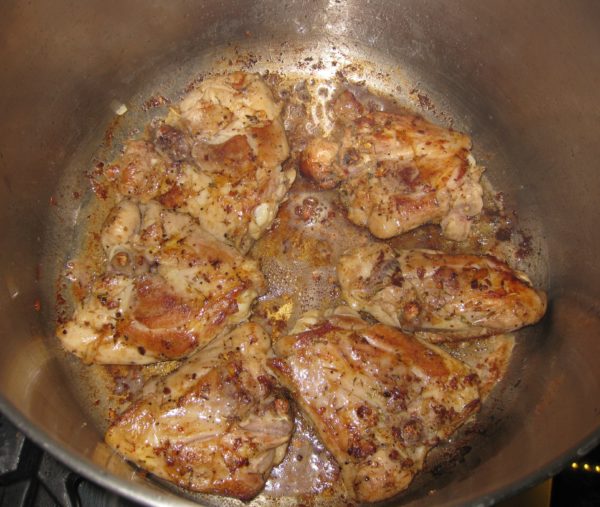
  4. Brown the seasoned chicken pieces well, in batches, in a the bacon fat in the Dutch oven.
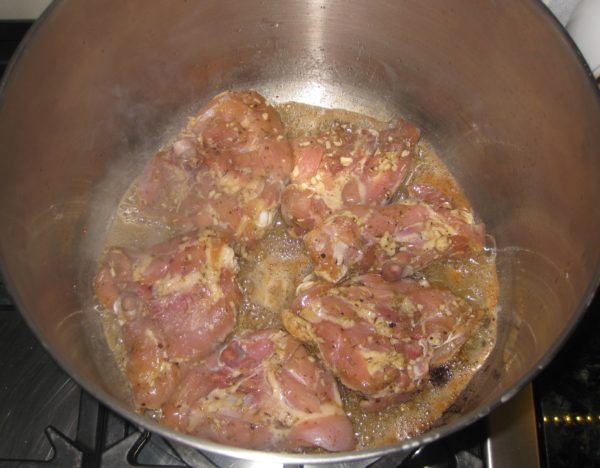
  5. As the chicken pieces are browned, remove them to a platter.
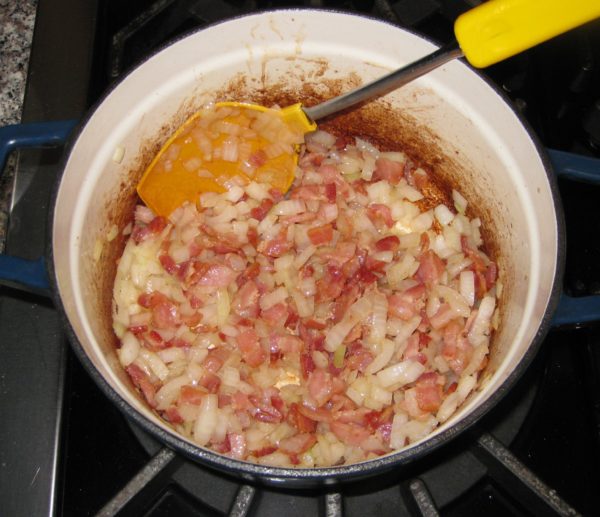
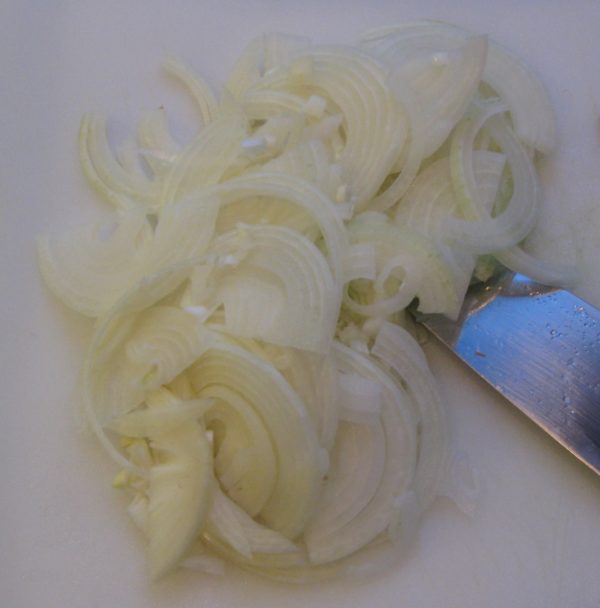
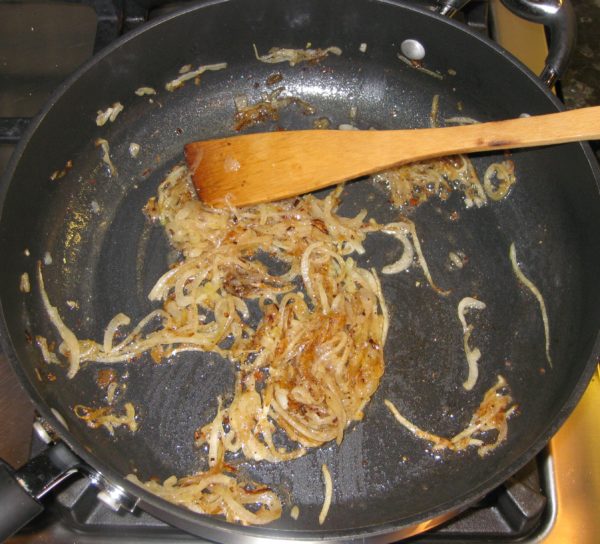
  6. After browning and removing all the chicken, add the onions to the Dutch oven and sauté until softened. If the onions do not release enough liquid to loosen the browned bits from the bottom of the pot, add a few tablespoons of broth or water.
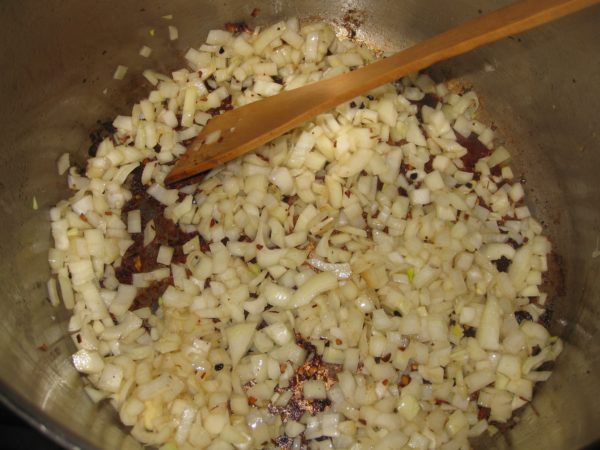
  7. After loosening the brown bits, continue to sauté the onions until translucent.
  8. Add the garlic and sauté until fragrant.
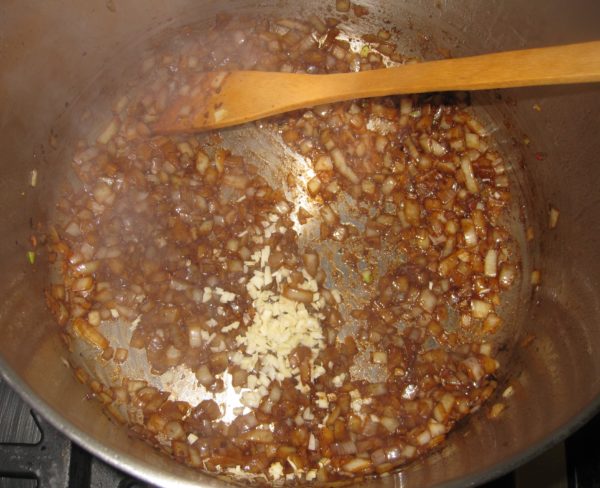
  9. Return the chicken to the pot with the onions and garlic. Add any accumulated juices as well as any marinade that might be left in the bowl. Add 4 cups of broth. Cover the pot and simmer approximately one hour, until the chicken is tender.
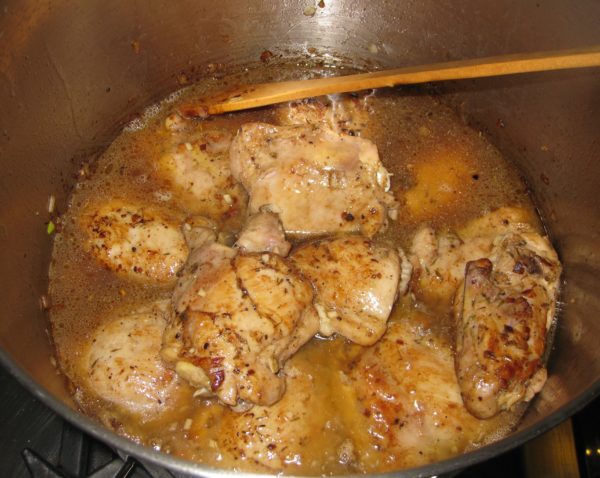
  10. Remove and reserve the chicken.
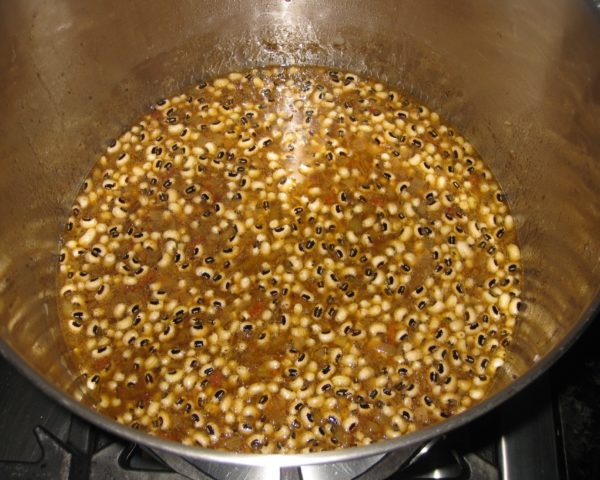
  11. Add the black-eyed peas and bacon to the pot in which the chicken was cooked along with the remaining 4 cups of broth. Bring to a gentle boil and cook, partially covered, until the peas are cooked, approximately 30-45 minutes, adding two teaspoons of salt after about 15 minutes of cooking.
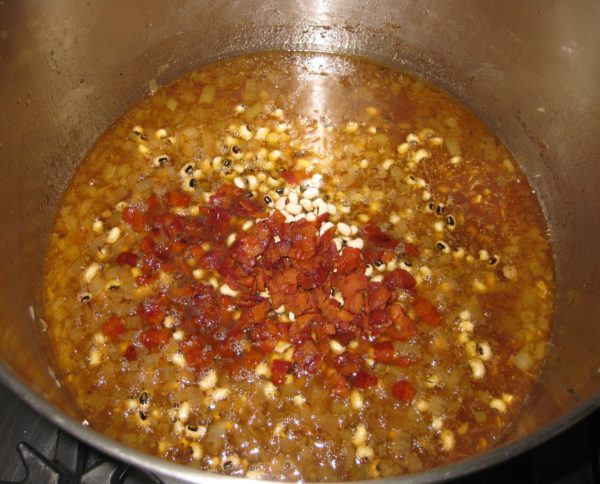
  12. When the peas are cooked drain them, reserving the cooking liquid.
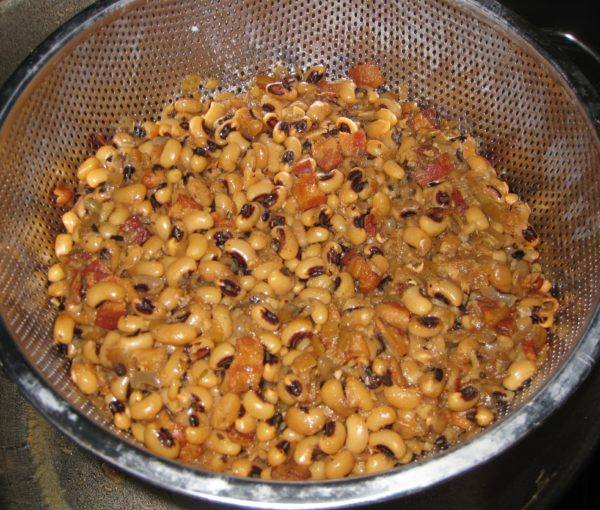
  13. Measure the cooking liquid and either add water or boil it down to make four cups.
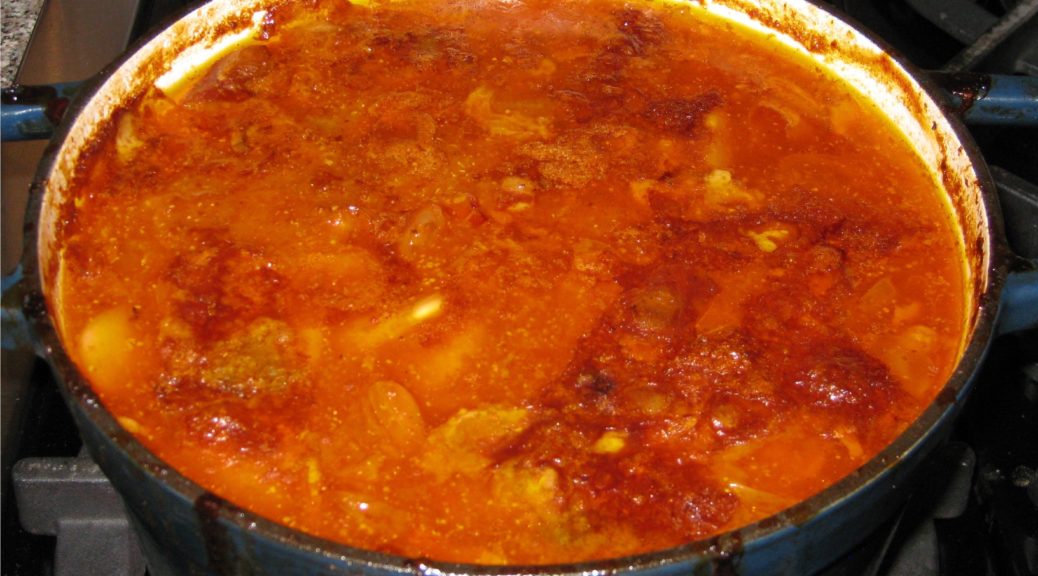
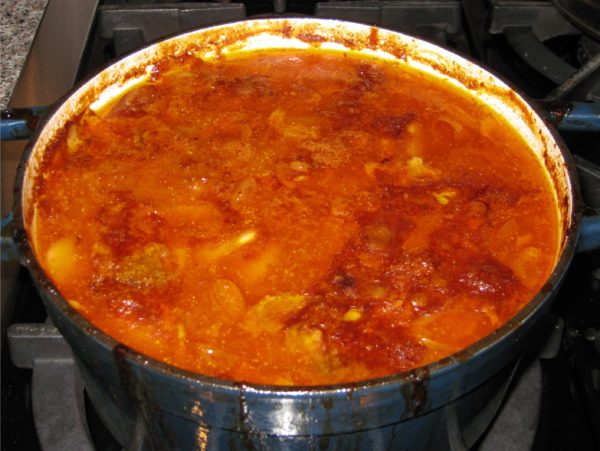
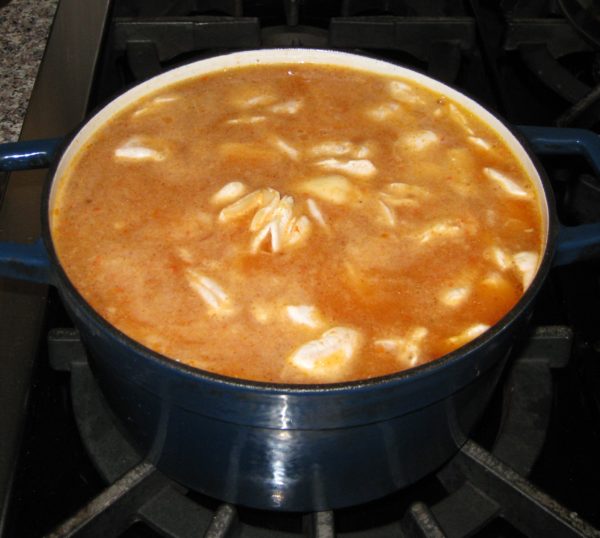
  14. Return the cooking liquid to the Dutch oven along with the cooked black-eyed peas and bacon, diced pork from the broth, rice, coconut milk and 4 teaspoons of salt. Bring to a boil, stirring a few times. Put the chicken pieces on top of the rice, cover the pot, reduce the heat to low, and cook for 20 minutes without opening the pot.
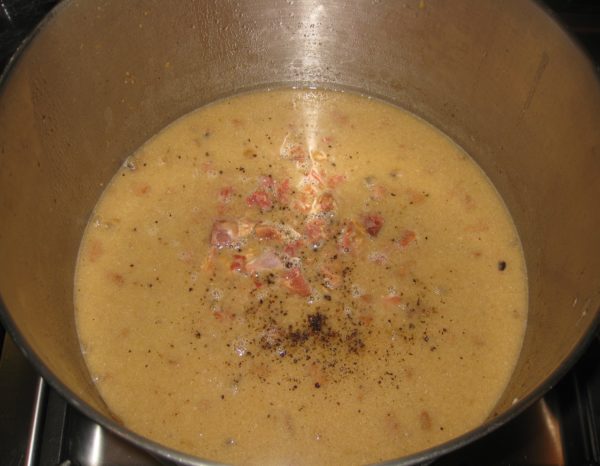
  15. Remove the rice from the heat and allow it to rest for 15 minutes without removing the lid.
  16. After 15 minutes taste a bit of the rice. It should be cooked, but if not, add a bit more water and cook briefly on low heat, covered, until the rice is fully cooked.
  17. Arrange the chicken on a serving platter.
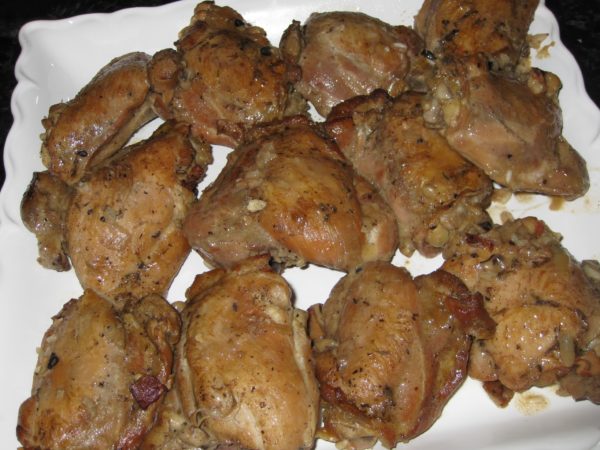
  18. Stir the rice and put on the platter with the chicken or on a different one. Serve immediately with West Indian hot sauce.
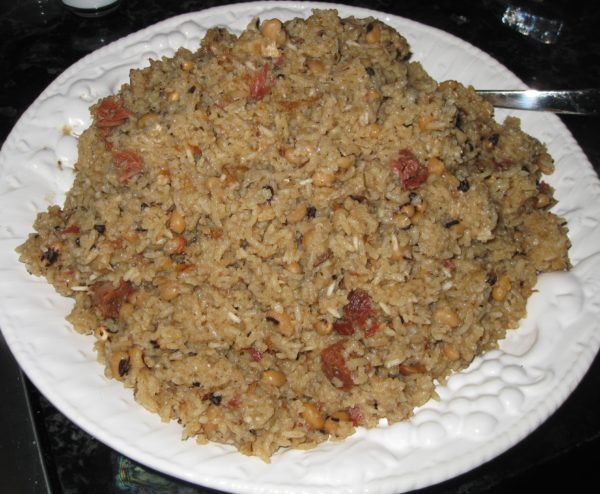
Recipe Notes

Smoked ham shanks are the boney ends of smoked ham. They have a gentle smoke flavor, just like ham. Smoked ham hocks are much more aggressively smoked and one would be sufficient for this quantity of rice.

Copyright © 2018 by Villa Sentieri, LLC. All rights reserved.

Share this Recipe

Smoky Baked Beans

June 1, 2018

In my first year of medical school (I know that only because of the apartment that I was living in at the time) my parents and my Aunt Ann came to visit for a weekend.  I’ve talked about Aunt Ann in previous blog posts, like this one that includes her recipe for Pineapple Cream Cheese Pie.  She was married to my father’s brother, Jano.

As often happened with my mother, the conversations frequently veered to food.  On this occasion, for some reason, my Aunt Mary’s baked beans.

Aunt Mary was really my mother’s Aunt Mary by marriage.  She was my Great Aunt Mary.  Actually, by the time I knew her, she wasn’t really my aunt, great or otherwise, because she and my mother’s Uncle Derp had gotten divorced.  Nonetheless, we all still called her Aunt Mary.  Well, really, due to some bizarre twist, we called her Aunt Mary Derp if we were referring to her in a conversation and it wasn’t otherwise clear which of the several Aunt Marys in the family was the one we meant.  Why we appended the name of her ex-husband to hers rather than using her last name, I’ll never know!!


Join our mailing list and you’ll never miss a recipe again!


In any case, my parents both talked about Aunt Mary’s baked beans.  They recalled that she baked them overnight.  My mother came up with a reasonable facsimile of what went into the beans.

We tried to do the initial boiling of the beans in a slow cooker while we went out for the day.  That was a failure.  On the low setting, the beans were still hard after hours and hours of cooking.  That got remedied by a quick boil on the stove.

My smoker has an adjustment for the heat output but not temperature, per se. If the wind or external temperature change, the internal smoker temperature changes, too.

We took the par-boiled beans and mixed them with all the other ingredients and put them in the oven overnight.  That was failure number two, but one we couldn’t recover from.  The long cooking period created a burnt taste in the beans given the high sugar content.  The beans hadn’t actually dried out but they must have gotten hot enough to start caramelizing the sugar.  The road from caramel to burnt isn’t long.  Unless one doesn’t get more than six hours sleep, we discovered that it wasn’t ideal to bake the beans overnight!

Eventually, I figured it out.  The recipe for my version of Aunt Mary’s Baked Beans now sits proudly on the hard drive of my computer along with two recipes of my own development.  I also have this great hack for doctoring canned baked beans that I learned from my cousin Shirley (it always generates requests for the recipe that I artfully dodge) but that isn’t actually written down anywhere.


Follow us on your social media platform of choice


Today, we’re going to focus on my recipe for baked beans cooked in a smoker.  I’ll also share a trick for making these in the oven if you don’t have a smoker.

When I make these, I put them on the bottom rack of my smoker, uncovered, with meat on the racks above.  Meat juices drip into the beans making them extra tasty!  The high humidity in the smoker keeps the uncovered beans from drying out.

Print Recipe
Smoky Baked Beans
Adding salt to the bean-soaking liquid is optional. It seasons them and also decreases the cooking time. I find it especially useful where I live as water boils at less than 198°F and beans take much longer to cook. If you don’t have a smoker, add 1 teaspoon of Liquid Smoke seasoning and cook the beans in the oven with a cover. As a reality check, if you’re paying close attention to the photos, you’ll notice that these are “adult” lima beans not baby lima beans. There must have been a run on baby lima beans when I went shopping for the ingredients for this recipe as none of the markets had them.
Prep Time 30 minutes
Cook Time 8 hours
Passive Time 12 hours
Servings
people
Ingredients
Rate this recipe!
Instructions
  1. Wash and pick over the beans.
  2. Dissolve 1 ½ tablespoons salt, if using, in 2 quarts of water. Add the beans.
  3. Soak the beans for about 12 hours in the refrigerator.
  4. Drain and rinse the beans.
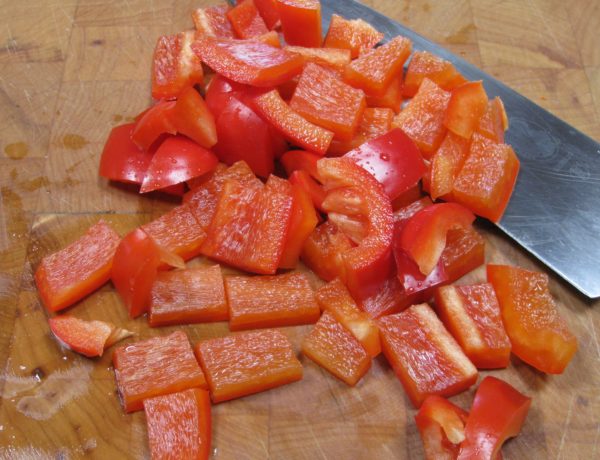
  5. Coarsely chop the red Bell pepper.
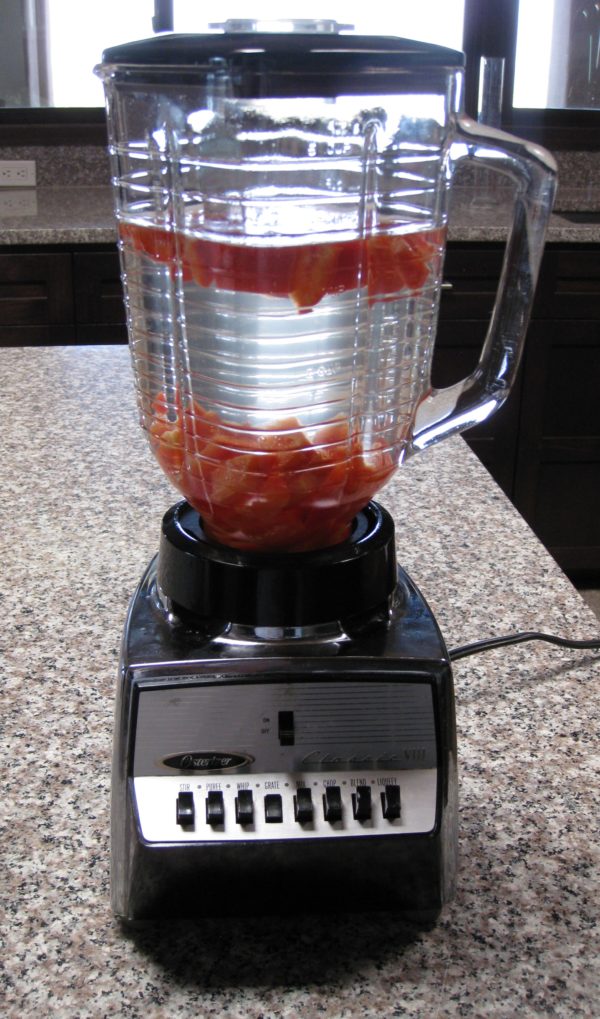
  6. In a blender jar, combine the Bell pepper with some of the 6 cups of water.
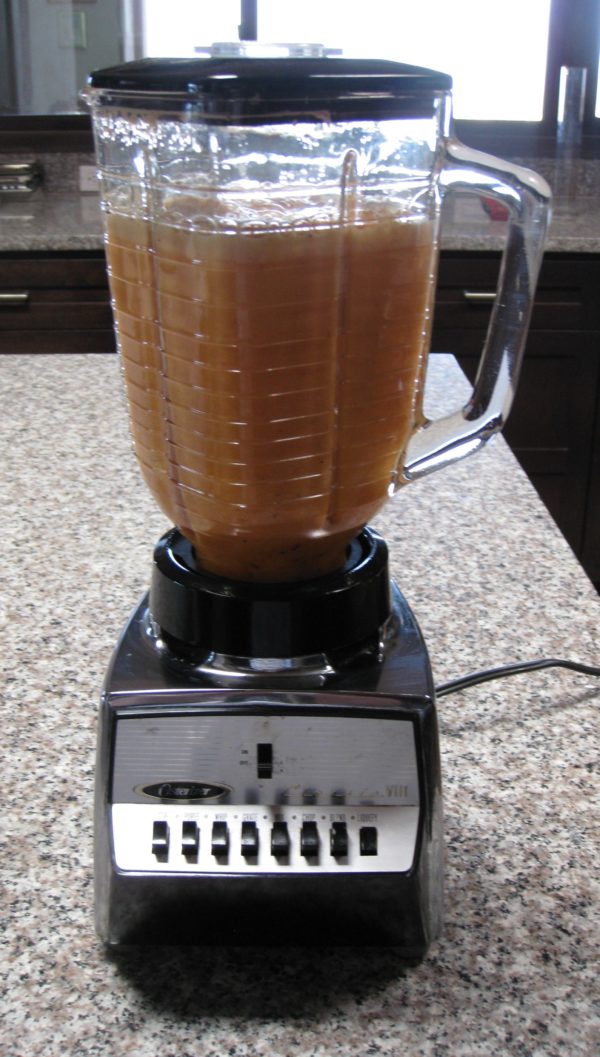
  7. Puree the Bell pepper.
  8. Add the chipotle pepper, if using, and puree again. Reserve the pepper puree.
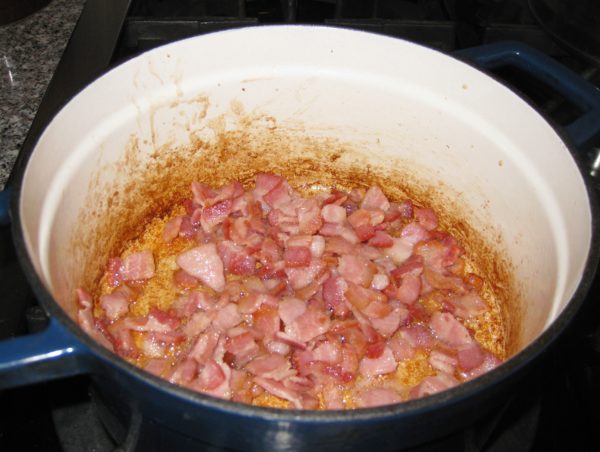
  9. Sauté the bacon until golden.
  10. Add the onion and sauté until soft.
  11. Add the garlic and sauté until fragrant.
  12. Add the drained beans, pepper puree, remaining water, and bay leaves.
  13. Gently boil, partially covered until almost tender (1 to 2 hours). Add water from time to time if needed. The beans should be just barely covered with liquid at the end.
  14. Combine the ketchup, white wine, brown sugar, Worcestershire sauce, mustard, salt and black pepper.
  15. Stir the ketchup mixture into the cooked beans.
  16. Return to a simmer on the stovetop then bake (uncovered if using a smoker or covered if using the oven) at 225°F for six hours, stirring once or twice.
Recipe Notes

Copyright © 2018 by Villa Sentieri, LLC. All rights reserved.
Share this Recipe

Sri Lankan Zucchini and Peppers

February 28, 2018

As a freshman in college who made tentative forays into non-Western European cuisines, I was transformed into a person who couldn’t find a cuisine he wouldn’t try, and didn’t like, by the end of sophomore year.

Junior year was really an intensive study in cooking.  It’s the year I became a respectable Sri Lankan, Indian, Chinese, and West Indian cook.  There were many other cuisines that I dabbled in but those four formed the basis of what I cooked during the year.  By then I considered myself a good Italian cook but my repertory and skill level have expanded significantly since then.

Starting junior year, and for many years thereafter, Reggie and Nanacy Rajapakse taught me much of what I know of Sri Lankan food.  Several cookbooks by Charmaine Solomon, as well as the [Ceylon] Daily News Cookery Book, provided much additional guidance.  Several trips to Sri Lanka with Nanacy, many years later, confirmed to me that I had captured the taste of Sri Lankan food.

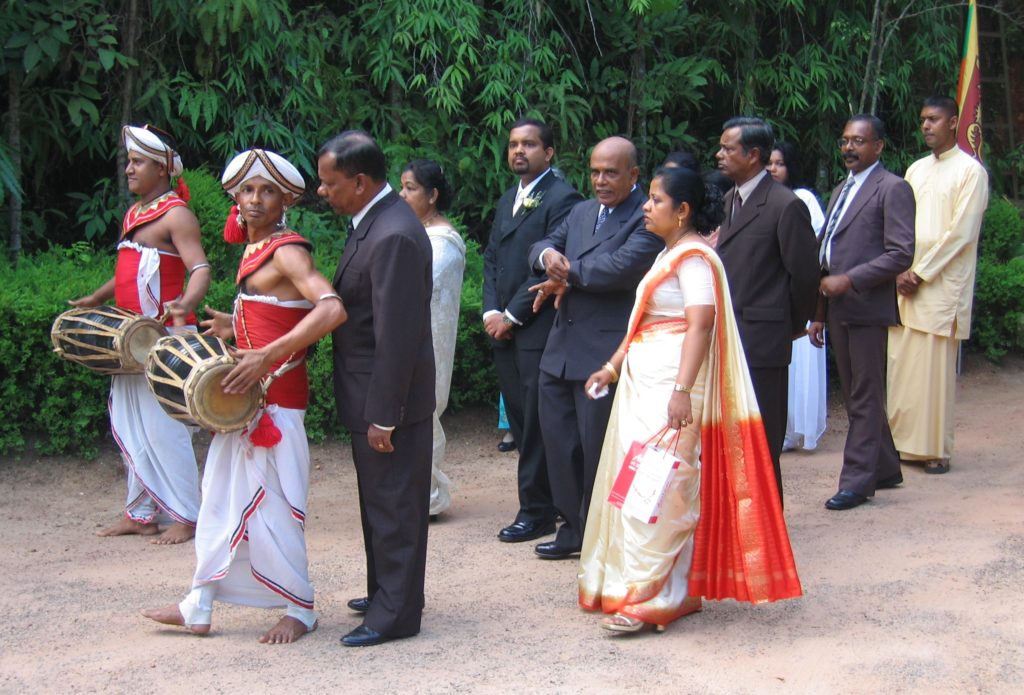
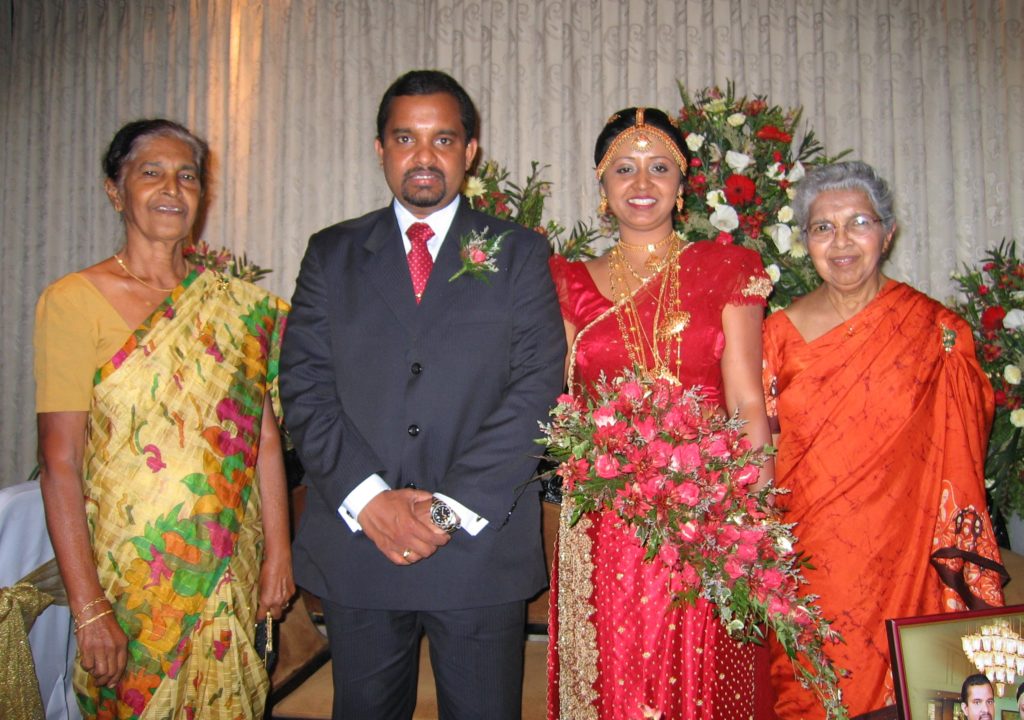
In 2005, I accompanied Nanacy Rajapakse to her nephew’s wedding. The groom (with flower on his lapel) and his family approach the wedding venue.

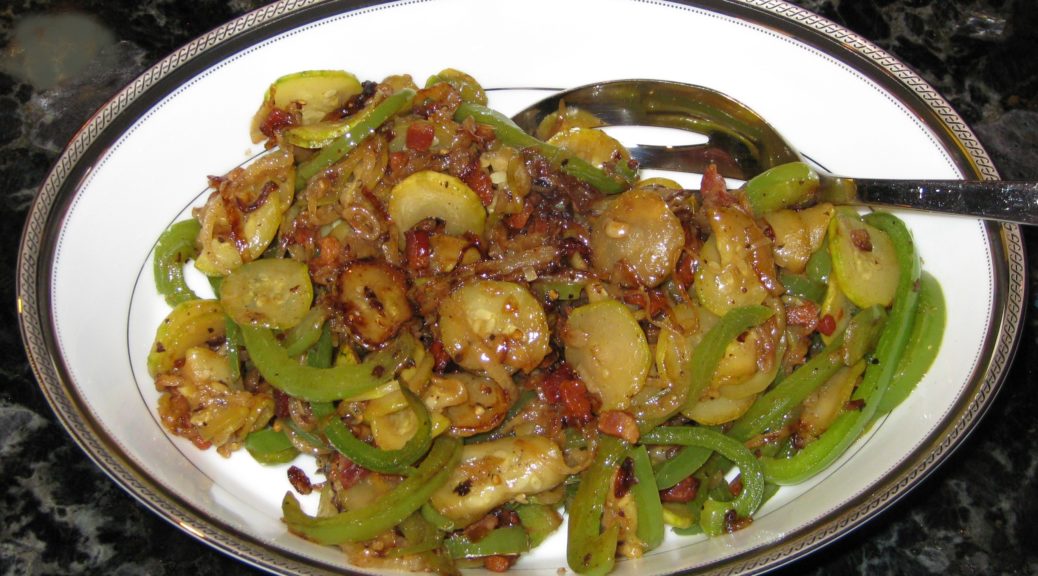
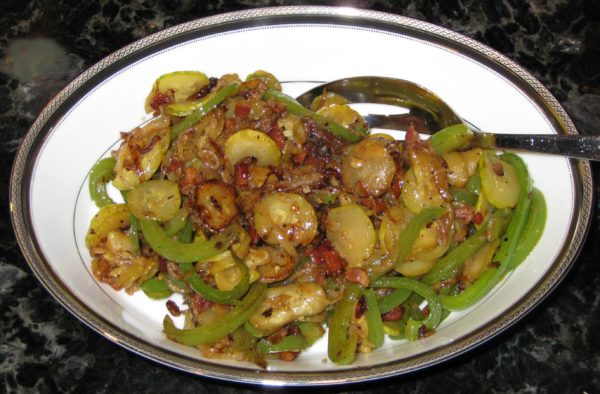
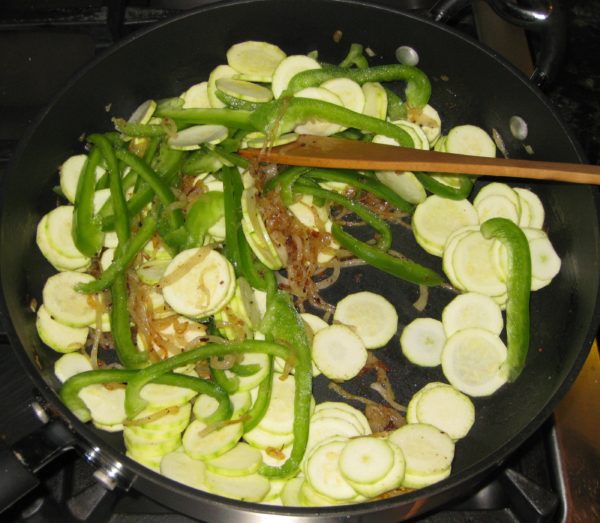
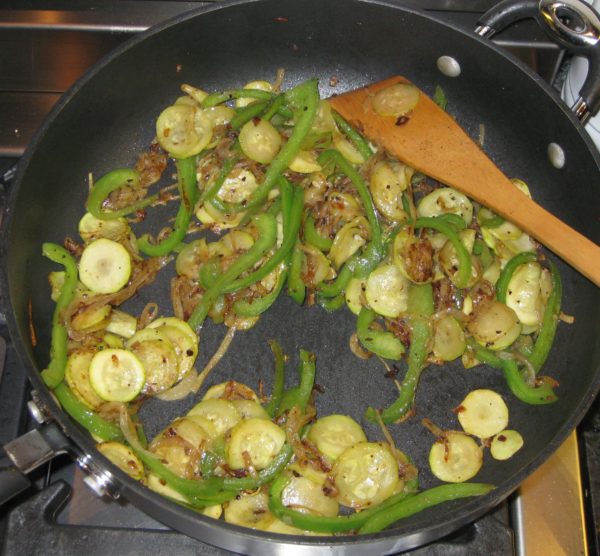
I understand that Sri Lankan food may be a stretch for some of my readers but I really want to introduce you to it.  As a starting point, I’ve selected a vegetable dish that pairs really well with a wide range of cuisines, Zucchini and Peppers with Fennel Seed and Cinnamon.


Follow us on your social media platform of choice


I actually made this a few weeks ago at an otherwise all-Italian meal.  It paired really well.  The dinner guests, all of whom were Italian, didn’t think for a moment that it wasn’t Italian!

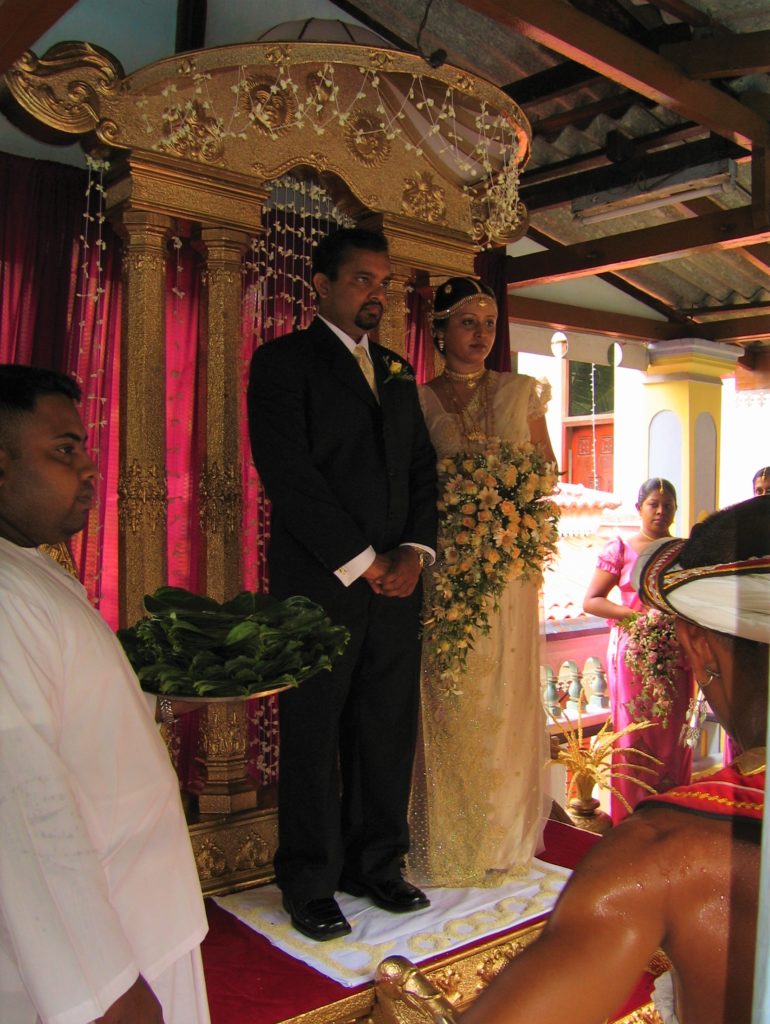
The wedding ceremony

It’s an example of a style of cooking vegetables in Sri Lanka called tempering.  The vegetables are cut into relatively small pieces.  Aromatics (onion, garlic, ginger, etc.), depending on the dish, are first sautéed.  The vegetables and seasonings are added and everything is cooked relatively quickly, 10 minutes or so depending on the vegetable.

Most Sri Lankans are ethnically Sinhalese.  The next largest group are Tamils, followed by individuals of Arab descent (called Moors locally).  Typically, Sinhalese are Buddhist, Tamils are Hindu, and Moors are Muslim.  There is a smattering of others ethnic groups and religions.

A reception for the newlyweds, several days after the wedding. Nanacy is on the right and her sister Thilaka is on the left

Hindus and Buddhists in South Asia, are nominally vegetarian.  Muslims typically don’t eat pork.  This recipe, which is ethnically Sinhalese, includes bacon which 92% of the Island’s population theoretically would typically refrain from eating.  But they don’t!


Click HERE to join our mailing list and you’ll never miss a recipe again!


In fact, I found no shortage of meat (and meat-eaters) on my trips to Sri Lanka.  Even the most ubiquitous of condiments, pol sambola, contains flakes of dried fish which would typically be avoided by both Buddhists and Hindus.  Clearly there is some sort of “accommodation” that the Sri Lankans have made around the idea of being vegetarian because the local cuisine contains a lot of (very wonderful) meat and fish dishes.

On the other hand, it’s also an easy place to be vegetarian.  One of my trips to Sri Lanka coincided with one of my periods of vegetarianism (which I ultimately gave up for cultural and health reasons).  There was an array of vegetarian options available at every meal.

A view of the Indian Ocean not far from Thilaka’s house south of Colombo

The most difficult time came when neighbors of Nanacy’s sister Thilaka, with whom we were staying, invited me over for a lunch of “curry and rice” which, although it sounds innocent enough, means you’re in for a delightful meal and lots and lots of food.  On the other hand “short eats” refers to snack food.

The neighbors had gone all out!  There was a huge array of dishes, each more wonderful than the last.  It truly was the best food I ate in Sri Lanka.  I tried to just eat the vegetarian options but it was clear that my hosts were distraught, though they would never have said anything to me.

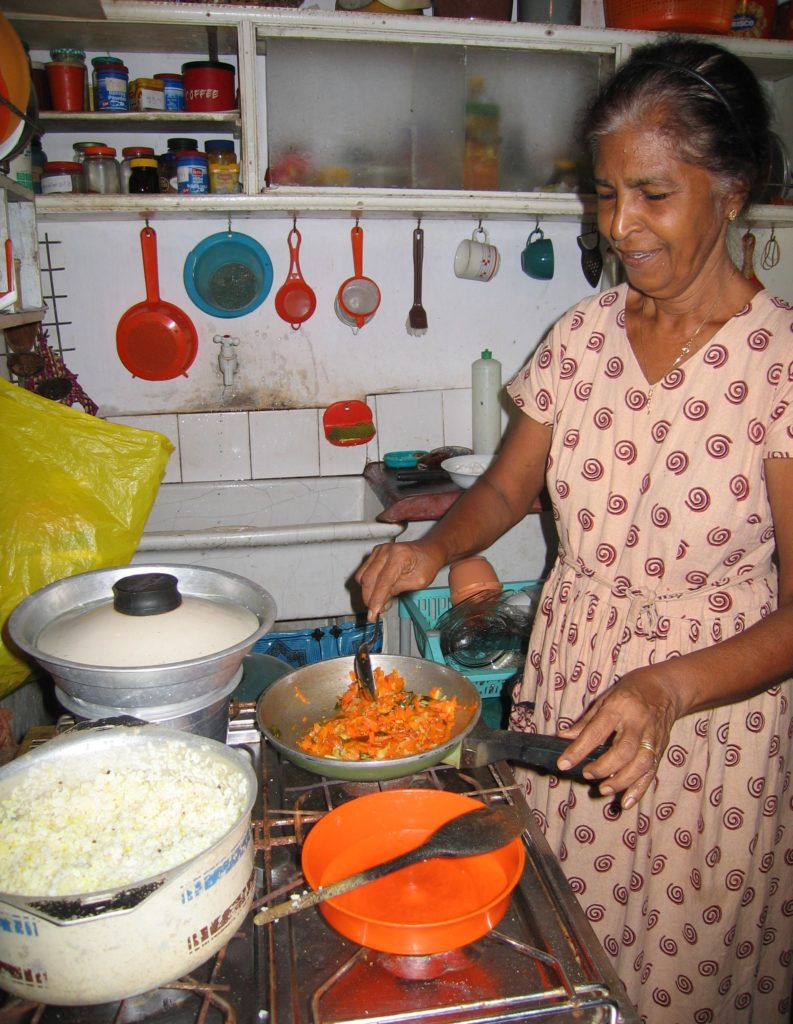
Thilaka tempering vegetables for dinner

I decided that the appropriate response to their generosity was to eat everything.  My hosts quickly became delighted (as did my taste buds)!  Only years later did I come to understand that in Sri Lanka (and many Theravada Buddhist countries of South East Asia) Buddhist monks are obliged to accept all food offered to them, even meat, unless they suspect the animal was slaughtered specifically for them.

Since I was most certainly not a monk, I’m sure they couldn’t understand why I was only eating the vegetarian dishes rather than everything that was offered to me.  In the end, it was a happy accommodation for everyone involved.


If you have a favorite family recipe and a bit of a story to tell, please email me at santafecook@villasentieri.com and we can discuss including it in the blog. I am expanding the scope of my blog to include traditional recipes from around the country and around the world. If you haven’t seen Bertha’s Flan or Melinda’s Drunken Prunes, take a look.  They will give you an idea of what I’m looking for.


Print Recipe
Sri Lankan Zucchini and Peppers
I learned to make this from Nanacy Rajapakse who is from Sri Lanka. Nanacy made it with bacon, and, while very good with bacon, it is also wonderful without. As a variation, cabbage, cut into ½ inch wide strips, can be substituted for the zucchini. Feel free to adjust the quantity of spices to your taste. Curry leaves can be difficult to obtain outside of large metropolitan areas with large South Asian or Southeast Asian populations. There is no substitute. If not available, just omit the curry leaves as I often do.
Course Sides, Vegetables
Cuisine Sri Lankan
Prep Time 15 minutes
Cook Time 15 minutes
Servings
people
Ingredients
Rate this recipe!
Instructions
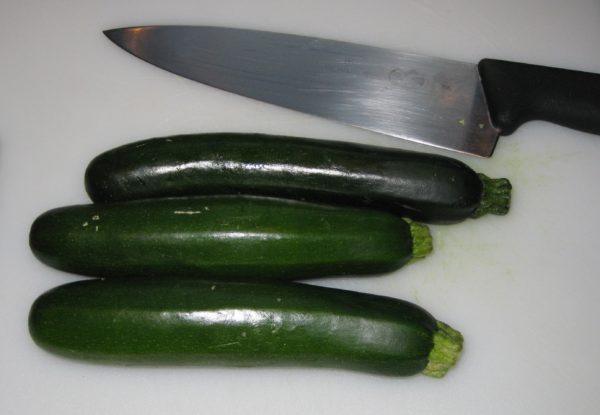
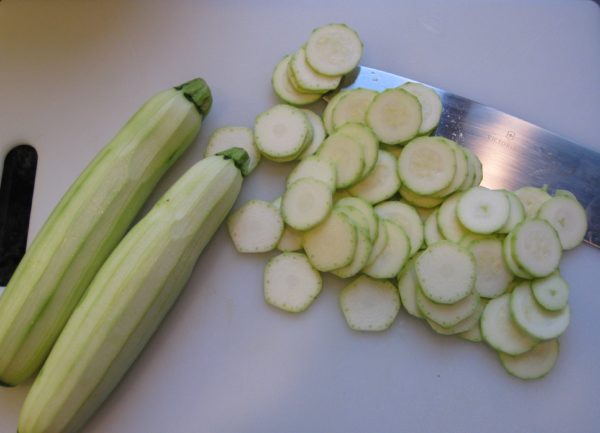
  1. Peel and thinly slice the zucchini.
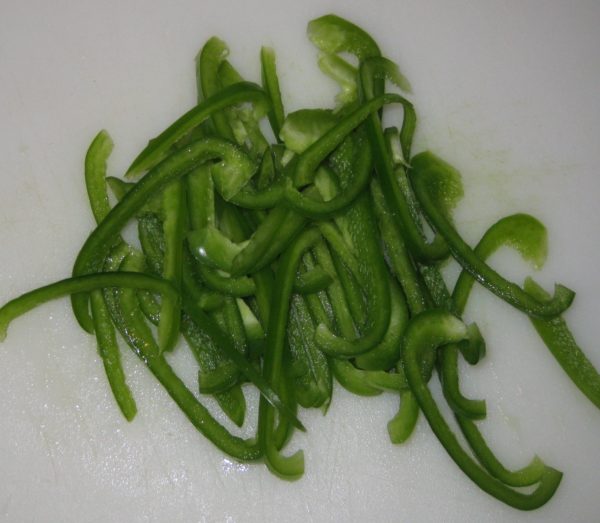
  2. Core and seed the peppers and cut into thin strips.
  3. Thinly slice the onion.
  4. Dice the bacon.
  5. Crush the fennel and cinnamon in mortar. Reserve.
  6. In a large sauté pan, fry the bacon until crisp.
  7. Remove and reserve the cooked bacon.
  8. Fry the onion in the rendered bacon fat until golden.
  9. When the onion is nearly done, add the crushed fennel seed and cinnamon along with the curry leaves, if using.
  10. Cook a few minutes longer to bloom the spices.
  11. Add the zucchini and peppers.
  12. Stir fry over high heat until the vegetables are pliable but still crunchy.
  13. Season with salt and pepper while cooking, tasting from time to time to adjust the seasoning. The dish is best with a bit of a bite from black pepper.
  14. Stir the cooked bacon into the vegetables after they have cooked.
Recipe Notes

Copyright © 2018 by VillaSentieri.com. All rights reserved.
Share this Recipe

Kidney Beans in Tomato Sauce

February 19, 2018

As you may have figured out by now, we live in a multi-generational household.

My husband’s parents live in our casita in Santa Fe.  Before we moved to Santa Fe, they lived in our coach house in Chicago.

Meals are usually communal affairs and, after many years, I’m learning to make some of my mother-in-law’s dishes that I’ve taken for granted for more than 20 years.

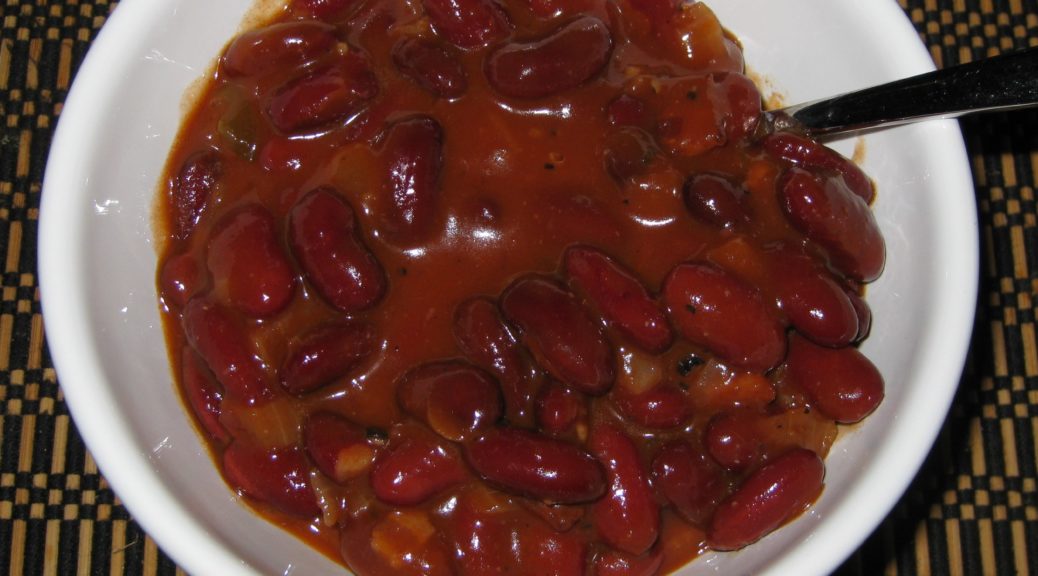
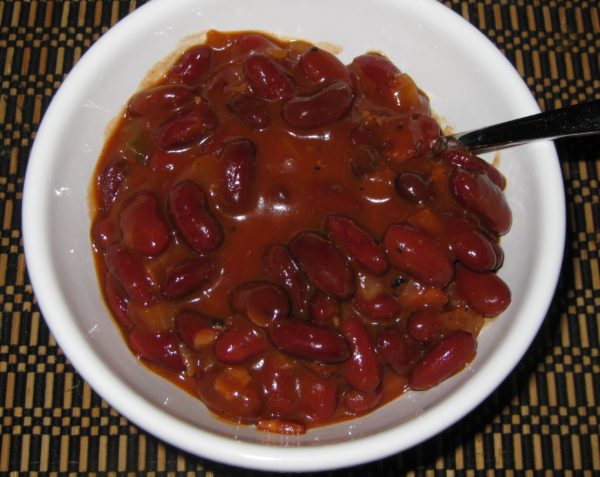
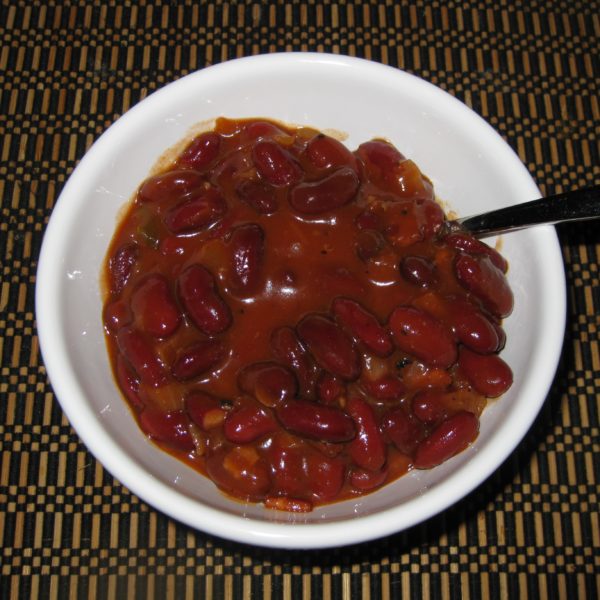
Though these beans could easily be the centerpiece of a vegetarian meal if you leave out the bacon, they usually accompany something more pleasing to carnivores (that would be my husband and my father-in-law).  For this rendition, I went back to the original recipe, with bacon, though usually my mother-in-law leaves it out and simply adds a few tablespoons of olive oil to sauté the onion and bell pepper.

My husband at two years of age with his parents

As I was learning to make these with my mother-in-law, I also learned that the recipe originally came from Lorraine, the wife of my brother-in-law’s godfather, Jack.  Lorraine is of Polish heritage but was married to Jack, a close friend of my father-in-law who moved to the USA from Italy.


Click HERE to join our mailing list and you’ll never miss a recipe again!


I’m totally confused by the heritage of these beans.  My mother-in-law says they’re Polish based on Lorraine.  I always thought of them as Italian because, until recently, I thought the recipe was from my mother-in-law’s family and, also, because the red sauce with bacon is pretty similar to an Italian-American adaptation of a classic Italian method for cooking green beans.  The bacon is a substitute for pancetta which is the same cut of meat as bacon but which is not smoked after it is cured.

I guess I’m going to have to go with my mother-in-law’s assertion that these are Polish though I can’t say I ever had anything like them among the Poles and other Eastern Europeans in my hometown of Johnstown, PA.  Really, though, that’s not definitive.  I’ve never had any potato cakes like my Slovak grandmother’s (unless they were made by one of her daughters-in-law, of which there were seven!).  That doesn’t make those potato cakes any less Slovak, though.

Red beans and tomatoes are a common combination internationally.  There are versions from New Orleans to Haiti to India to South America to Italy to name just a few.  To be sure, the seasonings vary tremendously but the basics, red beans and a tomato-based sauce, remain the same.


Follow us on your social media platform of choice


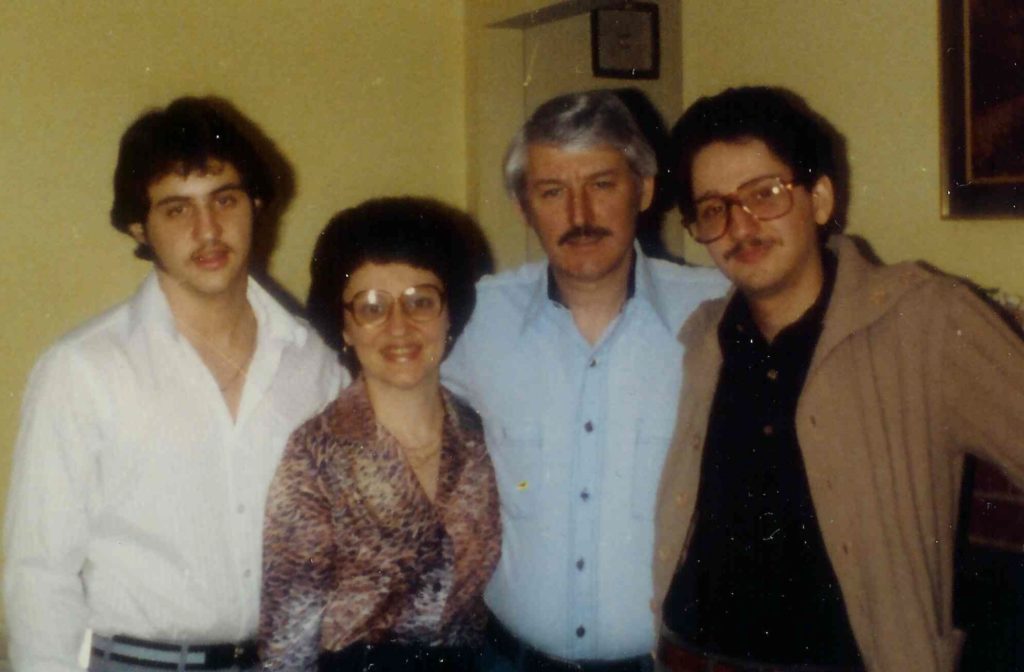
Fast forward to the 1970’s:  my husband (on the right) and his brother (on the left) with their parents

I’ve decided to keep this recipe in its original form, with canned beans and tomato sauce.  Although I keep an array of canned beans in my pantry for unexpected events I usually prefer to start with dry beans.  Most commercial brands of tomato sauce are made from tomato paste and water, with a bit of onion powder and garlic powder added.  In place of tomato sauce, I typically use tomato paste and water to achieve the same results.


If you have a favorite family recipe and a bit of a story to tell, please email me at santafecook@villasentieri.com and we can discuss including it in the blog. I am expanding the scope of my blog to include traditional recipes from around the country and around the world. If you haven’t seen Bertha’s Flan or Melinda’s Drunken Prunes, take a look.  They will give you an idea of what I’m looking for.


Print Recipe
Kidney Beans in Tomato Sauce
These beans can be made without the bacon, or with less bacon, in which case a few tablespoons of oil will need to be used to sauté the onion and bell pepper. If you want extra sauce just increase the amount of tomato sauce. You can sauté a clove or two of minced garlic with the onion and bell pepper if you would like. The liquid from the canned beans will improve the consistency of the sauce. Before using it, however, taste it to be sure that it does not have a metallic flavor which happens with some brands of beans. If so, drain and rinse the beans and add additional water in place of the liquid in the cans.
Prep Time 5 minutes
Cook Time 75 minutes
Servings
people
Ingredients
Rate this recipe!
Instructions
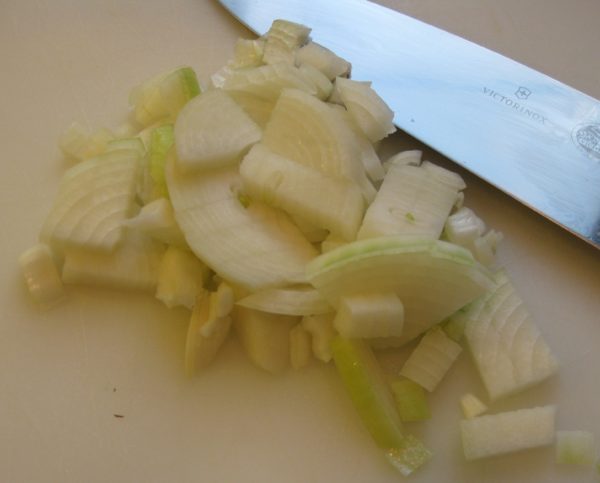
  1. Dice the onion.
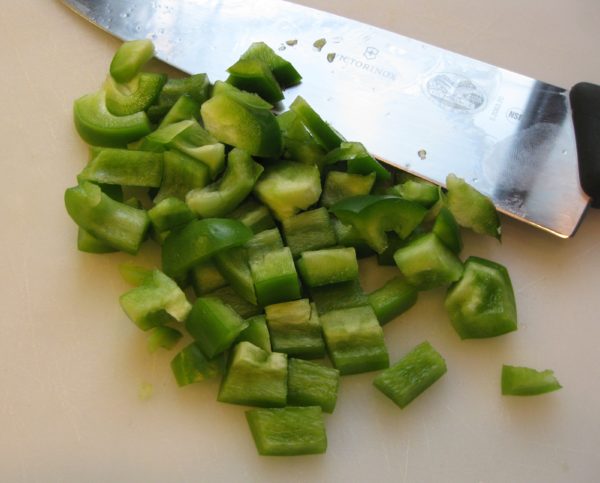
  2. Dice the bell pepper.
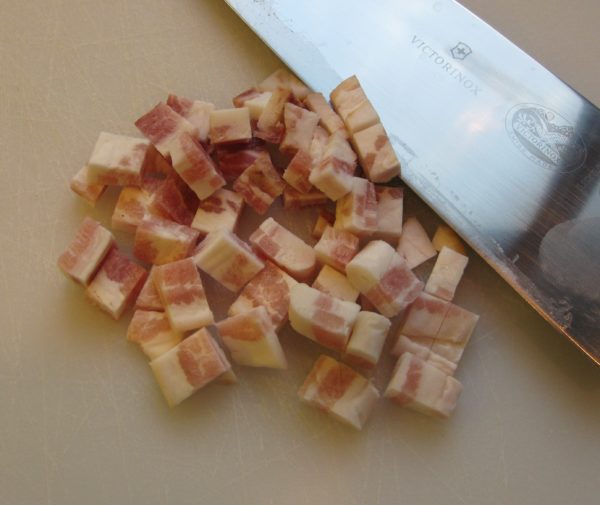
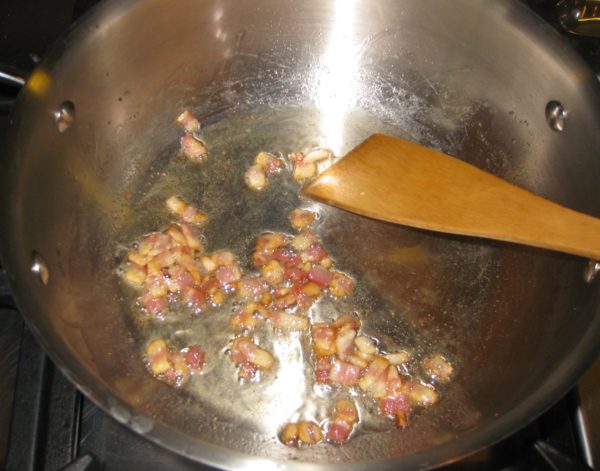
  3. Chop the bacon.
  4. Sauté the bacon until it begins to color, adding a small amount of oil if needed to keep it from sticking.
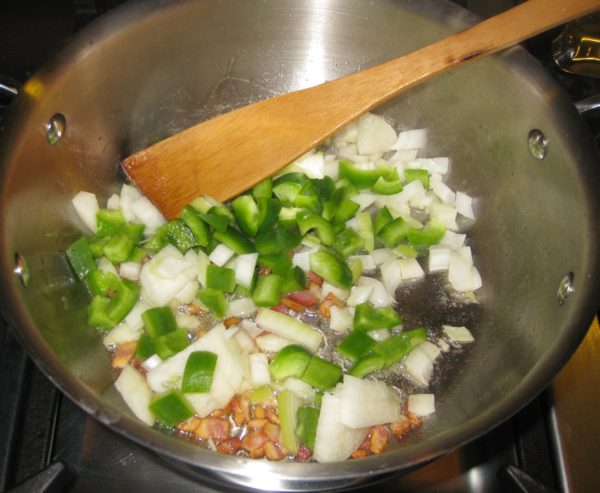
  5. Add the onion and bell pepper to the bacon.
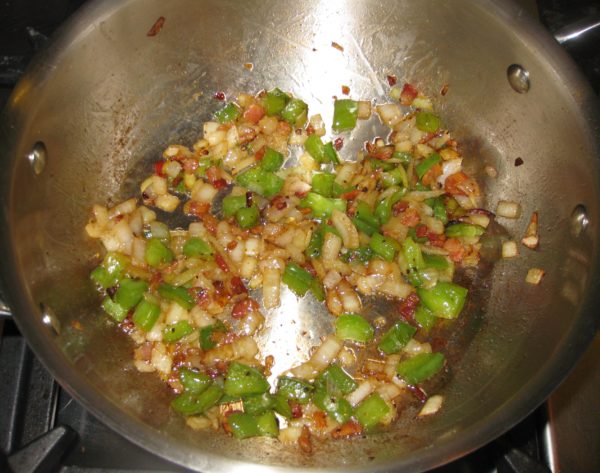
  6. Sauté until the onion just begins to color and the pepper becomes a dull green and starts to soften. It may be necessary to cover the pan and/or add a tiny amount of water if the onion and/or pepper begin to get too brown.
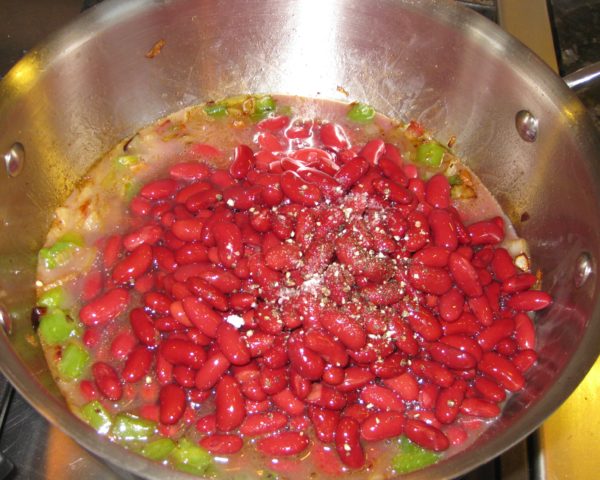
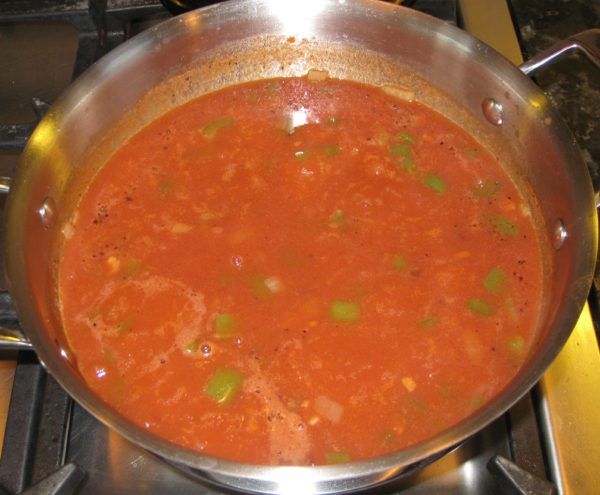
  7. Add the beans and their liquid.
  8. Season with salt and pepper. Bring to a boil.
  9. Add tomato sauce and water.
  10. Simmer, partially covered, for approximately one hour, adding additional water if necessary.
  11. Taste and adjust seasoning while the beans are cooking.
Recipe Notes

Copyright © 2018 by VillaSentieri.com. All rights reserved.

Share this Recipe

Green Beans with Tomato Sauce and Bacon

February 27, 2017

Earlier this month I wrote about my “crunchy vegetable” phase of cooking back in the 1970’s.  One of the dishes I was reacting to was my mother’s green beans with tomato sauce and bacon.  Honestly, though, I can’t tell you why.  It was, bar none, my favorite vegetable dish growing up.  Why, when I started cooking in my late teens, I thought I could make it better by cooking the beans until they were just crunchy is beyond me.

Chalk it up to youthful indiscretion.

Americans served a lot of mushy vegetables back then, no doubt, but the reaction shouldn’t be to turn every vegetable crunchy.  But I was just learning to cook and had a lot to learn, not only about technique, but about understanding the essence of a dish.

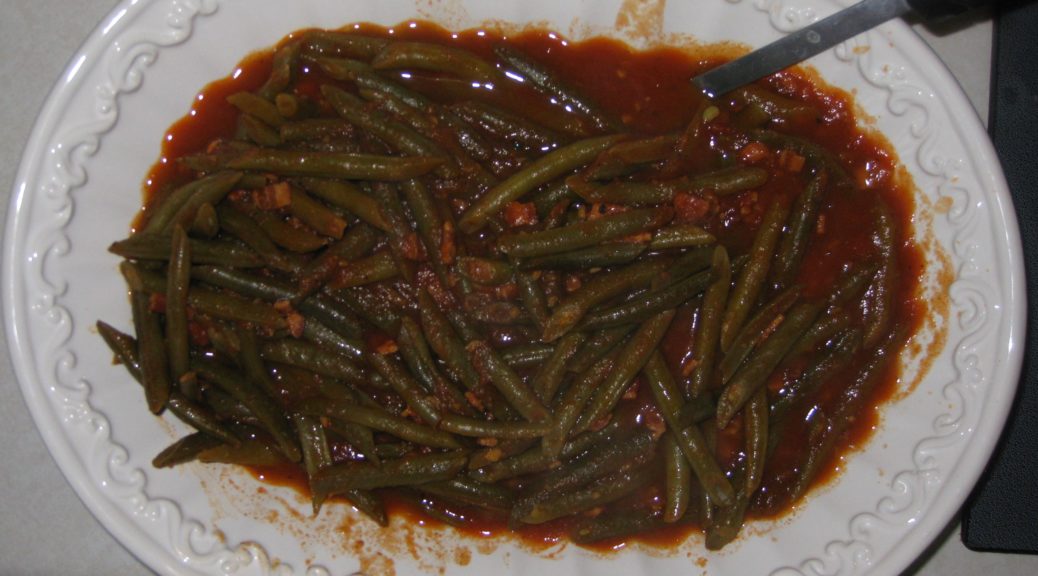
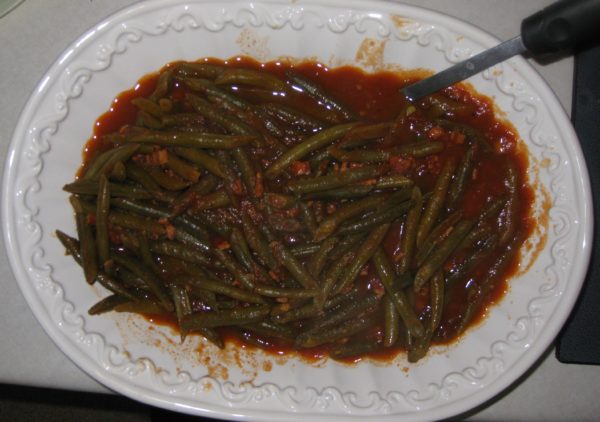
The essence of this dish is the silky texture (most definitely not mushy) of the beans cooked for a couple of hours in tomato sauce.  The textural change is accompanied by a flavor change that is unobtainable by quickly cooking the ingredients.

It’s actually pretty difficult to turn these beans mushy unless you boil them too long before adding them to the tomato sauce.  The tomato sauce reacts with the beans to somehow inhibit the development of mushiness.  I’m not sure, but it think it might be the acid in the tomatoes.

That first four minute boil is critical, however.  One time, thinking I could eliminate a step, I tried putting the cut up beans in the sauce without parboiling them first.  Mistake!  Four hours later the beans were still not cooked properly!

Green beans cooked in tomato sauce is a classic Italian combination.  The use of bacon clearly signals that this is Italian-American, however.  Italian recipes might use pancetta but not bacon.  Smoked foods are uncommon in traditional Italian cuisine.  The few that appear really stand out.

Pancetta and bacon are made from the same cut, pork belly.  Both are cured but only bacon is smoked.  Although I’ve made other versions of green beans in tomato sauce that are traditional Italian, rather than Italian-American, I keep coming back to this one as my favorite.

Print Recipe
Green Beans with Tomato Sauce and Bacon
These long-simmered green beans in tomato sauce with bacon are an Italian-American favorite. The long, slow cooking is really essential to achieving the right texture and flavor. Although I've specified the amount of water in cups, when cooking with tomato paste my mother always measured water by the can. This dish would have had five tomato paste cans of water. She didn't quite fill them to the top so each can held about 5 1/2 ounces of water, or a little over three cups total. You may need to add more water, or to boil some away, to get a thick sauce.
Course Vegetables
Cuisine Italian
Prep Time 25 minutes
Cook Time 3 hours
Servings
people
Ingredients
Rate this recipe!
Instructions
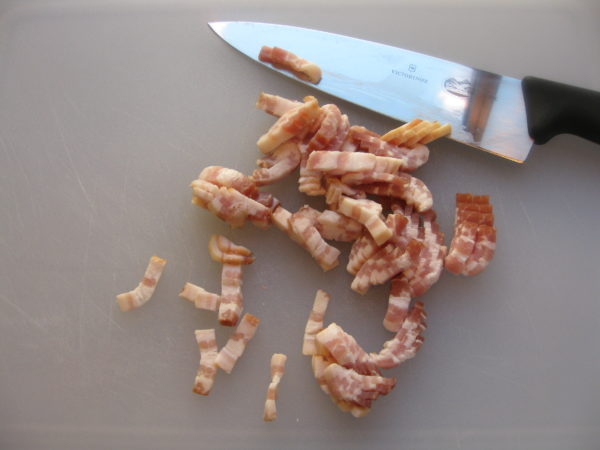
  1. Cut the bacon into matchstick-sized pieces.
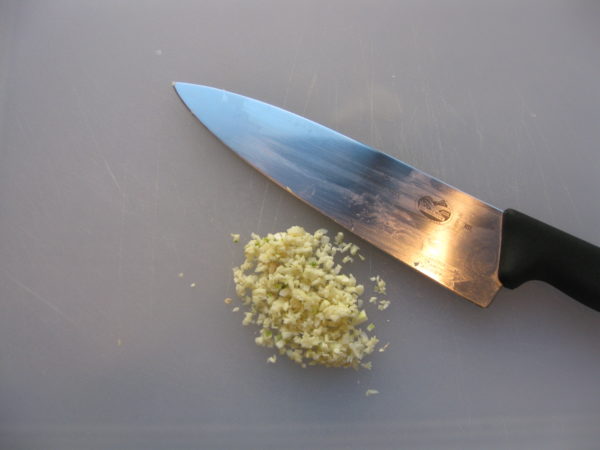
  2. Mince the garlic.
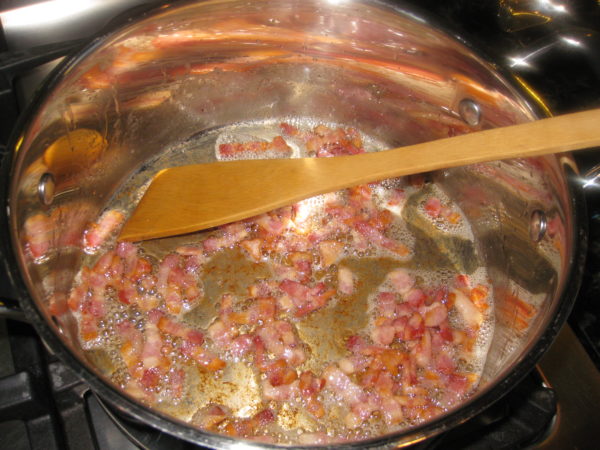
  3. In a heavy-bottomed pot, large enough to ultimately hold the beans, gently sauté the bacon until golden brown.
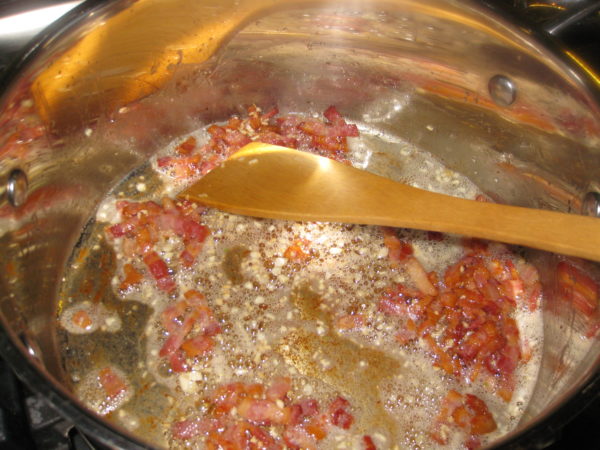
  4. Add the minced garlic to the bacon and bacon drippings and sauté until fragrant and just beginning to turn golden, about one minute.
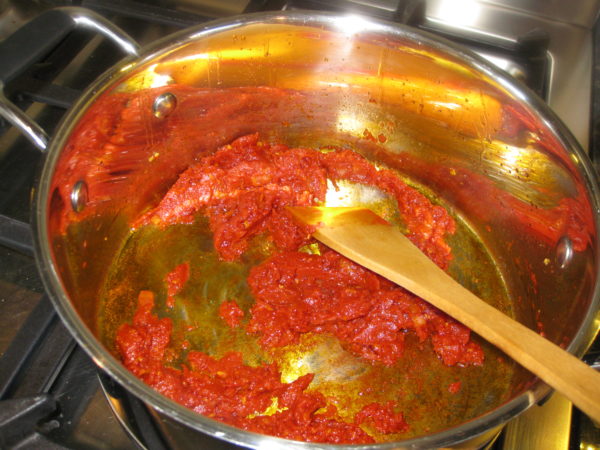
  5. Add the tomato paste and sauté until it turns a shade darker and smells sweet.
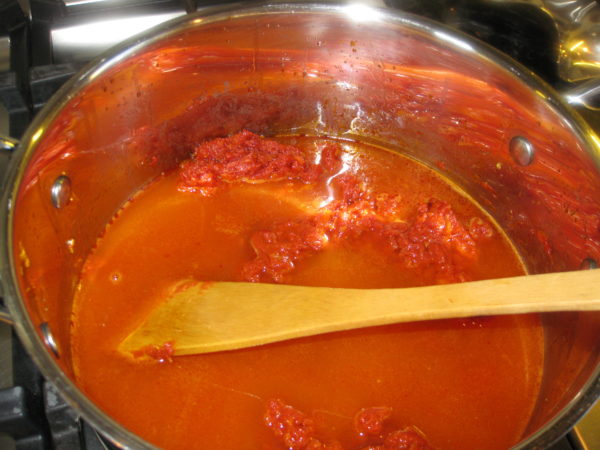
  6. Add the water, stirring to combine. Cover and bring to a boil.
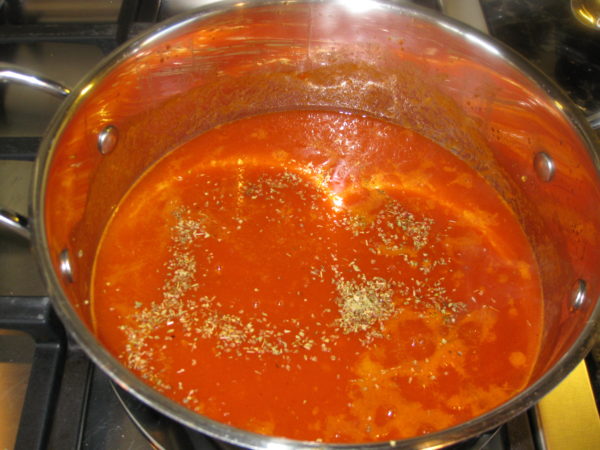
  7. Reduce to a simmer. Add salt, freshly ground black pepper to taste, oregano and sugar. Simmer, partially covered, for 45-60 minutes, stirring occasionally.
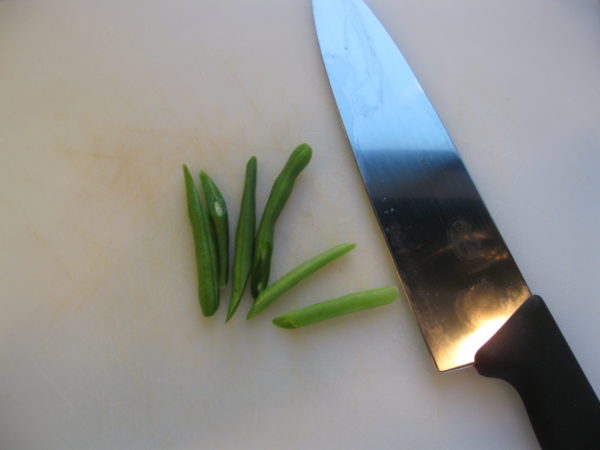
  8. Meanwhile, cut the tips off the beans at a diagonal. Cut the beans into pieces about 2 to 2 ½ inches long, also on the diagonal.
  9. Wash the beans in several changes of cold water. Cover with water and allow the beans to soak for 15 to 20 minutes, to fully plump up with water before cooking.
  10. Bring a large pot of heavily salted water (at least 4 quarts of water and ¼ cup of salt) to a boil.
  11. Drain the beans, add to the boiling water, and return to a boil as quickly as possible.
  12. Boil until the beans are just beginning to get tender, approximately 4 minutes. They will cook much longer in the sauce so be careful not to overcook them at this point.
  13. Drain the beans and add to the tomato sauce, which should have been cooking for 45-60 minutes by this point.
  14. Simmer until the beans are silky, but not mushy. This can take 2 hours, plus or minus. Go by texture, not time. The beans should be silky but still have some body.
  15. Taste once or twice while cooking and adjust salt, pepper and, if you wish, oregano.
Recipe Notes

You can make the sauce and partially cook the beans in advance. After the beans have been boiled, quickly chill them in a bowl of ice water. Cool the cooked sauce to room temperature.  Drain and add the partially cooked beans to the sauce.  Refrigerate until ready to complete cooking.

Copyright © 2017 by VillaSentieri.com. All rights reserved.
Share this Recipe