Crostata di Amaretti (Amaretti Tart)

July 21, 2020

You can keep the chocolate!

It’s not that I don’t like chocolate.  It’s just that I’m not one of those people who thinks chocolate is the absolute best flavor for sweets.

My favorite flavors are almond and coconut.  Preferably together.

I remember a cake I ate when I was 12 years old.  It was an absurdly moist yellow cake that tasted of almond and coconut.
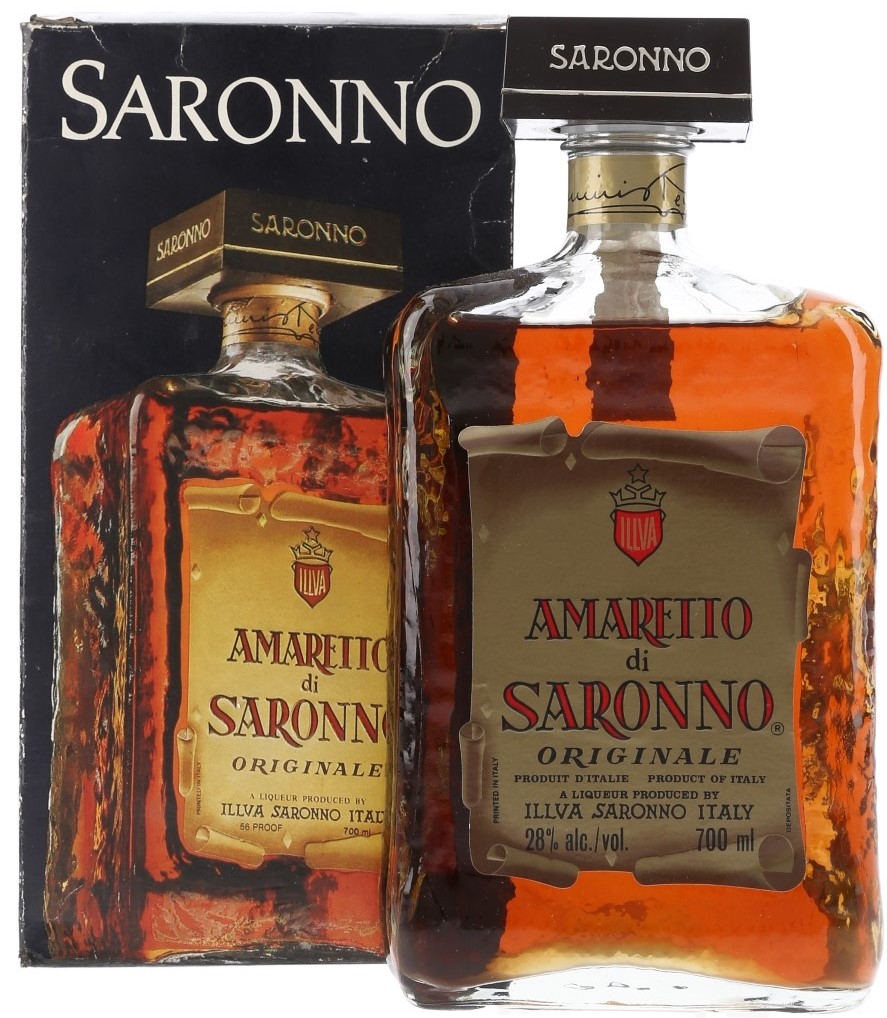
A bottle of Amaretto di Saronno before it was rebranded.

In memory of that cake, which I had only once, I have an entire stash of coconut-almond cake recipes.  I’m building up to the day when I head to my kitchen in Palm Springs (so I can bake without contending with the nearly 8000-foot elevation of Villa Sentieri) and bake coconut-almond cakes every day till I create one that tastes the way I remember it.


Follow us on your social media platform of choice


In the meantime, I make lots of coconut- and almond-based desserts including almond gelato, maraschino cherry cake with almond filling (from the first edition Betty Crocker Picture Cookbook), raspberry bars with almond crust, coconut pistachio crumb cake, Brazilian coconut pudding, coconut pie, Marcona almond blondies, and wattalappam (a coconut custard from Sri Lanka) among many, many others.
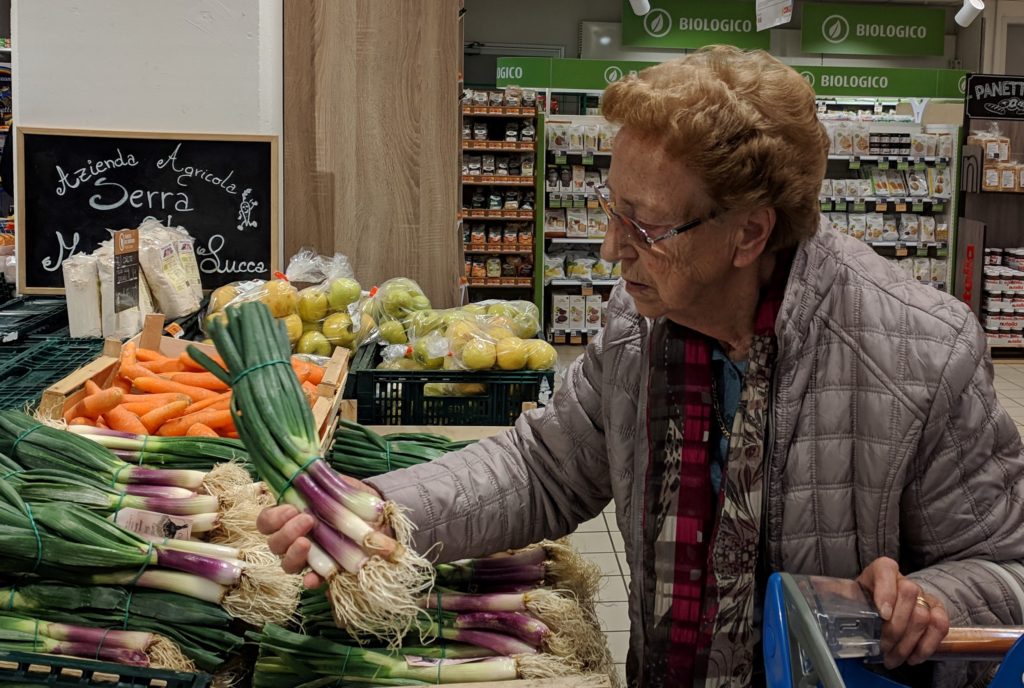
Zia Fidalma selecting produce at a supermarket.

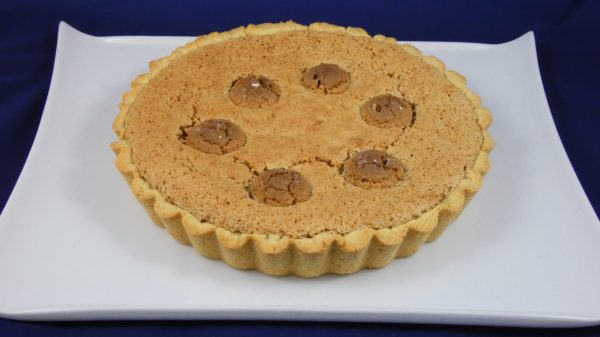
One of my favorites, is an improbable recipe I got from Great Aunt Fidalma in Tuscany nearly 20 years ago for a crostata (tart) with a filling of crushed amaretti cookies and amaretto liqueur.

I know, I know, amaretti and amaretto only pretend to be almond.  They’re really made from apricot pits.  At least the commercial versions are made from apricot pits.

You knew that, right?


Join our mailing list and you’ll never miss a recipe again!


The brand of amaretti I typically buy is Lazzaroni.  It’s the one that comes in the red tin.  Until recently, the brand of liqueur I bought was Amaretto di Saronno.  In 2001 Amaretto di Saronno was rebranded to Disaronno Originale.
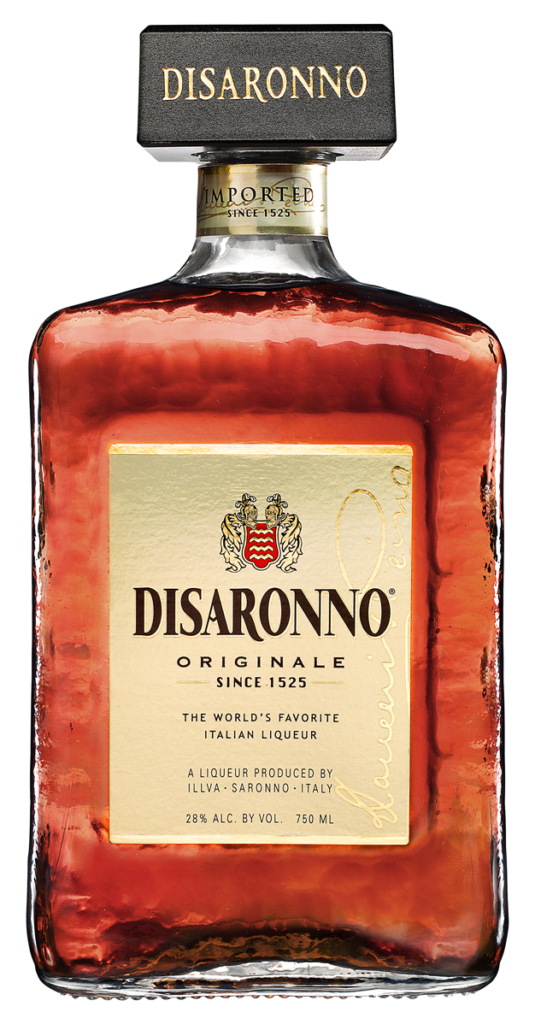
Amaretto di Saronno after it was rebranded Disaronno in 2001.

When I went to buy the Amaretto to make this crostata, I found an unfamiliar one from the makers of the cookies, Lazzaroni Amaretto.

While Amaretto di Saronno is made from infusing apricot pits, the good folks at Lazzaroni say that they infuse their famous cookies (which, of course, contain apricot pits).
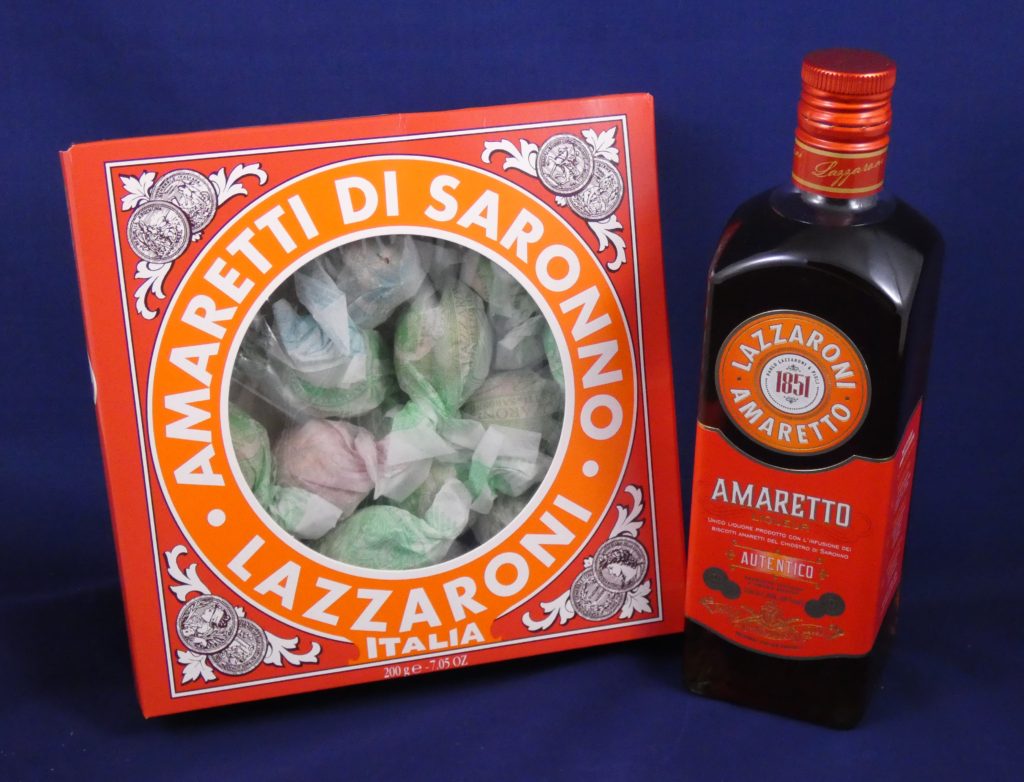
Lazzaroni amaretti and an amaretto liqueur by the same company.

Since the flavor of this crostata is entirely dependent on the amaretti and the amaretto, I suggest you buy good quality ones.
Print Recipe
Crostata di Amaretti (Amaretti Tart)
Use very good quality amaretti cookies and amaretto liqueur as the taste of the crostata is completely dependent on them. You can buy amaretti in packages of 200 grams, if you buy a larger quantity, weight out 200 grams or 7 ounces. Most home cooks in Italy buy little envelopes of powered (artificial) vanilla flavoring. These are not common in the United States, so I’ve substituted vanilla extract. You can use one envelope of Italian vanilla flavor instead of one teaspoon of vanilla extract.
Votes: 0
Rating: 0
You:
Rate this recipe!
Cuisine Italian
Prep Time 1 hour
Cook Time 30 minutes
Servings
people
Ingredients
Pasta Frolla
Cuisine Italian
Prep Time 1 hour
Cook Time 30 minutes
Servings
people
Ingredients
Pasta Frolla
Votes: 0
Rating: 0
You:
Rate this recipe!
Instructions
Pasta Frolla
  1. Blend the flour, sugar, baking powder, vanilla powder, if using, salt and lemon zest in a food processor until combined.
  2. Add the butter, cut in pieces, and vanilla extract, if using, then blend till well combined.
  3. Add the eggs and blend till the pastry almost forms a ball.
  4. Remove the pastry from the food processor and use your hands to press everything into a single ball.
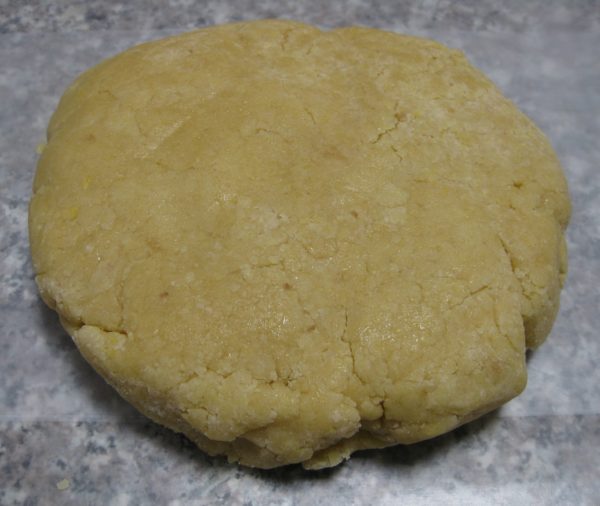
  5. Wrap the pastry in waxed paper and refrigerate for an hour before using.
  6. Roll the pasta frolla into a 13-inch circle.
  7. Line a greased 10" deep dish tart pan with a removable bottom with Pasta Frolla going about 1 inch up the sides. Trim the excess and use it to patch the crust if necessary.
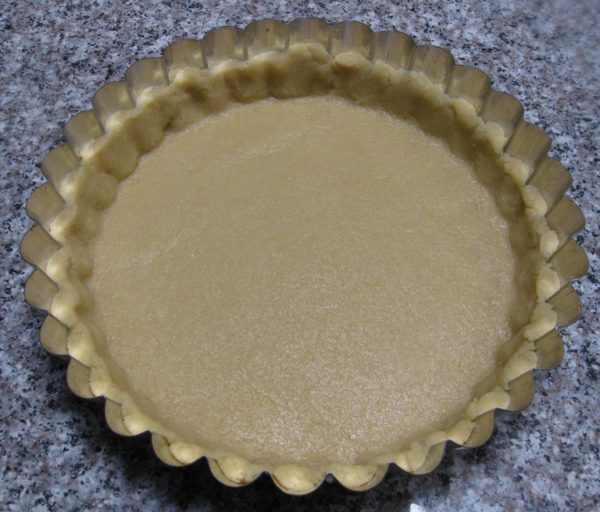
Filling and Assembly
  1. Reserve six amaretti for garnish.
  2. Crush the remaining amaretti and combine with liqueur, and vanilla extract, if using.
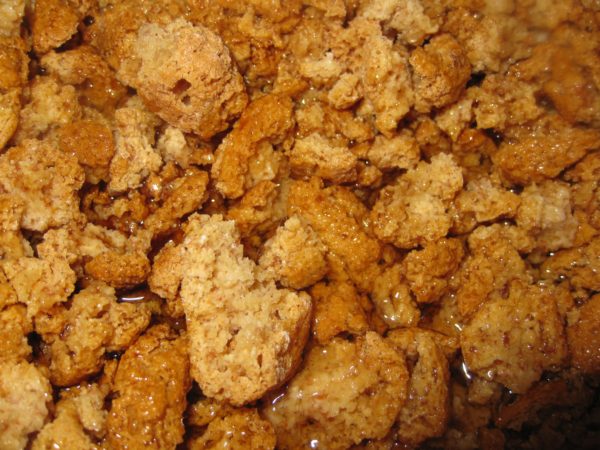
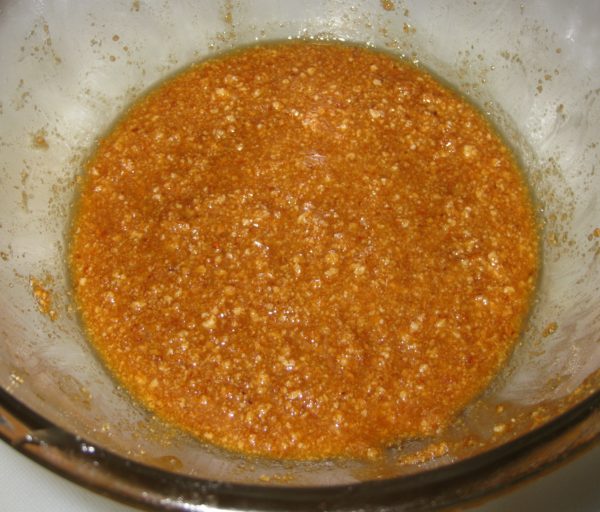
  3. Soak, occasionally crushing the amaretti further, until thick and batter-like.
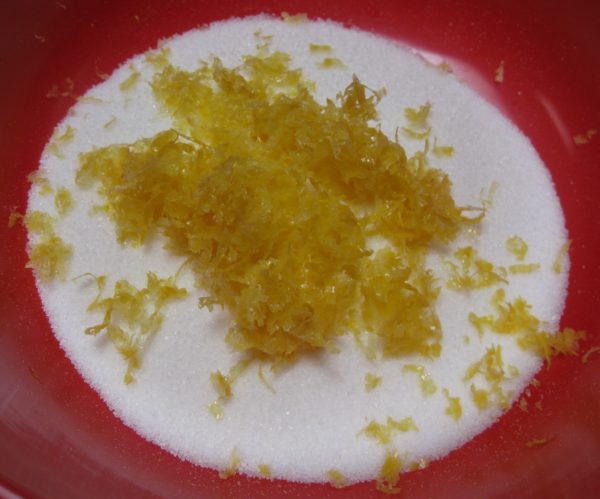
  4. Combine sugar, lemon zest and vanilla powder, if using.
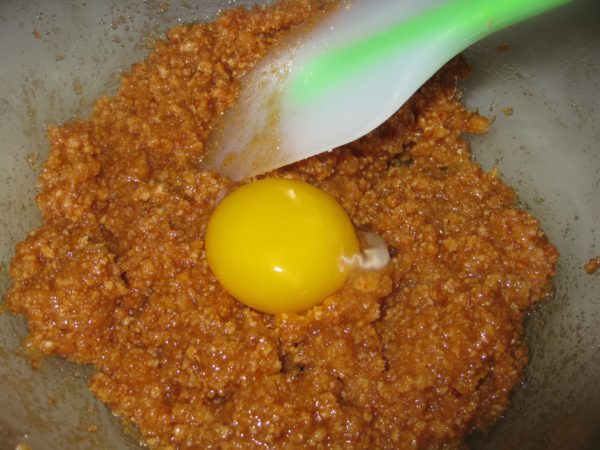
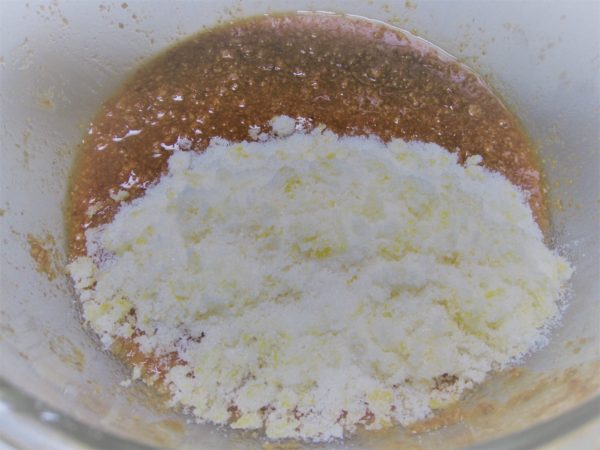
  5. Combine the egg yolk and the sugar mixture with the amaretti mixture. Mix well.
  6. Beat the three egg whites and cream of tartar until stiff.
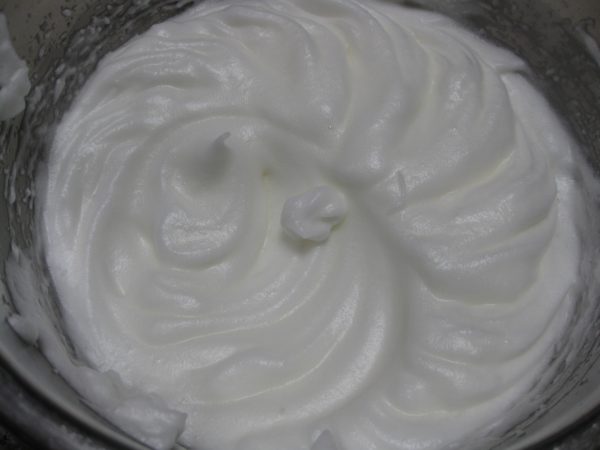
  7. Fold a spoonful of the egg whites into the amaretti mixture to lighten it.
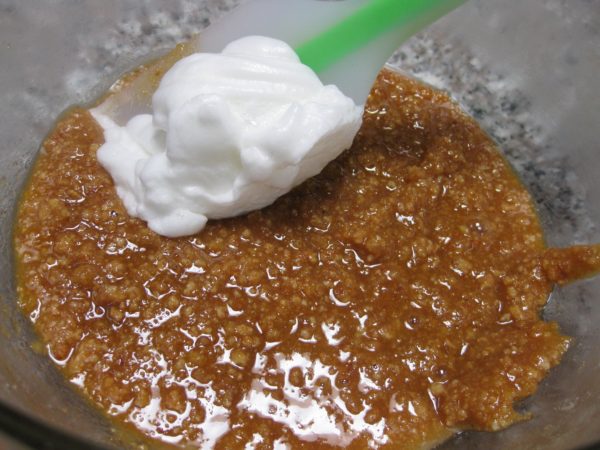
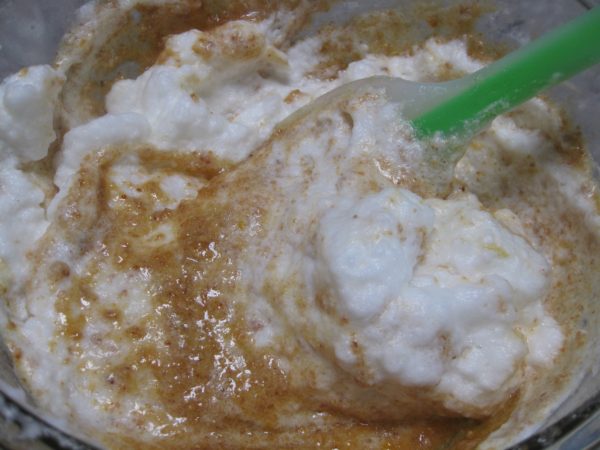
  8. Gently fold in the remainder of the whites, in two portions.
  9. Pour the filling into the tart pan lined with pasta frolla.
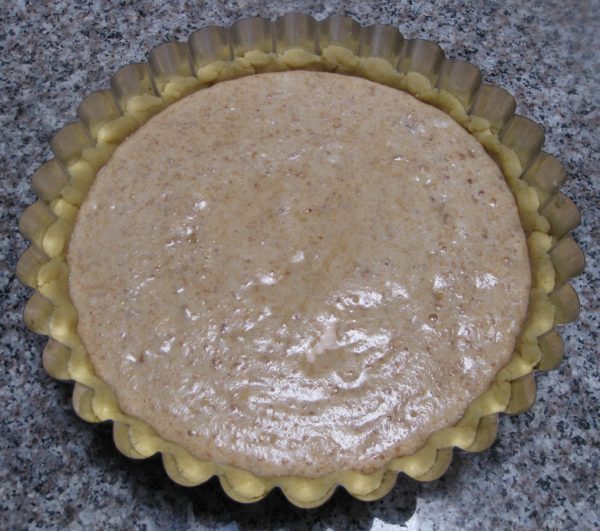
  10. Garnish the top with the reserved whole amaretti.
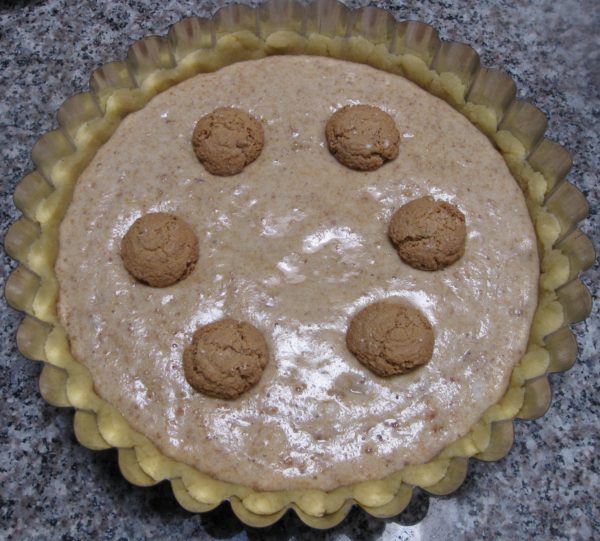
  11. Bake at 350°F approximately 30 minutes, until golden brown.
  12. Cool in pan for about 10 minutes then gently remove the sides of the pan. (I like to do this by setting the pan on a large can then gently jiggling the pan apart.)
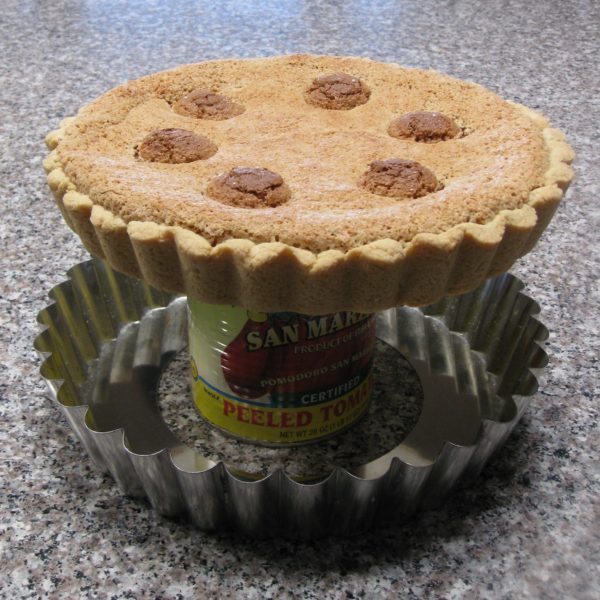
  13. Cool thoroughly on a rack.
  14. The crostata should be stable enough to slide off the bottom of the tart pan and onto a serving platter.
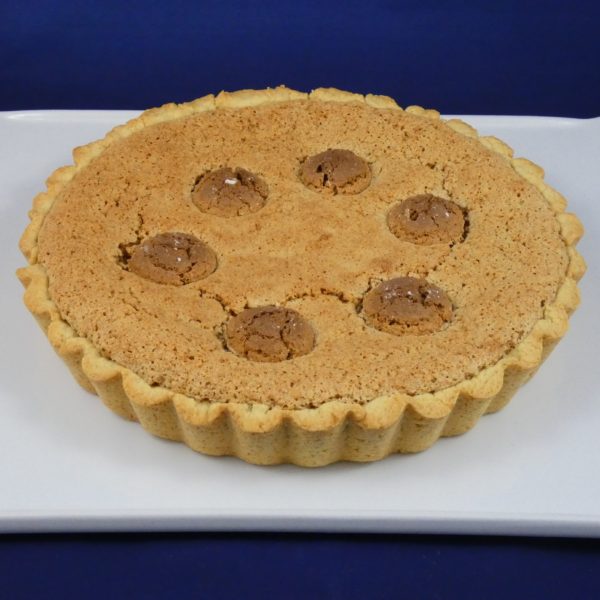
  15. Serve with whipped cream, if desired.
Recipe Notes

Copyright © 2020 by Villa Sentieri, LLC. All rights reserved.

Share this Recipe

Maraschino Cherry Cake

July 18, 2018

In  September 2012, at a wine paring dinner at The Compound Restaurant in Santa Fe during the holy days of Santa Fe Wine and Chile Fiesta, a group of us hatched an idea to start a dinner group.

After a lot of discussion and email exchanges, we decided to name the group Santa Fe Ate, both for what we do and for the (play on the words regarding the) number of people in the group.

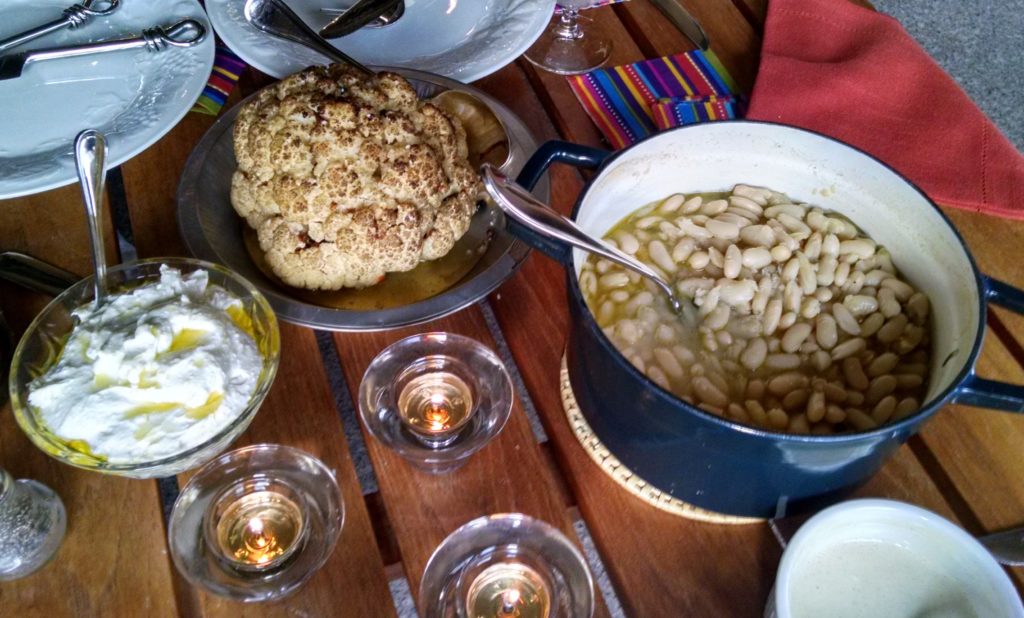
From the “Things You Can Cook in a Wood-Burning Oven” dinner: Roasted Cauliflower with whipped Goat Cheese, Ricotta, and Olive Oil Dip and Cannellini alla Toscana

We had our first dinner in January 2013 and we’ve been going strong ever since.  We meet about once every three months, rotating houses.  At each dinner we decide the theme for the next dinner.  This may not be the best time to make such a consequential decision given the amount of alcohol typically consumed.  For example, one of our themes was French Indo-China 1920s to 1930s!

Join our mailing list and you’ll never miss a recipe again!

Frank and Doug don’t really cook so their group assignment is always to come up with a signature cocktail and appropriate wine pairings for each course.  They have leeway to be creative in finding or creating a cocktail, which they have to do for even for cultures where drinking alcohol is not really common.  If the theme of the dinner relates to a wine producing region, the wines are generally from that region to the extent feasible.

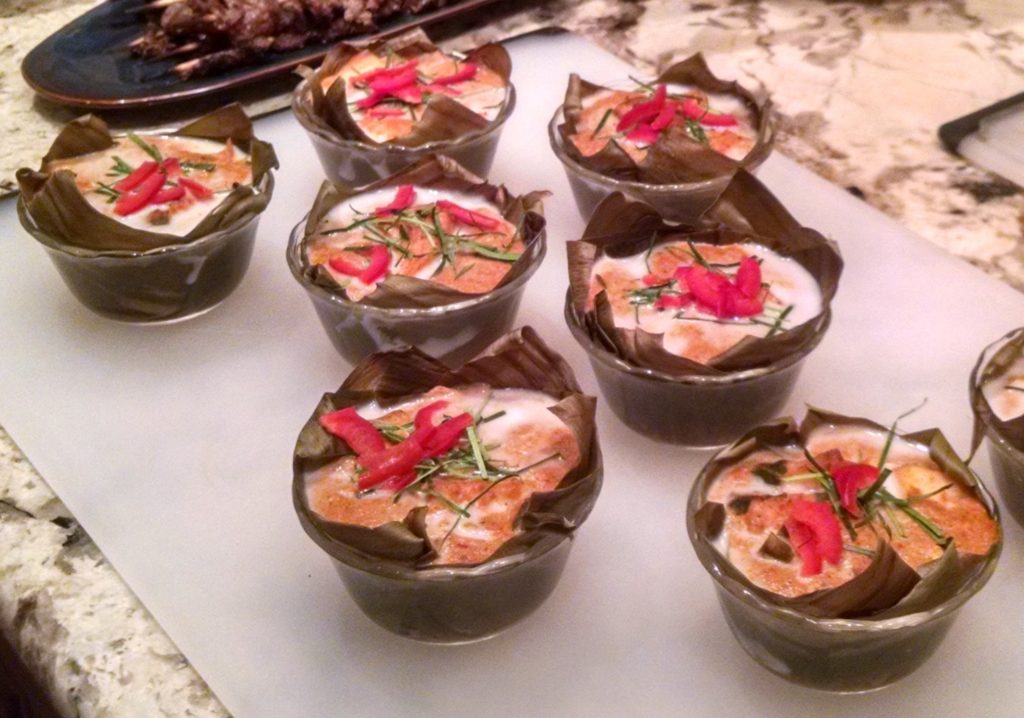
From the French Indo-China 1920s to 1930s dinner: Cambodian Fish Amok (Fish and Coconut Milk Curry Baked in Banana Leaves)

The other six of us do successive rounds of emails refining the list of dishes to be prepared and organizing them into courses.  Our task is to be as authentic to the theme as possible.

French Indo-China 1920s to 1930s was probably our most narrow theme.  Others have included, for example, Summer in Provence, Winter in Friuli, Along the Silk Road, Persia (not Iran but Persia), Comfort Food, and Things You Can Cook in a Wood-Burning Oven (for which the entire meal was cooked in our outdoor wood-burning oven).

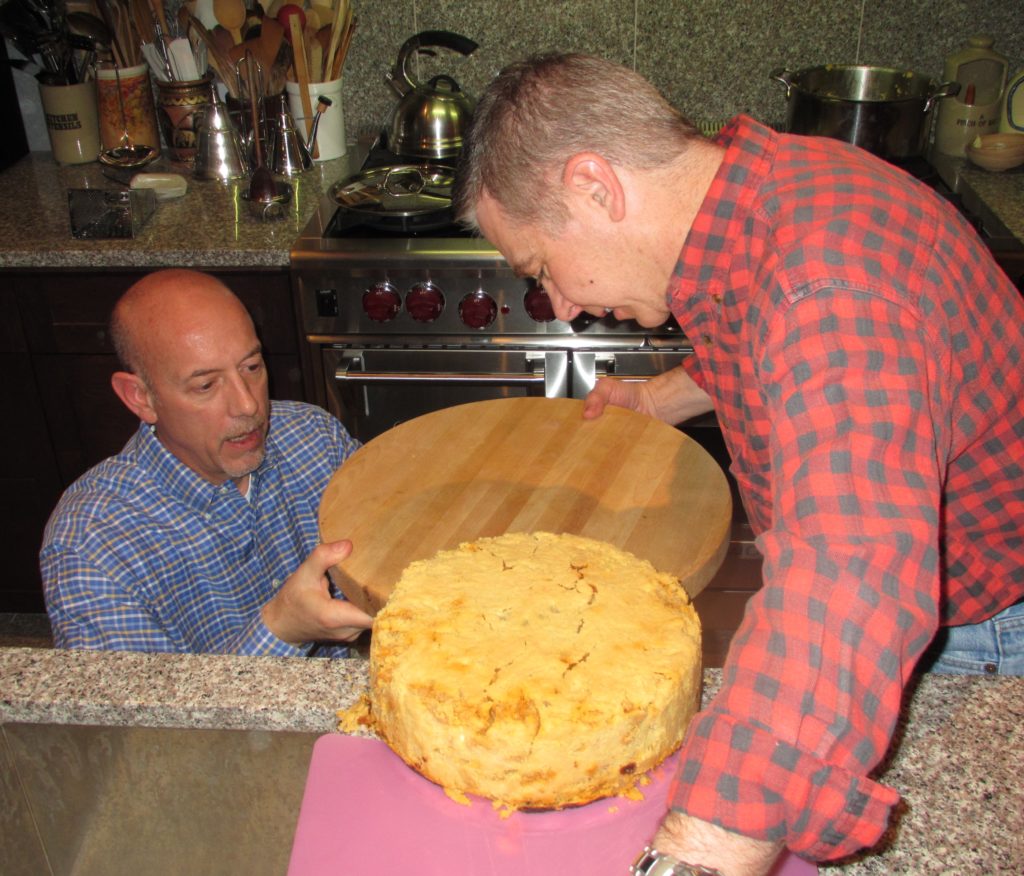
The only meal we’ve had which strayed from the basic plan was Timballo.  Timballo is a (typically large) pastry-encased and baked dish of layered pasta, hardboiled eggs, cheese, meatballs, and other meats, all moistened with tomato sauce.  Each of the cooks was assigned one or more components of the timballo to make at home.  We got together to assemble and bake the final dish.  This was a multi-hour process, even with all the prep work done in advance.

Unmolding the timballo

To help pass the time, Frank and Doug devised a blind wine-tasting in which we had to try to identify the varietal and provenance of each wine.  I believe the eight of us tasted six bottles of wine.  After we finished those, we opened some more.  This was the dinner at which we decided the theme of French Indo-China 1920s to 1930s.  You may notice a correlation between alcohol intake and unusual dinner themes!

Follow us on your social media platform of choice


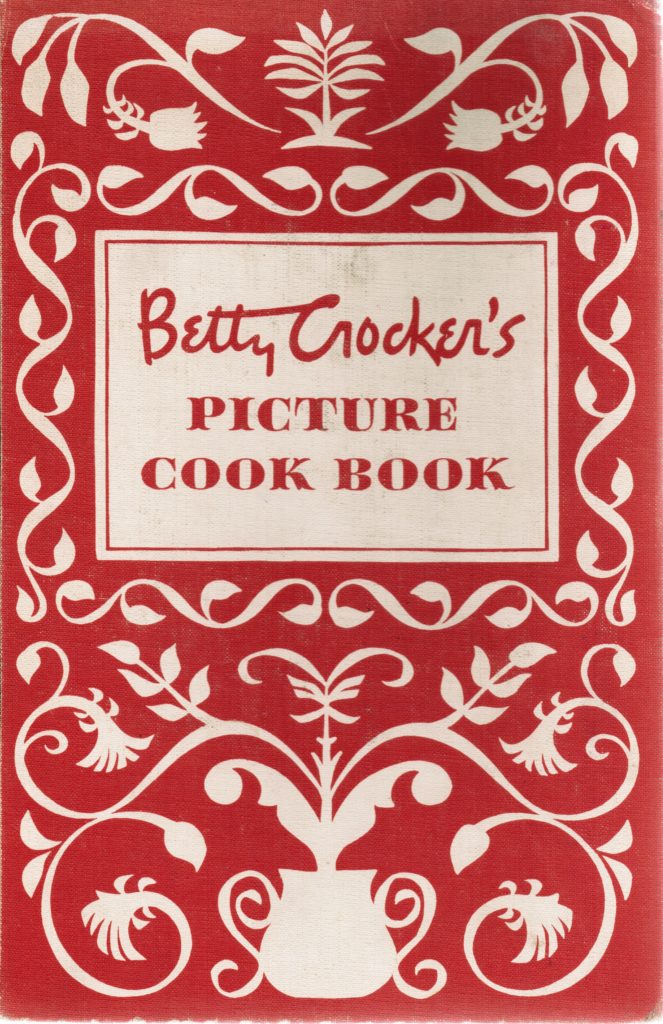
Earlier this year, our theme was Betty Crocker’s Picture Cook Book, first edition, published in 1950.  Every dish had to come from the cookbook with no changes, substitutions or updating unless absolutely necessary.  One of the appetizers was anchovies rolled around cornichons!

Betty Crocker’s Picture Cook Book, 1950, First Edition

The food was actually surprisingly good.  I suspect part of that was related to how each of us selected our dish or dishes (Becky, who did appetizers selected three!).  The wines were, undoubtedly, fabulous.  In the United States, if you were drinking wine in the 1950s you were likely drinking French wine, and good French wine, at that!  On that night, so were we!

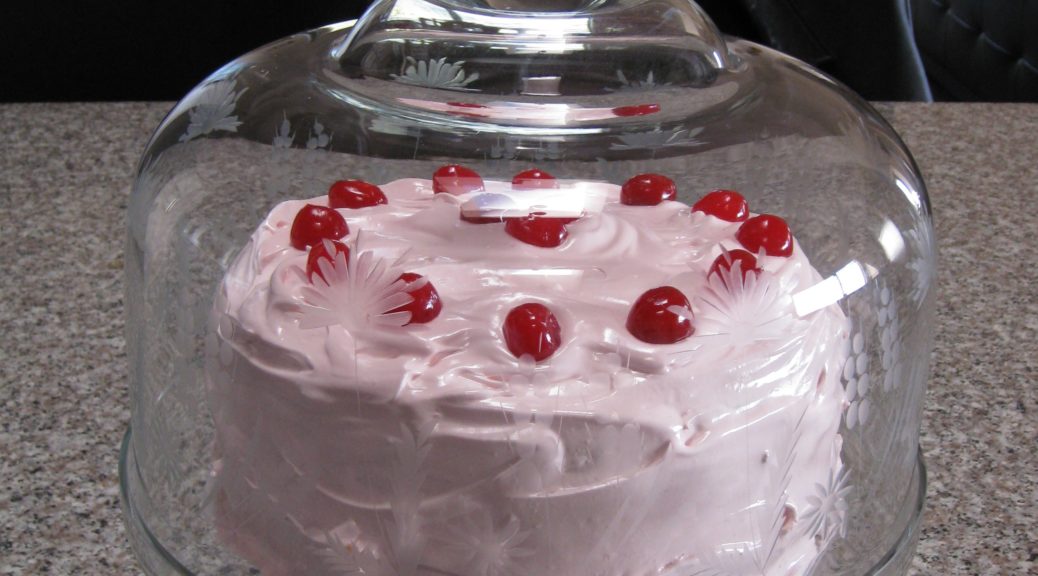
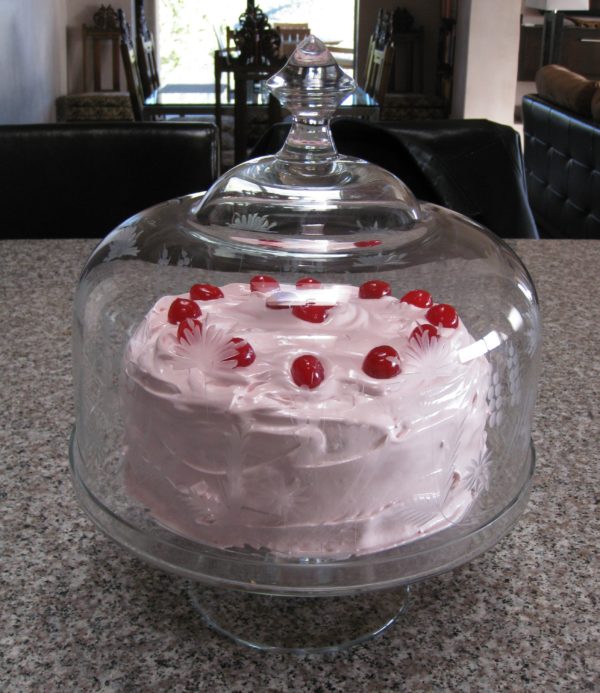
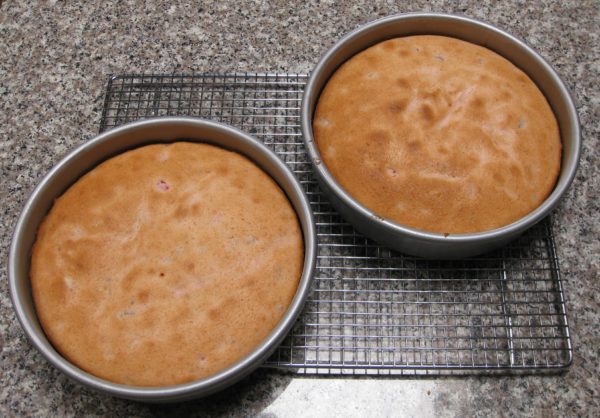
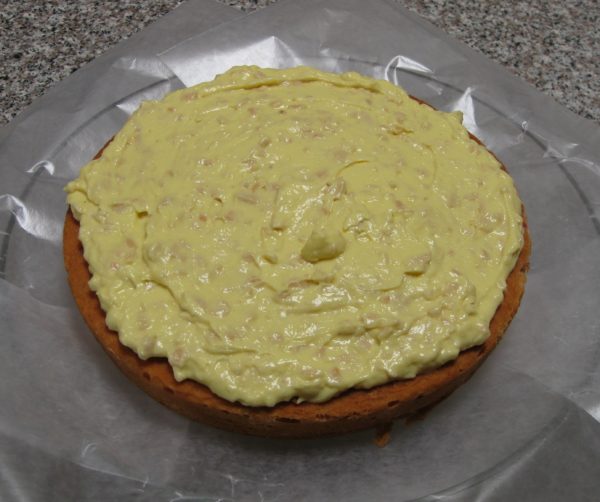
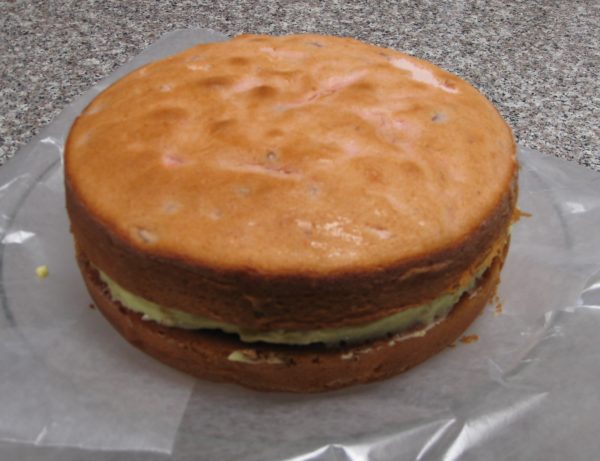
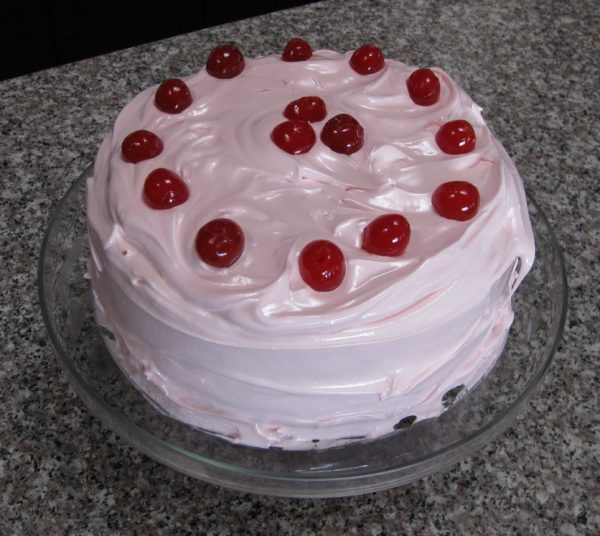
I made a Maraschino Cherry Cake with Almond Crème Filling and Maraschino Boiled Frosting.  Though if I were making the cake again, I would probably substitute my recipe for Italian Pastry Cream for Betty’s Crème Filling, I really wouldn’t make any other changes.

Here’s the recipe directly from the first edition of the Betty Crocker Picture Cookbook with a few minor adaptions of the technique by me.  For you bakers out there, I’m providing the original sea-level measurements as published in the cookbook.  Since I baked this at nearly 8000 feet in elevation, I followed Betty’s recommendations for adjusting for high altitude.

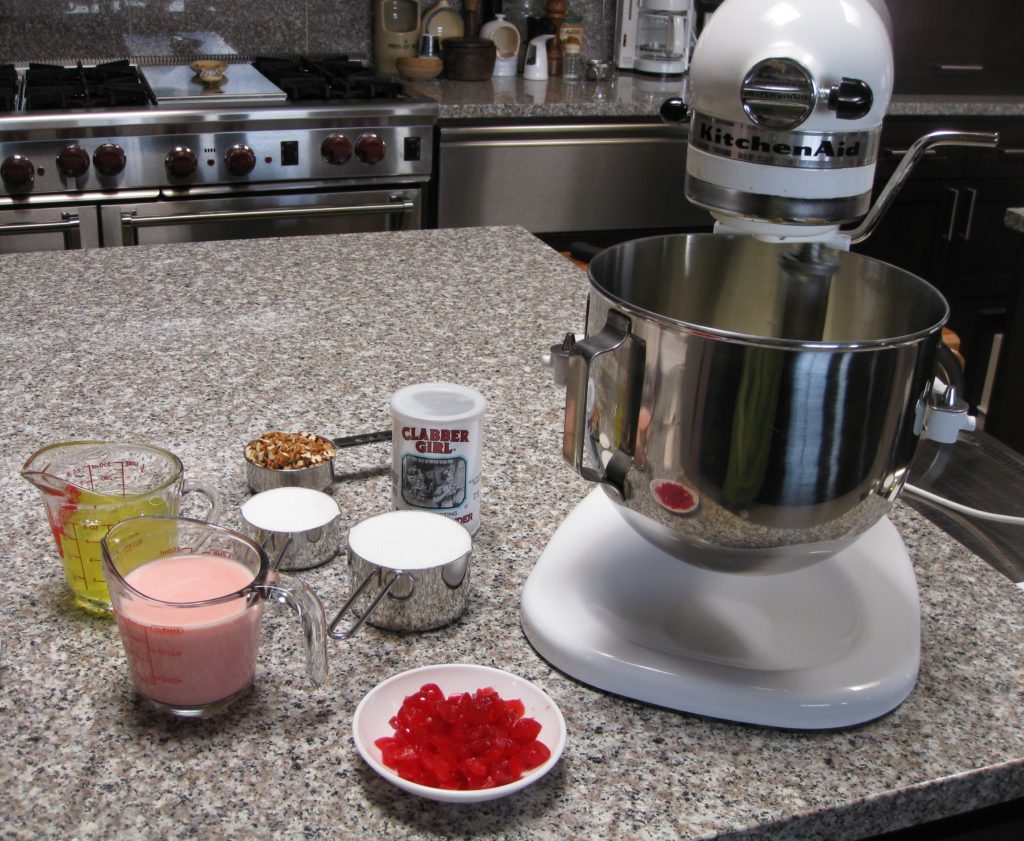
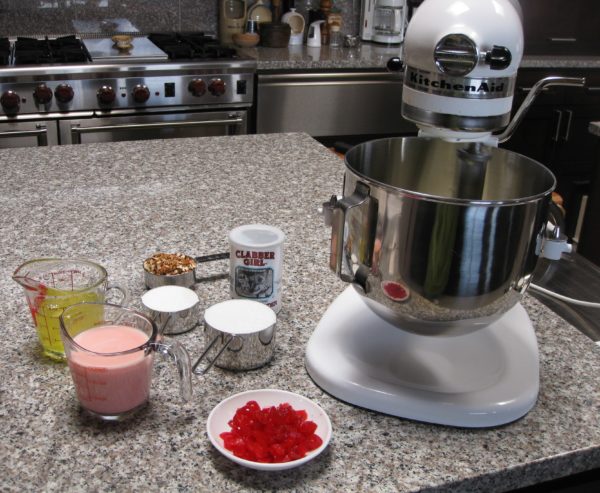
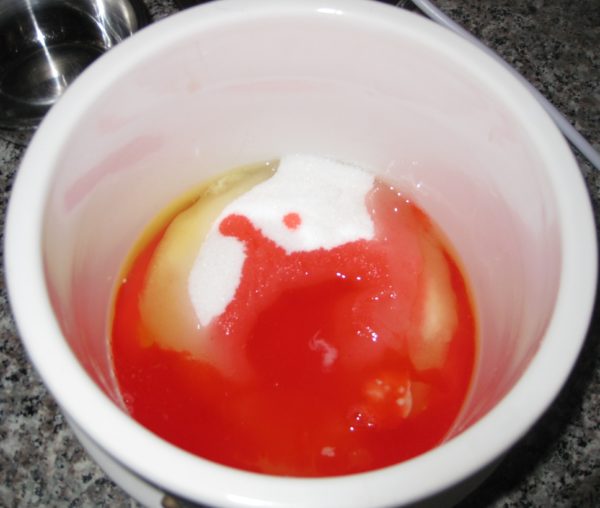
Getting ready to make Maraschino Cherry Cake
Print Recipe
Maraschino Cherry Cake
You can divide the work for this cake over several days. The filling can be made up to three days in advance and refrigerated, tightly covered. Stir in the toasted almonds just before using. The cake layers can be made a day in advance, wrapped tightly and refrigerated. The frosting should be made when you’re ready to frost the cake. The original recipe called for “rich milk” in the almond crème filling. Remember, this recipe was published before the advent of homogenized milk. Half-and-half is a good substitute. Except in professional recipes, it is rare to see egg whites measured in volume but it is a very good idea as the white, much more than the yolk, varies with the size of the egg.
Votes: 0
Rating: 0
You:
Rate this recipe!
Prep Time 1 hour
Cook Time 1 1/2 hours
Passive Time 6 hours
Servings
people
Ingredients
Maraschino Cherry Cake
Almond Crème Filling
Maraschino Cherry Cooked Frosting
Prep Time 1 hour
Cook Time 1 1/2 hours
Passive Time 6 hours
Servings
people
Ingredients
Maraschino Cherry Cake
Almond Crème Filling
Maraschino Cherry Cooked Frosting
Votes: 0
Rating: 0
You:
Rate this recipe!
Instructions
Maraschino Cherry Cake
  1. Sift together the flour, baking powder and salt. Reserve.
  2. Combine milk and Maraschino cherry liquid. Reserve.
  3. Cream butter.
  4. Cream in sugar until fluffy.
  5. Add dry ingredients in four additions, alternating with milk-juice mixture in three additions. Mix lightly, but well, after each addition.
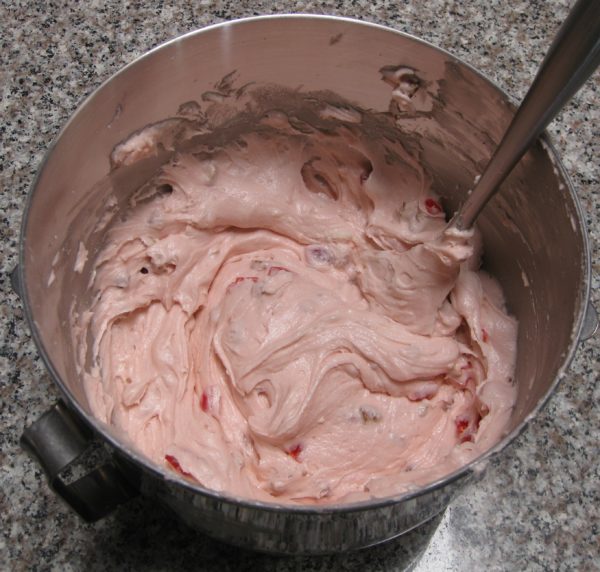
  6. Stir in nuts and Maraschino cherries.
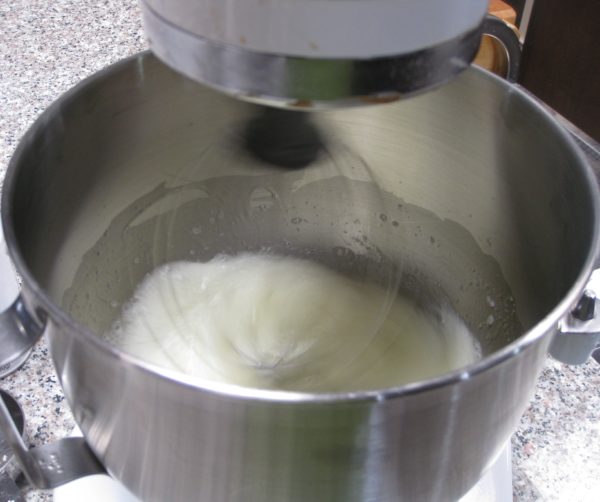
  7. In a separate bowl, beat egg whites until stiff.
  8. Fold beaten egg whites into batter, using about ¼ of the egg whites first to loosen the batter.
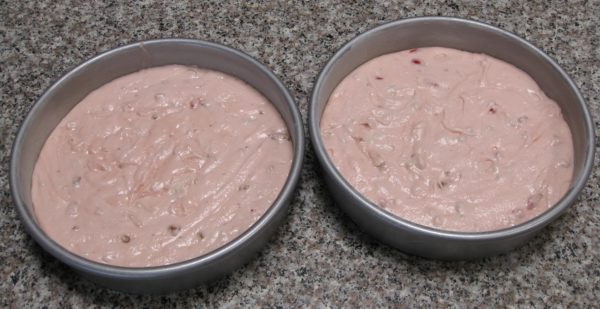
  9. Pour into two greased and floured 9” cake pans.
  10. Bake 350°F approximately 30-35 minutes, until a tester inserted in the center comes out clean.
  11. Cool the pans on a rack approximately 10 minutes.
  12. Remove layers from pans and cool completely.
Almond Crème Filling
  1. Combine the sugar, cornstarch, salt and half-and-half in a heavy-bottomed saucepan.
  2. Bring to a boil, stirring constantly.
  3. Slowly pour about half of the boiling half-and-half mixture into the egg yolks, whisking constantly, to temper the yolks.
  4. Put the saucepan with the remaining half-and-half mixture back on the heat.
  5. Pour the tempered yolks back into the saucepan, whisking constantly.
  6. Bring the mixture to a boil. Boil 1 minute, stirring constantly.
  7. Remove from the heat and stir in the almond and vanilla extracts.
  8. Pour the pastry cream into a bowl. Cover with plastic wrap, putting the wrap directly on the pastry cream to avoid a skin.
  9. Refrigerate until cold.
  10. Stir in chopped almonds just before using.
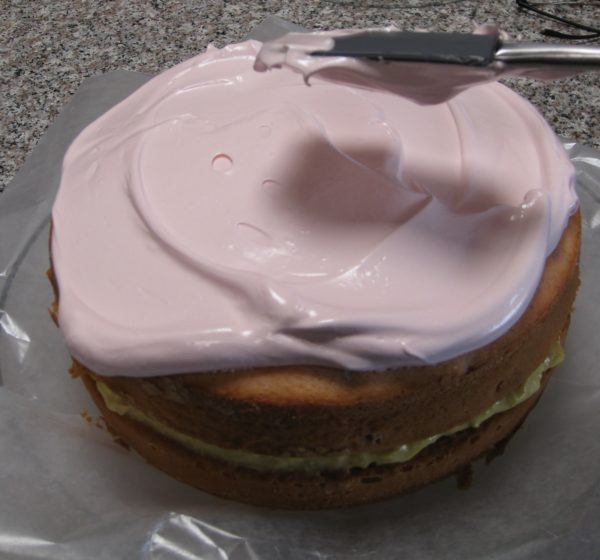
  11. Just before making the frosting, put one cake layer on a serving platter. Top with Almond Crème Filling.
  12. Top with second layer.
Maraschino Cherry Cooked Frosting
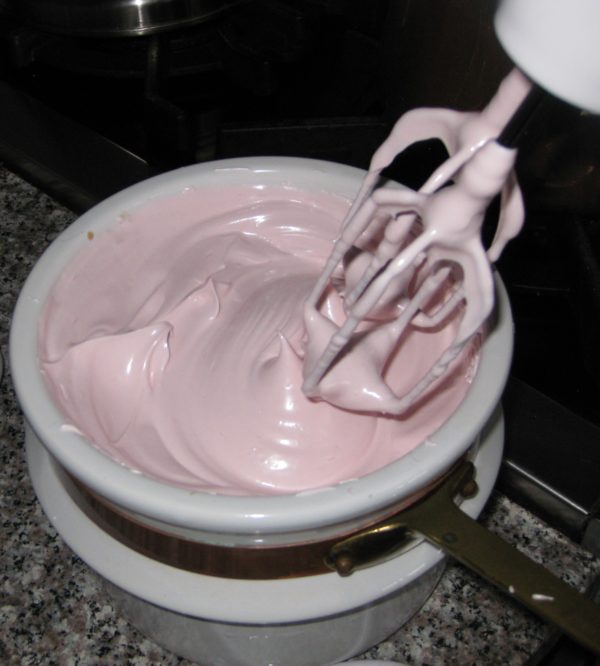
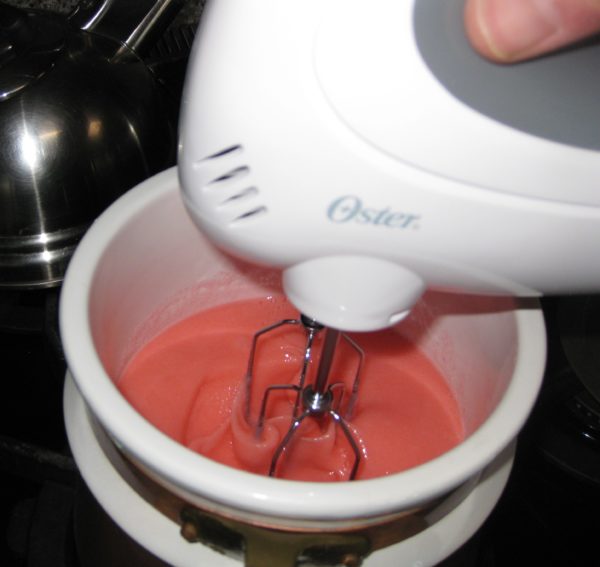
  1. Combine the egg whites, sugar, cream of tartar and Maraschino cherry liquid in a double boiler.
  2. Cook over boiling water, beating constantly with an electric mixer until a spreadable consistency, approximately 5-7 minutes. The top of the double boiler should not touch the boiling water in the bottom.
  3. Beat in the vanilla and almond extracts.
  4. Immediately frost sides and top of cake.
  5. Decorate the top with whole Maraschino cherries
Recipe Notes

Copyright © 2018 by Villa Sentieri, LLC. All rights reserved.
Share this Recipe

Mom’s Ravioli

September 27, 2017

My strongest olfactory memory of childhood is gradually waking up on Sunday morning to the smell (perfume is a better characterization as far as I’m concerned) of garlic being sautéed in olive oil.

That was how most Sundays started.

My mother would get up early and start making her long-simmered Southern Italian Tomato Sauce (referred to as Ragu or Sugo if one’s Italian roots were close, “Gravy” if one grew up in New York or nearby, and often just “Sauce”). We unceremoniously called it “Spaghetti Sauce” though it was used on much more than spaghetti!

I think the better part of my culinary-cultural history is represented by that sauce. Every Italian family’s sauce is different, even if stylistic similarities can be identified. The sauces made by my mother and her two sisters that I knew, Aunt Margie and Aunt Mamie, were clearly related but also different. Each was good but it’s not as if they didn’t deviate from my Grandmother’s recipe. They were similar in that garlic and meat were browned in oil; tomato products, water, and seasonings were added; and the whole thing simmered for hours. The meats varied, the tomato products (tomato paste, tomato puree, whole canned tomatoes, etc.) and the proportions of them definitely varied as did the seasonings and other aromatics.

My mother’s “Spaghetti Sauce” to call it by its “historic” name, a name that I no longer use, is, without doubt, my most precious culinary treasure. I have only ever given the recipe out twice. In the 1970’s I gave it to John Bowker and his wife Margaret Roper Bowker. John was the dean of Trinity College in Cambridge, England. Recently I gave it to Robert Reddington and John O’Malley in Palm Springs after Bob lamented the loss of the recipe for the long-simmered tomato sauce he learned to make while living in Chicago.

With my mother’s sauce as the near-constant backdrop to our Sunday dinners, the rest of the meal varied. The sauce could be served with spaghetti or some other cut of dry pasta, or with my mother’s home-made fettuccine, or with ravioli. Although my favorite pasta is gnocchi, we never had those on Sundays as my father didn’t like them. Gnocchi (always home-made) were reserved for a weeknight meal during the times that my father worked out of town.

The sauce has an abundant amount of meat in it, pork, always cut in big pieces, never ground or chopped. Nonetheless, the pasta was often accompanied by my mother’s slow-cooked roast pork or maybe a roast chicken.

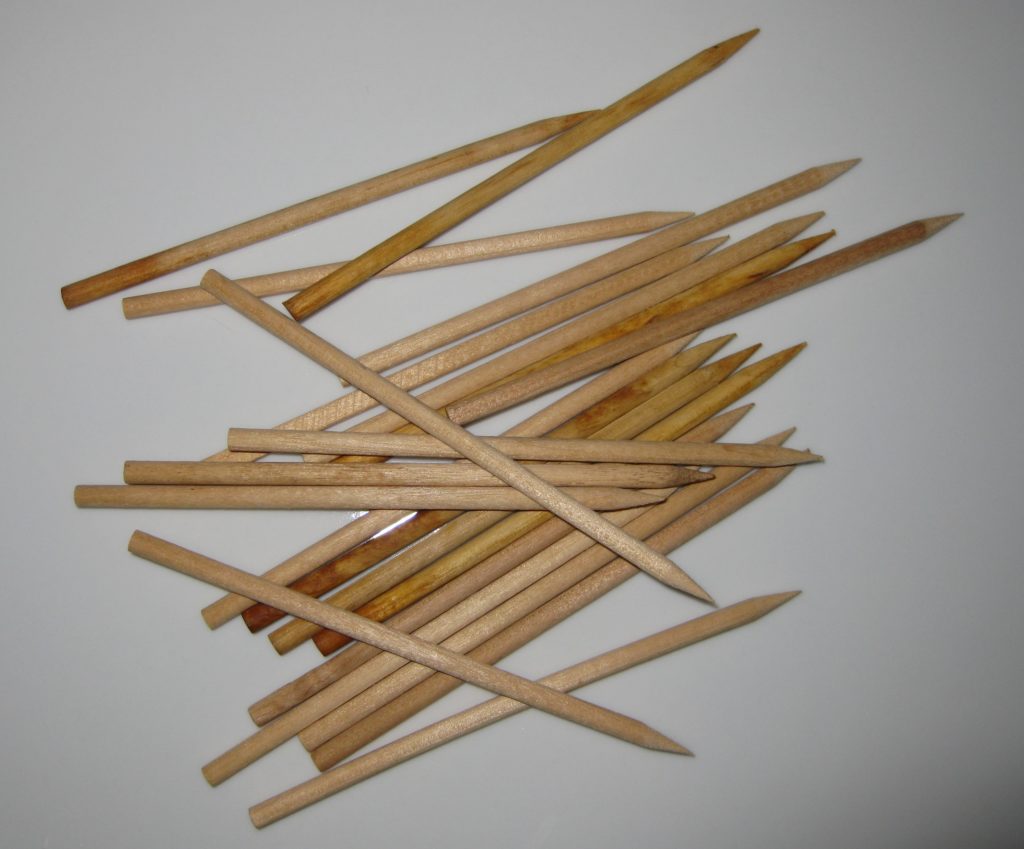
It seems incongruous now, but in the 1960s, before the widespread use of antibiotics, chickens were expensive! (I’m not in favor of the prophylactic use of antibiotics but I’m just saying that’s why chickens are relatively inexpensive now.) I still have a handful of my mother’s “City Chicken” sticks from the 1960s. They are round, pointed sticks slimmer than a pencil but thicker than bamboo skewers. Pieces of pork and veal would be skewered in alternating fashion on the sticks, breaded, and fried like chicken drumsticks. This was less expensive than chicken!!

City Chicken sticks

But back to Sundays…

Sometimes, after the sauce was bubbling away, my mother would make ravioli. Next to gnocchi, they are my favorite pasta, but manicotti and lasagna aren’t far behind.

We would eat our big meal around 1 PM on Sunday and my mother would get all of this done in time for that meal, including taking time to go to church, during which my Aunt Mamie, who lived upstairs, would be tasked with stirring the “Spaghetti Sauce.”

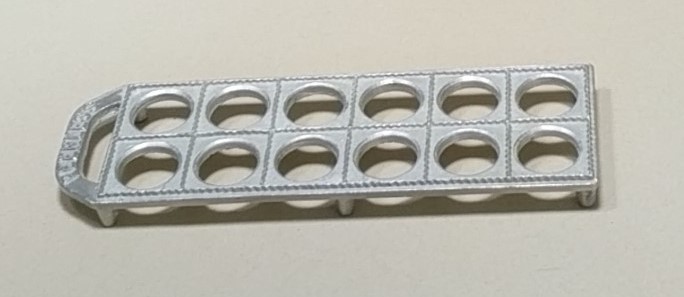
My mother’s (now my) ravioli mold.

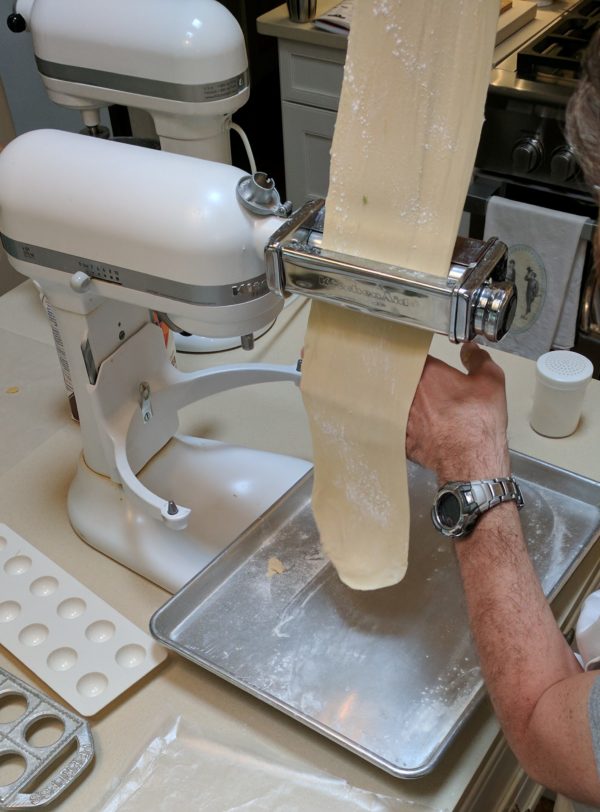
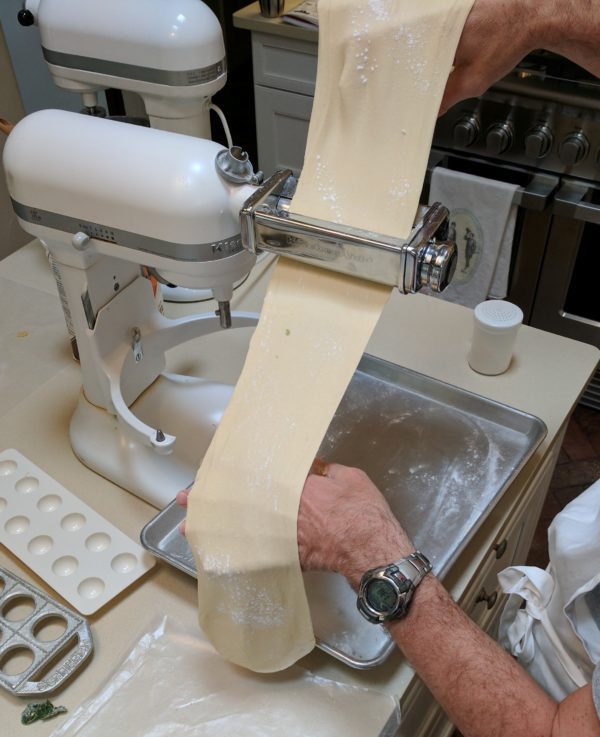
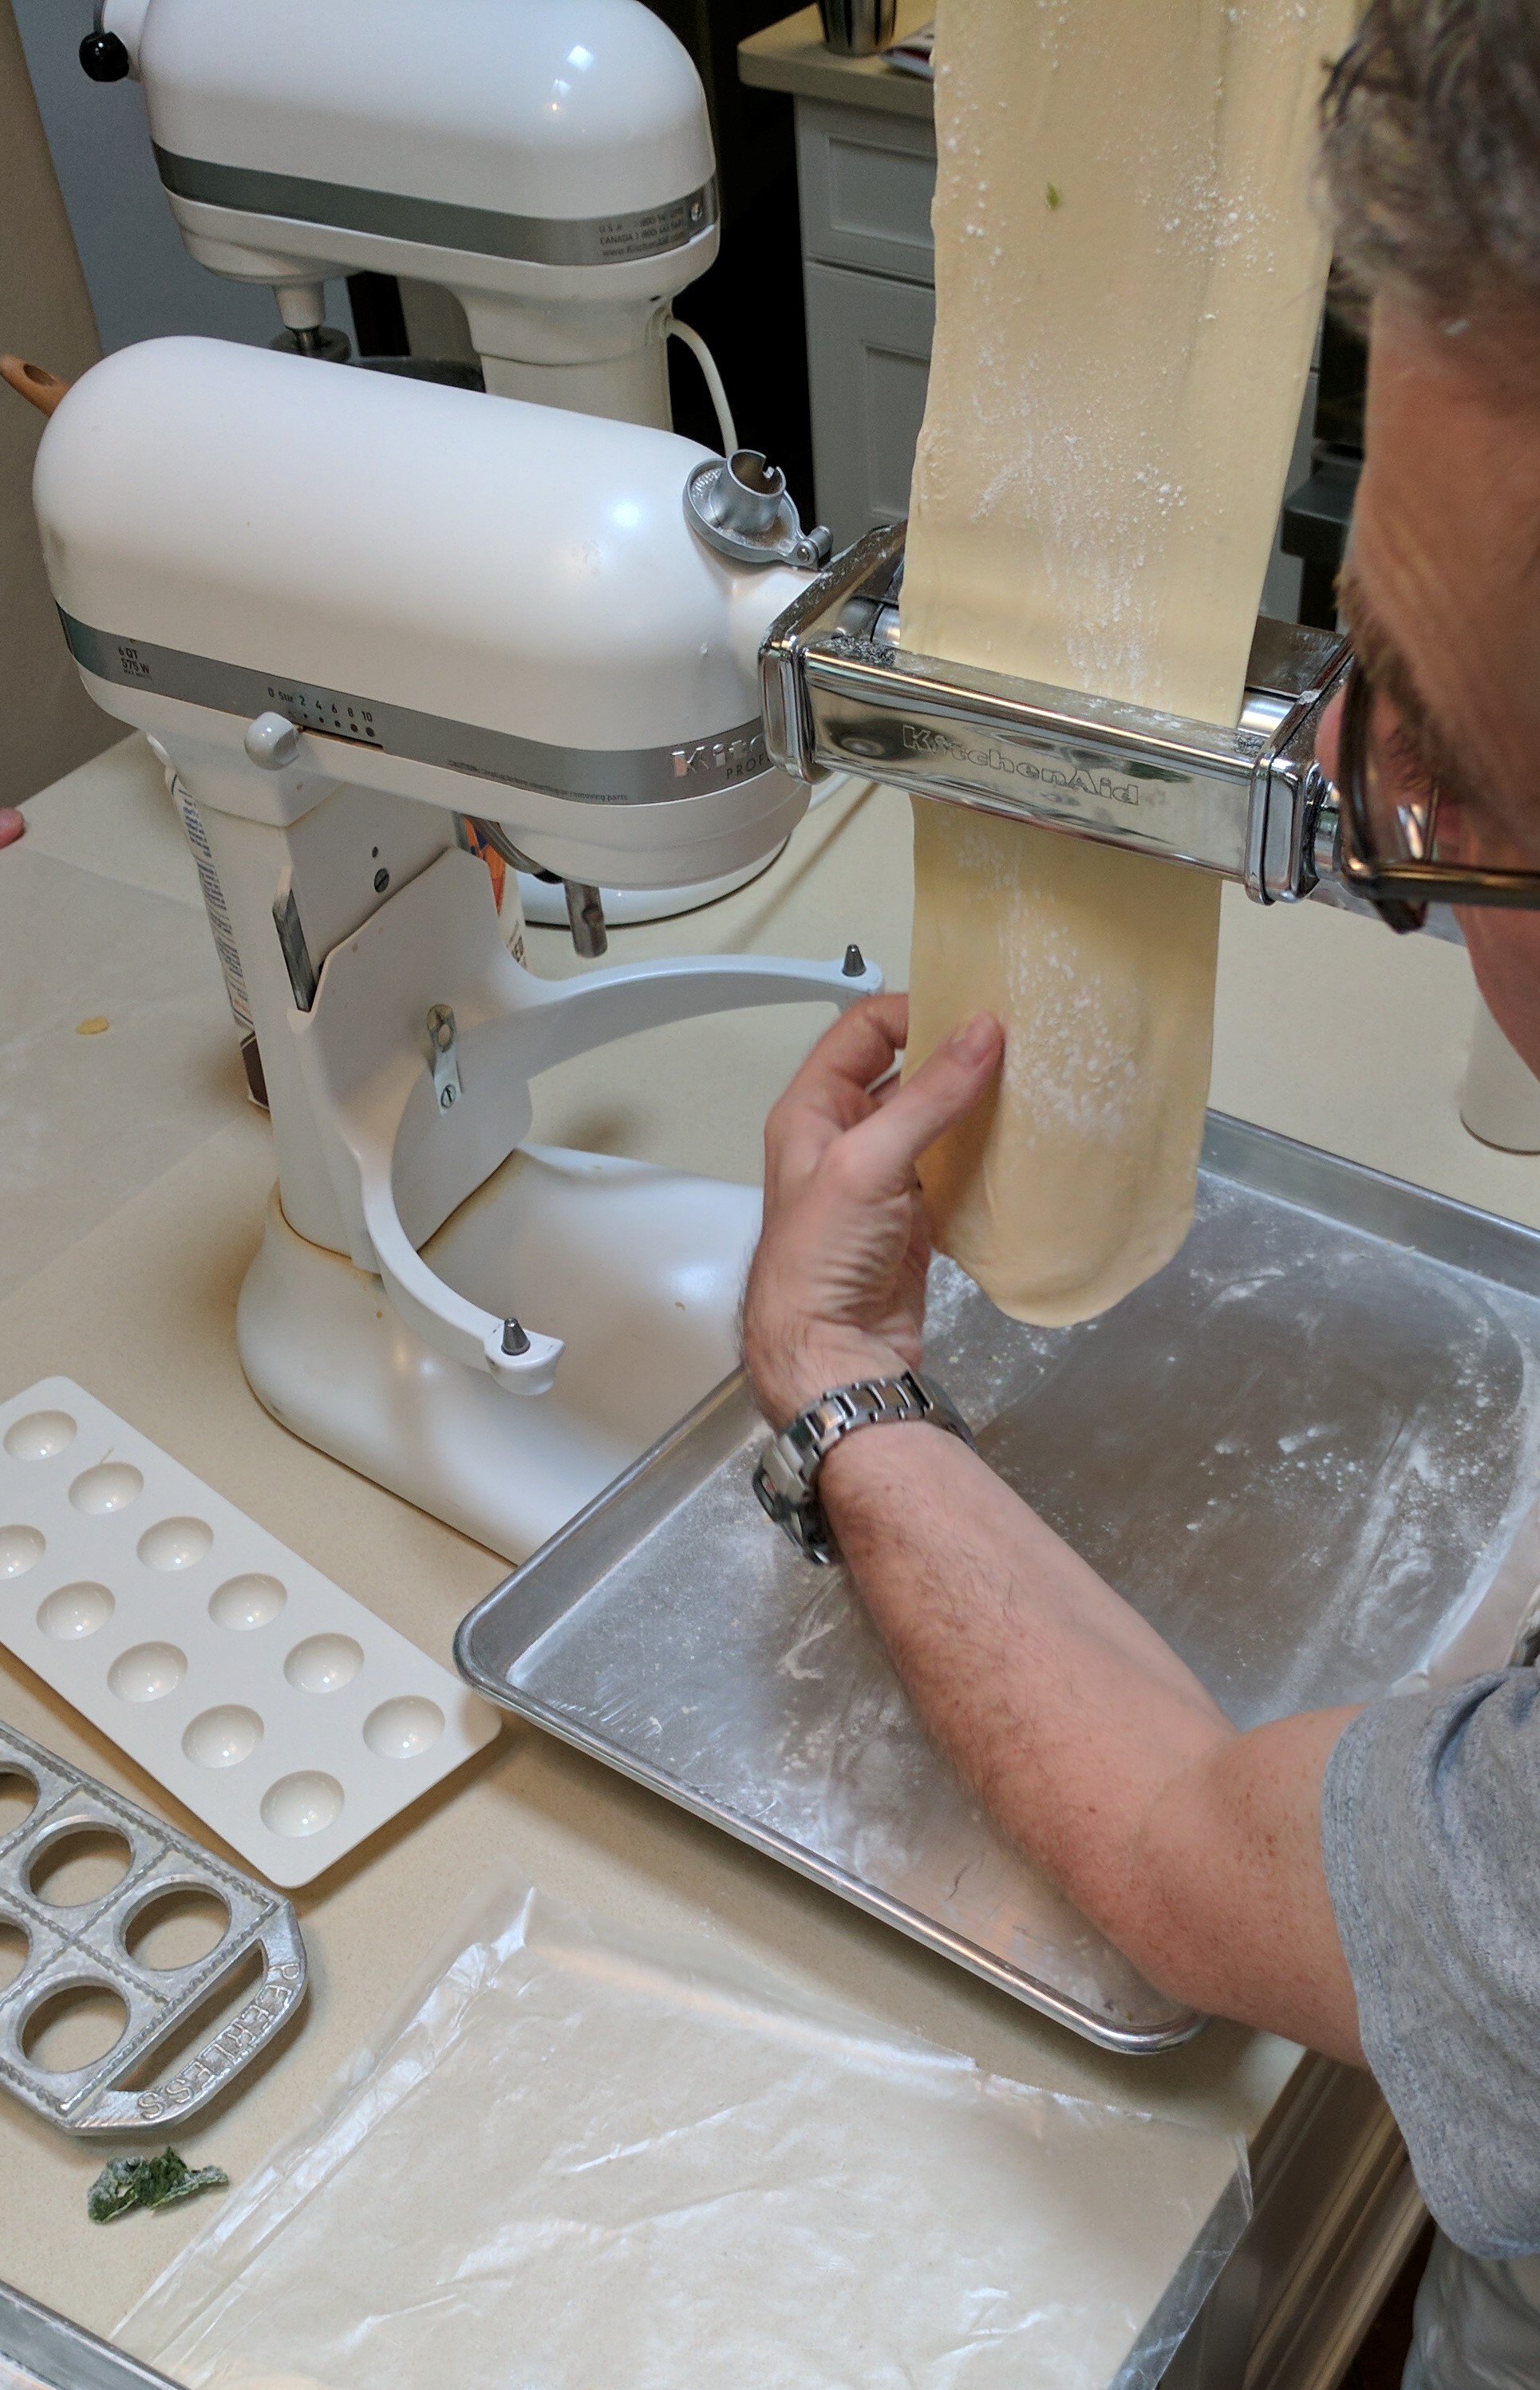
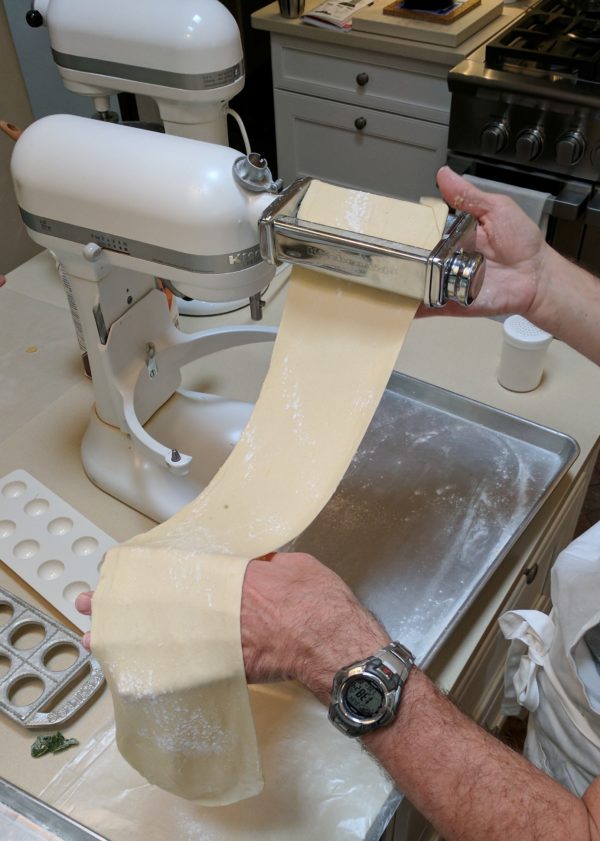
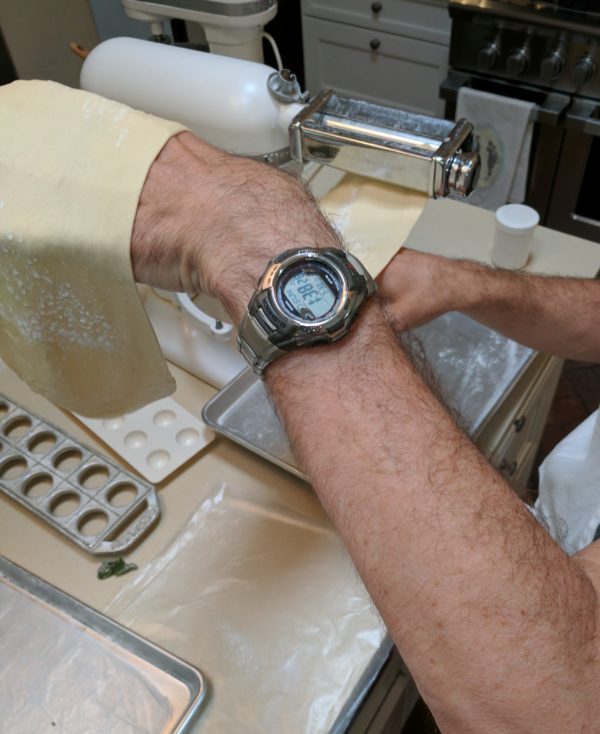
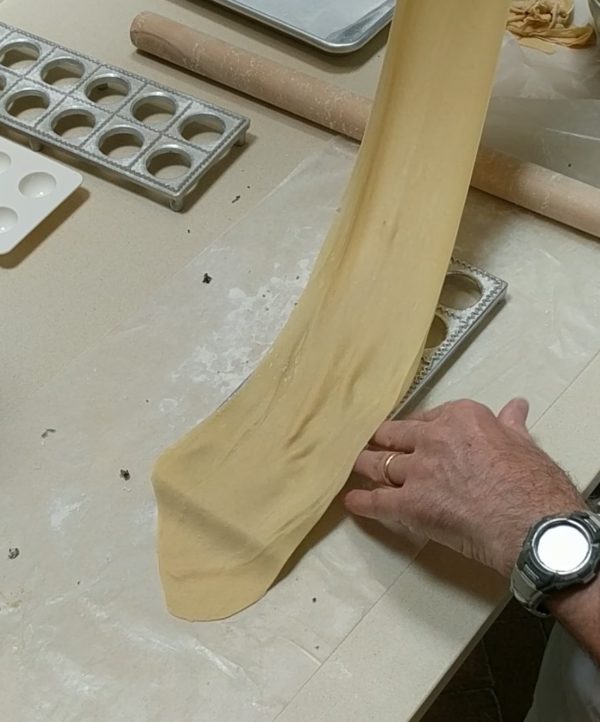
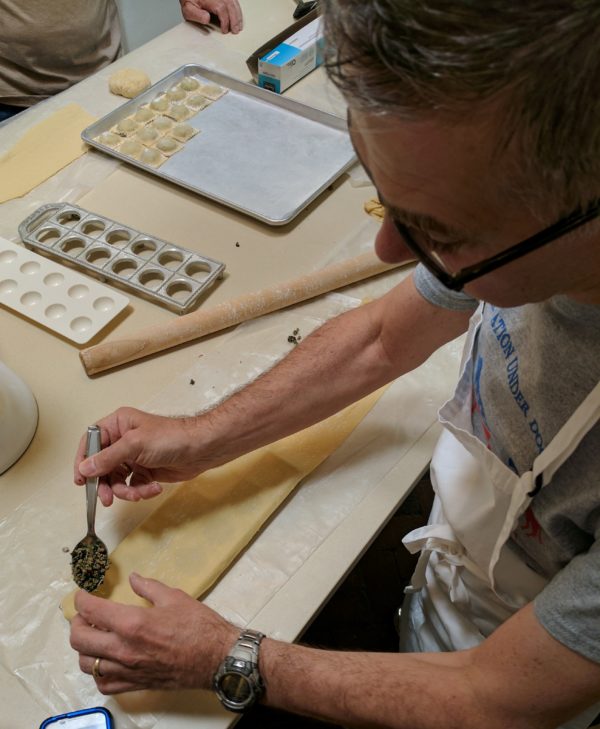
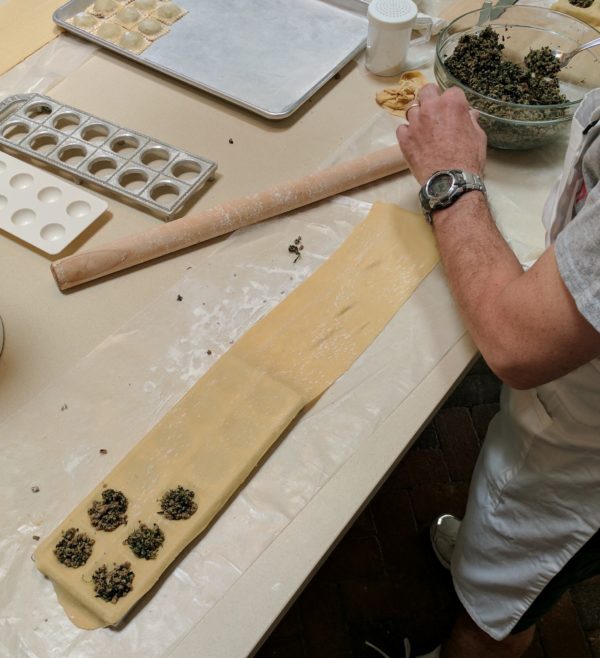
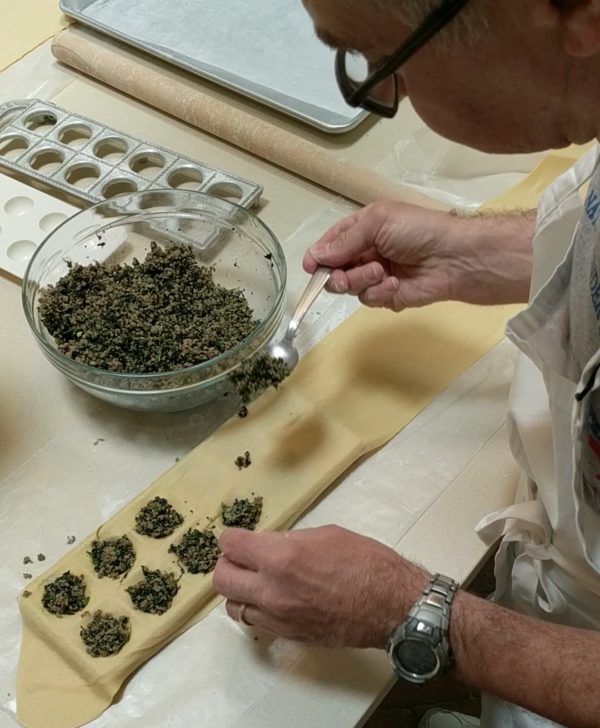
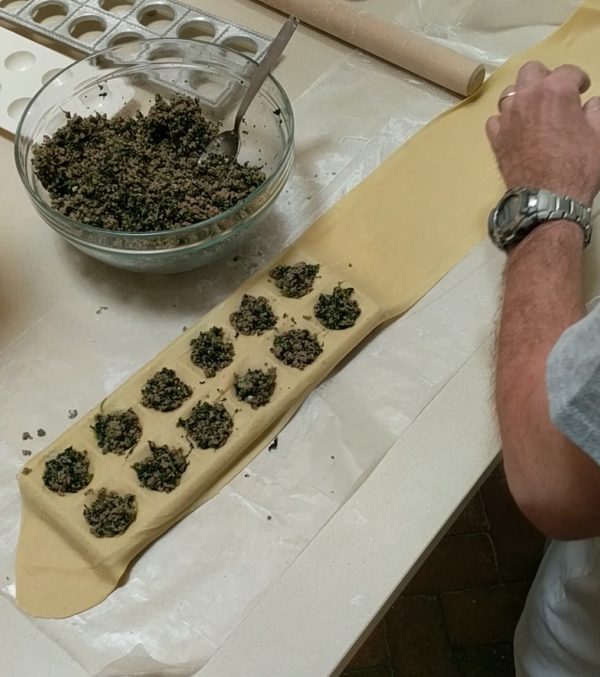
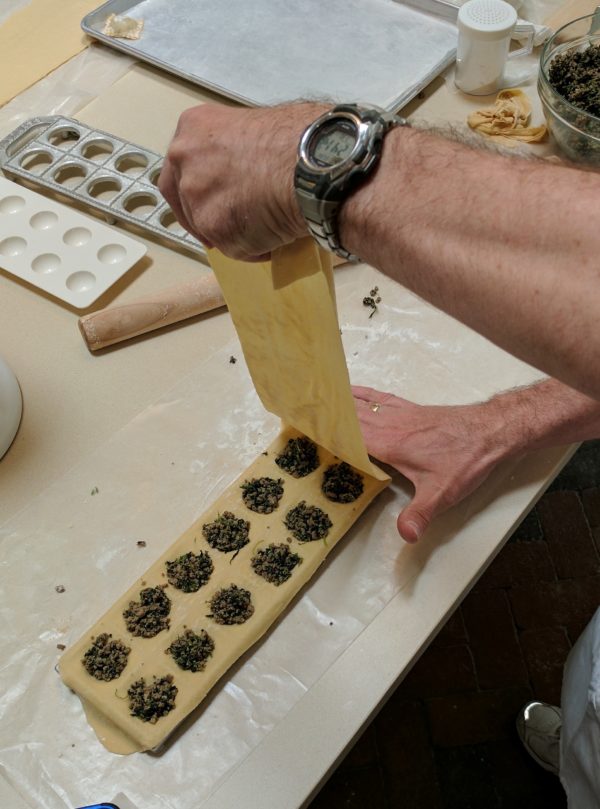
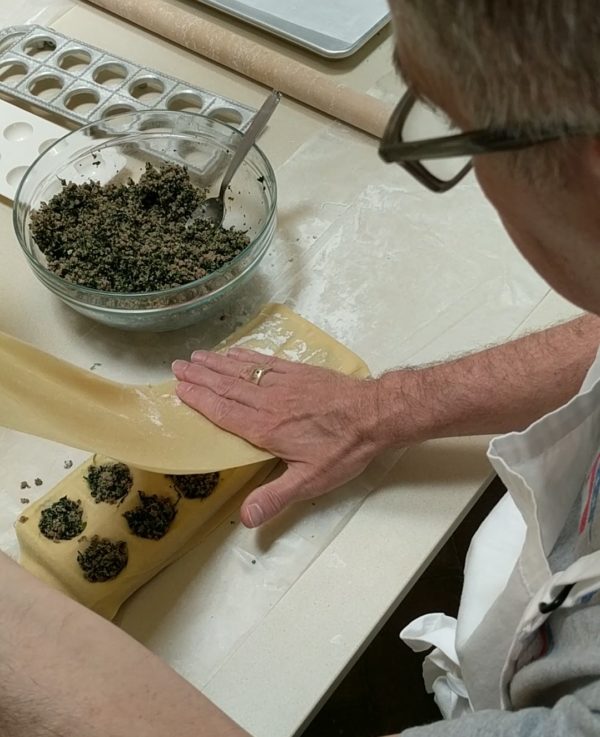
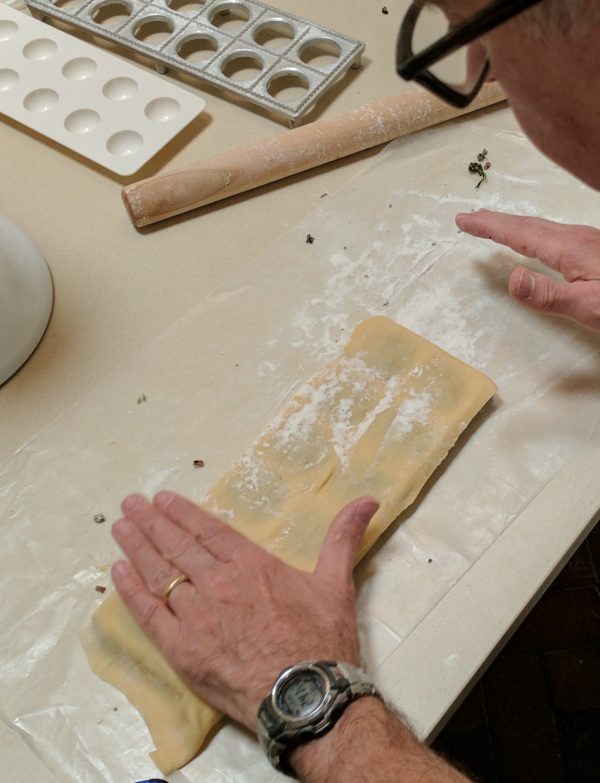
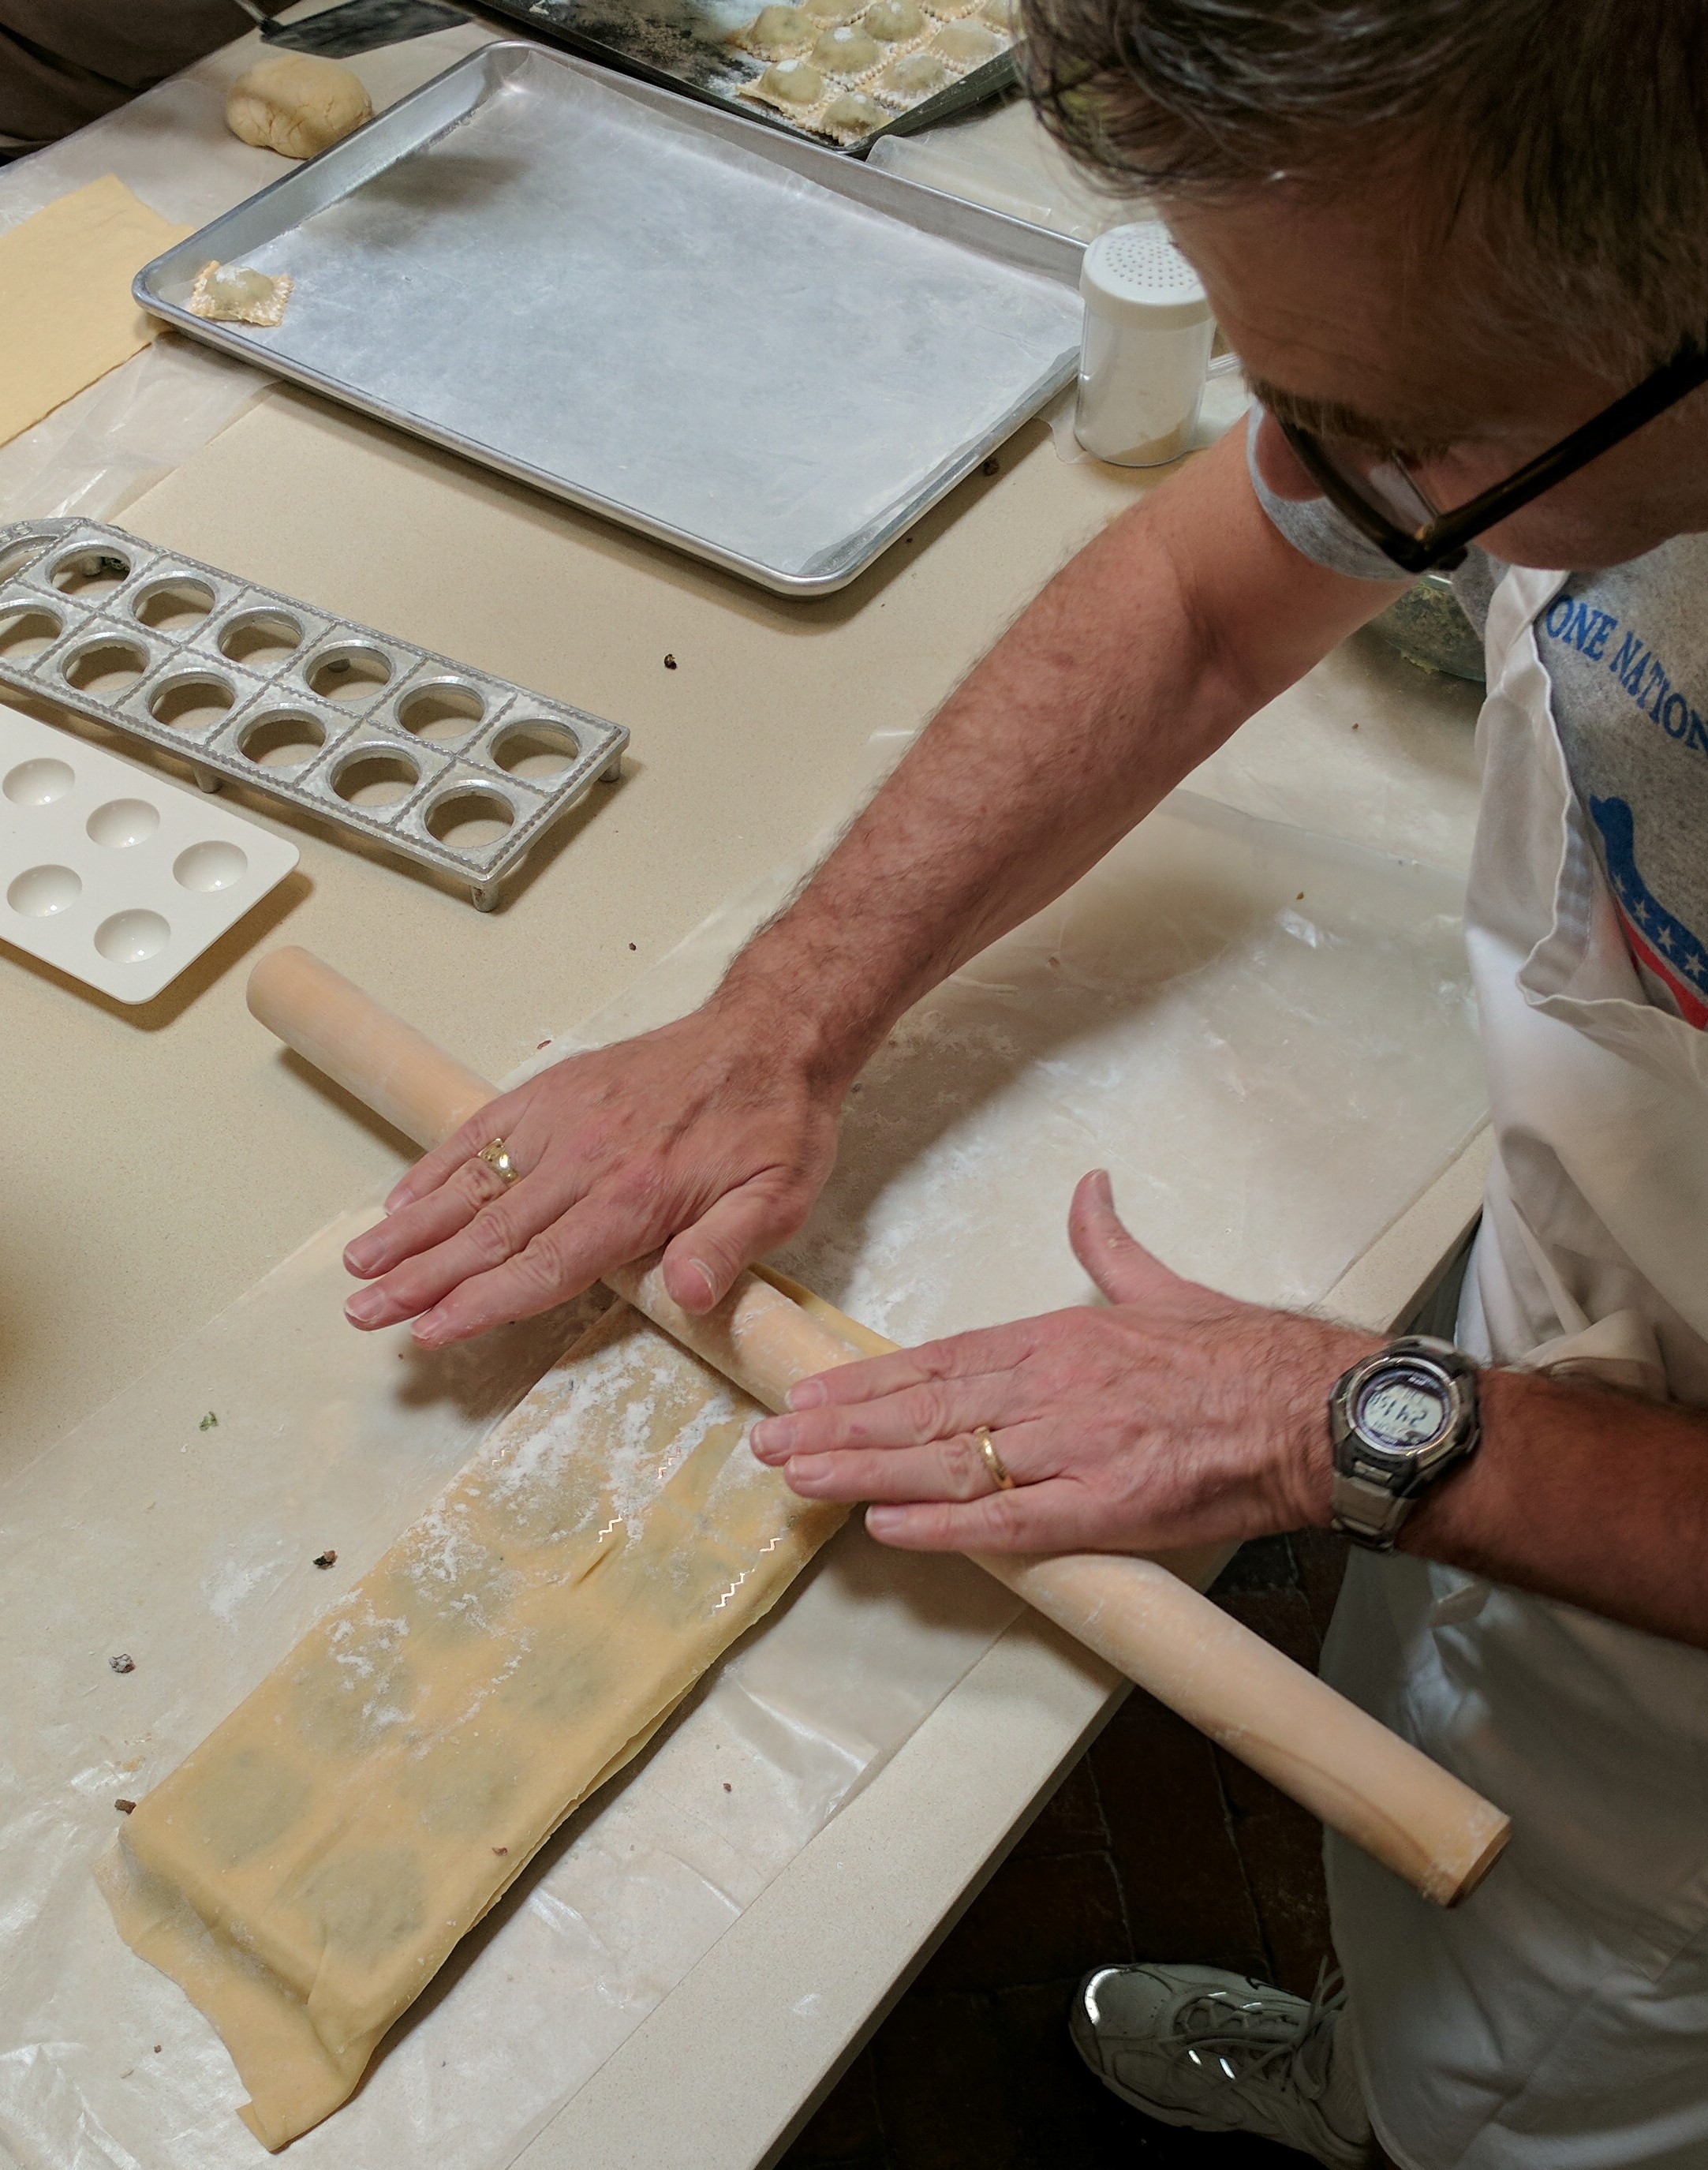
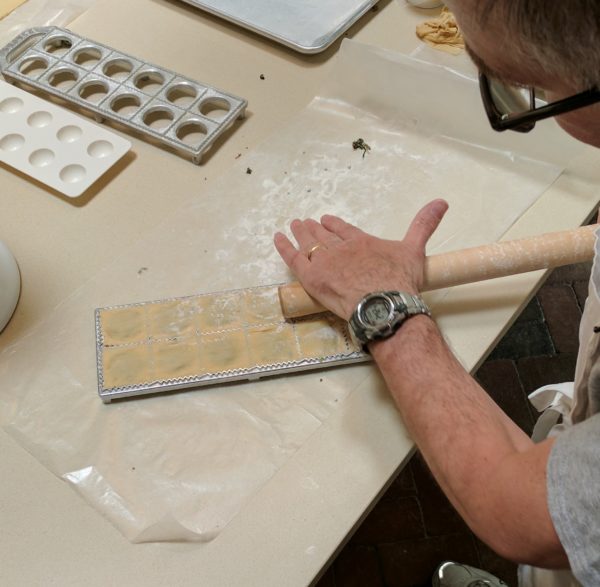
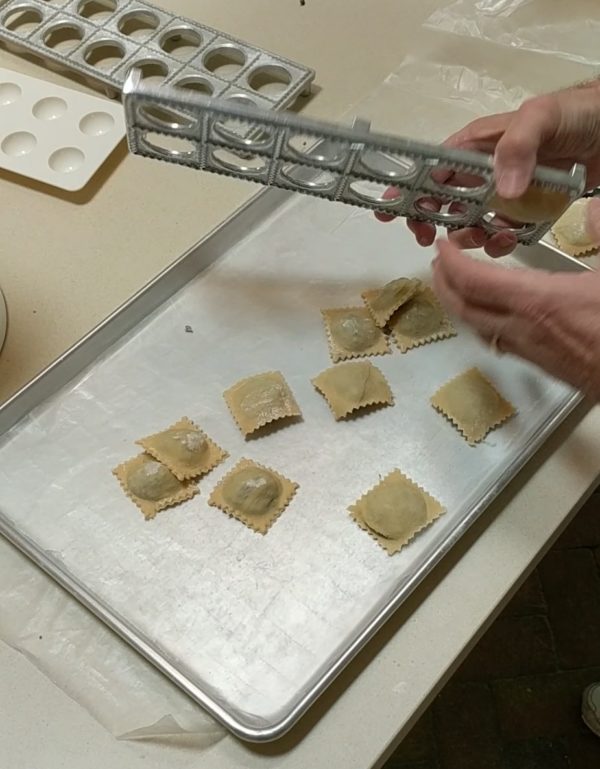
Making ravioli in a group is a lot more fun. I also find that making the ravioli on a different day from the day they are cooked and eaten means that I am not as tired and I enjoy them more. The pictures in this post are from a Sunday when I got together with Rich DePippo, Susan Vinci-Lucero, and my in-laws, Marisa and Frank Pieri, to make ravioli. I think we made about 30 dozen ravioli!


Follow us


Click HERE to join our mailing list and you’ll never miss a recipe again!

Print Recipe
Mom's Ravioli
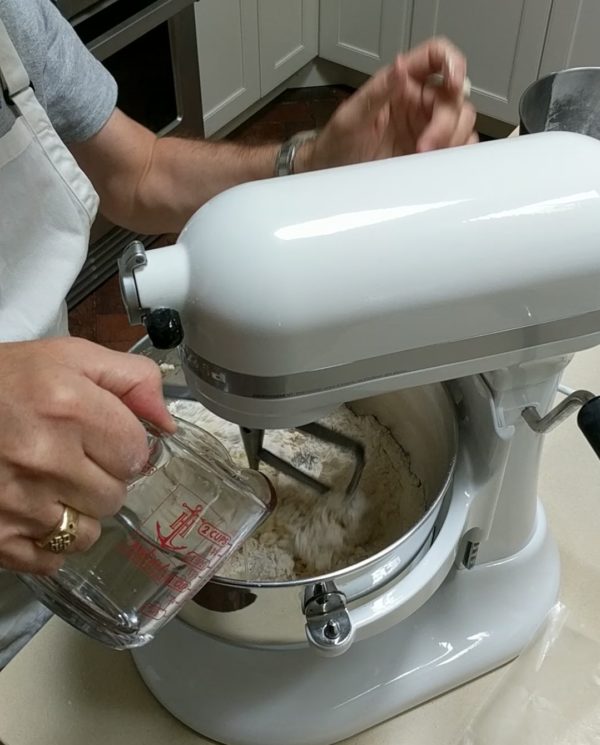
The filling can be made a day in advance and refrigerated, tightly covered. Ravioli freeze well. To do so, lightly flour a sheet pan that will fit in your freezer and put the ravioli in a single layer. Freeze about 30-45 minutes, until firm. Quickly put the ravioli in a zipper-lock bag and return to the freezer. Repeat with the remaining ravioli. My mother always made her dough by hand but I use a kitchen mixer and the beater, not the dough hook. Years ago, ground meat was not labeled with the percent fat. My mother would select a cut of sirloin, have the butcher trim off all visible fat and then grind it. I find that 93% lean ground beef replicates the experience.
Votes: 0
Rating: 0
You:
Rate this recipe!
Prep Time 2 hours
Passive Time 30 minutes
Servings
people
Ingredients
Filling
Dough
Prep Time 2 hours
Passive Time 30 minutes
Servings
people
Ingredients
Filling
Dough
Votes: 0
Rating: 0
You:
Rate this recipe!
Instructions
Filling
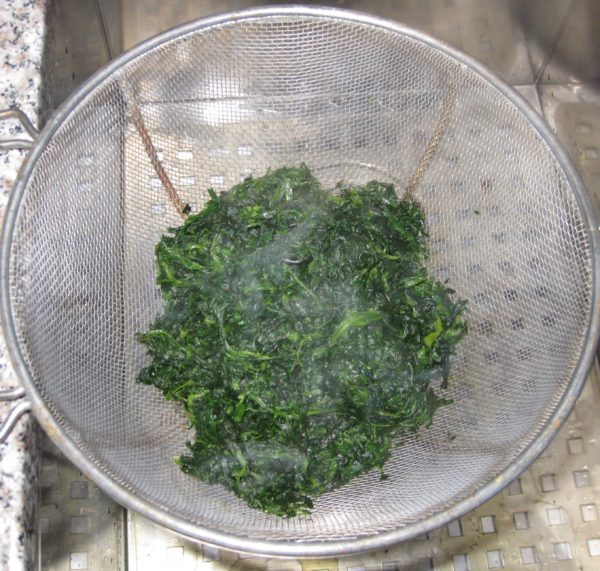
  1. Put the frozen spinach in a small saucepan. Add a few tablespoons of water. Cover and cook, stirring occasionally, until the spinach is completely thawed.
  2. Pour the spinach into a large sieve.
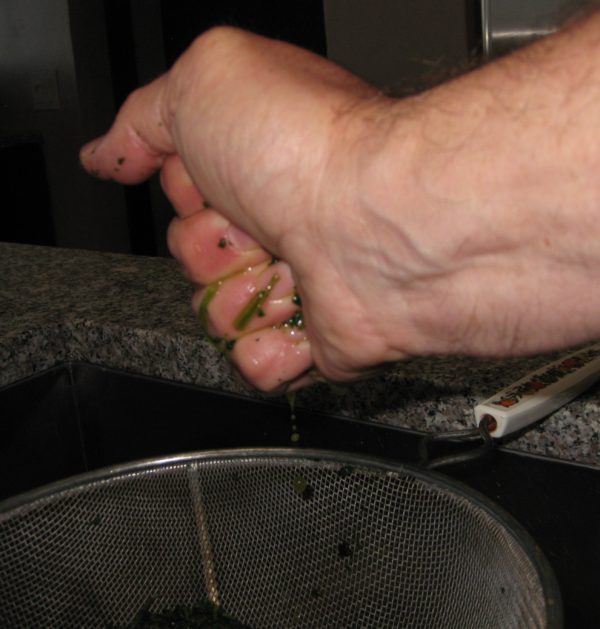
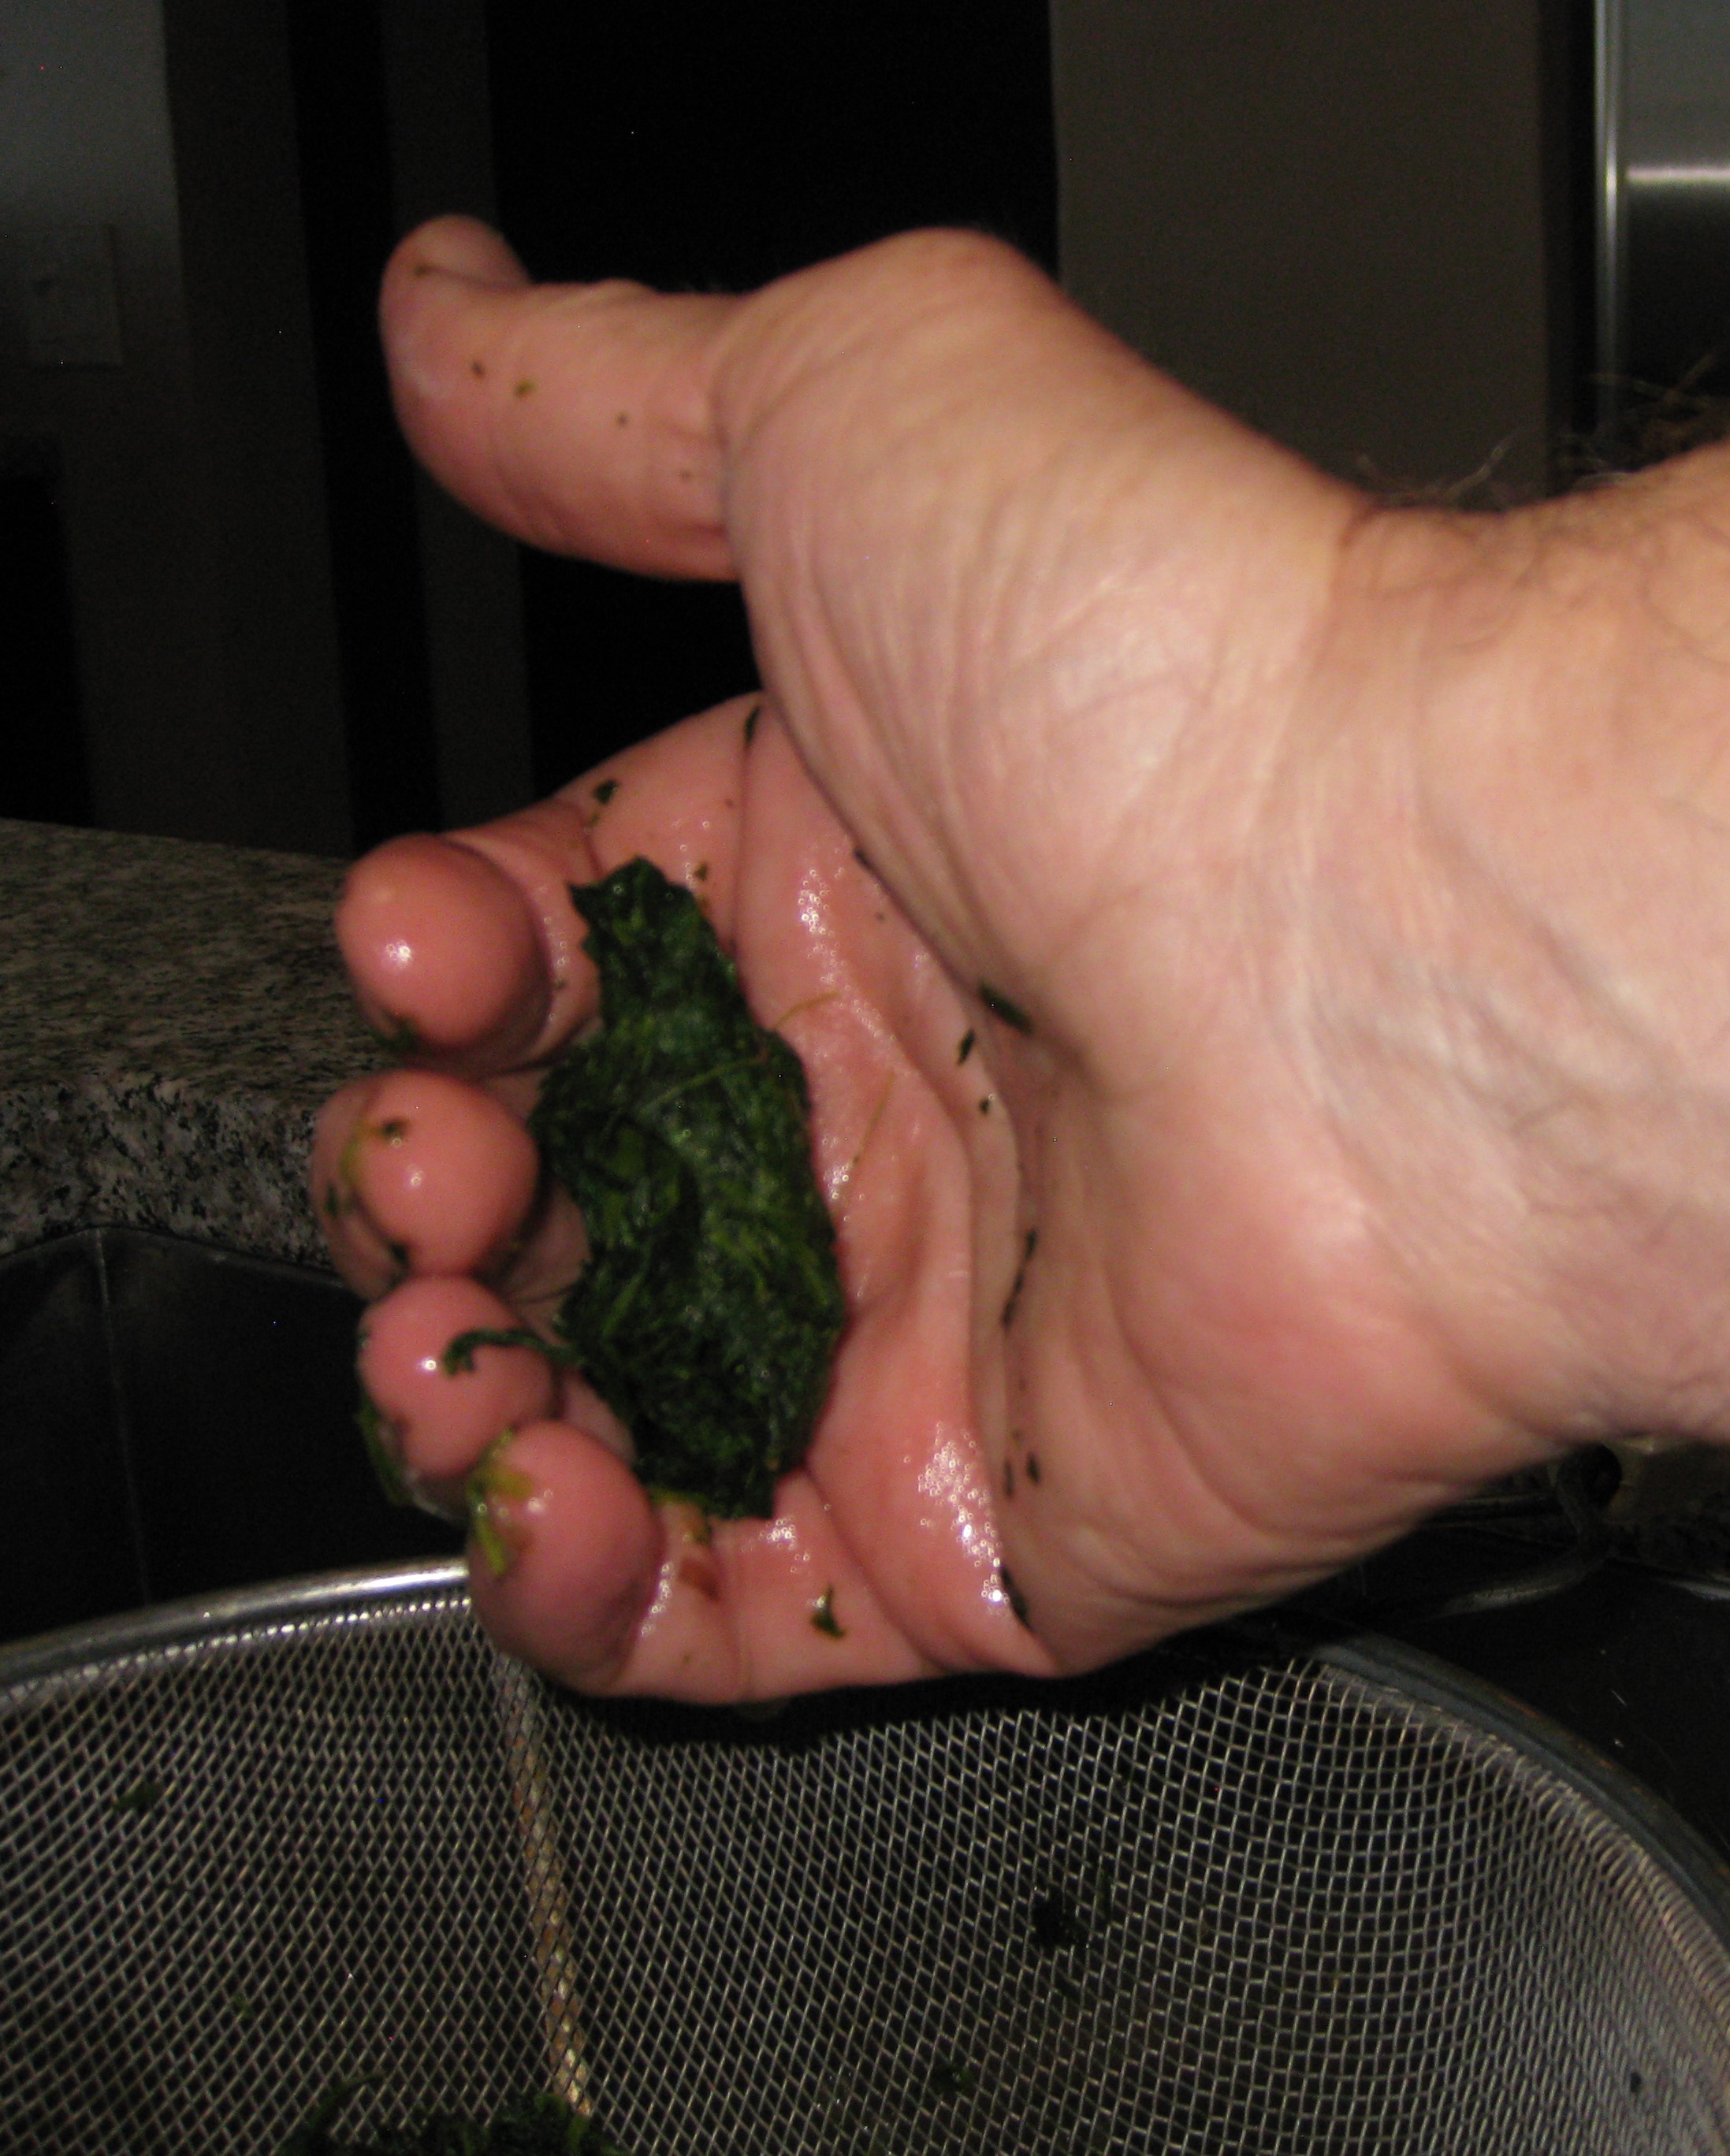
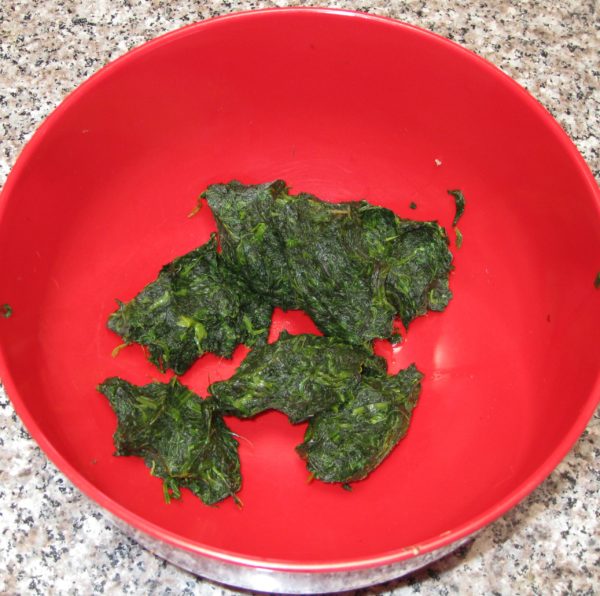
  3. After the spinach has cooled enough to handle, squeeze handfuls of the spinach to remove as much liquid as possible.
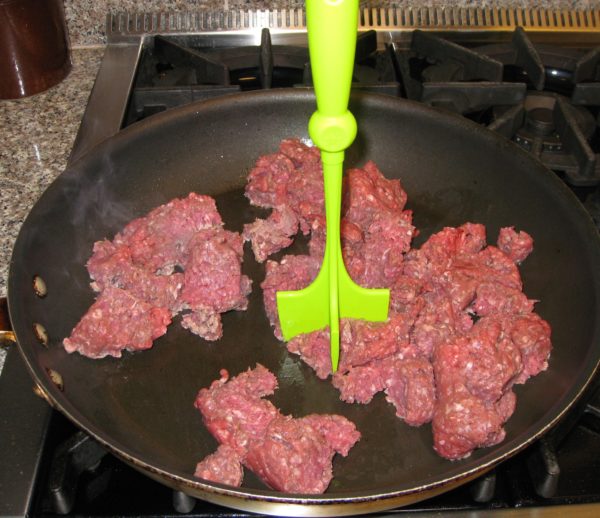
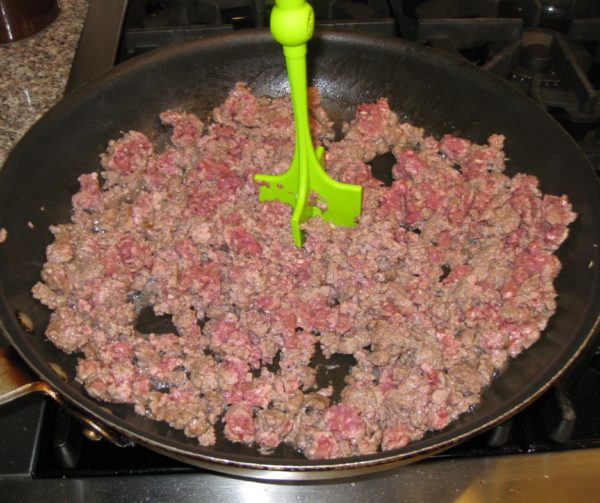
  4. Heat the olive oil in a 12-inch sauté pan until shimmering. Add the beef.
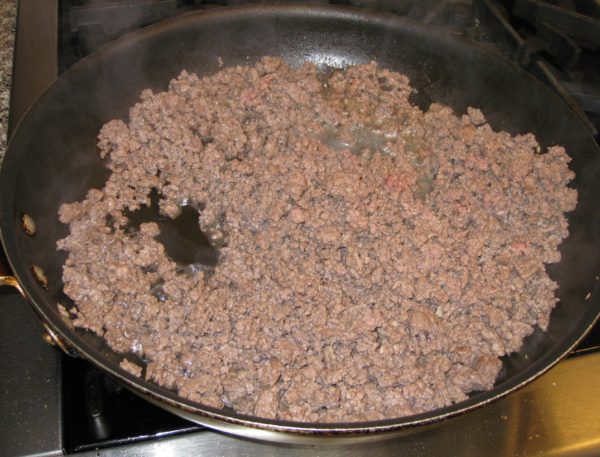
  5. Cook over high heat until the liquid has evaporated, breaking up the meat while cooking.
  6. Reduce the heat to medium and add the garlic, 1 teaspoon of salt, and black pepper to taste. Continue to sauté for 2-3 minutes more.
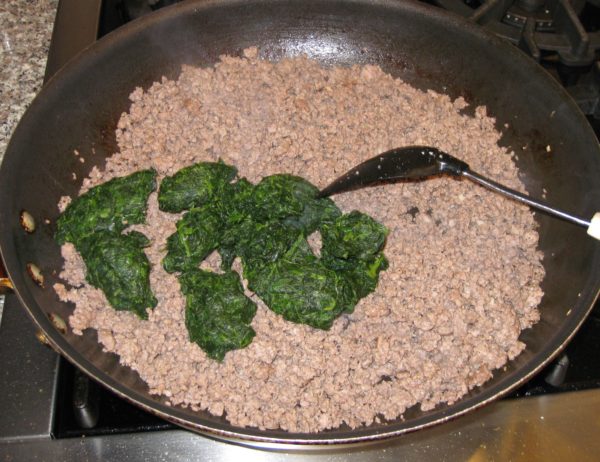
  7. Add the spinach to the beef.
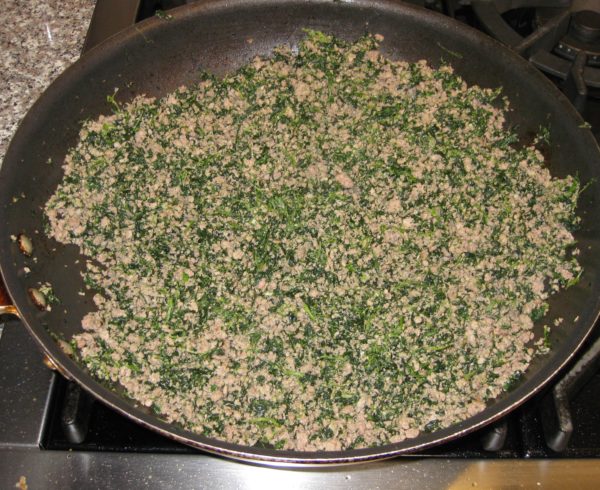
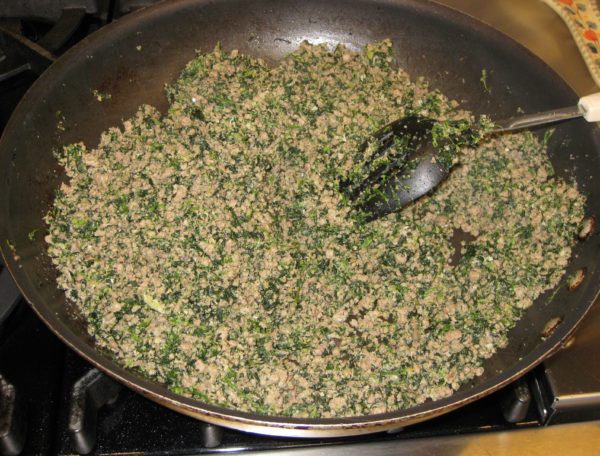
  8. Continue to cook over medium to medium-low heat while breaking up the spinach and completely combining it with the beef.
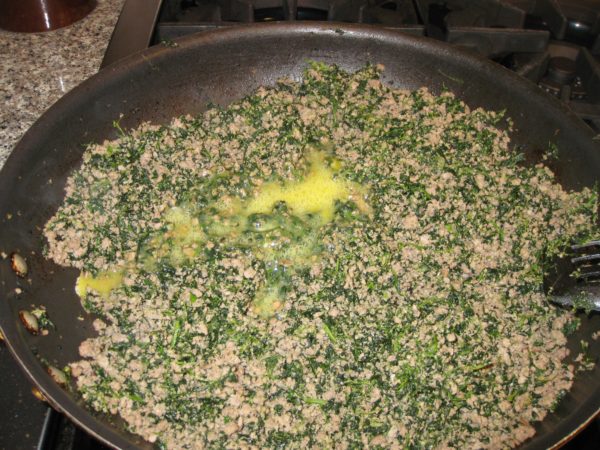
  9. When the beef and spinach are well combined and no obvious liquid remains in the pan, add the beaten egg. Stir well and cook two minutes more. The egg should completely incorporate into the filling and no longer be visible.
  10. Adjust salt and pepper.
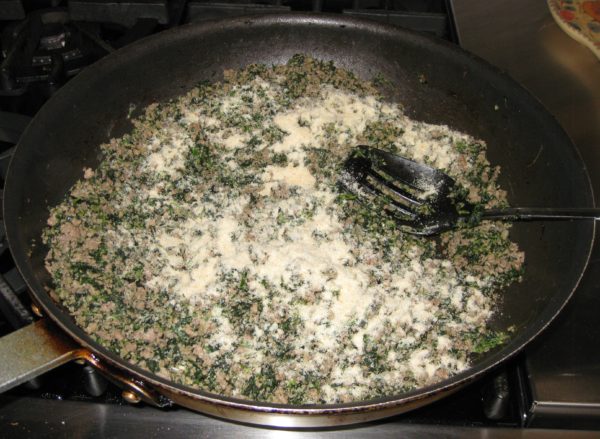
  11. On low heat, add 1/4-1/3 cup of breadcrumbs and combine well to absorb any remaining liquid or oil. If necessary to absorb any remaining liquid, add another tablespoon or two of breadcrumbs. If you cooked off all the liquid when browning the beef, and used lean beef, 1/3 cup of breadcrumbs should be enough.
  12. Cool the filling to room temperature before filling the ravioli.
Dough
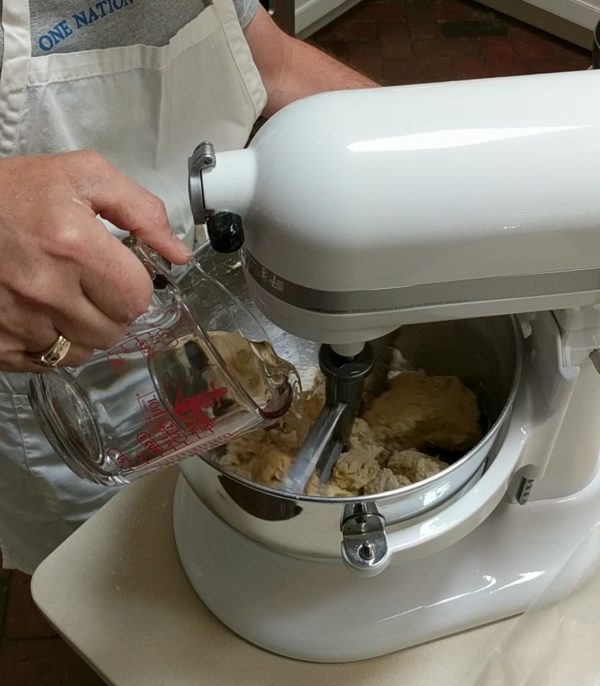
  1. Put the flour, egg, and egg whites in the bowl of an electric mixer outfitted with a paddle.
  2. Mix on low until combined.
  3. Add the water, a little at a time, until the dough just comes together. The dough should not be the slightest bit tacky. You may not need all the water.
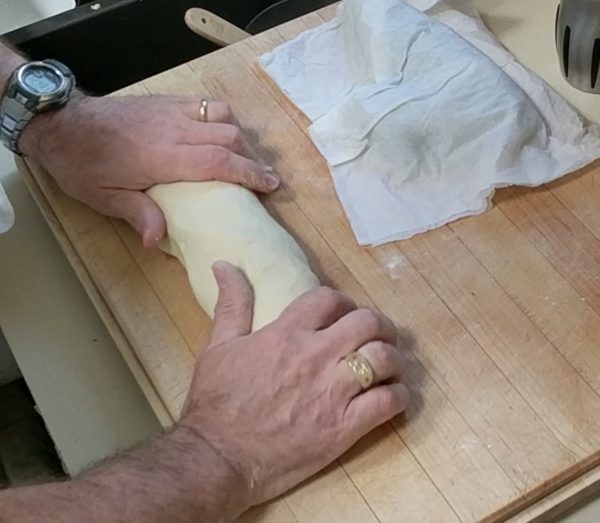
  4. Remove the dough from the mixer and roll into a log. Cover with a kitchen towel and allow to rest for 15 to 30 minutes before rolling out.
Assembly
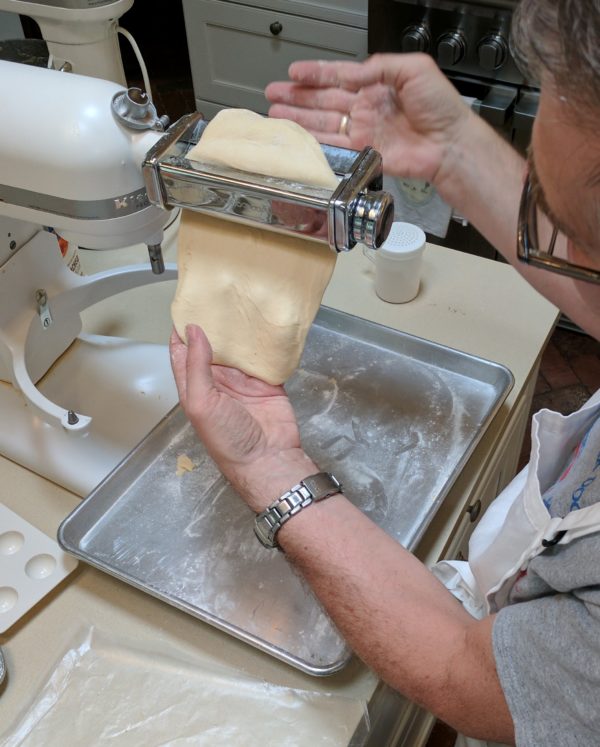
  1. Set up your pasta machine, either a hand crank version or an attachment for your mixer.
  2. Cut off a small handful of dough.
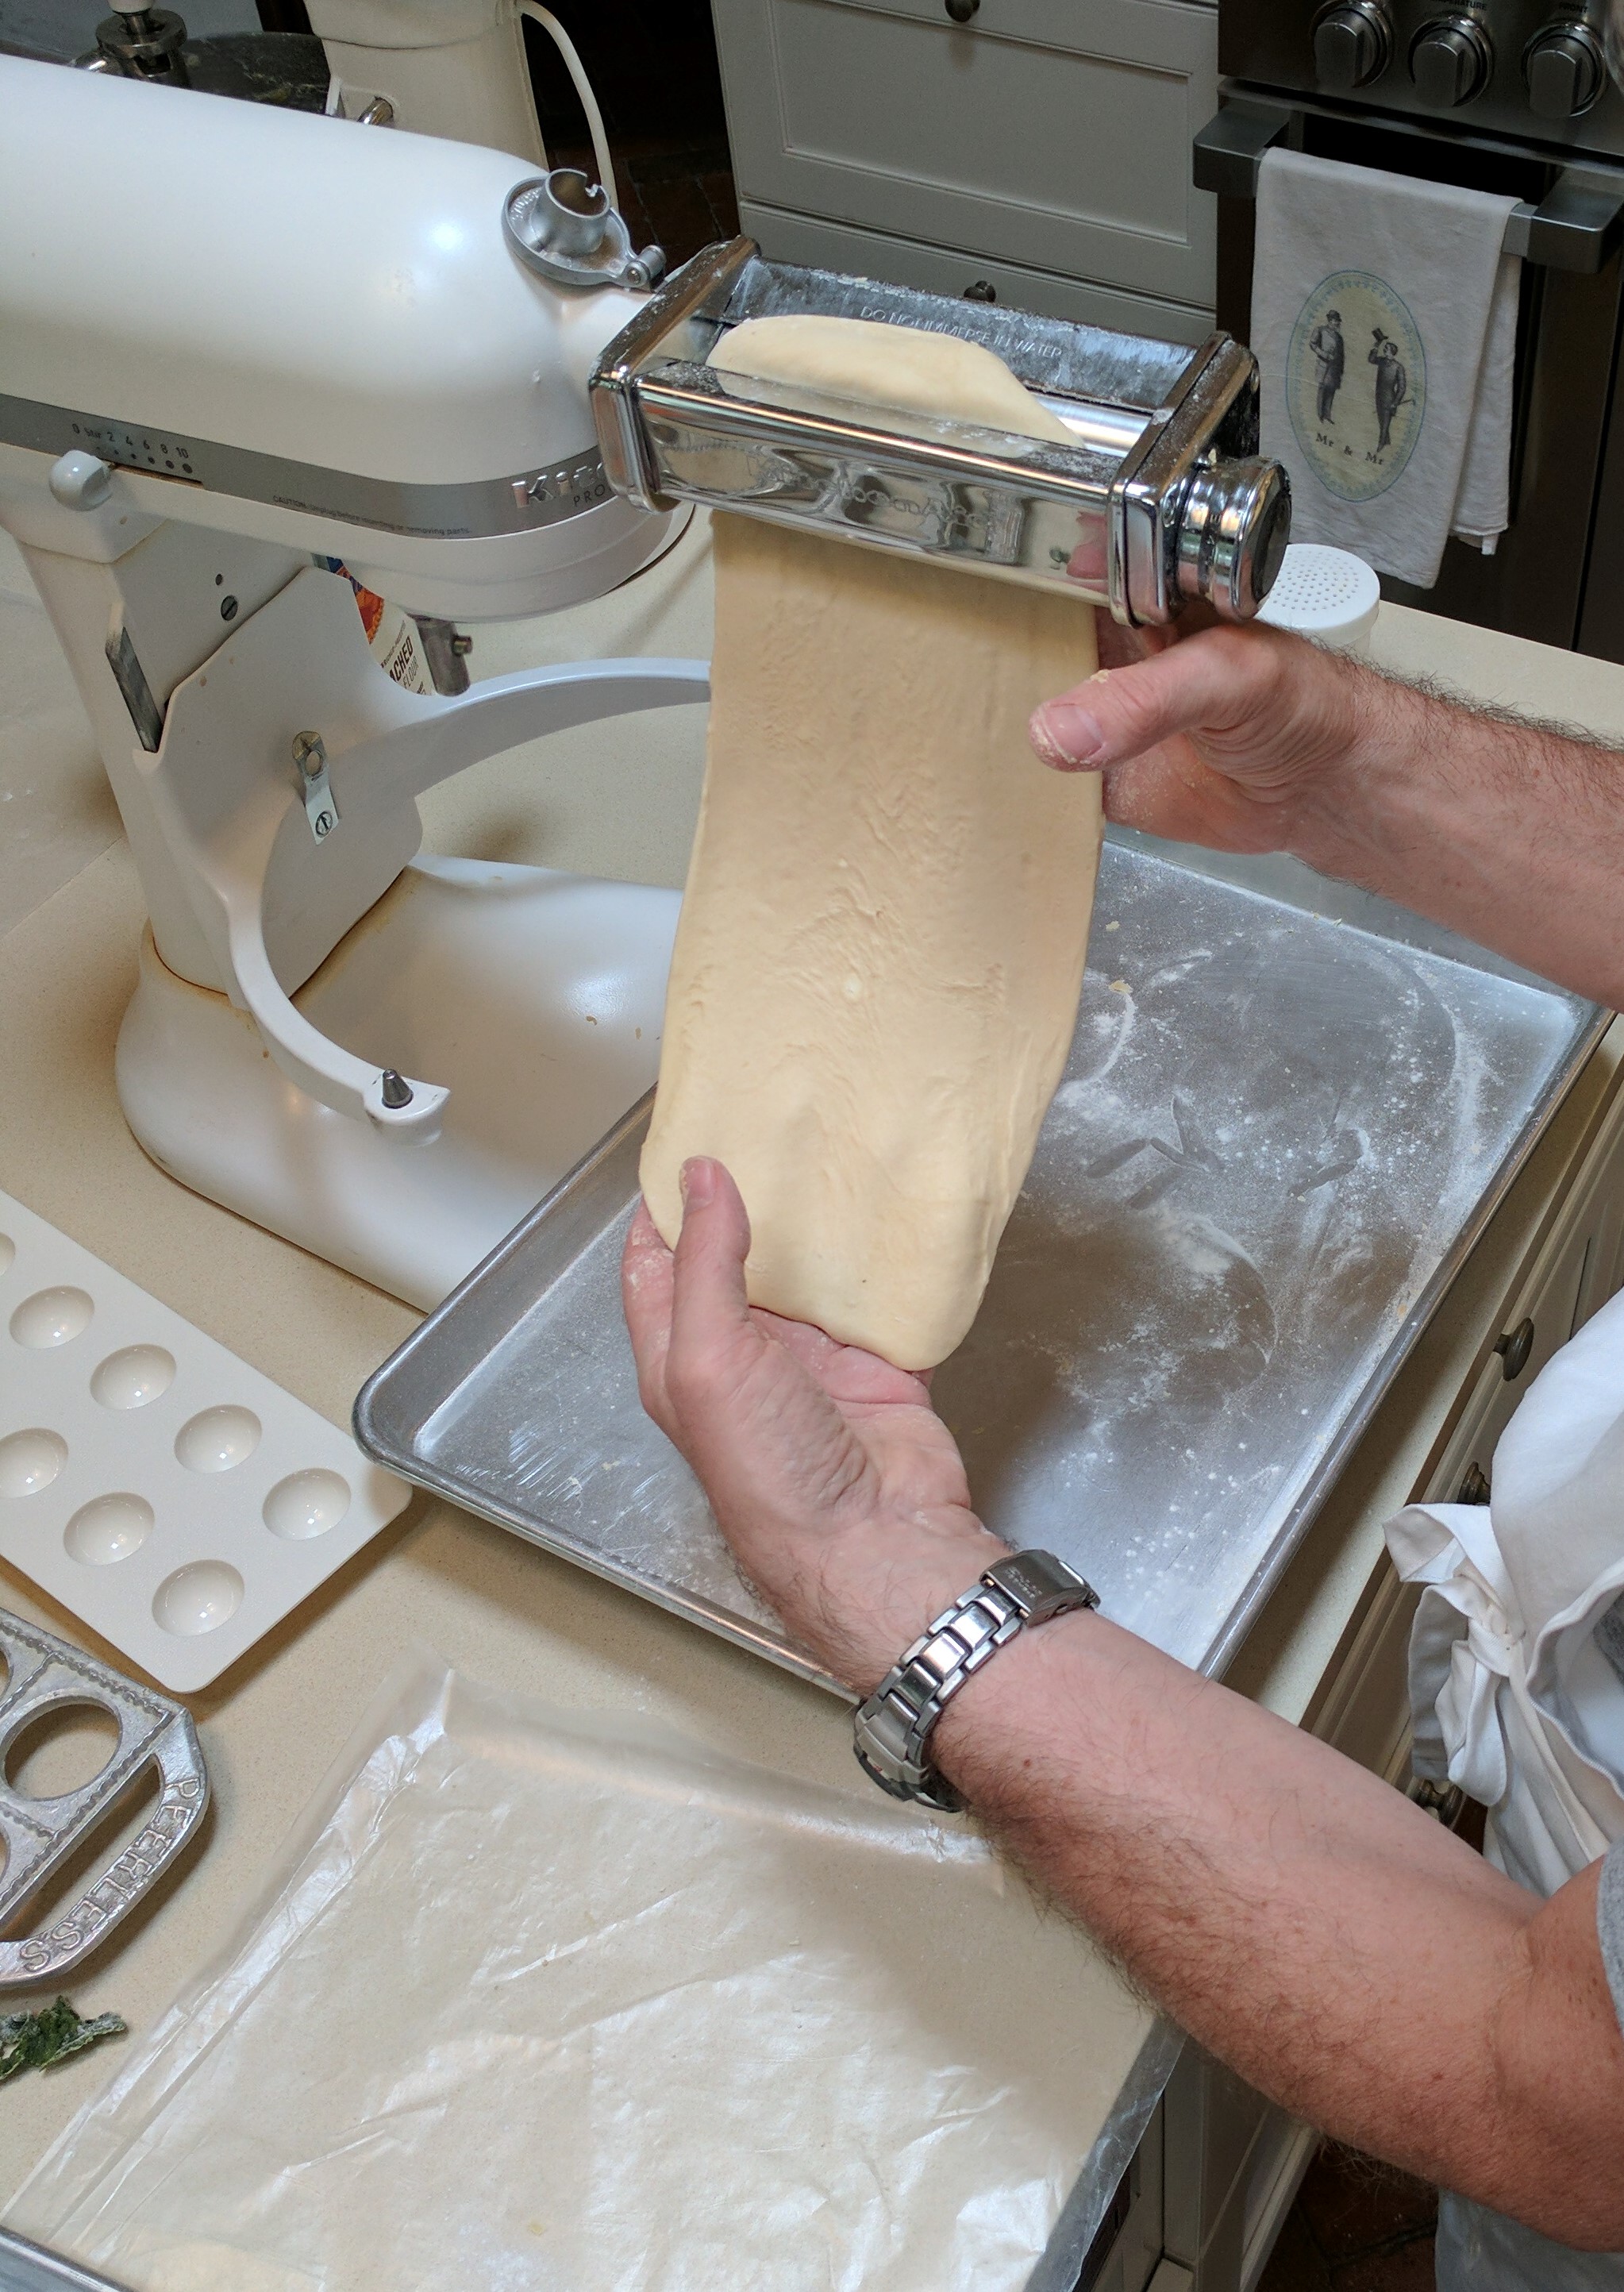
  3. Flatten the dough, dust with flour, and run it through the pasta machine on the thickest setting.
  4. If the dough is catching on the rollers it may be too wet. Sprinkle liberally with flour.
  5. Run the dough through the same setting one more time.
  6. Run the dough through the pasta machine narrowing the setting by one notch each time. If the dough is getting too long to cover much more than two lengths of the ravioli mold, cut off the excess and continue.
  7. When rolling out the dough, use slow, even motion. If the dough is not rolling out to the full width of the machine, or at least wide enough to cover the width of the ravioli mold, fold it in half crosswise and run it through the machine again on whatever the last setting was.
  8. If the dough is not rolling out smoothly, and the issue is not that it is too damp, run the dough through the machine again on the same setting.
  9. On most pasta machines with five settings for thickness, you will want to stop rolling out the dough on the next-to-thinnest setting.
  10. Put the rolled out dough on a lightly floured surface and cover with a kitchen towel. Repeat with 2 or 3 more portions of dough.
  11. Allow the remaining dough to rest, covered, while filling and cutting the first batch of ravioli.
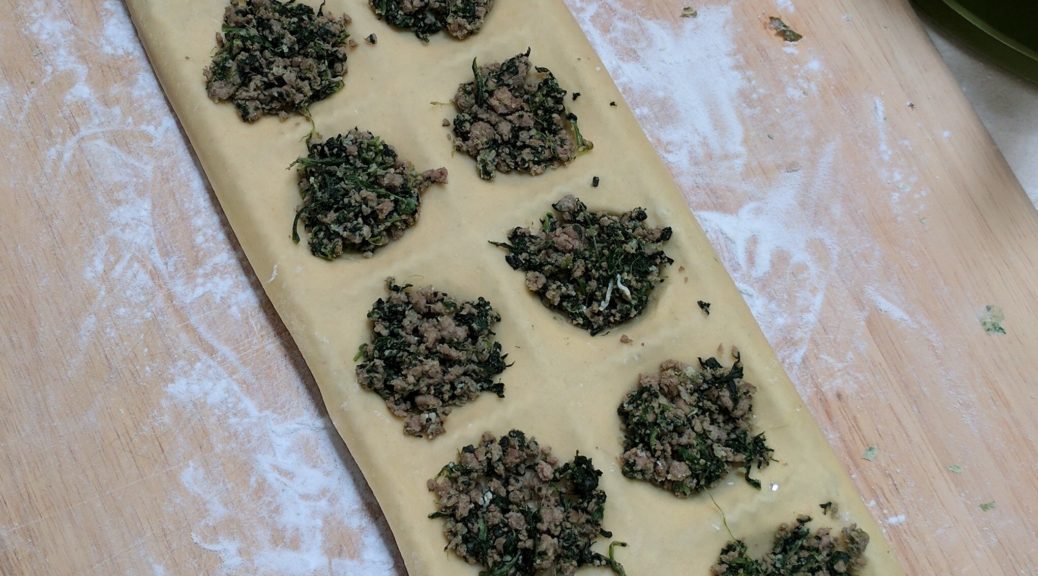
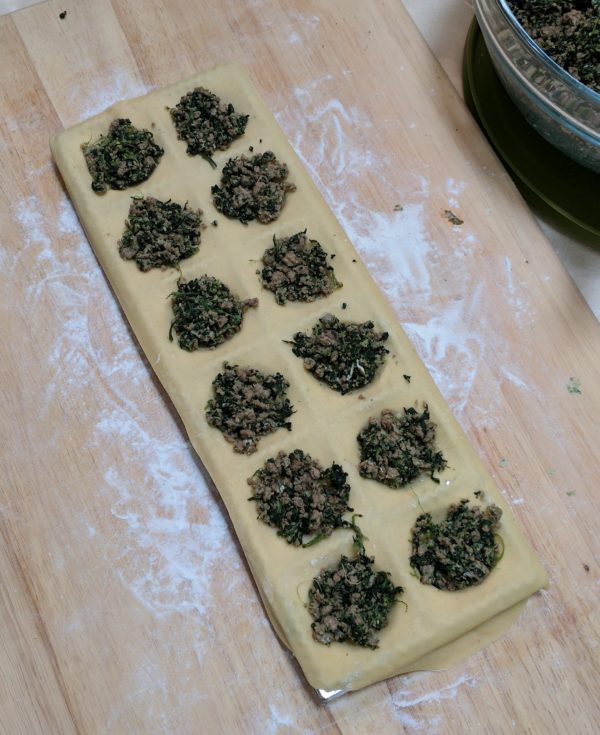
  12. To fill the ravioli, take the rolled out dough and lay it across the ravioli mold.
  13. Add a slightly rounded teaspoonful of filling to each ravioli. Do not overfill or the ravioli may break when being cooked.
  14. Fold the dough over the top.
  15. Lightly pat the top sheet of dough.
  16. Using a rolling pin, cut the dough along the zig-zag edges. Be careful to fully cut through the dough around the edges as well as between each raviolo.
  17. Remove the ravioli and place on a lightly floured surface. Cover lightly with a kitchen towel.
  18. Repeat with the remaining dough and filling.
  19. Cook, refrigerate, or freeze the ravioli.
Recipe Notes

Copyright © 2017 by VillaSentieri.com. All rights reserved.
Share this Recipe