Chicken Paprikash (Chicken with Paprika-Sour Cream Sauce)

November 13, 2017

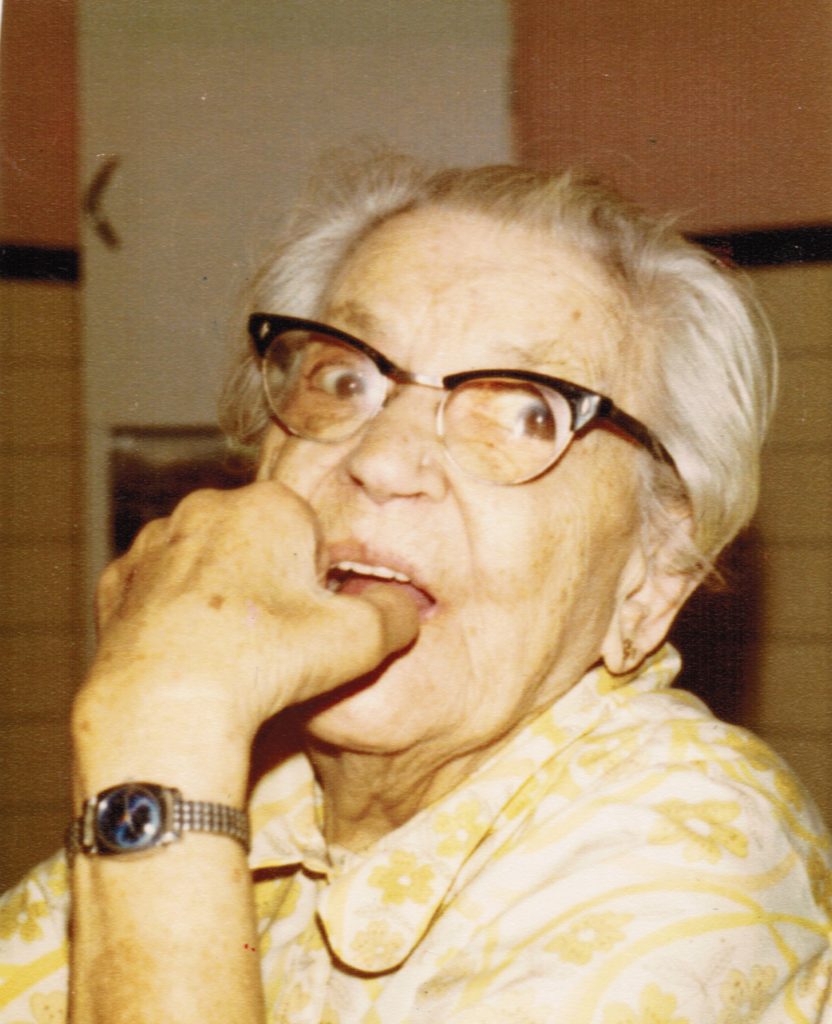
I really don’t remember my Slovak grandmother doing much cooking. By the time I was old enough to pay attention to who was cooking, she was mostly just making the occasional pot of soup.

My Grandmother

My grandparents owned a semi-detached house and Uncle Frankie and Aunt Mary lived next door. Although they had separate front porches, they shared a back porch. Going back and forth was easy.


Follow us on Facebook:  Click HERE


Aunt Mary kept my grandparents well-supplied with food. My Aunt Ann pitched in from time to time as well.

My Grandfather

My grandparents were really keen on soup. I guess when you’re raising a family of seven sons through the Great Depression and its aftermath, on a steelworker’s income, preparing filling and budget-friendly food becomes a necessity.

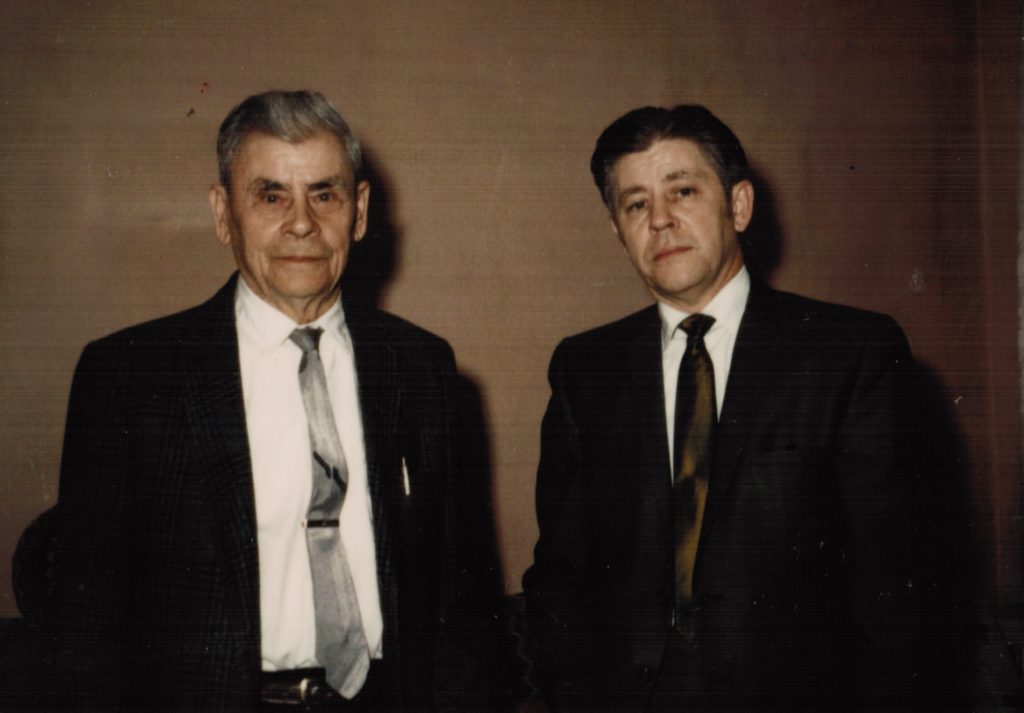
After the early 1960s when my Uncle Gusty moved back to the United States from Japan with his wife and their children, all seven of my grandparents’ sons lived in Johnstown with their wives and children. Most of us would visit on Sunday afternoons arriving sometime after lunch and leaving before dinner.

My Grandfather and Father in the late 1960s. I used to wear the tie my dad is wearing to high school. I still have it! My father insisted that I tie a Full Windsor. Now I know where he got his preference!

Very frequently a large pot of soup would appear for anyone who needed a little something to hold him or her over till dinner. Often it would be potato soup or sour mushroom soup (made with dried mushrooms and spiked with a little vinegar). My father talked longingly about a sour cabbage soup called kissel which nobody was making any longer.

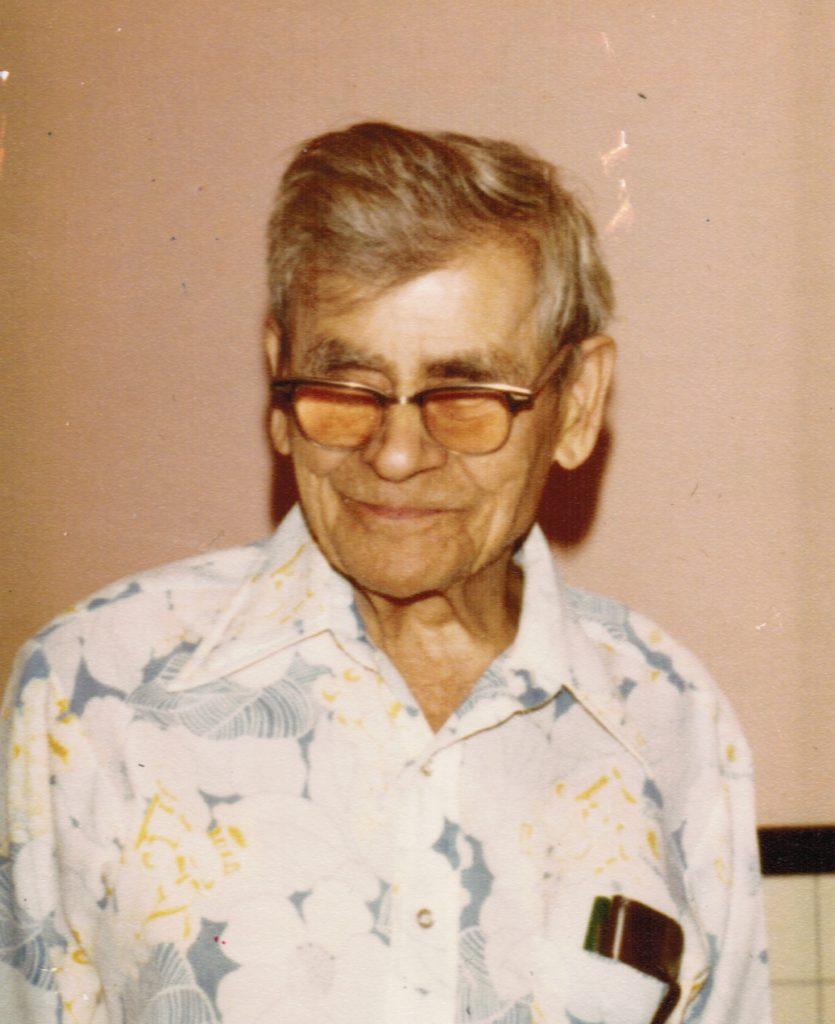
Other than soup, baba (sometimes written bubba), and sweets at the holidays, I don’t remember eating much at my grandparents’ house though I do remember my grandfather and my uncles consuming a fair amount of beer, and, on special holidays, shots of whiskey.

Me with my Grandparents in 1976

Most of the Slovak food that I ate was at home or at one of my uncle and aunt’s houses.

Chicken Paprikash is considered a Hungarian dish but it was common on the Slovak side of my family.  My grandfather was born in 1890 in a small town, Nitrianske Sucany, not too far from Bratislava, in what is now Slovakia.  My grandmother was born a few years later.  In 1909 when my grandfather came to America, he left what was then the Austro-Hungarian Empire.  Slovakia did not exist as a country.  Food diffuses with cultural contact (think about the popularity of Spam in both Hawaii and Korea which can be traced to the presence of the US military).  I suspect that’s how Chicken Paprikash became something made by my Slovak grandparents.

My version of Chicken Paprikash is a combination of my mother’s and my Aunt Ann’s. When I went to look up the recipe to make in preparation for this blog I discovered that I had never written it down! Luckily I remembered just how to do it.


Follow us


Click HERE to join our mailing list and you’ll never miss a recipe again!

Print Recipe
Chicken Paprikash
Using bone-in chicken with skin improves the flavor of the final dish. Flabby skin from braised chicken is not appetizing, however, so remove it near the end of cooking before putting the chicken in the finished sauce. Since paprika is the major flavor in this dish be sure to use fresh, high-quality paprika, preferably Hungarian. Sweet paprika was the norm in my family, not hot, and certainly not smoked which would totally change the flavor. You can use whatever chicken parts you prefer but I think the texture of slowly braised thighs is superior. Serve the chicken with buttered noodles or mashed potatoes, both of which go really well with the sour-cream-enhanced sauce.
Votes: 2
Rating: 5
You:
Rate this recipe!
Course Mains, Poultry
Cuisine Slovak
Prep Time 20 minutes
Cook Time 2 1/2 hours
Servings
people
Ingredients
Course Mains, Poultry
Cuisine Slovak
Prep Time 20 minutes
Cook Time 2 1/2 hours
Servings
people
Ingredients
Votes: 2
Rating: 5
You:
Rate this recipe!
Instructions
  1. Pat the chicken dry and season liberally with salt and pepper.
  2. Heat the oil in a large, heavy-bottomed sauté pan.
  3. Sauté the chicken on both sides, starting skin-side-down, until brown on both sides. Do not crowd the chicken. Do this in batches if necessary.
  4. Remove the browned chicken to a platter.
  5. Empty the oil from the pan and wipe clean.
  6. Add two tablespoons of butter. Sauté the diced onion until golden.
  7. Add the garlic and sauté until fragrant, approximately 1 minute.
  8. Add 3 tablespoons of paprika and sauté for approximately 15 seconds (paprika burns very easily).
  9. Add one cup of broth and mix well.
  10. Add the bay leaf, browned chicken pieces and any accumulated juices to the pan. Add additional salt and pepper to taste. Cover and braise on low until very tender, approximately 1 ½ hours being sure to taste for salt occasionally. Add additional broth if needed to keep the pan from drying out.
  11. About 15 minutes before the chicken is done, remove the skin and discard.
  12. When the chicken is fully cooked, remove it to a platter.
  13. Remove the bay leaf.
  14. Pour the cooking liquid, without straining, into a small pot and keep it warm on low heat. You can skim fat from the top of the cooking liquid if you would like.
  15. Wash and dry the pot used to cook the chicken. Melt the remaining 6 tablespoons of butter in that pot.
  16. Add the finely diced onion and sauté until golden.
  17. Add the flour and cook 2-3 minutes, until no longer raw.
  18. Add the remaining 1 tablespoon of paprika and sauté 15 seconds.
  19. With the flour-onion-paprika mixture on medium heat, begin to ladle in the reserved cooking liquid a little at a time, stirring well after each addition to avoid lumps.
  20. When all the cooking liquid has been incorporated, add any remaining chicken broth, if all of the original 2 cups was not used to braise the chicken.
  21. Bring to a boil and cook for one minute. The sauce should be quite thick. It will thin with the addition of sour cream. If the sauce is too thin, boil it longer as you will not be able to boil it once the sour cream has been added.
  22. Stir in the sour cream. Adjust salt and pepper. Add the chicken and heat gently without boiling.
Recipe Notes

Copyright © 2017 by VillaSentieri.com. All rights reserved.

Share this Recipe

Rapini with Olive Oil, Garlic, and Red Pepper

February 13, 2017

On the whole, Italians like bitter greens.  In fact, Italians like bitter flavors in general.  For example, consider classic Italian digestifs of Fernet Branca and Ferrochina Bissleri.  Less bitter drinks include Cynar.

Rapini is a bitter green.  As with many foods, names vary.  Rapini can also be called Broccoli Raab, Broccoli Rabe, and Cime di Rape.  While some authorities say that Broccolini and Baby Broccoli are also Rapini, I have found that in American markets, these greens are usually less bitter than Rapini.  I suspect that a different variety of green is marketed under these names in the US.

Greens with olive oil, garlic and red pepper is a classic combination.  With the addition of some anchovies, it makes a wonderful sauce for pasta, especially orecchiette.

In 1989 I moved to Chicago to assume the position of Medical Director of  Chicago-Read Mental Health Center.  At the time, it was the second busiest psychiatric facility in the country.  (Only New York City had a busier psychiatric facility.)  The hospital was on the northwest side of Chicago close to both Italian and Polish neighborhoods so lunches with co-workers were always gastronomically rewarding.

I remember one lunch, early on in my tenure as Medical Director, at a nearby Italian restaurant.  The executive leadership team when out.  I ordered Rapini with Garlic and Oil for my antipasto.  What I got was an Italian-American sized portion of greens in a garlicky, surprisingly spicy broth with lots of bread on the side.

It was glorious.

This version is more restrained.  It is what we serve at home.  However, feel free to amp it up with more olive oil, garlic and red pepper if you’d like.  You can also leave a little more liquid in the dish to sop up with bread, if you’d like.

Print Recipe
Rapini with Olive Oil, Garlic, and Red Pepper
This dish can be made with Rapini, Broccoli Rabe, Cime di Rape, Broccolini, or Baby Broccoli. In the United States, Broccolini and Baby Broccoli seem to be less bitter than Rapini. Which to use is personal taste. It doesn’t take long to cook the greens in the boiling water. It is best to undercook them rather than overcook them as they get a second pass at the heat and can be cooked more if needed. Once the rapini are in the serving bowl I like to douse them with a few tablespoons of spicy extra-virgin olive oil for flavor. Heating olive oil tends to dull its flavor so it is almost always a good idea to add an extra bit of uncooked oil at the end.
Votes: 0
Rating: 0
You:
Rate this recipe!
Course Sides, Vegetables
Cuisine Italian
Prep Time 30 minutes
Cook Time 25 minutes
Servings
people
Ingredients
Course Sides, Vegetables
Cuisine Italian
Prep Time 30 minutes
Cook Time 25 minutes
Servings
people
Ingredients
Votes: 0
Rating: 0
You:
Rate this recipe!
Instructions
  1. The starting point: rapini from the market.
  2. Cut the very ends off the rapini stems.
  3. Find the part on the stem where it begins to branch in a major way. Cut crosswise at this point.
  4. If there are any little offshoots below the cut, remove them. Combine the little offshoots with the tops. Keep the bottom stems separate from the tops.
  5. Remove the outer layer of the peel from the bottom stems. To do this, look at the bottom of the stem. You’ll see a dark green layer surrounding a lighter green center. Insert a sharp paring knife into the stem just where the dark green ends.
  6. Grab the peel between your thumb and the knife and pull down to remove.
  7. Cut the peeled bottom stems into pieces approximately 1 ½ inches long.
  8. You do not need to peel or cut the tops.
  9. Bring three quarts of water to the boil. Add three tablespoons of salt.
  10. Put a bunch of ice cubes in a large mixing bowl add cover with water. Set the ice water aside.
  11. Add the stems to the boiling water. Return to a boil. Cook for 3½ to 4 minutes if you are near sea level but up to five minutes if you are at high elevation. They are done when they are toothy but have lost their crunch.
  12. Using a perforated ladle, remove the stems from the boiling water and put into the bowl of ice water to stop cooking.
  13. Add the tops to the boiling water. Return to a boil. Cook for about 2 minutes if you are near sea level but up to three minutes if you are at high elevation.
  14. Using a perforated ladle, remove the tops from the boiling water and add to the bowl of ice water along with the stem ends.
  15. Thinly slice the garlic crosswise and reserve.
  16. In a large sauté pan, heat 1/3 cup of olive oil over medium heat. Add the garlic, turn the heat to low, and sauté gently until the garlic is golden. Add crushed red pepper and continue to sauté until the garlic is light brown.
  17. Add the wine. The dish can be made ahead to this point. If doing so, immediately remove the garlic-wine mixture from the stove. The addition of the wine will stop the garlic from over-cooking. When resuming, or if you’re not taking a break at this point, bubble away the wine over medium heat until only oil is left in the pan.
  18. Drain the rapini.
  19. Add the rapini to the garlic and oil. Season with salt and freshly ground black pepper. Cover and cook briefly until heated through.
  20. If the rapini are not cooked enough to your taste, cook a bit longer. If necessary add a tablespoon or two of water.
  21. Adjust seasoning.
  22. Pour into a serving bowl and drizzle with a few tablespoons of olive oil. Serve immediately.
Recipe Notes

Copyright © 2017 by VillaSentieri.com. All rights reserved.

Share this Recipe

Pasta e Fagioli (Pasta and Beans)

January 18, 2017

Talk about comfort food!  Pasta e Fagioli (pasta and beans) hits the spot (for me, at least!).

There are endless variations.  White kidney beans, red kidney beans, chick peas, butter beans, fava beans, for example.  Ditalini, mezzi rigatoni, lumaconi, orecchiette, linguine, and more.  Not to mention the possibilities of tomato sauce, anchovies, broccoli, rapini, and escarole.  I could go on but you get the point.  You could mix and match just those ingredients and come up with hundreds of different combinations.

Growing up, my mother made only one version that I recall.  It featured butter beans, tomato sauce and ditalini.  The amount of liquid was equivalent to pasta with a red sauce.  My Aunt Margie, my mom’s sister, made hers with chick peas and ditalini, no tomato sauce, and it was definitely more of a soup.  My guess is that my grandmother made both versions, and probably others, but my mom and my aunt each settled on one for their cooking repertory.

Then there’s a version that I learned from a work colleague, Louis Evangelista, more than thirty years ago.  He learned it from his Sicilian grandfather.  It features linguine, red kidney beans, escarole, red pepper, and an abundant amount of garlic.

Then there’s orecchiette with kidney beans, broccoli and anchovy.

But we’re not making any of these today.  We’re doing a simple version with kidney beans and lumaconi.  The others will make their appearance in the coming months.

Lumaconi is a wonderful pasta shape for pasta e fagioli.  Lumaconi means snails.  Look at the picture below and you’ll see the resemblance.  What’s so cool about using lumaconi is that the beans naturally slip inside the cooked pasta for the perfect mouthful of beans and pasta!

If you use red kidney beans rather than white, the contrast between the bean and pasta will look startlingly like real snails.  This might not be a good thing depending on your audience!

I strongly encourage you to start with dry beans rather than canned.  Follow the recipe for Cannellini alla Toscana using either white or red kidney beans.  For something as hands-off as putting a pot of beans in the oven you’ll be rewarded with enough beans for two, if not three, meals plus a taste profile that is infinitely superior to canned beans.

This last point was hammered home to me a few months ago.  We were in Alamogordo with Pat and Becky, friends from Santa Fe.  We spent the day at White Sands National Monument sledding down the dunes followed by lunch in Ruidoso before returning to our little house in Alamogordo (the house is another story for another day).

We didn’t feel like going out, not that there are many places to go out to in Alamogordo unless you count Chili’s, which, inexplicably, is my husband’s favorite restaurant in town.  Besides, we made the requisite pilgrimage to Chili’s the night before.

So, a couple of cans of kidney beans later, I was making pasta e fagioli.  It was good, no doubt.  But it had been a very long time since I had used canned beans (even though there is an entire phalanx of canned beans in my pantry).  I was actually startled by the difference in taste and texture, having grown so accustomed to using home-cooked beans.

However, by all means, if using canned beans is the difference between trying this dish, and not.  Go for it!  You might want to throw an extra bit of herbs in the pot at the beginning, like a bay leaf and some sage, but it’s not really essential.

Let me know what you think of the recipe.  And for those of you who have your own favorite version of pasta e fagioli, let me know what it is.

Print Recipe
Pasta e Fagioli (Pasta and Beans)
The difference in taste and texture between home-cooked beans and canned beans is dramatic. I recommend cooking either red or white kidney beans using the Cannellini alla Toscana recipe. While I always keep canned beans on hand for emergencies, my freezer is also always stocked with a variety of cooked beans. Whenever I make Cannellini alla Toscana, I freeze leftover beans in portions of 1 ½ cups of beans covered in whatever cooking liquid is left. I never discard any of the cooking liquid. Ideally, you should have enough cooking liquid to cover the beans for the first part of the cooking, before adding the pasta and some pasta-cooking liquid. If you are using canned beans, two 15 oz. cans of beans is the right amount. Do not discard the liquid in the can. It will help to thicken the sauce.
Votes: 0
Rating: 0
You:
Rate this recipe!
Prep Time 15 minutes
Cook Time 40 minutes
Servings
people
Ingredients
Prep Time 15 minutes
Cook Time 40 minutes
Servings
people
Ingredients
Votes: 0
Rating: 0
You:
Rate this recipe!
Instructions
  1. Combine the beans and their liquid, onion, basil, and red pepper, and freshly ground black pepper to taste in a heavy-bottomed pot large enough to contain the cooked pasta and beans. If the bean cooking liquid and wine does not cover the beans, add water to just cover.
  2. Simmer, partially covered approximately twenty minutes. Taste for salt after about 10 minutes. Remember that the pasta will be well salted and you will be adding Parmigiano so best not to over-salt at this point.
  3. Meanwhile, bruise the garlic with the side of a knife.
  4. Sauté the garlic in the olive oil very slowly until browned. Garlic should be quite brown but not burnt which would make it bitter. Remove and discard garlic. Reserve the garlic-flavored oil.
  5. Cook pasta in 4 quarts of abundantly salted water. The pasta will finish cooking with the beans, so there should still be a small core of hard pasta in the center.
  6. Just before draining the pasta, scoop out and reserve about two cups of the pasta cooking liquid.
  7. If you will not be serving the pasta e fagioli in the cooking pot, pour some of the cooking water into the serving bowl to warm it while you finish cooking the pasta and beans.
  8. Drain the pasta but leave some water clinging. That is, there is no need to shake the colander. Add the pasta to the bean mixture. Stir to combine. Add the garlic oil. Mix well.
  9. Cover tightly and cook over very low heat for approximately 10-15 minutes stirring occasionally until the pasta is cooked through but still ad dente. Add a little of the reserved pasta water from time to time if needed. When the pasta is finished there should be just enough water remaining to create a sauce.
  10. Off the heat, stir in the Parmigiano Reggiano.
  11. The combination of the cheese and the starch from both the bean cooking liquid and the pasta cooking liquid should create a glossy sauce.
  12. You might want to stir in an extra tablespoon or two of extra virgin olive oil both for the flavor and to help emulsify the sauce. Taste and adjust salt and pepper if needed.
  13. If not serving the pasta in the cooking pot, drain and dry the warmed serving bowl and pour in the pasta.
  14. Serve the pasta e fagioli with additional freshly grated Parmigiano Reggiano cheese and crushed red pepper.
Recipe Notes

More than other seasonings, quantities of dried red pepper are mere suggestions. Different types of red peppers vary in their heat and flavor profile. Different people have different tolerances for the heat of peppers. If I were making this dish for only myself, I would add at least a teaspoon of crushed red pepper and I’d probably still add more at the table. The suggested ¼ teaspoon is a modest amount that should not cause difficulty, even for individuals with a low tolerance for spiciness. However, make sure that you use one of the more traditional types of crushed red peppers, or even the whole dried Italian peppers that I used in this recipe. Do not make the mistake of using a dried version of one of the super-hot peppers (like bhut jalokia or naga jalokia or even Habanero or Scotch Bonnet) without understanding the heat level they pack!

Copyright © 2017 by VillaSentieri.com. All rights reserved.

Share this Recipe