November 17, 2017
My mother-in-law grew up in the town of Treppo Grande in the Italian province of Friuli. Friuli is in northeastern Italy. It is the major portion of the region of Friuli-Venezia Giulia.
Her father and two uncles lived with their families in three houses that wrapped around a courtyard. Her grandmother lived in the same complex. The extended family included numerous cousins.
Another uncle moved to the United States with his wife and their son early on. Two more children were born to them in the US.
Follow us on Twitter: click HERE
At the age of 12, shortly after the end of World War II my mother-in-law, her brother (our Uncle Ray), and mother came to the States. Her father had been in the US working with the intention of bringing over the family but then the war broke out and the family could not be reunited until it ended.
One set of cousins stayed in Treppo Grande. Another set of cousins moved to France.
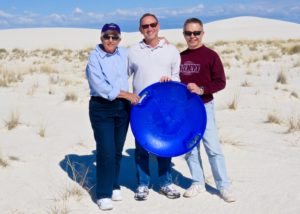
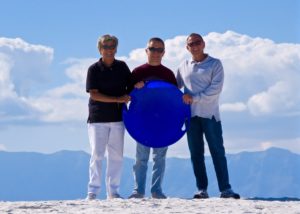
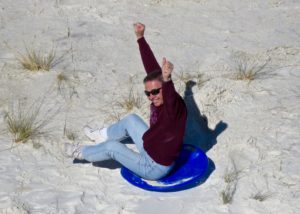
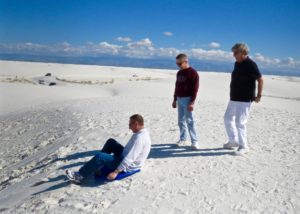
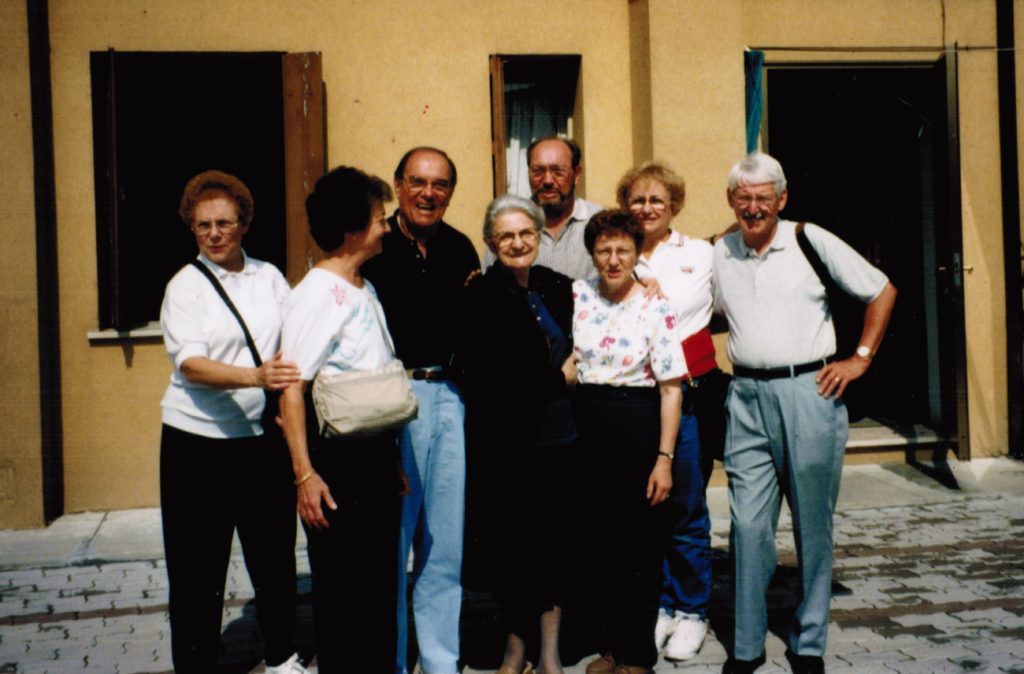
In 1990 the “cousins,” as the US contingent called themselves, hatched a plan to organize a group trip to their hometown of Treppo Grande and to Digoin, France where the other set of “courtyard cousins” lived.
Naturally, planning for the trip required many “meetings” among the cousins; meetings that were fueled with copious amounts of food and alcohol interspersed with a little “business!”
The trip happened in August 1991. My husband and I went along with the “cousins” and their spouses.
We first met up in Paris for a day or two and did some sightseeing.
Afterwards, we were picked up in a small bus that had been arranged by Olvino, one of the original “courtyard cousins” who lived in Digoin. As I recall, the driver only spoke French. Among us we spoke English, Italian, Friulan (the language of Friuli), and a smattering of Spanish and German, but no French. Thankfully the driver knew where he was going and, for all other needs, we managed to communicate in some rudimentary, but effective, manner.
Interesting to me was that the vehicle had graph paper that kept a running record of the bus’s speed. Apparently the driver could be asked to produce the graph paper by the police and could be fined if it showed that he had exceeded the speed limit. Can you imagine that happening in the United States???
I was also fascinated when we stopped for lunch. The driver had a glass of wine. I will repeat that. This professional bus driver had a glass of wine with lunch then got behind the wheel. Apparently, he was legally permitted to have one, just one, glass of wine and still drive.
Admittedly, one glass of wine is not going to get anyone’s blood alcohol level close to a level that produces intoxication but it pointed out that 1) the French are highly (overly?) regulated and 2) Europeans have a more relaxed approach to alcohol (probably to life in general, actually!).
I had a similar experience in 1994 when I did several consulting gigs in Europe. I frequently had lunch with physicians from the hospitals where I was consulting. Everyone (yes, everyone) had a glass of wine or beer with lunch and then went back to the hospital to work.
But I digress.
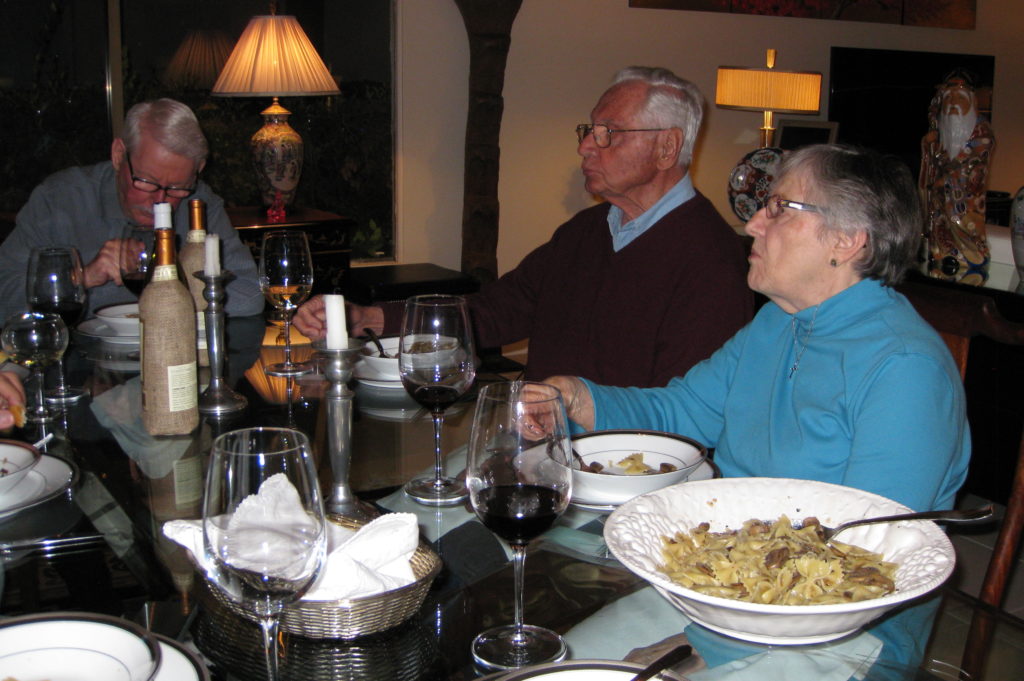
We spent several fun days in Digoin, where the local cousins had rented out a small hall, with a kitchen, because none of them had a house big enough to host all of us, and all of them, for meals.
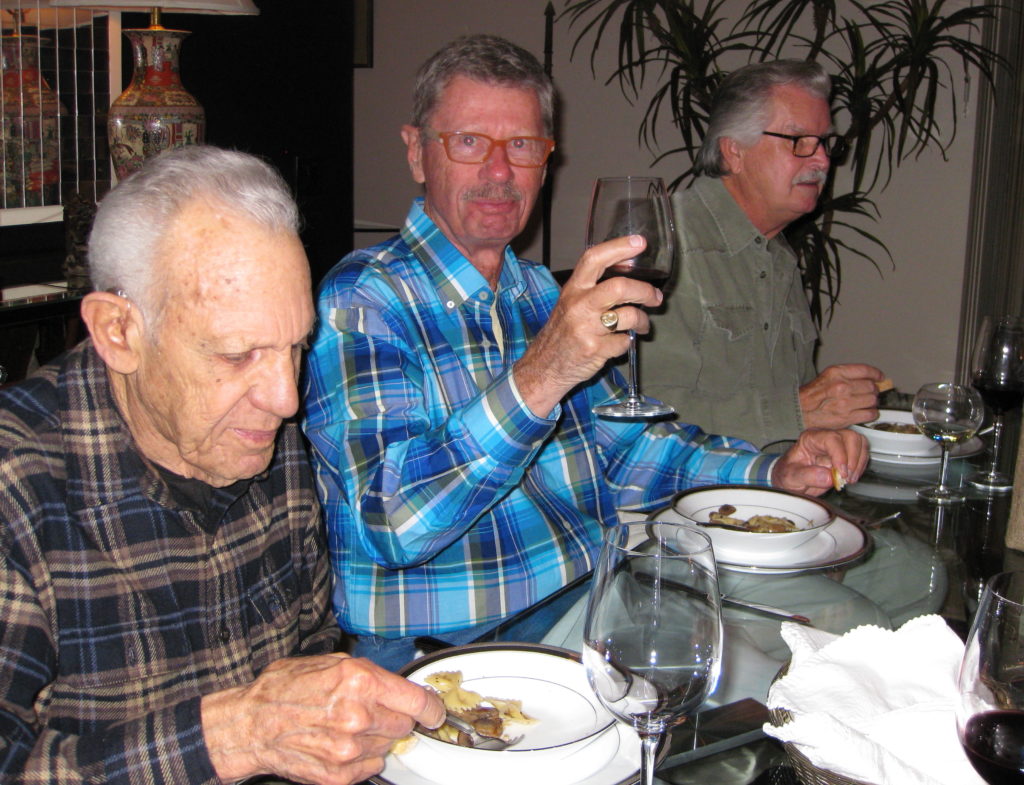
There must have been six banquet tables shaped into a “U” around which we all sat. The crowd included not only those of us from the States, but the cousins who lived in Digoin along with their significant others, their children, and their children’s significant others.
Conversations frequently included four languages. The “cousins” typically spoke Friulan with each other. From there, the conversation would get translated into Italian, English, and French so that everyone could understand anything of interest to the group.
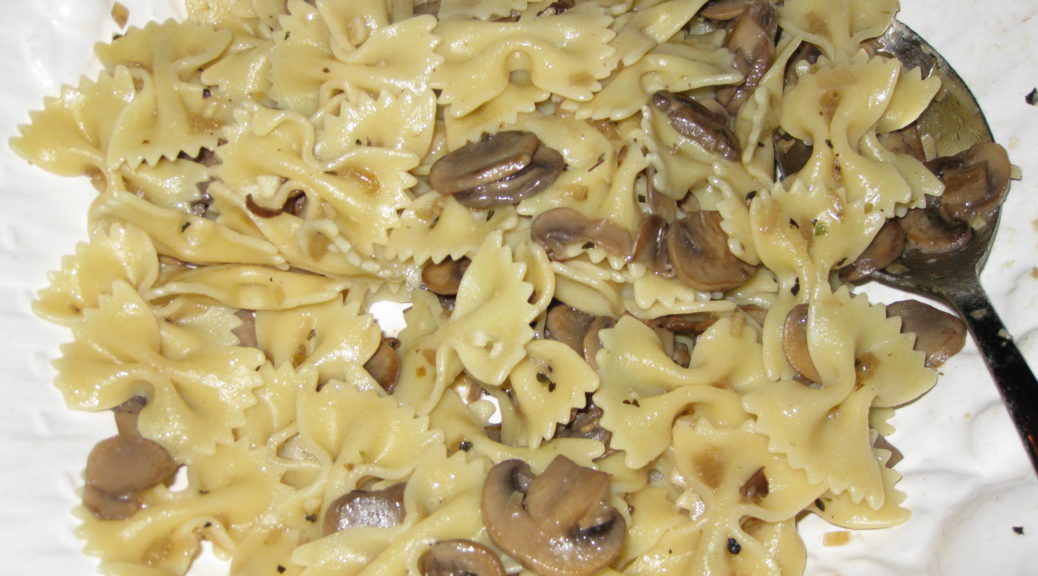
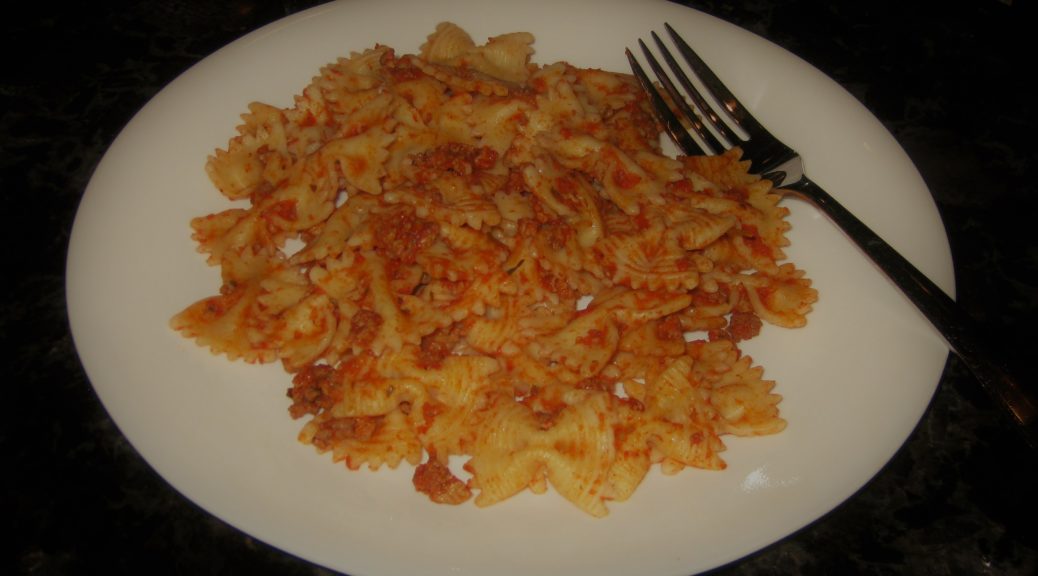
I don’t remember what we ate for dinner the first night except for the pasta which was sauced with a red sauce made by Ivana, Olvino’s wife.
I was transported by that sauce.
Tomato sauces in Friuli are different from the rest of Italy in that they have noticeable amounts of “warm” spices such as cinnamon, cloves, and nutmeg. My mother-in-law makes a sauce similar to the one that Ivana makes but there are differences. For example, hers includes only beef. Today’s recipe, however, is a tribute to Ivana.
This is my interpretation of Ivana’s recipe. Since the original recipe contained a list of ingredients but no quantities, I had to figure out what worked.
Follow us
![]()
![]()
![]()
![]()
Click HERE to join our mailing list and you’ll never miss a recipe again!

| Prep Time | 30 minutes |
| Cook Time | 3 hours |
| Servings |
cups
|
- 1 pound ground beef
- 1 pound ground pork
- 4 cloves garlic chopped
- 1/2 medium onion diced
- 1/3 cup chopped fresh parsley leaves and tender stems only
- 7-8 fresh sage leaves
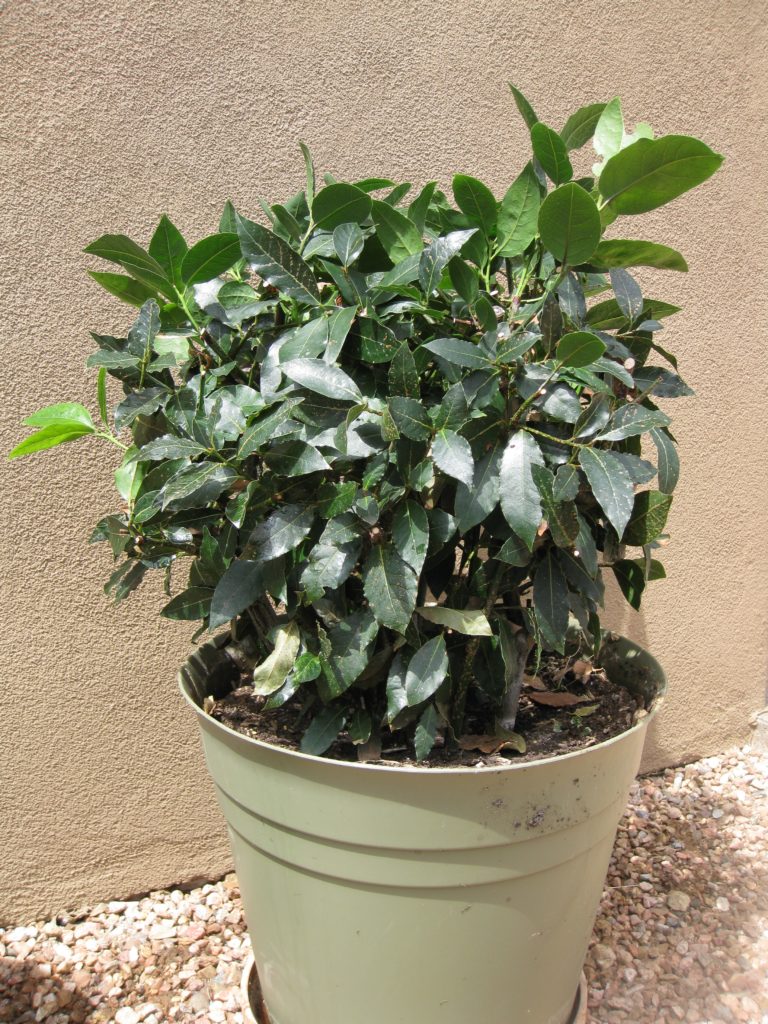
- 2 bay leaves preferably fresh
- 2 sprigs rosemary approximately 3 inches each
- 1/3 cup fresh basil leaves or 2 teaspoons dry basil
- 2 28 ounce cans whole peeled tomatoes or crushed tomatoes or tomato puree
- 1/2 cup dry red wine
- 1 1/2 cups water
- 1 inch stick cinnamon
- 4 cloves
- 1/4 teaspoon grated nutmeg
- salt to taste
- black pepper freshly ground to taste
Ingredients
|
|
- If using canned tomatoes rather than crushed tomatoes or tomato puree, pass the tomatoes through a food mill and reserve.


- Grind the pork if you cannot get ground pork in your market.


- Grind the garlic, onion, and parsley in a food processor. If you used a food processor for the pork, there is no need to clean it. Alternatively, chop them very, very finely by hand.


- Heat the olive oil in a heavy bottomed Dutch oven.
- Add the garlic-onion-parsley mixture. Sauté until the raw smell is gone.


- Add the ground beef and pork and sauté on high heat until the meat is browned.


- Add the tomato puree or crushed tomatoes.

- Add all remaining ingredients.
- Sage

- Rosemary

- Basil

- Bay leaves

- Cinnamon

- Cloves

- Nutmeg


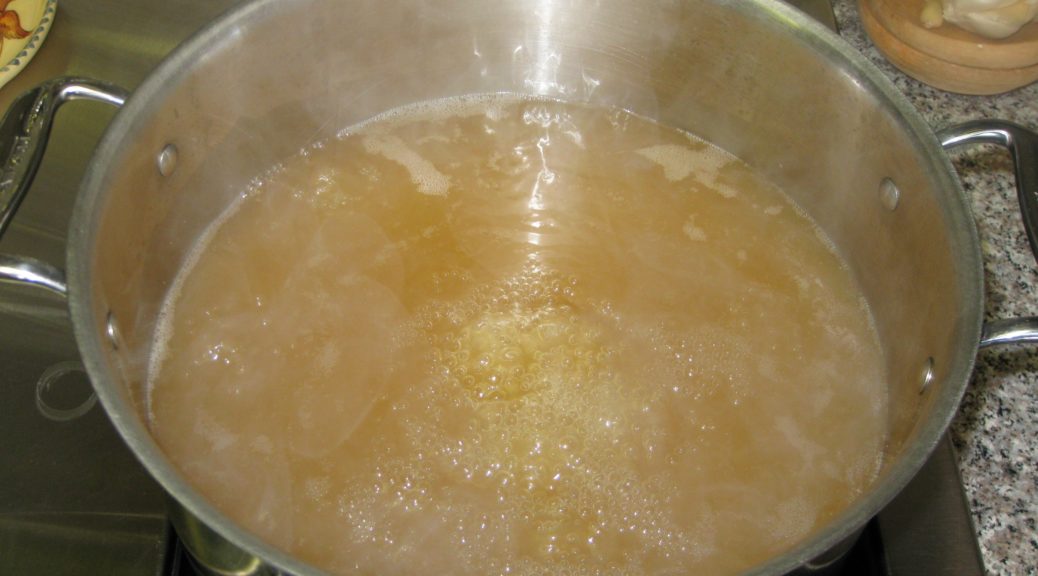
- Simmer gently, partially covered, stirring frequently for approximately 2 ½ hours.

- Adjust salt and pepper during cooking.

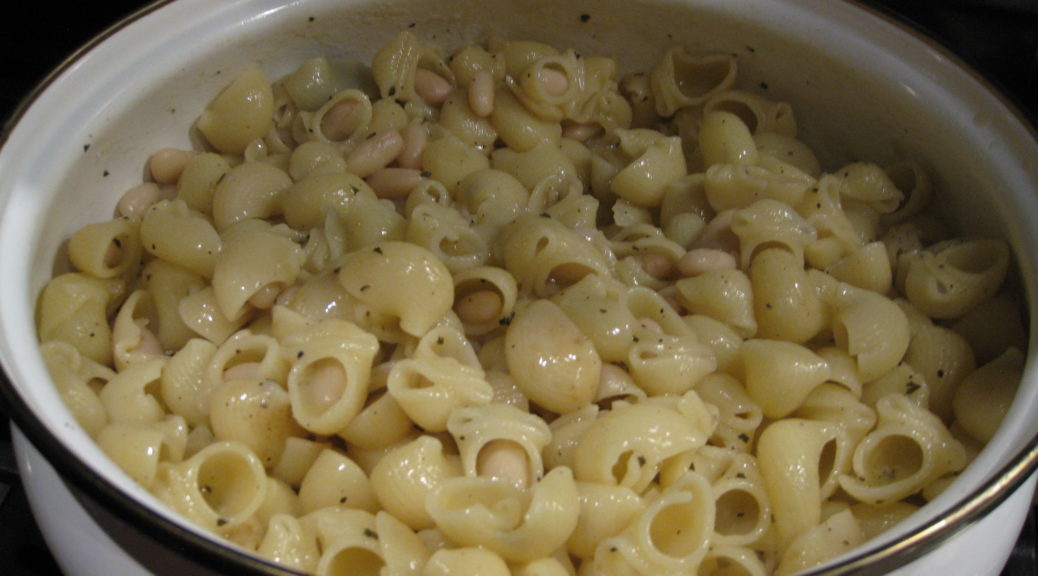
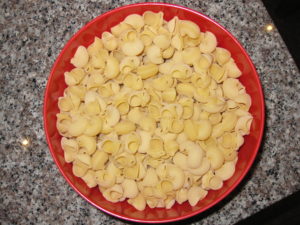
- Toss approximately 1/4 of the sauce with one pound of cooked pasta.
Copyright © 2017 by VillaSentieri.com. All rights reserved.