Spaghetti Aglio, Olio, e Pepperoncino (Spaghetti with Garlic, Oil and Red Pepper)

November 8, 2017

How many Italian pasta sauces can you think of that do not include olive oil and garlic?

Precious few, I would guess!

This dish, classically Roman, elevates those two ingredients to center stage. You cannot hide bad olive oil or poorly cooked garlic in this dish. There are very few other flavors.

But simplicity has its virtues. It’s really hard to go wrong with this dish unless you use bad olive oil or not-so-stellar cheese or you burn the garlic.


Follow us on Facebook:  Click HERE


You can make a case for cooking the garlic for a whole range of times, from mere seconds up until it is dark brown. For many years I even cooked three different batches of garlic, one until brown, one until golden, and one until just fragrant. There is an interesting depth of flavor from doing so but it’s not the classic technique.

My point is, unless you burn the garlic and make it bitter, you won’t ruin the dish. You may prefer the flavor of the garlic when it is more or less brown but that’s just a preference not an absolute.
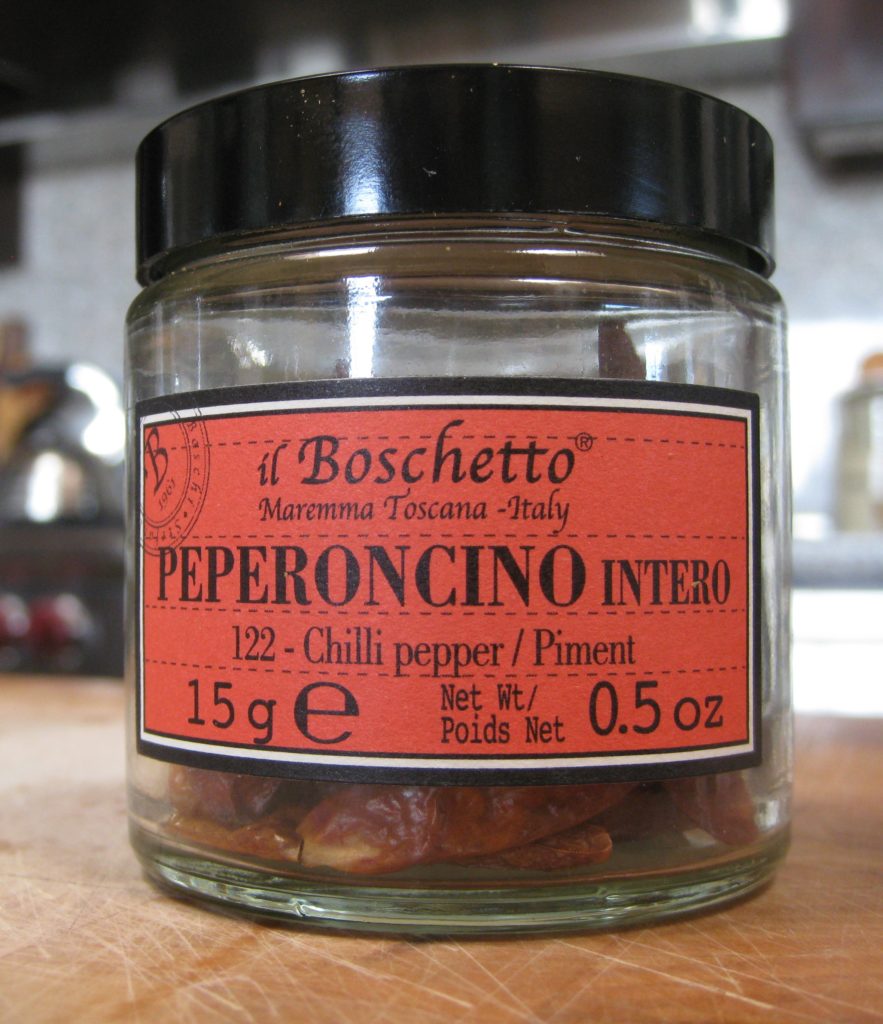
These little Italian peppers (“pepperoncino”) pack a nice flavor, not just heat

My recipe diverges from the classic Roman recipe in two places.

While making dinner, I’m usually chatting…with my in-laws (on most nights), with my husband (when he’s not away on business), or with guests. While I know I can time everything to be ready at exactly the right moment, I ask, why stress about it? So, yes, I can time the sautéing of the garlic to be just right when the pasta is ready but there’s an easier way.

I get the garlic to exactly the spot I want and then stop the cooking by taking the pan off the heat and adding a splash of wine (or water, if you must). That’s not classically Roman but it sure makes it much easier to have a conversation and a cocktail or three while making dinner. As soon as I plan on draining the pasta, I turn the heat on under the garlic oil and boil away the liquid I’ve added. Let’s face it, how often do we get to stop time with no consequences?

The second divergence from classic technique is that I add cheese to the pasta while mixing it with the garlic oil rather than just adding it at the table. In my mind there is no doubt that this pasta needs cheese. Adding it at the final stage of preparation allows me to create a glossy sauce where there would otherwise only be garlic oil. Not that that is bad, but I’ve made a bit of a reputation for myself by turning out glossy sauces where there would often only be oil.

It’s not hard. It just takes a bit of practice and some understanding (minimal) of the chemistry involved. And let’s face it, if the sauce isn’t glossy, you’re the only one who’s going to know. Again, there’s no penalty involved!
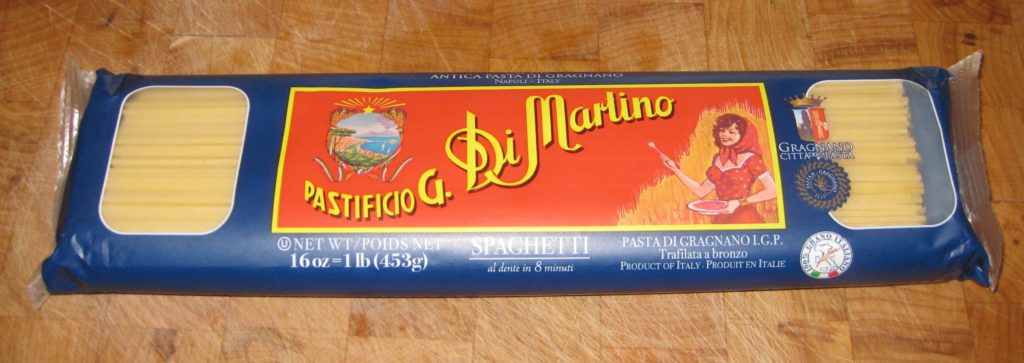
A brand of pasta that I really like

In Italy this pasta is often prepared and eaten after a night of over-indulging in alcohol. At least that’s the reputation it has. However, this was a common dish put on the dinner table when I was growing up. It’s easy, quick, filling, and darn good. Oh, and for an entirely different flavor, try butter in place of the olive oil!


Follow us


Click HERE to join our mailing list and you’ll never miss a recipe again!
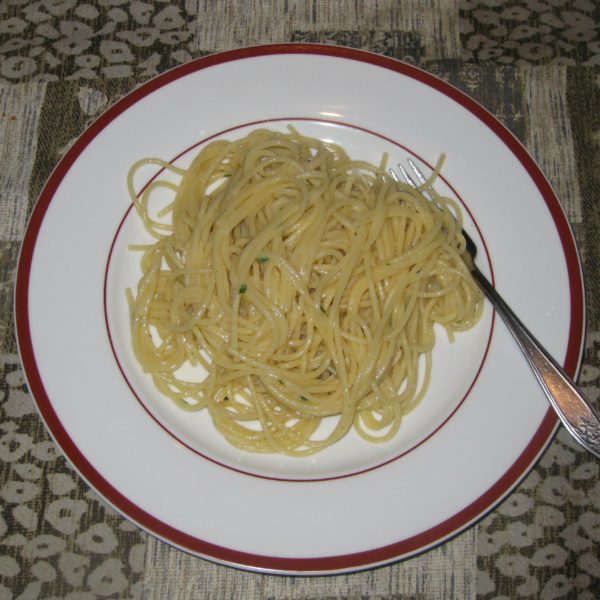
Print Recipe
Spaghetti Aglio, Olio, e Pepperoncino (Spaghetti with Garlic, Oil and Red Pepper)
I like to reduce last minute work, so I prep the garlic oil in advance and stop the cooking with a splash of wine. You can use water, if you wish, or, if you are sautéing the garlic as the pasta is cooking, some of the pasta-cooking liquid. As the pasta is nearing completion, I reheat the garlic oil, quickly boiling off the wine, and proceed. Use more or less garlic, to your taste. The same is true with the red pepper. For myself, I would use at least double this amount but that would be way too much for other folks.
Votes: 0
Rating: 0
You:
Rate this recipe!
Prep Time 15 minutes
Cook Time 20 minutes
Servings
people
Ingredients
Prep Time 15 minutes
Cook Time 20 minutes
Servings
people
Ingredients
Votes: 0
Rating: 0
You:
Rate this recipe!
Instructions
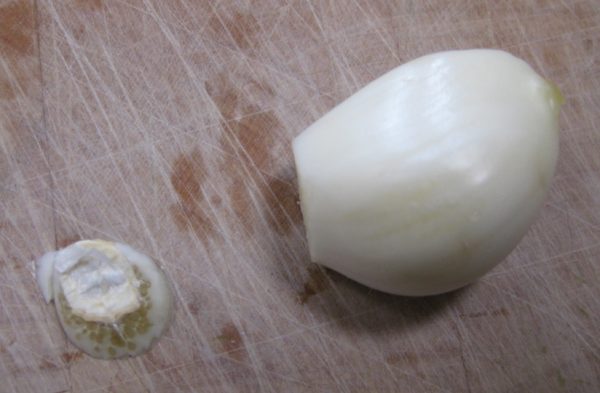
  1. Slice off the hard base of each garlic clove.
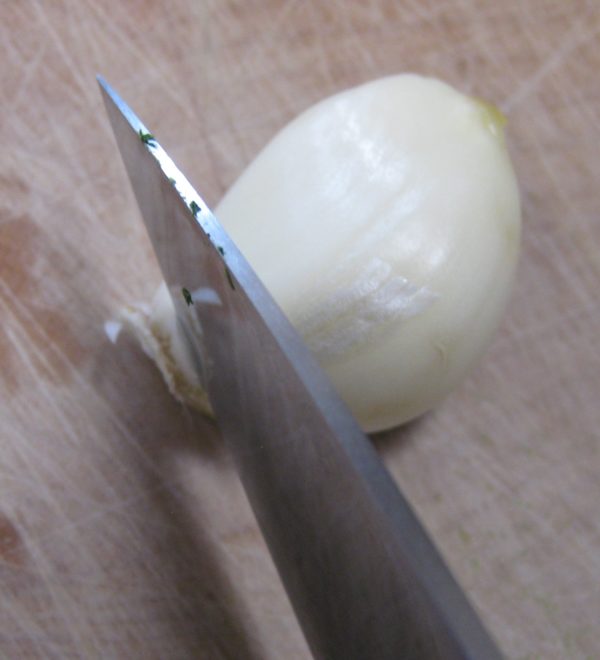
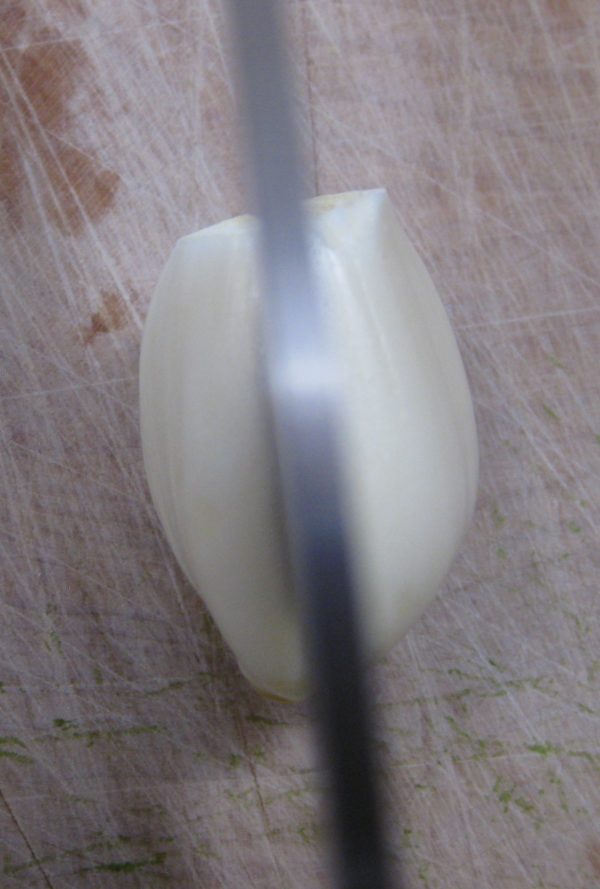
  2. Cut the cloves in half top to bottom.
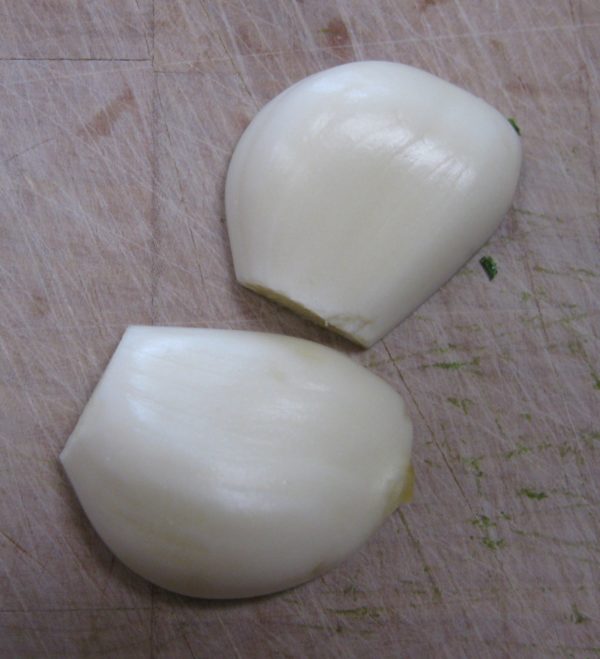
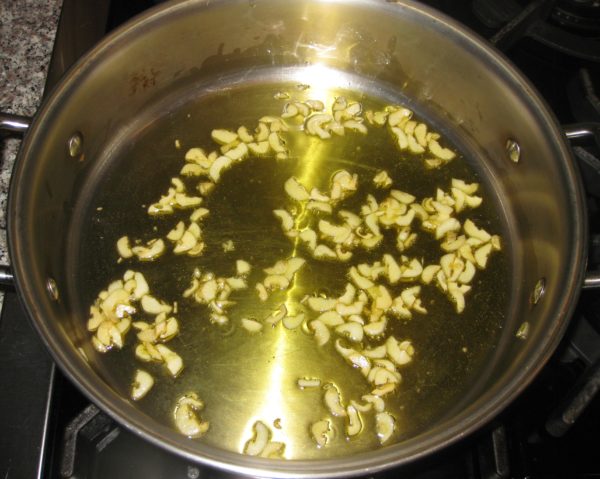
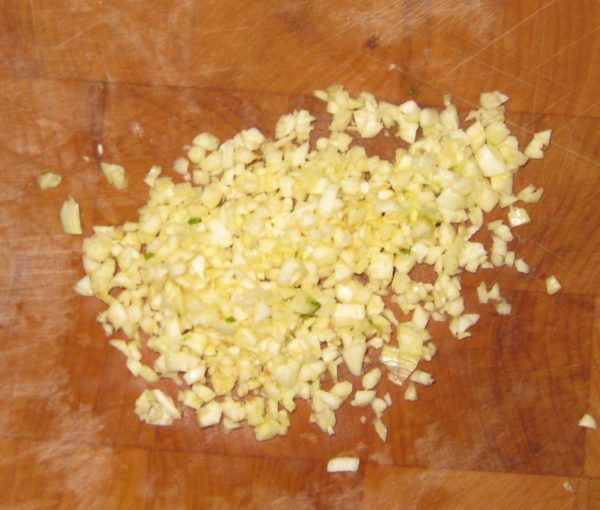
  3. Cut each half-clove of garlic crosswise into very thin slivers.
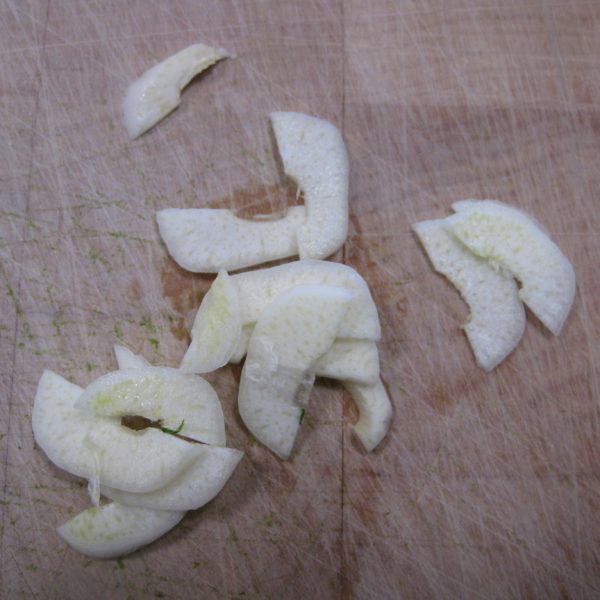
  4. In a sauté pan large enough to hold all the cooked spaghetti comfortably heat 1/3 cup of olive oil over gentle heat.
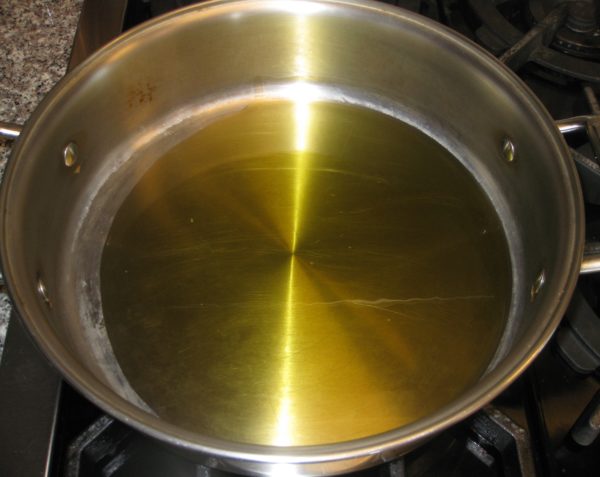
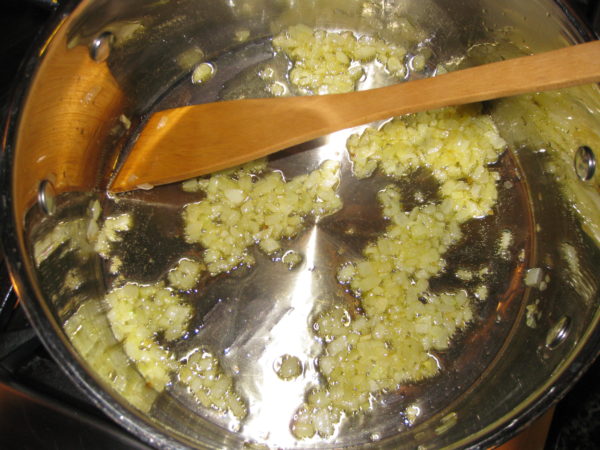
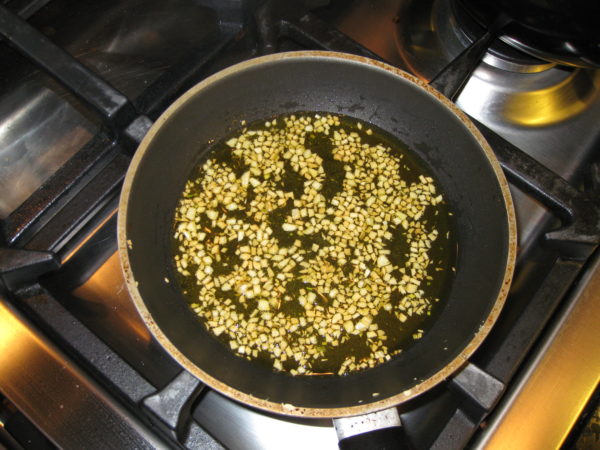
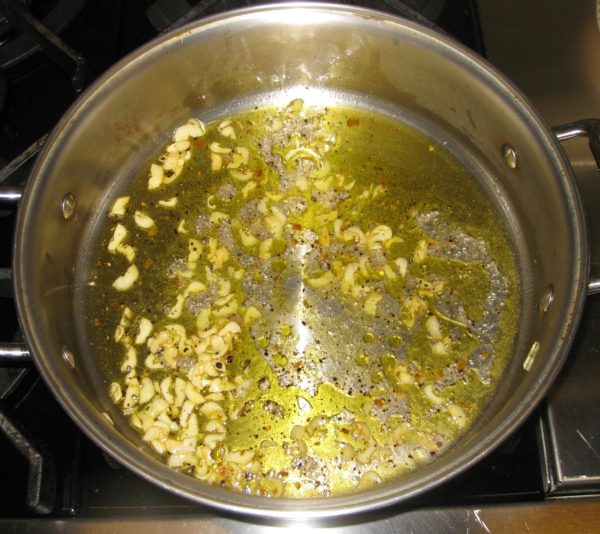
  5. Add the slivered garlic and sauté slowly and gently until golden brown. This should take 10-15 minutes if the heat is low enough.
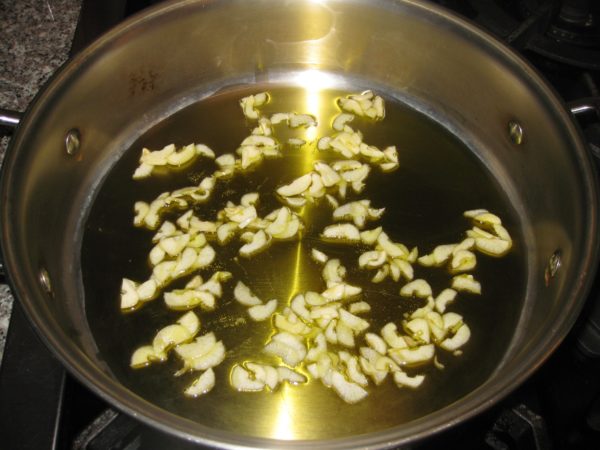
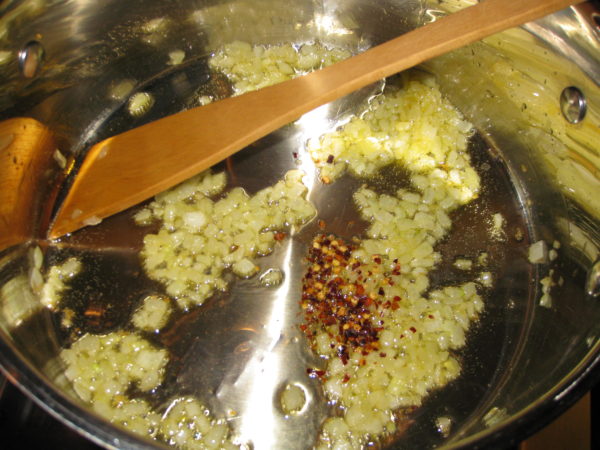
  6. Add the red pepper and black pepper and sauté for another minute.
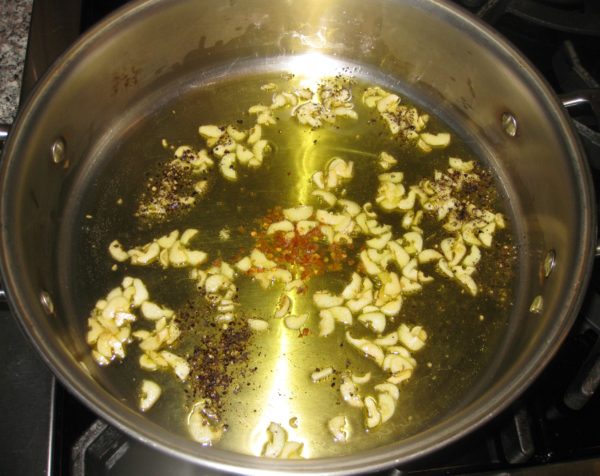
  7. Add the wine to stop cooking and remove the pan from the heat.
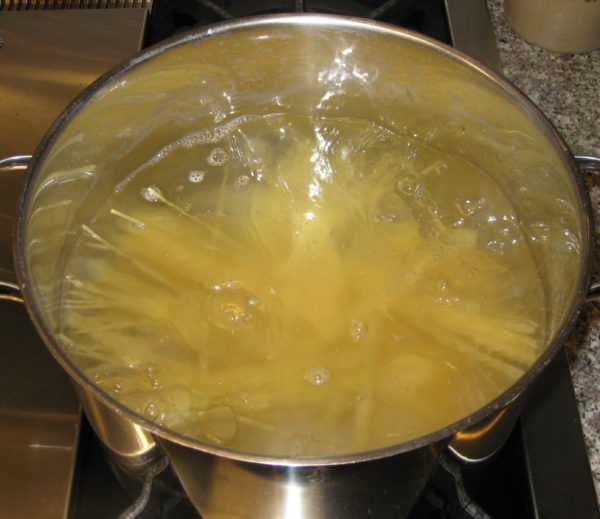
  8. Bring 2 ½ quarts of water to a boil. Season with ¼ cup of salt.
  9. Boil the spaghetti about two minutes less than the package indicates is needed for al dente.
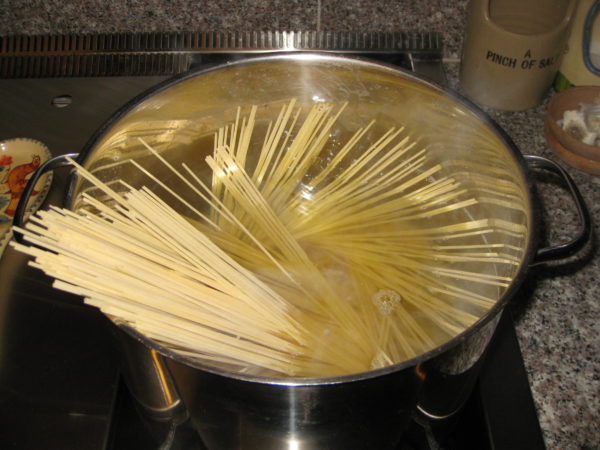
  10. As the pasta is nearing completion, reheat the garlic oil.
  11. Just before removing the pasta from the boiling water, add 1 cup of pasta-cooking liquid to the garlic oil and turn the heat to medium high.
  12. Reserve another cup of pasta-cooking liquid then drain the pasta.
  13. Add the drained pasta to the pan with the garlic oil.
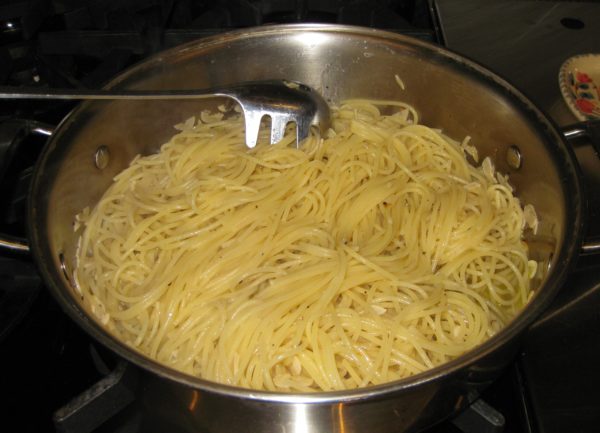
  14. Cook over medium to medium-high heat, stirring frequently, until the pasta is al dente. Add some of the reserved pasta-cooking liquid from time to time as needed.
  15. When the pasta is al dente, remove the pan from the heat. Sprinkle the parmesan cheese and parsley on top.
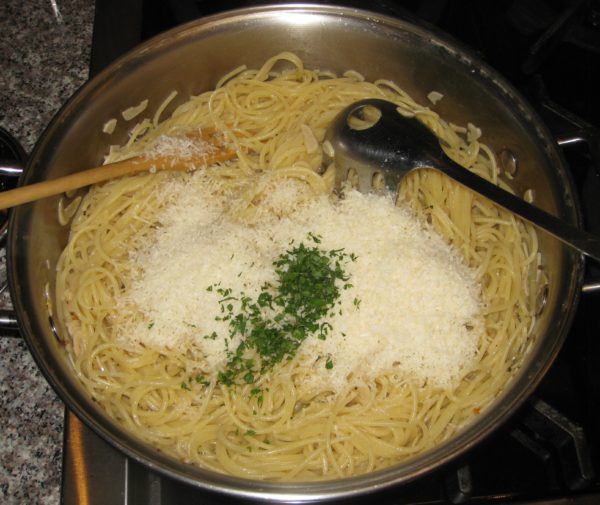
  16. Mix well to create a sauce by melting the cheese and emulsifying the oil and water. Add more of the pasta-cooking water, if needed, to coat the pasta.
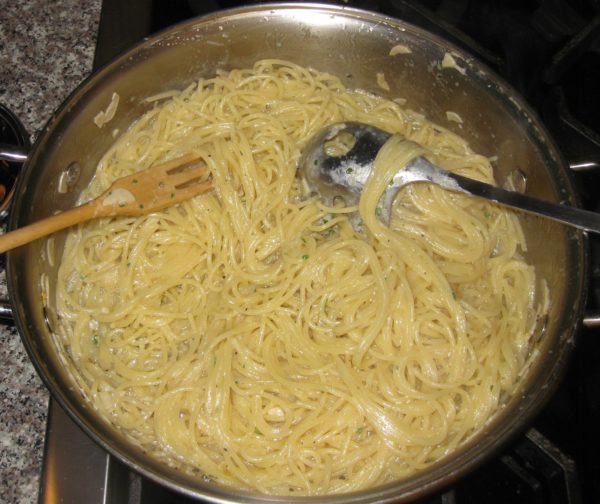
  17. Stir in the 3 tablespoons of fruity or peppery extra-virgin olive oil for finishing.
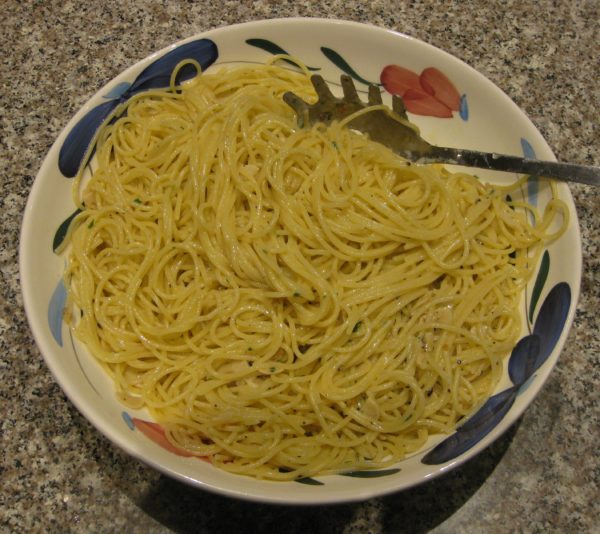
  18. Serve immediately with extra Parmesan cheese.
Recipe Notes

Since olive oil loses much of its distinctive flavor from heating, adding some at the end, when the dish is off the heat, improves the flavor. Usually I keep several types of olive oil that I just use for finishing in this way. They tend to have different flavor profiles. Usually I have a peppery one and a buttery one on hand. These oils are used in small quantities so their higher price tag is worth the flavor they add.

Copyright © 2017 by VillaSentieri.com. All rights reserved.

Share this Recipe

Pasta with Silky Zucchini Sauce

July 5, 2017

Pasta tossed with a sauce of some sort of vegetable cooked in olive oil is an Italian classic.  My mother frequently used either eggplant or zucchini, cooked them until they became very soft, and then tossed them with pasta.

I have one very vivid memory of this dish and it goes back to the summer of 1992.

After my mother was diagnosed with metastatic lung cancer in early summer 1992, she came to live with us.  Until the last few days of her life in early January 1993, she took over our kitchen, a very comfortable role for her.

Over the years prior to her diagnosis, she had become friendly with our next door neighbor, Carla.  During the last six months of her life she and Carla spent hours every day visiting and chatting.  This was a wonderful arrangement as my husband, Frank, and I were working long hours.  (It also led, through a number of interesting steps, to Frank and I becoming the god-parents for one of Carla and Billy’s children a few years later.  But that’s a story for a different day.)

Frank had very long work hours a couple days per week.  He rarely got home before 10 PM on those days.  My mother and I would eat dinner earlier and then she would set aside his food.

But she did more than that.

When he got home, she always warmed up his dinner and then sat with him at the table while he ate.  She never let him eat alone.  Most likely, I was upstairs in bed.  Since I got up earlier than Frank, I tried to be in bed by 10 PM to watch the news and go to sleep.

For some reason, the plate of pasta with zucchini sitting on the counter one evening to be warmed up for Frank’s dinner, knowing my mother would sit with him as he ate, is the mental image I have of this dish.  I can’t make this without that image appearing in my mind.  I think somehow that dish, made of very humble ingredients, came to represent the best of my mother’s nurturing characteristics.

She was a fierce advocate for her children.  My sister and I both started school a year early because my mother thought we were intellectually ready (she was right) and she wasn’t going to take “no” for an answer from the school authorities.

Once, in second grade, my sister arrived home with the hem of her school uniform let down because one of the nuns thought it was too short.  My mother promptly hemmed it, even shorter, and sent my sister to school the next day without ever saying a word.  The hemline stayed put.

You didn’t mess with my mother where her children were concerned.

She continued cooking for us until less than a week before she died.

In those years we always gave a New Year’s Day party, a casual affair where people could come and relax and chat and eat.  The Soviet Union was officially dissolved December 25, 1991.  Most of 1992 saw the effects of the dissolution so the theme of our January 1, 1993 party was the dissolution of the Soviet Union.

For the party, my mother made 14 dozen stuffed cabbage rolls and 17 dozen potato pancakes!

She sat on the sofa throughout the entire party, chatting with everyone and being the life of the party.  The next day she took a turn for the worse and on the morning of January 6th she died.

Some of my best memories involve food, most of which was cooked by family and friends who are no longer with us.  Capturing and preserving those recipes is the way that I pay homage to them and to the culture and values they passed on to me.


Click HERE to join our mailing list and you’ll never miss a recipe again!

Print Recipe
Pasta with Silky Zucchini Sauce
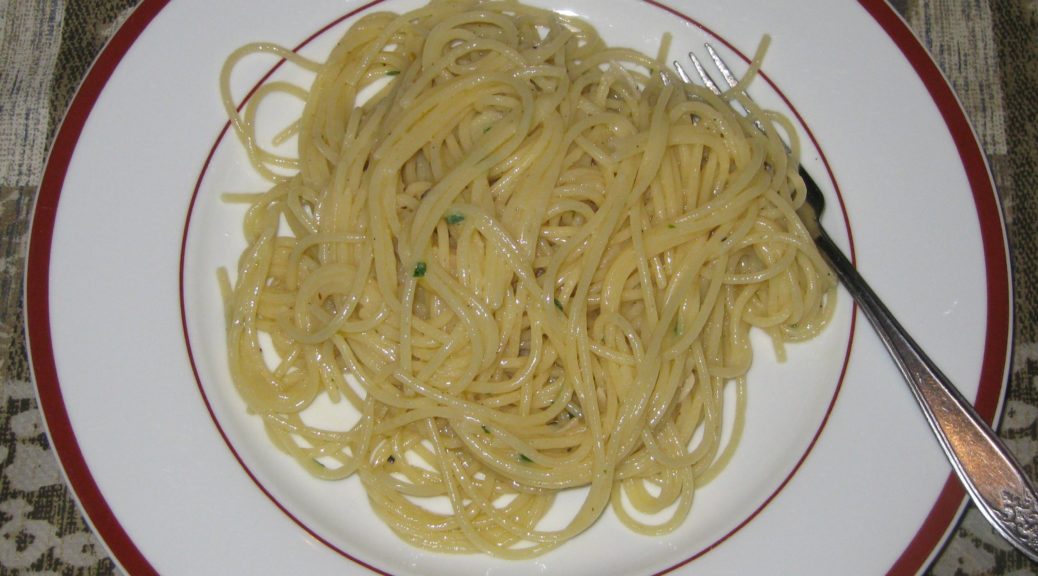
Zucchini are cooked to a silky softness to make a luscious sauce for pasta. Finishing the pasta in the pan with the zucchini and adding some pasta-cooking liquid, Parmesan cheese, and a couple of glugs of olive oil creates glossy sauce with a wonderful mouthfeel. When choosing zucchini, pick small ones, preferably not more than about six inches long. They should be firm and have glossy skin. It will take about 4 or 5 to yield four cups of sliced zucchini. Crushed red pepper is completely optional. If you have fresh basil you can omit the dry basil and toss in a tablespoon or so of basil chiffonade when you combine the pasta with the zucchini.
Votes: 0
Rating: 0
You:
Rate this recipe!
Prep Time 15 minutes
Cook Time 1 hour
Servings
people
Ingredients
Prep Time 15 minutes
Cook Time 1 hour
Servings
people
Ingredients
Votes: 0
Rating: 0
You:
Rate this recipe!
Instructions
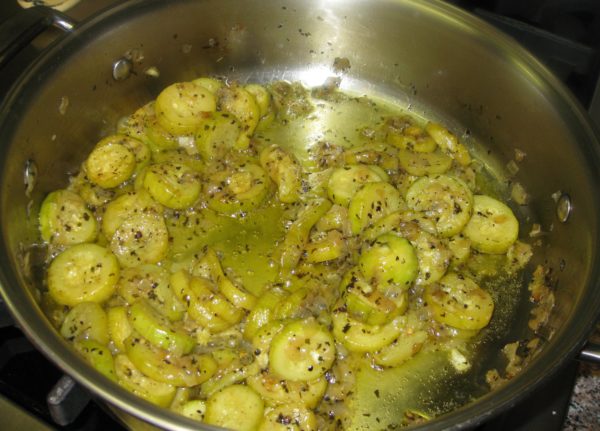
  1. Dice the onion.
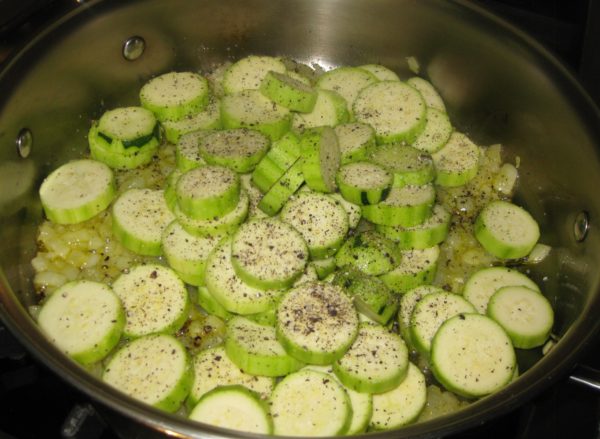
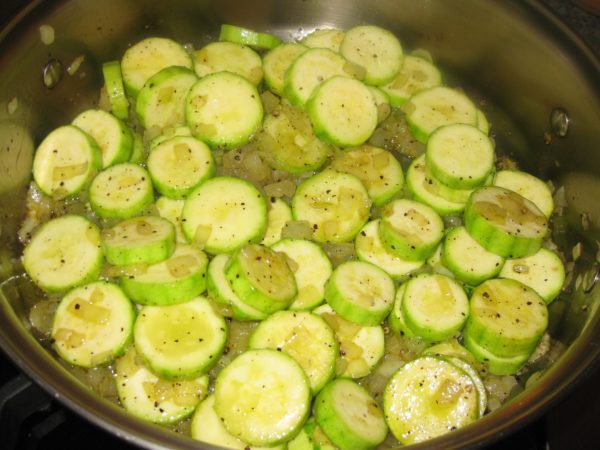
  2. Peel the zucchini and slice approximately ¼ inch thick.
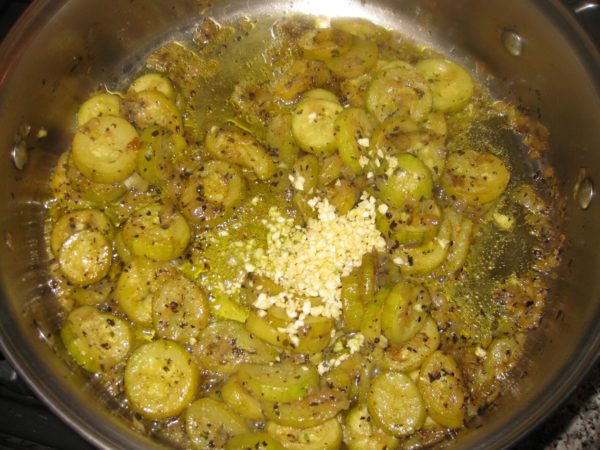
  3. Mince the garlic.
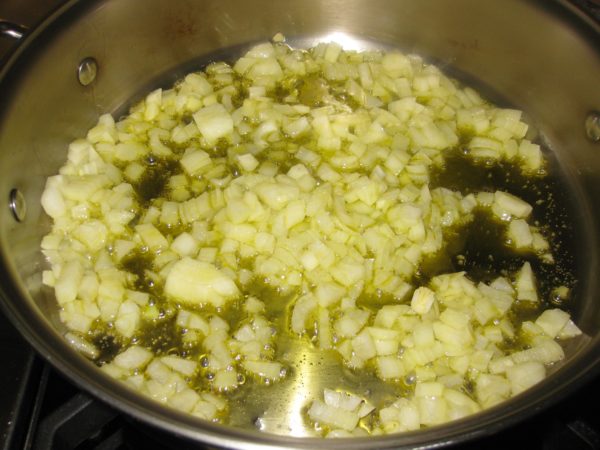
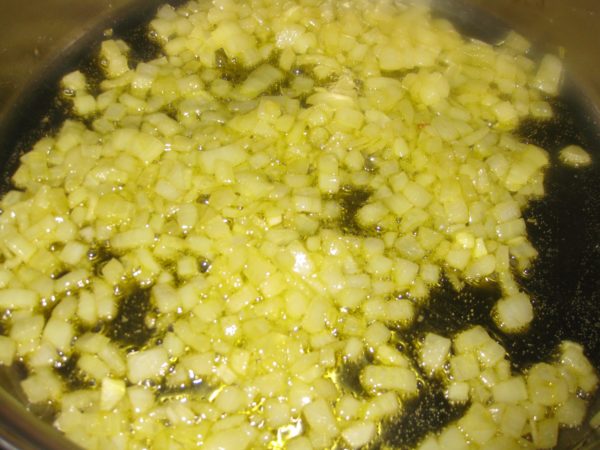
  4. In a large, heavy-bottomed sauté pan large enough to hold the pasta and sauce, sauté the onion and crushed red pepper, if using, over medium heat until the onion is golden and soft. Do not brown the onion.
  5. Add the zucchini. Toss to coat with oil. Season liberally with salt and freshly ground black pepper.
  6. Sauté on medium to medium high heat, adjusting from time to time to avoid browning the zucchini.
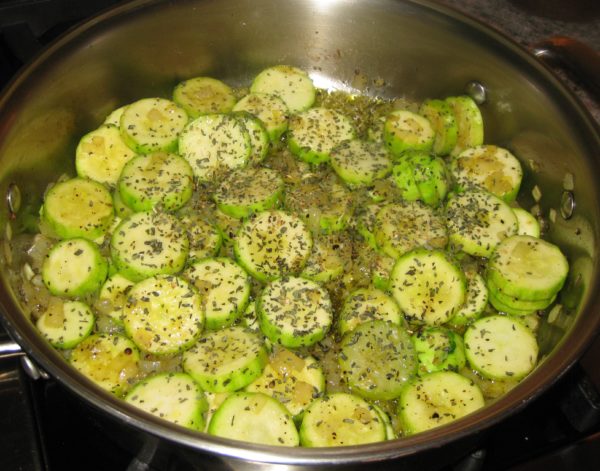
  7. Add the dry oregano and dry basil, if using, after about 20 minutes.
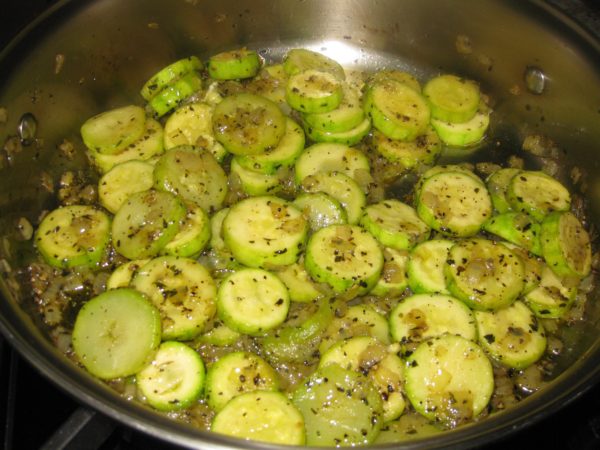
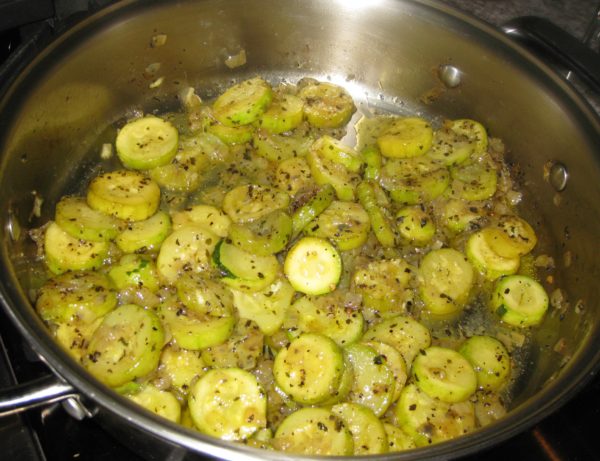
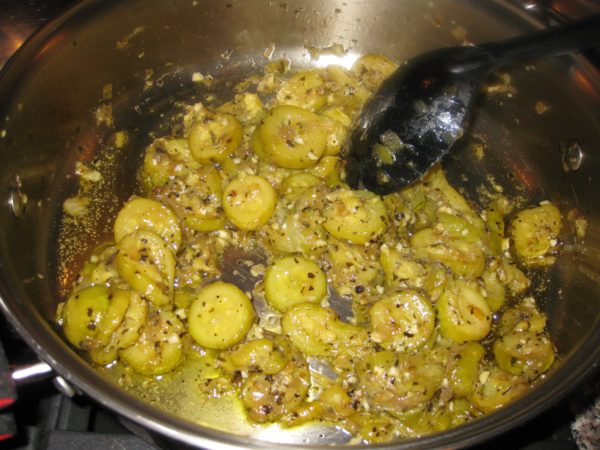
  8. Continue to sauté, stirring often, until the zucchini is quite soft, but still intact. It can turn golden but should not brown. Taste and adjust salt and pepper while the zucchini is cooking.
  9. Add the minced garlic and cook until fragrant, about 5 minutes longer.
  10. The dish can be prepared several hours in advance to this point. Simply take the sauté pan off the heat and cover it.
  11. Bring three quarts of water to a rolling boil. Add 1/3 cup salt. Add the pasta and cook at a full boil until the pasta is almost al dente. It should still be just the tiniest bit hard in the center.
  12. Reserve at least one cup of pasta-cooking liquid.
  13. Drain the pasta and add it to the zucchini in the sauté pan. Add about ½ cup of reserved pasta-cooking liquid and fresh basil, if using, and cook over medium heat at a light boil until the pasta is al dente. Add more pasta-cooking water as needed. There should be some liquid in the pan when the pasta is finished.
  14. Off the heat, stir in the Parmigiano Reggiano cheese and 2 tablespoons of extra virgin olive oil. Add a bit more pasta-cooking liquid if needed to emulsify the cheese and olive oil to create a glossy sauce that just clings to the pasta.
  15. Taste and adjust salt and pepper.
Recipe Notes

Copyright © 2017 by VillaSentieri.com. All rights reserved.
Share this Recipe

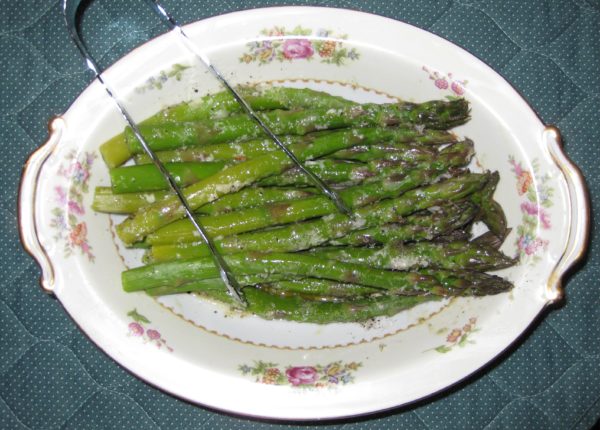
Asparagus with Parmesan Cheese

June 12, 2017

I am writing this sitting on a beach in Akumal, Mexico about an hour south of Cancun by car.

On the beach in Akumal
Iguanas enjoying the beach in Akumal

Just a few days ago, I was at home in Santa Fe where the weather was just beginning to turn spring-like.  The week before that I was in Hawaii.

The view from our lanai in Kauai

By the time you’ll be reading this, I’ll be in Palm Springs, where, even today, the temperature is hitting 100°F!

On the patio in Palm Springs before the heat of the day

Needless to say, my sense of seasonality is out of whack at this point.

No matter the temperature or the weather, asparagus says spring!

Just a few days ago, I was eating grilled asparagus in Santa Fe.  Days before that I made an asparagus frittata, before that I cooked the asparagus that is featured in this post.

Asparagus isn’t something I remember much of before college and usually it was the mushy white stuff out of a can.  White asparagus can certainly be a delicacy but when it comes out of a can that’s an impossibility as far as I’m concerned.

College was a time of incredible culinary growth for me.  Growing up I ate wonderful food as my mother was a great cook.  Mostly, though, it was Italian, Slovak, and the American dishes that every kid in the United States grows up eating.

I didn’t learn to cook until freshman year in college.  I was lucky enough to live in a college house at the University of Pennsylvania that was housed on two floors of an otherwise upper class dormitory made up of apartments with kitchens.  The typical freshman dorms either had no kitchens whatsoever or had the most rudimentary cooking facilities shared by large numbers of students.  Since I had a kitchen, I only took out the minimum required meal contract: 10 meals per week.  Usually this meant I ate lunch and dinner in one of the dining halls Monday through Friday.  On weekends I cooked…and baked!

I called home every Sunday from the day I went away to college.  Occasionally there was a lapse, like the time when I was 31 and hadn’t called home in a couple weeks.  The first words out of my mother’s mouth when she heard me on the other end of the line were, “I was just about to put your picture on a milk carton.”  Point made!  [You may or may not know that “back then” the pictures of missing children were put on milk cartons in the hope that someone would recognize them and call the authorities.]

Besides just catching up on our lives, I got advice.  My father gave me advice on how to handle alcohol, what to do if I had too much (don’t lie down and don’t close your eyes, for example), sex, and other topics.

My mother walked me through the steps of how to cook whatever it was I planned on making for dinner that evening.  By the end of freshman year, I was a credible cook.

My gastronomic circle was not very big, however.  Early my freshman year the resident advisors, Dennis and Martha Law from Hong Kong, took a group of us to dinner in Chinatown.  It was exciting, having grown up in a town without a Chinese restaurant.  The tastes, however, were so…well…foreign that I didn’t like much of what was served.  I tasted everything but rarely had more than one bite till something landed on my plate that struck me the right way.  The serving platter made it down the table past two or three other people till Dennis saw me eating.  He commandeered the plate and put it in front of me to be sure I had enough to eat.

By the end of the year I was not only eating, and loving, Chinese food, I had developed a rudimentary understanding of the regional differences and learned the basics of Chinese cooking from Martha.

After my taste buds got over the shock of Chinese food, I started exploring other cuisines.  A favorite became Indian food at Maharaja just a few blocks from my dorm.  It turns out the restaurant was owned by the aunt of someone I now work with!  I believe it was the first Indian restaurant in Philadelphia.

Sophomore year I was not in the college house but had one roommate in a similar upper class dorm with a kitchen.  Meal contracts were only required of freshmen and I saw no point in eating in the dining hall.  The arrangement I struck with my roommate was that I would cook and he would clean up.  It turns out he would eat, and like, most anything so I was free to explore and experiment.

That set the stage for my junior year when I was admitted to another college house, the International Residence Project.  Half of the students were from the USA and half from anywhere else in the world.

My roommate, and best friend for many years, Ray Hugh, hailed from Guyana.  Valrie Tracey from Jamaica became the third member of a triumvirate that was pretty much inseparable for the rest of college.

Two married couples were our resident advisors, Ambrose and Najma Davis, and Reginald and Nanacy Rajapakese.  Ambrose was from Jamaica, Najma from Bangladesh, and Reggie and Nanacy from Sri Lanka.

Nanacy taught me how to make Sri Lankan food and I’m almost as comfortable making that as I am Italian.  I remained close friends with Nanacy and Reggie, even making several trips to Sri Lanka with Nanacy in the last few years, after Reggie’s death.

Ray and I have reconnected on Facebook which is rekindling many memories of the trips I made to Guyana and my experiences in learning to make Guyanese and Chinese food from Ray and his mother.  Ray’s grandparents on both sides emigrated from China to Guyana in the 1800’s.

Ray and I packed an incredible amount of cooking power into a tiny dormitory kitchen.  Without enough cabinet space to store ingredients, we had stacks and stacks of plastic milk delivery crates packed with an unimaginable assortment of ingredients from international food markets.

Our apartment became known as the place for midnight snacks and folks always came knocking on the door around then to see what we’d whipped up to nibble on.

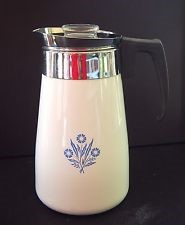
That was the year I discovered that my stovetop Corning percolator made a serviceable stand-in for an asparagus steamer.


Asparagus steamer in a pinch!

Click HERE to join our mailing list and you’ll never miss a recipe again!

Print Recipe
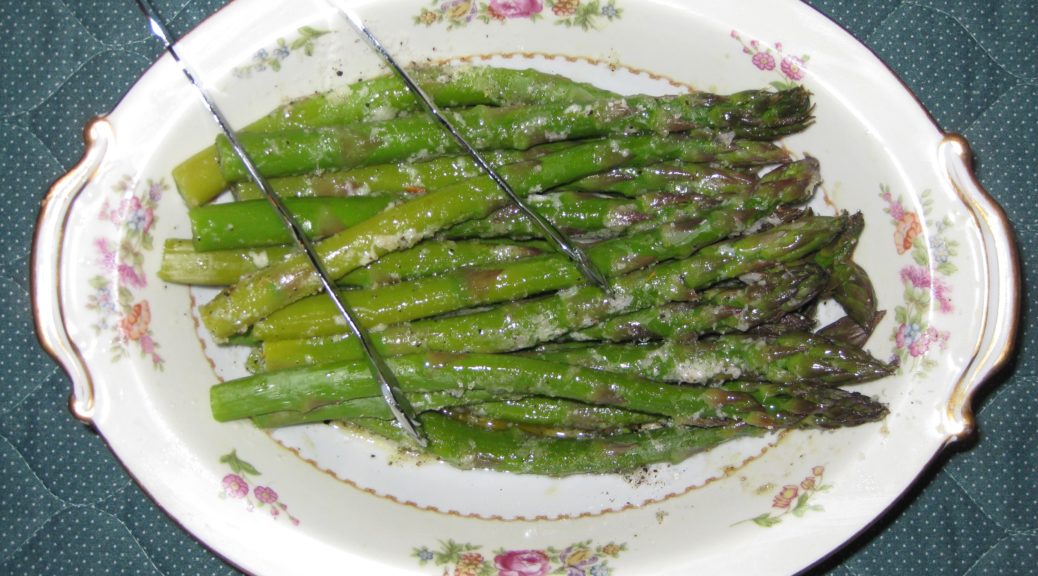
Asparagus with Parmesan Cheese
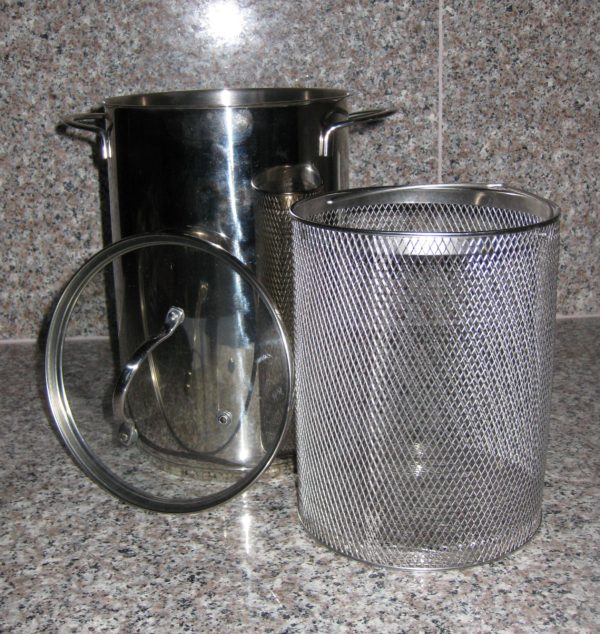
Asparagus is best cooked in an asparagus steamer. This small-diameter, tall pot allows the bottom of the asparagus spears to boil in the water while the tender tips cook by steaming. When I was a college student and didn’t have an asparagus steamer I used my stovetop Corning Ware percolator. If you don’t have a steamer, or a reasonable substitute, I find it preferable to cook the asparagus in a microwave oven rather than to boil them. After rinsing off the asparagus, put the spears and whatever water clings to them in a microwave-safe dish with a cover. Cook in 1-2 minute increments, moving the spears around after each bout of zapping, until cooked but still a little “toothy” (and certainly not mushy).
Votes: 0
Rating: 0
You:
Rate this recipe!
Course Sides, Vegetables
Cuisine Italian
Prep Time 10 minutes
Cook Time 15 minutes
Servings
people
Ingredients
Course Sides, Vegetables
Cuisine Italian
Prep Time 10 minutes
Cook Time 15 minutes
Servings
people
Ingredients
Votes: 0
Rating: 0
You:
Rate this recipe!
Instructions
  1. Trim the tough ends off the asparagus. The “Notes” section below contains a link to a blog post describing how to do this.
  2. Crush the garlic with the side of a chef’s knife.
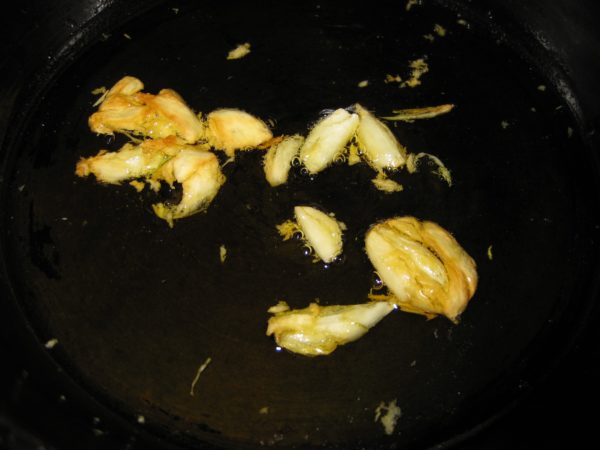
  3. Heat the olive oil in a small sauté pan over low heat. Add the garlic and sauté slowly until brown, pressing down on the garlic occasionally.
  4. Discard the garlic. Reserve the oil.
  5. Cook the asparagus until toothy, neither crunchy nor mushy. If you do this in an asparagus steamer, put about two inches of water in the bottom and bring to a boil. Lower in the basket with the asparagus. It will take 5-10 minutes, depending on the asparagus and your elevation, to cook the asparagus properly.
  6. Put the cooked asparagus in a warmed serving bowl.
  7. Add the garlic-infused olive oil and mix.
  8. Add the Parmigiano Reggiano cheese and the salt and freshly ground black pepper to taste. Mix well.
  9. Drizzle with lemon juice and serve.
Recipe Notes

You can find videos of prepping asparagus here.

Copyright © 2017 by VillaSentieri.com. All rights reserved.
Share this Recipe

Mom’s Pasta e Fagioli (Mom’s Pasta and Beans)

February 22, 2017

We didn’t eat a lot of prepared foods growing up.  In fact we almost never did.  OK, there were a few times in the early 60’s where I got to try out those recently-invented “TV Dinners.”

I was well into adulthood before I had a real appreciation for the quality of the homemade food that was put on our table every day.

My mother made putting great food on the table seem effortless.  I remember many Sunday mornings when I’d wake up to find her making ravioli from scratch for our big midday meal: cooking the beef and spinach filling, preparing the dough, rolling and filling the ravioli, all the while a big pot of tomato sauce bubbling away on the stove.  It was just a family Sunday dinner!

Weekday meals were usually less elaborate but no less delicious; maybe homemade sausage, pan-fried potatoes, and a vegetable or two or maybe pasta with sauce leftover from Sunday.  It was always fun to walk into the kitchen to find her making something I’d never had before; something that her mother used to make.  Sometimes that wasn’t even at a defined meal time.

Now I think I understand.  My mother died in 1993 and I bet I didn’t make her version of pasta e fagioli for 20 years after her death.  Then one day, the desire for it just struck me and there I was, in the kitchen, cooking.

It’s become part of my regular routine again after that long hiatus.  Sitting down to a bowl of my mother’s pasta e fagioli is comforting; almost as comforting as if she had made it for me.  There’s just something about the combination of pasta, beans and red sauce that I can’t explain.  It triggers an emotional bridge to what feels like an earlier time in my life.  I’m guessing something similar prompted my mother to occasionally whip up dishes from her youth that she hadn’t made in decades, if ever.

Print Recipe
Mom's Pasta e Fagioli (Mom's Pasta and Beans)
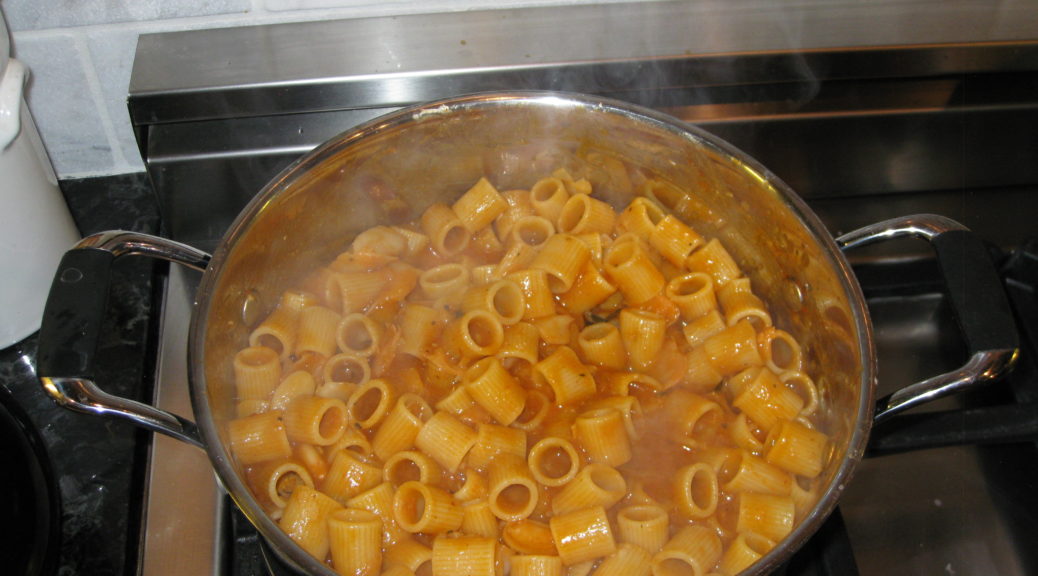
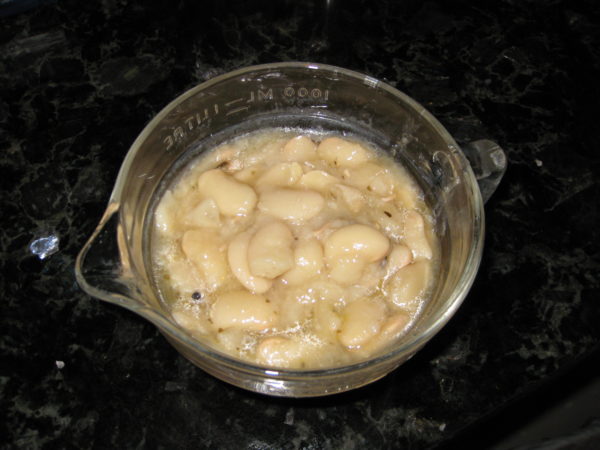
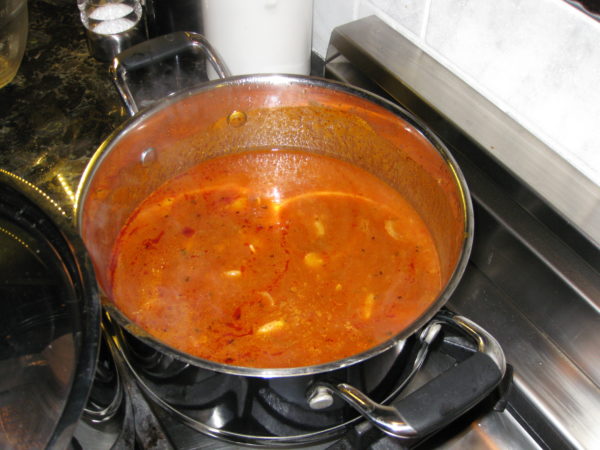
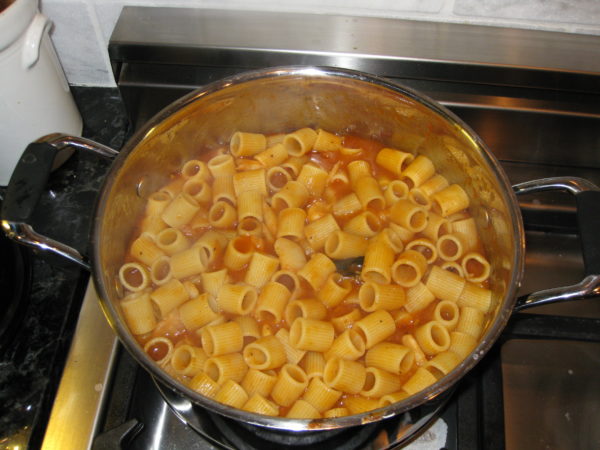
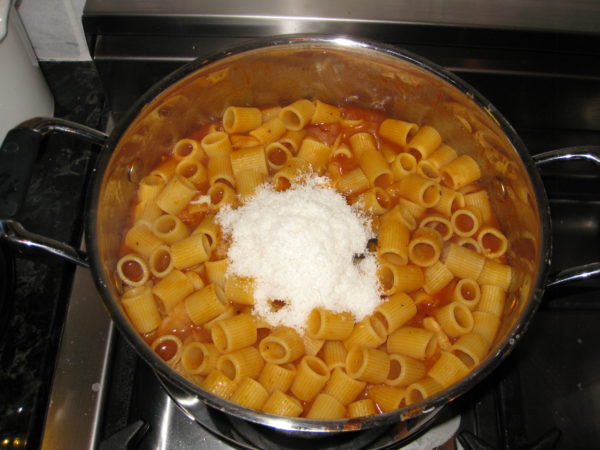
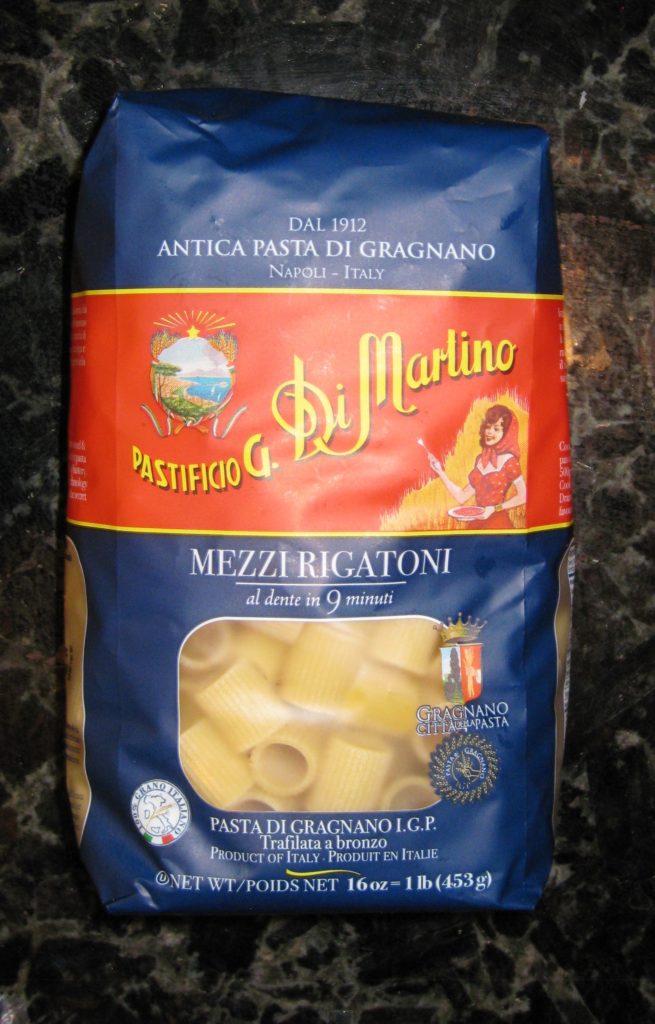
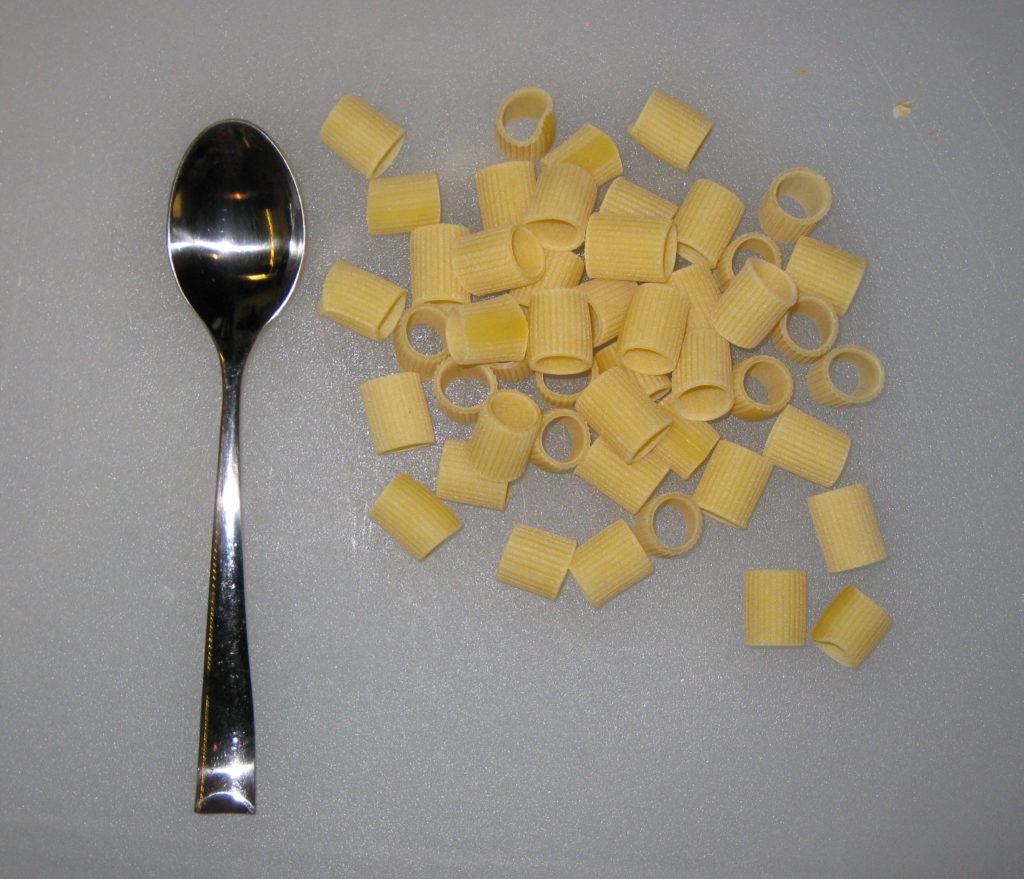
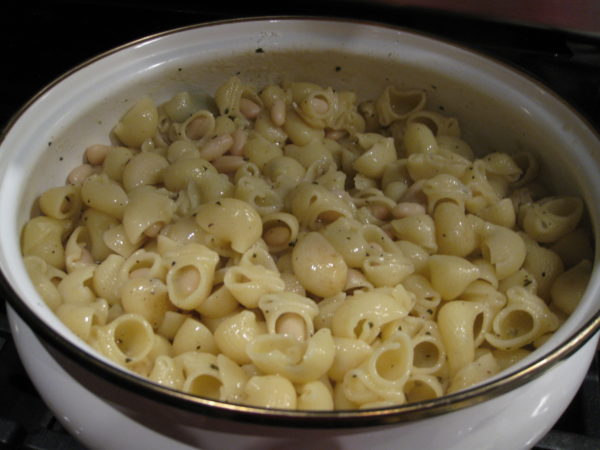
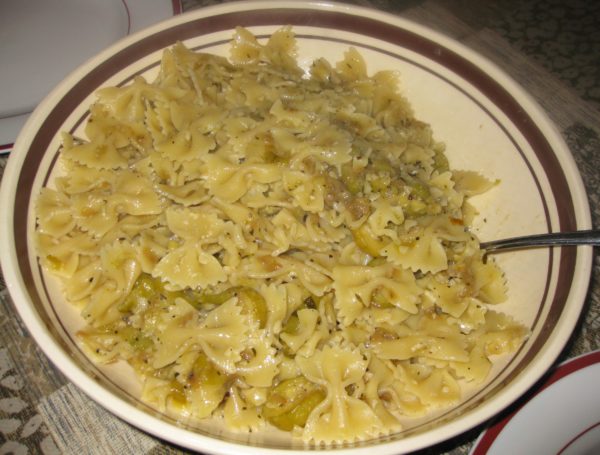
Follow the directions for Cannelini alla Toscana but use dried lima beans instead of cannellini and substitute ½ teaspoon of dried oregano and a sprig of fresh rosemary for the sage. There will be leftover beans that you can freeze or refrigerate for another use. You can also use two 15 ounce cans of Butter Beans in place of the home-cooked lima beans. Mom always used ditalini for this dish. These days, when you can find them (and it can be challenging) they have usually been upgraded from ditalini to ditali, though they are exactly what she used. More frequently, I use a slightly larger, but still rather small, pasta such as the mezzi rigatoni shown here.
Votes: 0
Rating: 0
You:
Rate this recipe!
Prep Time 15 minutes
Cook Time 1 1/2 hours
Servings
people
Ingredients
Prep Time 15 minutes
Cook Time 1 1/2 hours
Servings
people
Ingredients
Votes: 0
Rating: 0
You:
Rate this recipe!
Instructions
  1. Finely dice the onion. Sauté the onion in ¼ cup of olive oil until soft and golden.
  2. Add the crushed red pepper and sauté another minute.
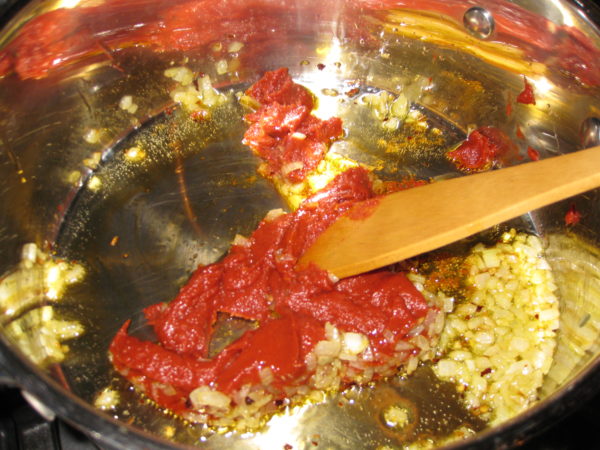
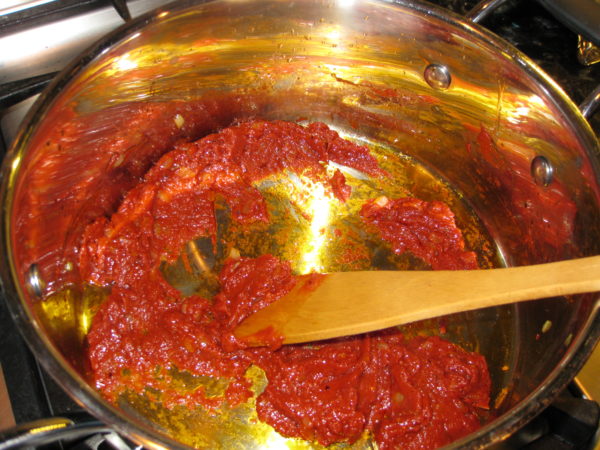
  3. Add the tomato paste and sauté, stirring frequently until the tomato paste turns a shade darker and smells sweet, 2-3 minutes.
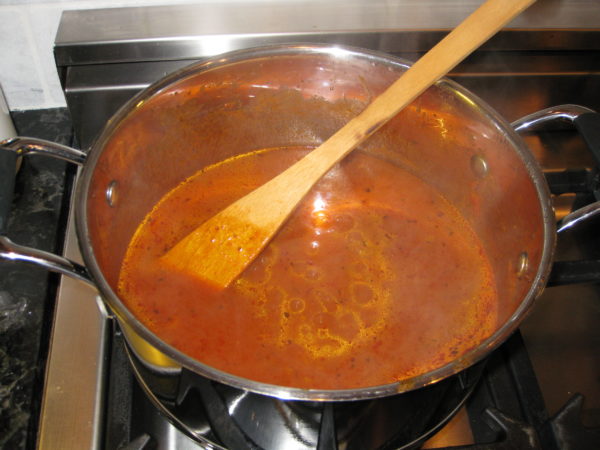
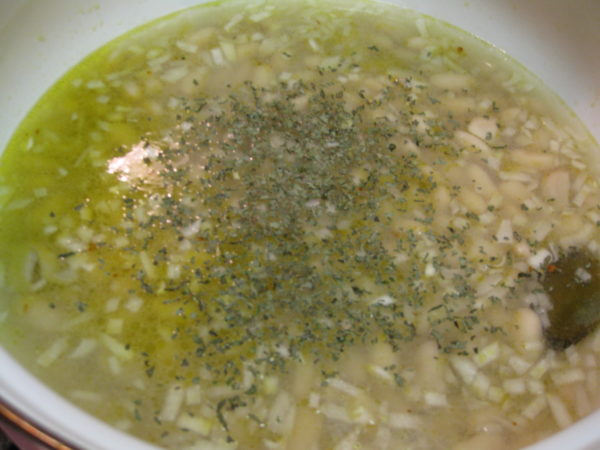
  4. Add the water, oregano, basil and salt and pepper to taste. Stir well to fully incorporate the tomato paste.
  5. Bring to a very low boil, partially covered, and cook 30-45 minutes stirring occasionally. Adjust seasoning as needed, tasting several times as the sauce cooks.
  6. Meanwhile, sauté the garlic in the remaining ¼ cup of olive oil very slowly until browned. Remove from the heat and reserve.
  7. The dish can be cooked several hours ahead to this point.
  8. Bring three quarts of water and three tablespoons of salt to a boil.
  9. While the water is heating, add the beans and their liquid to the tomato sauce, return to a simmer, and cook, partially covered till the pasta is ready.
  10. Cook pasta until it still has a small bit of chewy center. It will cook more in the sauce. Scoop out and reserve two cups of the pasta cooking liquid.
  11. Drain the pasta. Add the pasta to the tomato-bean mixture. Add the browned garlic and olive oil. Stir well, cover and cook on very low heat until the pasta is cooked but al dente and the sauce has thickened. Add some of the pasta cooking liquid as needed from time to time to create a smooth sauce.
  12. Off the heat stir in the Parmigiano Reggiano cheese. Taste and adjust seasoning.
  13. It is not unheard of for me to add an extra glug or two of olive oil at this point to get a luscious sauce. Stir and decide if another dash of pasta-cooking water is needed, as well.
Recipe Notes

Mezzi Rigatoni


Copyright © 2017 by VillaSentieri.com. All rights reserved.
Share this Recipe

Pasta e Fagioli (Pasta and Beans)

January 18, 2017

Talk about comfort food!  Pasta e Fagioli (pasta and beans) hits the spot (for me, at least!).

There are endless variations.  White kidney beans, red kidney beans, chick peas, butter beans, fava beans, for example.  Ditalini, mezzi rigatoni, lumaconi, orecchiette, linguine, and more.  Not to mention the possibilities of tomato sauce, anchovies, broccoli, rapini, and escarole.  I could go on but you get the point.  You could mix and match just those ingredients and come up with hundreds of different combinations.

Growing up, my mother made only one version that I recall.  It featured butter beans, tomato sauce and ditalini.  The amount of liquid was equivalent to pasta with a red sauce.  My Aunt Margie, my mom’s sister, made hers with chick peas and ditalini, no tomato sauce, and it was definitely more of a soup.  My guess is that my grandmother made both versions, and probably others, but my mom and my aunt each settled on one for their cooking repertory.

Then there’s a version that I learned from a work colleague, Louis Evangelista, more than thirty years ago.  He learned it from his Sicilian grandfather.  It features linguine, red kidney beans, escarole, red pepper, and an abundant amount of garlic.

Then there’s orecchiette with kidney beans, broccoli and anchovy.

But we’re not making any of these today.  We’re doing a simple version with kidney beans and lumaconi.  The others will make their appearance in the coming months.

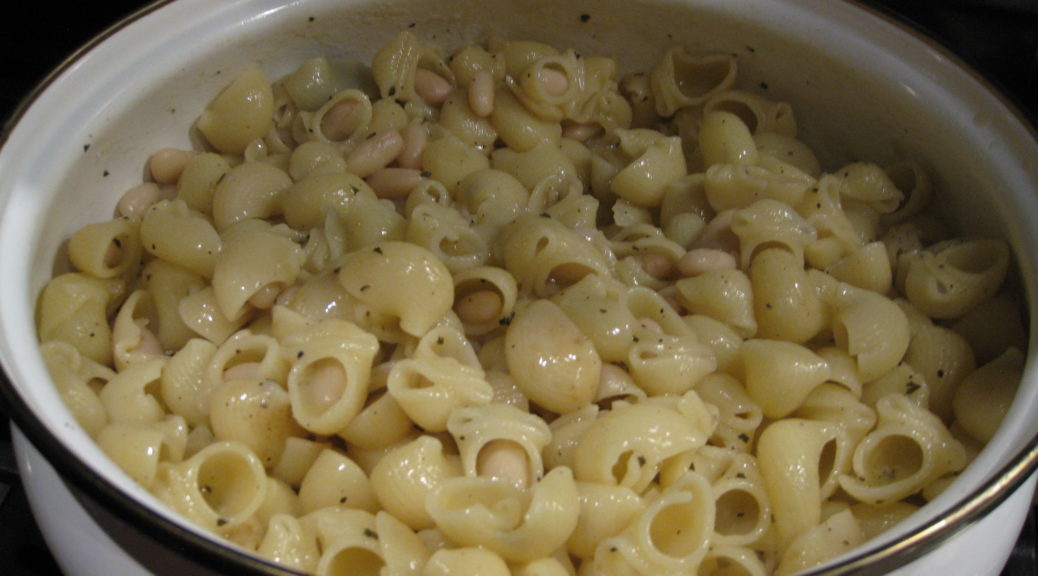
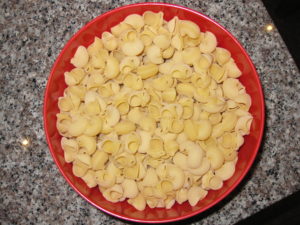
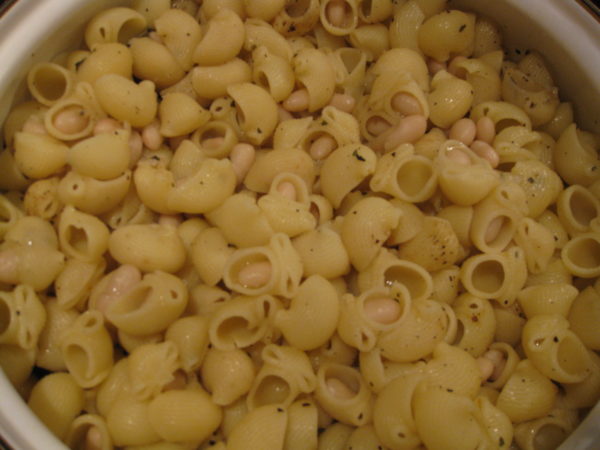
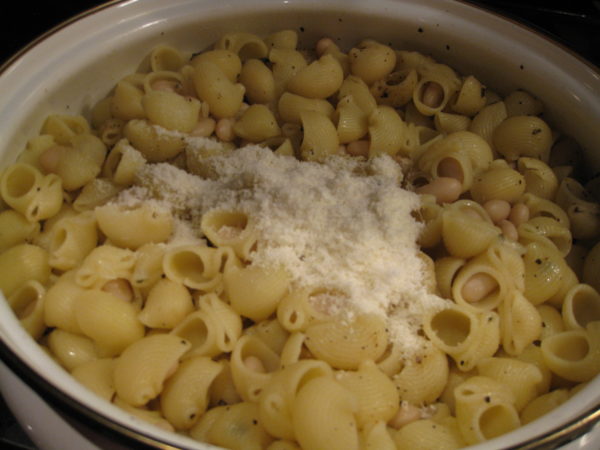
Lumaconi is a wonderful pasta shape for pasta e fagioli.  Lumaconi means snails.  Look at the picture below and you’ll see the resemblance.  What’s so cool about using lumaconi is that the beans naturally slip inside the cooked pasta for the perfect mouthful of beans and pasta!

If you use red kidney beans rather than white, the contrast between the bean and pasta will look startlingly like real snails.  This might not be a good thing depending on your audience!

I strongly encourage you to start with dry beans rather than canned.  Follow the recipe for Cannellini alla Toscana using either white or red kidney beans.  For something as hands-off as putting a pot of beans in the oven you’ll be rewarded with enough beans for two, if not three, meals plus a taste profile that is infinitely superior to canned beans.

This last point was hammered home to me a few months ago.  We were in Alamogordo with Pat and Becky, friends from Santa Fe.  We spent the day at White Sands National Monument sledding down the dunes followed by lunch in Ruidoso before returning to our little house in Alamogordo (the house is another story for another day).

We didn’t feel like going out, not that there are many places to go out to in Alamogordo unless you count Chili’s, which, inexplicably, is my husband’s favorite restaurant in town.  Besides, we made the requisite pilgrimage to Chili’s the night before.

So, a couple of cans of kidney beans later, I was making pasta e fagioli.  It was good, no doubt.  But it had been a very long time since I had used canned beans (even though there is an entire phalanx of canned beans in my pantry).  I was actually startled by the difference in taste and texture, having grown so accustomed to using home-cooked beans.

However, by all means, if using canned beans is the difference between trying this dish, and not.  Go for it!  You might want to throw an extra bit of herbs in the pot at the beginning, like a bay leaf and some sage, but it’s not really essential.

Let me know what you think of the recipe.  And for those of you who have your own favorite version of pasta e fagioli, let me know what it is.

Print Recipe
Pasta e Fagioli (Pasta and Beans)
The difference in taste and texture between home-cooked beans and canned beans is dramatic. I recommend cooking either red or white kidney beans using the Cannellini alla Toscana recipe. While I always keep canned beans on hand for emergencies, my freezer is also always stocked with a variety of cooked beans. Whenever I make Cannellini alla Toscana, I freeze leftover beans in portions of 1 ½ cups of beans covered in whatever cooking liquid is left. I never discard any of the cooking liquid. Ideally, you should have enough cooking liquid to cover the beans for the first part of the cooking, before adding the pasta and some pasta-cooking liquid. If you are using canned beans, two 15 oz. cans of beans is the right amount. Do not discard the liquid in the can. It will help to thicken the sauce.
Votes: 0
Rating: 0
You:
Rate this recipe!
Prep Time 15 minutes
Cook Time 40 minutes
Servings
people
Ingredients
Prep Time 15 minutes
Cook Time 40 minutes
Servings
people
Ingredients
Votes: 0
Rating: 0
You:
Rate this recipe!
Instructions
  1. Combine the beans and their liquid, onion, basil, and red pepper, and freshly ground black pepper to taste in a heavy-bottomed pot large enough to contain the cooked pasta and beans. If the bean cooking liquid and wine does not cover the beans, add water to just cover.
  2. Simmer, partially covered approximately twenty minutes. Taste for salt after about 10 minutes. Remember that the pasta will be well salted and you will be adding Parmigiano so best not to over-salt at this point.
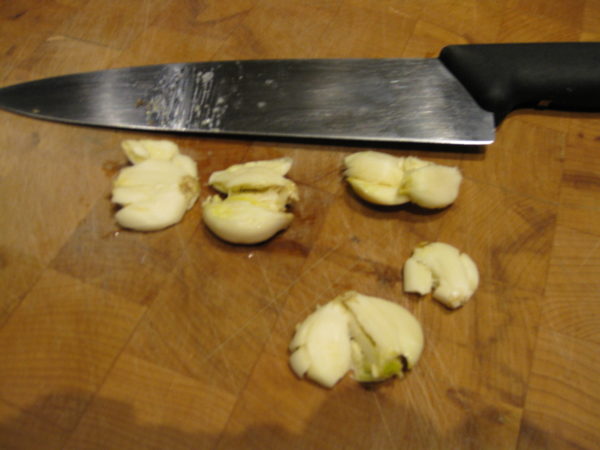
  3. Meanwhile, bruise the garlic with the side of a knife.
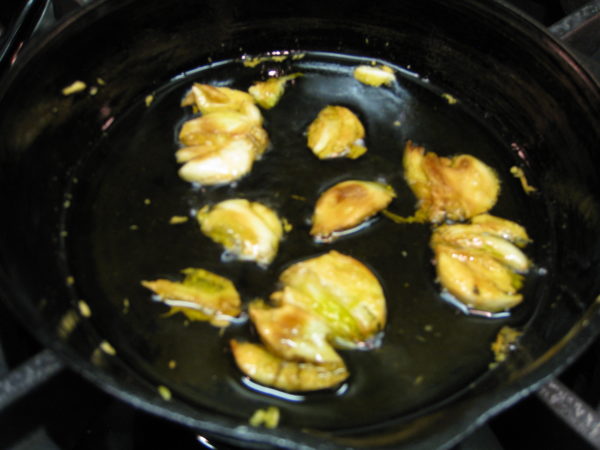
  4. Sauté the garlic in the olive oil very slowly until browned. Garlic should be quite brown but not burnt which would make it bitter. Remove and discard garlic. Reserve the garlic-flavored oil.
  5. Cook pasta in 4 quarts of abundantly salted water. The pasta will finish cooking with the beans, so there should still be a small core of hard pasta in the center.
  6. Just before draining the pasta, scoop out and reserve about two cups of the pasta cooking liquid.
  7. If you will not be serving the pasta e fagioli in the cooking pot, pour some of the cooking water into the serving bowl to warm it while you finish cooking the pasta and beans.
  8. Drain the pasta but leave some water clinging. That is, there is no need to shake the colander. Add the pasta to the bean mixture. Stir to combine. Add the garlic oil. Mix well.
  9. Cover tightly and cook over very low heat for approximately 10-15 minutes stirring occasionally until the pasta is cooked through but still ad dente. Add a little of the reserved pasta water from time to time if needed. When the pasta is finished there should be just enough water remaining to create a sauce.
  10. Off the heat, stir in the Parmigiano Reggiano.
  11. The combination of the cheese and the starch from both the bean cooking liquid and the pasta cooking liquid should create a glossy sauce.
  12. You might want to stir in an extra tablespoon or two of extra virgin olive oil both for the flavor and to help emulsify the sauce. Taste and adjust salt and pepper if needed.
  13. If not serving the pasta in the cooking pot, drain and dry the warmed serving bowl and pour in the pasta.
  14. Serve the pasta e fagioli with additional freshly grated Parmigiano Reggiano cheese and crushed red pepper.
Recipe Notes

More than other seasonings, quantities of dried red pepper are mere suggestions. Different types of red peppers vary in their heat and flavor profile. Different people have different tolerances for the heat of peppers. If I were making this dish for only myself, I would add at least a teaspoon of crushed red pepper and I’d probably still add more at the table. The suggested ¼ teaspoon is a modest amount that should not cause difficulty, even for individuals with a low tolerance for spiciness. However, make sure that you use one of the more traditional types of crushed red peppers, or even the whole dried Italian peppers that I used in this recipe. Do not make the mistake of using a dried version of one of the super-hot peppers (like bhut jalokia or naga jalokia or even Habanero or Scotch Bonnet) without understanding the heat level they pack!

Copyright © 2017 by VillaSentieri.com. All rights reserved.
Share this Recipe