Gnocchi di Patate (Potato Gnocchi)

April 4, 2018

My father didn’t like gnocchi.

As far as I know, it is the only food he refused to eat.

It was all about the texture.  Mind you, this is from a man who’s comfort food was a BIG bowl of cold mashed potatoes with buttermilk poured over top.

I understand the texture thing but for me the offending texture is slimy…like Jello (or cold mashed potatoes with buttermilk).

The next worst texture is hot cereal.  It’s not as bad as Jello but it’s not a favorite.  It took a long time for me to enjoy polenta because it has a texture just like hot cereal.  I think my dislike for hot cereal has diminished as I’ve gotten older and I can probably now keep Jello down, which as a kid wasn’t always the case.


Click HERE to join our mailing list and you’ll never miss a recipe again!


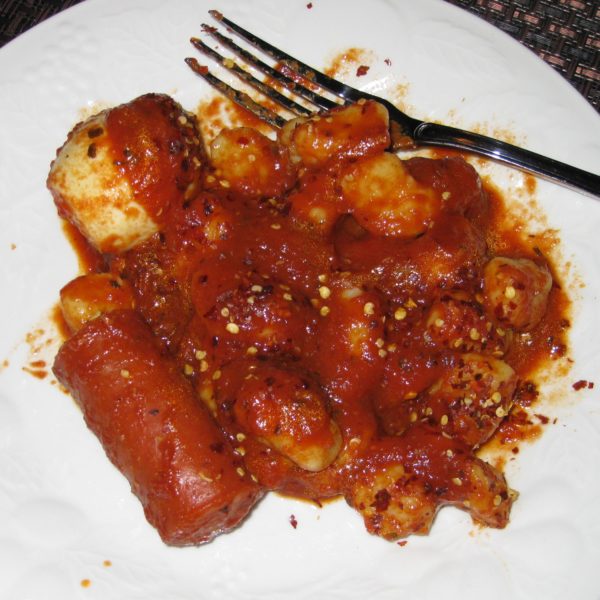
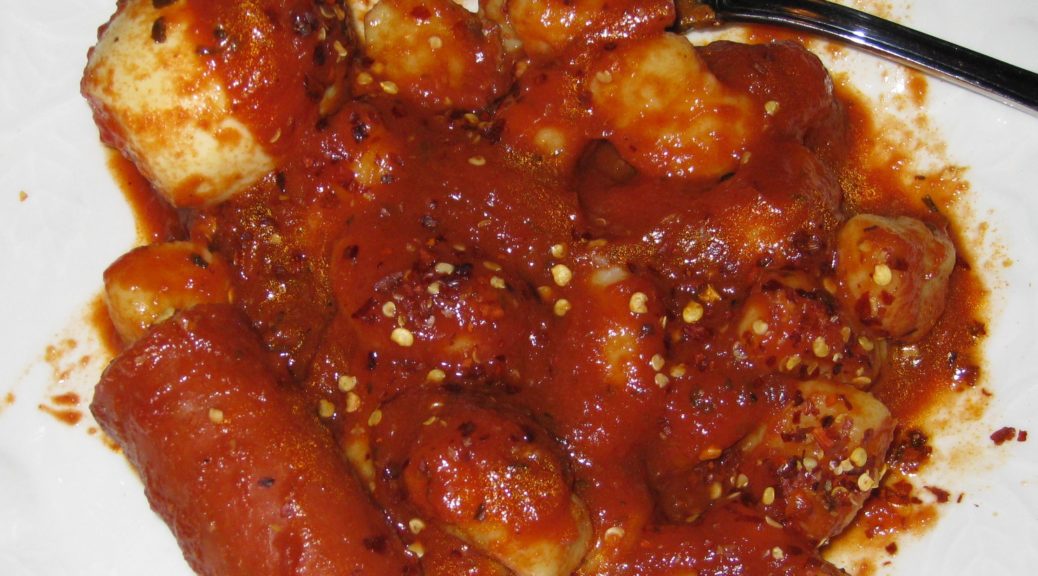
But gnocchi?  In the pantheon of foods, gnocchi reign supreme.  They are my favorite food.  Not to be morose, but they would be my death row meal (assuming a prison chef could make them like my mother with her pepperoni sauce!).

The pepperoni sauce is an interesting twist.

Since my father didn’t like gnocchi, we didn’t have them when he was home for dinner.  My father worked out of town from time to time, so there were weeknight meals where he wasn’t around.
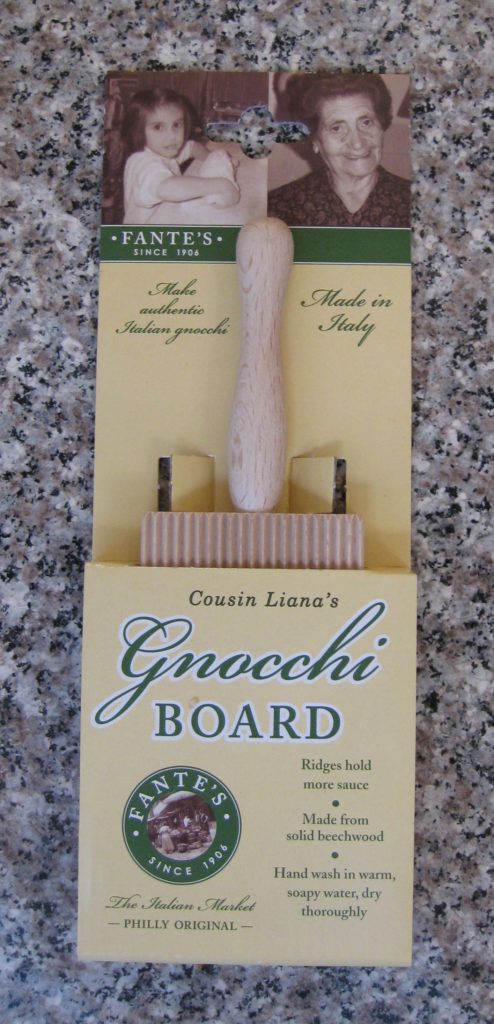
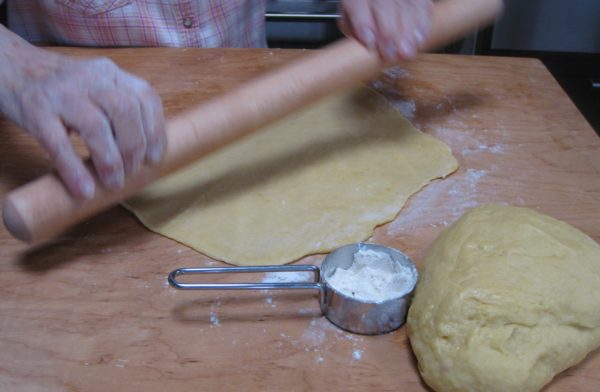
The back of a fork is commonly used to imprint ridges on gnocchi but a gnocchi board does a much better job

My mother would freeze her Sunday sauce, which was made with large pieces of pork.  Sometimes a container of sauce wouldn’t have any meat.  A common Italian approach to adding a bit of protein to a meal of pasta with red sauce is to simmer some shelled hard-boiled eggs in the sauce for a little while and serve them with the pasta.

My mother did that, but she also would take pieces of pepperoni, pierce them with a fork in a few places, boil them for about 20 minutes to render some of the fat and to soften the meat, and then add them to sauce to simmer for half-an-hour or so.

That sauce, which only appeared on weeknights from leftover Sunday sauce is my favorite sauce for my favorite food!


Follow us on your social media platform of choice


Let’s face it, pepperoni is an American creation.  To be sure, it’s a riff on any number of Italian regional salame piccante (hot salami).  In fact, you can’t get a pepperoni pizza in Italy but you can get a pizza with slices of salame piccante.

It took a while for our Italian relatives to wrap their heads around pepperoni.  In Italian, pepperoni are peppers not a cured meat product.  The word is also plural, not singular.  Americans often adopt the plural form of an Italian word (whether changing the meaning or not) and then treat it like it’s singular.

Consider panini.  One sandwich is panino.  More than one are panini.  The same is true with gnoccho and gnocchi or raviolo and ravioli.  Americans tend to say paninis and raviolis (fingers on blackboard screeching sound) if they mean more than one.  We don’t really have a rule about this as far as I know.  It’s just random.  Or so it appears to me.

Italian, on the other hand, has a very clear rule when adopting foreign words.  The singular form of the word becomes the Italian word.  That word is use for both the singular and the plural, with the adjective changing to indicate more than one.

Take bar, for example.  The “Italian” word for bar is bar.  (This is a critical bit of information that one learns early when taking Italian lessons.)  If you’re going to the bar, in Italian you would say “il bar” (the bar).  If you’re going out for a night of pub-crawling to many bars you would say “i bar” (the bars).

Now, you might ask yourself, when you would ever eat just one gnoccho.  Gnocchi translates as dumplings.  So if you had a large American or Eastern European dumpling, it would be a gnoccho, and you might have just one.  Today, however, we are making small gnocchi, and one is never enough.


If you have a favorite family recipe and a bit of a story to tell, please email me at santafecook@villasentieri.com and we can discuss including it in the blog. I am expanding the scope of my blog to include traditional recipes from around the country and around the world. If you haven’t seen Bertha’s Flan or Melinda’s Drunken Prunes, take a look.  They will give you an idea of what I’m looking for.


Print Recipe
Gnocchi di Patate (Potato Gnocchi)
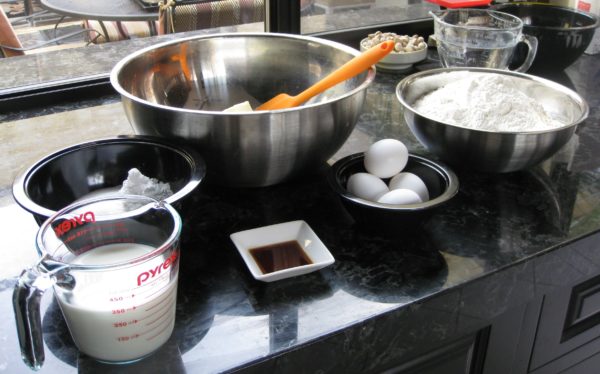
There are some very strong opinions about making gnocchi. The first is whether they should be very soft or somewhat firm. That preference tends to drive other decisions but sometimes in different directions. My husband’s Great Aunt Juliana liked soft gnocchi so she did not use eggs. She insisted that the gnocchi should be mixed while the potatoes were still hot, though other folks who like soft gnocchi use the potatoes after they’ve cooled and lost some of their moisture so less flour is needed. I like firmer gnocchi, so I use eggs. I also let the potatoes cool (as my mother did) because 1) it’s easier on the fingertips and 2) the trivial amount of moisture lost or not by cooling or not is no competition for the addition of eggs.
Votes: 0
Rating: 0
You:
Rate this recipe!
Prep Time 5 minutes
Cook Time 1 hour
Servings
people
Ingredients
Prep Time 5 minutes
Cook Time 1 hour
Servings
people
Ingredients
Votes: 0
Rating: 0
You:
Rate this recipe!
Instructions
  1. Scrub the potatoes.
  2. Put the potatoes in a large stockpot and cover with a generous amount of cold water. Bring to a rolling boil and cook until a knife can be easily inserted, approximately 20 minutes. This will depend on the potatoes and the altitude so begin testing after about 15-17 minutes.
  3. Remove the potatoes from the water and allow them to cool enough to peel, about 15 minutes.
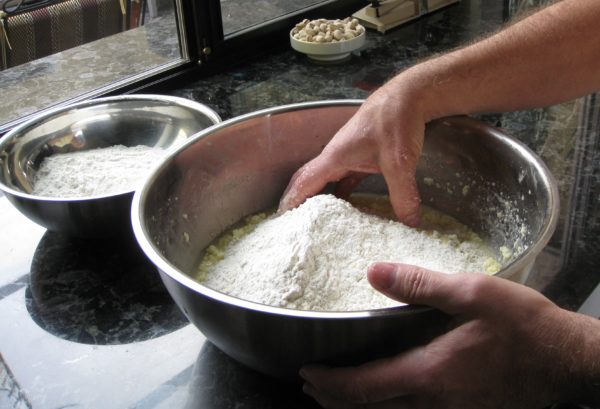
  4. Meanwhile, put three cups of flour on the counter or a pasta board.
  5. Pass the peeled, but still warm, potatoes, through a ricer on top of the flour. Note: it is very difficult to rice cold potatoes so this step should be completed as quickly as possible after the potatoes have been removed from the water.
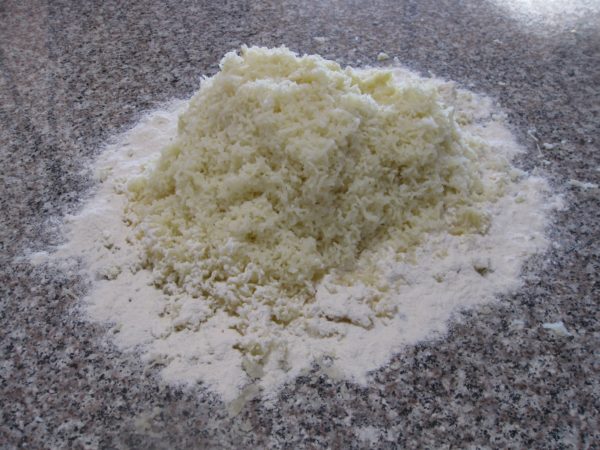
  6. Allow the potatoes to cool completely.
  7. Sprinkle the salt on the potatoes.
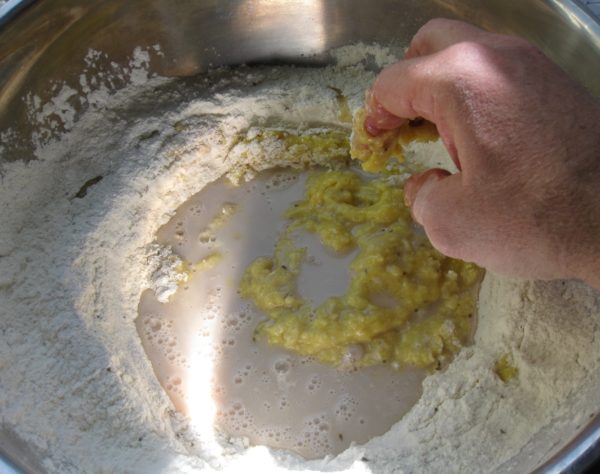
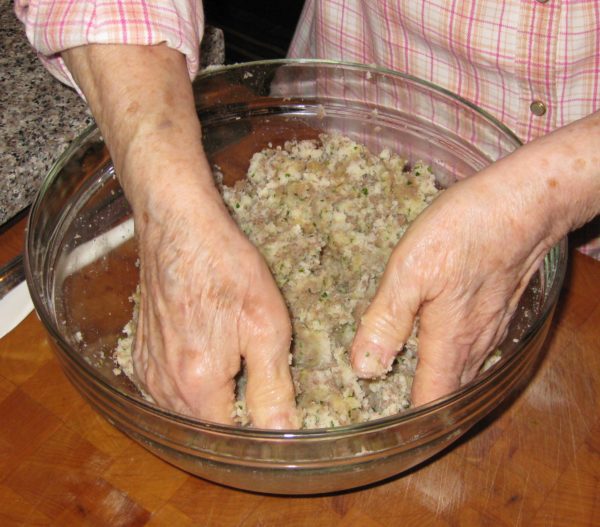
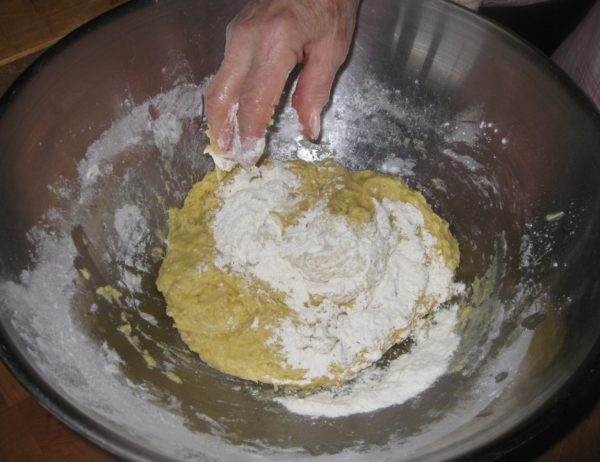
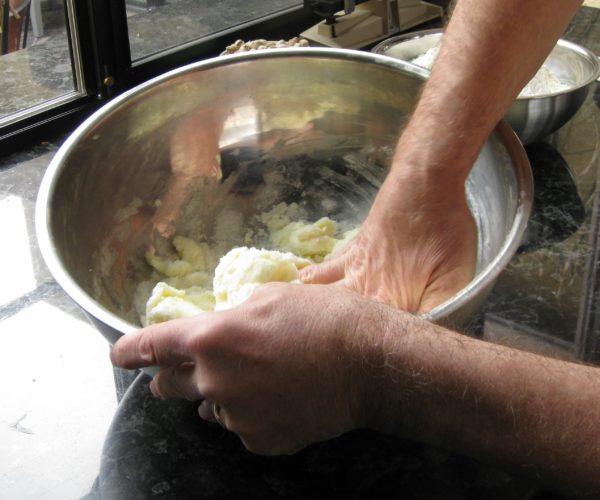
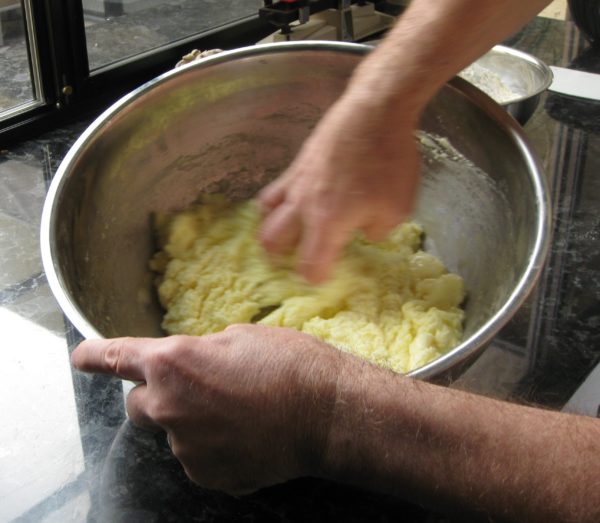
  8. Using your fingers, begin to mix in the flour.
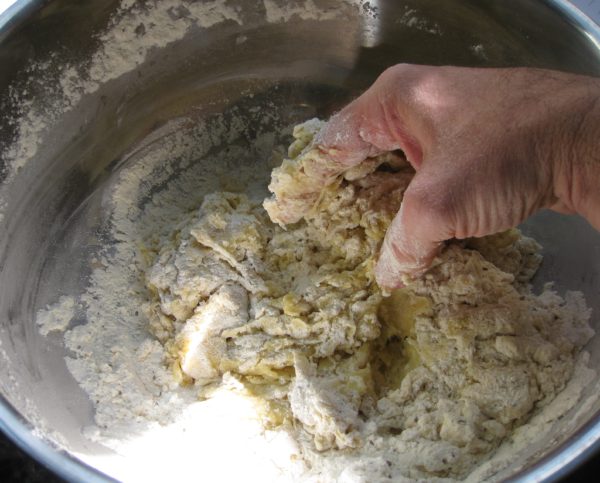
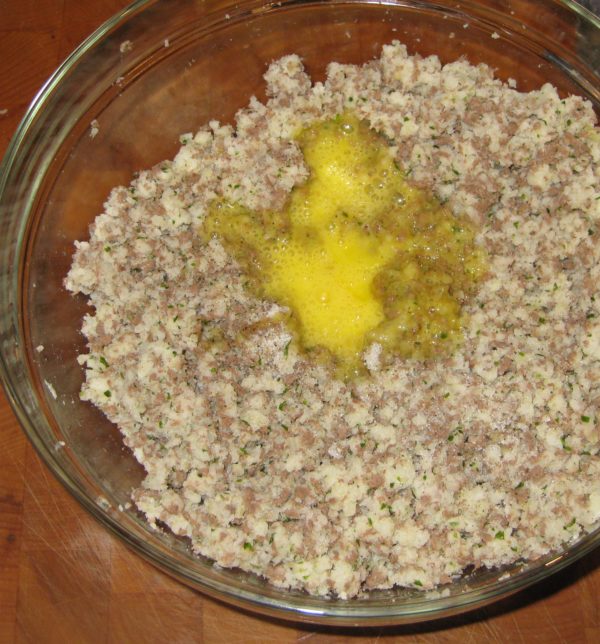
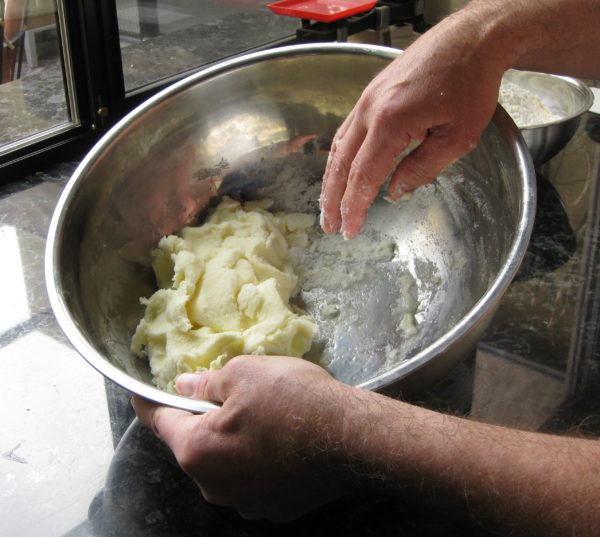
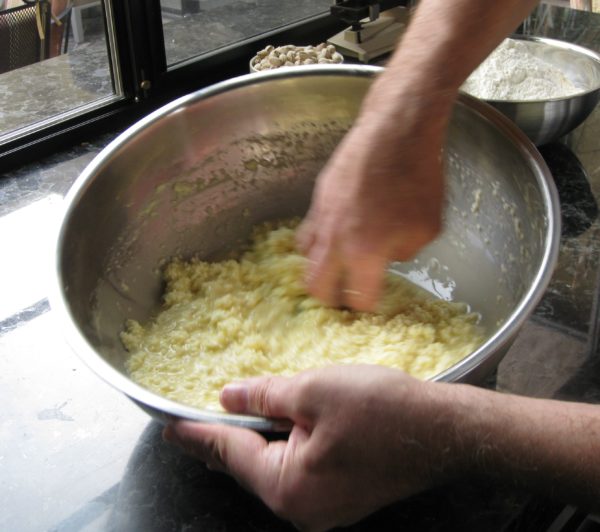
  9. Add two eggs. Work in the eggs, incorporating more flour.
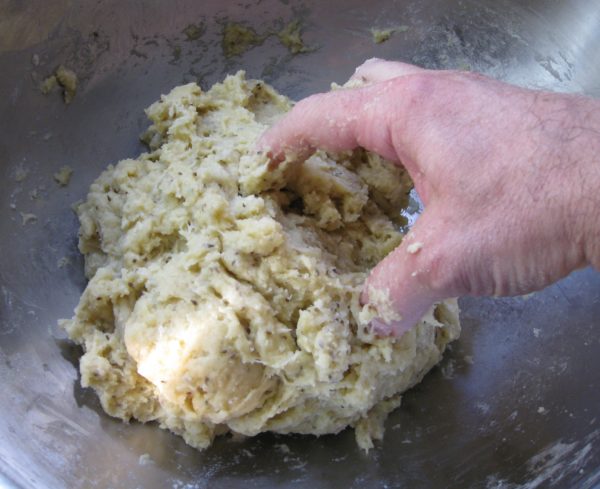
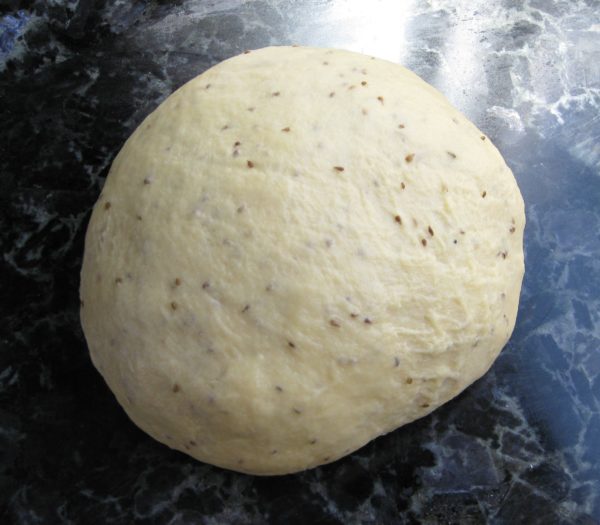
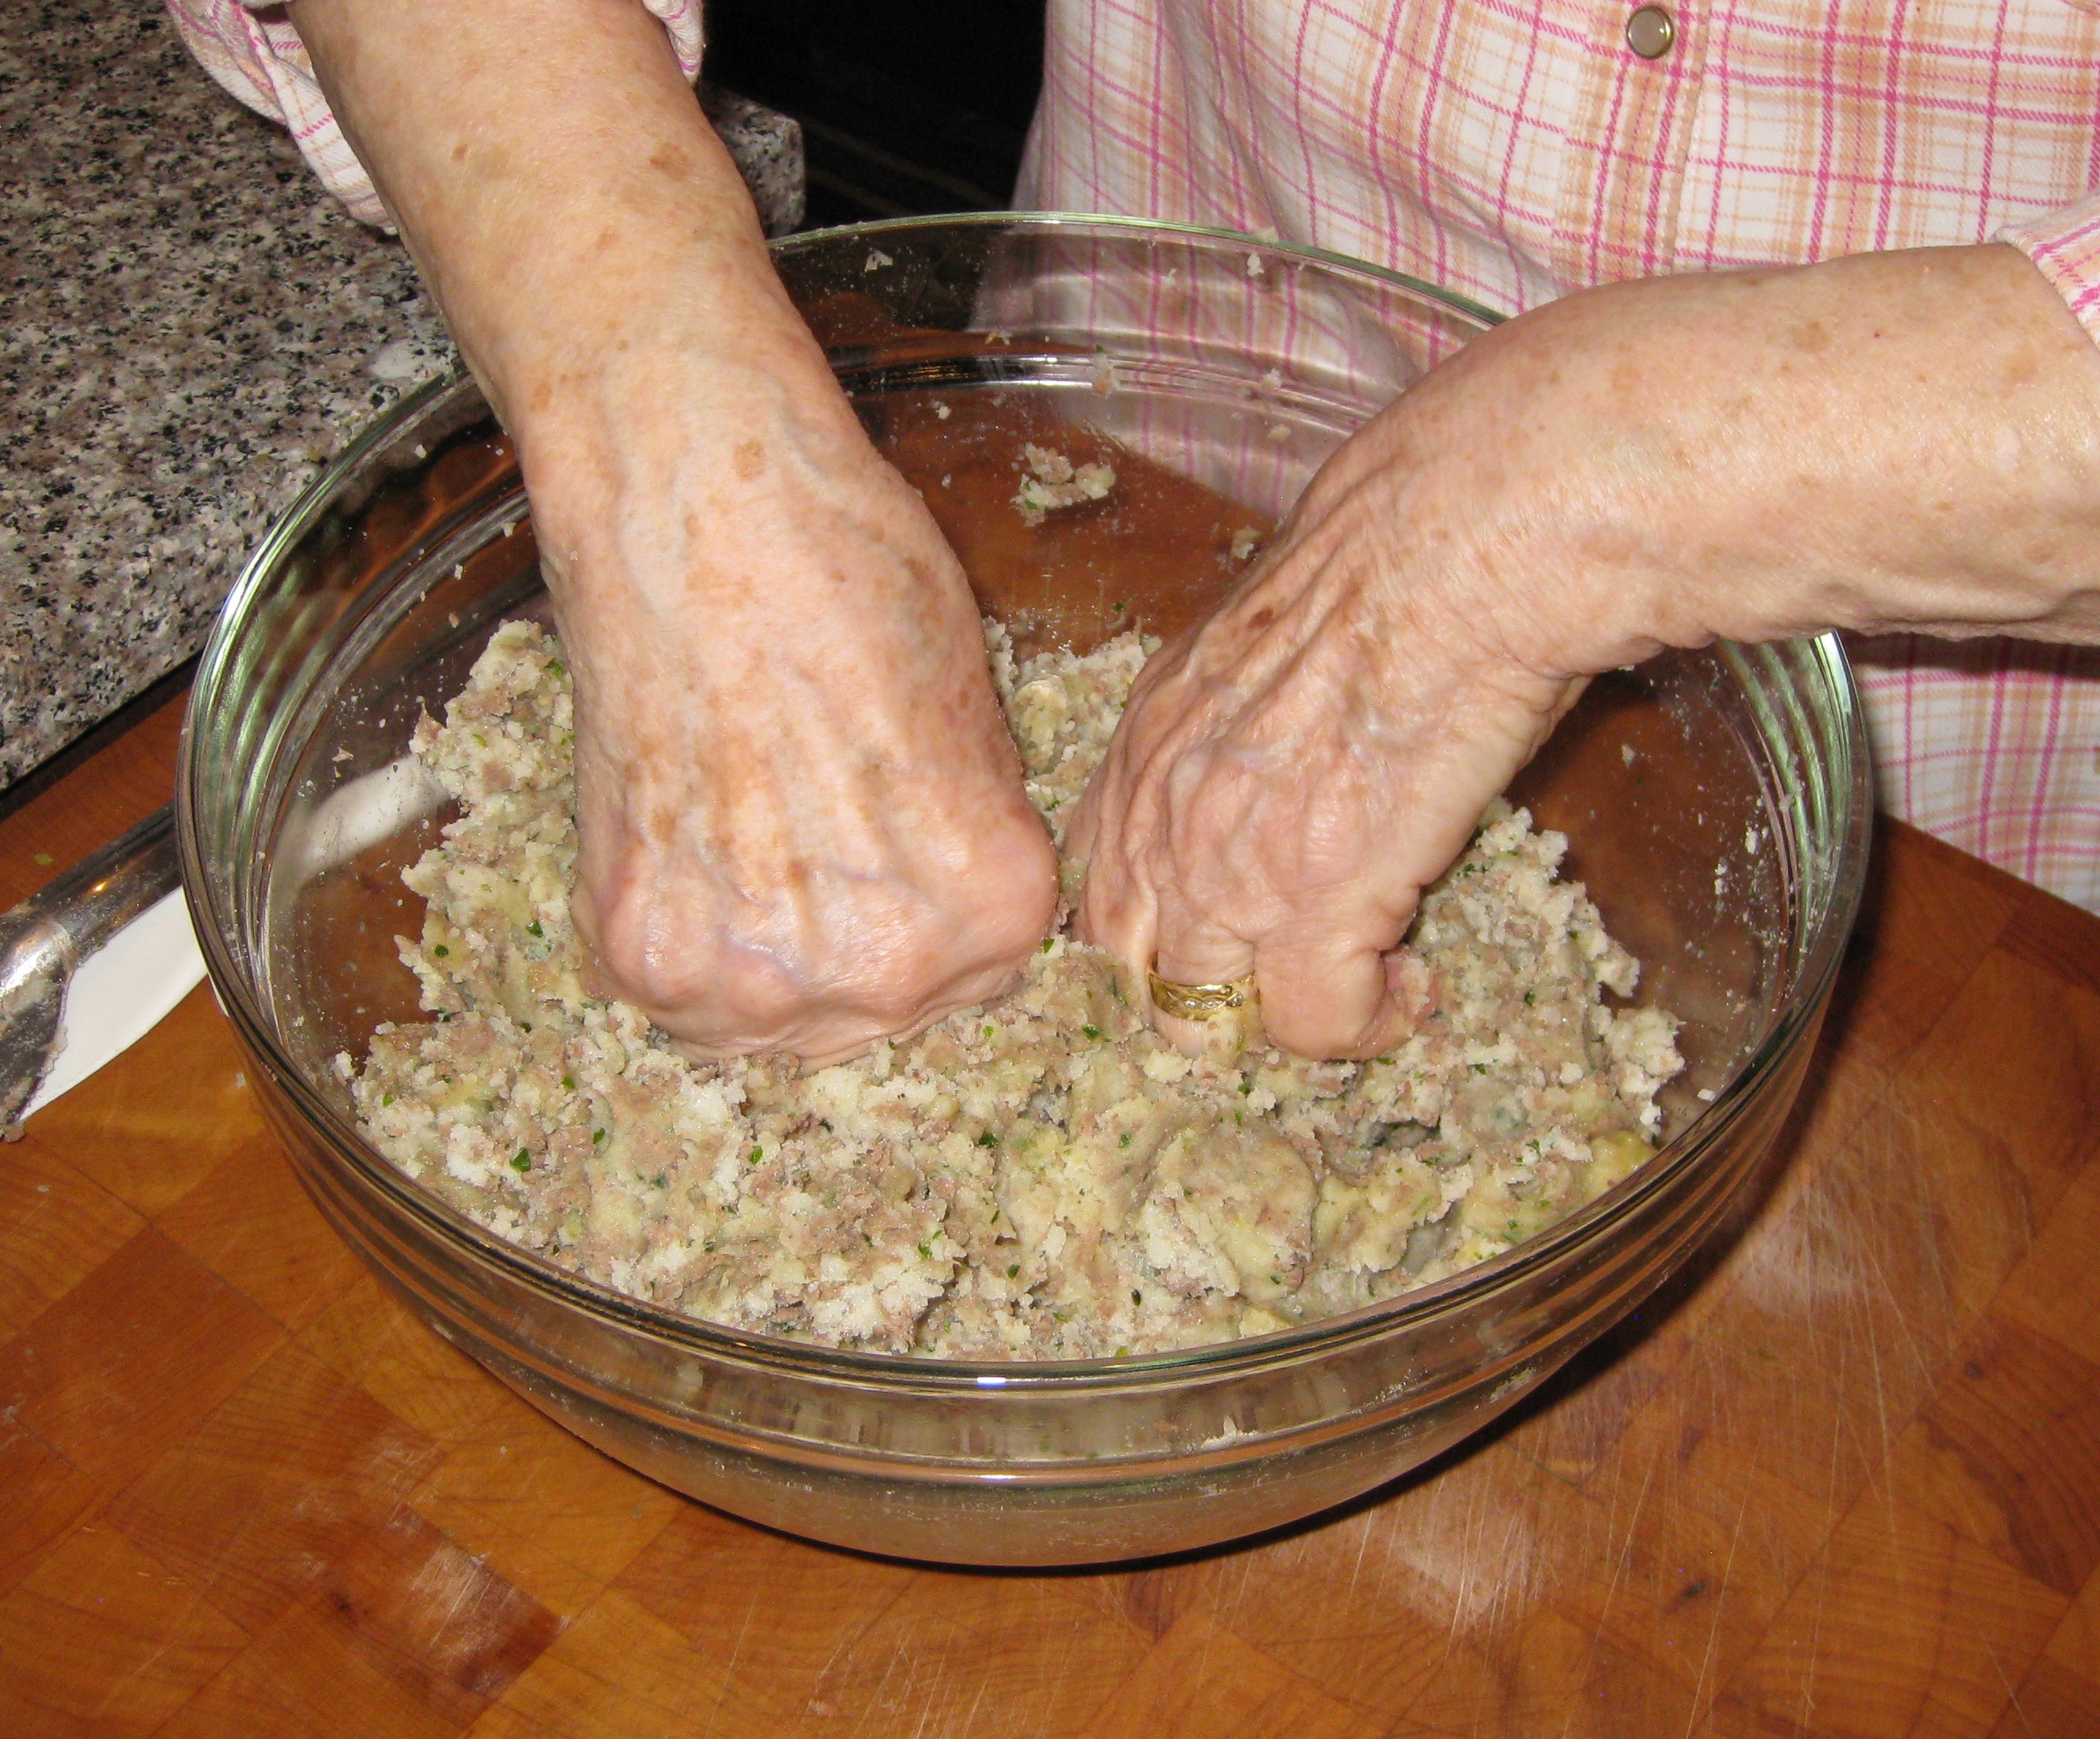
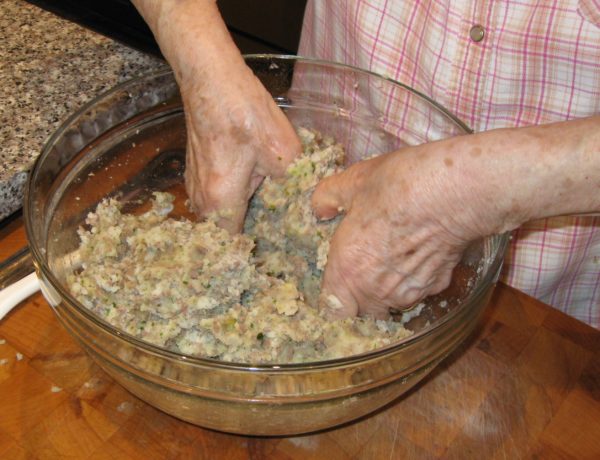
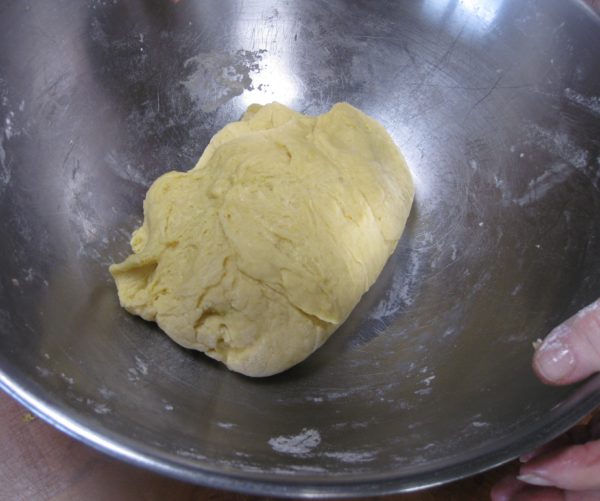
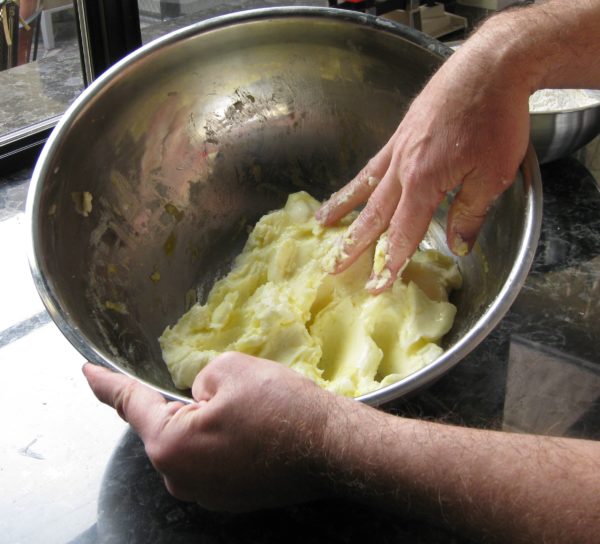
  10. Add the remaining two eggs and work in enough flour to make a dough that is just very slightly tacky. It will firm up a bit as the flour completely hydrates.
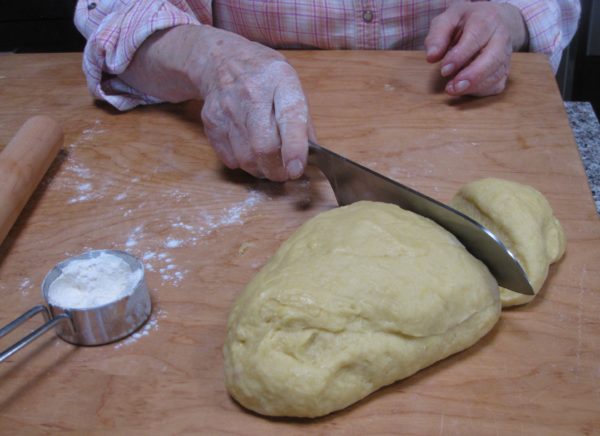
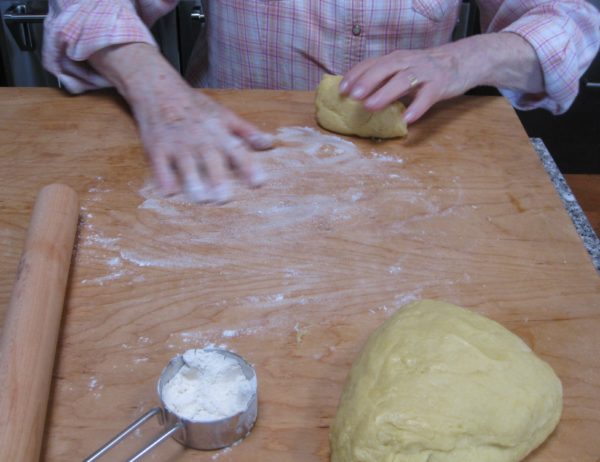
  11. Cut off a small piece of dough and roll it into a cylinder approximately 1/2 inch in diameter.
  12. After all the gnocchi have been rolled and cut bring a large pot of abundantly salted water to a rolling boil.
  13. Add some of the gnocchi, maybe 18-24 depending on the amount of water.
  14. As soon as the water returns to a full boil. Remove the gnocchi with a spider or slotted spoon.
  15. Put them in a serving bowl with a small amount of whatever sauce you are using on the bottom.
  16. Add more gnocchi to the boiling water.
  17. Meanwhile drizzle a bit more sauce on the gnocchi in the bowl and sprinkle with a bit of Parmigiano Reggiano cheese, if desired.
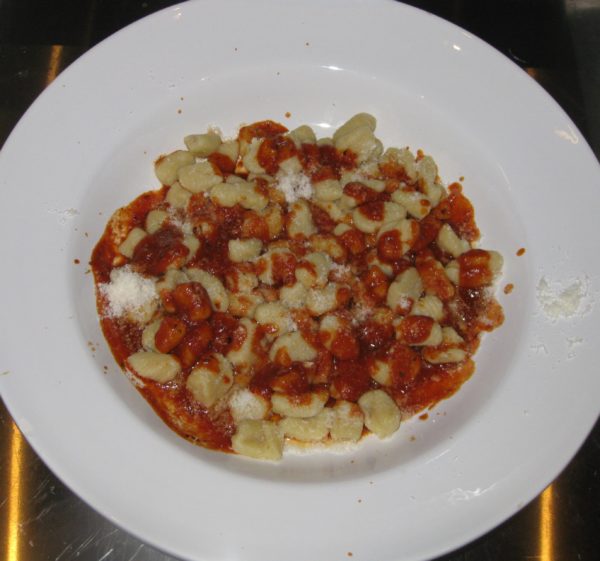
  18. Add each batch of gnocchi to the serving bowl, keeping it warm in a low oven and sprinkling each later with some sauce (and cheese, if desired).
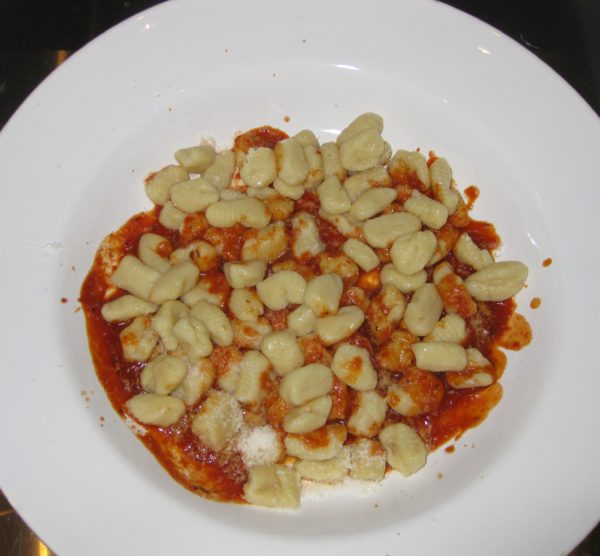
  19. Once all the gnocchi have been added, gently stir the gnocchi to distribute the sauce and cheese.
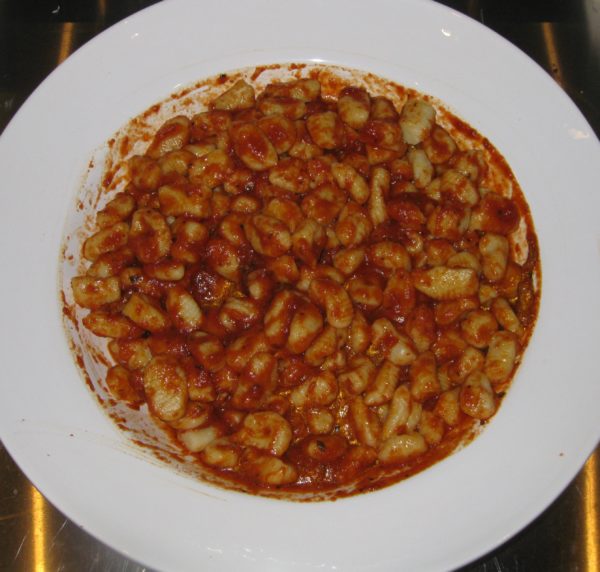
  20. Serve immediately.
Recipe Notes

Copyright © 2018 by VillaSentieri.com. All rights reserved.

Share this Recipe

Anise Twists (Italian Anise Sweet Bread)

March 27, 2018

I really don’t know what to call these little breads any longer.

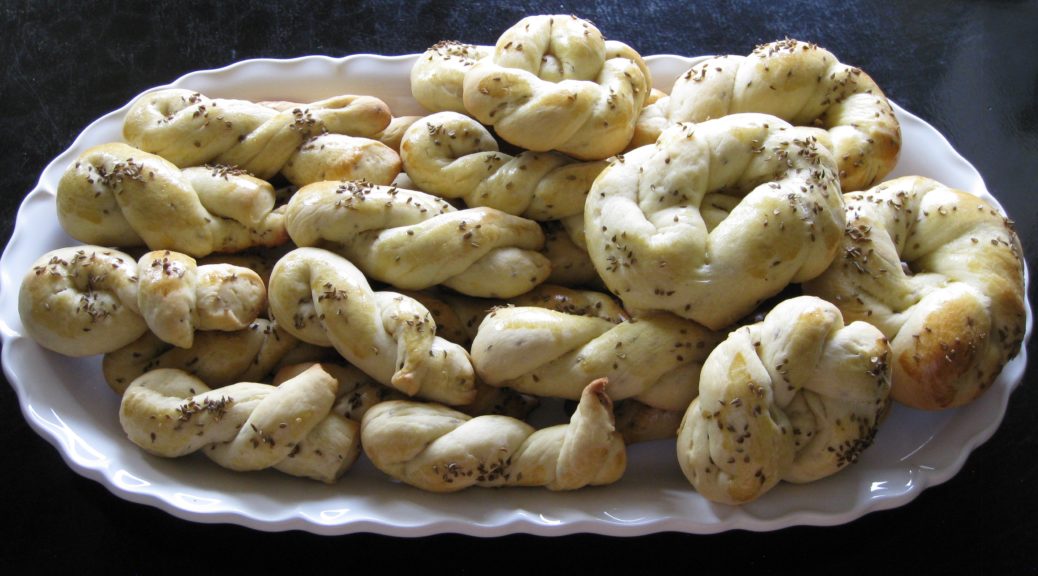
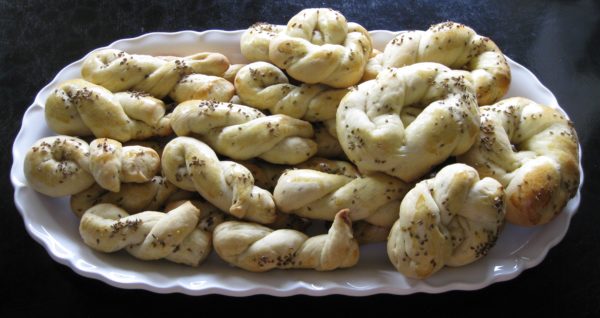
Growing up we always called them Biscotti.  The Italian word biscotti, which is plural for biscotto, can be translated as cookies or biscuits.  However, in the United States, the word biscotti is now completely identified with a particular type of pastry; those slices of sweet bread that are toasted until crisp (or crisp on the outside and soft on the inside depending on style).

We called those Anise Toasts when I was growing up since they were always flavored with anise in our house.  That was how we differentiated these softer anise-flavored sweet breads from the chewier, and toasted, anise-flavored pastries.

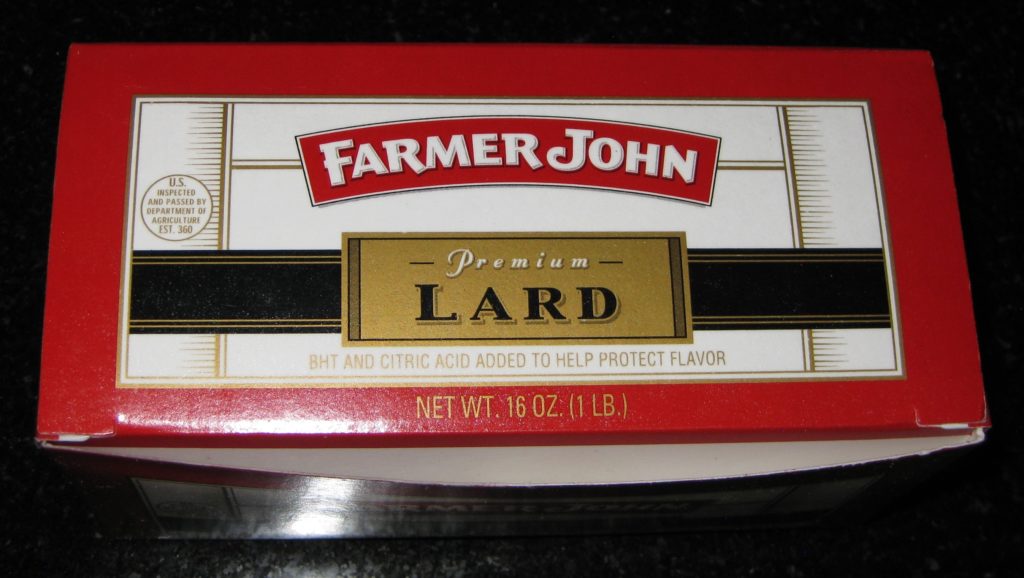
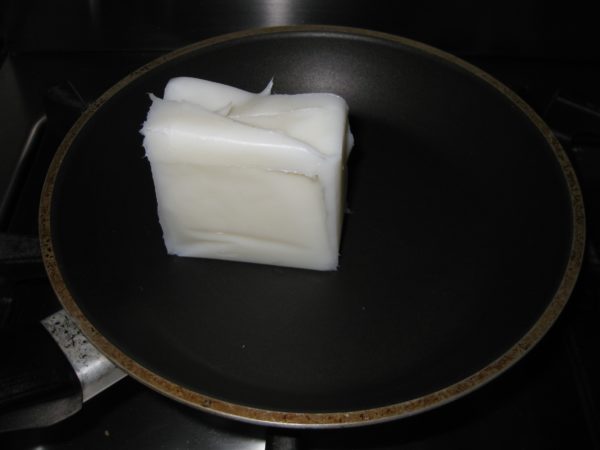
I found this lard at the supermarket. It is not hydrogenated and has just a few reasonable preservatives unlike the hydrogenated lard sold in those blue boxes

I believe that the word biscotto is derived from the words that mean twice (bis) cooked (cotto) making it an apt label for those toasted things.  Despite that, however, it really is used to refer generically to a cookie.


Follow us on your social media platform of choice


The Italian word torta is translated as cake or pie or tart depending on the context.  Sometimes that context can be provided only by more description.  For example, the Italian word limon is used for both a lemon and a lime.  To refer to a lime, you could say limon verde (green lemon) if it was not otherwise clear from the context that you meant a lime vs. a lemon.  (This would be critical, for example, when providing directions for making a Margarita!)  I think limon verde could also be used to refer to an unripe lemon but that’s getting a bit esoteric and, honestly, above my meager grasp of Italian.

But it points out the difficulties with translating seemingly simple concepts, like biscotti!

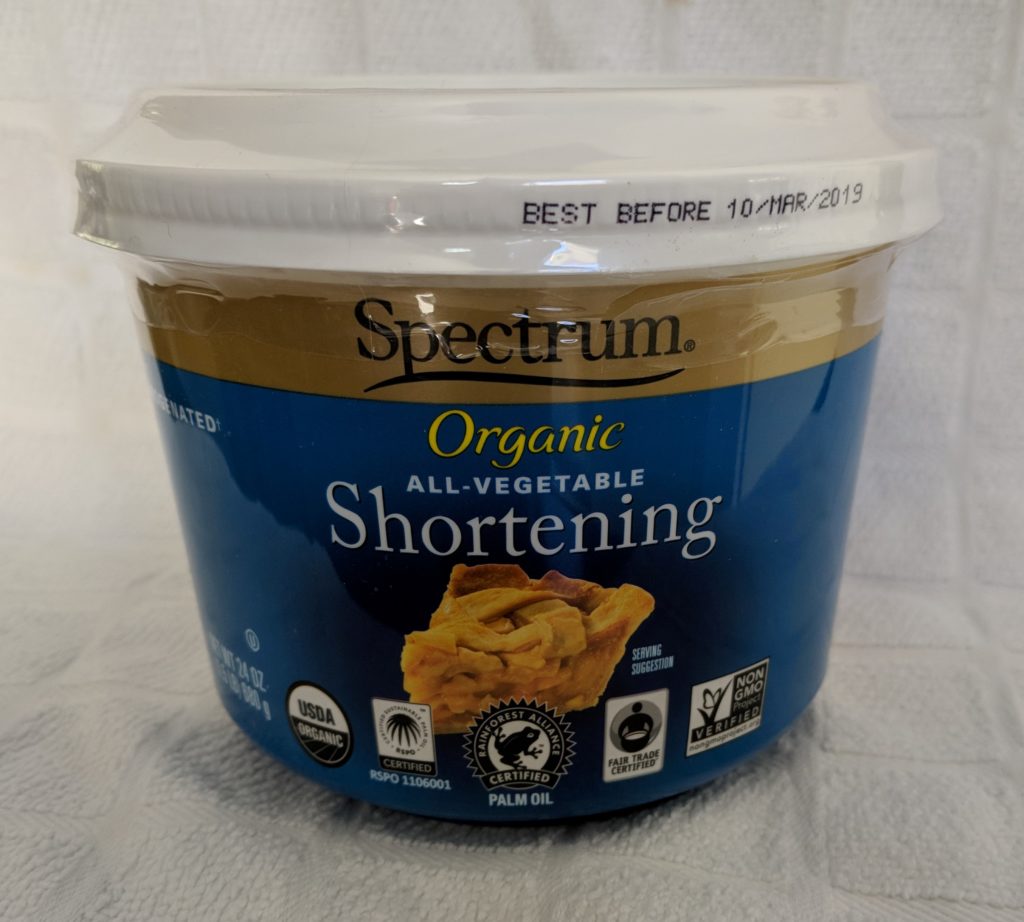
Palm Oil is a solid vegetable shortening that is not hydrogenated

I’m posting this recipe now because my mother always made these at Easter, but their appearance was not limited to that one holiday.  Sometimes, for Easter, the dough would be baked in a big braided circular loaf with colored eggs tucked into the braids.  Honestly, though, that was usually done by a friend of my mother’s, Mille Verbano, rather than by my mother who almost always made small ones as I now do.

Sometimes this is called Easter Bread but, truly, there are different types of Easter bread all over Italy so that term only works within a very specific socio-cultural context.  Although we never called this Easter bread in our house, if a relative did so, I would know immediately what he/she meant.


Click HERE to join our mailing list and you’ll never miss a recipe again!


I’m not a “dunker” but my mother and her sisters, Aunt Mamie (Mary, really, but as a toddler I said Mamie and that name stuck and became what everyone called her) and Aunt Margie loved to dunk bready things in coffee in the morning.  If you’re a dunker, these biscotti are perfect.

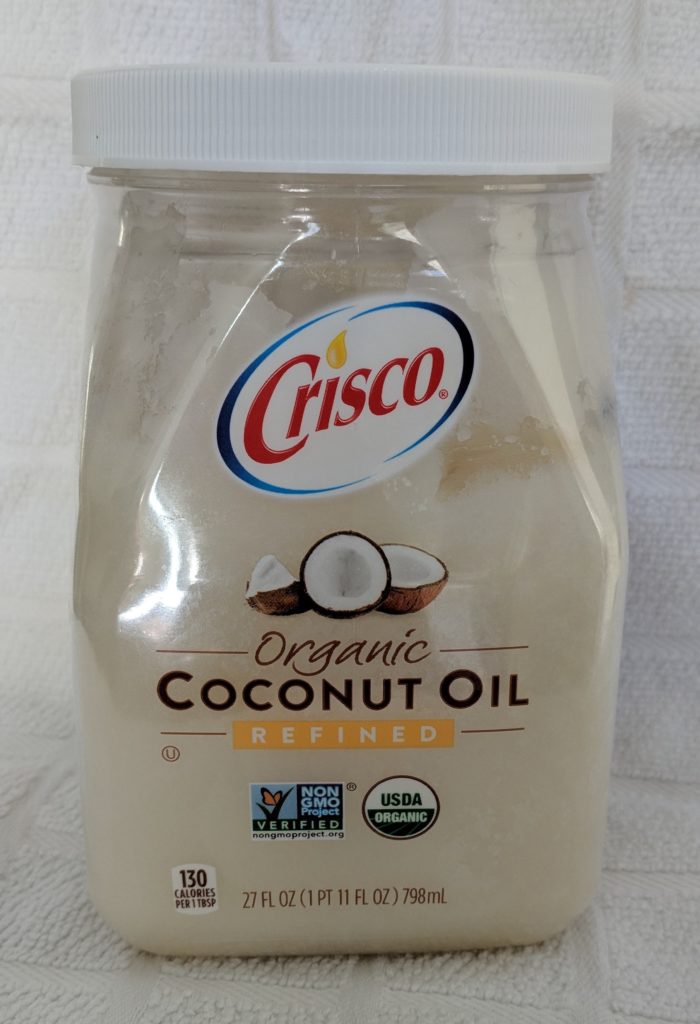
Coconut oil is a vegetable fat that is solid at cool room temperature

Some of you may remember my soapbox post about hydrogenated fats as a replacement for the lard often called for in traditional Italian pastries.  In deference to those of you who do not want to render your own lard (which I suspect is most of you), I was prepared to test this recipe with several non-hydrogenated vegetable fats, palm oil and refined coconut oil.  While shopping for other ingredients in Palm Springs I stumbled upon lard…pure, simple lard…not the hydrogenated lard that now dominates supermarket shelves.  I just had to try it.  I’ve not seen Farmer John lard in supermarkets in Santa Fe but I am hopeful that this signals a resurgence of the availability of unadulterated and chemically unaltered lard for baking.

I promise to test out future recipes with the non-hydrogenated vegetable fats, though!


If you have a favorite family recipe and a bit of a story to tell, please email me at santafecook@villasentieri.com and we can discuss including it in the blog. I am expanding the scope of my blog to include traditional recipes from around the country and around the world. If you haven’t seen Bertha’s Flan or Melinda’s Drunken Prunes, take a look.  They will give you an idea of what I’m looking for.


Print Recipe
Anise Twists (Italian Anise Sweet Bread)
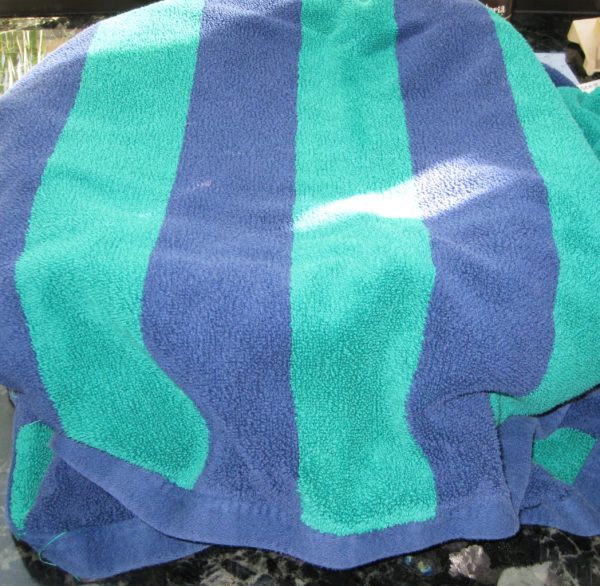
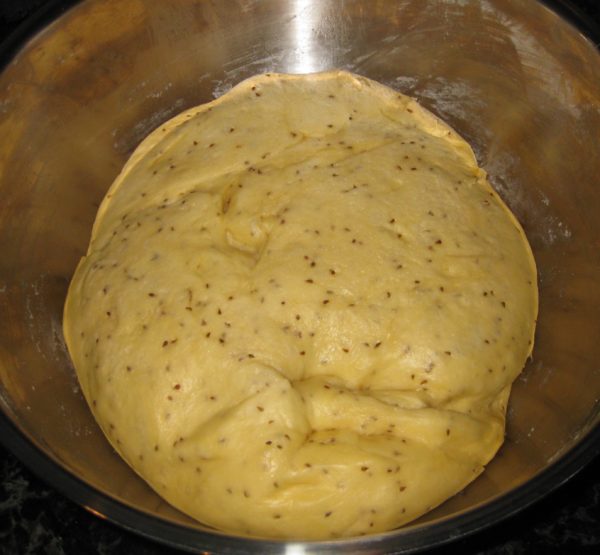
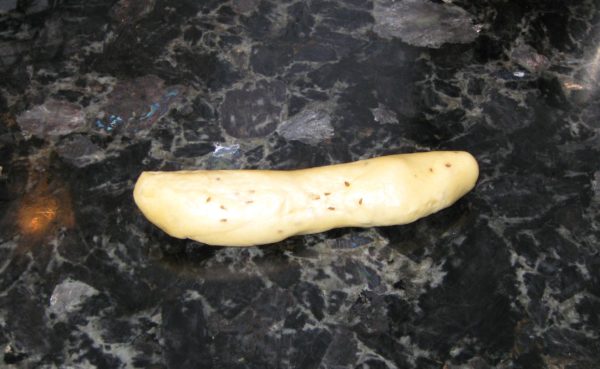
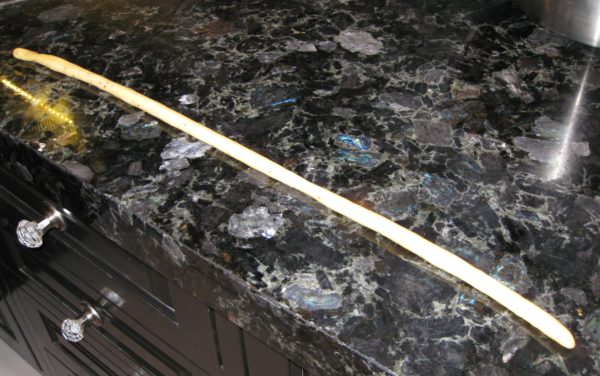
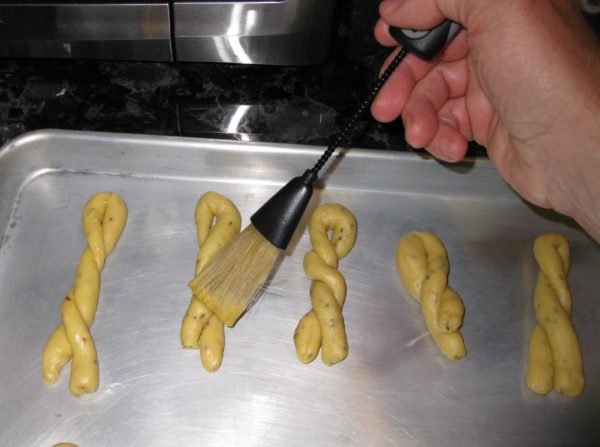
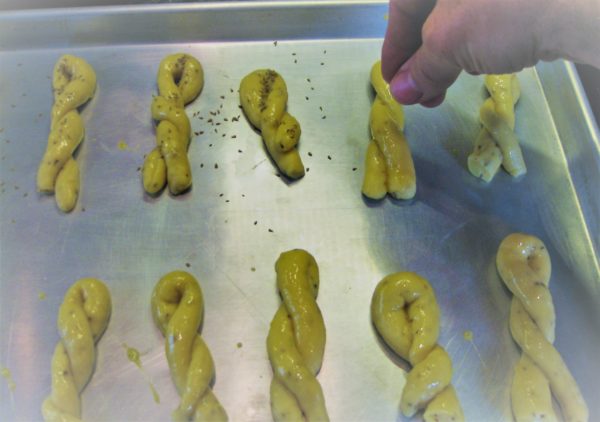
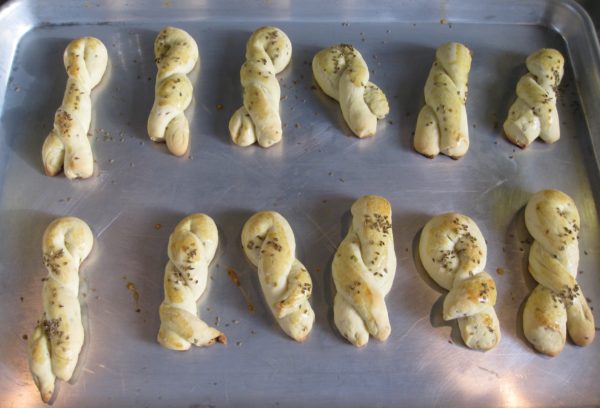
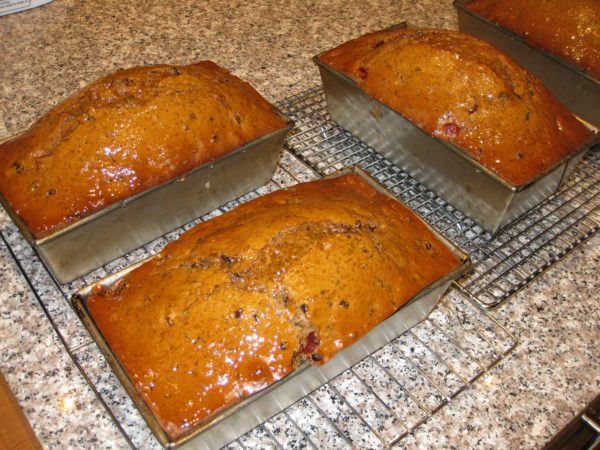
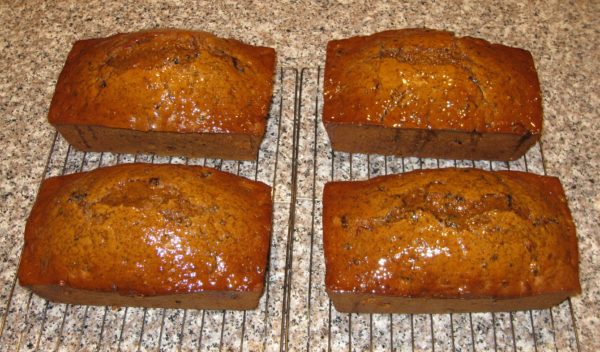
Shiny aluminum sheet pans work best. Dark pans will cause the bottoms of the breads to get too dark before they are cooked through. For reference, the pictures below show me making half a batch of Anise Twists, not the full recipe given below.
Votes: 0
Rating: 0
You:
Rate this recipe!
Course Sweet Breads
Cuisine Italian
Prep Time 2 hours
Cook Time 1 1/2 hours
Passive Time 4 hours
Servings
dozen little breads, approximately
Ingredients
Course Sweet Breads
Cuisine Italian
Prep Time 2 hours
Cook Time 1 1/2 hours
Passive Time 4 hours
Servings
dozen little breads, approximately
Ingredients
Votes: 0
Rating: 0
You:
Rate this recipe!
Instructions
  1. Melt the lard over gentle heat and allow to cool until lukewarm but still liquid.
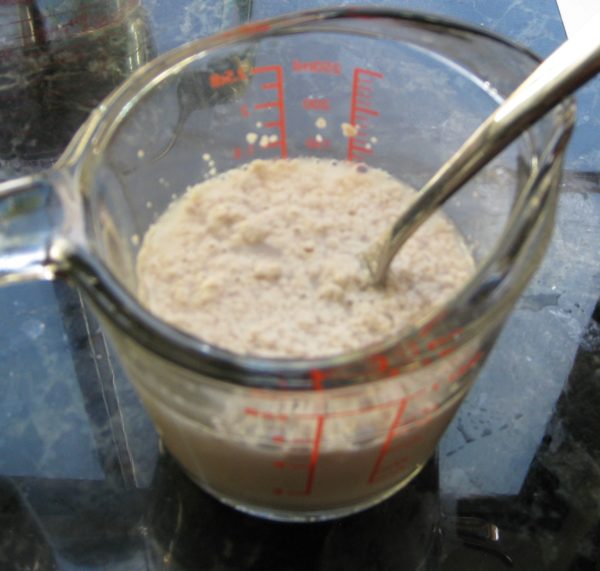
  2. Dissolve one teaspoon of the sugar in the warm water, not more than 110°F.
  3. Add the yeast and allow it to proof.
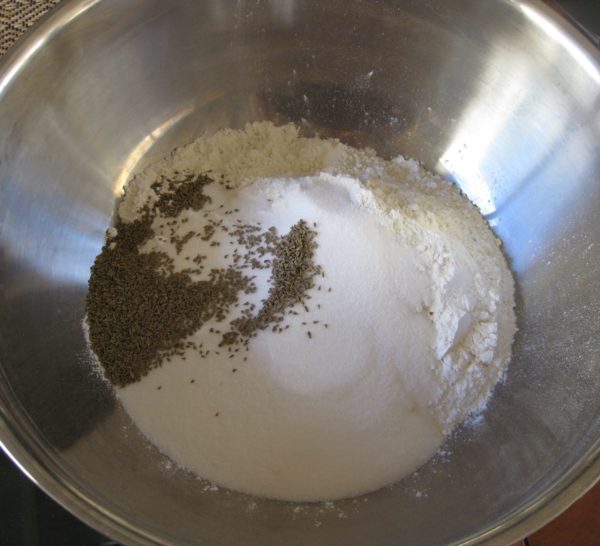
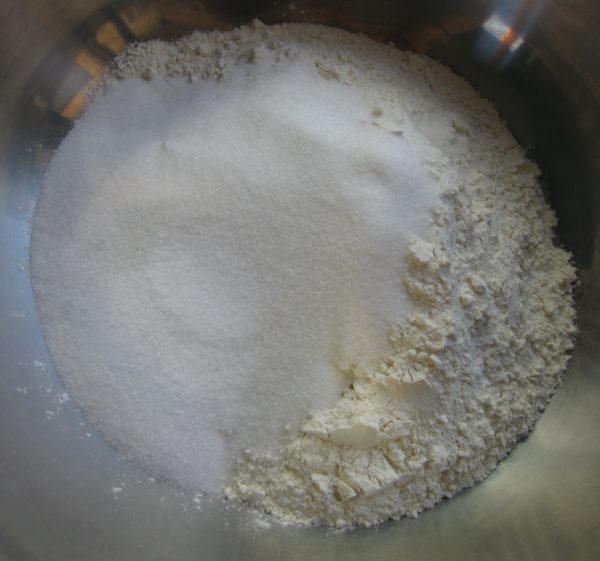
  4. Meanwhile, combine flour, remaining sugar, anise seeds and salt.
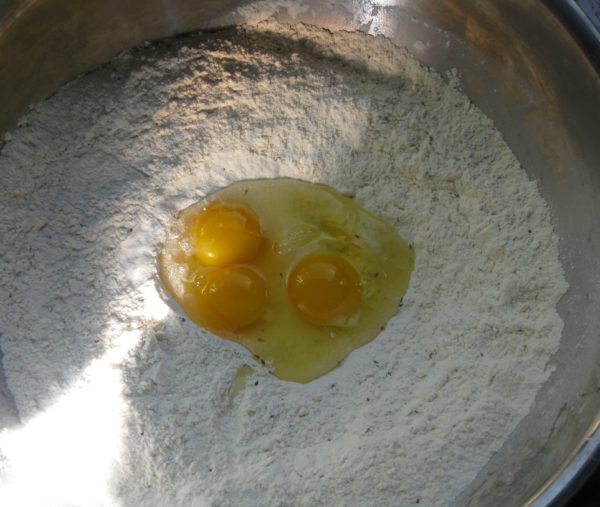
  5. Form a well in the center and add 6 eggs and the melted and cooled lard.
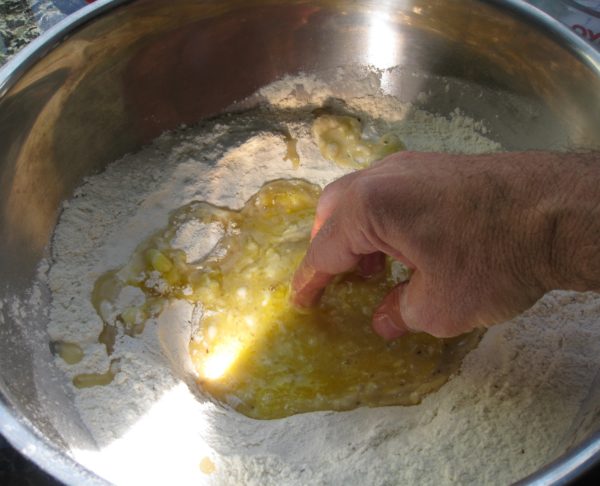
  6. Using a circular motion, begin to mix the flour into the liquids in the well.
  7. Add the proofed yeast.
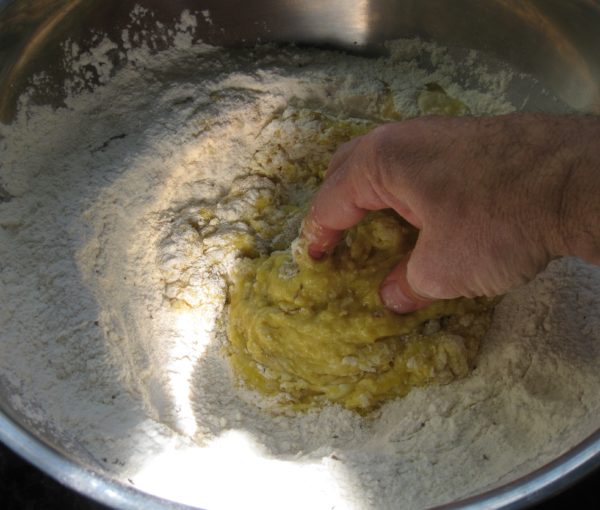
  8. Continue incorporating flour until it is all mixed in.
  9. Add a touch more flour or water, if needed, to create a supple, non-sticky dough.
  10. Knead for approximately 10 minutes.
  11. Place the dough in a bowl. Cover the bowl and allow the dough to double in bulk.
  12. Punch the dough down. Cover and allow to double again.
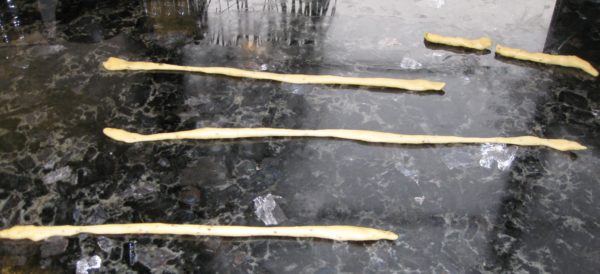
  13. Cut off small pieces of dough and roll into thin ropes, not much thicker than a pencil.
  14. The dough will have a tendency to shrink back. Roll it out. Let it shrink back a bit. Wait a few minutes for the gluten to relax. Roll it out again. Let it shrink back a bit. Repeat until the dough is the proper thickness. I find it helpful to roll 3 or 4 pieces of dough at a time. It makes the process more efficient.
  15. Cut the dough into lengths. For the straight pieces, the lengths should be approximately 7 inches. For the circular pieces the lengths should be approximately 12 inches.
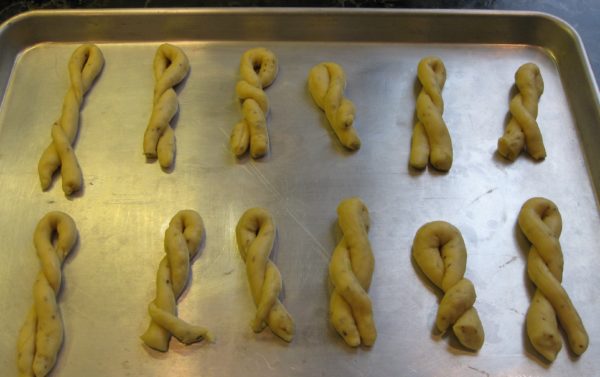
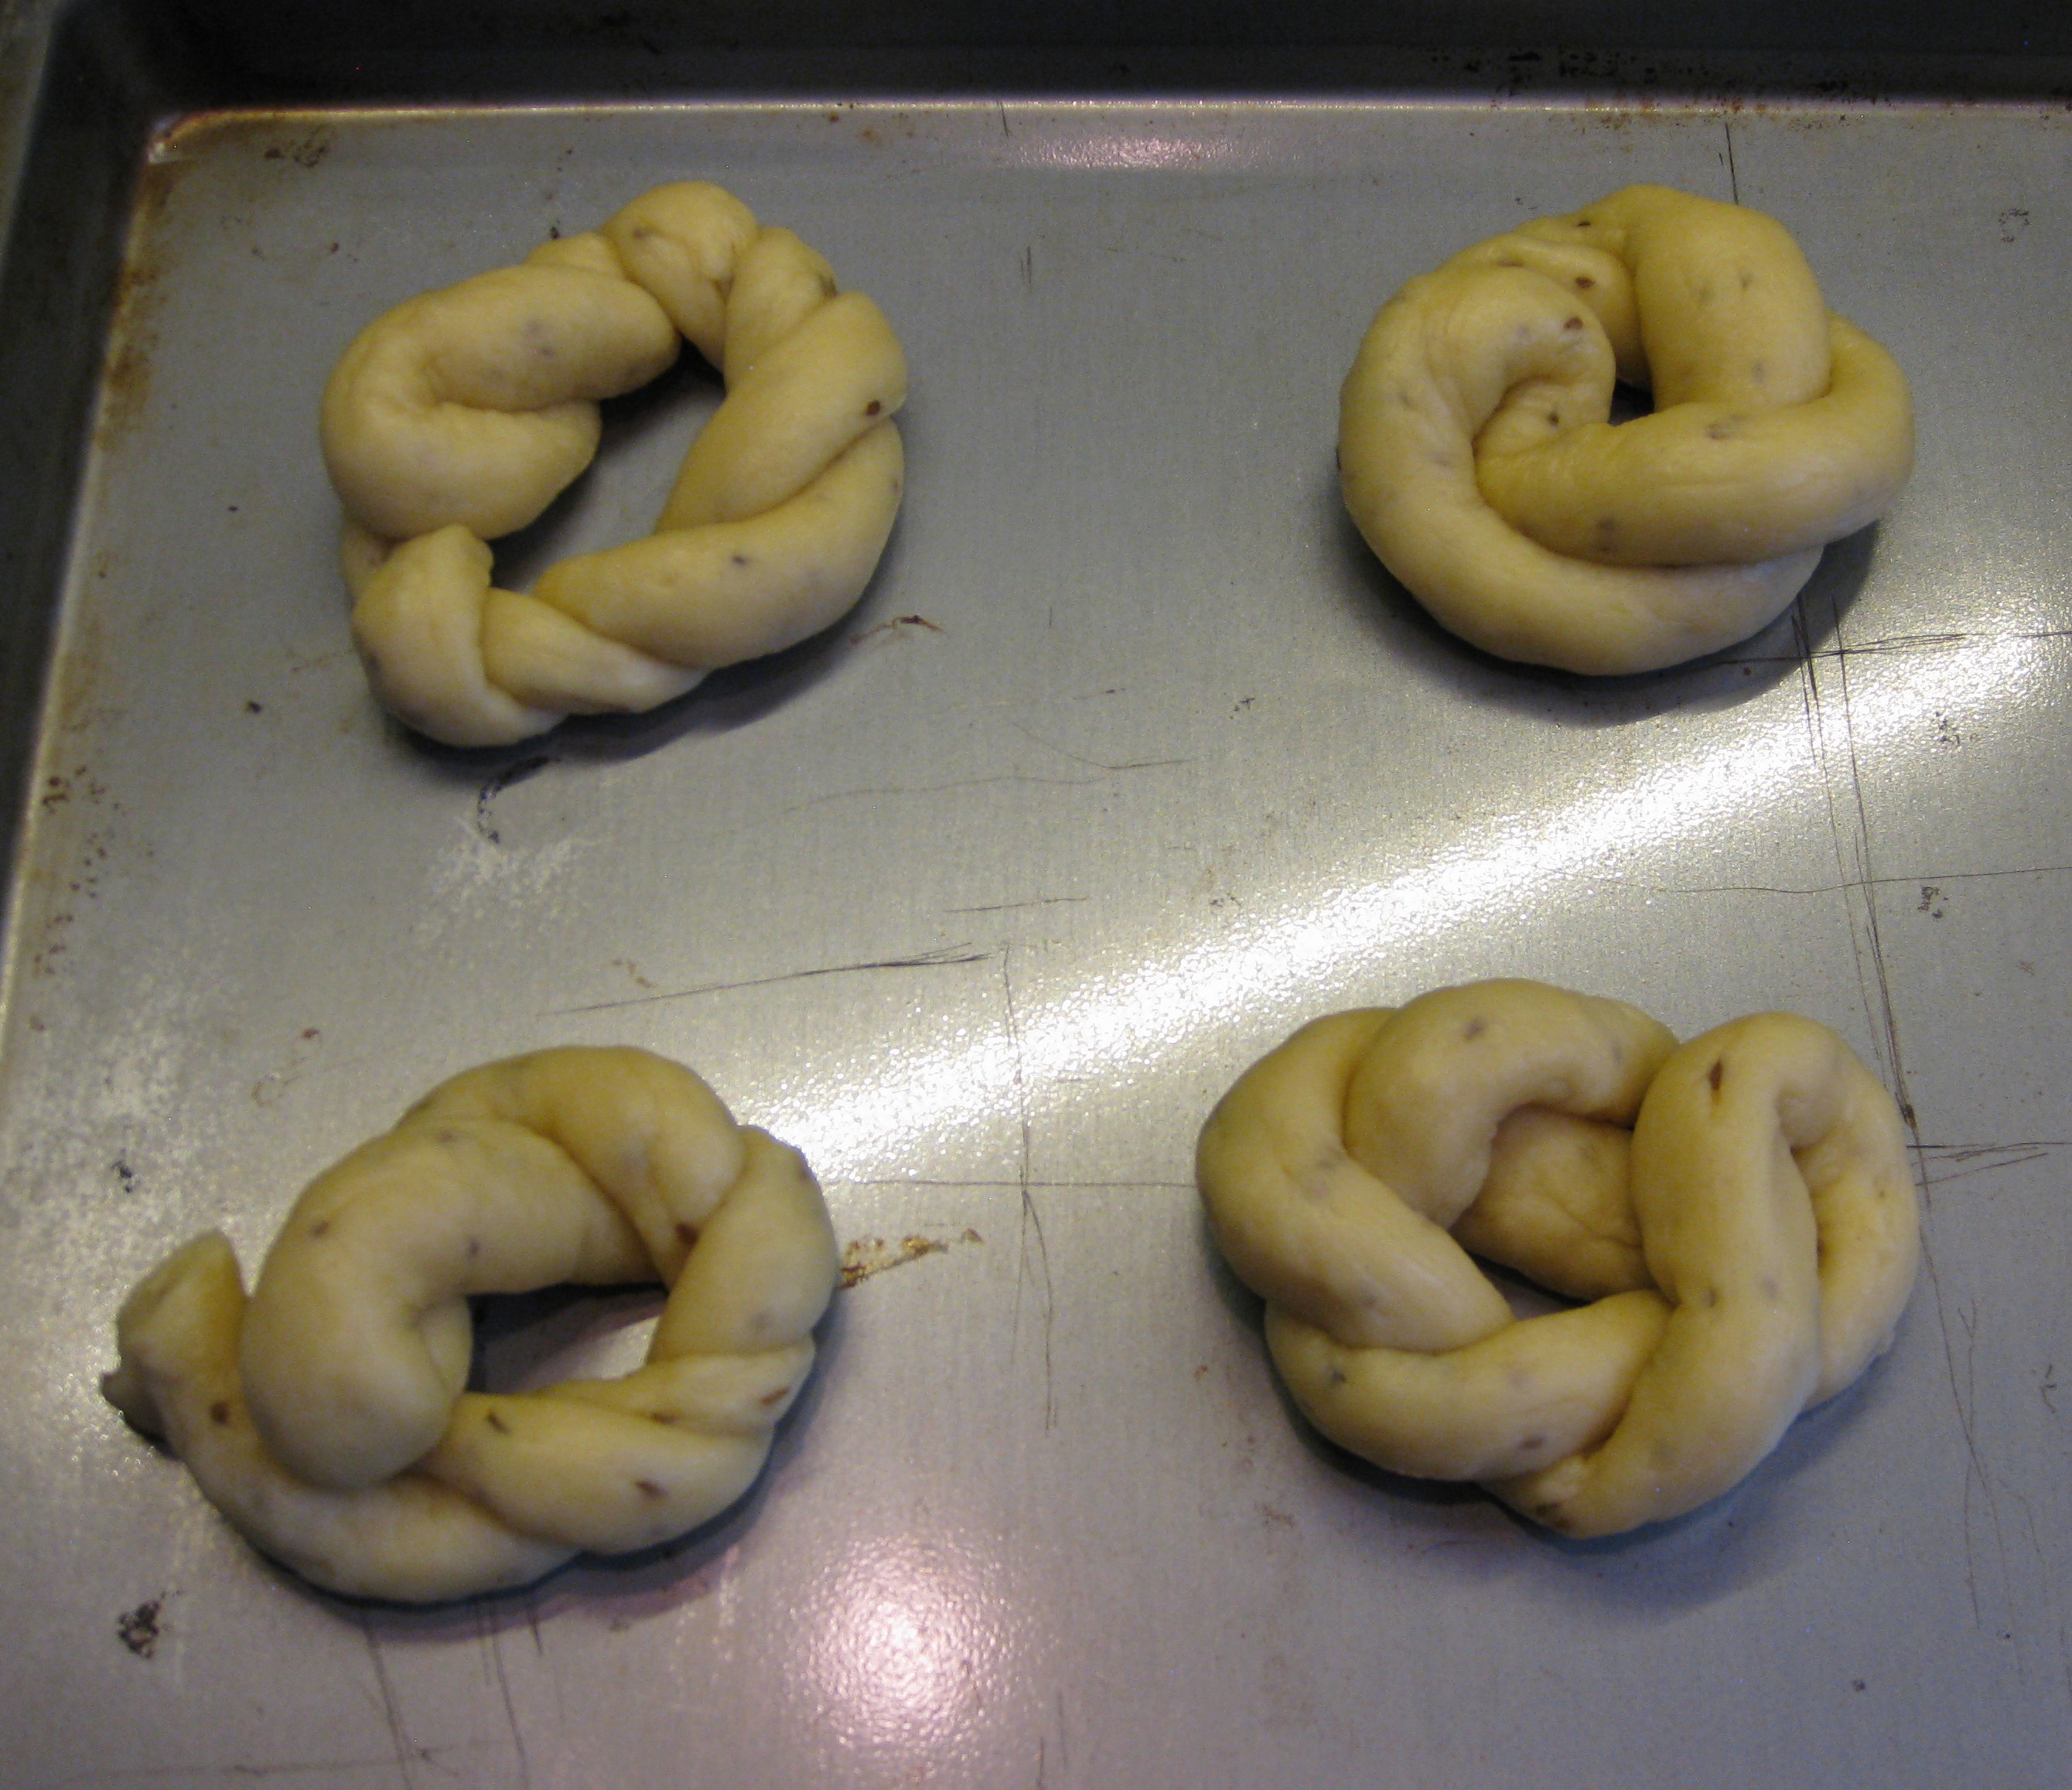
  16. Fold the lengths of dough in half and twist few times.
  17. Put on ungreased sheet pans, either straight or in circles.
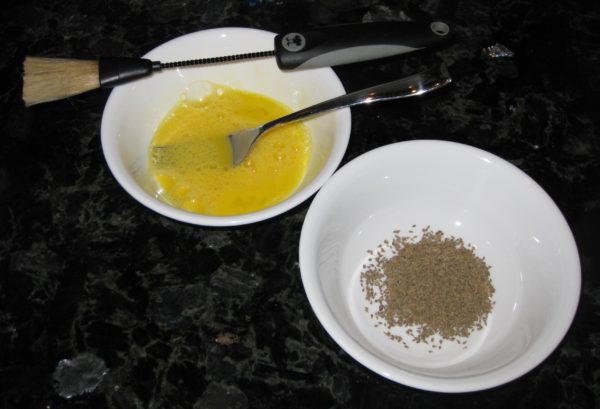
  18. Brush each with beaten egg. Sprinkle with additional anise seeds.
  19. Invert another sheet pan on top. Allow the bread to rise an hour.
  20. Bake at 350°F for 15-20 minutes, until golden brown.
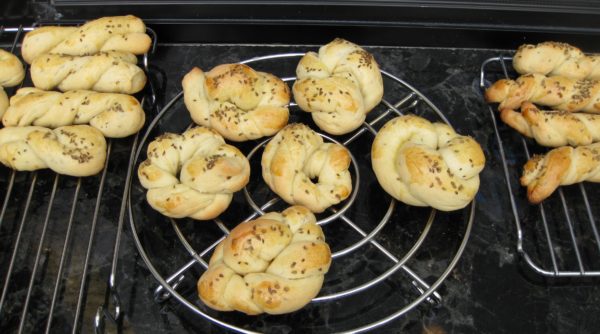
  21. Remove to wire racks to cool.
Recipe Notes

Copyright © 2018 by VillaSentieri.com. All rights reserved.
Share this Recipe

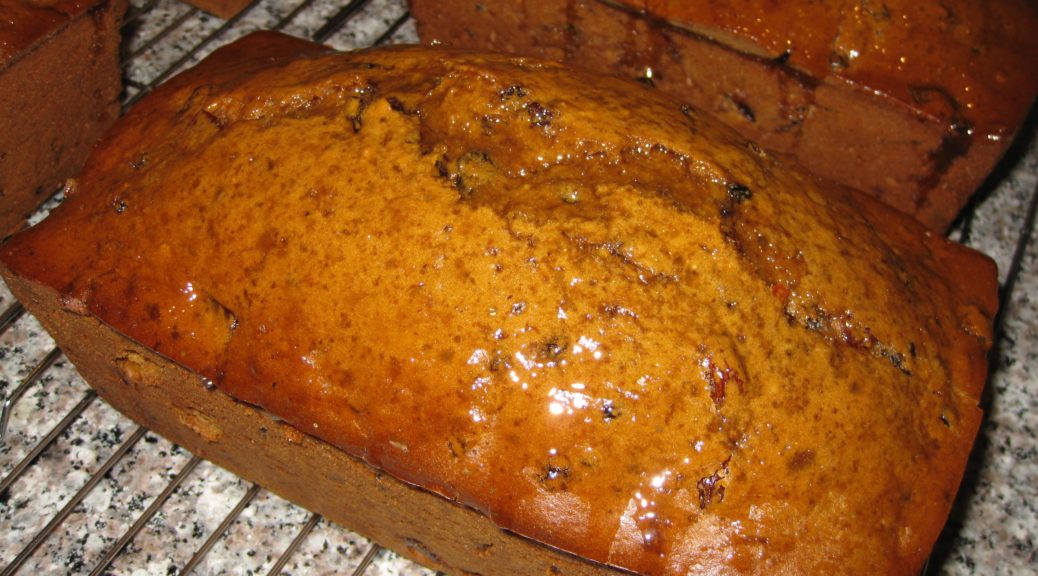
Jamaican Easter Bread (Bun)

March 23, 2018

Google and Wikipedia and Bing have all let me down!

Often when I’m writing a blog, I’ll do a search or two to shore up some facts.

In this instance, I was trying to find a picture of a product and to confirm my understanding of exactly what it is.  That product is New Sugar.

My searches turned up nothing.

Back in college, I would buy new sugar on trips to the West Indies.  The stuff I bought was sold in cans.  It was dark brown, partially crystalized and partially a thick liquid.  It was not as dark or as thick as molasses.  My recollection is that new sugar is basically sugar cane juice boiled down until it thickens and some of the sugar crystallizes.

It’s what my recipe for Jamaican Easter Bread (aka “Bun”) calls for.


Click HERE to join our mailing list and you’ll never miss a recipe again!


Long ago, when my meager supplies of new sugar were exhausted and I was no longer going to the West Indies on a regular basis, I created a substitute for new sugar that fooled even my Jamaican friends.  (Hint, it’s in the recipe below.)

If my recipes contain a substitute for a difficult-to-find ingredient, I like to make the substitution clear and to provide directions on how to use the original ingredient if available.

In my blog entries, I try to provide some sort of personal or cultural or social context for each recipe.  In this instance, I wanted to highlight new sugar.

I was about to give up when I tried different search terms.  I had only known it as New Sugar, but, finally, searching on “Wet Sugar” got me one website that had what I was looking for.

The website confirmed my understanding of what new sugar, aka wet sugar, is:  boiled sugar cane juice.  It also confirmed that it is much more difficult to find than it was 30-50 years ago.  I hate to admit it, but I was buying new sugar more than 40 years ago!

My recipe for Bun (that’s really what it’s called in Jamaica…just Bun) came from Valrie Tracey a Jamaican friend from college.  Valrie and I and my roommate, Ray Hugh from Guyana, were close friends in college.  Though I’ve lost touch with Valrie, Ray and I are still in touch via Facebook.  And, yes, her name is spelled Valrie, apparently due to an error on her birth certificate as her parents intended for her name to be Valerie!


Follow us on your social media platform of choice


In addition to new sugar, Valrie’s recipe called for “Mixed Spice,” a commonly used mixture in the cooking of Britain and many former British colonies.  I don’t like using spice combinations that I haven’t made myself, like pumpkin pie spice or curry powder.  If the brand goes out of existence or changes its formula one can’t recreate the dish exactly the same way again.  For that reason, starting in college, I worked out my own formulas for spice mixtures that I used on a regular basis.

Valrie Tracey in 1975

Rather than have you make a batch of Mixed Spice before making a batch of Bun, I added the individual spices, in the correct amounts, to the recipe.

After resurrecting this recipe from one of my two 5 x 7 metal index card boxes of recipes that I started back in college and sharing the Bun with a number of friends, I began to seriously wonder why I hadn’t made it in over 40 years!

I can assure you, I won’t wait long to make it again.

I like to toast the Bun and add some butter and jam but in Jamaica it would often be served with a wedge of cheese.  However you serve it, I’m certain you’ll enjoy it.


If you have a favorite family recipe and a bit of a story to tell, please email me at santafecook@villasentieri.com and we can discuss including it in the blog. I am expanding the scope of my blog to include traditional recipes from around the country and around the world. If you haven’t seen Bertha’s Flan or Melinda’s Drunken Prunes, take a look.  They will give you an idea of what I’m looking for.


Print Recipe
Jamaican Easter Bread (Bun)
If you can find new sugar (also known as wet sugar) you can use 2 ½ cups of new sugar in place of the brown sugar and molasses. The dough for this version of Bun is quite wet, more like cake batter than bread dough. When I was making this back in college days and had to mix it by hand, I added enough flour to make a dough that could be kneaded. With a stand mixer, I allow the mixture to be wet. You might want to try both variations and see which you prefer.
Votes: 0
Rating: 0
You:
Rate this recipe!
Course Sweet Breads
Cuisine West Indian
Prep Time 30 minutes
Cook Time 90 minutes
Passive Time 2 hours
Servings
loaves
Ingredients
Bread
Glaze
Course Sweet Breads
Cuisine West Indian
Prep Time 30 minutes
Cook Time 90 minutes
Passive Time 2 hours
Servings
loaves
Ingredients
Bread
Glaze
Votes: 0
Rating: 0
You:
Rate this recipe!
Instructions
Bread
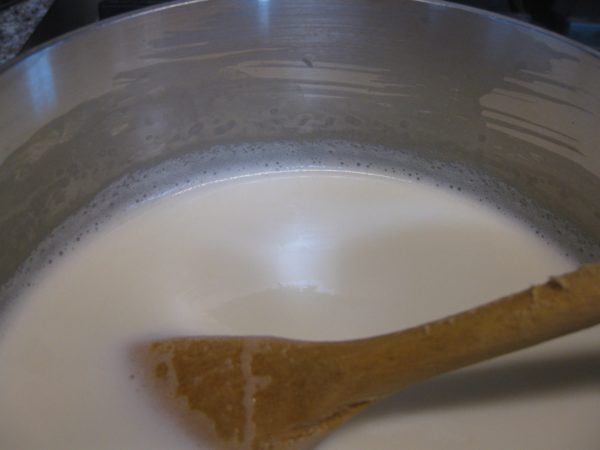
  1. Scald the milk by heating over medium high heat, stirring frequently to prevent a skin from forming, until bubbles begin to foam up around the side.
  2. Allow the milk to become lukewarm (approximately 110°F).
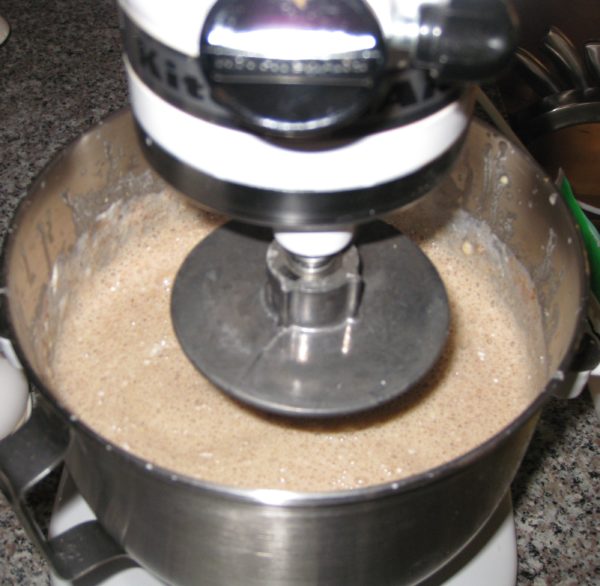
  3. Combine lukewarm milk, yeast, 1 teaspoon of sugar from the amount above, and 1 pound of flour in the bowl of a mixer.
  4. Using the paddle, mix well then allow the sponge to sit, covered, until it doubles in bulk.
  5. After the sponge has doubled, mix in 1/3 of the remaining flour and 1/3 of the remaining sugar.
  6. When combined, add the butter, molasses and all the spices and flavorings. Mix well.
  7. Add ½ of the remaining flour and ½ of the remaining sugar. Mix well.
  8. Add the eggs and mix well.
  9. Add the remaining flour and sugar. Mix for about 10 minutes on medium speed.
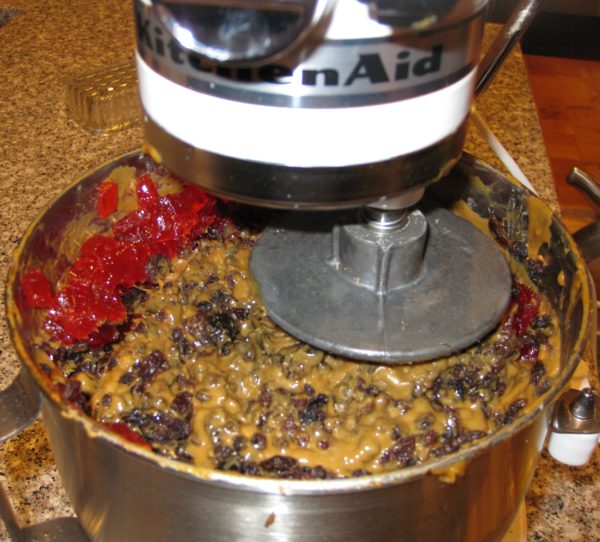
  10. Mix in the fruit.
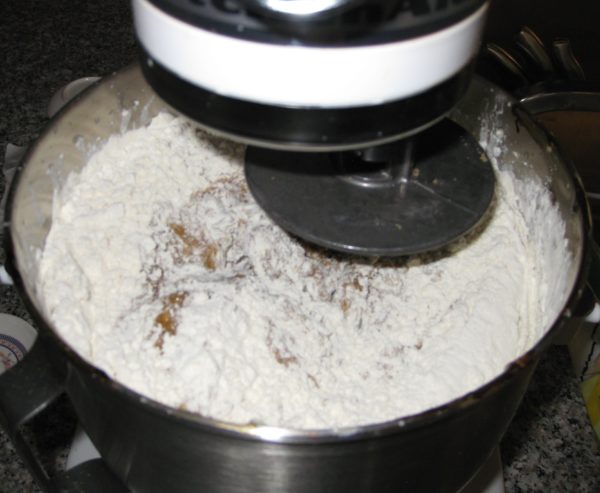
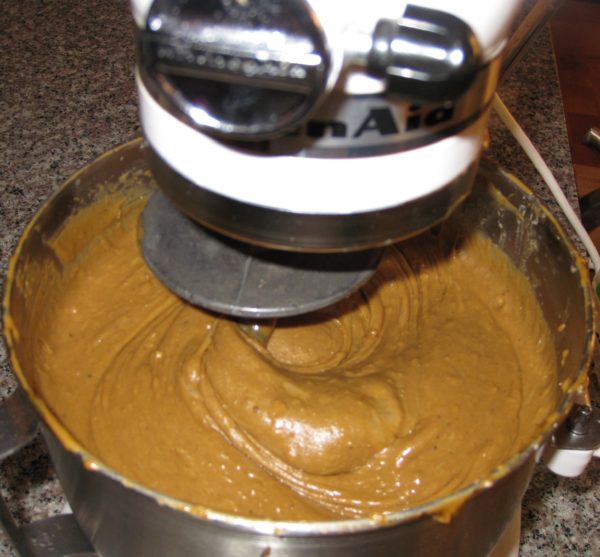
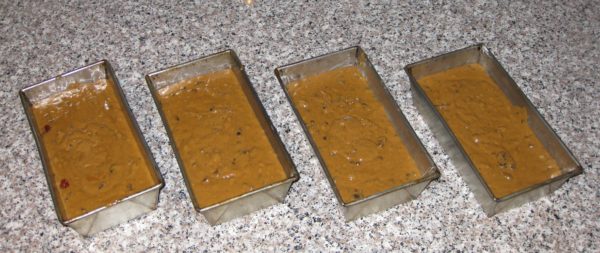
  11. Divide the batter into 4 well-buttered 8” x 4” bread pans. Cover and sit at room temperature for about an hour. The batter will not really rise but the yeast is the only leavening so it needs to have time to make air bubbles that can expand and leaven the bread.
  12. Bake at 300°F for approximately 90 minutes, until a tester comes out clean.
Glaze
  1. When the bread is nearing completion, make the glaze by bringing the sugar and water to a boil and simmering a few minutes until syrupy.
  2. As soon as the bun comes out of the oven, brush some of the glaze on top. Allow to cool 10 minutes in the pans.
  3. Remove the bun from the pans and brush with more glaze. Allow to cool another 10 minutes.
  4. Brush with remaining glaze and cool completely.
Recipe Notes

Copyright © 2018 by VillaSentieri.com. All rights reserved.
Share this Recipe

Frittata di Spaghetti (Frittata with Spaghetti)

March 9, 2018

Although I typically heat up left over pasta and have it for lunch, it definitely pales in comparison to the freshly made dish.

In the pre-microwave days of my youth, leftover pasta was heated gently in a sauté pan with a little bit of water added.  Now, the microwave makes quick work of the same task.

If you have leftover pasta, though, consider turning it into a frittata.  I think it constitutes an entirely new dish, and not leftovers, because it’s being turned into something totally different.

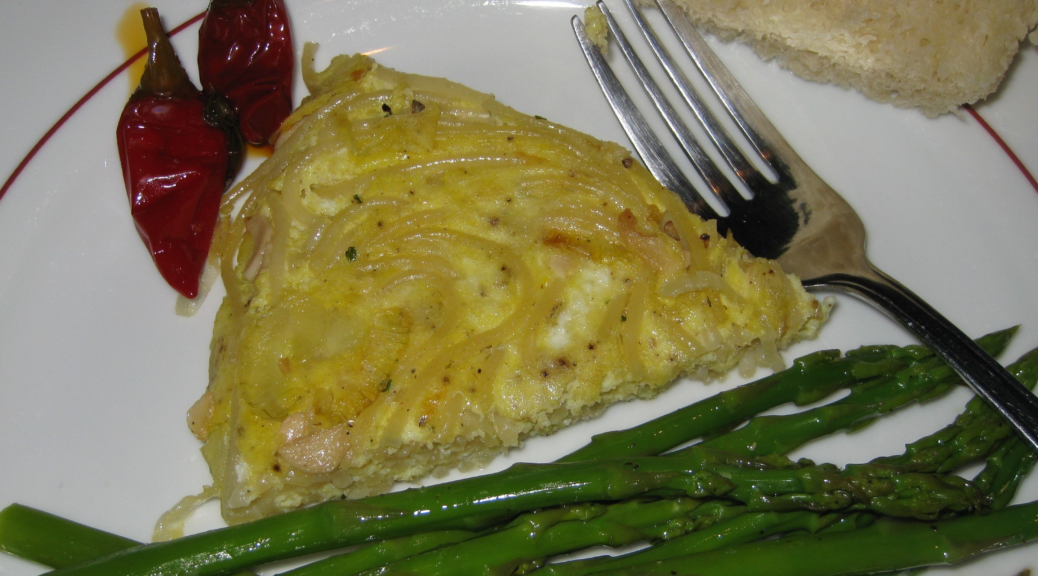
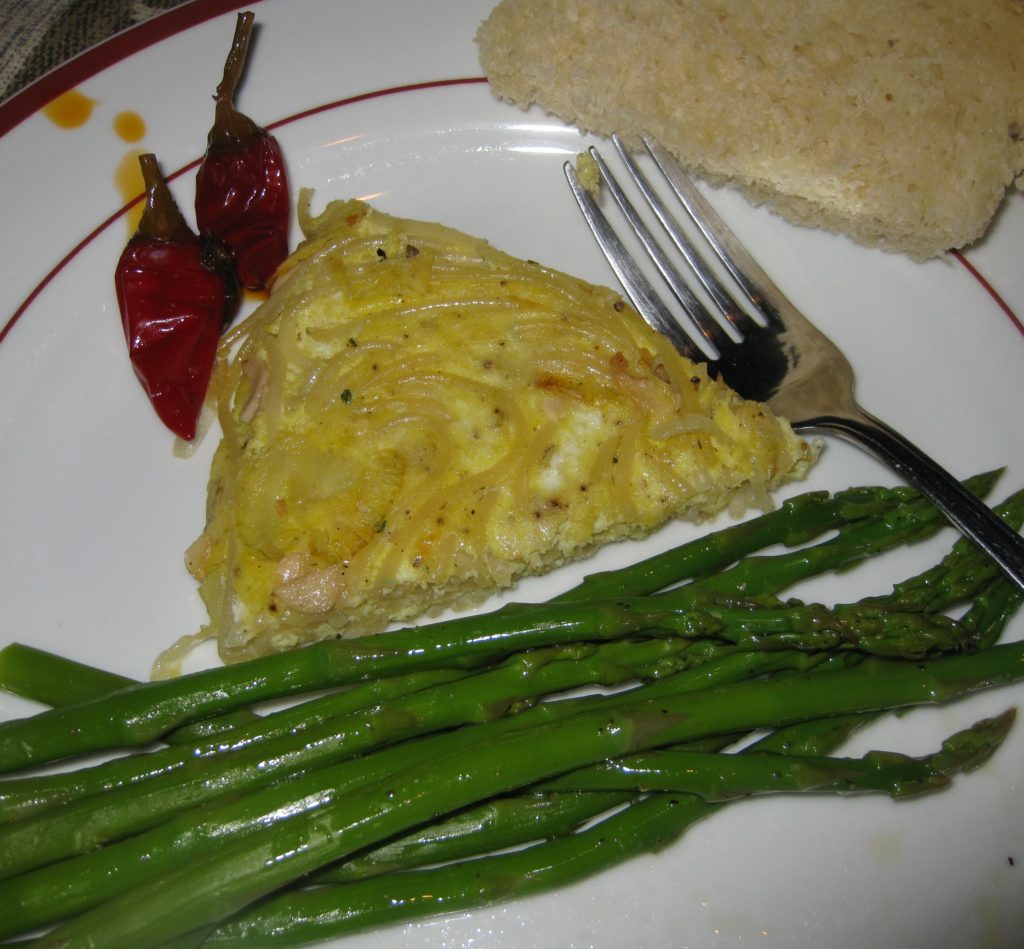
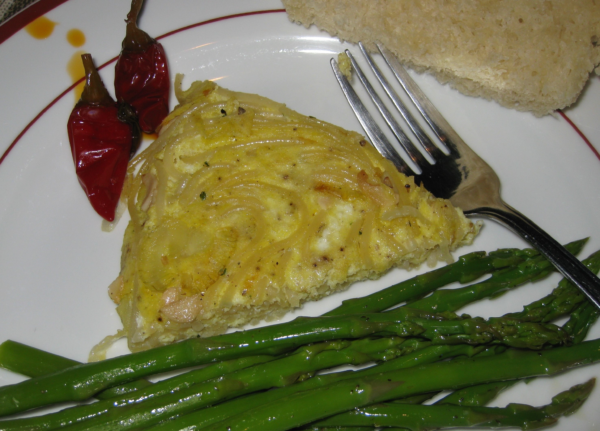
A slice of frittata with a few Calabrian oil-cured peppers on the side

We eat so much pasta in our house that if we turned the leftovers into frittate (the plural of frittata) our dinners would alternate between pasta and frittata almost every day of the week!  That’s why some of the leftover pasta is simply heated up for lunch.


Follow us on your social media platform of choice


A frittata is often referred to as an Italian omelet.  But an omelet it most definitely is not.  It is cooked using a different technique with a different intended outcome.

Calling a frittata an Italian omelet is like calling everything made from ground beef a hamburger.  (OK, off my soapbox for now.)

You can use most any combination of pasta and sauce for a frittata but you don’t want there to be lots of extra sauce or it will be difficult to get the eggs to set.

Most often, I’ll use a long thin pasta, like spaghetti or spaghettini with either a tomato sauce or anchovies and garlic.  They both work well.  That said, I’ve made frittate from a wide array of leftover types of pasta.  Shape is no object!

If you happen to know somebody who raises chickens or if you have access to freshly laid eggs at a farm stand or farmers’ market this is an excellent use for them.  There’s little that stands between you and the eggs, so using really good, fresh eggs is noticeable.

Crushed red pepper is a good alternative to Calabrian oil-cured peppers, but definitely not as flavorful

As I mentioned earlier this week, I’m losing the battle to raise chickens at our house.


Click HERE to join our mailing list and you’ll never miss a recipe again!


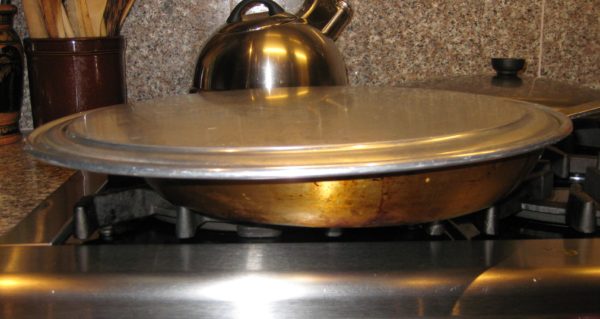
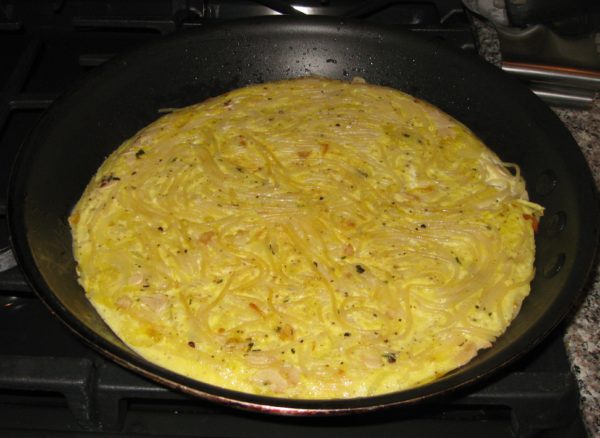
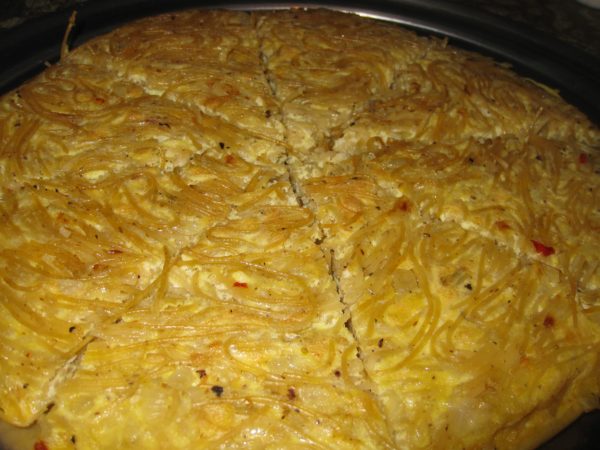
A frittata is cooked slowly in a sauté pan until the eggs set and turn golden brown on the bottom.  I prefer to do this with the pan covered as it aids in setting the top of the eggs, too.

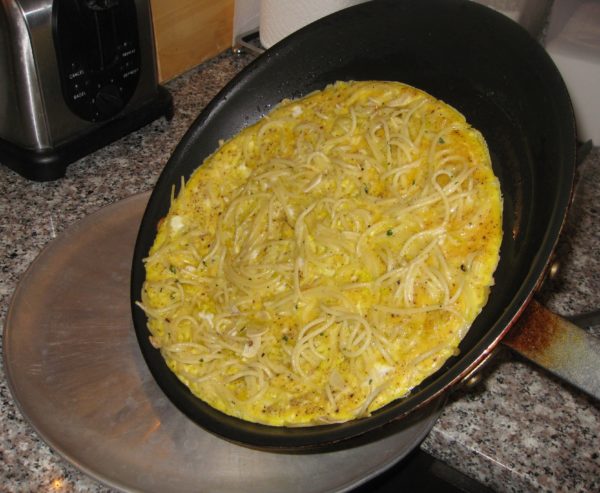
Once the bottom is set, there are two methods to finish the frittata.  One is to put the frittata under the broiler or in the oven.  The good folks at Wikipedia think this is the only way to do it.  In fact, I would suggest that most Italians do not do that.  They simply flip the frittata over.  (OK, I was back on the soapbox for a moment there.)

If you’re going to finish the frittata by flipping, however, you need to be sure that the top of the frittata is not runny.  It should be just barely set.

In case you missed it, I previously published a recipe for an onion frittata.  Although it uses a large quantity of onions, they cook down into sweet, golden deliciousness before the eggs are added.

And…before we leave the subject of leftovers…leftover frittata makes a great filling for a sandwich, especially with a few oil-cured Calabrian peppers!


If you have a favorite family recipe and a bit of a story to tell, please email me at santafecook@villasentieri.com and we can discuss including it in the blog. I am expanding the scope of my blog to include traditional recipes from around the country and around the world. If you haven’t seen Bertha’s Flan or Melinda’s Drunken Prunes, take a look.  They will give you an idea of what I’m looking for.


Print Recipe
Frittata di Spaghetti (Spaghetti Frittata)
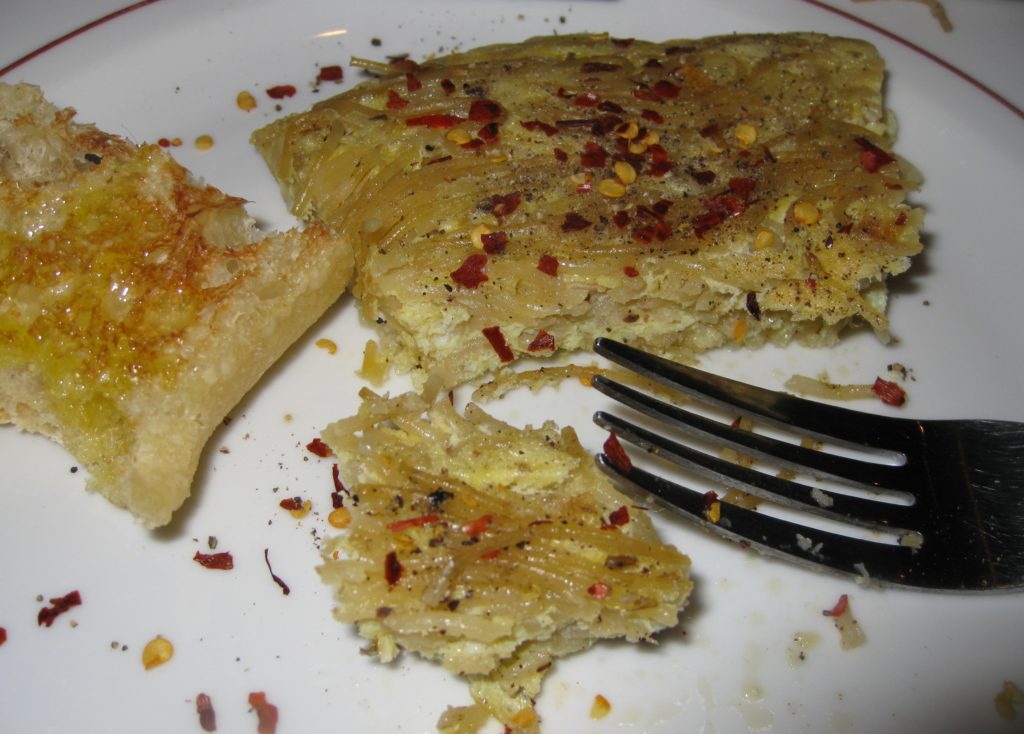
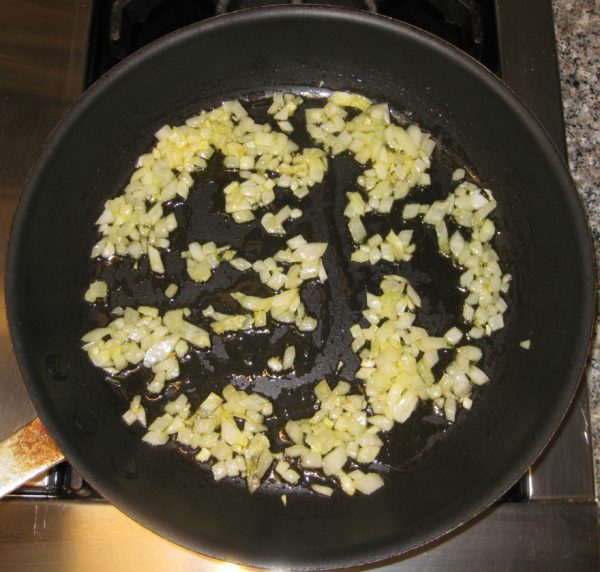
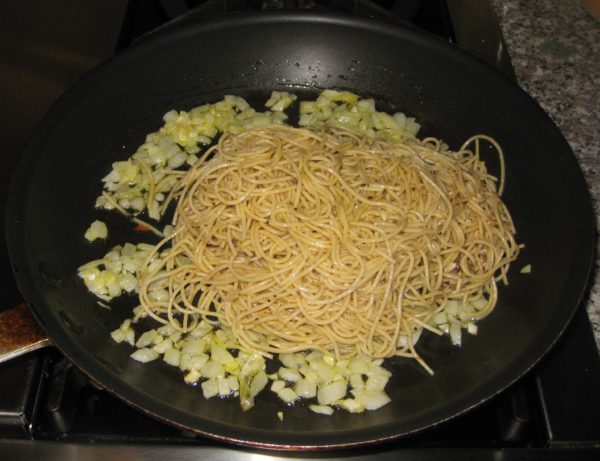
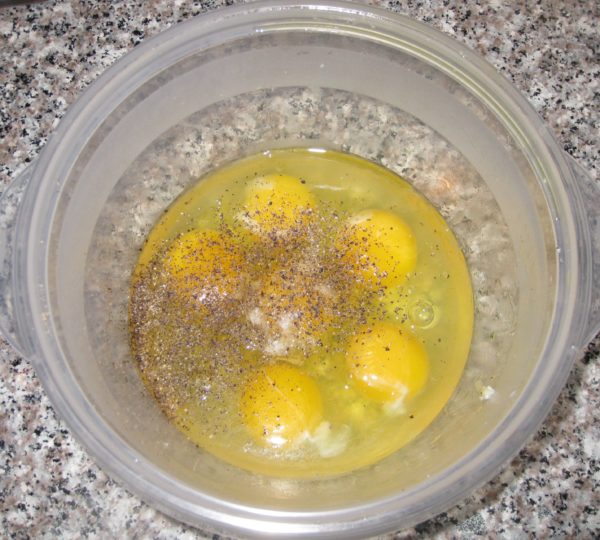
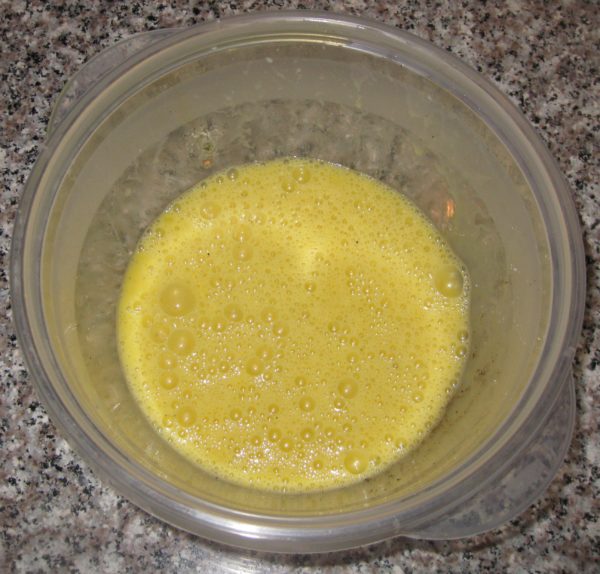
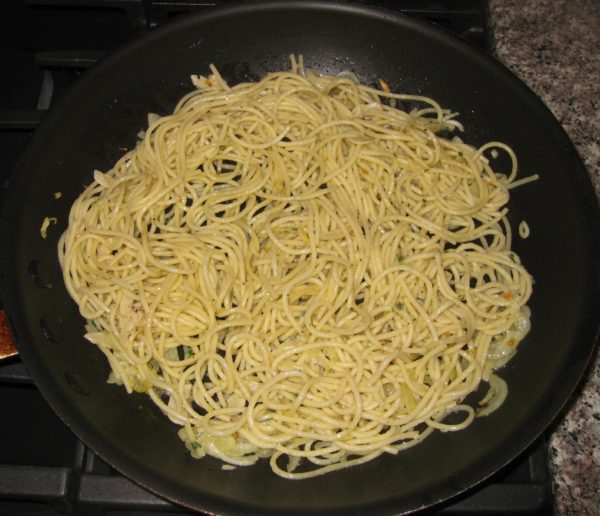
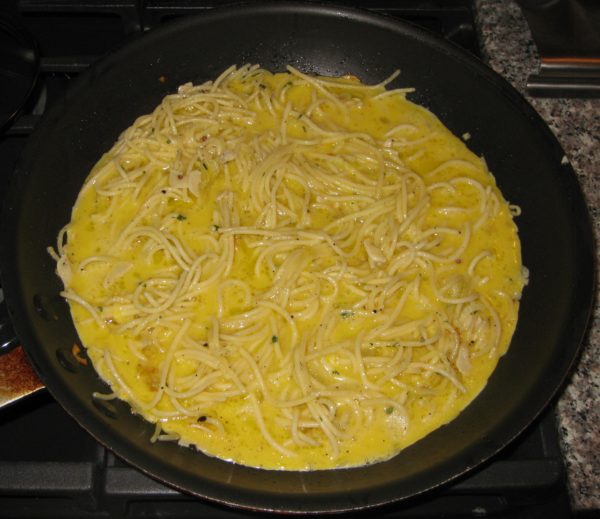
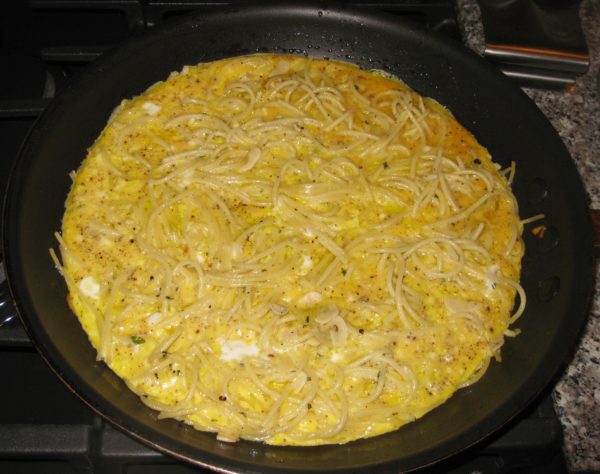
This is a wonderful Italian way to use leftover pasta by turning it into something completely different. The proportions are approximate and will depend on how much pasta is leftover. The pictures show this being made with about half a pound (uncooked weight) of spaghettini with anchovy and garlic (see the Notes section below for a link to the recipe) but it works equally well with most pastas and sauces, including tomato sauce. Use 8 eggs if you have a larger amount of leftover pasta or if you need to stretch the dish to feed more. Use either onion or garlic as the aromatic. Which you choose will depend on which better compliments the pasta. In this case, because the sauce had a lot of garlic, I chose onion to add a bit of a sweet note. If using a tomato sauce, I would have chosen garlic. Whether or not to use Parmesan cheese follows the same logic. Italians feel that cheese rarely goes with fish, like the anchovies in this sauce, so I didn’t use it.
Votes: 0
Rating: 0
You:
Rate this recipe!
Prep Time 10 minutes
Cook Time 1 hour
Servings
people
Ingredients
Prep Time 10 minutes
Cook Time 1 hour
Servings
people
Ingredients
Votes: 0
Rating: 0
You:
Rate this recipe!
Instructions
  1. Heat the oil in a 12 inch (preferably non-stick) sauté pan.
  2. Add the onion or garlic and sauté over medium heat until the onion is soft and caramelized or the garlic is fragrant.
  3. Add the pasta and sauce and heat gently.
  4. Toss the pasta a few times to be sure it heats evenly.
  5. Meanwhile, beat the eggs with salt and pepper to taste.
  6. When the pasta is heated through, spread it evenly on the bottom of the pan.
  7. If you cannot clearly see enough of a slick of oil on the bottom of the pan to protect the eggs from sticking, add a bit more. (Some sauces sop up the oil more than others.)
  8. Pour the eggs over the pasta, being careful to distribute them evenly.
  9. If using cheese, sprinkle it over the top of the eggs.
  10. Cover the pan and reduce the heat to low.
  11. Keep the eggs covered the whole time and move the pan around on the stove, even putting it off-center much of the time, to be sure the heat is evenly distributed around the bottom of the pan.
  12. Cook until the top of the eggs is just set. That is, there is no runny egg left. This will take approximately 25-30 minutes.
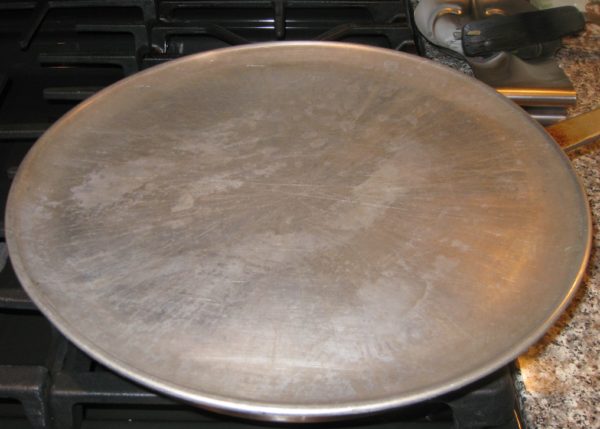
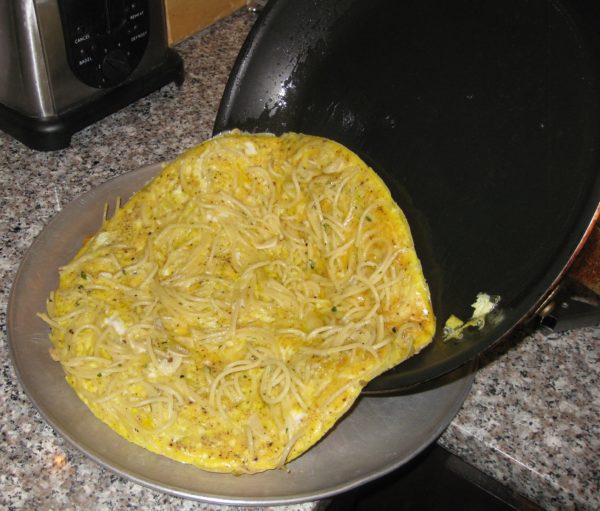
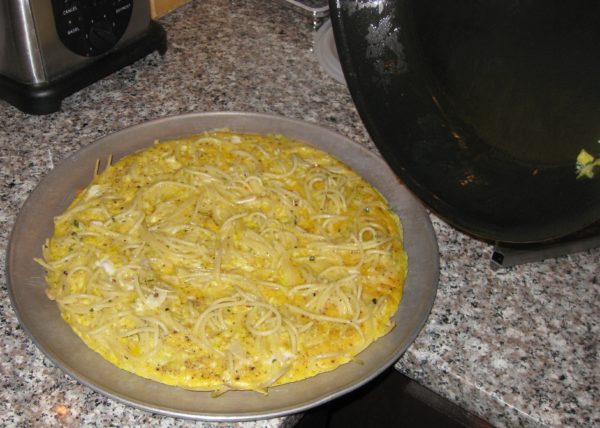
  13. When the eggs are set, slide them out of the pan onto a cookie sheet or pizza pan.
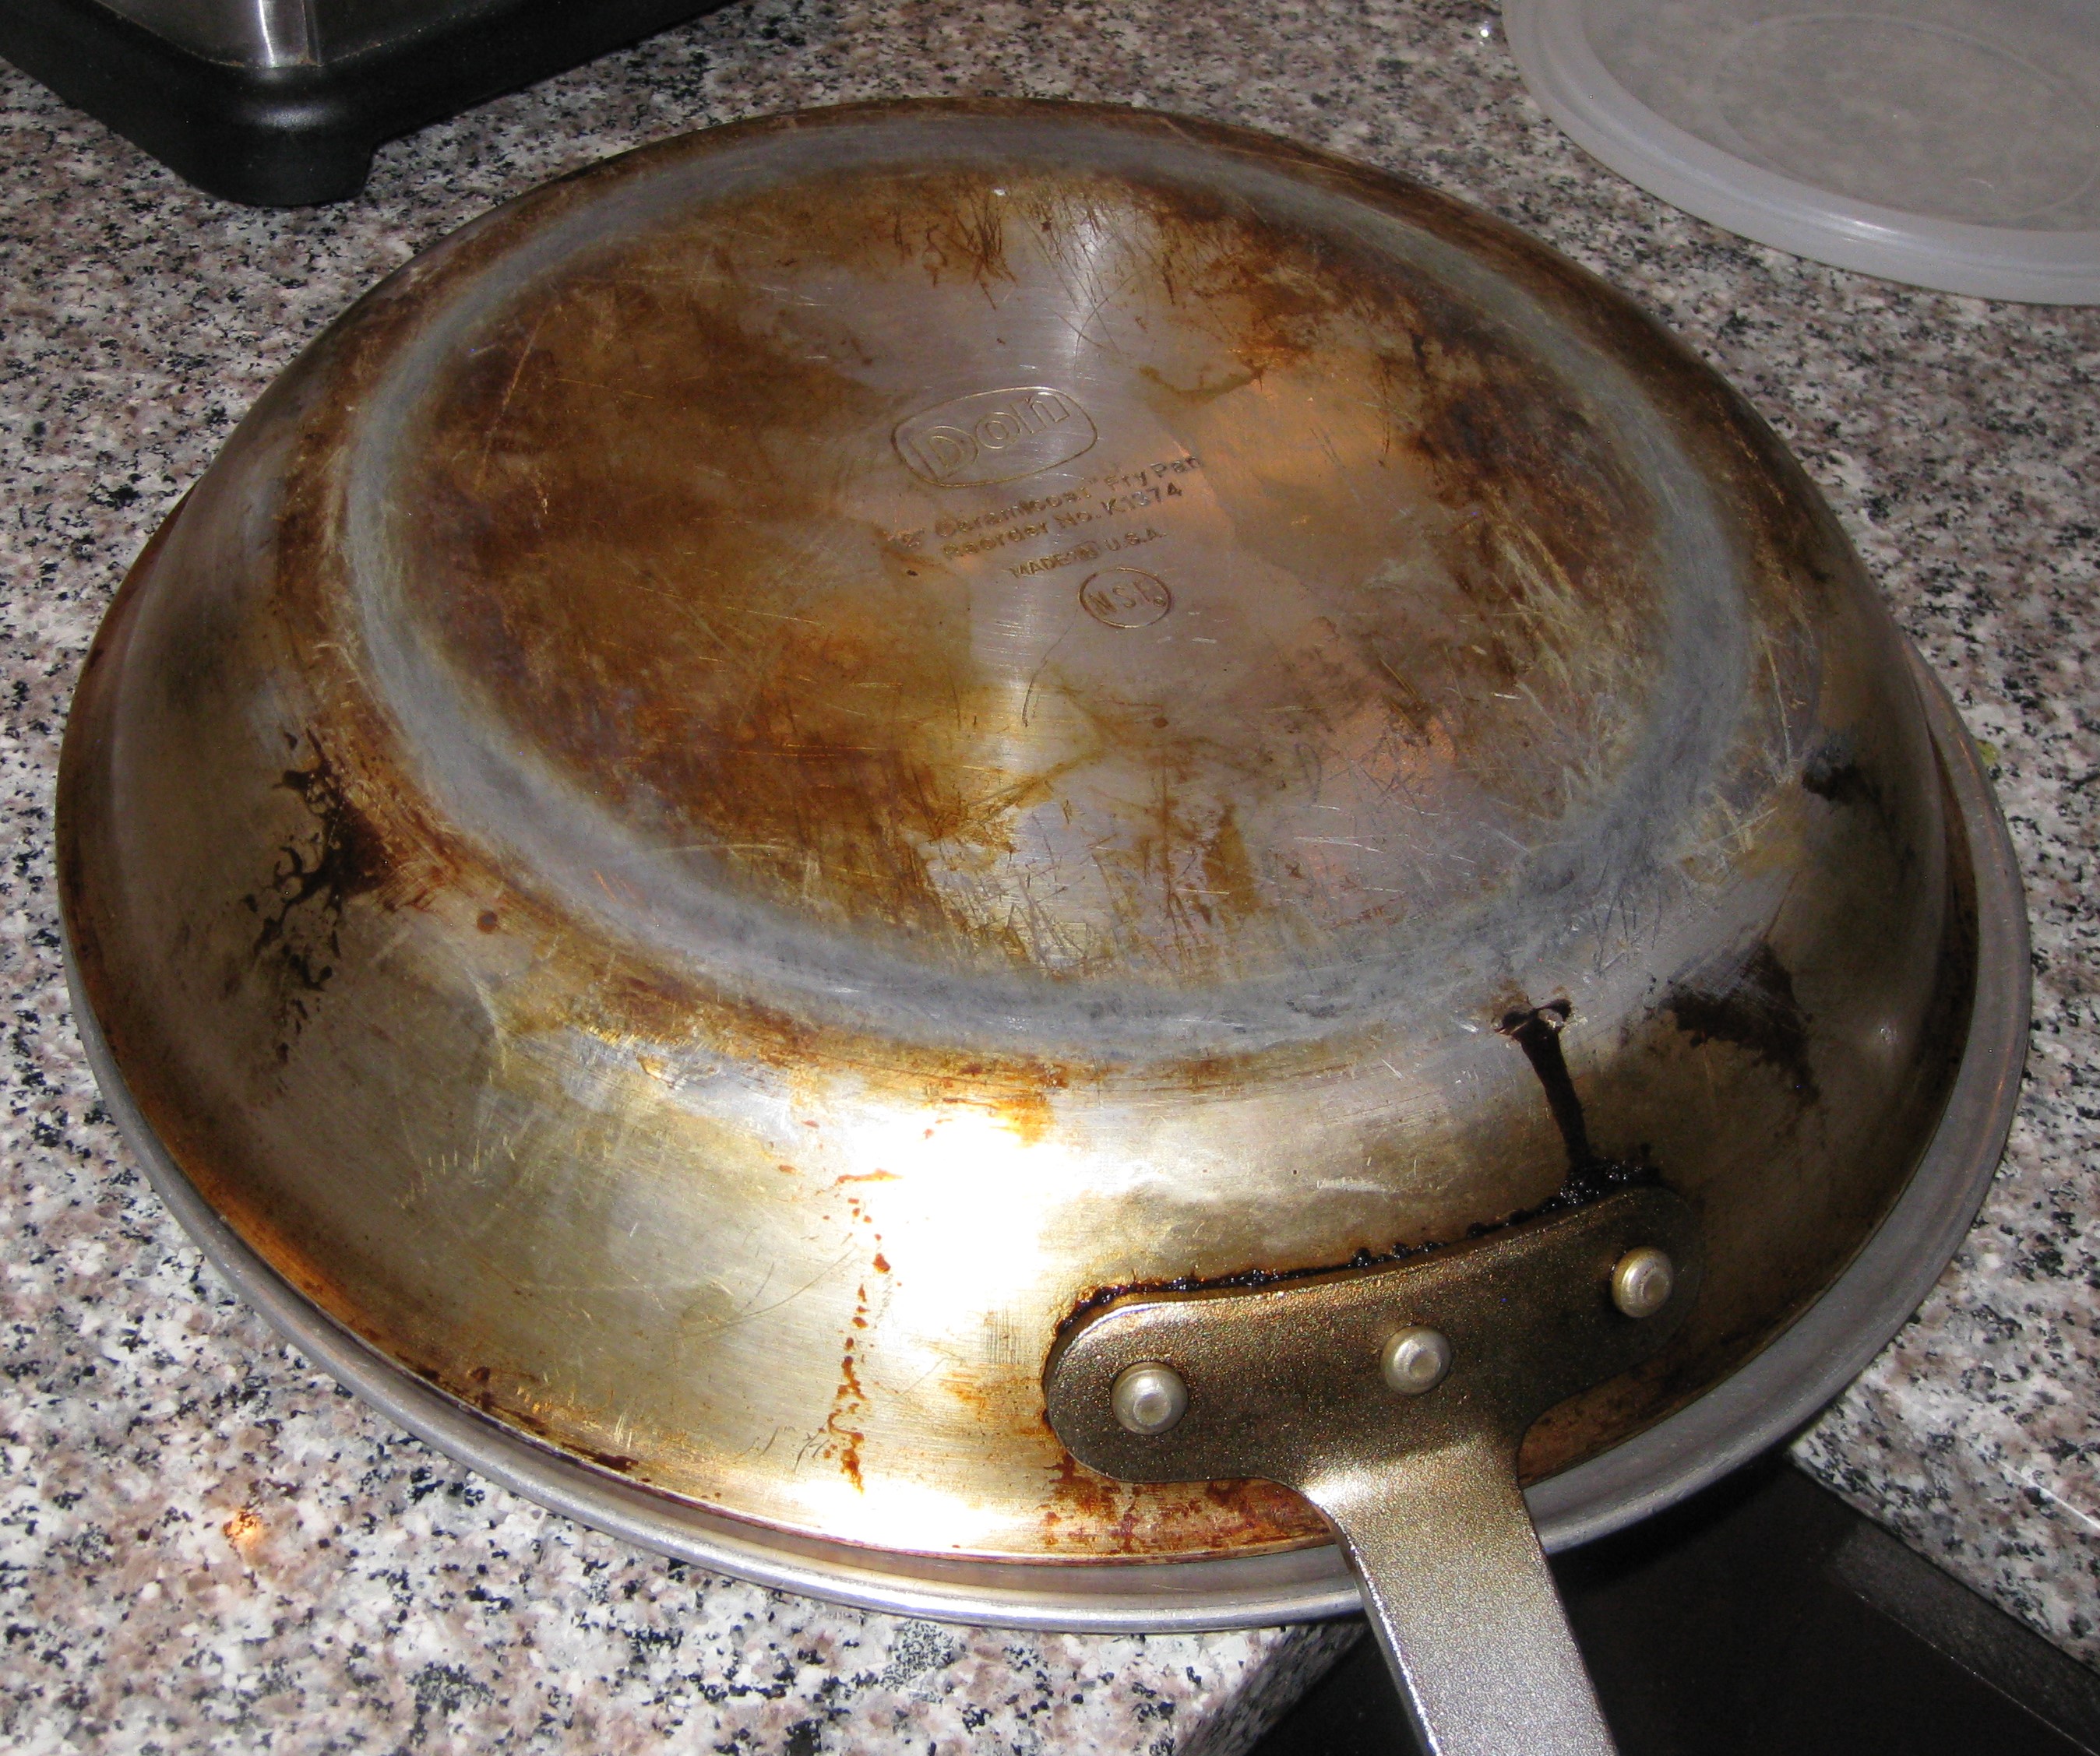
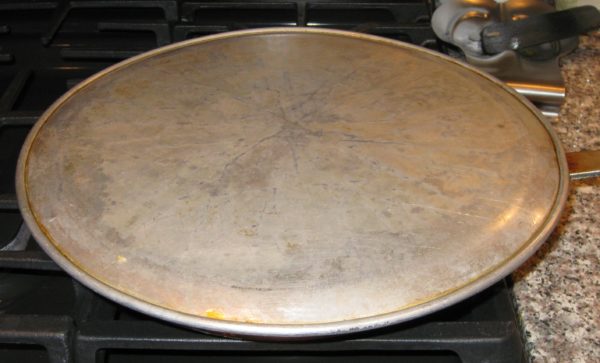
  14. Put the sauté pan upside down on the eggs and then flip the whole set-up over.
  15. Return the eggs to the heat, uncovered, for approximately 5 minutes to lightly brown the bottom.
  16. Slide on to a serving platter and cut in wedges to serve.
Recipe Notes

This is where you can find my recipe for Spaghettini with Anchovy and Garlic.

Copyright © 2018 by VillaSentieri.com. All rights reserved.
Share this Recipe

Stracciatella (Italian Egg Drop Soup)

March 5, 2018

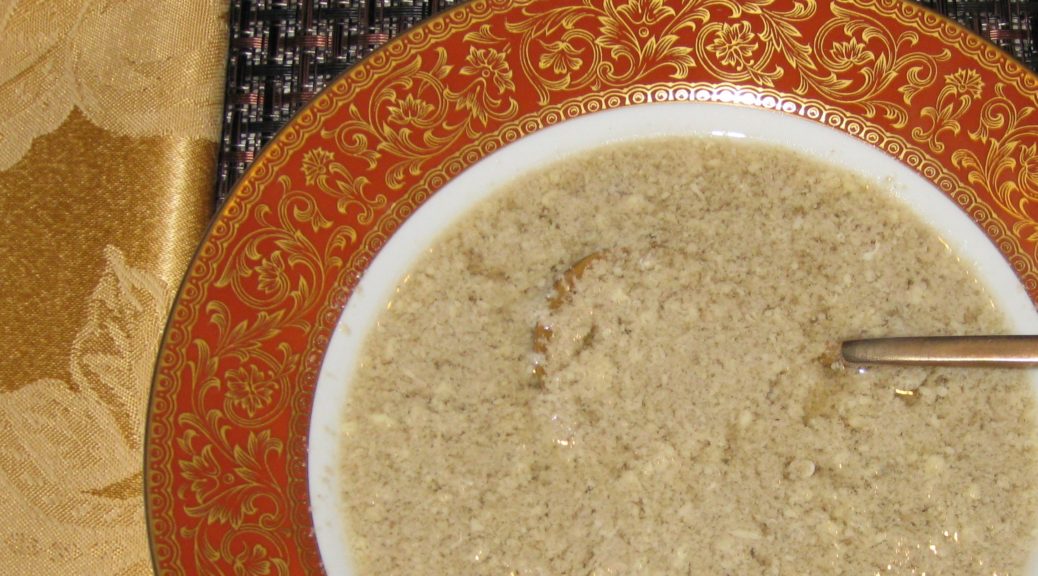
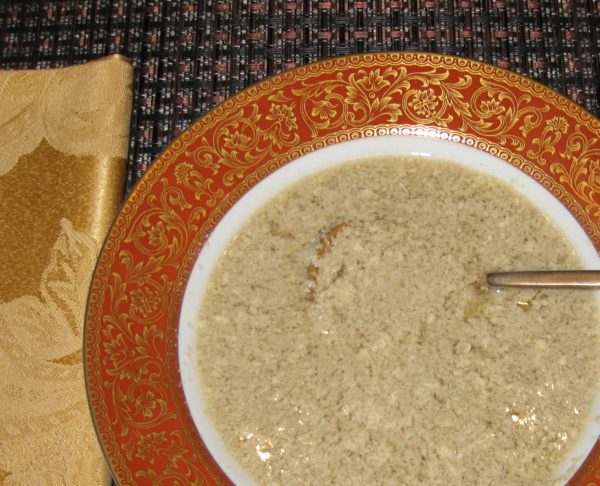
The name of this Italian soup, Stracciatella, comes from the Italian verb meaning “to shred,” a reference to the strands of egg in the soup.

I learned to make this from Auntie Helen d’Aquili when I was in college.

Auntie Helen and I in 1976. Can you believe my hair!!!

It’s really simple to make but, like so many Italian dishes, it relies on few ingredients that must be of high quality.  In this case the broth is absolutely paramount as is high-quality Italian imported Parmigiano Reggiano cheese.


Follow us on your social media platform of choice


I have a few friends in Santa Fe who raise chickens and I am occasionally gifted with freshly laid eggs but good supermarket eggs are usually what I use.

I’ll let you in on a little domestic struggle, however.  I want to raise chickens.  My husband doesn’t.  So far, he’s winning the struggle but I haven’t given up.  His excuses are pretty lame as far as I’m concerned.  The most common one is that chickens will attract coyote.

HELLO!  We live in the forest.  We are surrounded by coyote and other wildlife.  Just an hour ago, while sitting at my desk getting ready to write this blog, a big deer walked through the paved area in front of our house gnawing down our landscaping like it was a salad bar.


Click HERE to join our mailing list and you’ll never miss a recipe again!


Most summer nights we hear the coyote yipping as go hunting.  They are mere yards from our house.  I don’t think a few chickens will bring them any closer than the already abundant rabbits currently do.  We just need to build a coyote-proof chicken enclosure.  There’s a great how-to right here (Frank! Frank, are you listening?).

Frank seems pretty happy in this selfie we took on Kauai. Chickens roam everywhere on Kauai. I think that is part of Frank’s happiness though he has yet to admit it.

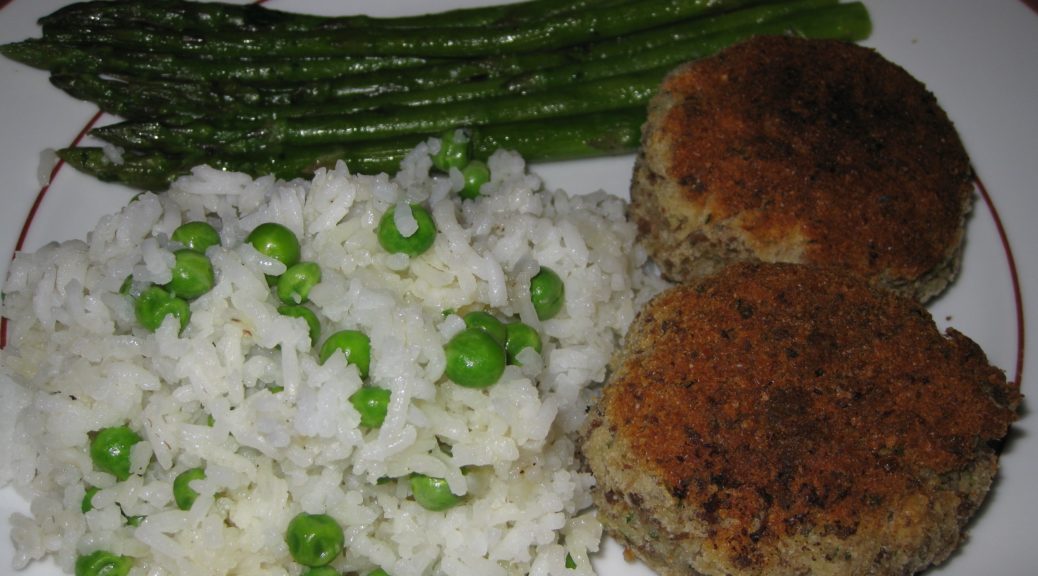
Homemade broth is essential.  Chicken or beef broth are both standard choices, though Auntie Helen used beef.  You can make an excellent beef broth as part of the process of making Marisa’s Mystical Meatballs.  In fact, this soup would make an excellent first course followed by the meatballs and accompanied by a vegetable or two and some rice.


If you have a favorite family recipe and a bit of a story to tell, please email me at santafecook@villasentieri.com and we can discuss including it in the blog. I am expanding the scope of my blog to include traditional recipes from around the country and around the world. If you haven’t seen Bertha’s Flan or Melinda’s Drunken Prunes, take a look.  They will give you an idea of what I’m looking for.


Print Recipe
Stracciatella (Italian Egg Drop Soup)
This classic Italian soup requires top-notch broth and Parmigiano Reggiano cheese. Homemade broth is essential. See the Notes section, below, for a link to my blog post that contains instructions on making a wonderfully flavorful beef broth.
Votes: 0
Rating: 0
You:
Rate this recipe!
Cuisine Italian
Prep Time 10 minutes
Cook Time 20 minutes
Servings
people
Ingredients
Cuisine Italian
Prep Time 10 minutes
Cook Time 20 minutes
Servings
people
Ingredients
Votes: 0
Rating: 0
You:
Rate this recipe!
Instructions
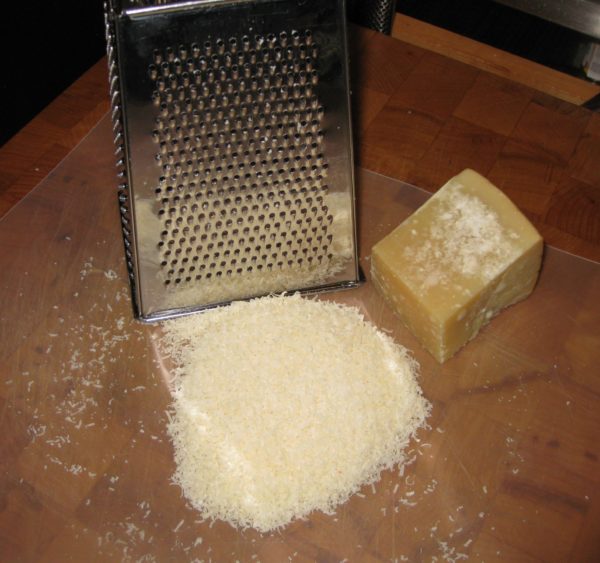
  1. Grate the cheese.
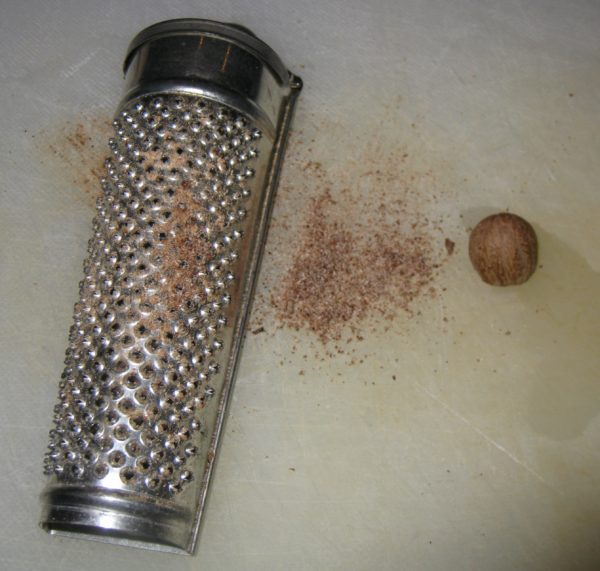
  2. Grate the nutmeg.
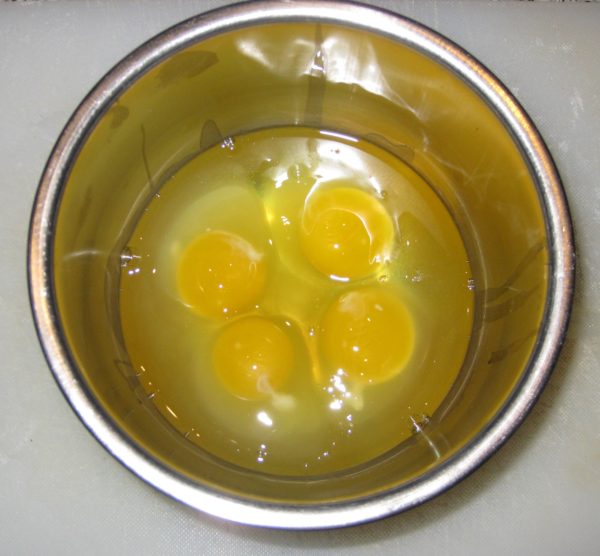
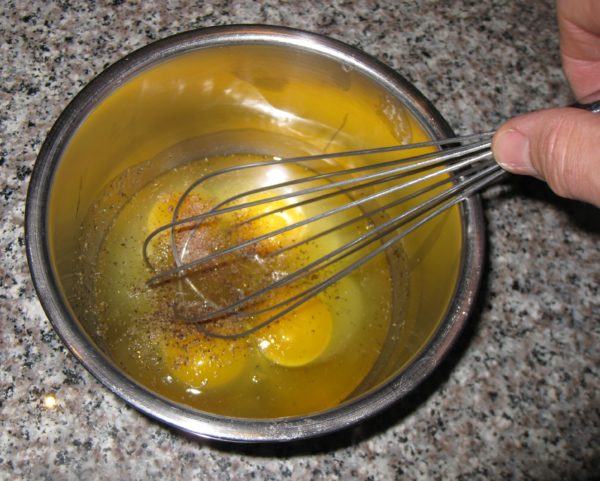
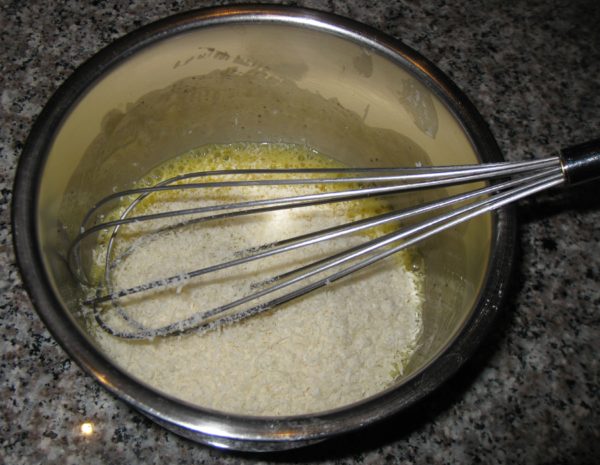
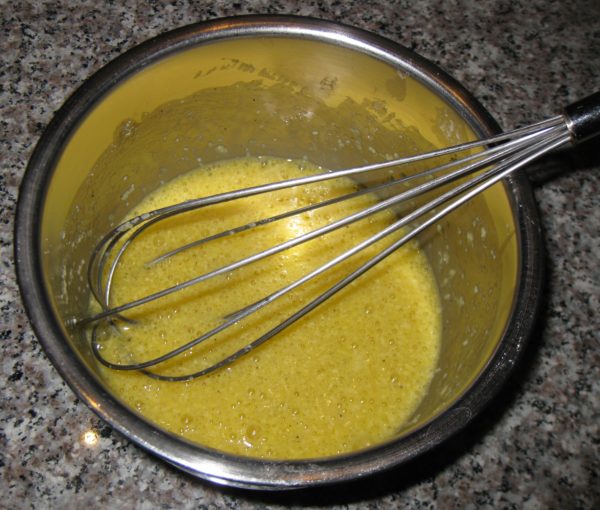
  3. Beat the eggs, cheese and nutmeg together.
  4. Beat 1/2 cup of cold broth into the egg mixture.
  5. Bring the remaining broth to a boil.
  6. Stir the boiling broth with a whisk while slowly adding the egg mixture.
  7. Bring to a simmer and remove from heat.
  8. Adjust salt and pepper.
  9. Serve immediately.
Recipe Notes

You can find a recipe for beef broth in my post on Marisa's Mystical Meatballs.

Copyright © 2018 by VillaSentieri.com. All rights reserved.
Share this Recipe

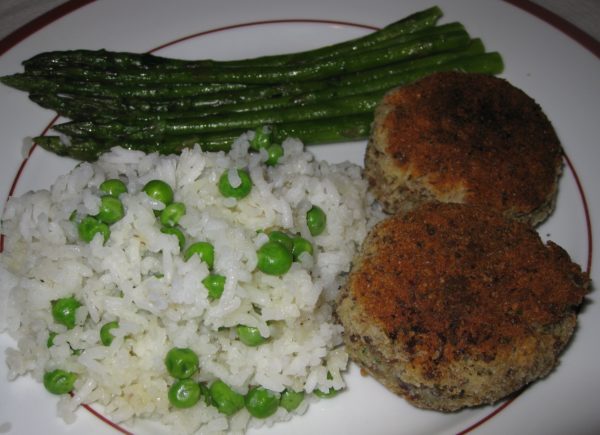
Marisa’s Mystical Meatballs

February 9, 2018

These meatballs are really mystical if you consider the sway they hold on my husband, his brother, and his father.  They go wild for these meatballs.

Well, wild in that very restrained Northern Italian way.

If they were Southern Italian, where a dinner conversation can seem like a minor riot, their meatball response would barely register on the scale.  It would signal almost utter disregard for the meatballs.

But that, in fact, is not the case.  The meatballs hold some sort of magical, mystical charm.

Marisa, of course, is my mother-in-law and these are her meatballs.  She considers them quite unusual, having learned to make them from her mother and basically not remembering any other relatives or friends making something similar.

And, as meatballs, they ARE unusual!

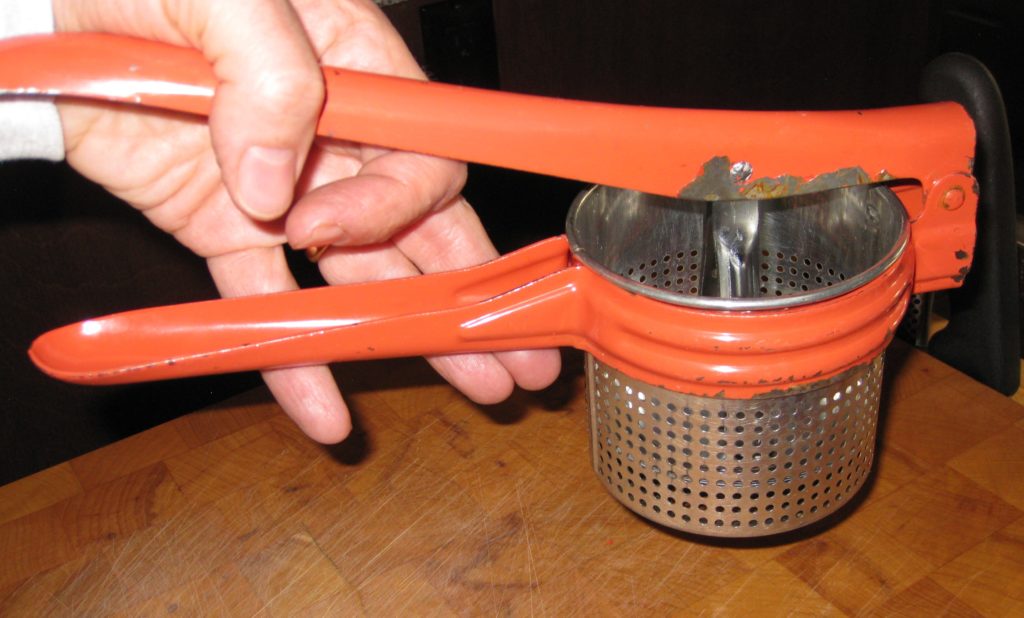
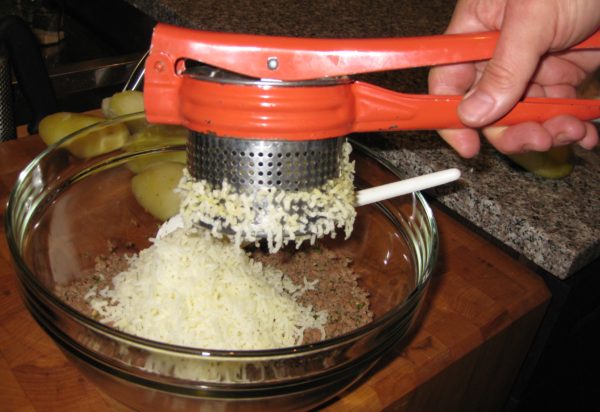
An old-fashioned ricer is still an indispensable piece of kitchen equipment. Make sure yours is very sturdy. Many new ones are not.

Click HERE to join our mailing list and you’ll never miss a recipe again!


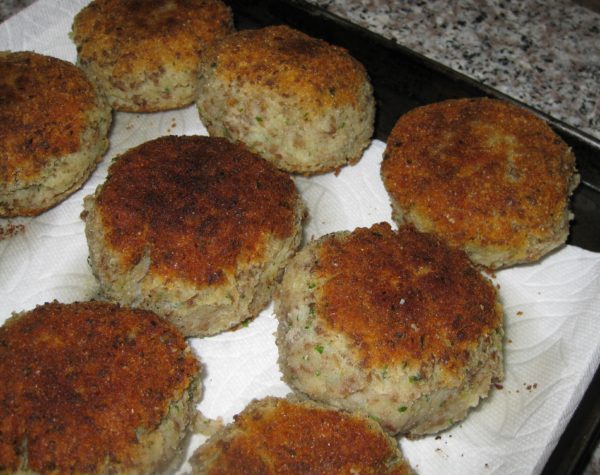
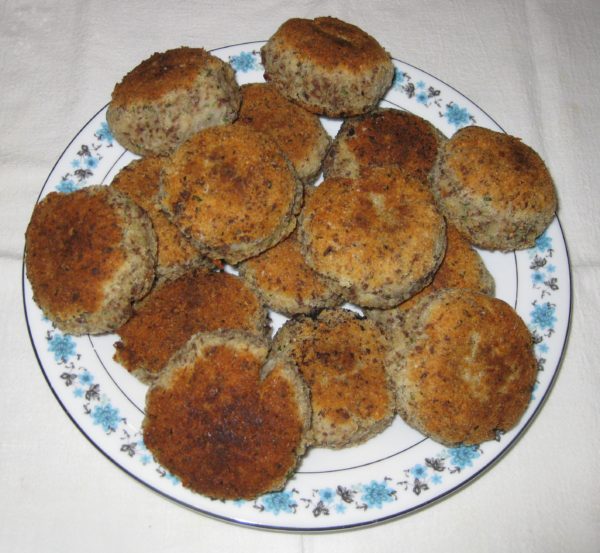
But here’s a secret that I haven’t told anyone yet.  They really AREN’T meatballs.  They’re croquettes!  Crocchette in Italian.

There, I said it.  Marisa’s Mystical Meatballs aren’t really meatballs.  But everybody in the family calls them “Ma’s Meatballs.”  “Ma’s Croquettes” doesn’t have the same alliterative allure, even if it’s more accurate.

My mother-in-law and father-in-law celebrating his birthday.

When I did a Google search for crocchette, Google turned up about 1,730,000 results in 0.51 seconds.  When I searched for crocchette patate e carne (potato and meat croquettes), Google returned 1,500,000 results in 0.72 seconds.

And that was doing searches in Italian!

I found a Japanese woman who seems to have the same relationship to her mother’s meat and potato croquettes (korokke) as my husband and his family have to his mother’s.


Follow us on your social media platform of choice


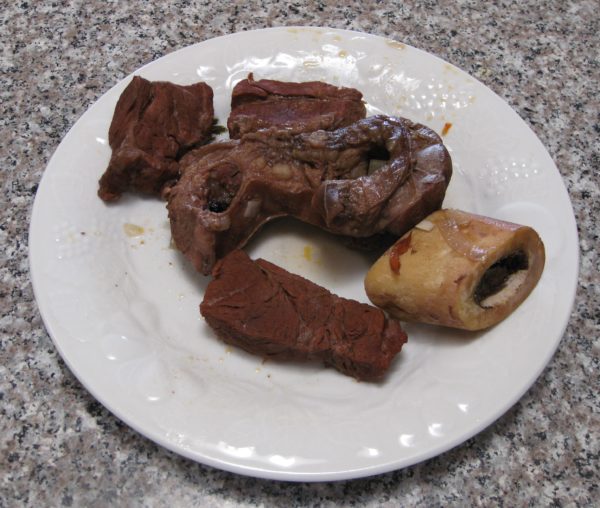
The meat for these “meatballs” (a word I’ll use in deference to my husband and his family of origin) is boiled before being finely chopped.  This presents a perfect opportunity to make a really nice beef broth.  You don’t have to do that, of course, but since you’re going to be boiling the meat anyhow, and since it only takes a few extra minutes to throw some aromatics into the pot, why not!

The broth from the meat for the specific batch of meatballs shown in this blog is sitting in the freezer ready to be turned into Auntie Helen’s Stracciatella, which will be coming up on the blog next month.


If you have a favorite family recipe and a bit of a story to tell, please email me at santafecook@villasentieri.com and we can discuss including it in the blog. I am expanding the scope of my blog to include traditional recipes from around the country and around the world. If you haven’t seen Bertha’s Flan or Melinda’s Drunken Prunes, take a look.  They will give you an idea of what I’m looking for.


Print Recipe
Marisa's Mystical Meatballs
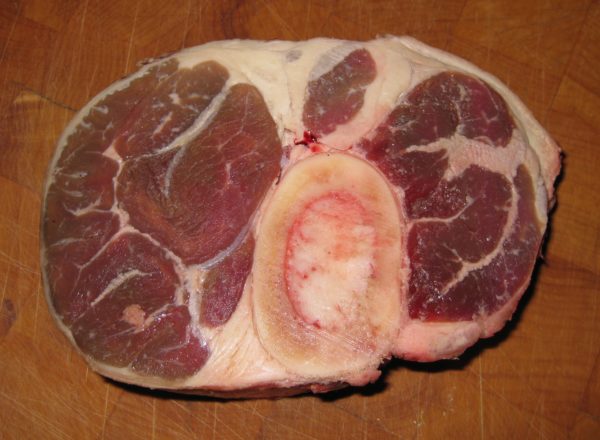
Marisa says she usually uses cross-cut beef shank for the meatballs. When we made them, she also had a piece of beef she bought for soup so we used both. In the end, we got ½ pound of cooked beef, with fat and gristle removed. Adjust the proportion of the other ingredients if you get substantially more or less cooked beef. If you want to use just cross-cut beef shank, I would try about 2 ½-3 lbs. The beef is boiled and then finely chopped to make the meatballs, giving you the opportunity to make a really nice beef broth with just a few minutes more work.
Votes: 0
Rating: 0
You:
Rate this recipe!
Prep Time 30 minutes
Cook Time 6 hours
Servings
meatballs
Ingredients
Beef and Broth
Meatballs
Prep Time 30 minutes
Cook Time 6 hours
Servings
meatballs
Ingredients
Beef and Broth
Meatballs
Votes: 0
Rating: 0
You:
Rate this recipe!
Instructions
Beef and Broth
  1. Cross-cut beef shank.
  2. Put the meat and all other broth ingredients in a large stock pot.
  3. Cover with abundant cold water.
  4. Bring to a boil, reduce heat and simmer, partially covered, for 4-6 hours, until the meat is very tender.
  5. Remove and cool the beef.
  6. Strain the broth and reserve for another use.
Meatballs
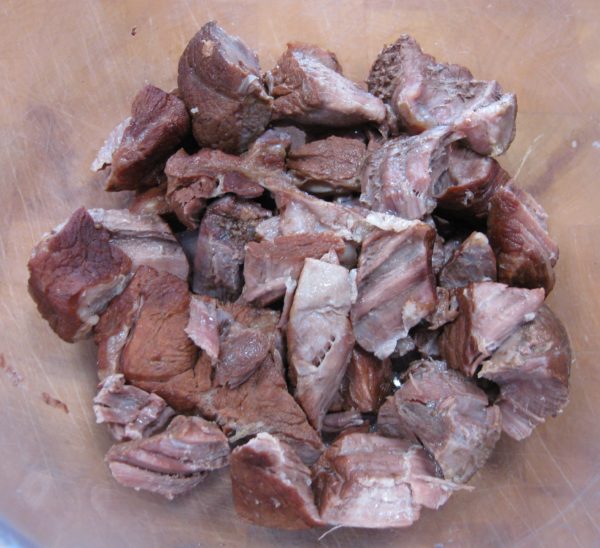
  1. Remove fat, gristle and bone from beef. You should have approximately ½ pound of cooked beef.
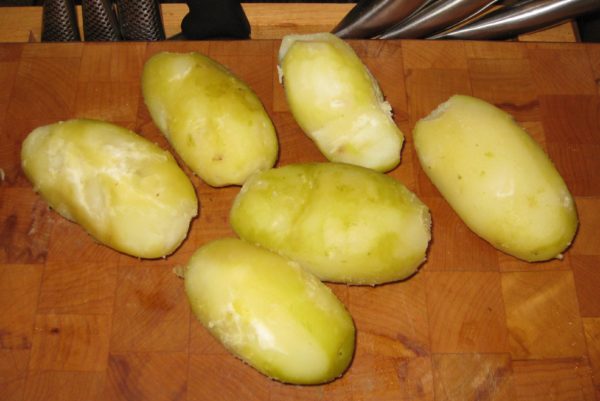
  2. Cook the unpeeled potatoes in boiling water until you can easily pierce them with the tines of a long fork or paring knife, 20-25 minutes.
  3. Remove the potatoes from the water and allow to cool for about 10 minutes.
  4. Meanwhile, mince the garlic or grate it on a microplane grater.
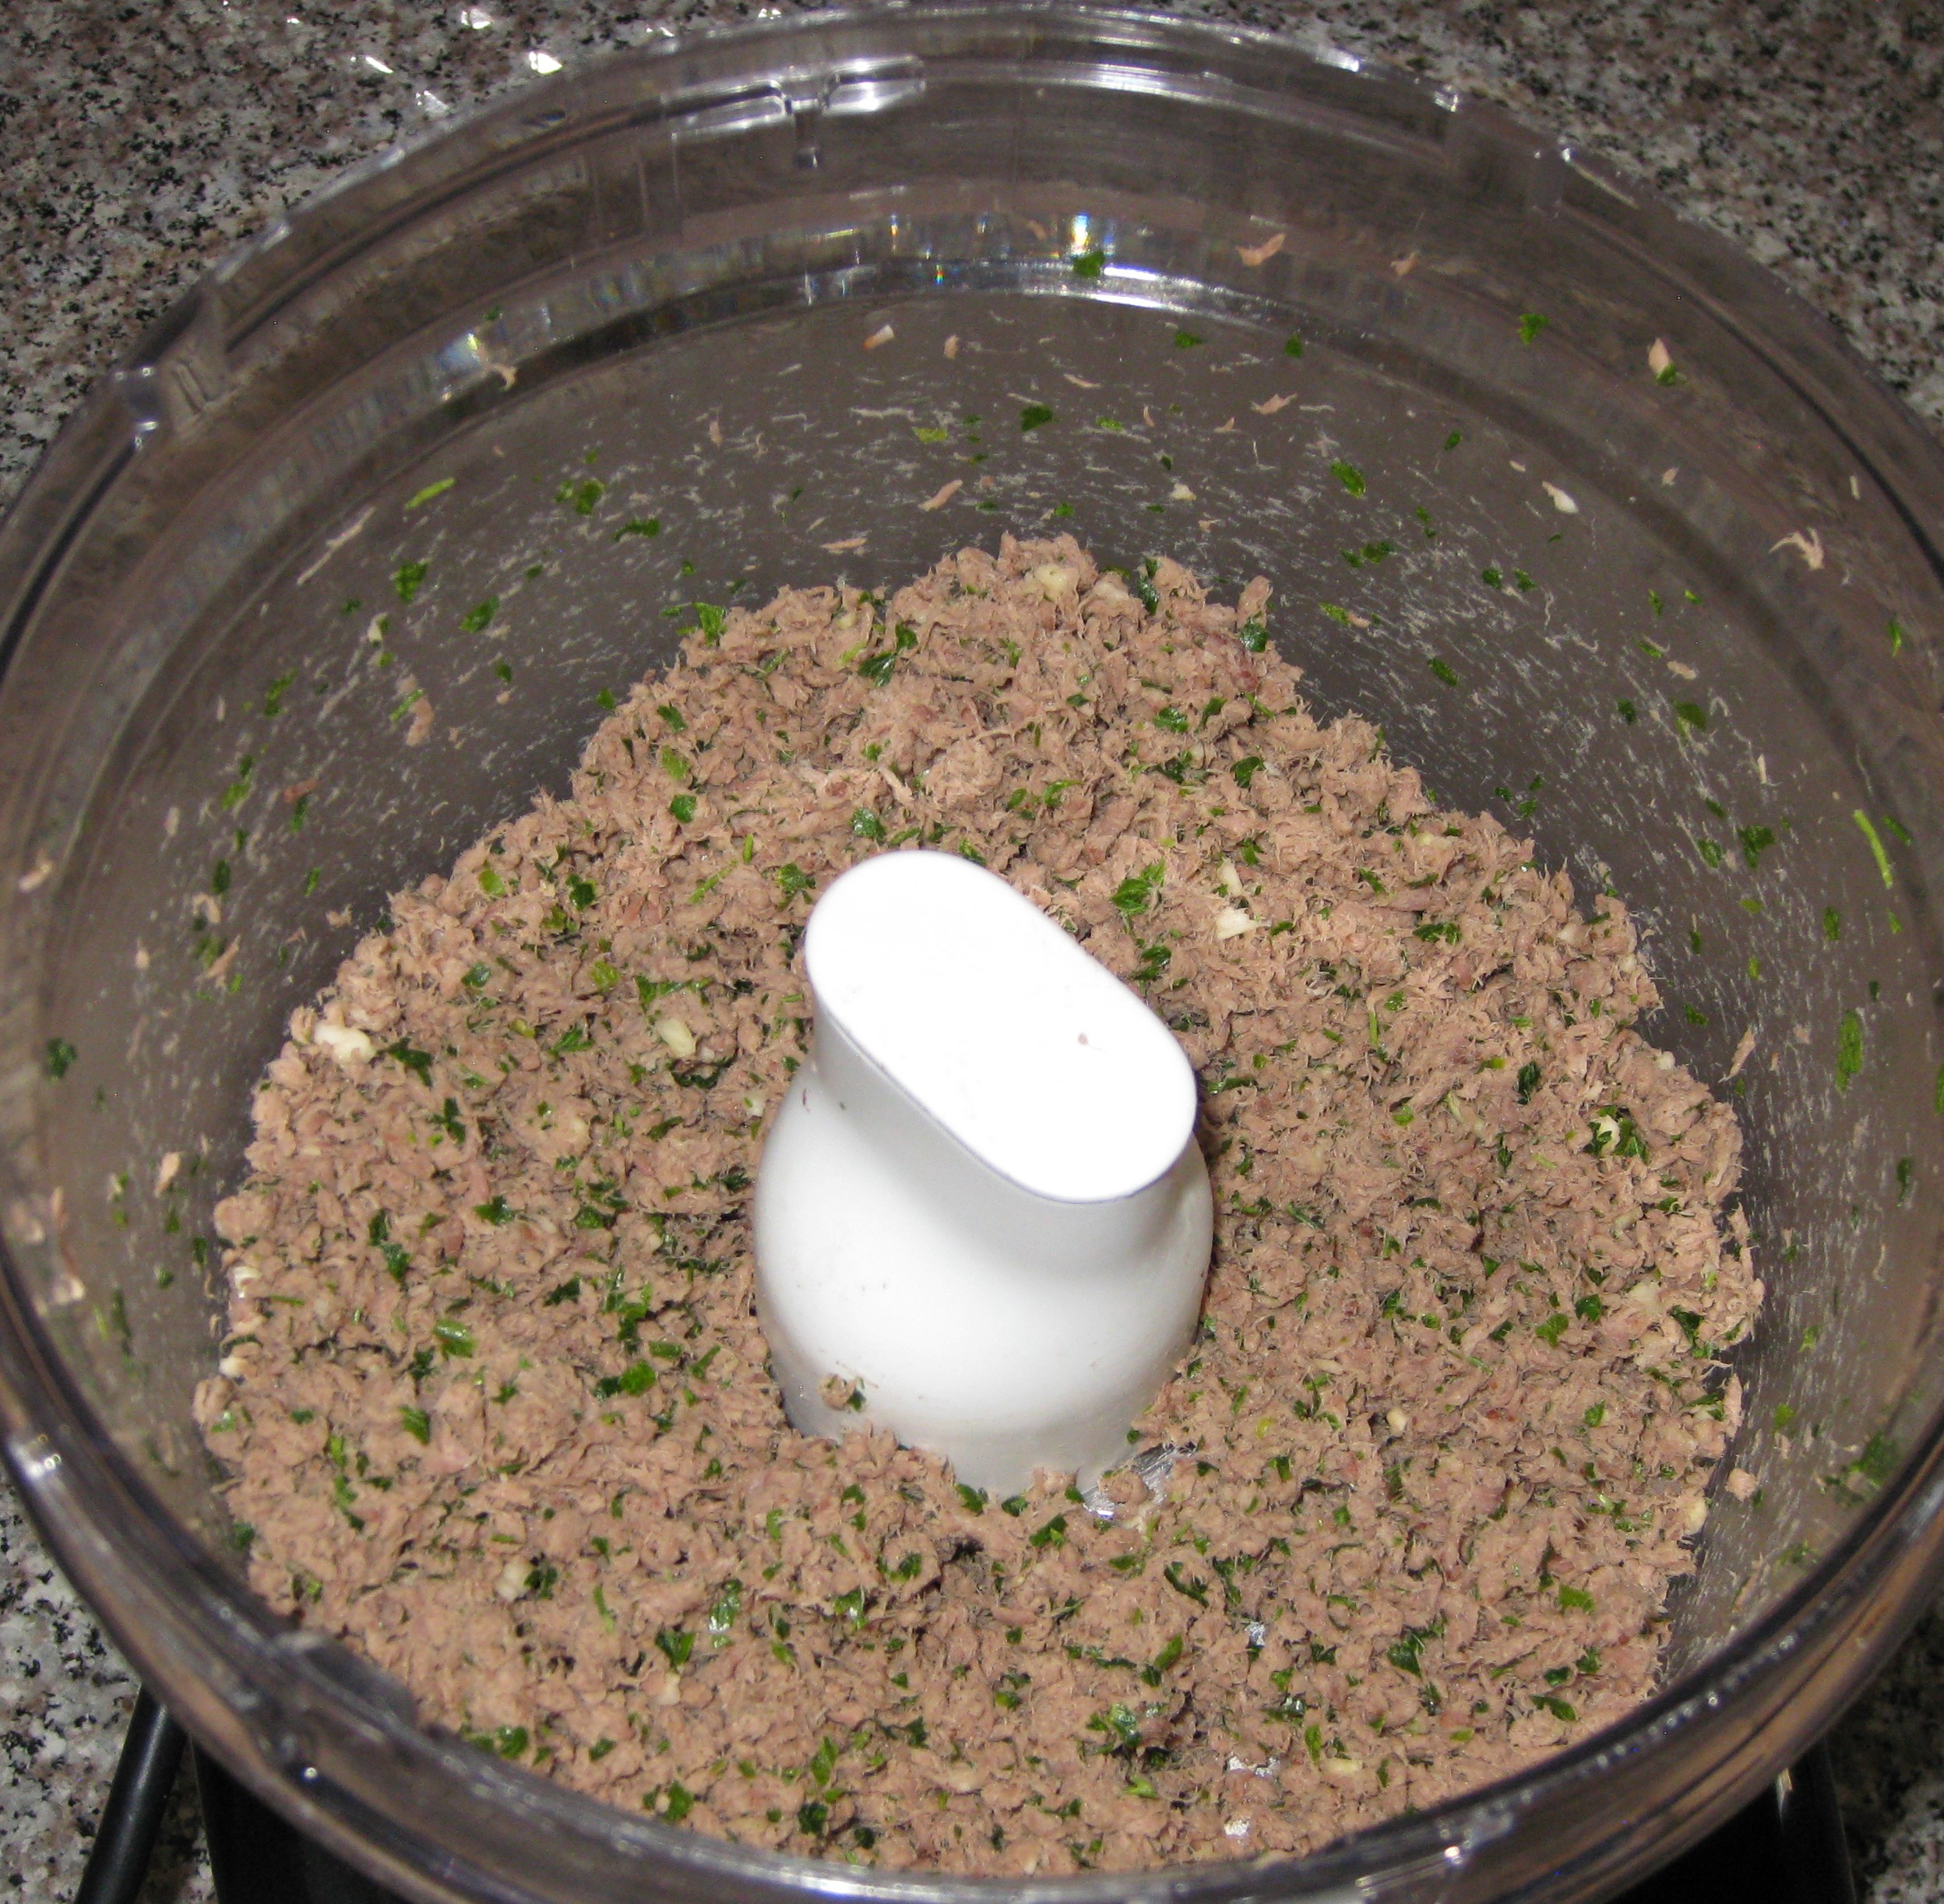
  5. Combine beef, parsley and garlic in a food processor. Process until finely chopped.
  6. Peel the slightly cooled potatoes. If they are too cool it will be difficult to rice them.
  7. Pass the potatoes through a ricer.
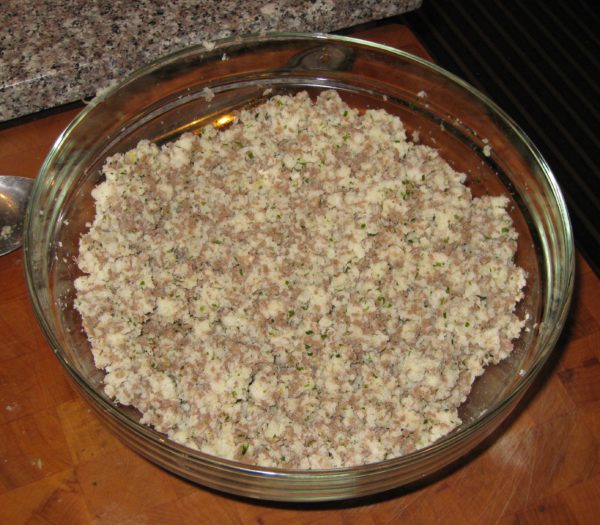
  8. Combine the beef mixture with the potatoes, nutmeg, allspice, salt and black pepper.
  9. Mix well with a large spoon or your hands.
  10. Add the lightly beaten eggs.
  11. Mix well using your hands.
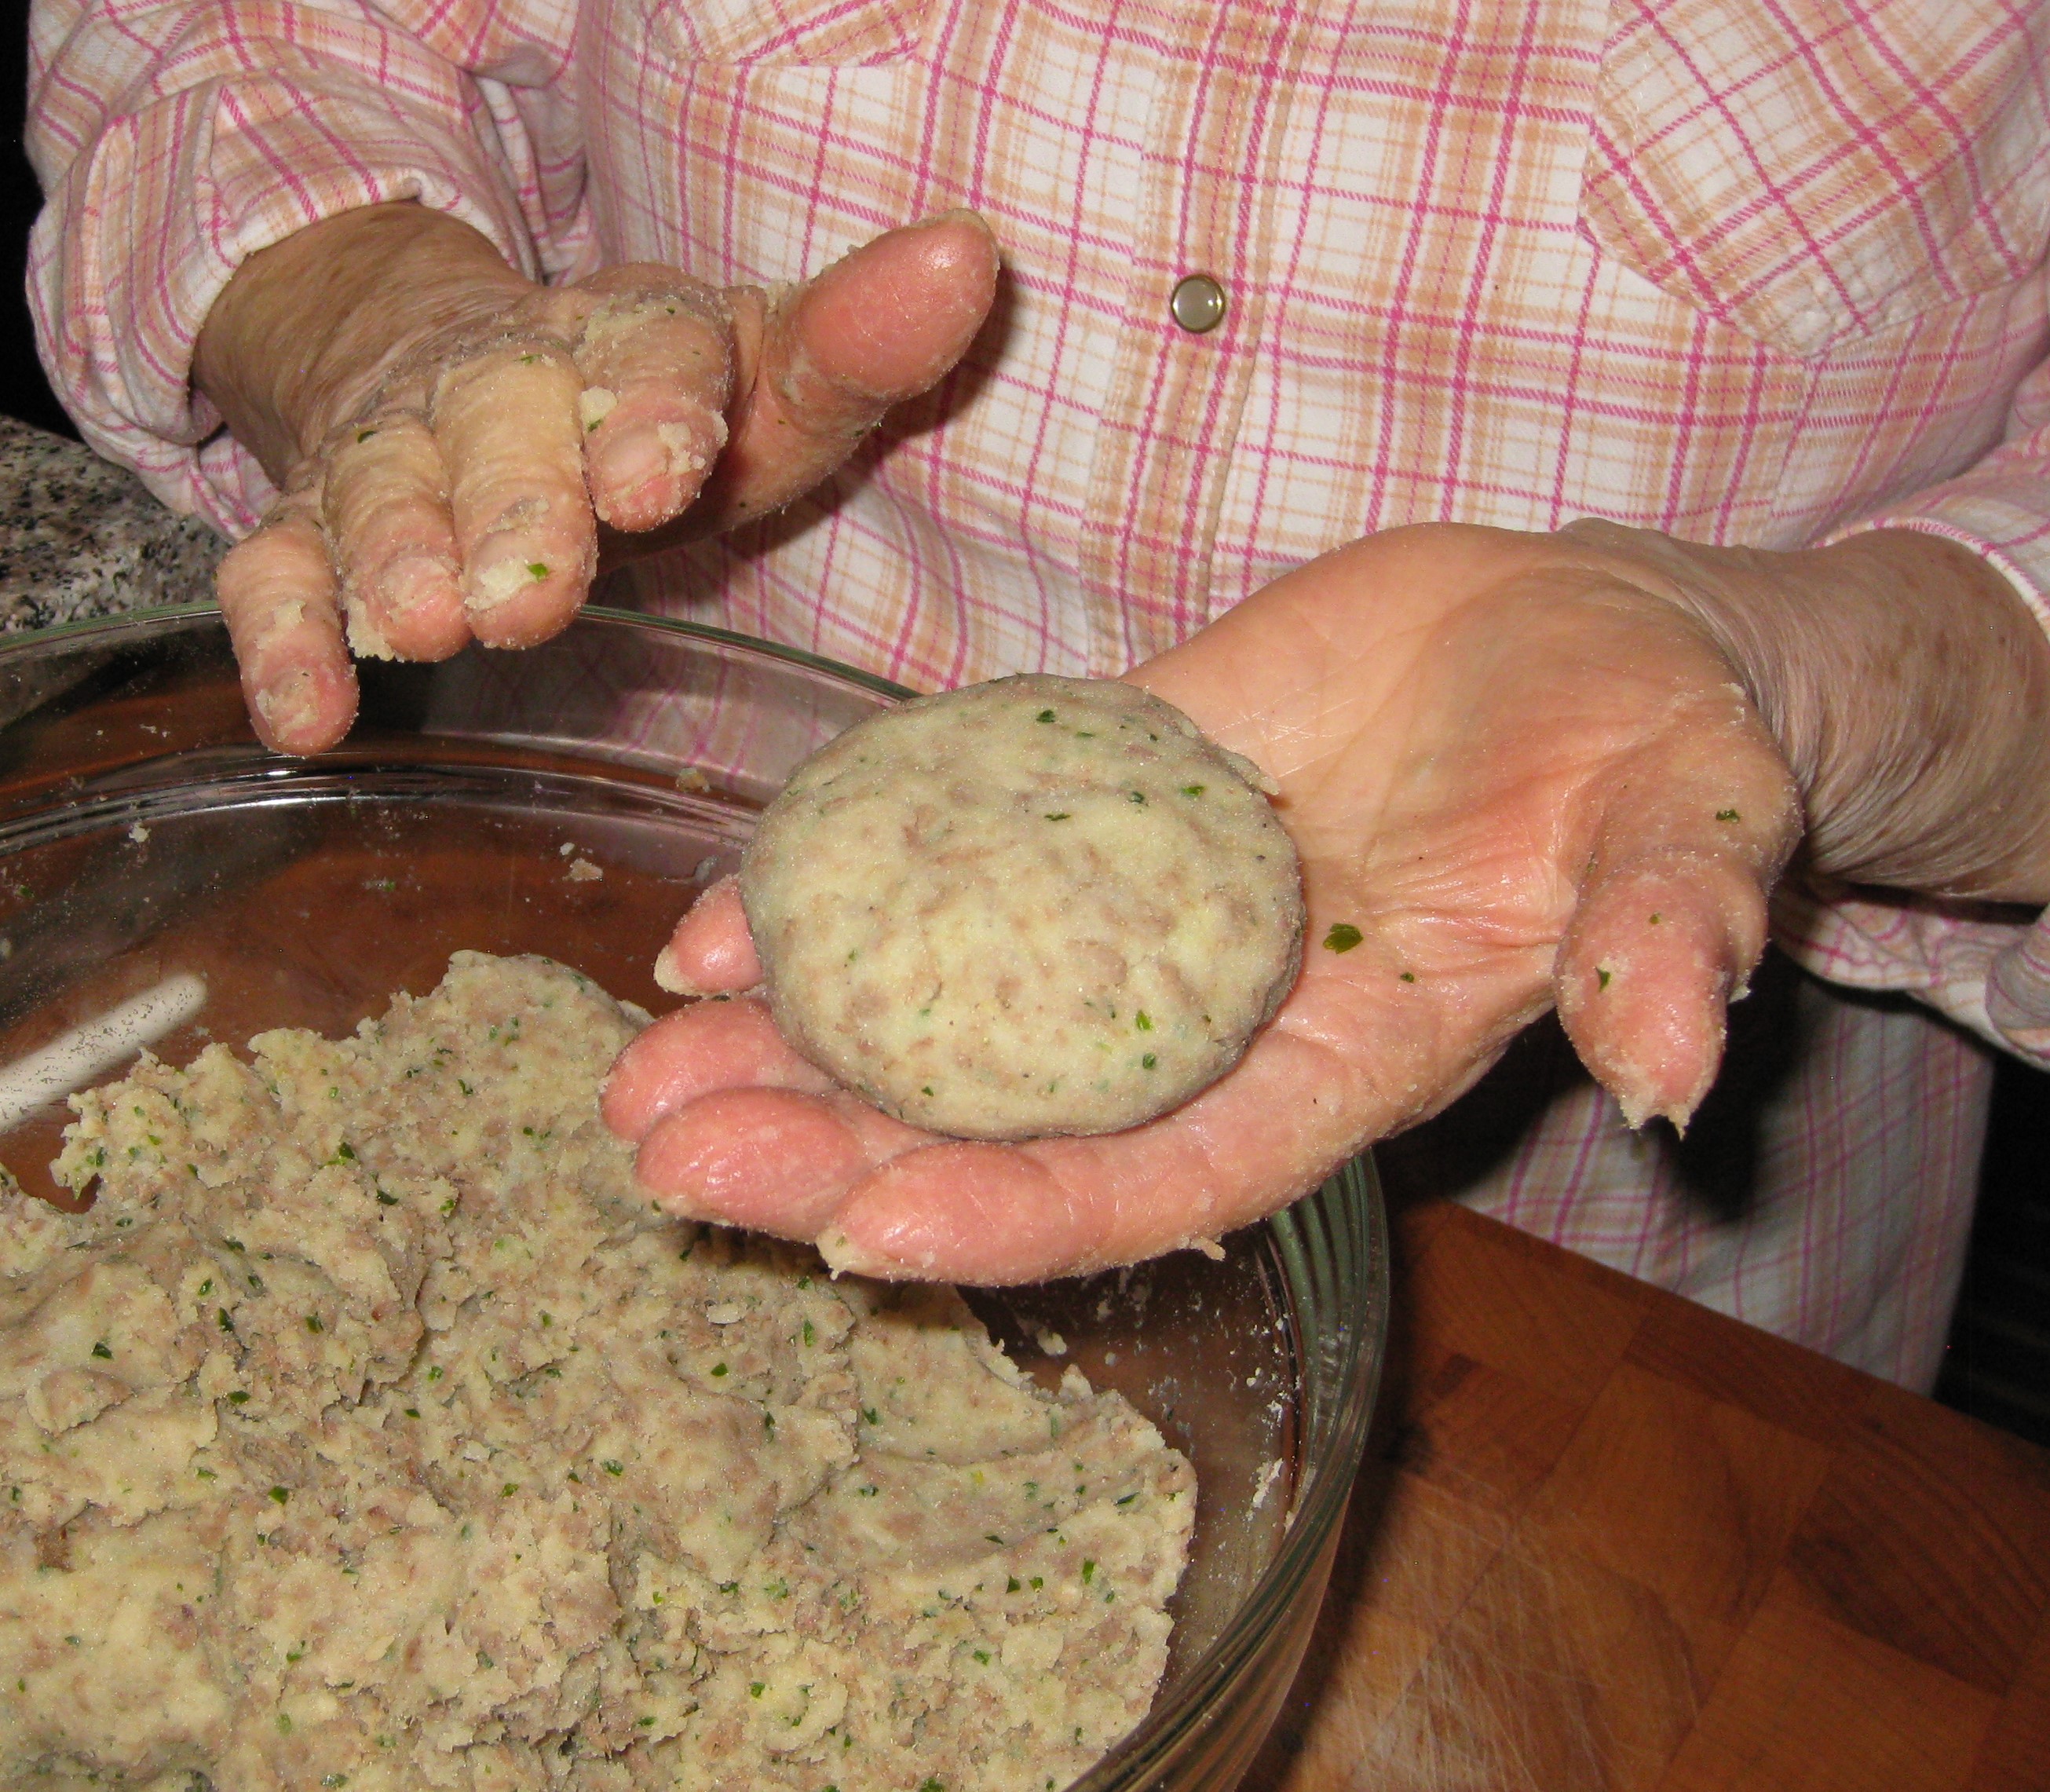
  12. Form the mixture into 16 balls and then flatten them slightly.
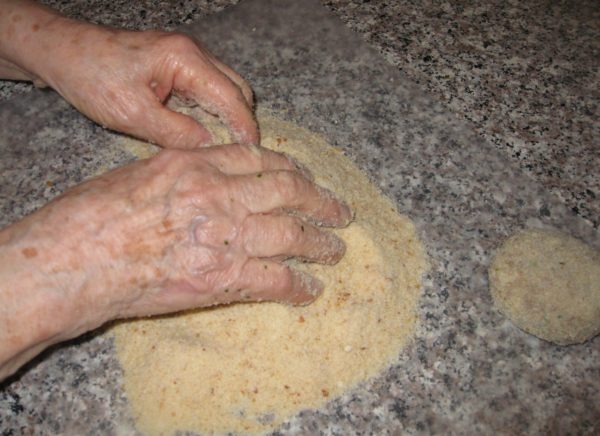
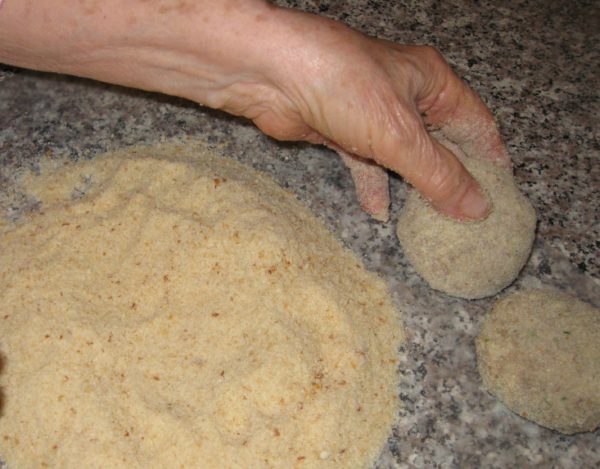
  13. Lightly roll the meatballs in fine dry breadcrumbs.
  14. Pour ⅛ inch of oil into a large sauté pan.
  15. Heat the oil on medium-high heat.
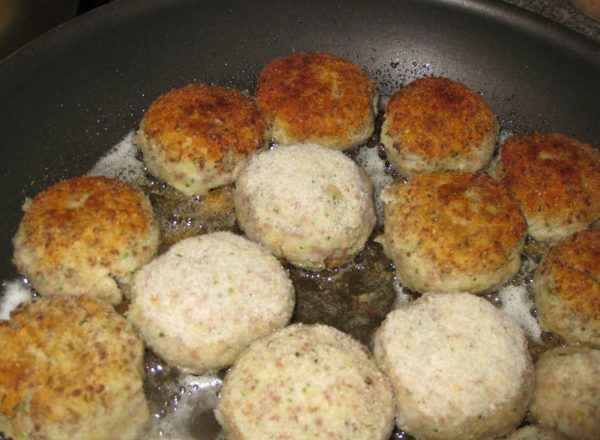
  16. Fry the meatballs in two batches, on medium-high, flipping once, until brown.
  17. Drain on paper towels.
  18. Serve warm or at room temperature.
Recipe Notes

Copyright © 2018 by VillaSentieri.com. All rights reserved.
Share this Recipe

Torta di Riso (Italian Rice Tart)

January 31, 2018

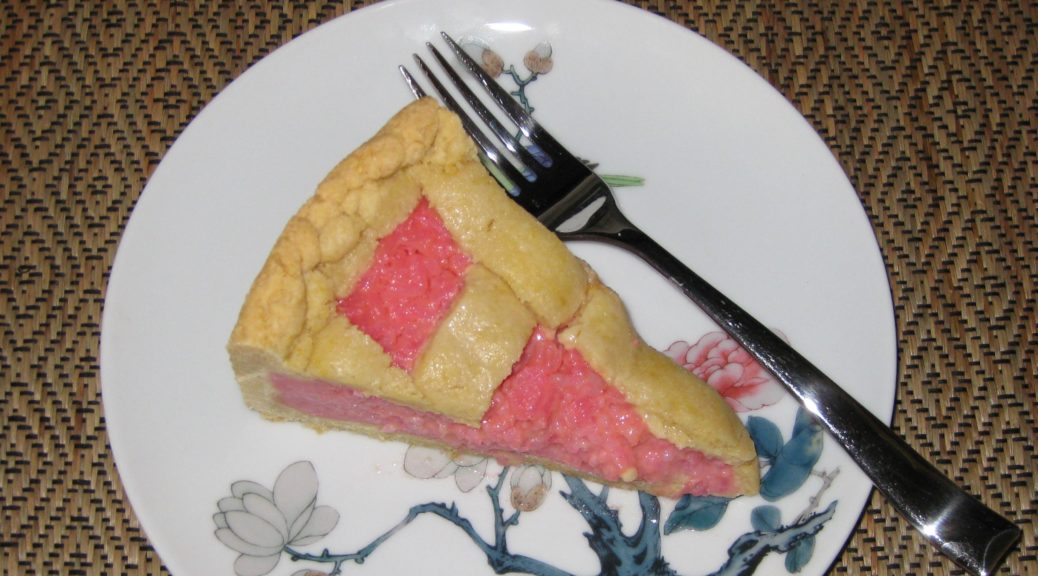
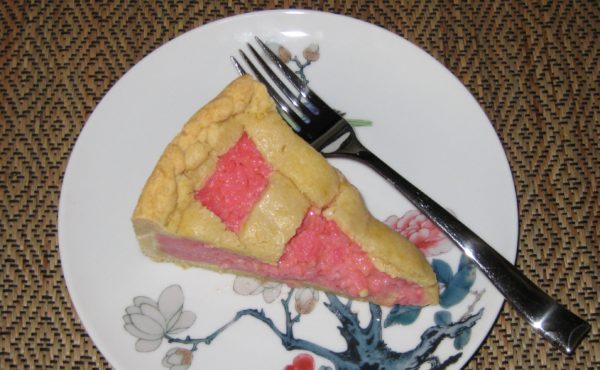
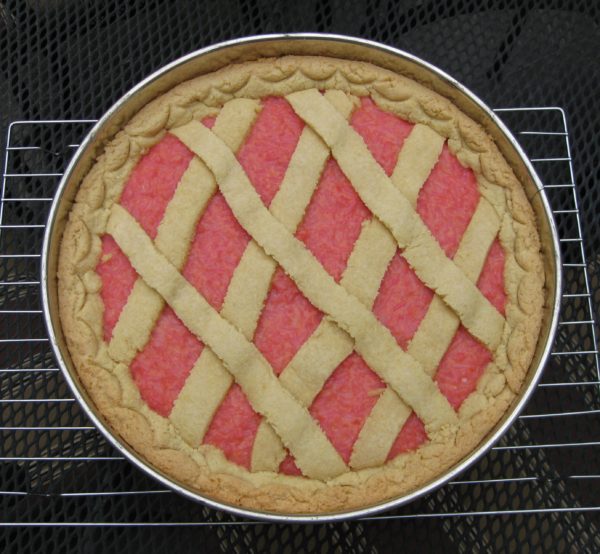
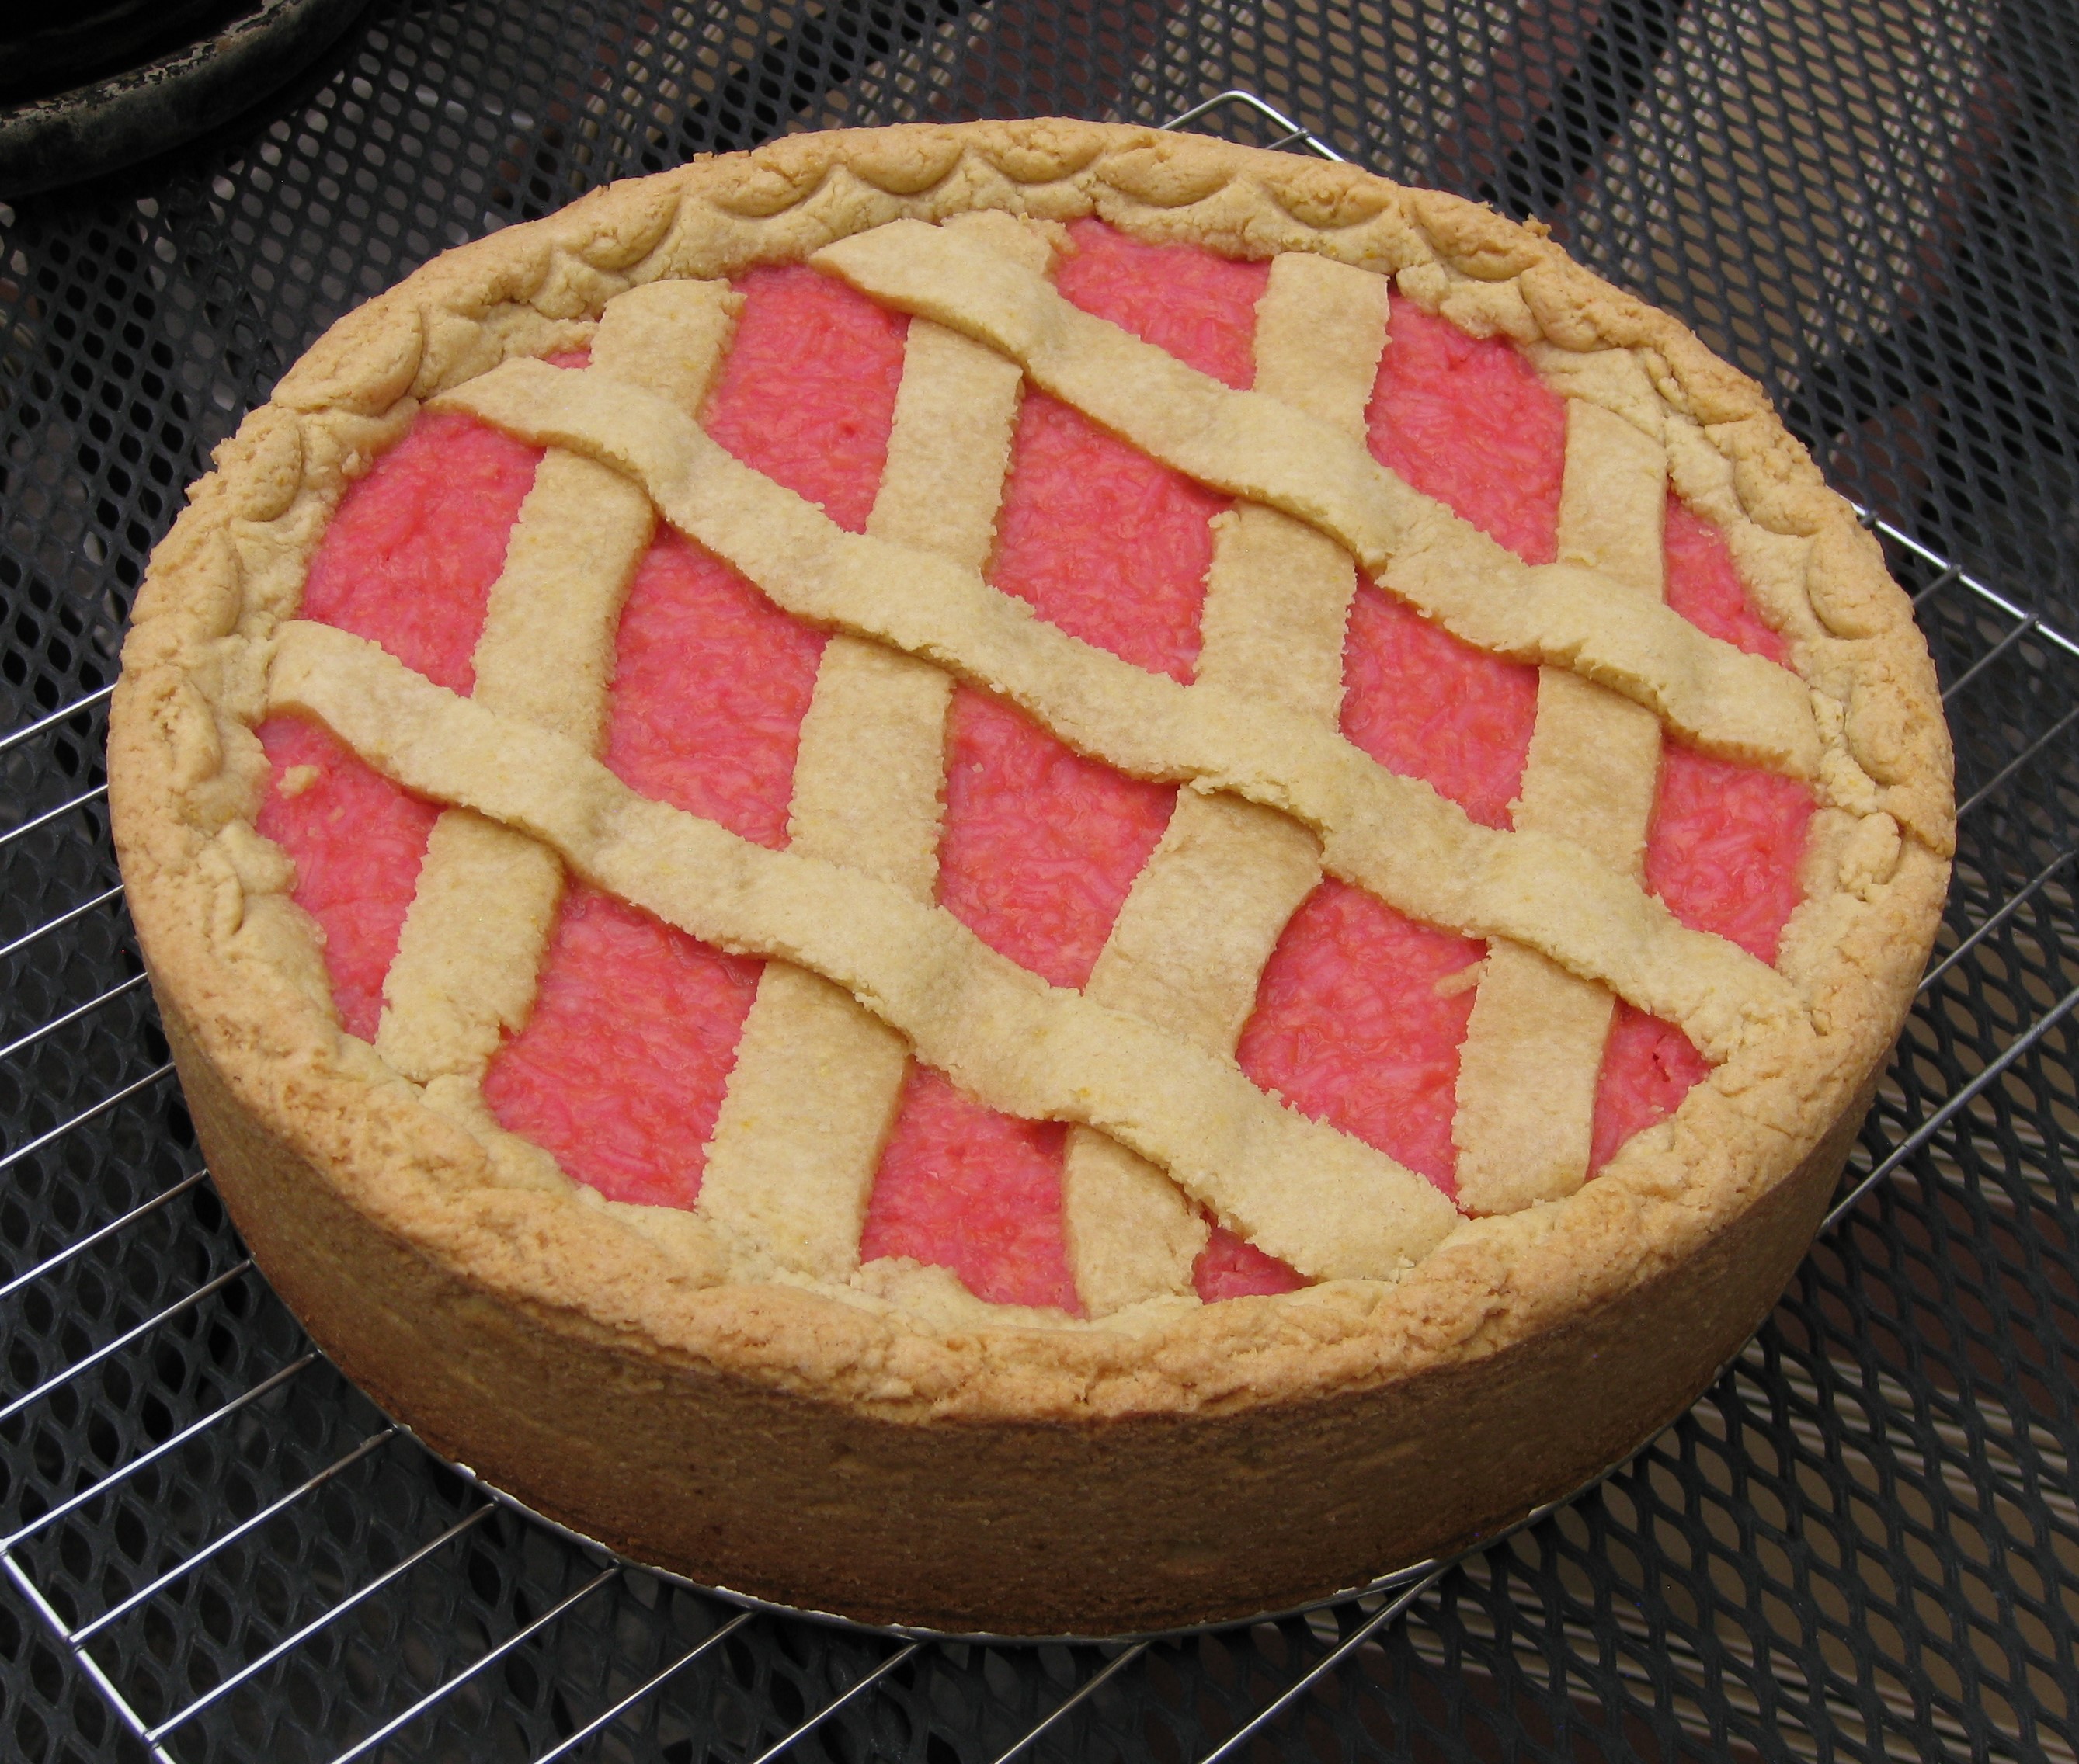
Torta di Riso is an Italian specialty.  It is basically a rice pudding baked inside of a pastry crust; a Rice Tart, so to speak.

I first had Torta di Riso more than 20 years ago while visiting Italy with my husband and his parents.

We ate meals at the homes of many relatives.  I often arrived with a spiral-bound notebook to jot down the inevitable recipes that would be discussed around the table or the recipes I begged for after being served something wonderful.  That notebook is a mashup of American and Metric measures and English and Italian words for ingredients.  It became a bible of sorts for recreating many of the dishes I ate on that trip.


Click HERE to join our mailing list and you’ll never miss a recipe again!


My father-in-law’s Zia (Aunt) Mery made the first Torta di Riso that I ever tasted.  Her recipe is below (adapted for American measures).

After having it at Zio (Uncle) Beppe and Zia Mery’s house, I started noticing Torta di Riso in many places in Tuscany.

My father-in-law with his Uncle Beppe and Aunt Mery, from whom this recipe for Torta di Riso originated in their garden in Tuscany, 1994.

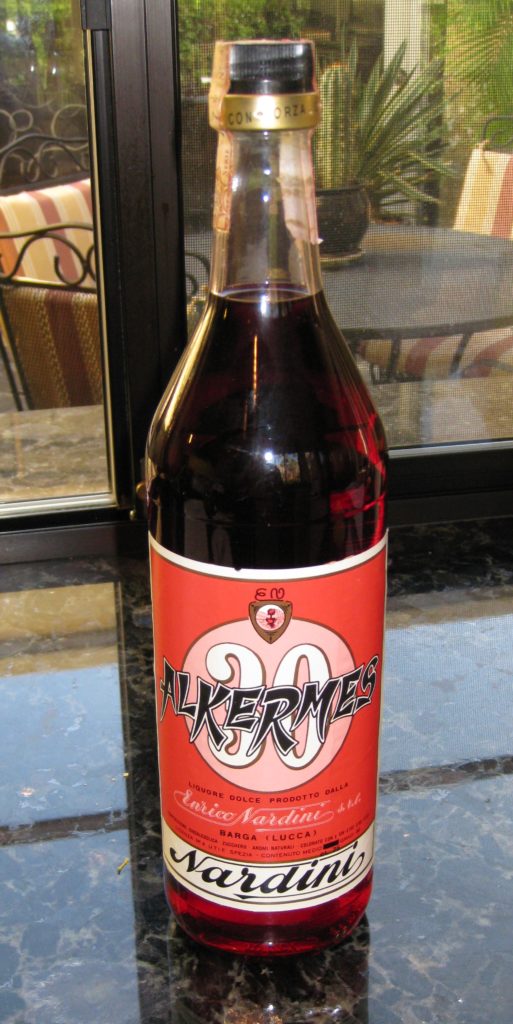
Alkermes liqueur originated in Tuscany so it is particularly appropriate to use it as the liqueur in Torta di Riso.  Alkermes is nearly impossible to find in the United States, however.  One can make a perfectly traditional Torta di Riso using rum in place of Alkermes but the resulting confection won’t be pink.

According to CooksInfo, “Alchermes was invented in the Frati Convent at Santa Maria Novella in Florence. Its making was kept secret, but the recipe was reputedly stolen by spies from the nearby city of Siena, which Florence was often at war with.”


Follow us on your social media platform of choice


Recipes for alkermes (also spelled alchermes) are closely guarded but the process basically involves infusing alcohol with spices and flavorings like cinnamon, cloves, vanilla, nutmeg, mace, cardamom, star anise, rosewater, and orange zest.  The red color comes from cochineal, an insect that is the foundation for natural red food coloring.  The resulting infused alcohol is sweetened and diluted with water.

The pastry crust is pasta frolla, a slightly sweetened pastry, leavened with baking powder, and often flavored with vanilla and lemon zest.  This is Mery’s recipe for pasta frolla but I also have one from Zia Fidalma that makes about half the quantity.

Torta di Riso was a big hit at my father-in-law’s birthday dinner last week. So were the cocktails, wine, and champagne!

If you don’t have access to Alkermes, you can use rum.  In fact, torta di riso is not always pink.  Many that I saw in Italy were white.

If you want to try to make your own Alkermes you can find a recipe here.  Amazon even sells the dried cochineal insects that provide the traditional scarlet color.


If you have a favorite family recipe and a bit of a story to tell, please email me at santafecook@villasentieri.com and we can discuss including it in the blog. I am expanding the scope of my blog to include traditional recipes from around the country and around the world. If you haven’t seen Bertha’s Flan or Melinda’s Drunken Prunes, take a look.  They will give you an idea of what I’m looking for.


Print Recipe
Torta di Riso (Italian Rice Tart)
This classic Italian dessert is basically a rice pudding baked inside of a pastry crust. Alkermes is a traditional Tuscan liqueur used in a number of sweets, including torta di riso, for its color and spice-like flavor. If you don’t have Alkermes, use rum. Not all versions of torta di riso are brightly colored. Vanilla powder is a natural vanilla product, not artificial. Use vanilla extract if vanilla powder is not available.
Votes: 0
Rating: 0
You:
Rate this recipe!
Cuisine Italian
Prep Time 30 minutes
Cook Time 75 minutes
Passive Time 30 minutes
Servings
people
Ingredients
Pasta Frolla
Rice
Cuisine Italian
Prep Time 30 minutes
Cook Time 75 minutes
Passive Time 30 minutes
Servings
people
Ingredients
Pasta Frolla
Rice
Votes: 0
Rating: 0
You:
Rate this recipe!
Instructions
Pasta Frolla
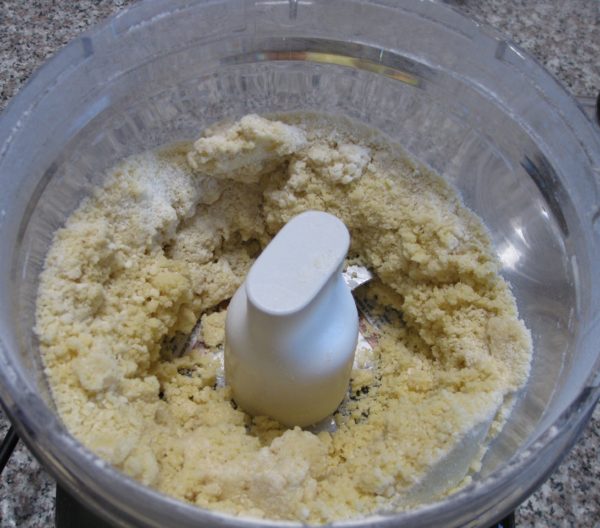
  1. Blend the flour, sugar, baking powder, vanilla powder, salt and lemon zest in a food processor until combined.
  2. Add the butter, cut in pieces, and blend till well combined.
  3. Add the eggs and blend till the pastry almost forms a ball.
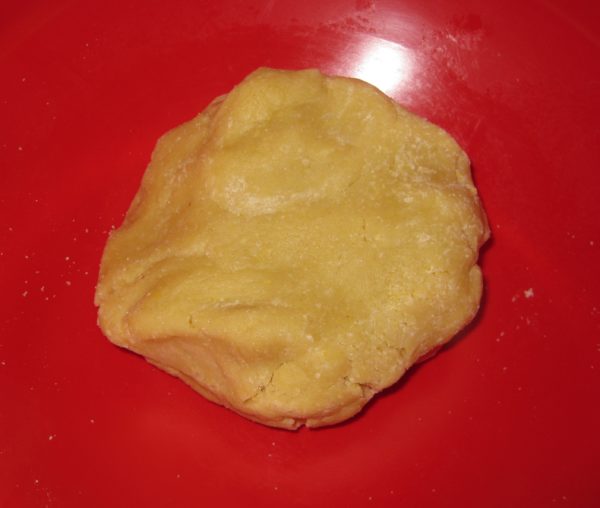
  4. Remove the pastry from the food processor and use your hands to press everything into a single ball.
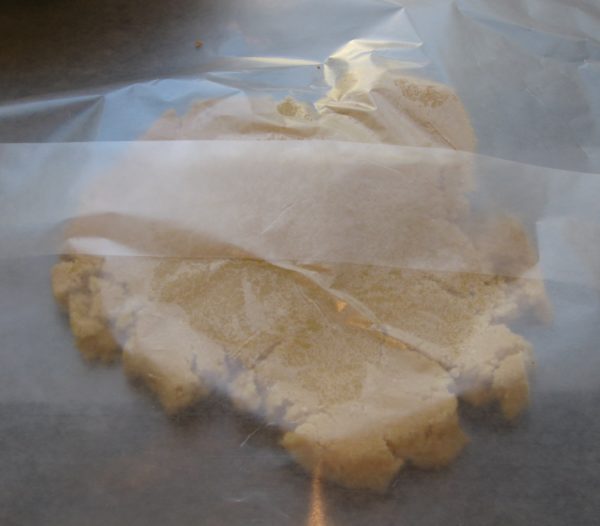
  5. Wrap the pastry in waxed paper and refrigerate for an hour before using.
Rice
  1. Wash and drain the rice.
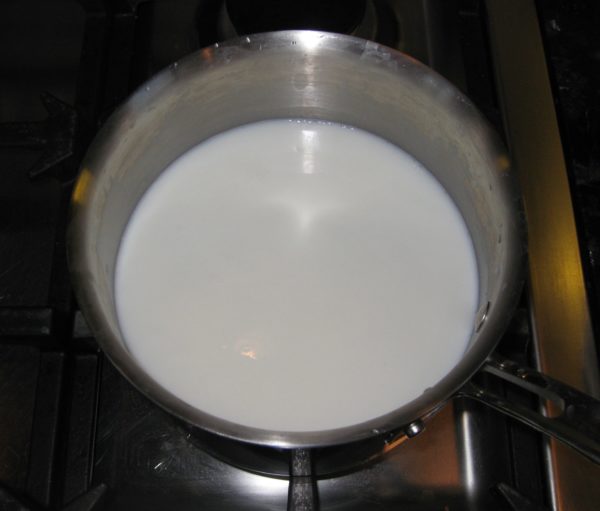
  2. Combine the rice, water and milk in a heavy-bottomed sauce pan.
  3. Bring the rice to a boil.
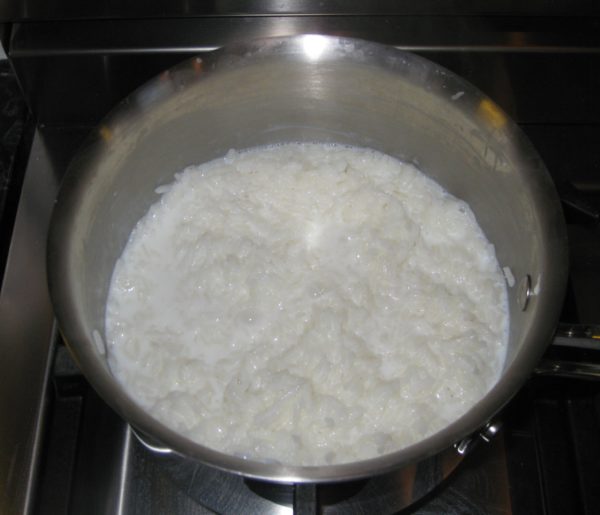
  4. Cover the rice and simmer, stirring frequently, until cooked and the liquid is almost completely absorbed. If the rice does not have the consistency of thick oatmeal, add a bit more milk at the end to make it creamy.
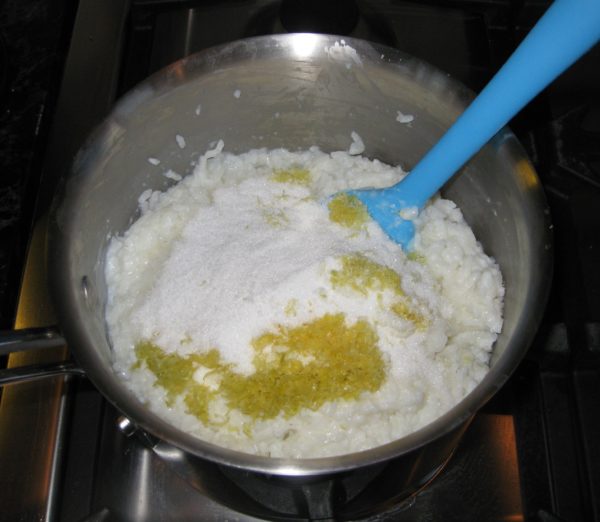
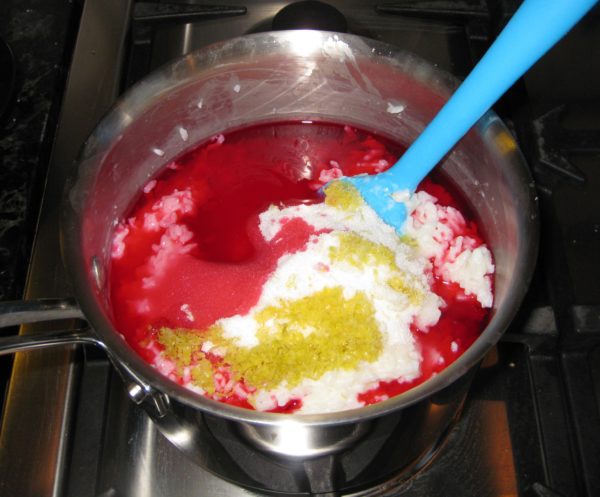
  5. Mix the sugar, lemon zest, and Alkermes and/or rum into the rice.
  6. Pour the rice into a bowl and cool, uncovered, stirring occasionally.
Assembly and Baking
  1. Cut off a small piece of the pastry to make a lattice top and refrigerate.
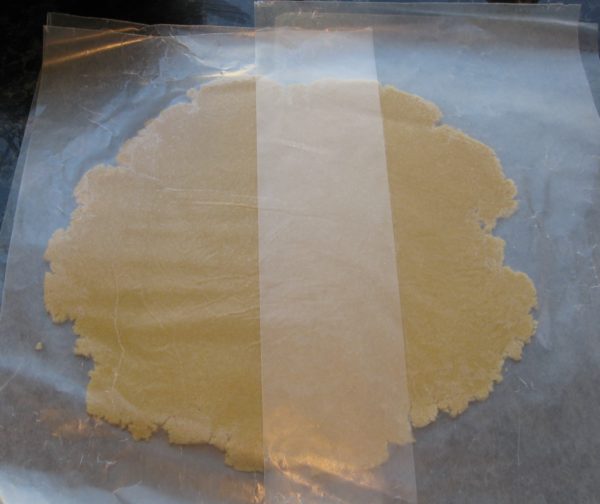
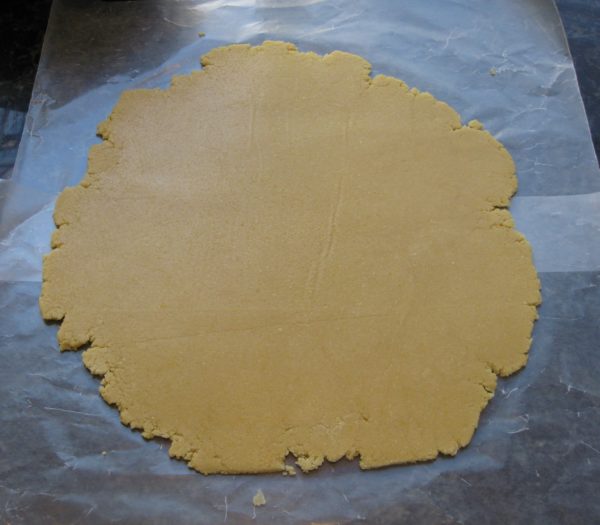
  2. Roll the remaining pastry between waxed paper, turning often, until it is large enough to cover the bottom and sides of a 10 inch springform pan.
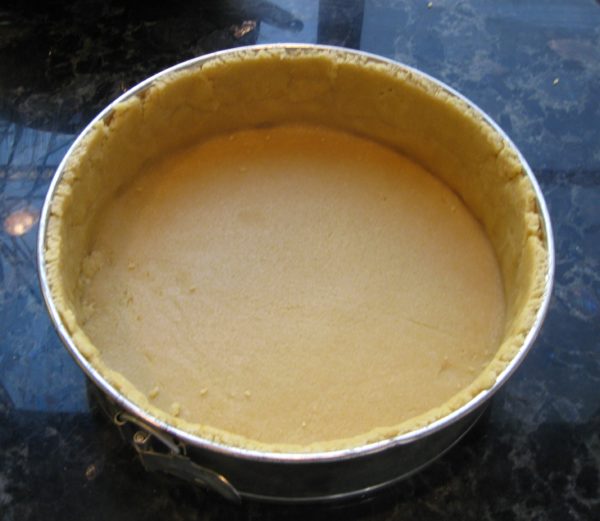
  3. Line a 10" springform pan with the pasta frolla.
  4. Cut the pastry even with the top of the pan. Add the scraps to the pastry you have reserved for the lattice.
  5. Beat the egg and egg yolks to combine.
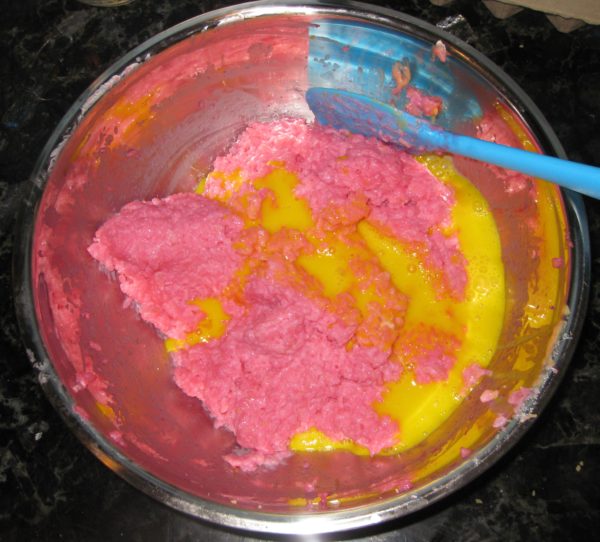
  6. Stir the beaten eggs into the cooled rice.
  7. Pour the rice into the pastry lined pan.
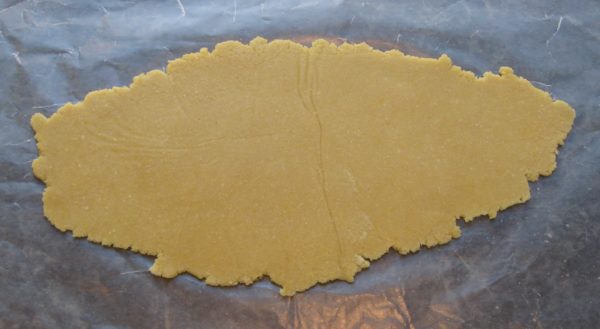
  8. Roll out the pastry reserved for the lattice.
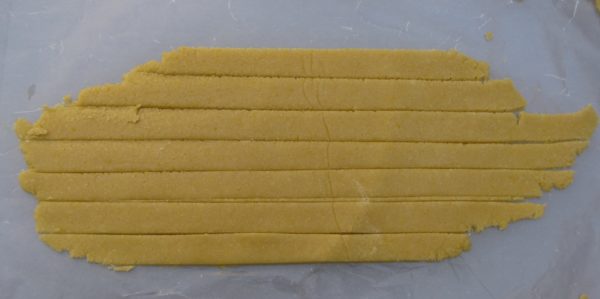
  9. Cut seven or eight strips, approximately 1/2 inch wide.
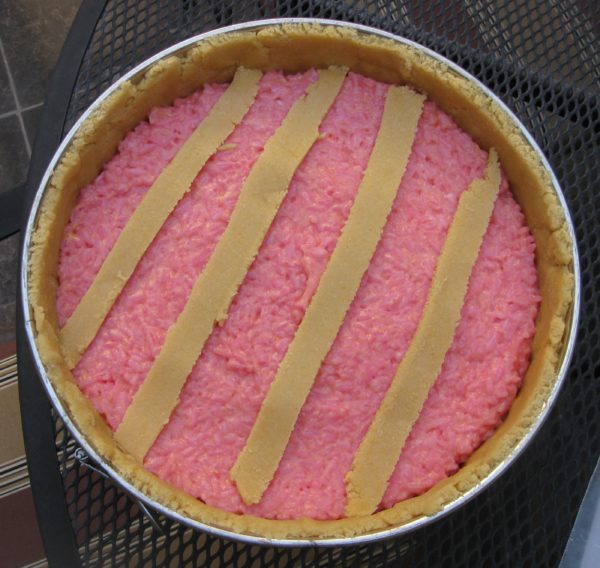
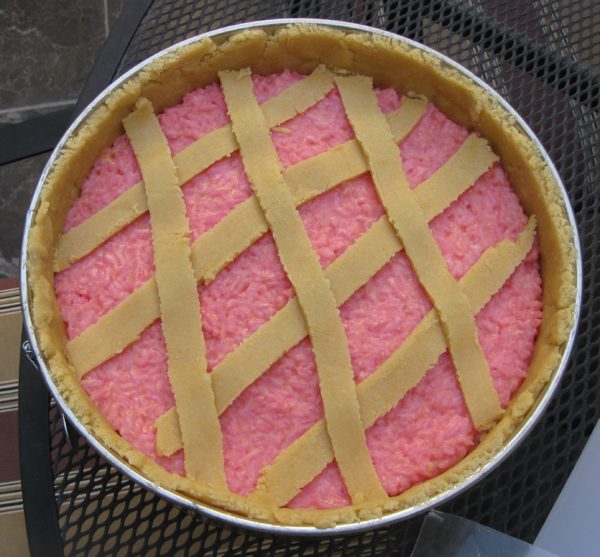
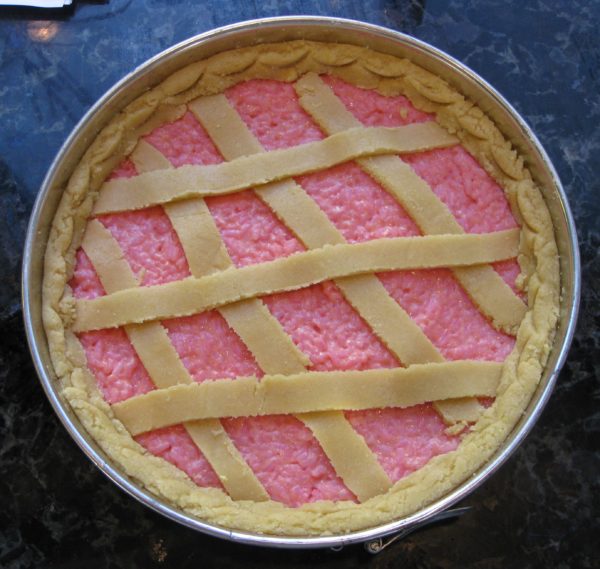
  10. Arrange the strips into a lattice on top of the rice. Cut off the excess.
  11. Roll the pastry lining the sides of the pan down to the top of the rice and form a decorative edge.
  12. Bake at 350°F until the crust is lightly browned and the rice is barely jiggley in the center, approximately 30-45 minutes.
  13. Cool on a rack for approximately 20 minutes.
  14. Remove the side of the pan and cool completely.
Recipe Notes

Copyright © 2018 by VillaSentieri.com. All rights reserved.
Share this Recipe

Crostoli (Italian Fried Pastries)

December 26, 2017

I didn’t grow up eating crostoli.

That doesn’t mean we didn’t have our own version of fried dough.

Unlike crostoli, which are thin and crispy and leavened with baking powder, I grew up eating ovals of fried yeasted bread dough sprinkled with granulated sugar.

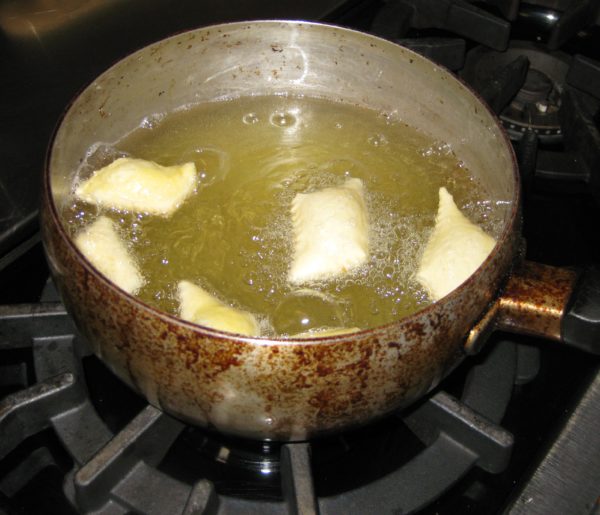
Frying bread dough and sprinkling it with granulated sugar is a common among Southern Italians. My mother had a name for it that I’ve never heard anywhere, it sounded something like “pitla.” I started doing some research. The word “pitta” is still used in Calabria, where my mother’s family originated, for various types of dough-based foods, including some that are quite flat. The word “pitta,” which I believe derives from the Greek word “pita,” became the word “pizza” in standard Italian. I’m guessing that “pitla” is a dialectical variation of “pitta.”


Click HERE to join our mailing list and you’ll never miss a recipe again!


One of the positive outcomes of doing research on Italian fried dough products is that I came across a wonderful Wikipedia page on fried dough from around the world.  Check it out here.

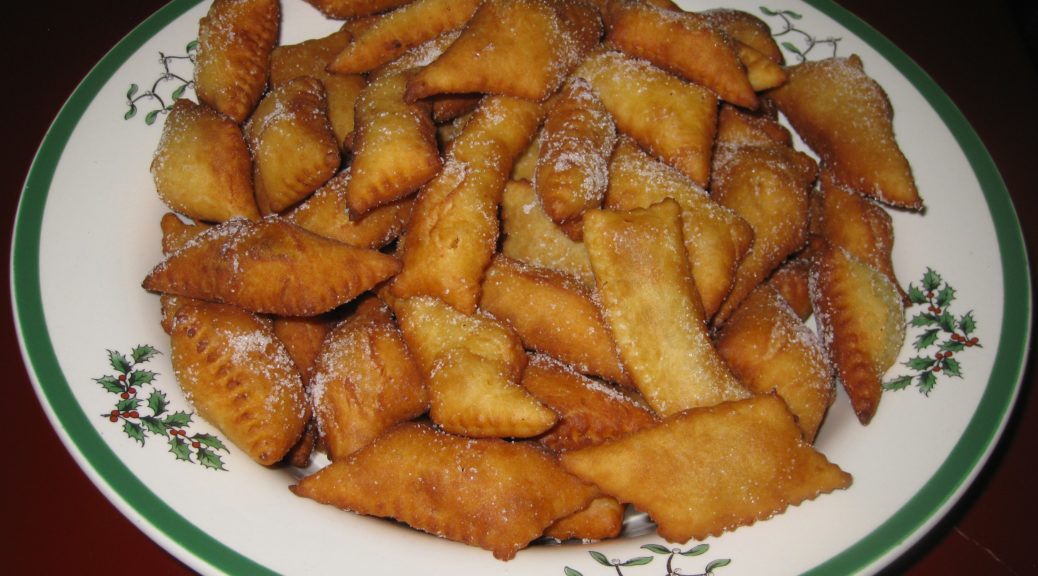
Crostoli (or crostui in the Friuli-Venezia-Giulia region of Italy where my mother-in-law was born) are traditionally served at Christmastime. My mother-in-law says that they would sometimes have them at other times of the year when they “wanted something sweet” that was simple to make.

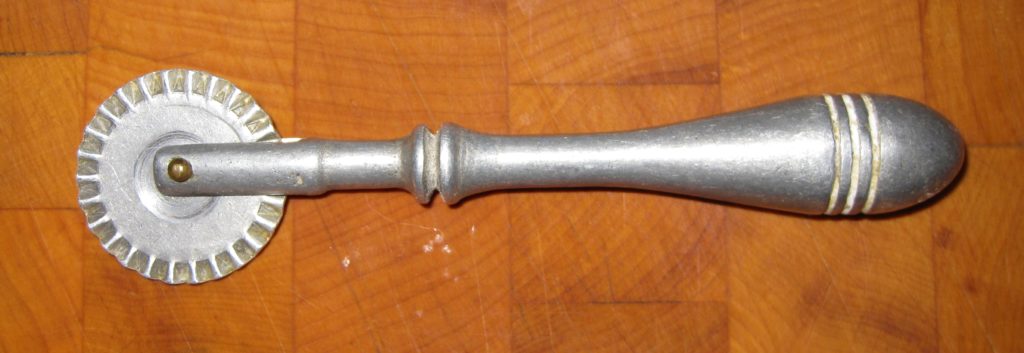
My mother-in-law’s zig-zag pastry cutter

Not growing up eating crostoli, I asked my husband to tell me what he remembered.

I got two sentences:
“We always had them at Christmas.”
“They’re not my favorite.”

There you have it, the entirety of the crostoli story in 10 words.

I even waited a couple of days and asked him again if he remembered anything else about crostoli. “Nope” was the answer.

Now we’re up to 11 words.


Follow us on your social media platform of choice


That might have been the end had it not been for Christmas Eve. The morning of Christmas Eve, after I mixed dough for panettone, my mother-in-law and I made up a batch of crostoli to take to Christmas Eve dinner at the home of our friends Rich DePippo and Doug Howe.

Rich’s grandfather was from Domegge di Cadore in the Veneto region of Italy, just next door to Friuli-Venezia-Giulia where my mother-in-law was born. In fact, Domegge is about 100 kilometers from Treppo Grande, my mother-in-law’s home town.

As it turns out, Rich and his mother, visiting for Christmas, also made crostoli the morning of Christmas Eve.

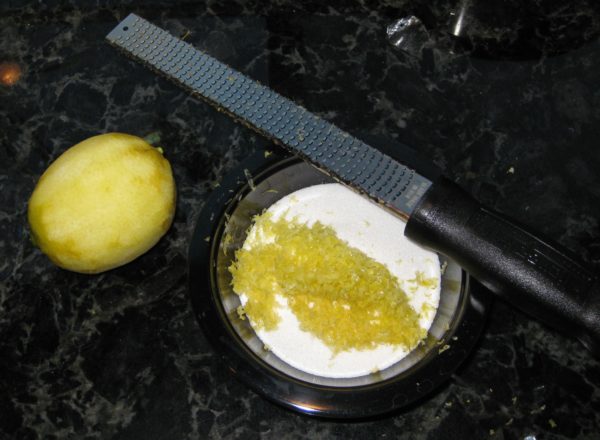
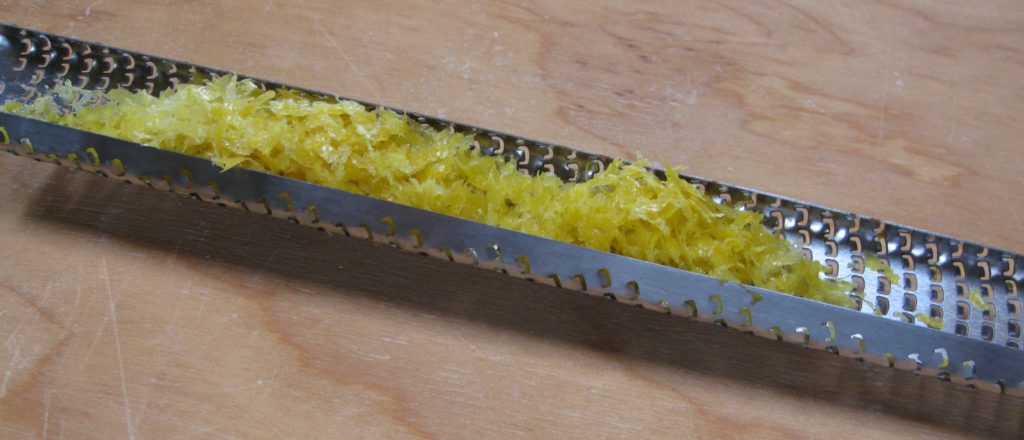
Using a Microplane grater makes fast work of zesting lemons

There were dueling crostoli served for dessert (along with pizzelle, nut roll, and biscochitos).

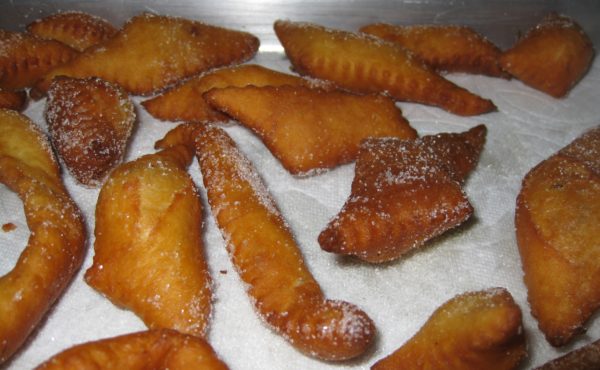
Rich’s were long and thin, with a slit cut in the middle through which one end of the dough was twisted before frying. This seems to be the most traditional shape that I’ve seen in my research, though Lidia Bastianich, who is also from very near where my mother-in-law was born, ties hers in a knot.

Having seen pictures of crostoli twisted and tied before embarking on making them with my mother-in-law, I asked her why hers were just left as irregular squares (well, quadrilaterals, really) of dough. That’s the way her mother made them was, of course, the first response. After which she added that she liked them to puff up, which they don’t do if they’re twisted or tied.

The other difference in the crostoli is that Rich used anisette to flavor his whereas my mother-in-law used lemon zest and vanilla.

The anisette was definitely a new twist. In researching crostoli, I’ve seen citrus, usually lemon or orange, as the most common flavoring.  Often vanilla is added; sometimes brandy or rum. Never have I run into a recipe with anisette. Hopefully Rich will weigh in on his family’s recipe for crostoli and how they came to use anisette for flavoring.

Meanwhile, enjoy!


If you have a favorite family recipe and a bit of a story to tell, please email me at santafecook@villasentieri.com and we can discuss including it in the blog. I am expanding the scope of my blog to include traditional recipes from around the country and around the world. If you haven’t seen Bertha’s Flan, it will give you an idea of what I’m looking for.


Print Recipe
Crostoli (Italian Fried Pastries)
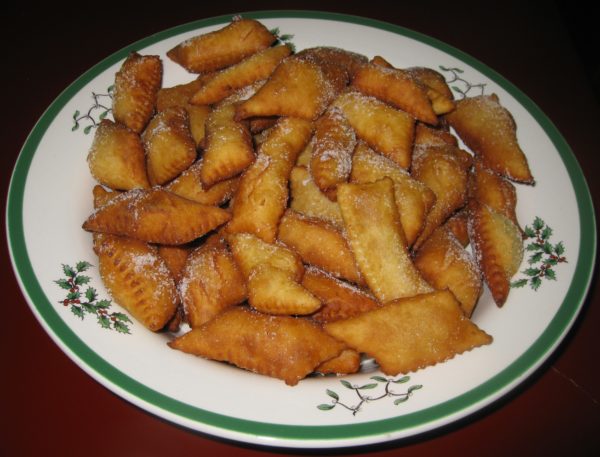
Crostoli are pastries that re rolled thin, fried, and dusted with granulated sugar. Powdered sugar melts and becomes sticky so granulated sugar is traditional. Crostoli are usually larger than the ones shown here, something like 1 ½ inches by 3 or 4 inches. We made these smaller because they were being served as part of a dessert buffet at the end of a large meal.
Votes: 0
Rating: 0
You:
Rate this recipe!
Cuisine Italian
Prep Time 30 minutes
Cook Time 45 minutes
Servings
Cuisine Italian
Prep Time 30 minutes
Cook Time 45 minutes
Servings
Votes: 0
Rating: 0
You:
Rate this recipe!
Instructions
  1. Combine flour, sugar, baking powder, lemon zest and salt in a large bowl. Mix well.
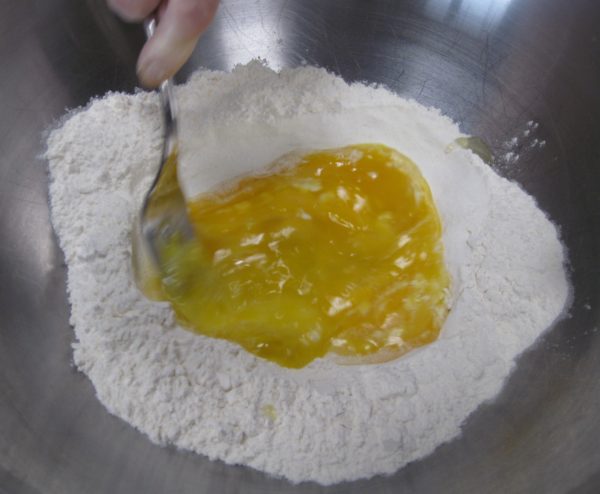
  2. Make a well in the center and add eggs. Using a fork, begin to incorporate the flour.
  3. Add vanilla extract, lemon juice and incorporate.
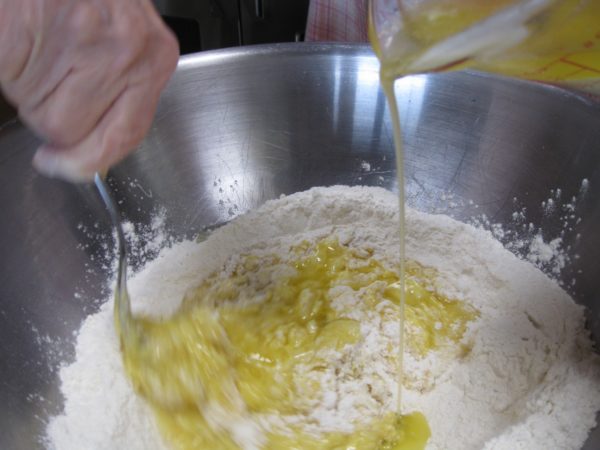
  4. Add melted butter.
  5. Mix to form a soft, non-sticky dough.
  6. When the dough becomes too stiff to mix with a fork, use your hand. Do not over knead.
  7. Cut into four or five pieces.
  8. Roll out less than 1/8 inch thick, dusting with a little flour as needed to keep the dough from sticking.
  9. Cut into rectangles, approximately 1 1/2 inches by 3 inches, with a zig-zag cutter.
  10. When all are cut, deep fry until brown. If you are not comfortable doing this from experience, use a thermometer and keep the oil at about 350 degrees Farenheit.
  11. Sprinkle with granulated sugar as soon as they are removed from the oil so the sugar sticks.
  12. They are best the same day but will stay fresh at least one day at room temperature, loosely covered.
Recipe Notes

Copyright © 2017 by VillaSentieri.com. All rights reserved.
Share this Recipe

Crostata di Noci (Italian Walnut Tart)

December 20, 2017

One evening in 1996 my husband and I were sitting with his parents in a dimly-lit bar in Venice. We were all chatting. I was drinking grappa, as was my father-in-law. Then the desire for dessert hit me. If you’ve spent any time in Italy you know that at no point in the day are you actually hungry. There’s just too much wonderful food around to not partake in it. So the desire for dessert had absolutely nothing to do with the need for more calories.

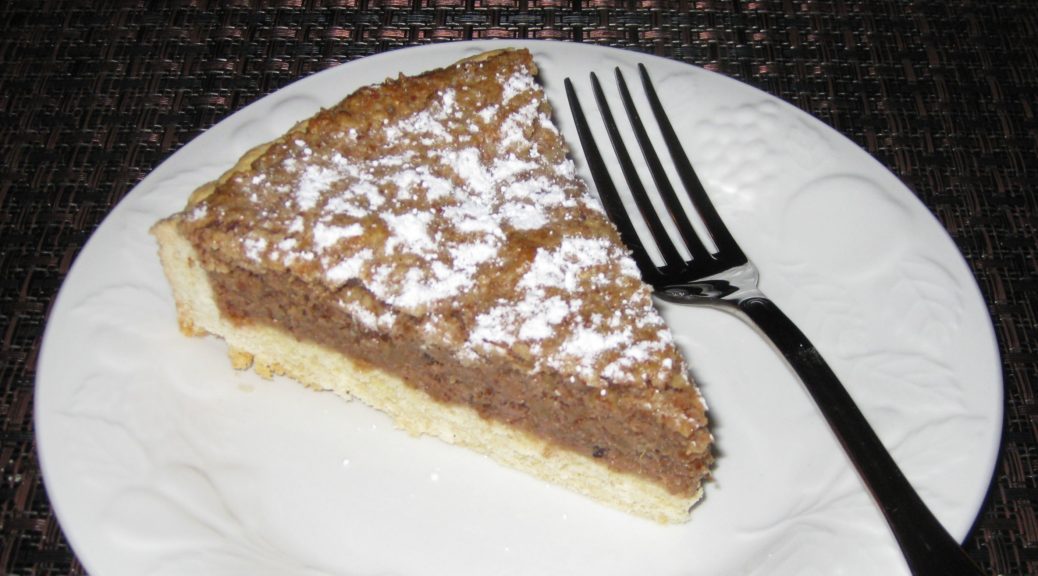
Going for something new, I selected Crostata di Noci. I was absolutely amazed by what I got.

The pastry was standard-issue Italian pasta frolla, a slightly sweet leavened crust that’s like a cross between shortbread cookies and a dense cake. The filling, however, tasted for all the world like nut roll, one of my favorite pastries but one that is also very time-consuming and frustrating to make.

In that instant, it all made sense. Nut roll hails from Eastern and Central Europe (as does another of my favorites, the poppy seed roll).  In northeast in Italy there is a lot of Eastern European influence. Suddenly, taking nut roll filling and putting it in a pasta frolla case meant I could have something that tasted just like a nut roll but without all the frustration of actually making nut roll.


Click HERE to join our mailing list and you’ll never miss a recipe again!


Now, Crostata di Noci will never actually replace “real” nut roll just like making bread in my bread machine won’t replace making bread by hand. But, with a bread machine, I have homemade bread every day which wouldn’t be the case if I had to make every loaf by hand. With less than half-an-hour’s active time, I can indulge my taste for nut roll any time I want!

Around the holidays nut rolls were ubiquitous in my home town but my mother and my Aunt Margie made the best nut rolls I have ever had. Largely this is because they both put in a large proportion of sweetened nuts to dough. Honestly, there was just enough dough to roll pinwheel fashion and hold the whole thing together. Many other nut rolls were bready by comparison.

To be sure, my mother’s filling differed from my Aunt Margie’s. I’m not sure how each of them came by their respective recipes but my suspicion is that Aunt Margie’s came from her mother or another Italian relative or friend because it contained orange juice. The use of citrus in various pastries is common in Italy. Pasta frolla, for example, is traditionally flavored with lemon zest and vanilla. I am guessing my mother’s recipe came from my father’s mother or someone on the Slovak side of my family because the liquid in the nuts was milk and not orange juice.


Follow us on your social media platform of choice


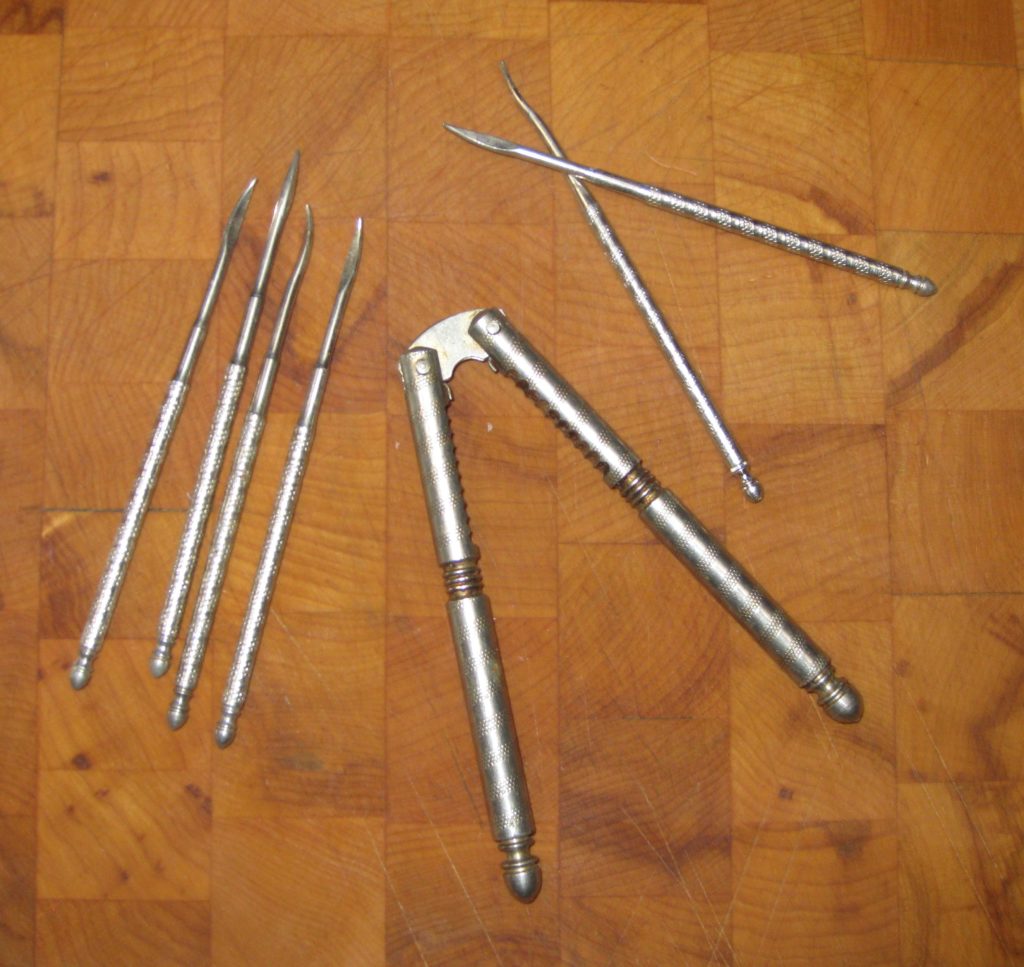
Separate from actually eating nut roll, there was this whole aura around making them (at least there was when I was young!). Buying shelled walnuts and using a food processor make quick work of preparing the nuts but in the 1960s, making nut roll started with my mother buying a large quantity of whole walnuts. We would sit around the table and crack the nuts open then extract the nutmeats. I still have the nutcracker and picks that we used.

My parents’ nutcracker and picks

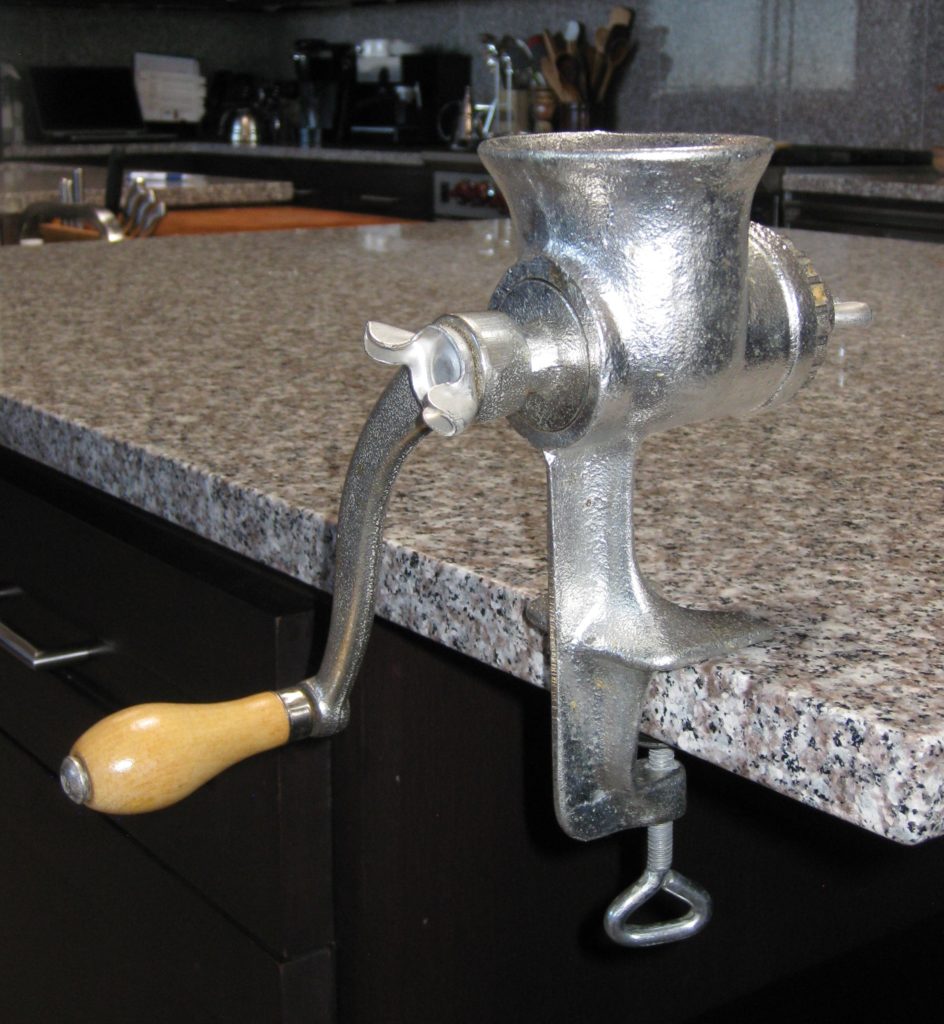
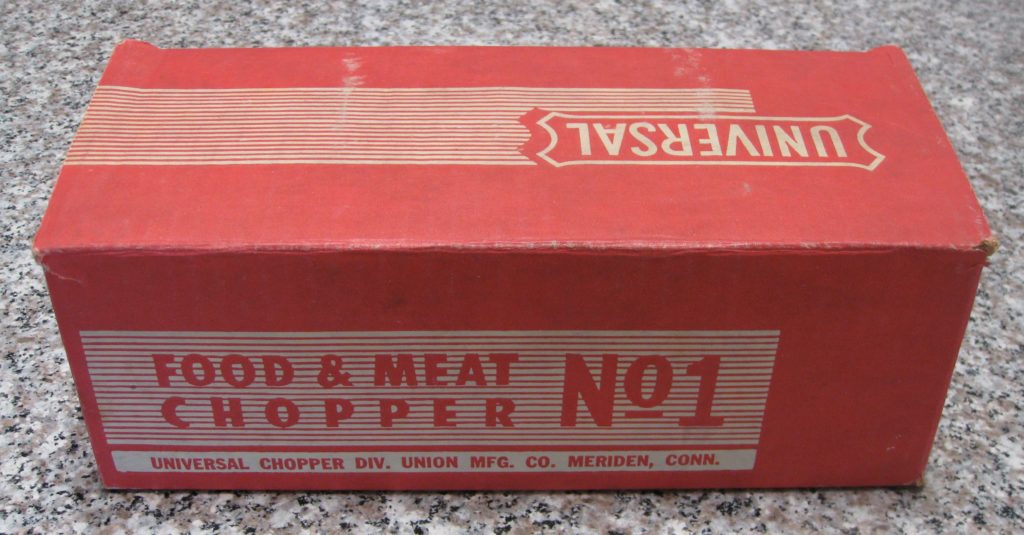
After all the nuts were shelled, they needed to be ground. We did this in a hand-crank grinder of the same type used to grind meat for sausage. As a kid, I got to turn the crank on the grinder! I no longer have my mother’s grinder as it got rusty from being stored in the basement but I have my own that is pretty much identical. I got it when I was in college.

The hand-crank grinder I got while in college

After the excitement (well, as a kid it was pretty exciting!) of shelling and grinding the nuts we all kind of abandoned my mother who started the laborious process of actually making the nut rolls. That is definitely not a job for amateurs. The dough had to be very thin but just thick enough to contain the nuts. The nuts had to be moist, sweet, and generous in quantity compared to the amount of dough. Then the whole thing had to be rolled up and baked.

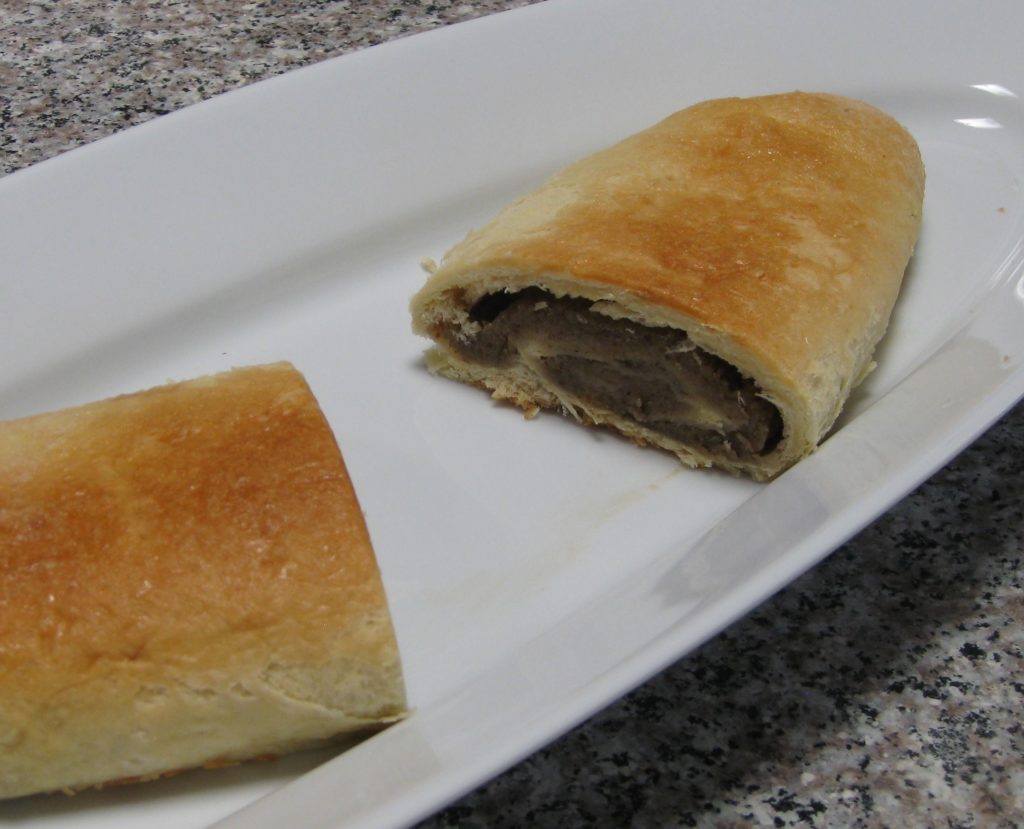
After my mother died, Aunt Margie started sending me nut roll every year. After Aunt Margie died, my cousin Donna (Aunt Margie’s daughter) picked up the nut roll mantle. The two nut rolls that I got this year will be carefully doled out over a few weeks, befitting their preciousness, starting on Christmas Eve!

This year’s nut roll from my cousin Donna.  Notice the large proportion of nuts to dough.

If you have a favorite family recipe and a bit of a story to tell, please email me at santafecook@villasentieri.com and we can discuss it. I am expanding the scope of my blog to include traditional recipes from around the country and around the world. Take a look at Bertha’s Flan.  It will give you an idea of what I’m looking for.


After returning from that trip to Venice I was determined to recreate Crostata di Noci. I whipped up a batch of Zia Fidalma’s pasta frolla and made a simple walnut filling with orange juice in a nod to the Italian origins of this particular pastry.

The first try was a winner and I haven’t really made any substantive changes in the recipe since. If one wanted a creamier filling, one could add a few tablespoons of butter but, honestly, the crostata is so rich that I haven’t felt the need to make it more so.

Until I tackle nut roll making 101 (which I swear I’m going to do one day soon!), I’ll have to settle for crostata di noci, and the occasional nut roll care package from my cousin!

Print Recipe
Crostata di Noci (Italian Walnut Tart)
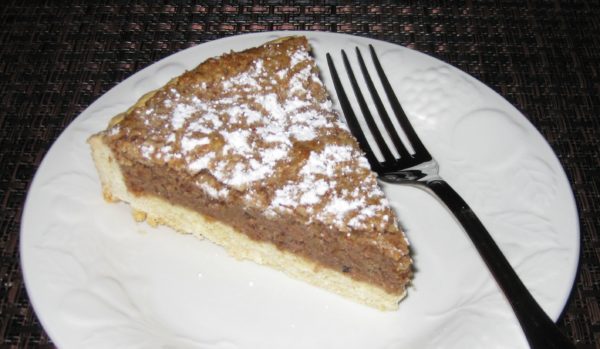
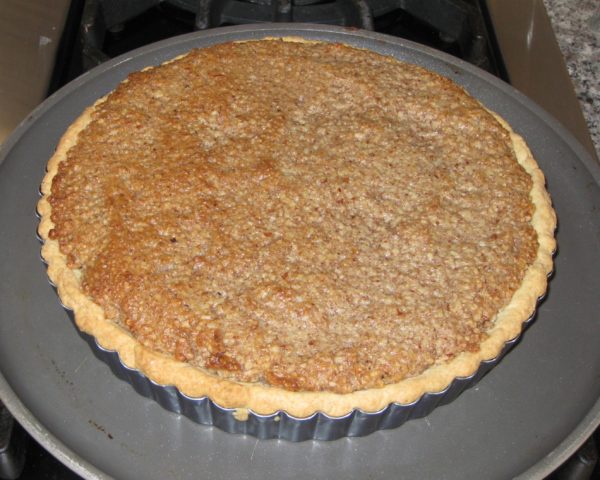
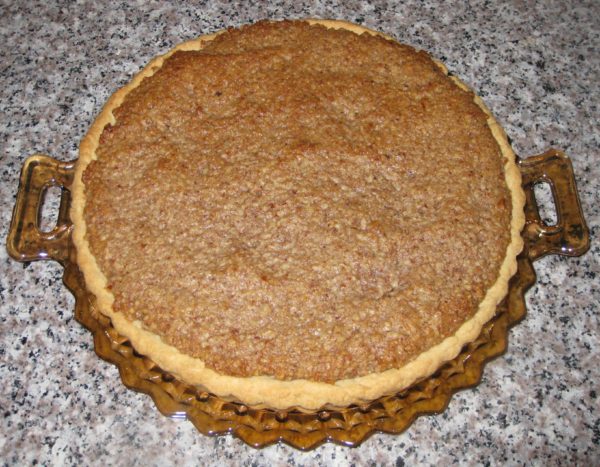
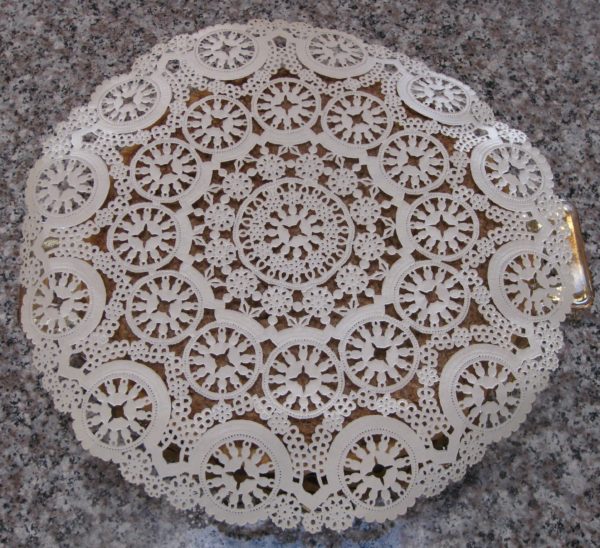
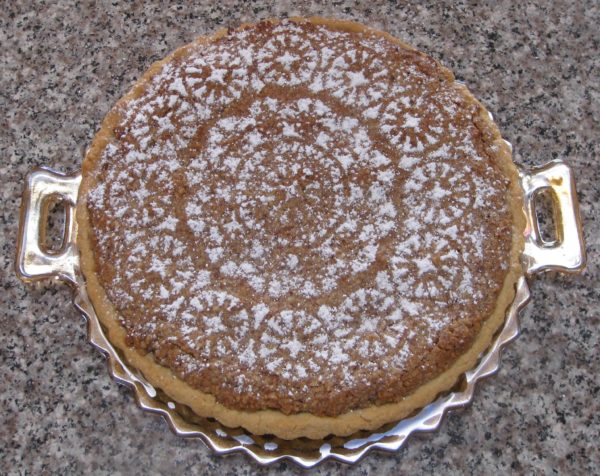
Lightly sweetened ground walnuts fill an Italian pasta frolla crust in this Venetian dessert. If you’re not a fan of walnuts you could use other nuts. If you want to make the crostata extra festive, put a paper doily on top and sprinkle it with powdered sugar to get a pattern.
Votes: 0
Rating: 0
You:
Rate this recipe!
Cuisine Italian
Prep Time 40 minutes
Cook Time 45 minutes
Passive Time 30 minutes, plus cooling
Servings
people
Ingredients
Pasta Frolla
Nut Filling
Cuisine Italian
Prep Time 40 minutes
Cook Time 45 minutes
Passive Time 30 minutes, plus cooling
Servings
people
Ingredients
Pasta Frolla
Nut Filling
Votes: 0
Rating: 0
You:
Rate this recipe!
Instructions
Pasta Frolla
  1. Blend flour, sugar, baking powder, vanilla powder, salt and lemon zest in a food processor until combined.
  2. Add the cold butter, cut in pieces.
  3. Blend till well combined. The mixture in the food processor will appear to move as one mass though when you stop the processor you will see that it is not.
  4. Add the eggs and vanilla extract if you are using that instead of vanilla powder and blend till it almost forms a ball.
  5. Remove the pastry from the food processor and incorporate the final bits of flour by hand.
  6. Wrap the dough in waxed paper and refrigerate for about 30 minutes before using.
Nut Filling
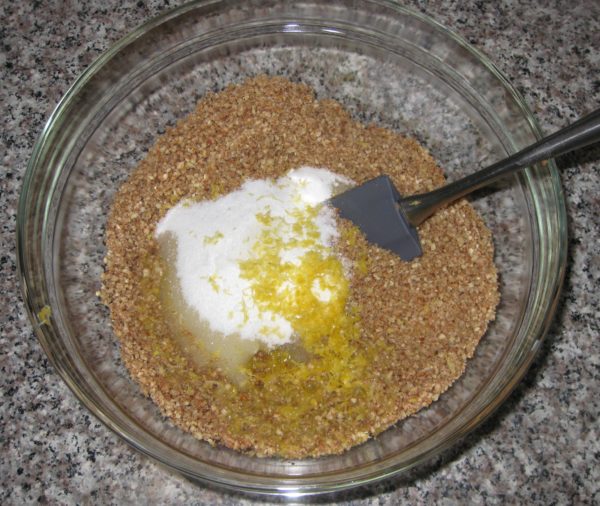
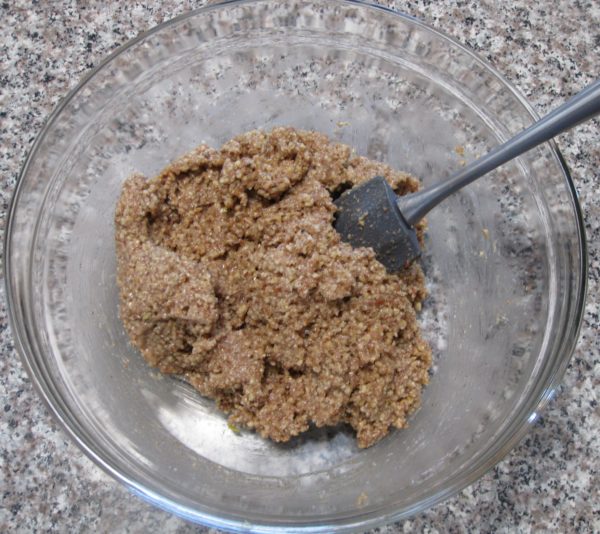
  1. Combine all ingredients and mix well.
  2. Cover the nut filling and keep it at room temperature while rolling out the pasta frolla.
Assembly
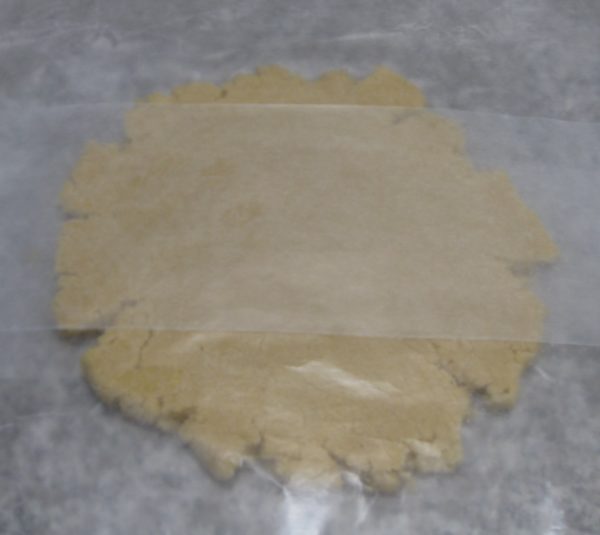
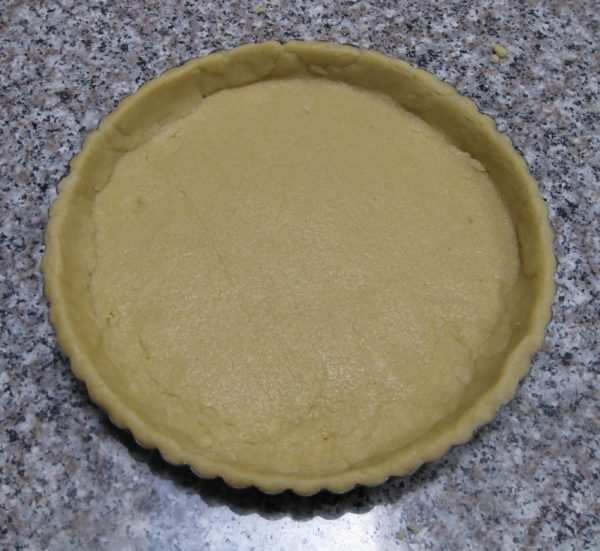
  1. Roll out pasta frolla between sheets of waxed paper until it is just large enough to come up the sides of a 10" diameter by 1” tall tart pan with a removable bottom.
  2. Trim the edges of pastry even with the top of the tart pan.
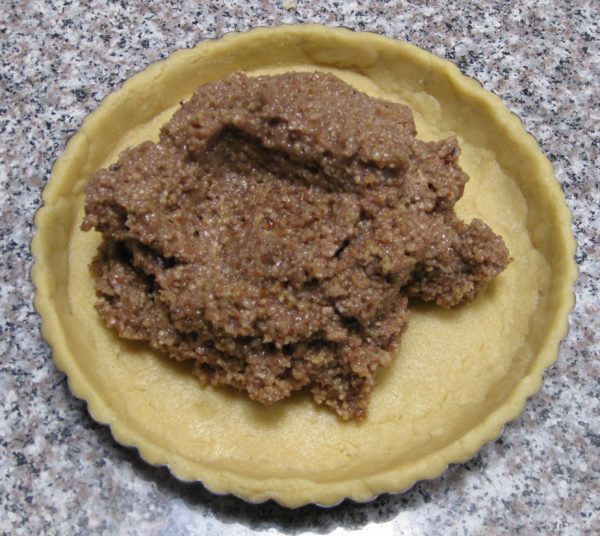
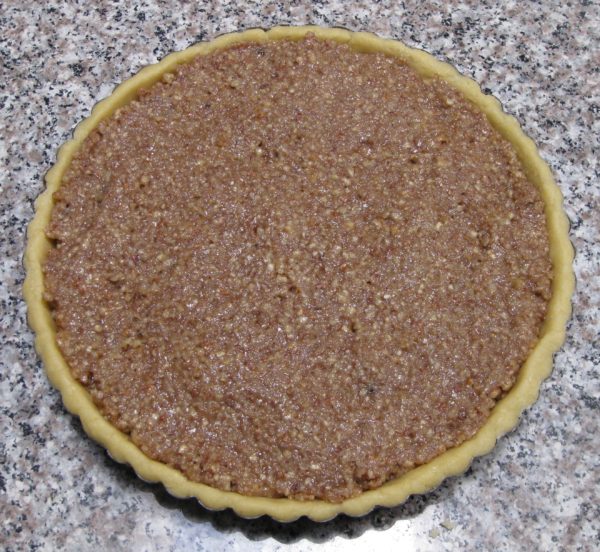
  3. Add the filling and spread it out evenly.
  4. The filling should come just to the top of the tart pan.
  5. Bake the crostata at 350°F for approximately 45 minutes or until crust is golden brown.
  6. Cool and remove the sides of the tart pan.
  7. The crostata can be sprinkled with powdered sugar for serving and/or accompanied by lightly sweetened whipped cream.
Recipe Notes

Copyright © 2017 by VillaSentieri.com. All rights reserved.
Share this Recipe

Aunt Margie’s Colored Cookies

December 15, 2017

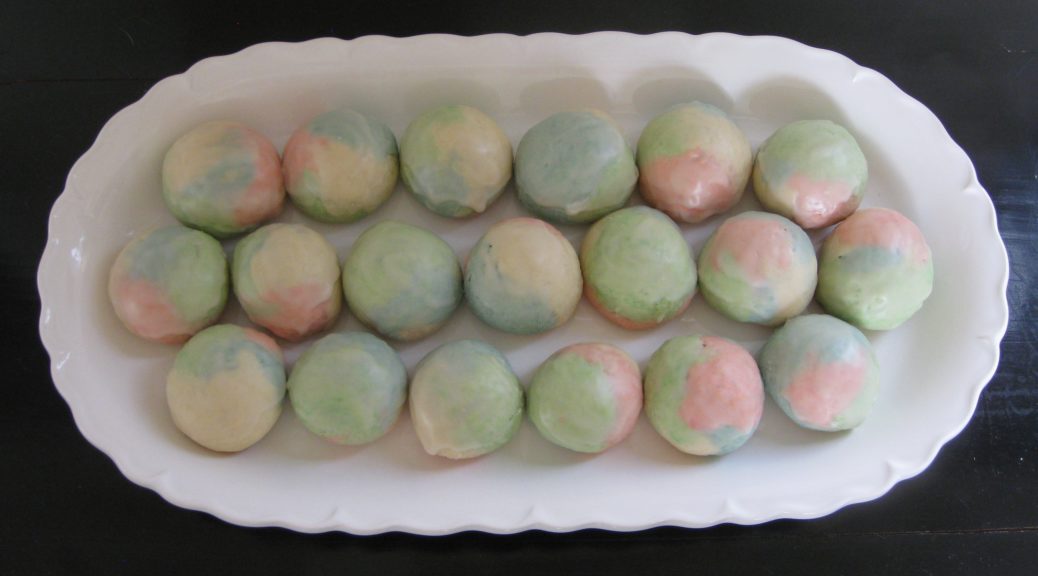
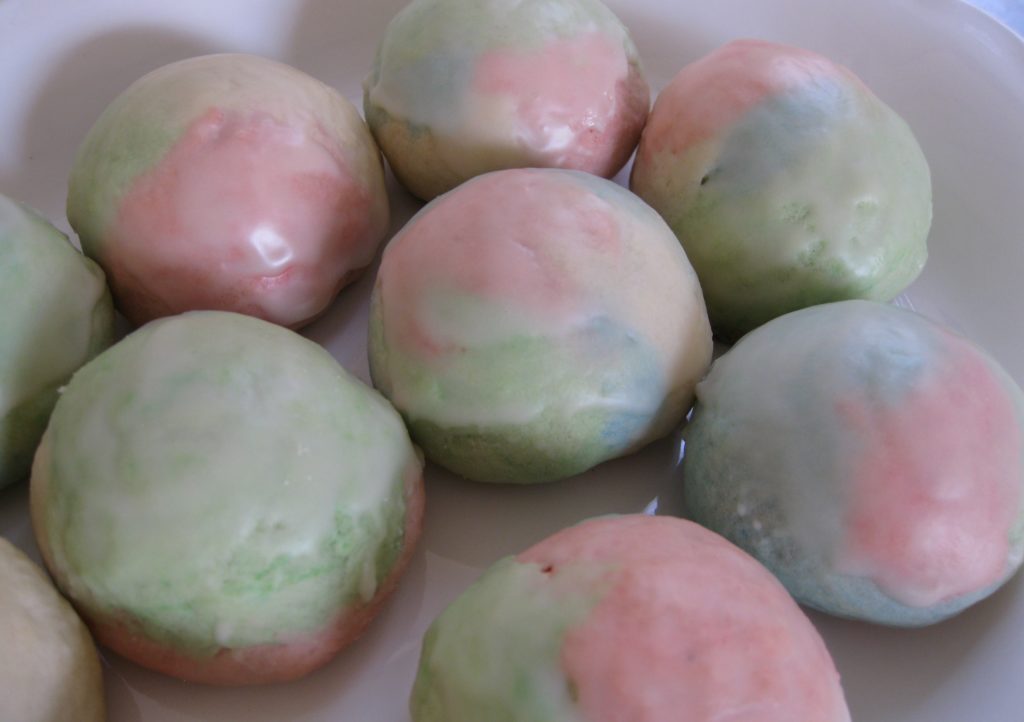
We called them “Colored Cookies.”

I’ve never seen them anywhere but in my hometown of Johnstown, Pennsylvania though I can’t believe they are unique to there.

Truth be told, I don’t think I’ve ever had them made by anyone besides Aunt Margie until I made them from her recipe.

Aunt Margie in 2004 with me on an architectural tour of Chicago by boat

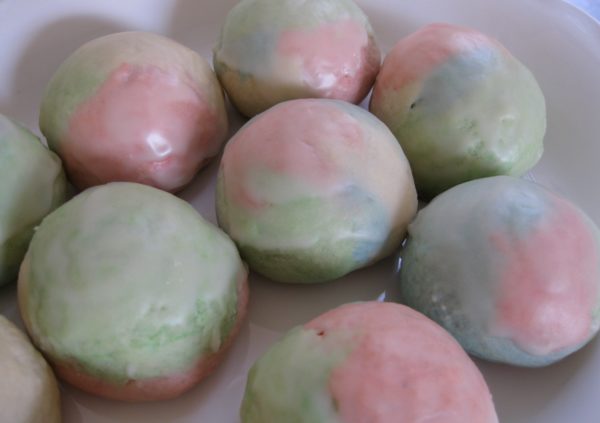
Many of the Italian and Italian-American cookies that I grew up with were cake-like. A stiff batter of flour, sugar, eggs, and fat (lard and butter were the most common), leavened with baking powder, flavored in some way (vanilla, lemon, chocolate and spice, sesame, and so forth), rolled or shaped and baked, and usually iced with a thin powdered sugar-milk icing that would harden to a glaze.


Follow us on your social media platform of choice


Totos are a perfect example of the chocolate and spice variety.

Anginetti (Genets, as we called them in Italian-American-dialect-slang) also referred to as Lemon Knots, are lemon flavored. Although I’m devoting most of December to posting Italian-American pastry recipes, Anginetti won’t appear until next year.

Sesame Seed Cookies (which certain members of my family like to dip in wine) have no flavoring other than the sesame seeds they are rolled in before baking. These are coming next December, too.


Click HERE to join our mailing list and you’ll never miss a recipe again!


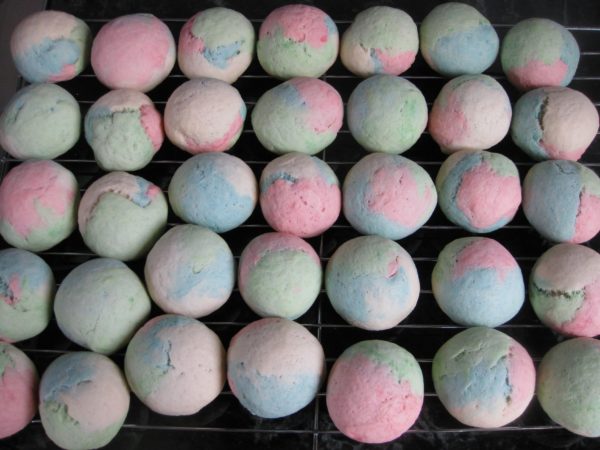
Colored Cookies are flavored with vanilla despite the riot of color that might suggest otherwise. There was a brief period of time, however, when Aunt Margie got creative (read iconoclastic) and used coconut extract instead of vanilla. Coconut and almond are my two favorite flavors when it comes to sweets, leagues beyond chocolate and vanilla as far as I’m concerned, but coconut-flavored colored cookies strayed too far from tradition for my taste. It didn’t keep me from eating them, however!

Colored Cookies

This is Aunt Margie’s original recipe. And if you flavor them with anything other than vanilla, please don’t tell me…just kidding!


If you have a favorite family recipe and a bit of a story to tell, please email me at santafecook@villasentieri.com and we can discuss it. I am expanding the scope of my blog to include traditional recipes from around the country and around the world. If you haven’t seen Bertha’s Flan, it will give you an idea of what I’m looking for.


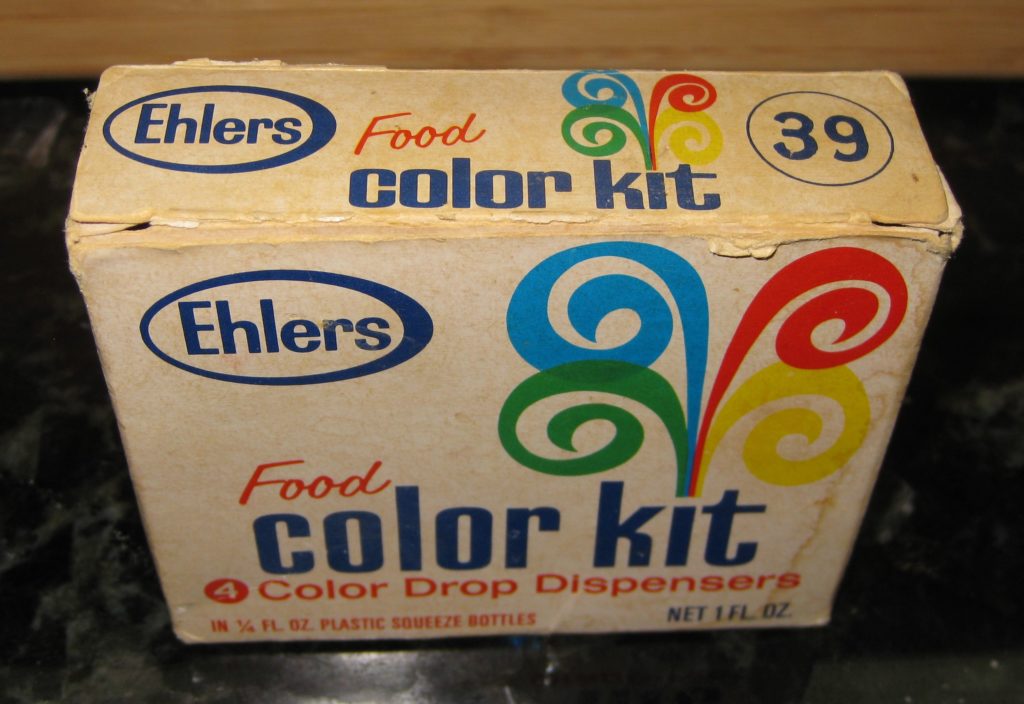
I don’t use a lot of food coloring.  The only other exception in recent memory (other than these cookies) was Jim’s Hawaiian Guava Cake.  Take a look at my box of food coloring.  The number 39 is the price:  39 cents!  I’ve had it a long time, though I used up the red making the Guava Cake.


Print Recipe
Aunt Margie's Colored Cookies
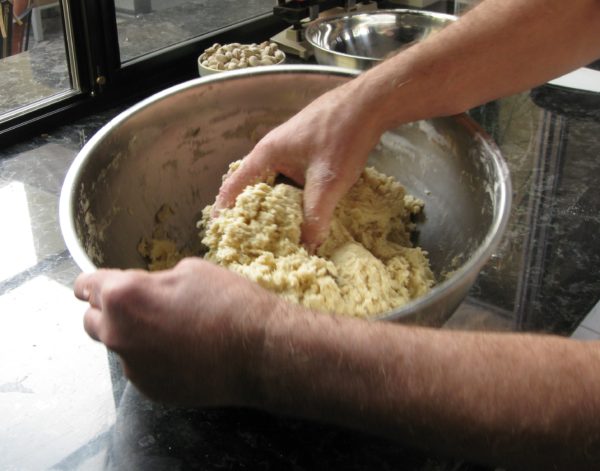
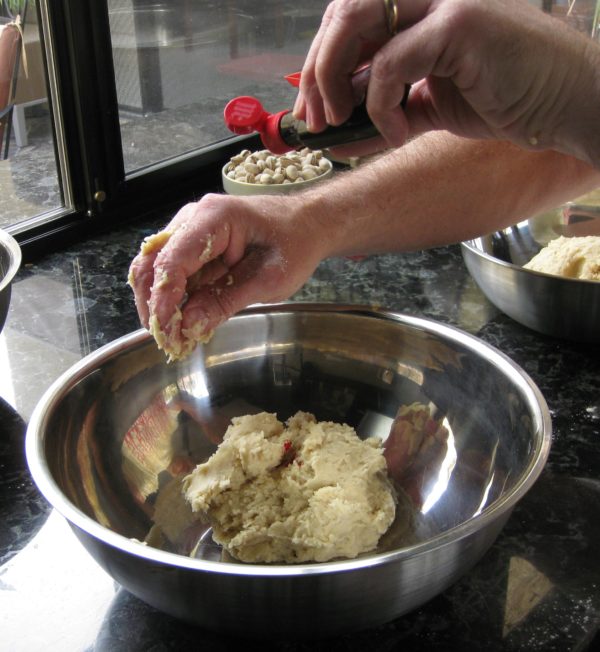
Use a very good quality vanilla extract, not artificial vanilla flavoring, as that is the predominant flavor. The best way to mix these is using your hand. If you don’t start there, you’ll end up there so just use your hand from the beginning. Although Aunt Margie’s original instructions were to ice the cookies while still warm, that is very difficult to accomplish without assistance. You can ice them after you have baked all of them with no noticeable difference. It is best to use medium-weight shiny aluminum cookie sheets. Dark metal makes the bottoms too dark before the cookies have completely cooked. You can divide the dough into five parts and color the last one yellow. If you do so, you will need to use slightly less of each dough to make a cookie.
Votes: 7
Rating: 4.14
You:
Rate this recipe!
Cuisine Italian
Prep Time 1 hour
Cook Time 2 hours
Servings
dozen
Ingredients
Cookies
Icing
Cuisine Italian
Prep Time 1 hour
Cook Time 2 hours
Servings
dozen
Ingredients
Cookies
Icing
Votes: 7
Rating: 4.14
You:
Rate this recipe!
Instructions
Cookies
  1. Measure all the ingredients.
  2. Combine butter and sugar.
  3. Mix well using your hands.
  4. Add eggs one at a time mixing after each.
  5. Mix in salt and baking powder then add milk and vanilla.
  6. Combine well.
  7. Add flour and mix until a dough forms.
  8. Divide dough into four parts.
  9. Leave one part of dough white.
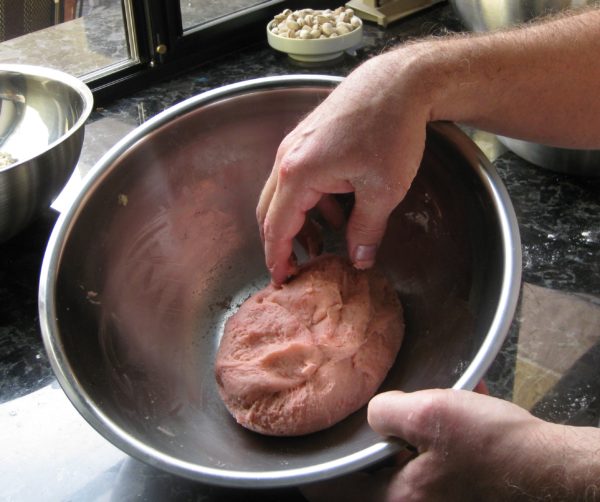
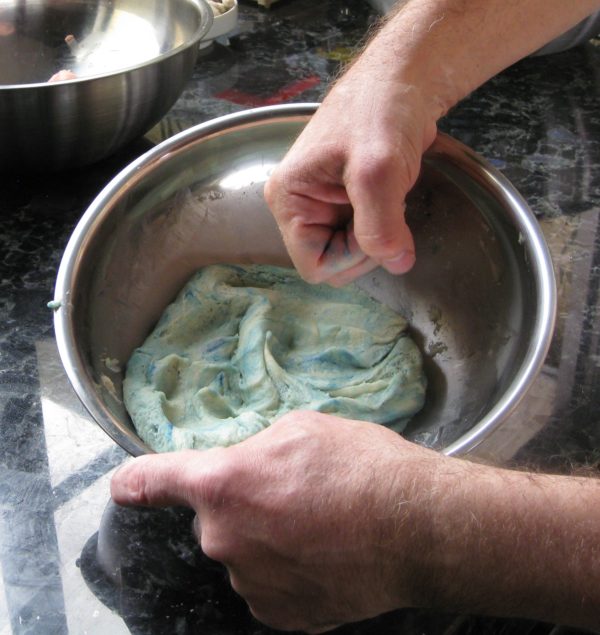
  10. Color the others pink, blue, and green.
  11. Take approximately 1 teaspoon of each dough and roll into a ball the “size of a walnut” according to Aunt Margie’s recipe. You will need to apply a bit of pressure, without smashing the colors together, to be sure that the different colored doughs have joined into one cookie. If not, the cookies will split during baking.
  12. Bake 350°F for 17-20 minutes until very light brown on the bottom and the top does not depress when touched lightly.
  13. Remove cookies from cookie sheet and put on a cooling rack.
  14. Using your finger, ice with powdered sugar icing while still warm.
Icing
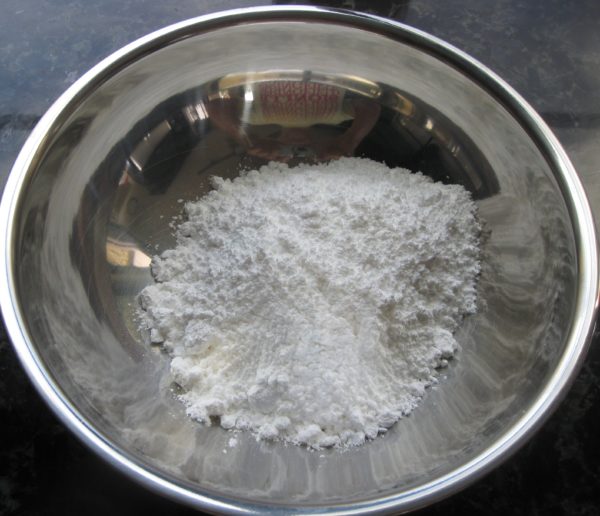
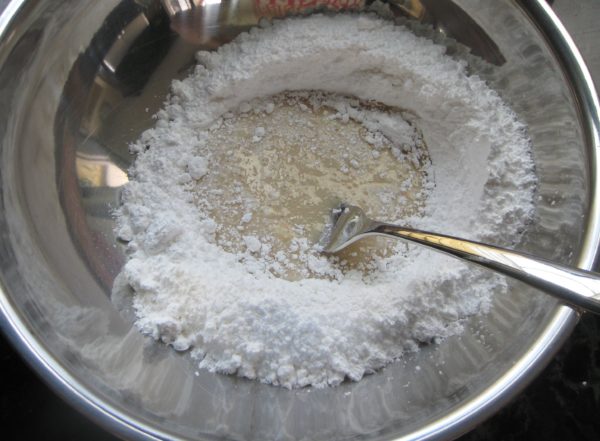
  1. Combine powdered sugar, vanilla and milk. Stir to combine.
  2. Stir to combine.
  3. Thin with a small amount of milk if needed. The icing should be of a spreading consistency.
Recipe Notes

Copyright © 2017 by VillaSentieri.com. All rights reserved.
Share this Recipe