December 13, 2019
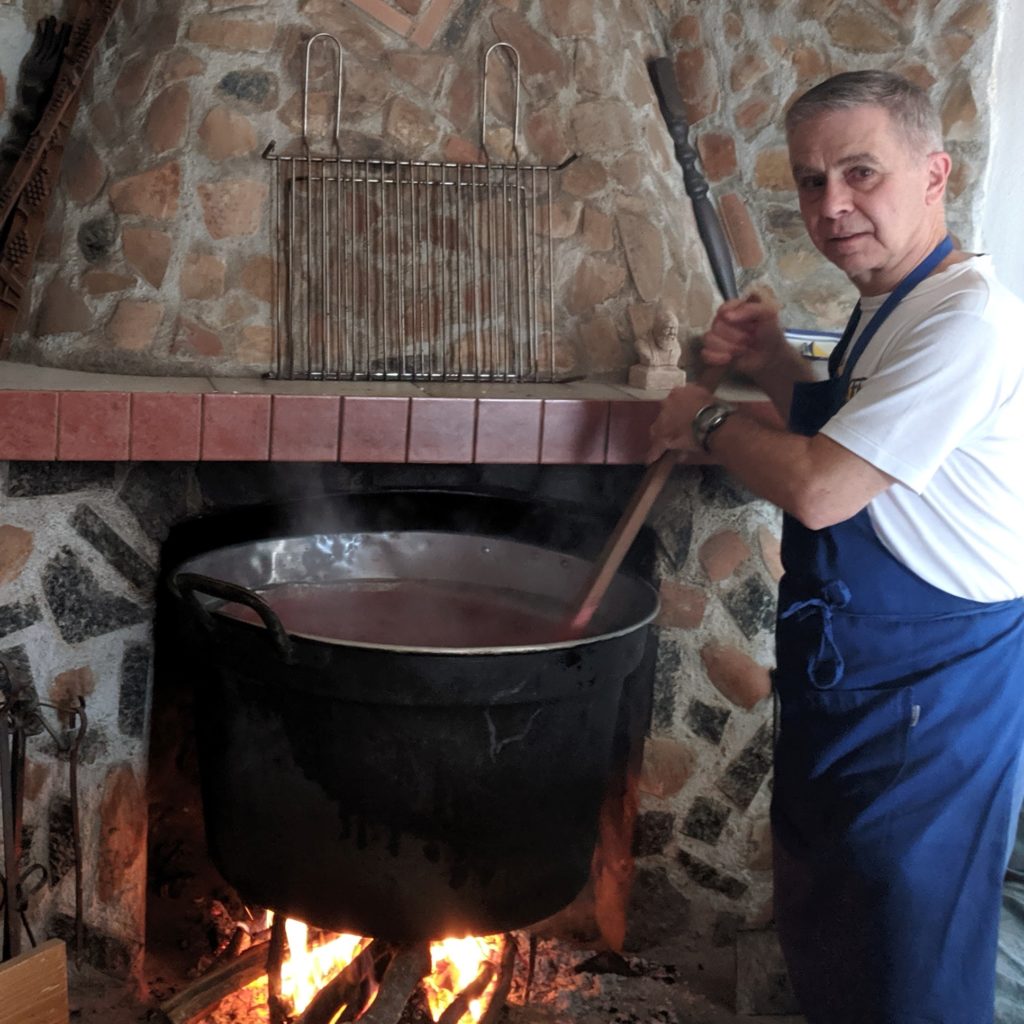
Back at home, after spending five months in Italy this year expanding my culinary skills and repertoire, we settled on a technique to keep the process going.
Each month we randomly select a region of Italy by pulling a slip of paper out of a jar. For a month, unless there is an overriding reason, I cook all our dinners using traditional recipes of that region.
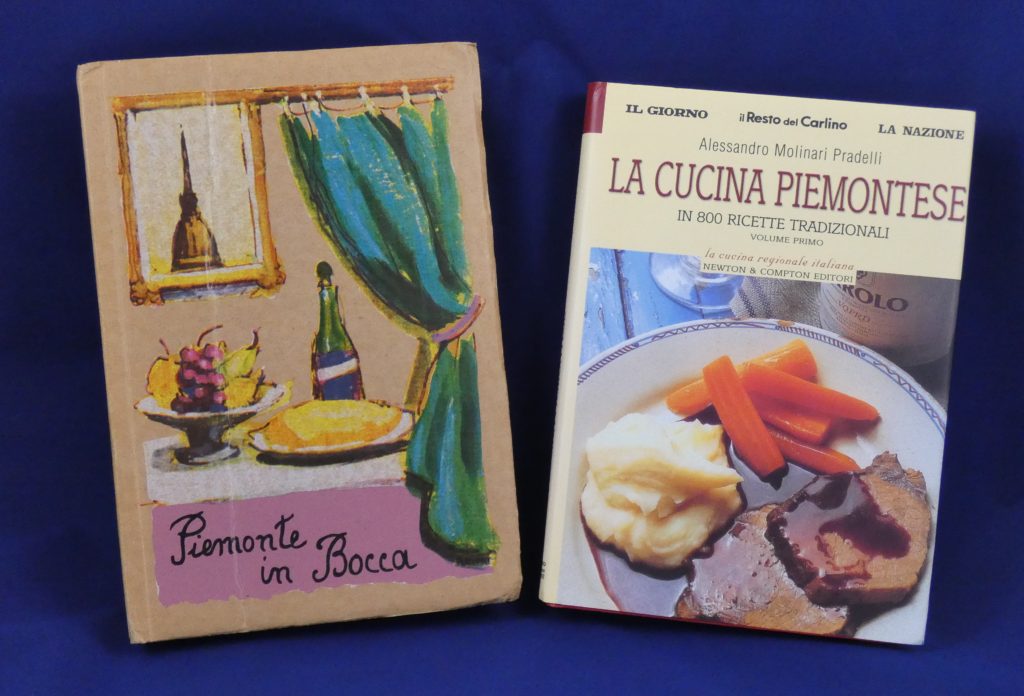
The first region we selected was Piemonte (Piedmont).
Piemonte is in far northwestern Italy. It borders France and the cuisine shows a definite French influence.
Join our mailing list and you’ll never miss a recipe again!
Piemonte is one of the coldest regions of Italy. Since the climate is not conducive to growing olives, animal fats, such as butter and lard are commonly used. There are some dishes, however, that use olive oil based on historic trade between Piemonte and neighboring Liguria.
Piemontese foods tend to be hearty and rich, appropriate to the colder climate, especially in the mountainous areas.
Our month of eating the foods of Piemonte included:
- Bagna Cauda (anchovy, butter and olive oil dip for vegetables)
- Brasato di Manzo in Barolo (beef braised in barolo wine)
- Budino Freddo Gianduia (chocolate hazelnut cakes… literally “pudding”)
- Cipolline d’Ivrea (braised pearl onions with white wine and butter)
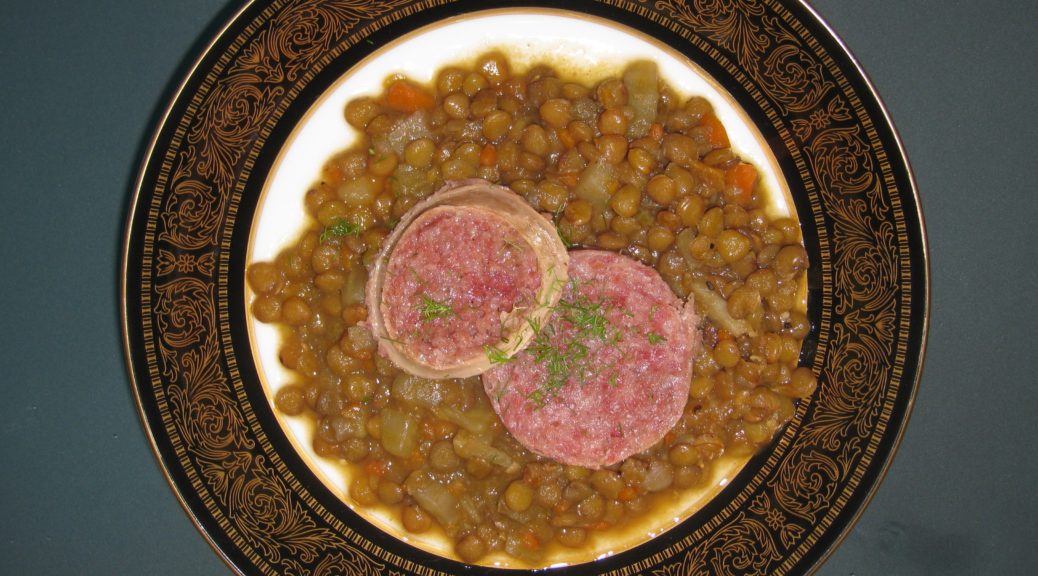
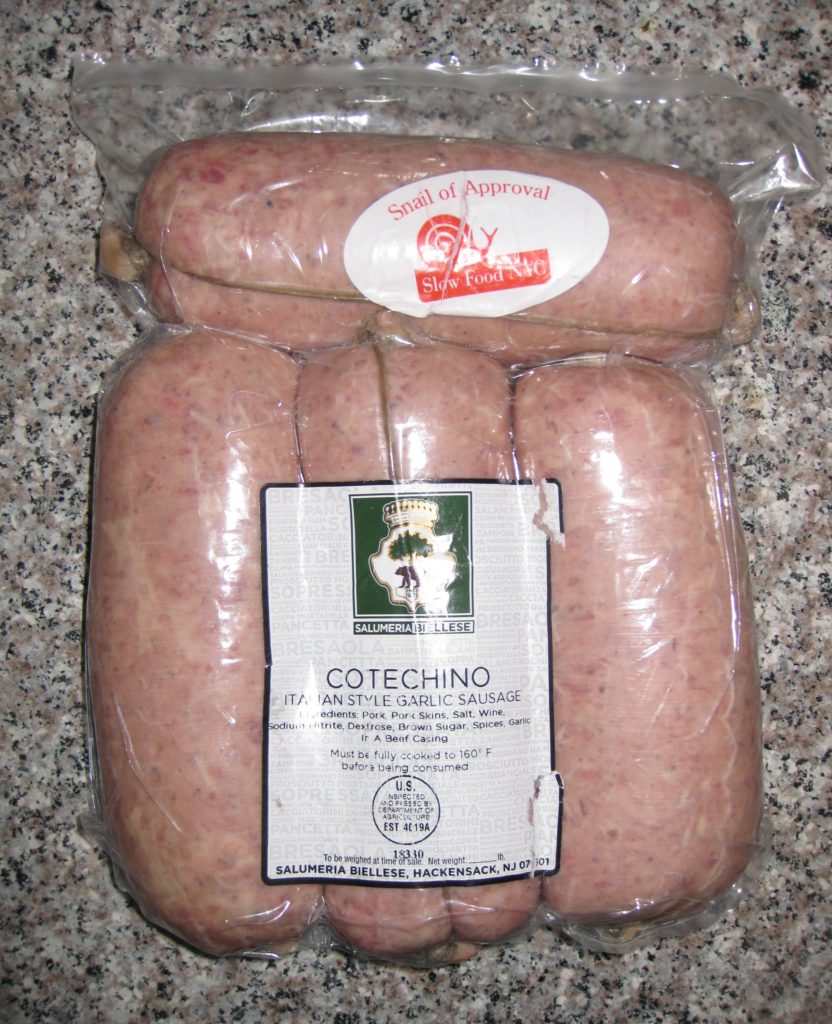
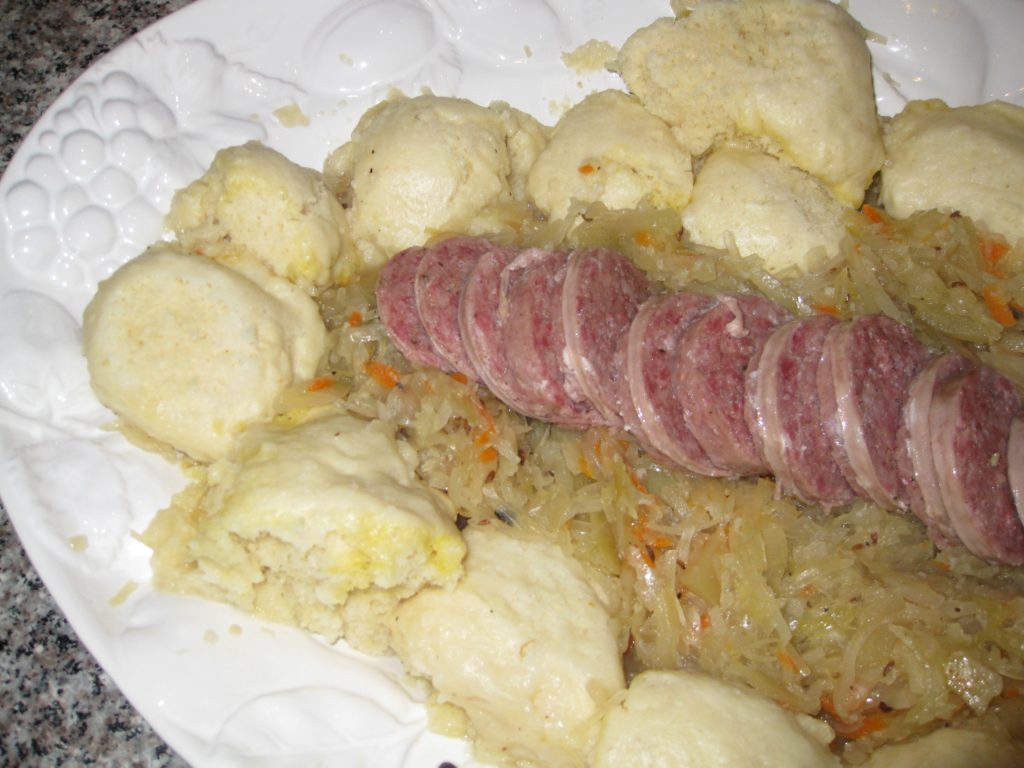
- La Panissa (risotto made with borlotti beans and some sort of cured meat)
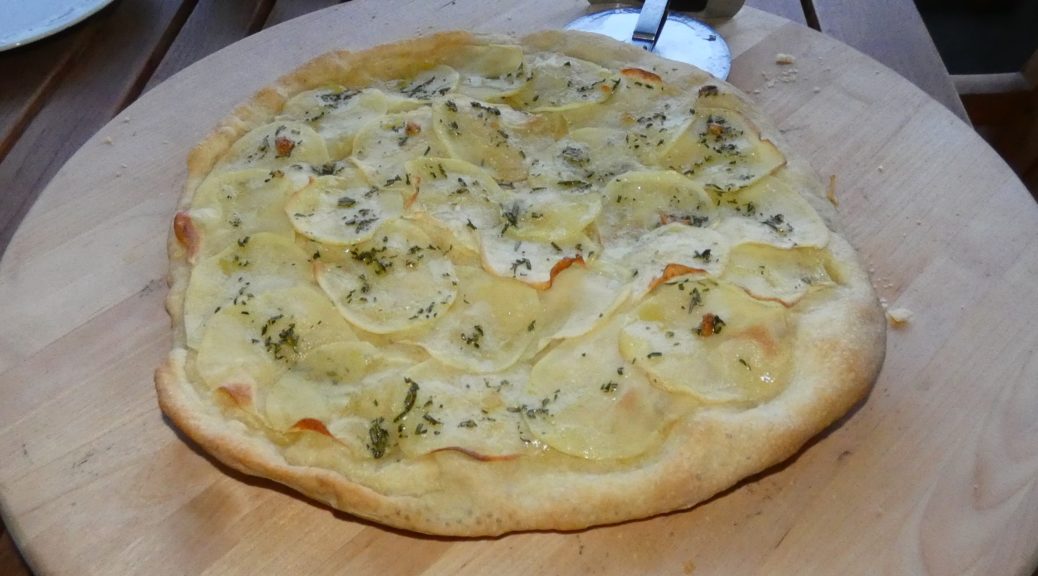
- Patate ai Capperi (potatoes and capers)
- Peperoni e Pomodori alla Bagna Cauda (sweet peppers and tomatoes with anchovies)
- Polenta e Fontina in Torta (layers of sliced polenta and fontina cheese baked together)
- Pollo con Acciughe e Peperoni Arostiti (chicken with anchovies and roasted peppers)
- Pollo in Fricassea Bianca (chicken braised in milk)
- Risotto al Gorgonzola (risotto with gorgonzola cheese)
- Sancarlin (a cheese dip and/or sauce)
- Spinaci alla Piemontese (spinach with anchovies and garlic)
- Tajarin con Gorgonzola e Ricotta (long pasta with a sauce of ricotta and gorgonzola)
- Tajarin e Zucchine (long pasta with zucchini, garlic, and Grana Padano cheese)
As you’ll note, these are almost all substantial dishes. And it’s not as if I purposely chose dishes that were hearty. Almost all of the cuisine of Piemonte shares this characteristic.
Piemonte is famous for truffles. I avoided dishes with truffles as they were out of season the month I cooked Piemontese food. Good ones are also very expensive. Plus, I ate mountains of them while at the Italian Culinary Institute this year.
Piemonte is also known for hazelnuts and for the combination of hazelnuts and chocolate, the most famous brand of which is Nutella. Note that the one Piemontese dessert that I made during the month (only one because I’m still working off the weight I gained over five months in Italy earlier this year!) is a combination of chocolate and hazelnuts which is generally known as gianduja or gianduia.
Follow us on your social media platform of choice
![]()
![]()
![]()
Piemonte is one of the great wine-producing regions of Italy. It is known for Barolo, Barbaresco, and Asti, among others.
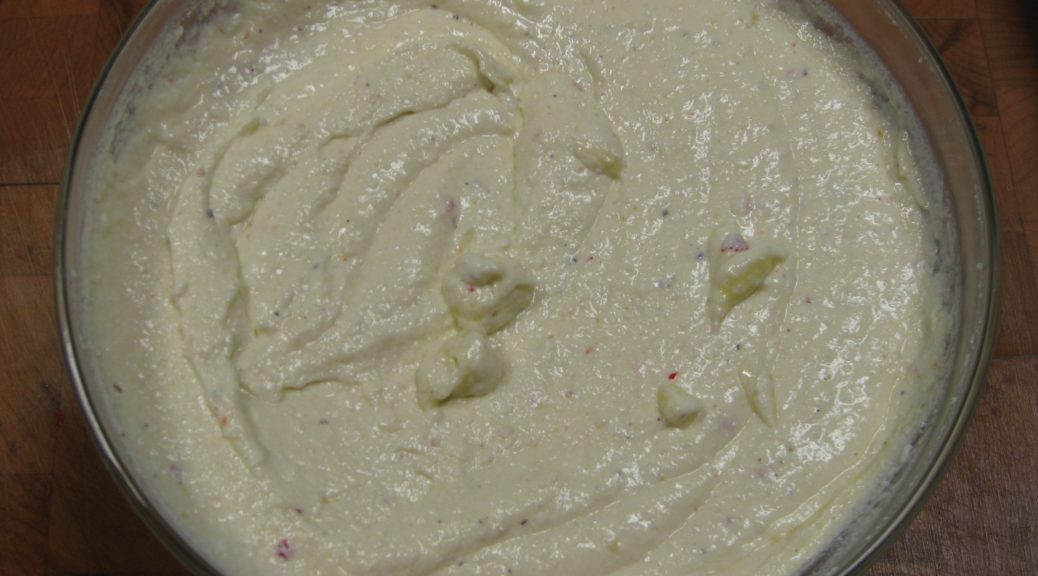
Sancarlin (Piemontese dialect for San Carlo) is a spread or dip made from cheese. It’s great as part of an antipasto with grissini (breadsticks), another Piemontese food.
Sancarlin is also excellent tossed with diced boiled potatoes and served as a contorno (side dish). How many times can I say “hearty” in the same blog post?
If any of the Piemontese dishes that I mentioned above interests you, and you’d like me to post a recipe, just leave a note in the comment section below and I’ll schedule it.

| Prep Time | 15 minutes |
| Servings |
cup
|
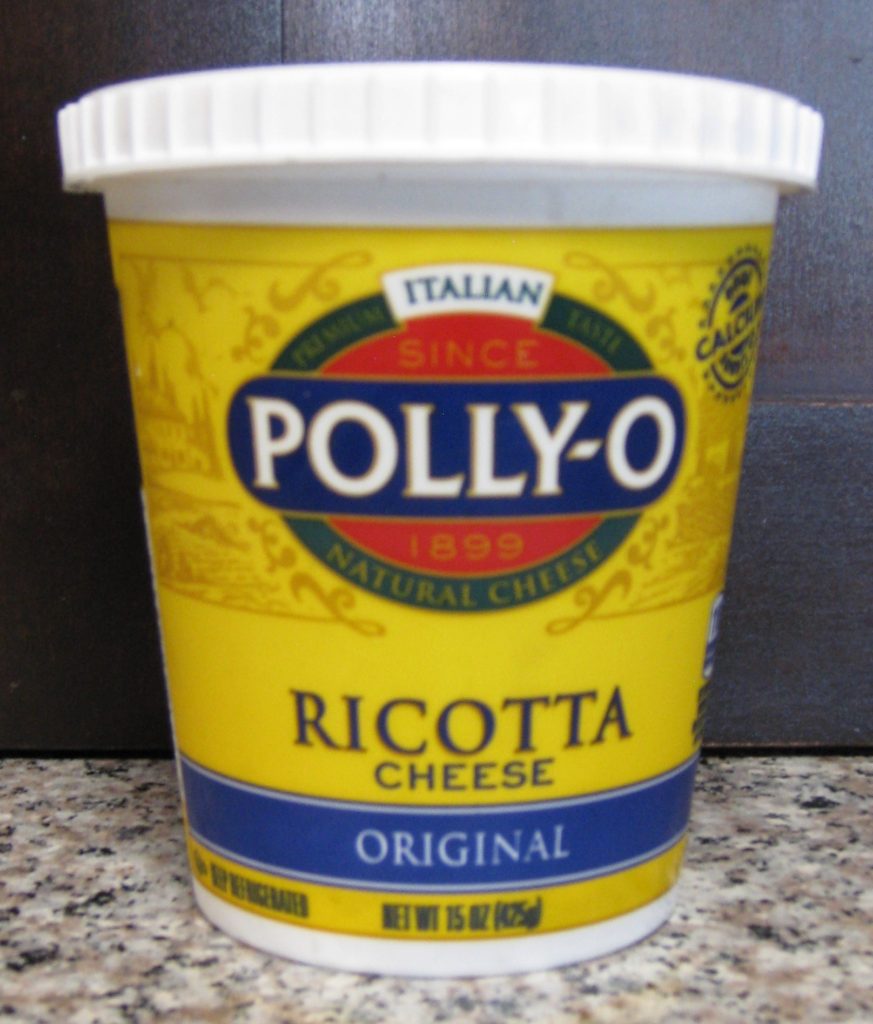
- 8 ounces best quality ricotta preferably artisanal
- 2 cloves garlic
- 2 tablespoons extra virgin olive oil
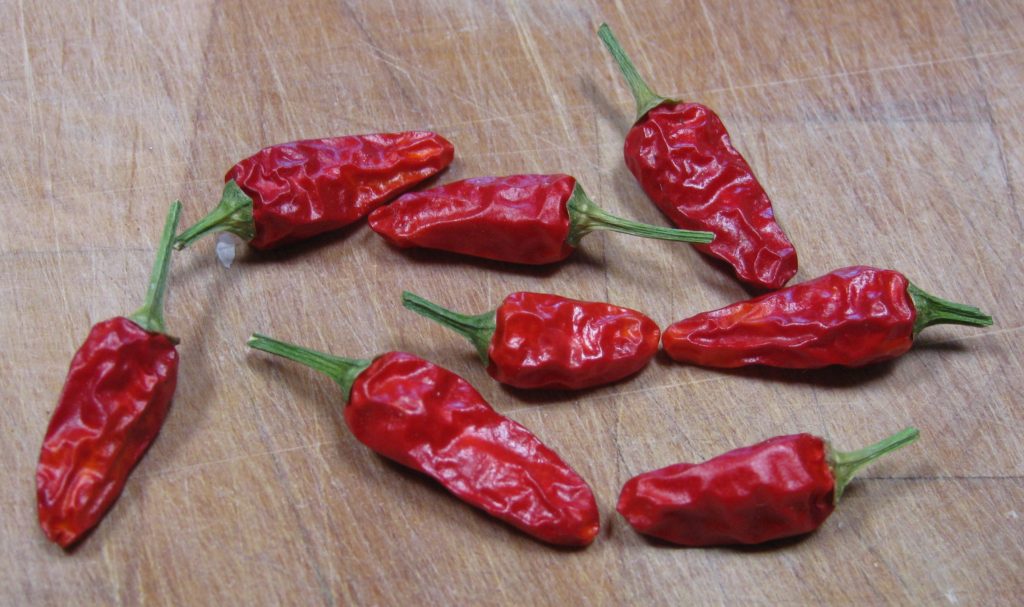
- 2 dried hot red peppers preferably Italian
- salt
- Freshly ground black pepper
Ingredients
|
|
- Finely mince the garlic and combine with the olive oil. You can do this by processing the garlic and oil in a small food processor.

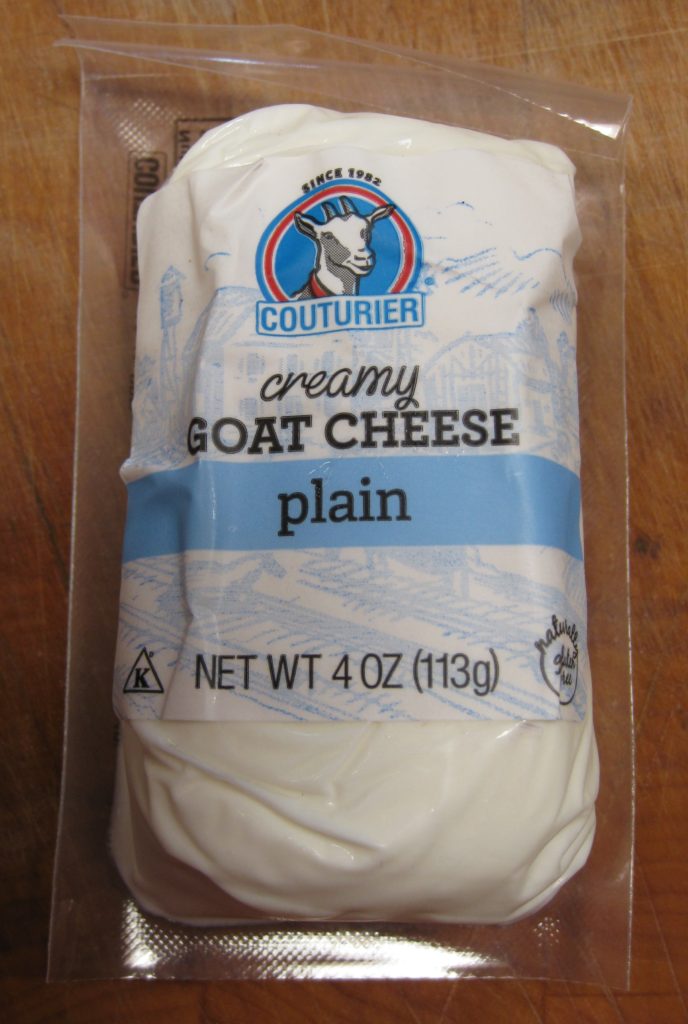
- If using the goat cheese, add it to the processor after the garlic has been minced and whiz to blend everything.

- Finely crush the red peppers and blend with the garlic mixture.

- Combine the garlic mixture with the ricotta and mix well.

- Adjust salt and pepper to taste.
- Refrigerate, tightly covered, for two days before using for the best flavor.
If you want to make your own ricotta, you can find my recipe here.
Copyright © 2019 by Villa Sentieri, LLC. All rights reserved.