January 23, 2017
I first tasted this dish in Tuscany in the little hill town of Benabbio, in September 1996. My husband’s great Great Aunt Fidalma, Zia Fidalma, made it with little birds, sparrows actually, that her husband, Faliero, had shot.
That was one of my most memorable meals in Italy. My husband and I had traveled to Italy with his parents. We stayed in a little hotel in the town of Fornoli where my father-in-law grew up. We alternated meals at the homes of numerous relatives throughout the area.
It was wonderful sitting in Zia Fidalma’s kitchen watching her put together components of the meal in that seemingly effortless way that happens in homes throughout Italy. We had sautéed mushroom caps. Zia Fidalma foraged the mushrooms. I remember them sitting in a shallow box on the kitchen counter. She plucked a few out of the box, cleaned them. They were quickly sautéed and seasoned with salt, pepper, and nepita.
I can’t get a consensus on the spelling of nepita. I’ve seen it as gnebita, gnepita, and nepeta, among others. It is a variety of catmint. Zia Fidalma uses it to season mushrooms. It is a magical combination.
We smuggled nepita seeds back from Tuscany on that visit, along with heirloom tomato seeds, both from Zio Faliero’s garden. We’ve grown both ever since. For 20-plus years we’ve had nepita; first in our garden in Chicago (at the Rohkam House, where we lived starting in January 1996) and then subsequently at Villa Sentieri, in Santa Fe.

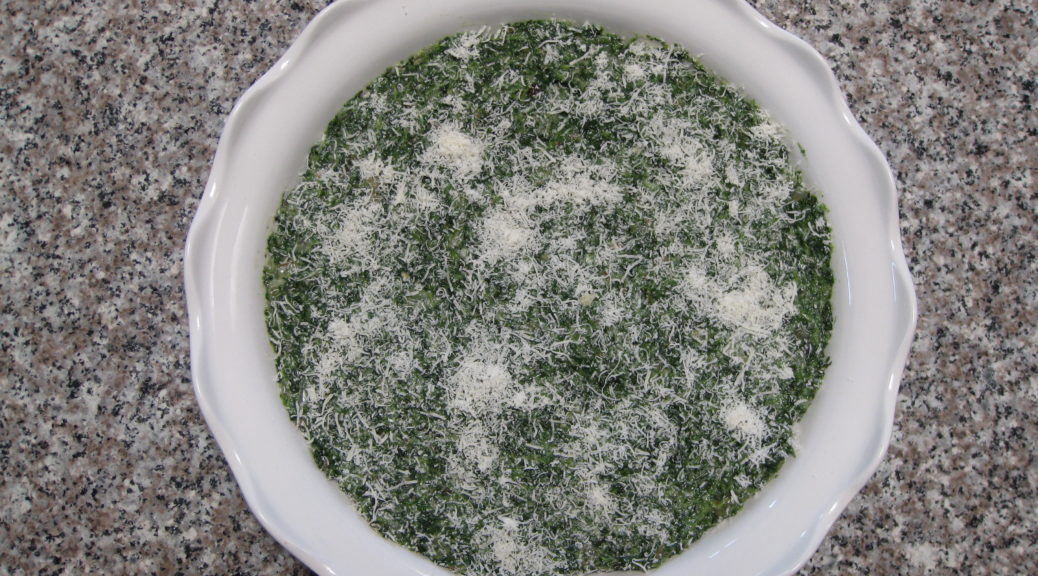
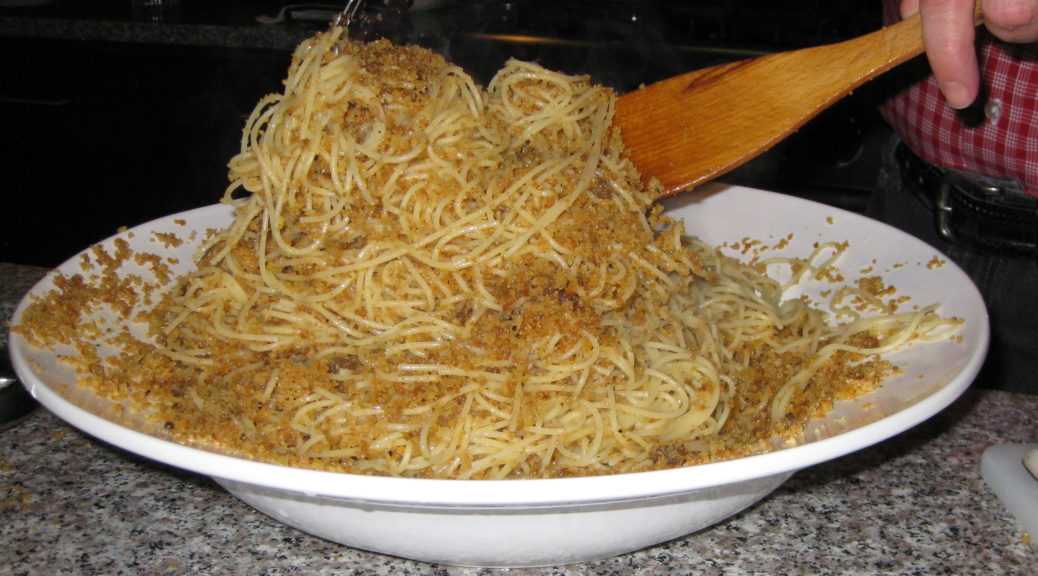
There are only three components of that meal that I remember clearly, the mushrooms, the little birds, and the wedge of Parmigiano Reggiano brought out at the end of the meal for us to eat with fruit. I know there was a pasta but I can’t remember what it was. The same is true for the side dishes (contorni, in Italian).
My mother-in-law was in heaven with the little birds. She was sitting across the table from me. The meal had become languorous by then and it wasn’t, somehow, inappropriate for me to pull out my video camera. Remember those? I’m talking about dedicated video cameras with cassettes for recording, not phones or cameras with video capability.
As she was reveling in her little birds (uccelleti, in Italian) I used my video camera to focus in on her. First on her face, but then ultimately on just her lips. Her lips filled the screen like the lips in the opening moments of the Rocky Horror Picture Show. There were those lips, sucking in little bird parts then extruding cleaned bones. Every now and then there was the occasional bit of bird shot that needed to be eliminated.
To this day, that video footage is a kind of kompromat in our family. Thanks to President Trump for making that term common knowledge. My mother-in-law hates that video footage. I occasionally mention its existence and (vaguely) threaten to allow it to surface…as I did for this post but, in the end, in the interest of domestic harmony, did not.

| Prep Time | 20 minutes |
| Cook Time | 2 1/2 hours |
| Servings |
people
|
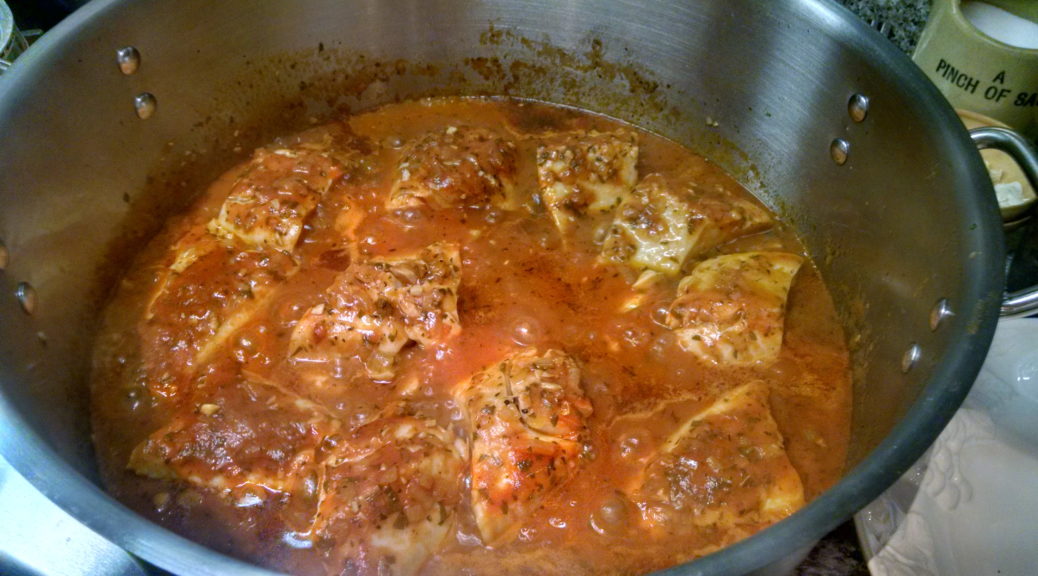
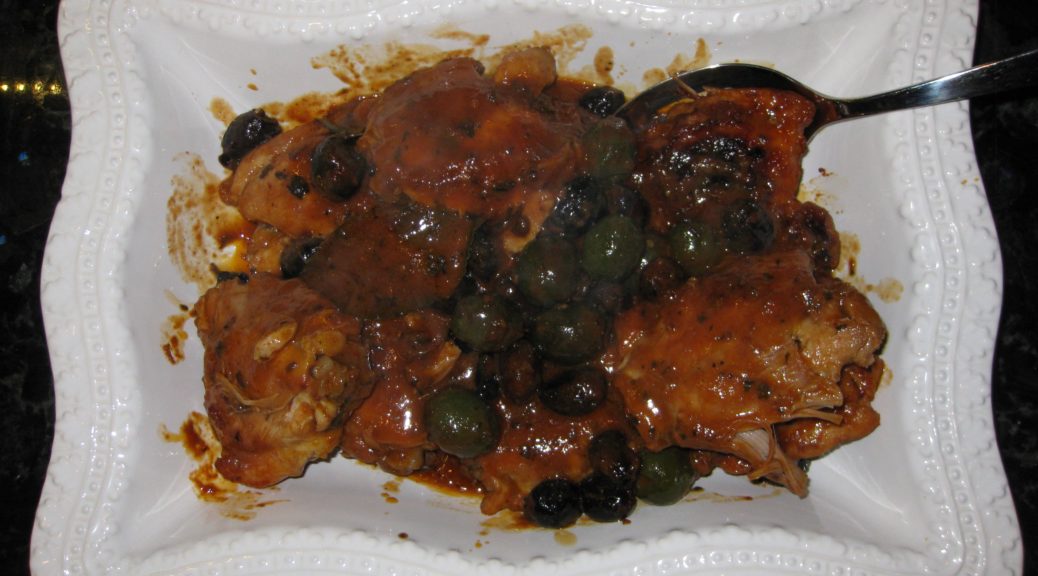
- 9 medium sized chicken thighs
- 4 cloves garlic
- 1/2 cup extra virgin olive oil
- 8 ounces tomato sauce canned is fine
- 2 bay leaves
- 2 sprigs of rosemary
- 4-5 sage leaves
- 5-6 small sprigs of oregano or 1/2 teaspoon dry oregano
- 1/4 teaspoon crushed red pepper or to taste
- salt to taste
- Freshly ground black pepper to taste
- 3/4 cup olives half oil cured black olives and half green olives
Ingredients
|
|
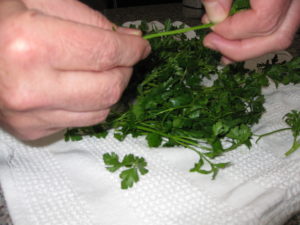
- Remove the leaves from the rosemary and oregano.
- Mince the sage, rosemary, and oregano leaves. Reserve.
- Remove the skin from the chicken thighs and any large pieces of fat.

- Using the broad side of a chef’s knife, bruise (smash, really) the garlic cloves.

- In a heavy skillet large enough to hold the chicken thighs in a single layer, heat the olive oil.
- When the oil is hot, add the chicken thighs and garlic. Season the chicken with salt and freshly ground black pepper to taste.

- Brown the chicken, turning several times. As the garlic cloves get dark brown, remove and discard them before they burn.

- When the chicken is brown, and all garlic has been removed, add the tomato sauce, bay leaves, minced herbs (rosemary, sage, and oregano) and crushed red pepper.

- Cover and cook over low heat, stirring occasionally and turning chicken over every 30 minutes or so, for approximately 1 hour.
- If the sauce gets too dry add a little white wine (or water) from time to time.
- After an hour, add the olives, cover, and continue cooking over low heat, stirring occasionally and turning chicken over every 30 minutes or so, for approximately 1 more hour.

- Taste and adjust salt and black pepper during the last half hour of cooking. The olives will be salty, so it's best to wait till they've cooked a while before adding more salt.
- When finished, the chicken should truly be “fall-apart” tender and the sauce should be mostly a red colored olive oil with just a tiny bit of tomato sauce.
I don’t usually use canned tomato sauce. I prefer to use tomato paste and water. For this dish I use tomato sauce because so little is needed and it’s consistent with what Great Aunt Fidalma did. If you want to use tomato paste, mix 1½ tablespoons of tomato paste with 6 tablespoons of water and use in place of the tomato sauce.
Copyright © 2017 by VillaSentieri.com. All rights reserved.