May 10, 2017
A few times in my life I’ve been lucky enough to cook with my husband’s Great Aunt Fidalma. It’s always been in my kitchen, though I keep hoping to make a trip to Tuscany to cook with her in her kitchen.
Zia Fidalma speaks Italian and German. I speak English. Though I studied German in high school and college, and at one point was passably able to translate scientific German, my command of spoken German (and at this point, scientific German) is hopeless. I studied Italian for a while too, but the best I can do is read a menu, order in a restaurant, and find out where the restroom is.
So, cooking with Zia Fidalma starts with a language barrier but it doesn’t seem to matter. Somehow we communicate.
Mostly that means Zia Fidalma speaks slowly in Italian emphasizing the words I am likely to understand most.
Like the time we were in my kitchen in Santa Fe preparing dinner for twelve. The first course was spaghetti al pesto. A pile of basil stalks from my father-in-law’s (Zia Fidalma’s nephew) garden were on the kitchen counter. Zia Fidalma was plucking off basil leaves one at a time, inspecting each one. At one point, she looked up at me holding a leaf and said “è brutta” (it’s ugly), clearly wanting my agreement to discard the less-than-perfect leaf.
One day at our home in Chicago, she was making risotto for lunch. It had a very similar flavor profile to this pasta in that it contained broccoli, garlic and anchovies.
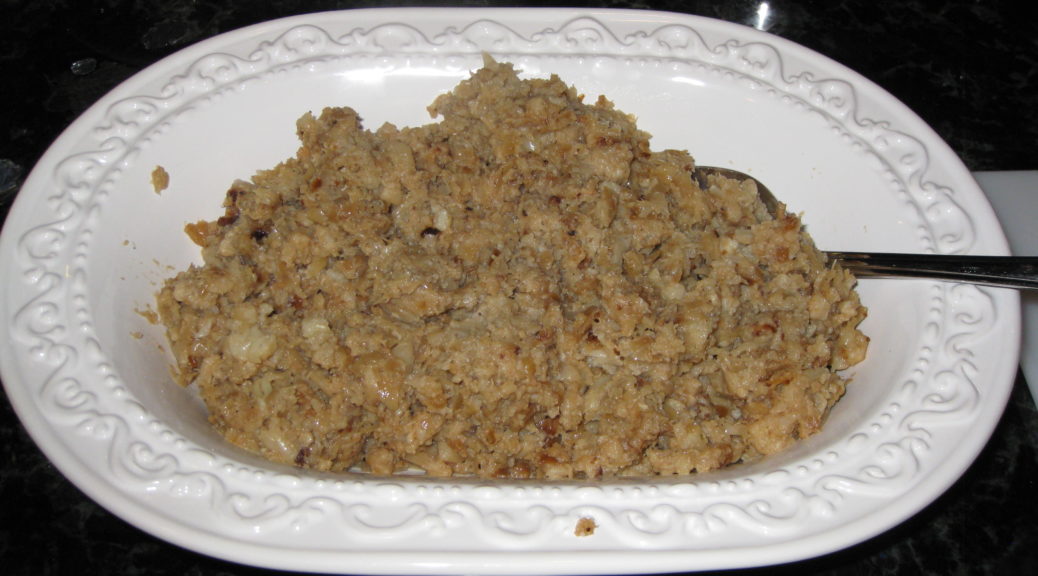
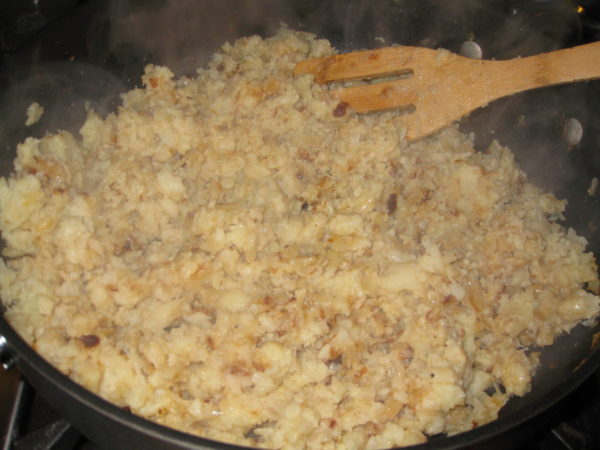
Zia Fidalma cranked up the 15,000 BTU burner to high. She sizzled some minced garlic for a moment. There was a vague hint of smoke coming from the pan. She added the anchovies and stirred them about. Smoke started to billow up. She smiled knowingly. She added the broccoli, undeterred. Smoke continued. She stirred. I stood there horrified. Then she lightly charred the broccoli. I was even more horrified. At long last some liquid went in and the rest of the risotto-making followed a familiar pattern.
I try to avoid smoking oil at all cost when cooking. I was more than a little concerned about how the risotto would taste.
However, I have never had anything but fabulous food from Zia Fidalma, so I had to trust that this would be OK, too.
This wasn’t her first rodeo. She’d been making risotto since before I was born.
In the end, all I can say is that the risotto was wonderful. It had layers of flavor. It provided an important lesson about how techniques different from what one would typically use can create incredible flavors.
So, if you see wisps of smoke coming from the pan as you singe the broccoli for this recipe, don’t fret. Just raise a toast to Zia Fidalma, and enjoy!

| Prep Time | 15 minutes |
| Cook Time | 30 minutes |
| Passive Time | 15 minutes |
| Servings |
people
|
- 3 quarts water
- 1/3 cup salt
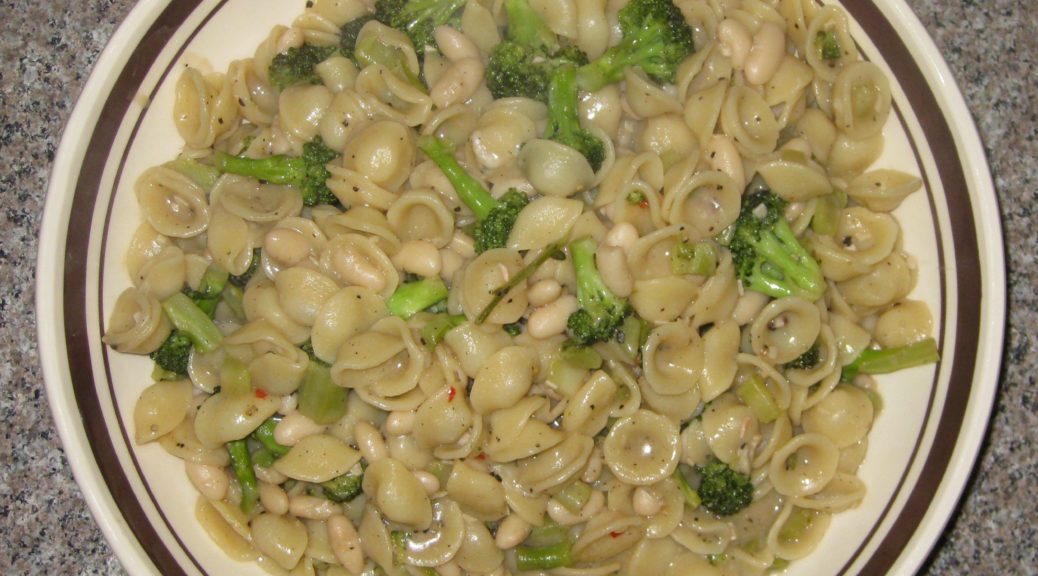
- 4 1/2 cups broccoli florets from approximately 4 crowns of broccoli
- 1/4 cup olive oil
- 4 cloves garlic minced
- 1 2 ounce can anchovies packed in oil
- 1/4 teaspoon crushed red pepper or to taste (optional)
- 1/3 cup dry white wine
- 1 1/2 cups cooked kidney beans red or white, with enough cooking liquid to cover the beans
- 1/2 teaspoon dried oregano
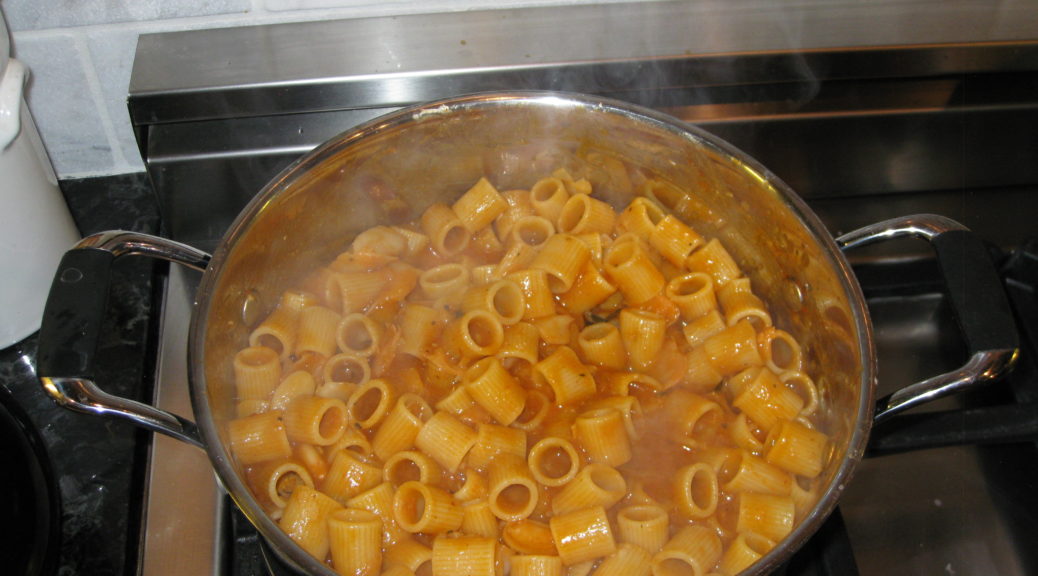
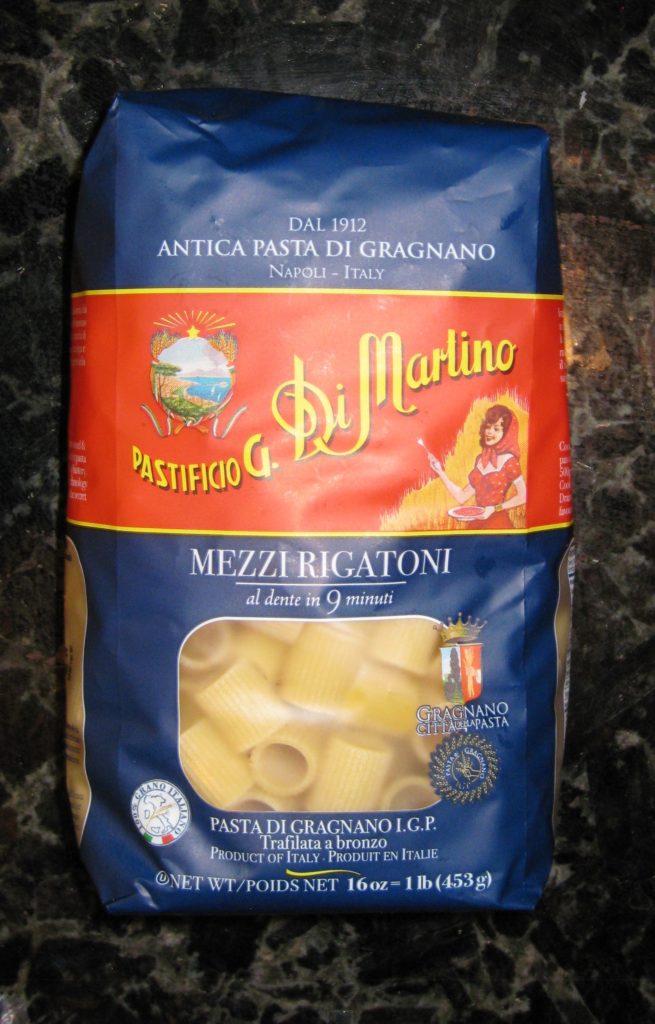
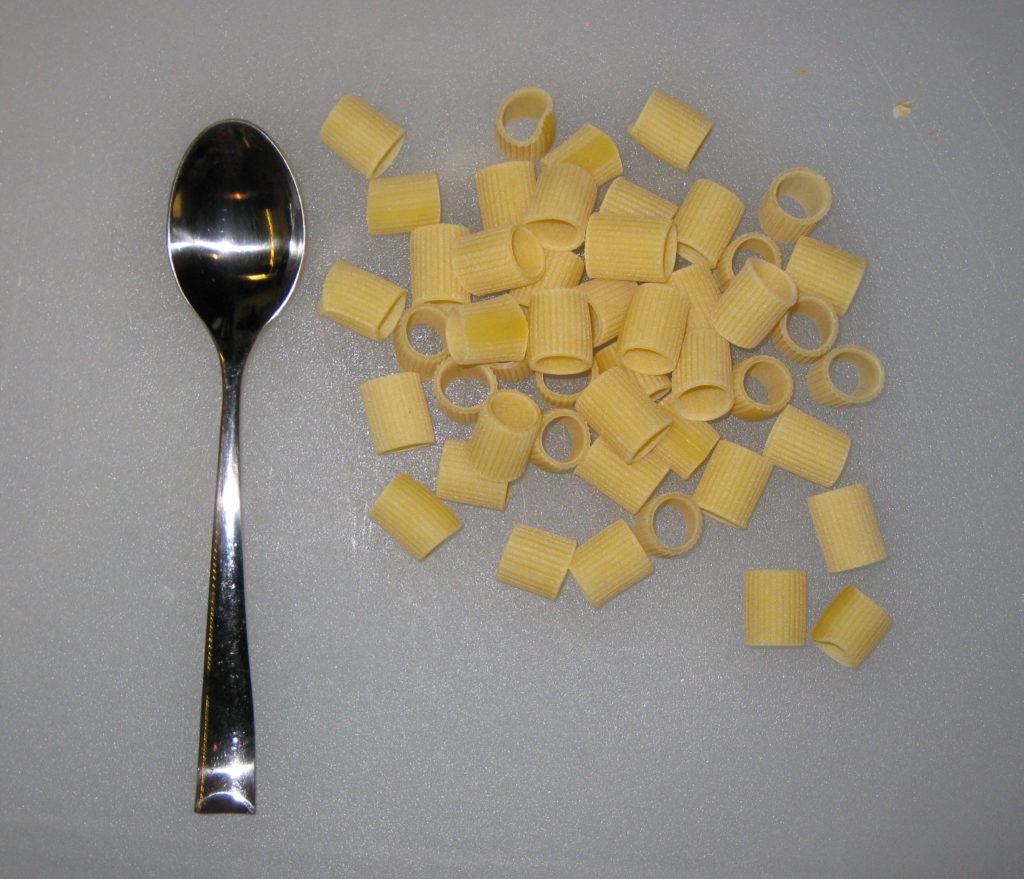
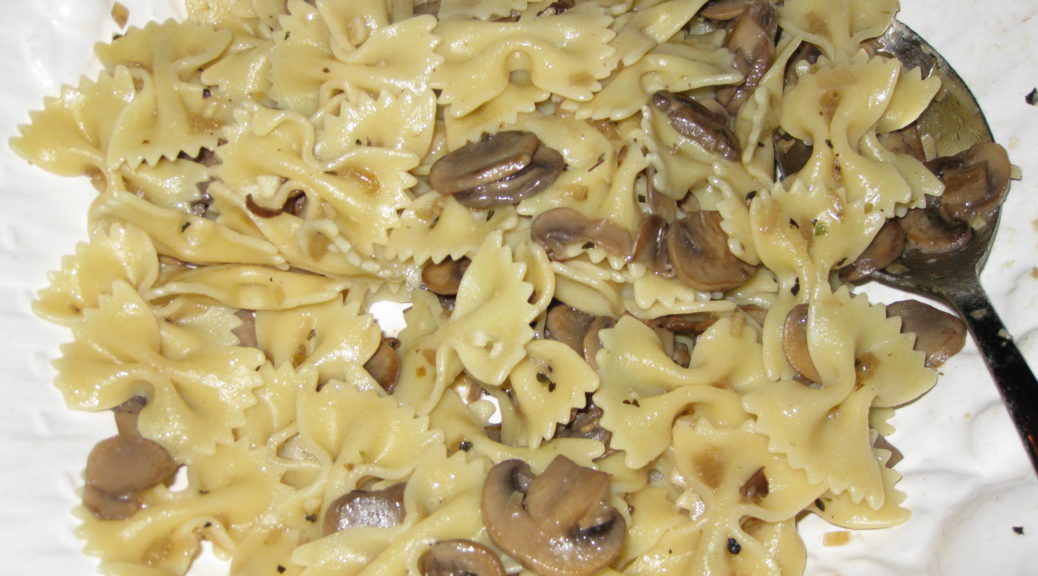
- 1 pound orecchiette
- 1 teaspoon Freshly ground black pepper or to taste
- 1/2 cup grated Parmesan cheese or to taste
- 2-3 tablespoons extra virgin olive oil best quality, for finishing
Ingredients
|
|
- Put 3 quarts of water and 1/3 cup salt in a 5 quart stockpot or Dutch oven. Bring to a boil over high heat.
- Meanwhile, cut the thick stems off the broccoli just below where the stems start to branch into individual florets.


- Cut the individual florets off the broccoli by cutting lengthwise through the stalk from top to bottom.

- Cut off any remaining stalk just below the floret. These tender stalks can be cut crosswise into one-half inch pieces and added to the florets.


- You can use some of the thicker stalks as well, if you wish. To do so, use a vegetable peeler to remove the tough outer skin. Dice the peeled stems into 1/3 inch cubes. Reserve these diced stalks separately from the florets and diced tender stalks.

- When the salted water comes to a boil, add the diced, peeled stalks, if using. Return to a boil and cook for 2-3 minutes until they just begin to get tender. Using a spider or large slotted spoon, remove the stalks from the water and plunge them into a bowl of ice water to stop cooking. When cool, drain in a colander.

- Keep the water on low heat so you can return it to a boil quickly when needed to cook the pasta.
- In a heavy-bottomed pan large enough to hold the finished dish, sauté the garlic over medium high heat until it turns fragrant, about 30 seconds.

- Add the anchovies and their oil and continue to sauté, breaking up the anchovies till they turn to a paste.

- Continue to cook until the anchovies darken slightly, about 1-2 minutes.

- Add the broccoli florets and diced tender stems. If using, add the partially cooked peeled stems. Season with salt and freshly ground black pepper.

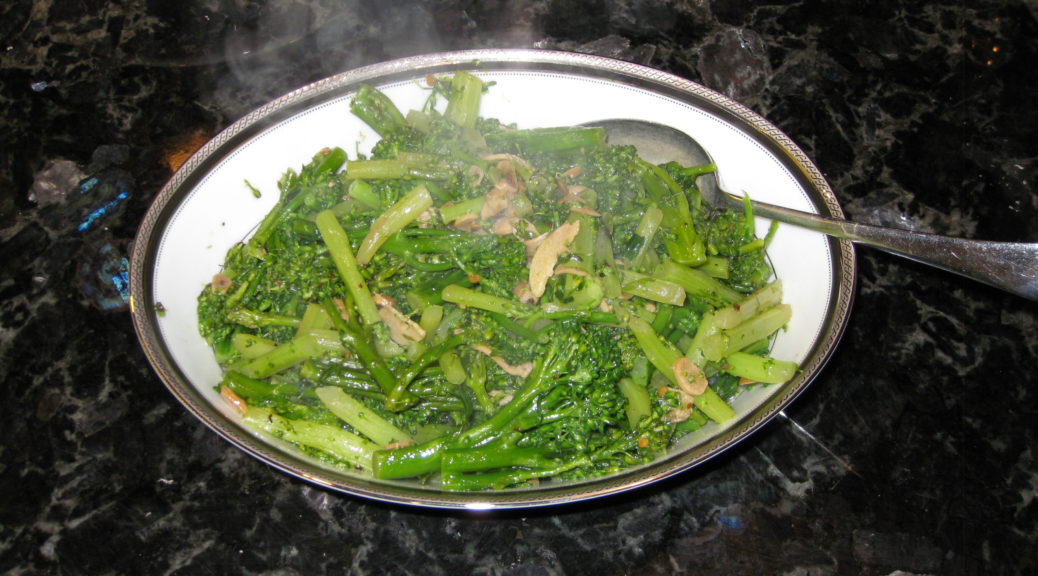
- Sauté on high heat, stirring very frequently, until some of the broccoli florets just begin to singe, about 5 minutes.

- Add the crushed red pepper. Stir to combine.
- Add the wine and cover with a tight fitting lid. Cook over medium high heat till the florets are cooked through but not mushy, shaking the pan occasionally.
- If all the wine evaporates before the broccoli is cooked, ladle in a bit of the pasta cooking liquid and continue.
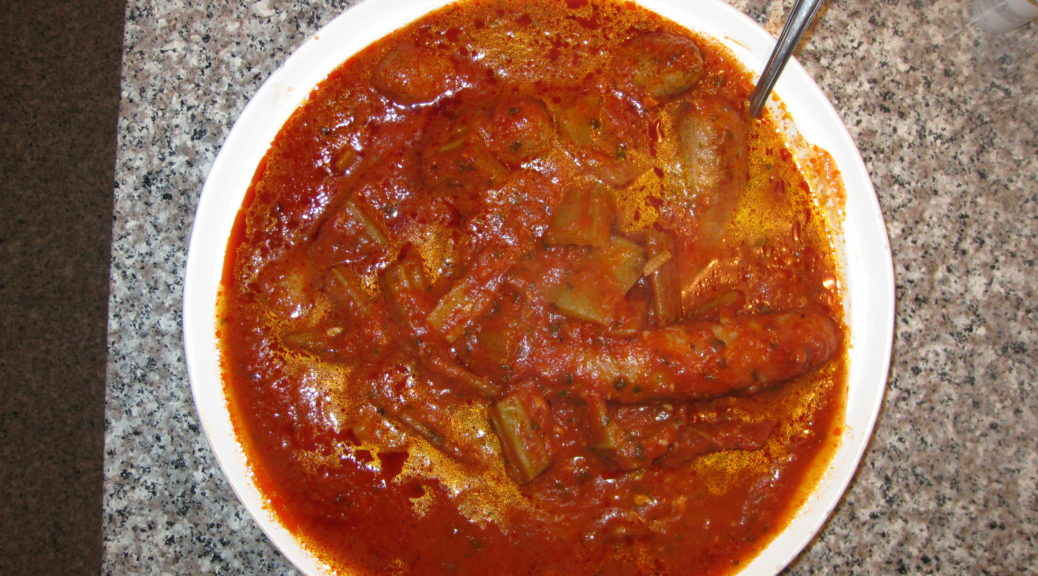
- When the broccoli is cooked, add the beans and their cooking liquid along with the oregano. Bring to a simmer over gentle heat.

- Meanwhile, return the pasta-cooking water to a rolling boil and add the pasta. Cook until the pasta is slightly shy of al dente. The pasta will finish cooking in the sauce.

- Put about ¾ cup of pasta cooking liquid into the beans. Reserve another cup of the liquid.
- Quickly drain the pasta and add to the beans. Stir well. Bring to a gentle boil, uncovered. Cook stirring occasionally until the pasta is al dente. Add as much of the reserved pasta-cooking liquid as needed to have enough sauce to coat the pasta and broccoli.

- The starch in the pasta-cooking liquid will add body to the sauce. One way to incorporate more of the pasta-cooking liquid is to cook the pasta over higher heat so that you can add, and boil off, more of the liquid, leaving the starch behind.
- When the pasta is cooked, remove the pan from the heat and stir in the Parmesan cheese and 1 teaspoon freshly ground black pepper. Taste and adjust salt after adding the cheese.

- Stir in the finishing extra-virgin olive oil. This will make the sauce glossy and add additional flavor.

- The starch from the pasta water and bean-cooking liquid along with the cheese should create an emulsion with the oil. You may need to add more of the reserved pasta-cooking liquid to loosen the sauce.
- Serve immediately. Pass extra Parmesan cheese at the table.
Copyright © 2017 by VillaSentieri.com. All rights reserved.