February 22, 2017
We didn’t eat a lot of prepared foods growing up. In fact we almost never did. OK, there were a few times in the early 60’s where I got to try out those recently-invented “TV Dinners.”
I was well into adulthood before I had a real appreciation for the quality of the homemade food that was put on our table every day.
My mother made putting great food on the table seem effortless. I remember many Sunday mornings when I’d wake up to find her making ravioli from scratch for our big midday meal: cooking the beef and spinach filling, preparing the dough, rolling and filling the ravioli, all the while a big pot of tomato sauce bubbling away on the stove. It was just a family Sunday dinner!
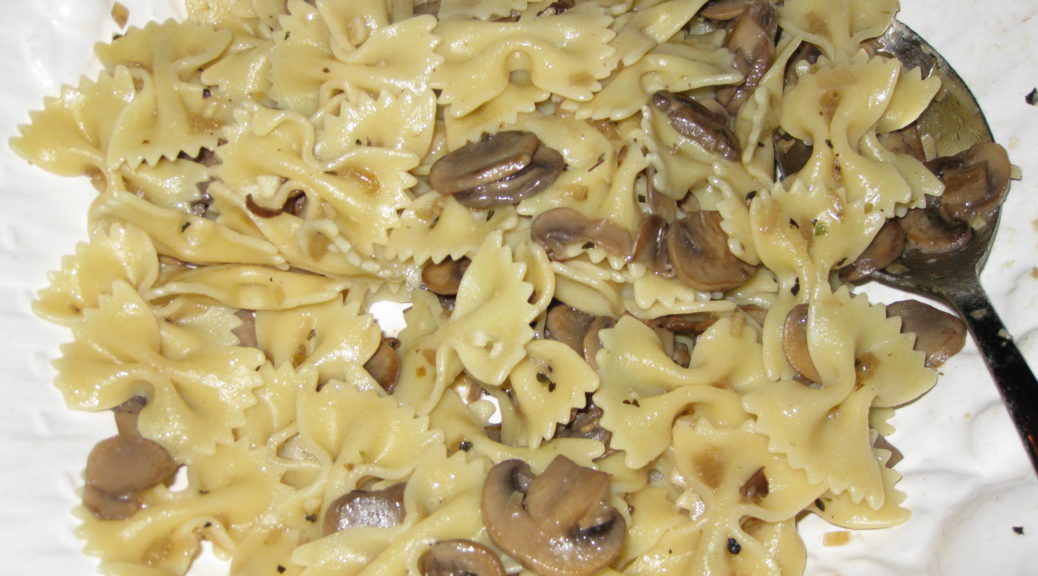
Weekday meals were usually less elaborate but no less delicious; maybe homemade sausage, pan-fried potatoes, and a vegetable or two or maybe pasta with sauce leftover from Sunday. It was always fun to walk into the kitchen to find her making something I’d never had before; something that her mother used to make. Sometimes that wasn’t even at a defined meal time.
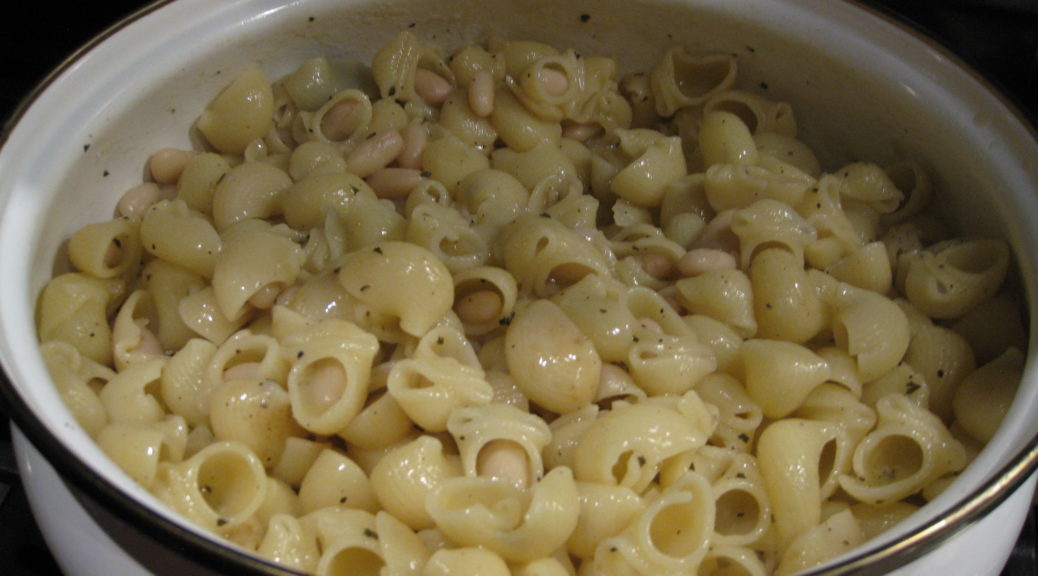
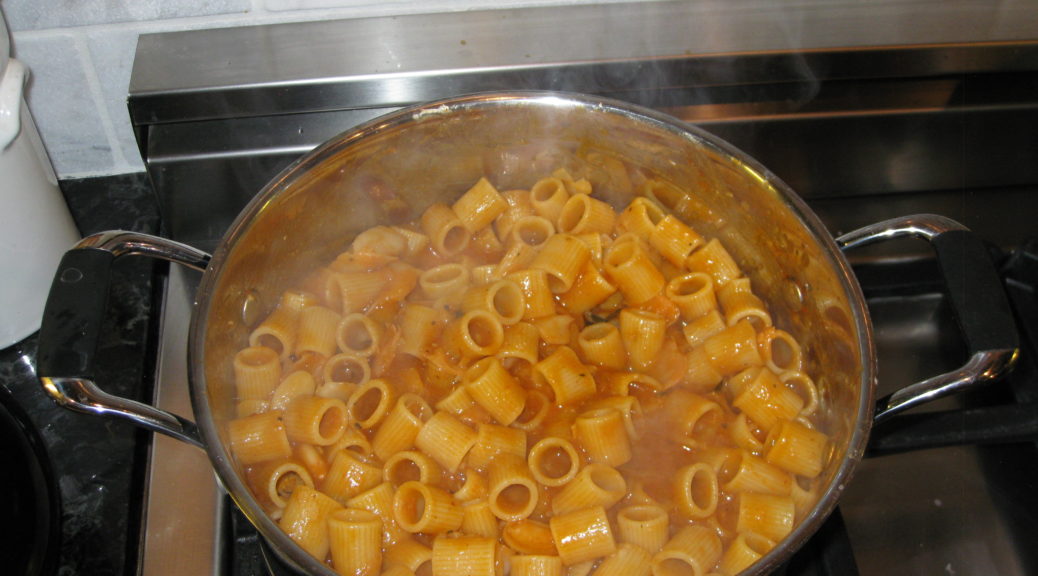
Now I think I understand. My mother died in 1993 and I bet I didn’t make her version of pasta e fagioli for 20 years after her death. Then one day, the desire for it just struck me and there I was, in the kitchen, cooking.
It’s become part of my regular routine again after that long hiatus. Sitting down to a bowl of my mother’s pasta e fagioli is comforting; almost as comforting as if she had made it for me. There’s just something about the combination of pasta, beans and red sauce that I can’t explain. It triggers an emotional bridge to what feels like an earlier time in my life. I’m guessing something similar prompted my mother to occasionally whip up dishes from her youth that she hadn’t made in decades, if ever.

| Prep Time | 15 minutes |
| Cook Time | 1 1/2 hours |
| Servings |
people
|
- 3 cups cooked dried lima beans plus bean-cooking liquid to cover
- 1/3 medium onion
- 1/2 cup extra virgin olive oil divided
- 1/2 teaspoon crushed red pepper or to taste
- 1 x 6 ounce can tomato paste
- 3 cups water
- 1/4 teaspoon dried oregano
- 1/3 teaspoon dried basil
- salt to taste
- Freshly ground black pepper to taste
- 4 cloves garlic
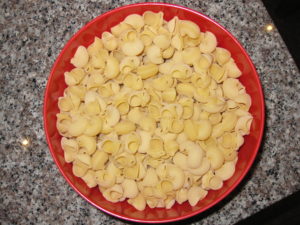
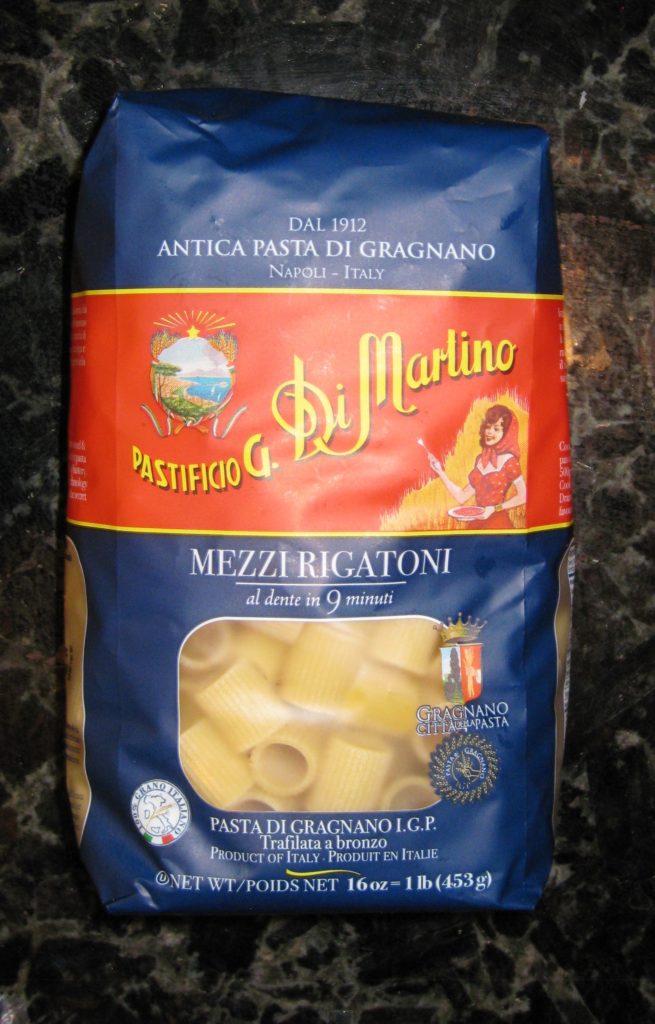
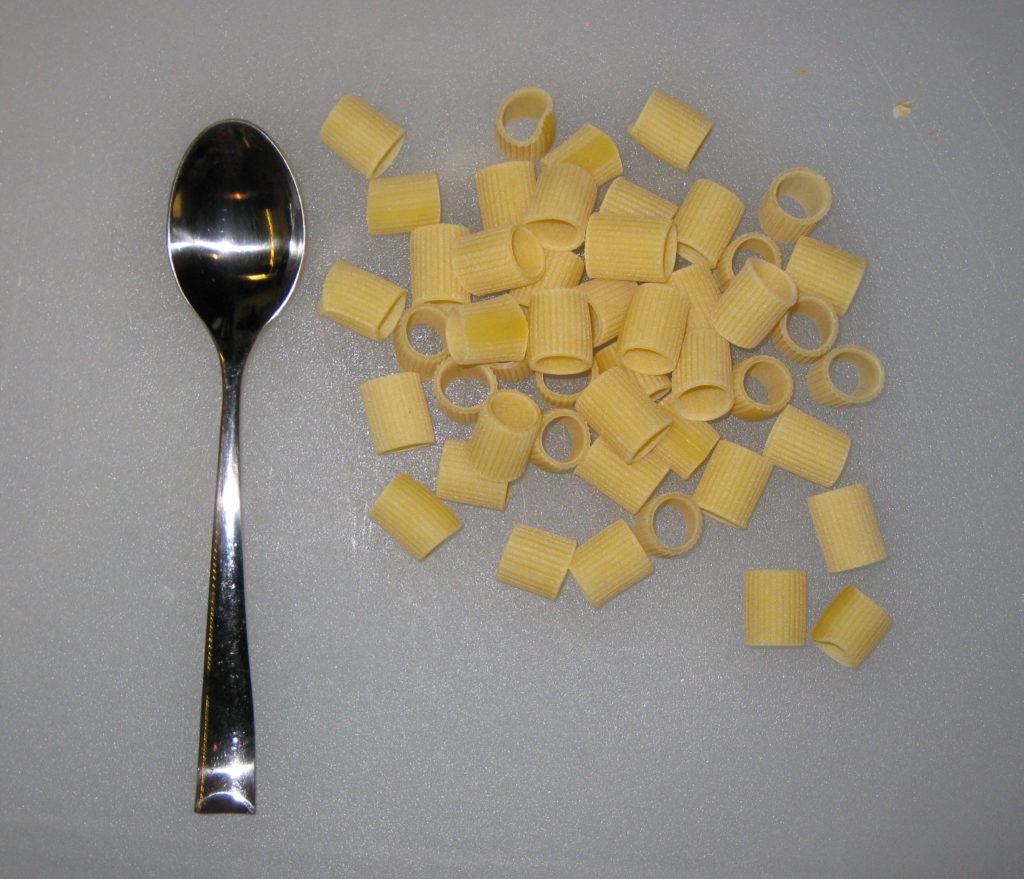
- 1 pound short, fat tubular pasta such as ditali or mezzi rigatoni
- 3 tablespoons salt for cooking the pasta
- 1/3 cup Parmigiano Reggiano cheese freshly grated
Ingredients
|
|
- Finely dice the onion. Sauté the onion in ¼ cup of olive oil until soft and golden.

- Add the crushed red pepper and sauté another minute.

- Add the tomato paste and sauté, stirring frequently until the tomato paste turns a shade darker and smells sweet, 2-3 minutes.


- Add the water, oregano, basil and salt and pepper to taste. Stir well to fully incorporate the tomato paste.

- Bring to a very low boil, partially covered, and cook 30-45 minutes stirring occasionally. Adjust seasoning as needed, tasting several times as the sauce cooks.
- Meanwhile, sauté the garlic in the remaining ¼ cup of olive oil very slowly until browned. Remove from the heat and reserve.

- The dish can be cooked several hours ahead to this point.
- Bring three quarts of water and three tablespoons of salt to a boil.
- While the water is heating, add the beans and their liquid to the tomato sauce, return to a simmer, and cook, partially covered till the pasta is ready.


- Cook pasta until it still has a small bit of chewy center. It will cook more in the sauce. Scoop out and reserve two cups of the pasta cooking liquid.
- Drain the pasta. Add the pasta to the tomato-bean mixture. Add the browned garlic and olive oil. Stir well, cover and cook on very low heat until the pasta is cooked but al dente and the sauce has thickened. Add some of the pasta cooking liquid as needed from time to time to create a smooth sauce.

- Off the heat stir in the Parmigiano Reggiano cheese. Taste and adjust seasoning.

- It is not unheard of for me to add an extra glug or two of olive oil at this point to get a luscious sauce. Stir and decide if another dash of pasta-cooking water is needed, as well.
Mezzi Rigatoni
Copyright © 2017 by VillaSentieri.com. All rights reserved.