January 1, 2018
In our house pasta mostly was dressed with a red sauce, specifically my mother’s long-simmered Southern Italian-style sauce. In Western Pennsylvania, we called it “sauce” or sometimes “spaghetti sauce” though it was used on much more than spaghetti. Further east, in Philadelphia, New York, and New Jersey the term “gravy” was common, but not where I lived.
Now I mostly use the Italian word “sugo” which is a general term for sauce, though commonly used for a tomato-based sauce. The word ragù definitely connotes a tomato-based sauce, specifically with meat. It also happens to be a trademarked name, though with a different accent mark on the last letter: Ragú.
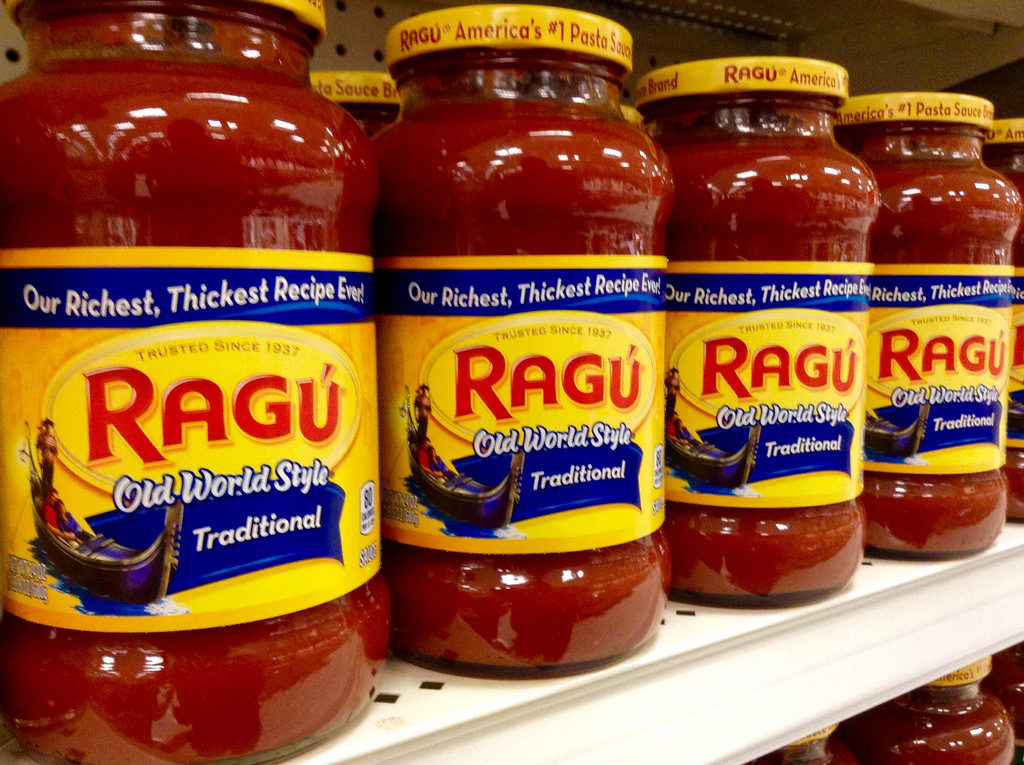
I found it interesting that Ragú was started in 1937 in Rochester, New York by Assunta and Giovanni Cantisano, Italian immigrants who sold the sauce from their front porch. In 1969, the company was sold to Chesebrough-Pond’s. The brand became the best-selling pasta sauce in the country and ultimately achieved a reported 60% share of the pasta sauce market in the United States.
Click HERE to join our mailing list and you’ll never miss a recipe again!
Purchased pasta sauce was something that NEVER entered our house!
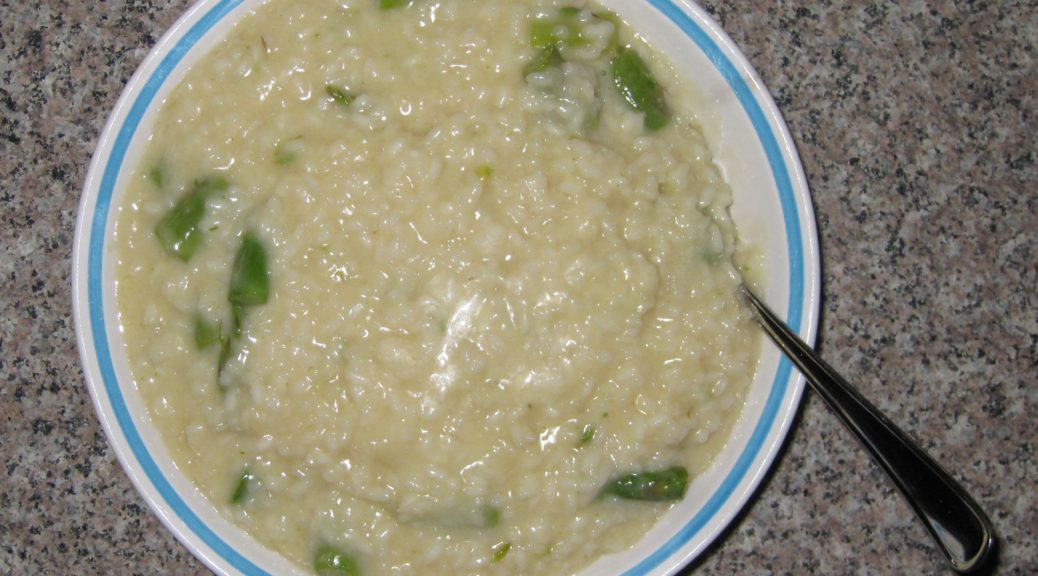
When pasta wasn’t served with a red sauce, it was typically served as Pasta è Fagioli (Pasta and Beans) and, once a year, on Christmas Eve, with crispy breadcrumbs and anchovies. You can find my mother’s recipe for Pasta è Fagioli here and mine here. In the coming months you’ll get my Aunt Margie’s recipe and Louis Evangelista’s recipe for Pasta è Fagioli.
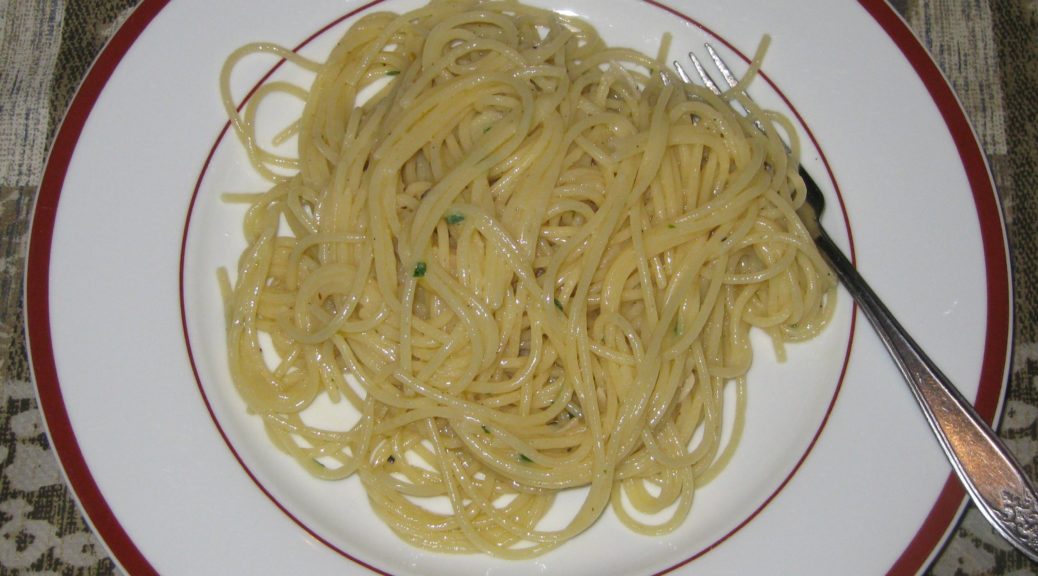
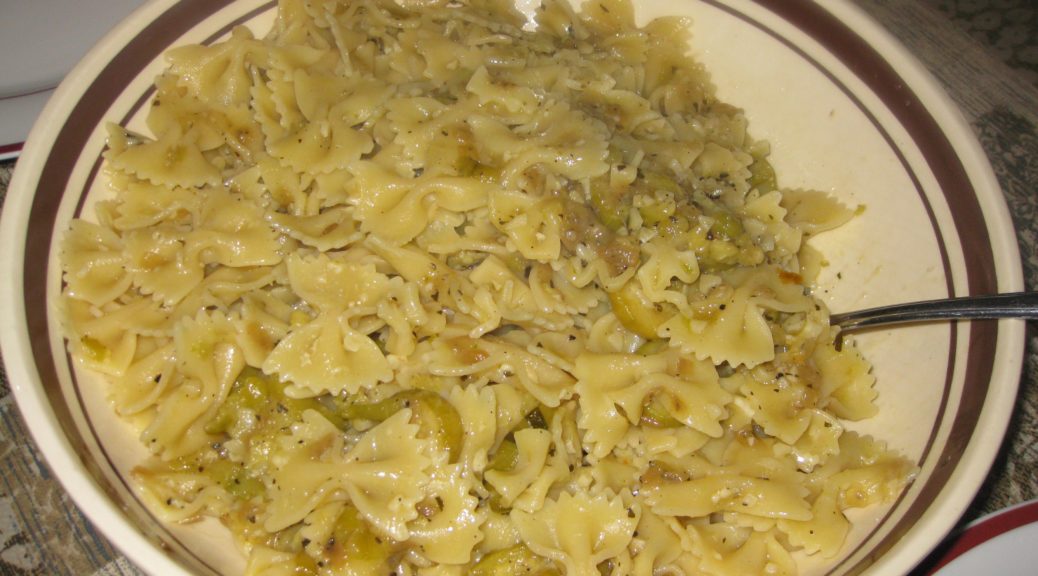
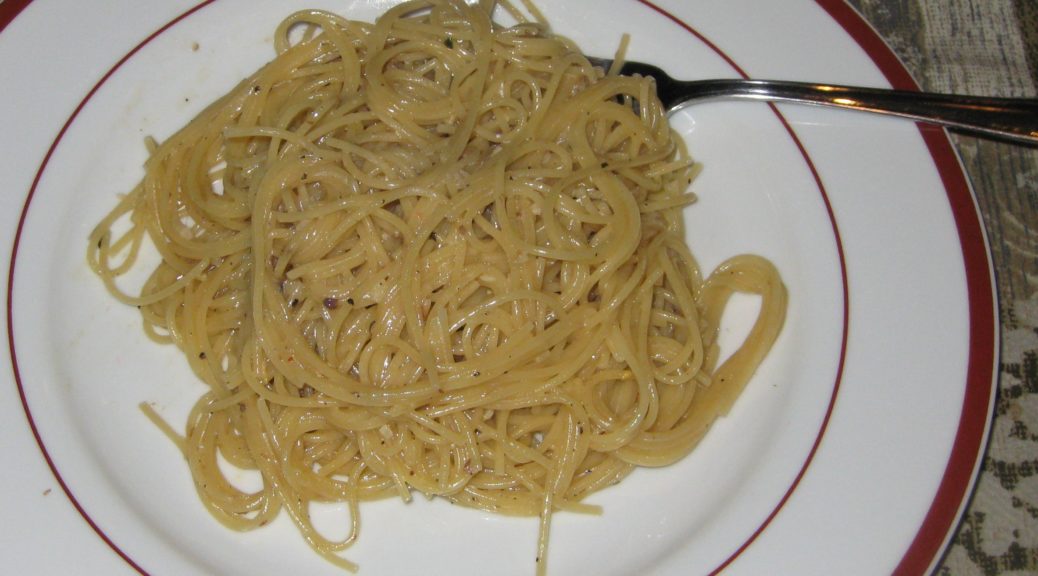
Although not something I grew up with, a simple sauce of anchovies, garlic and olive oil is now a favorite in my household.
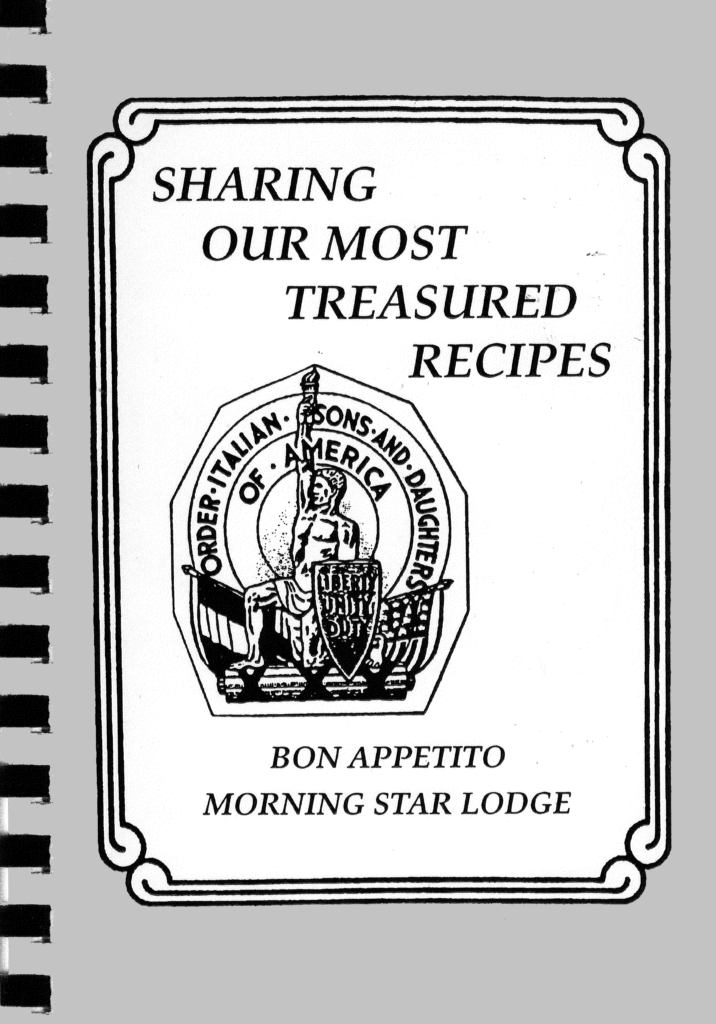
My recipe is adapted from one by G. J. Gillotti (whose family also hails from Calabria) in Our Most Treasured Recipes, published in 1993 by the Morning Star Lodge of the Order of Italian Sons and Daughters of America. The sauce comes together from pantry staples in the time it takes to bring the pasta water to a boil.
Follow us on your social media platform of choice
![]()
![]()
![]()
Morning Star Lodge is in Pittsburgh, about 70 miles from my hometown of Johnstown, PA. If you’ve been following my blog, you know I have both Italian and Slovak roots. There are lots of people of Italian and Eastern European extraction in Western Pennsylvania. I found it interesting to peruse the pages of this ostensibly Italian cookbook. Among many Italian and Italian-American favorites are Eastern European dishes like holubki (stuffed cabbage), sweet sour kielbasa, and pierogi casserole. This speaks to the melting pot that is Western Pennsylvania!
If you’ve gotten this far, I hope you’re interested in trying this recipe but I fear there are many of you who hear the word anchovy and stop cold in your tracks. If any of you are still reading, however, I would encourage you to try this recipe. The anchovies provide a background savory note but really are not front and center!
If you have a favorite family recipe and a bit of a story to tell, please email me at santafecook@villasentieri.com and we can discuss including it in the blog. I am expanding the scope of my blog to include traditional recipes from around the country and around the world. If you haven’t seen Bertha’s Flan or Melinda’s Drunken Prunes, take a look. They will give you an idea of what I’m looking for.
")
| Prep Time | 15 minutes |
| Cook Time | 40 minutes |
| Servings |
people
|
- 1/3 cup extra virgin olive oil
- 4-5 cloves garlic minced
- 1/4 teaspoon fennel seed crushed in a mortar
- 1 teaspoon crushed red pepper or to taste
- 1 pinch dried oregano
- 1/8 teaspoon dried basil
- 1 x 2 ounce can anchovies packed in olive oil
- 1/4 cup dry white wine
- 1 egg lightly beaten
- 1 1/2 teaspoons black pepper freshly ground
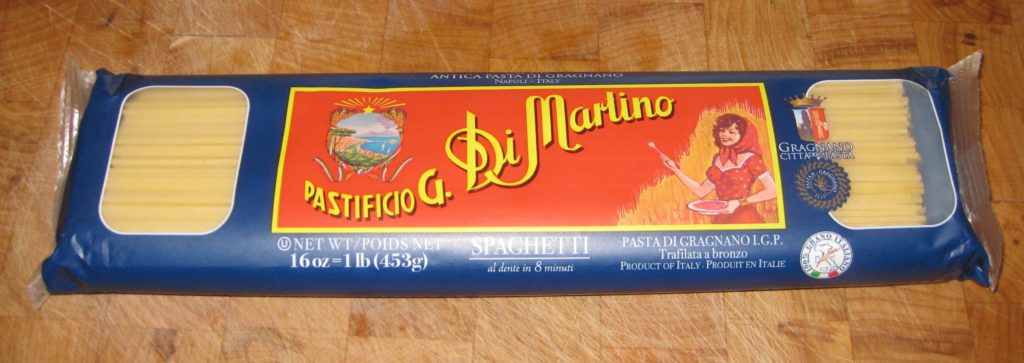
- 1 pound spaghettini
- 1/4 cup extra virgin olive oil for finishing
Ingredients
|
|
- In a small frying pan gently sauté garlic in olive oil until golden brown.
")
- Add the fennel seed, red pepper, oregano, and basil and cook for approximately 30 seconds.
")
- Add the anchovies and their oil.
")
- Cook gently, stirring frequently, until anchovies disintegrate. This will only take a few minutes.
")
- Add white wine and simmer gently till most of the wine has evaporated and the anchovies have thoroughly disintegrated. Remove the pan from the heat.
")
- Meanwhile cook pasta in 3 quarts of boiling water seasoned with 1/3 cup of salt until just al dente.
- As the pasta nears completion, use some of the pasta water to warm the serving bowl. This is important as the egg will cook in the hot pasta and if the bowl is cold, the pasta will lose too much heat to do this effectively.
- Just before draining the pasta, reheat the olive oil-anchovy mixture on medium-low.
")
- Drain pasta, reserving at least one cup of the pasta-cooking water.
- Drain and quickly dry the warmed serving bowl.
- Put half of the olive oil-anchovy mixture in the warmed serving bowl.
")
- Add the drained pasta.
")
- Top with the remaining olive-oil anchovy mixture.
")
- Toss pasta.
")
- Add black pepper and beaten egg. Toss until well mixed.
")
- In a leap of faith, add about ½ cup of the reserved (still hot) pasta-cooking water. Toss well.
- Drizzle in approximately ¼ cup of finishing olive oil. Toss well.
")
- Add more pasta-cooking water, if needed, to make a glossy sauce. You probably can’t go wrong with adding at least another ¼ cup of pasta-cooking water.
Copyright © 2018 by VillaSentieri.com. All rights reserved.

")
")
")
")
")
")
")
")
")
")
")