August 21, 2017
Talk about a dish that simply wouldn’t exist in any recognizable form without new world crops, calabacitas is it! Squash, corn, and chile are all new world plants.
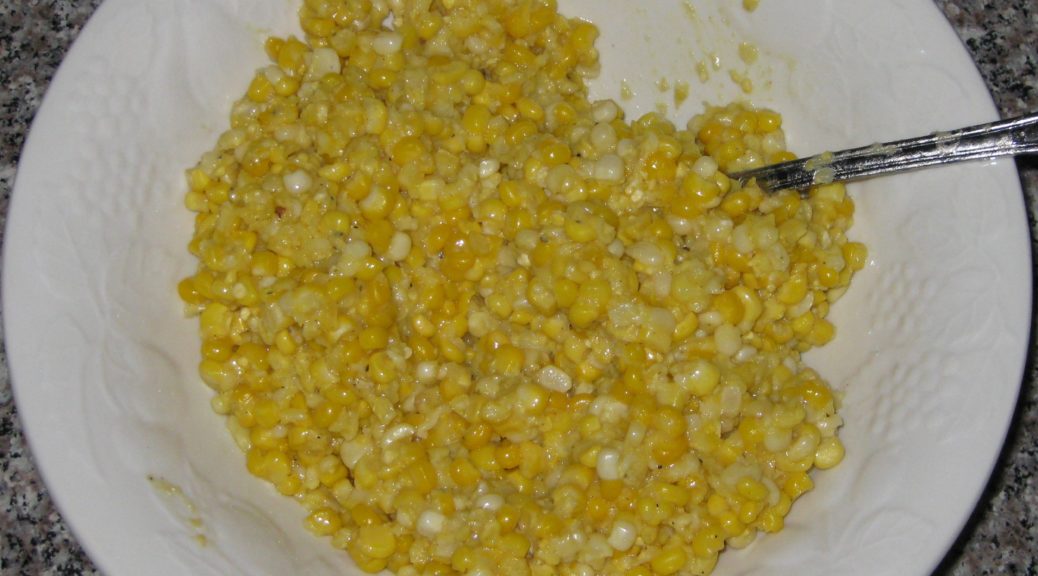
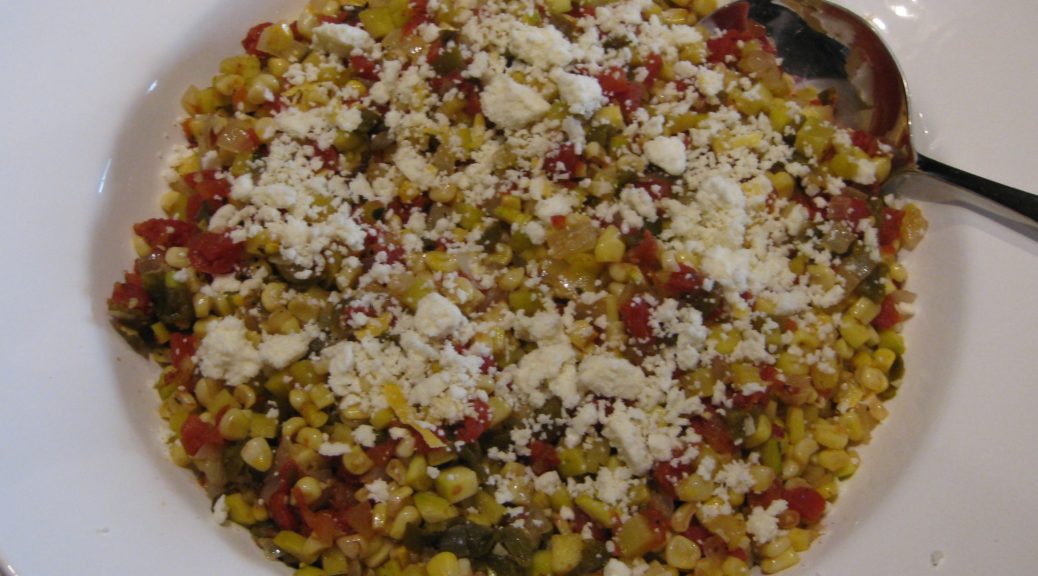
Calabacitas is Spanish for zucchini but is also the name given to a dish of zucchini, corn, and (usually) green chile.
Often served as a side dish, calabacitas makes an awesome burrito, too. Accompany it with some frijoles (and probably a tortilla or three) and you’ve got a great high-protein vegetarian dinner. Leave out the cheese and it’s vegan! Truth be told, I’m plus-minus on the cheese in any case. When serving this for company I usually sprinkle cheese on top as in this recipe, but if it’s just for “us,” cheese isn’t usually even a thought.
This is the time of year to serve the most sublime calabacitas possible as zucchini, corn, green chile, and tomatoes are all in the farmers’ market. But calabacitas is too good to be had only a few weeks a year and, honestly, versions made with frozen corn, canned tomatoes, and roasted green chile that you’ve squirreled away in your freezer along with the ever-present zucchini in the produce aisle are too good to pass up any time of year.
For me, calabacitas shares a serious failing with succotash. They are both great ideas in my estimation but the execution often falls flat.
When I set out to finally perfect a version of calabacitas that I felt comfortable serving, I thought back on all the less-than-perfect renditions I’d had since I first set foot in New Mexico in 1991.
The litany of offenses includes being too watery, being too rich, having huge chunks of zucchini that seem mismatched next to corn kernels, being under-seasoned and being aggressively seasoned.
That set out a plan of action for me. The zucchini should be cut approximately the same size as corn kernels. There needed to be a minimum amount of liquid in the finished dish. Loads of cream or butter or cheese were out of the question. The seasoning should complement the vegetables, not assume control of the dish.
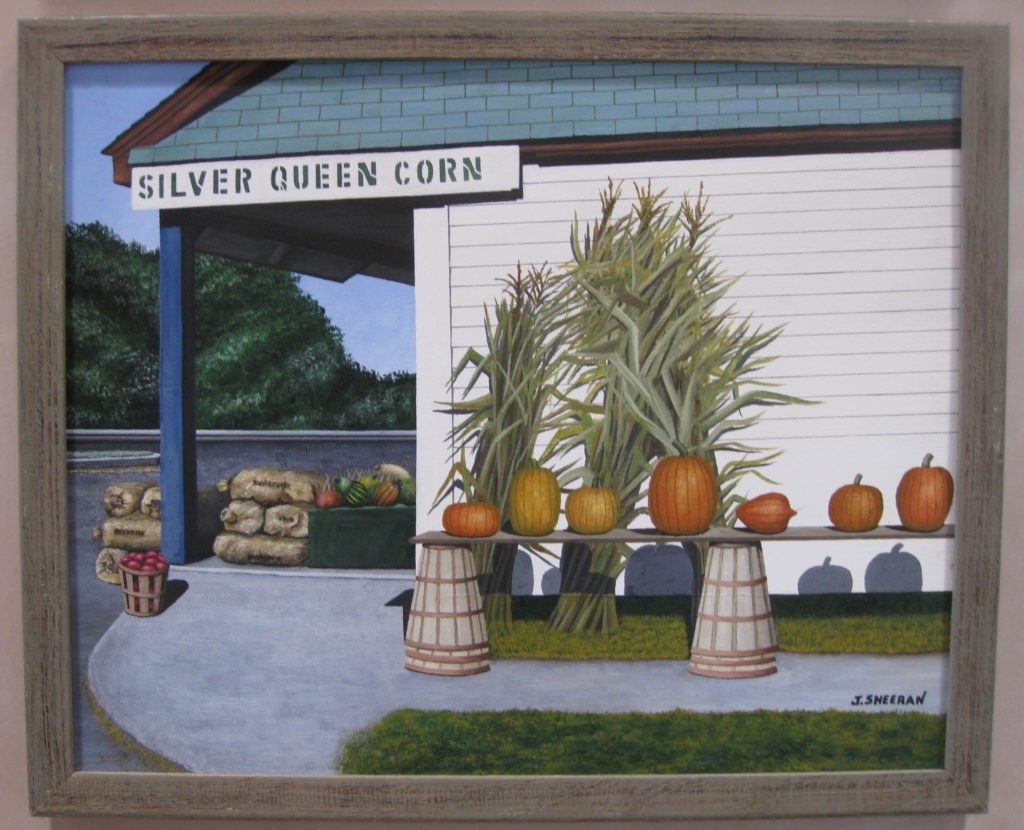
Zucchini (the namesake vegetable) and corn were a given. Pretty much everything else was up for grabs. Tomatoes, which are sometimes included, seemed right for color and a bit of acidic brightness that the zucchini and corn lack. They have the added bonus of being another New World crop. Roasted green chile, also sometimes included, was right for several reasons. It screamed “New Mexico,” it would add a bit of complimentary smokiness to the blend, and, honestly, I’m a chile-head.
My preference was for hot or extra-hot chile. This is wrong for several reasons. First, calabacitas is not traditionally a spicy dish. Second, after one of the dinners where I tested out my evolving recipe, one of the guests said that it was unfortunate that the entire “calabacitas conversation” that evening centered on how hot it was and not on how good it was.
In cooking I prefer to bow to tradition but if there’s ever a place where I butt heads with tradition, it’s in making dishes spicy. But I decided there and then that I should follow tradition and use mild chile in my calabacitas.
Finally I was on to the aromatics and seasoning. Onion and garlic are my go-to combination unless there is some compelling reason for one or the other (usually based on tradition). The herbs eluded me for a while. I really wanted to use Mexican Oregano (which isn’t actually oregano) because of its New World origins but it just seemed to overpower the dish. In the end, I decided that a modest amount of Mediterranean Oregano played best in the sandbox with the other ingredients.
Let me know what you think of my rendition of a New Mexico classic.
Follow us
![]()
![]()
![]()
![]()
Click HERE to join our mailing list and you’ll never miss a recipe again!

| Prep Time | 40 minutes |
| Cook Time | 30 minutes |
| Servings |
people
|
- 1 1/2 onions diced
- 4-5 cloves garlic minced
- 3-4 tablespoons rendered bacon fat or olive oil
- 4 cups zucchini cut in ¼ inch dice
- 4 cups corn kernels
- 1 cup roasted green chile peeled, seeded, and chopped
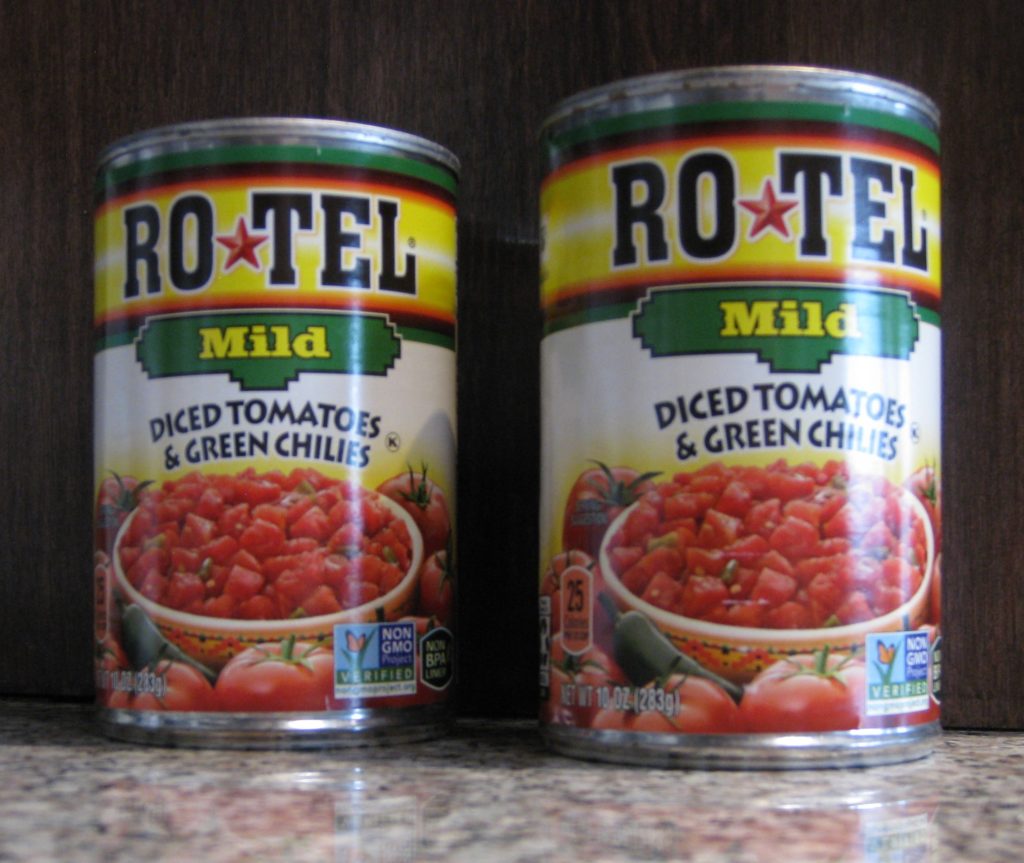
- 2 x 10 ounce cans diced tomatoes or 2 1/2 cups diced fresh tomatoes
- 1/2 teaspoon dried oregano
- salt to taste
- black pepper freshly ground, to taste
- 1/2 cup crumbled Cotija cheese for serving
Ingredients
|
|
- Dice the zucchini.

- Thaw the corn under running water.

- Roasted New Mexico green chile.

- Peeled and seeded chile, ready to be chopped.

- Sauté the onion until translucent.
- Add the garlic and continue to cook until the onion is golden but not brown.
- Add the zucchini and sauté until the zucchini is hot.
- Add the corn, green chile, tomatoes, oregano, salt, and pepper.


- Simmer until the liquid has evaporated and the zucchini and corn are cooked, about 10-15 minutes, depending on your preference.

- Adjust oregano, salt and pepper in the last few minutes of cooking.
- Serve sprinkled with crumbled Cotija cheese.

Copyright © 2017 by VillaSentieri.com. All rights reserved.