Spaghetti all’Assassina

25 August 2024

Spaghetti all’Assassina has been having a moment.  Well, if I’m honest, it’s been having a moment for about a year and a half now, judging from the dates of various recipe posts.  I was going to be early to the party given that I took the photos for this post more than two years ago!  Working on my second cookbook took up most of my available time and, once again, the blog suffered. 
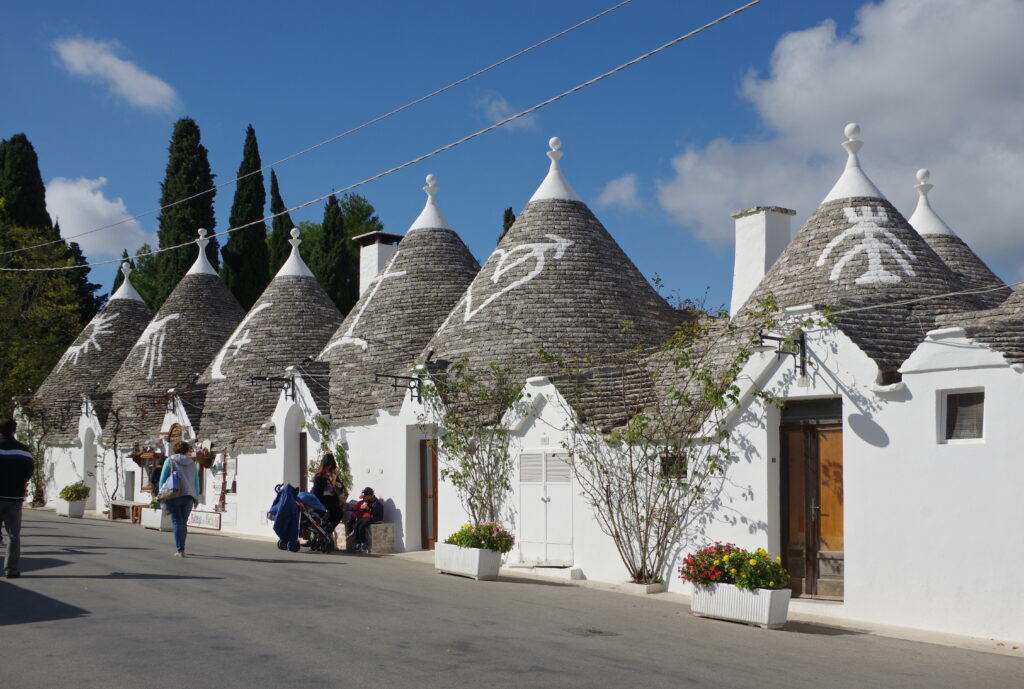
Alberobello, a town in Puglia, is famous for its stone trulli houses. (Berthold Werner, CC BY-SA 3.0 <https://creativecommons.org/licenses/by-sa/3.0>, via Wikimedia Commons)

I just began work on my third cookbook, but I have made a commitment to myself to post regularly on the blog, cookbook or no!


Join our mailing list and you’ll never miss a recipe again!


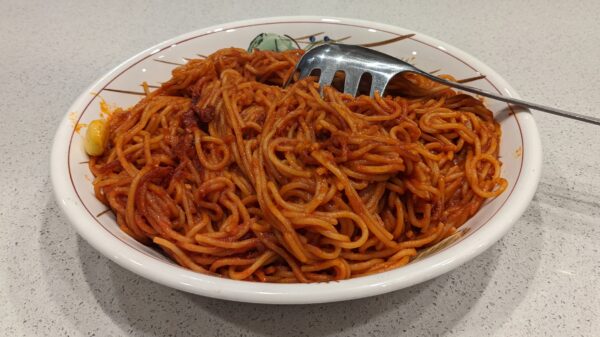
Spaghetti all’Assassina is iconoclastic, both in its name and in its preparation.  It seems mostly clear that it made it into the public eye in the 1960s in Bari, the capital of Puglia, the region that occupies the “heel” of the boot that is Italy, most probably at restaurant Al Sorso Preferito.  Not much else is clear. 

  1. According to one account, chef Enzo Francavilla of Al Sorso Preferito created the dish by accident in 1967. He allegedly burned a spaghetti dish so badly that extra peperoncino (red pepper) was added to save it. It was then served to the staff who liked it so much that it became a regular dish on the menu. 
  2. Chef Enzo Francavilla himself says he invented the dish in 1967 when two customers at the restaurant asked for pasta. 
  3. Another version suggests that the restaurant’s owners discovered the recipe when a neighboring rotisserie closed down, tried it out, and liked it.
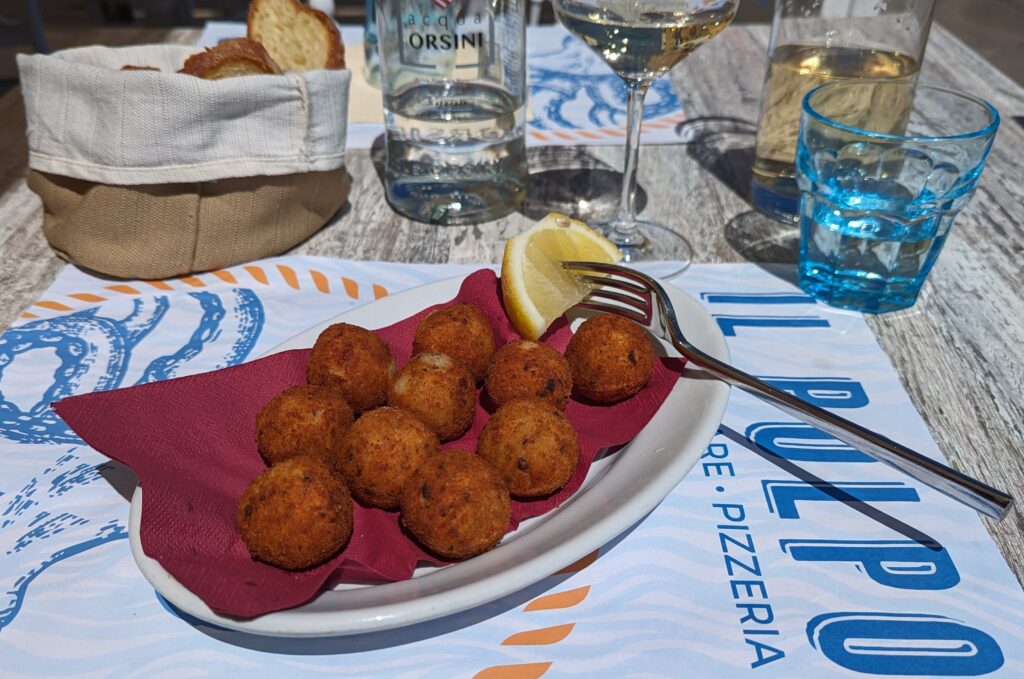
Octopus meatballs (polpette di polpo) at Il Polpo restaurant in Gallipoli, Puglia.

The name spaghetti all’assassina has a few potential explanations:

  1. It may refer to the “killing” or burning of the pasta during the cooking process.
  2. Some say it’s due to the dish’s spiciness, which is “killer” hot.
  3. One story claims that customers joked that the flaming hot spices were the chef’s way of “killing” them.

An Aperol spritz was a welcome relief on a very hot August day in Alberobello.

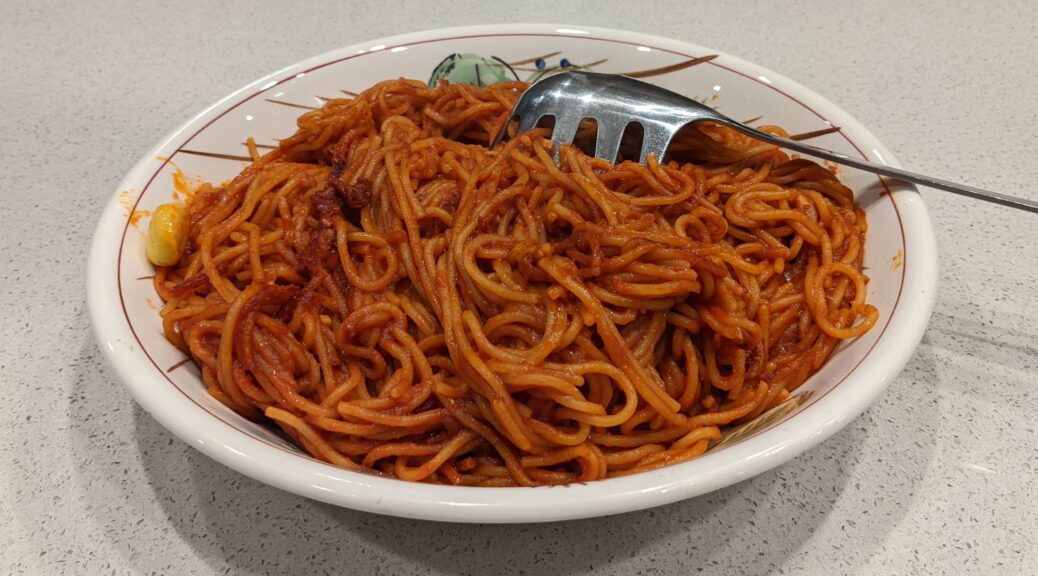
What makes this dish truly unique is its unconventional cooking technique.  The process is similar to making risotto.  In fact, pasta all’assassina belongs to a category of pasta dishes called pasta risottata (pasta risotto-style).  The pasta is not boiled but cooked directly in a pan with small amounts of liquid added, just like risotto.  What differentiates pasta all’assassina is that it is cooked with the goal of caramelizing, and possibly charring, the sauce and/or pasta, unlike risotto. 
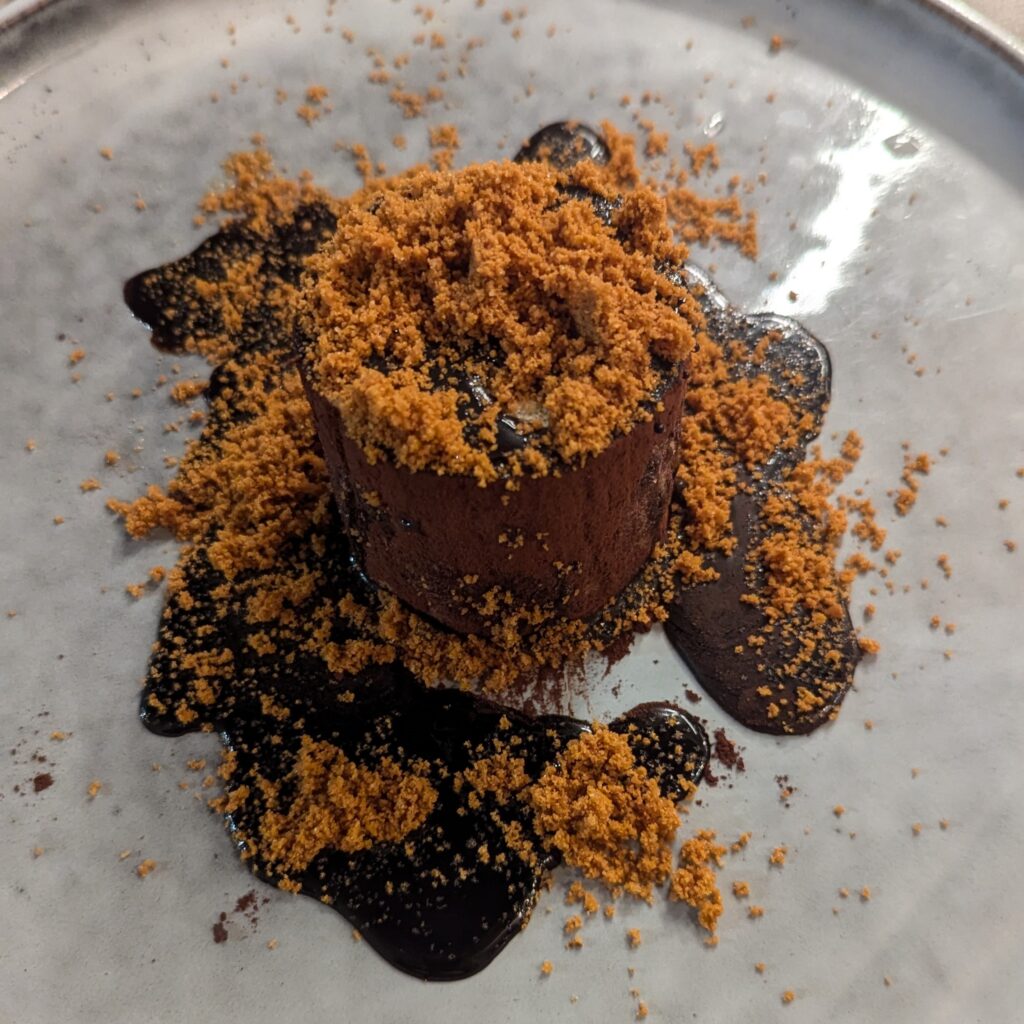
An amazing tiramisù at Siné restaurant in Alberobello, Puglia.

For decades, spaghetti all’assassina remained a local specialty in Bari. However, in 2013, a physicist and food enthusiast named Massimo dell’Erba created a Facebook group called Accademia dell’Assassina (Academy of the Assassin) to promote the dish.  This social media presence helped spread awareness of the dish beyond Bari both in Italy and internationally.

There are several variations of spaghetti all’assassina that have emerged over time. 

Variations on the traditional recipe include:

  1. Spiciness can vary from very spicy to mild.  Note though, that the food in Puglia is not traditionally spicy so a “very spicy” pasta dish from that region would not really be very hot for true chileheads.
  2. Charring can range between a deeply charred, even burnt, pasta to just a light browning of the sauce.
  3. Tomato intensity varies due to the amount of tomato and type of product, typically tomato paste vs. tomato puree (passata in Italian).
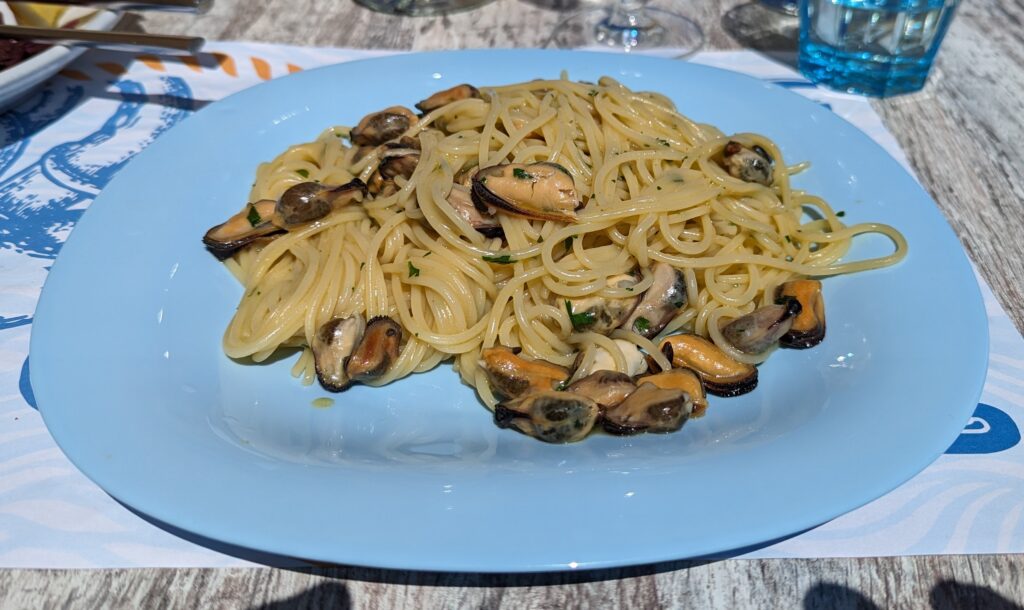
Although it doesn’t look different, this plate of spaghetti with mussels, at Il Polpo restaurant in Gallipoli, was the best spaghetti with shellfish that I have ever eaten!

Some chefs have adapted spaghetti all’assassina by adding other ingredients such as broccoli rabe, seafood, fried olives, cherry tomatoes, and stracciatella cheese. 

In May of this year, I had the opportunity to eat spaghetti all’assassina in Puglia, the region where it originated.  I made two trips to the town of Alberobello.  On the second trip, Ryan Castillo, a chef friend from Rome made a reservation for me at restaurant Siné.  The trip lasted four days and I ate three days in a row at the restaurant.  The only reason it wasn’t four days is that they are closed on Wednesdays!  I obviously loved the food.  Alberobello is a heavily touristed town so to find a restaurant that makes great food not aimed specifically at the tourist crowd is very welcome.    
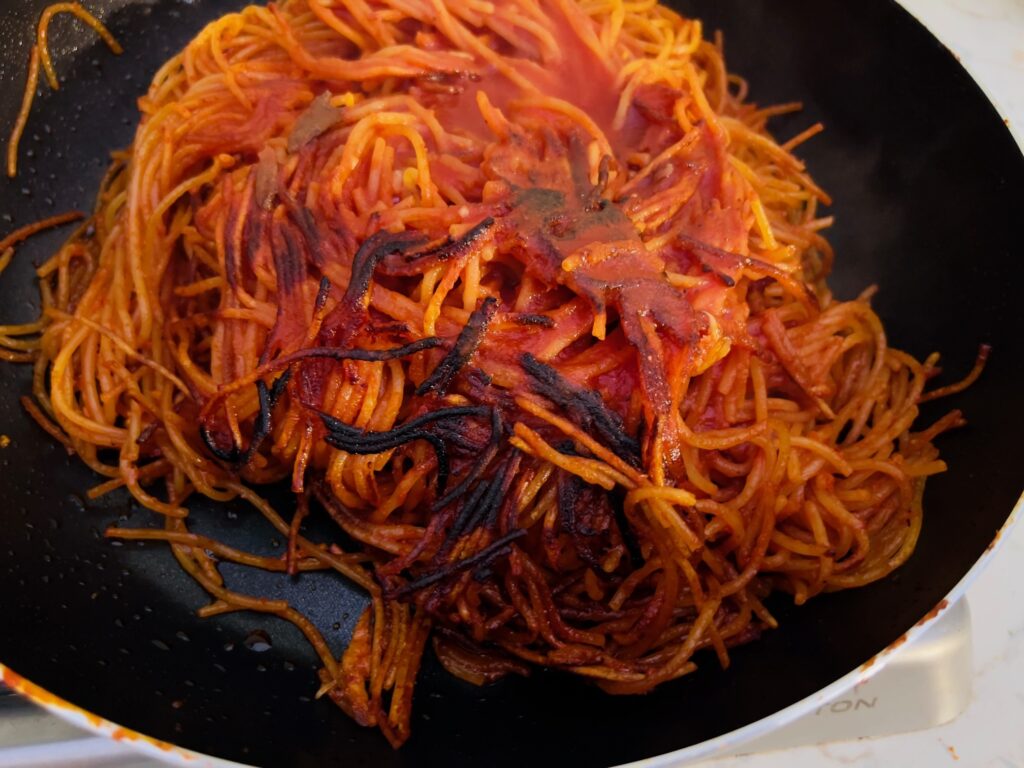
Some versions of spaghetti all’assassina are cooked until they are burnt. (ScotInPuglia, CC BY-SA 4.0 <https://creativecommons.org/licenses/by-sa/4.0>, via Wikimedia Commons)
Print Recipe
Spaghetti all'Assassina
While I like getting the sauce caramelized and quite brown in spots, I don’t like actually burning the dish as it imparts a bitter flavor that is overwhelming. Chewy bits of pasta are good, too, but not really crunchy and hard. I use both tomato puree (passata) and tomato paste to create a balanced tomato flavor. This is not a dish that calls for super-premium bronze die extruded pasta. However, a pasta that is slow-dried, such as de Cecco, works well. The traditional pan for making spaghetti all’assassina is cast iron or carbon steel but I prefer to use a heavy non-stick pan large enough to hold the spaghetti flat on the bottom.
Votes: 0
Rating: 0
You:
Rate this recipe!
Prep Time 15 minutes
Cook Time 30 minutes
Servings
people
Ingredients
Prep Time 15 minutes
Cook Time 30 minutes
Servings
people
Ingredients
Votes: 0
Rating: 0
You:
Rate this recipe!
Instructions
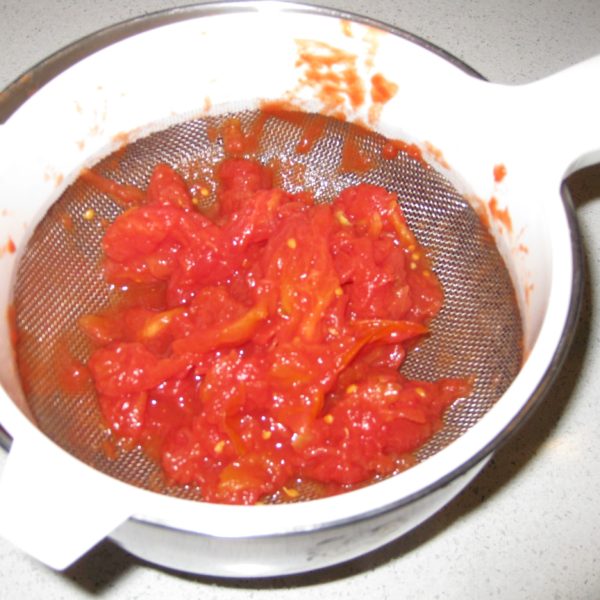
  1. Remove 150 g of passata from the bottle and reserve.
  2. Combine the remaining passata with the water, tomato paste and salt to make a tomato “broth”. Bring to a simmer on low heat. Use some of the water to rinse out the jar to remove all the passata.
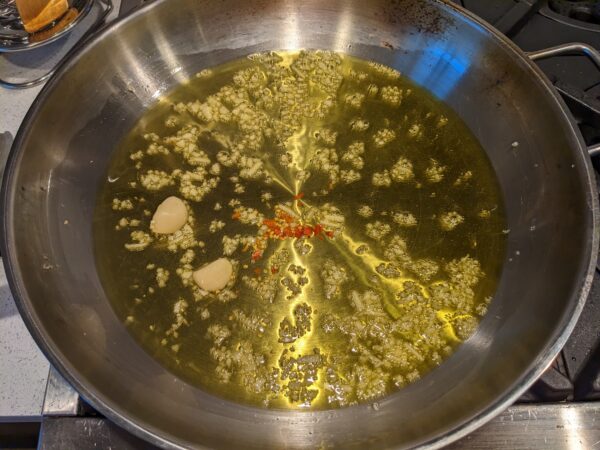
  3. Meanwhile heat the olive oil in a large sauté pan, preferably one that is large enough in diameter to hold the spaghetti flat. Add the minced and whole garlic and sauté until fragrant.
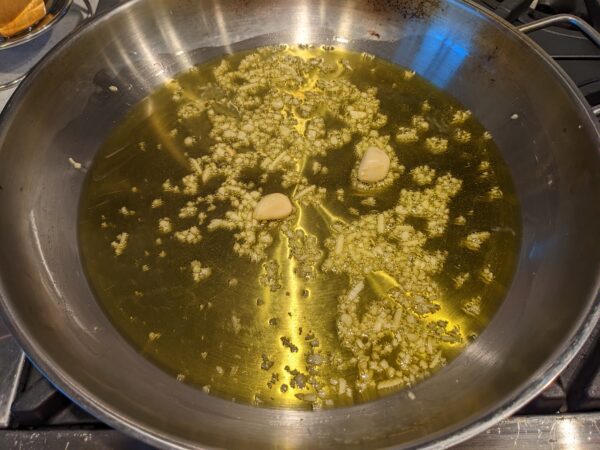
  4. Add hot pepper, sauté briefly.
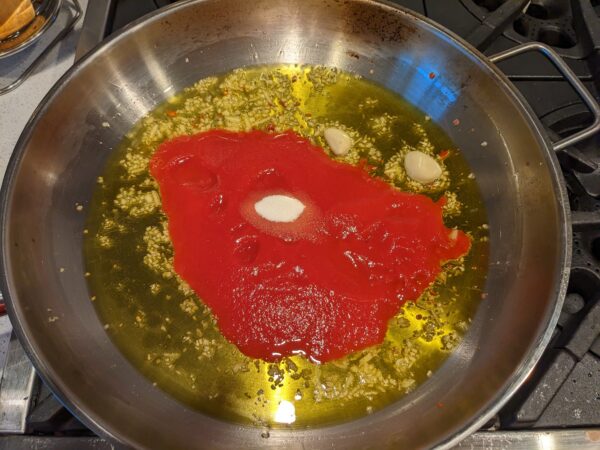
  5. Add the reserved passata and sugar.
  6. Cook until much of the liquid has evaporated and the passata has darkened somewhat.
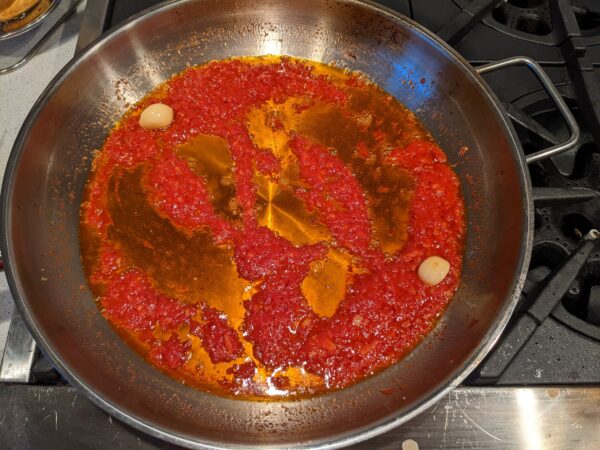
  7. Add the spaghetti, fanning it out. Add a ladle or two of the broth and cook on brisk heat until almost completely absorbed, frequently pushing the spaghetti around to keep it from sticking together.
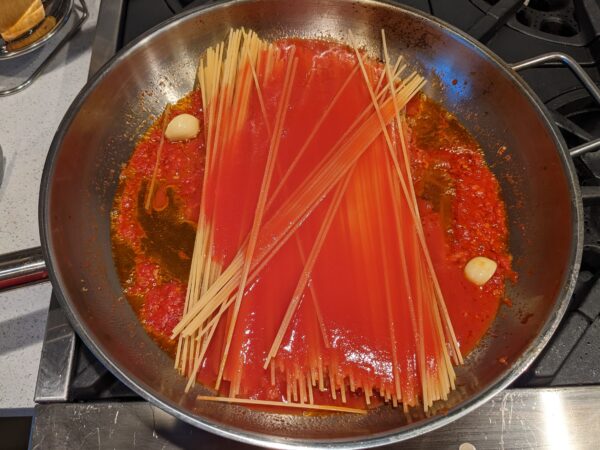
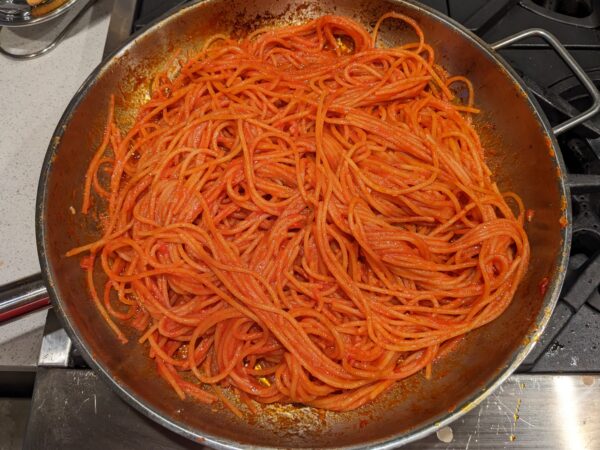
  8. Proceed in this way, adding broth a bit at a time and occasionally turning the spaghetti over, until it is al dente. During this time, you should begin to notice the fragrance change toward more caramel notes.
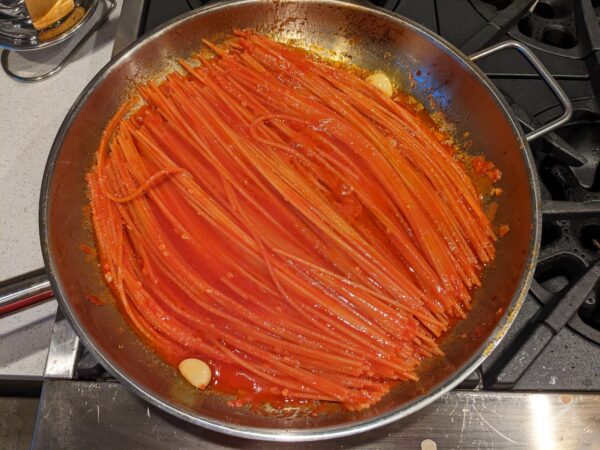
  9. During the last few minutes, allow the pasta to sizzle enough to create some very dark spots. Note, if there is not enough broth, bring some water to a simmer and finish cooking the pasta with that.
  10. Off heat, add Pecorino and more liquid if necessary to create a bit of sauce.
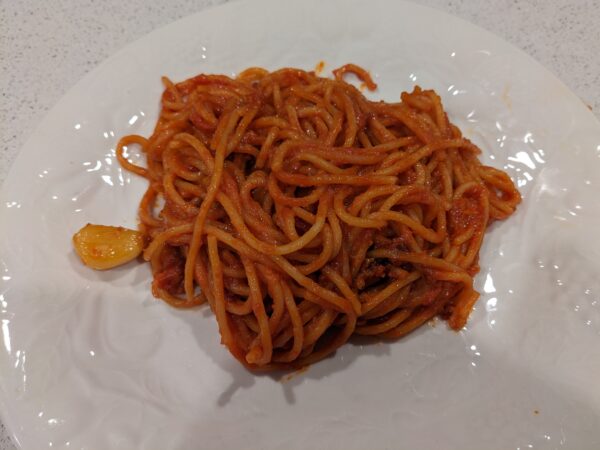
  11. Drizzle each serving with some additional extra-virgin olive oil and pass more grated Pecorino at the table.
Recipe Notes

Copyright © 2024 by Villa Sentieri, LLC. All rights reserved.

Share this Recipe

Focaccia Barese (Focaccia from Bari)

January 11, 2023

Never Explain.  Never Apologize.

Somebody famous once said that.

Well, according to Wikipedia, lots of famous people said that but the first, perhaps, is John Arbuthnot Fisher, a British Admiral of the Victorian and Edwardian eras.

I’m about to do both!

It’s been nearly a year since my last blog post.  And many months had elapsed between my next-to-last blog post and that one.  I’m sorry!

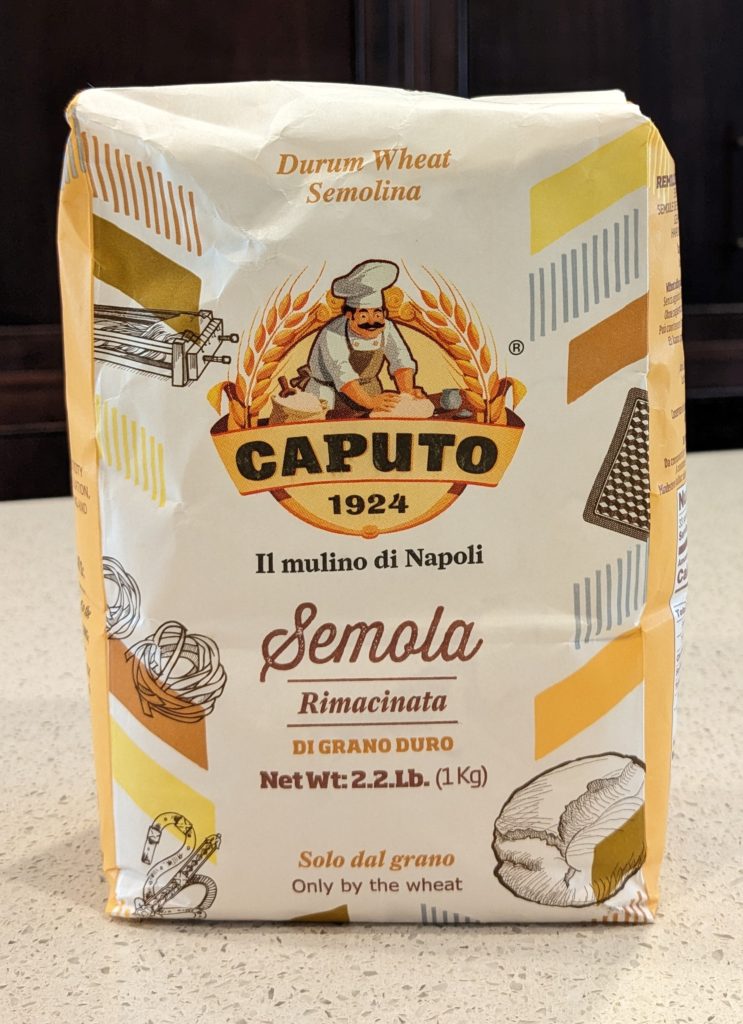
Semola Remacinata, the finest grind of durum wheat flour in Italy.

It amazes, and gratifies me, however, that during that long dry spell I continued to get messages from new readers of the blog and new subscribers to my emails.


Join our mailing list and you’ll never miss a recipe again!


Now let me explain.

Since August 2021 I have been working on a book about how to make artisan Italian gelato.  All the time that I would have devoted to testing recipes and writing blog posts, and more, went to testing recipes for and, ultimately, writing the book.

I sent the manuscript to the publisher on November 1st.  I’ve since revised the manuscript based on multiple rounds of feedback from the developmental editor.  The text is now undergoing line editing.  The photoshoot was completed a few weeks ago and photos were tentatively selected for the book.

A shot of the photoshoot for my upcoming book on artisan Italian gelato.

I’m anxiously awaiting options for page layout and cover design.  And not-so-anxiously awaiting feedback from the line editor.

Finding myself with more flexibility, I am planning on doing more baking than gelato-making for the next few months.  Winter in Palm Springs is the time to use the oven!

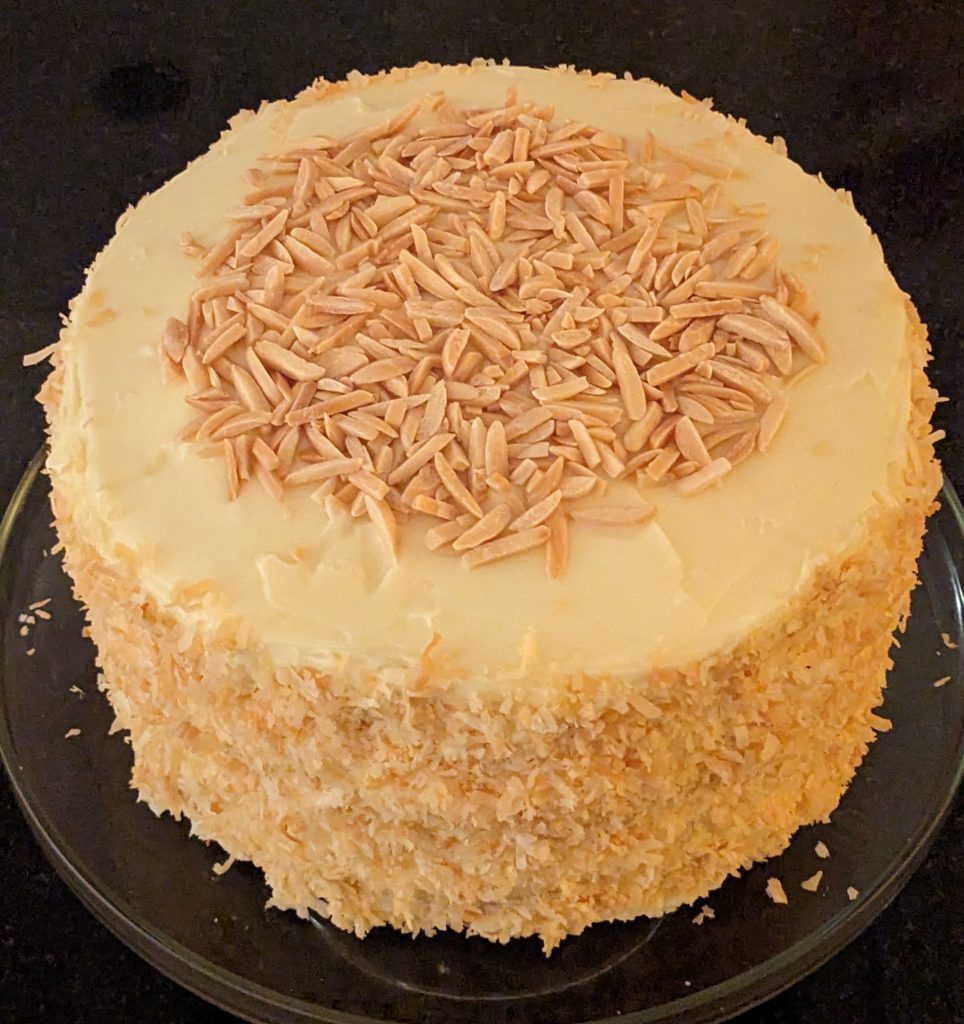
In fact, I had planned to make a coconut almond cake today, my second in less than two weeks.   My goal is to keep at it until I reproduce a taste memory of a coconut almond cake that I ate, one and only one time, in 1967 (or summer arrives in Palm Springs, whichever comes first).  It’s probably a fool’s errand but it is giving focus to my baking efforts.

My first coconut almond cake of the winter baking season.


Follow us on social media


A water leak last evening, while I was making dinner, means that the water to the house is shut off until the plumber gets here later today.  No water means no baking.  No baking means that I can repurpose my time to do my first blog post in nearly a year.

I promise to do my best to be more regular in posting.

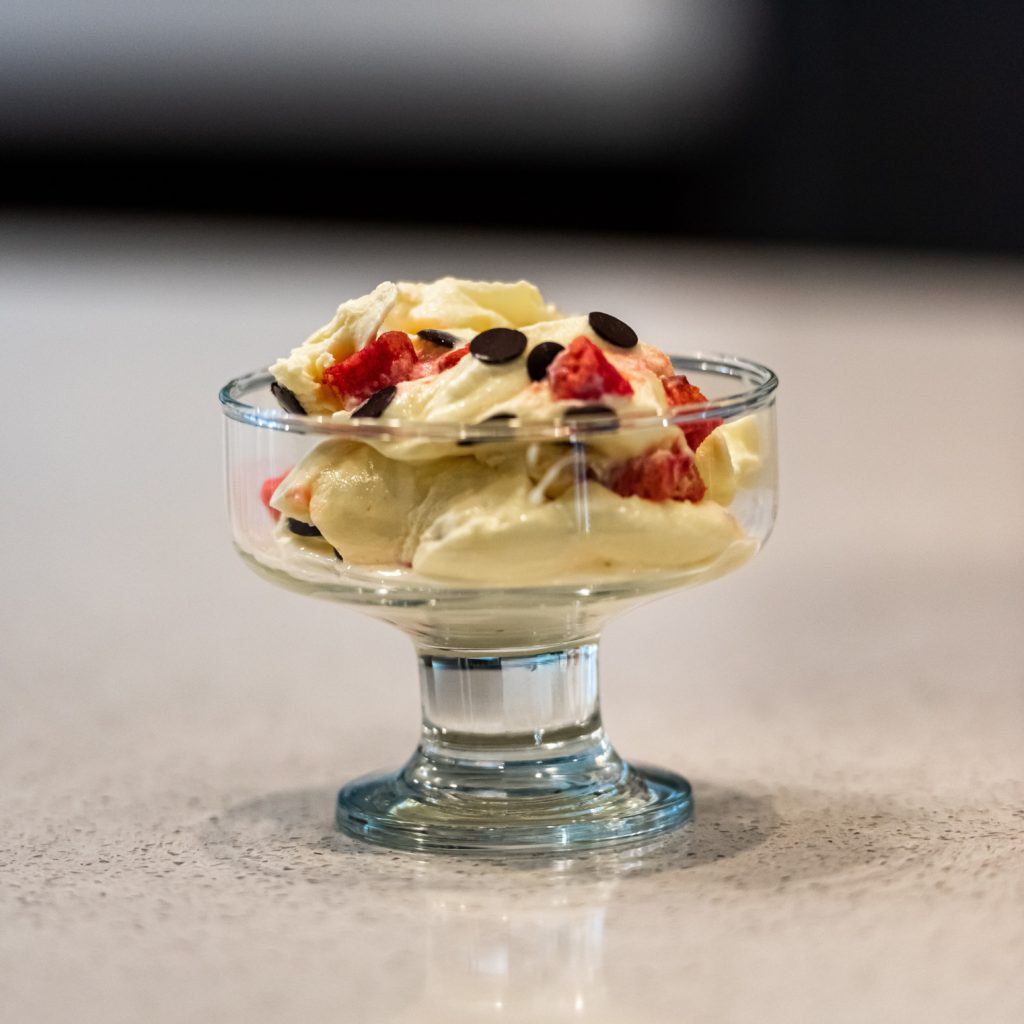
Gelato alla Zuppa Inglese, one of over 75 gelato recipes in my upcoming book. This is an egg-based gelato studded with cake soaked in Italian Alkermes liquore and dark chocolate chips.

Now, let’s pivot to a recipe:  Focaccia Barese (Focaccia from Bari).

I like to serve homemade bread with dinner as much as possible.  This is a recipe that I turn to over and over to put a really tasty bread on the table with minimal active time and often little advance planning.


Print Recipe


Focaccia Barese (Focaccia from Bari)

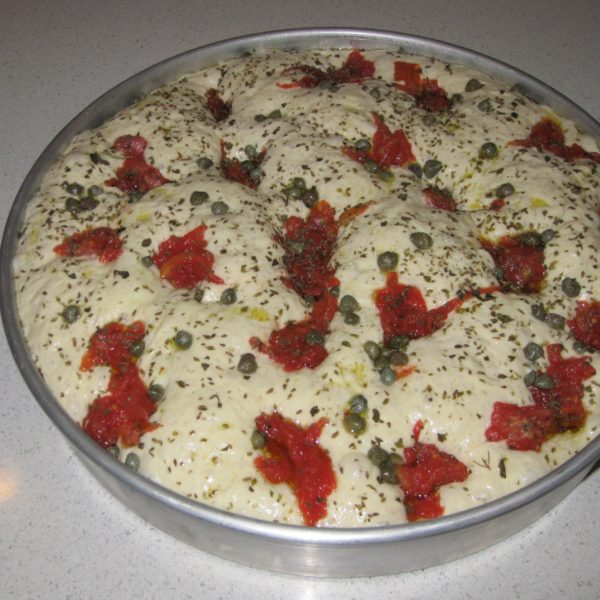
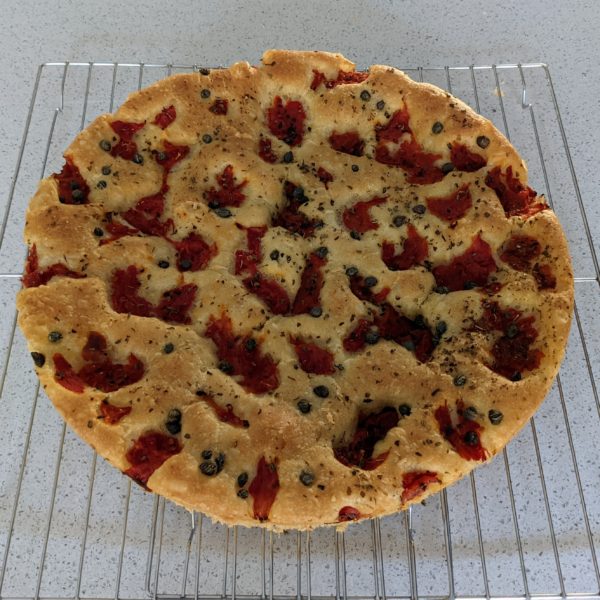
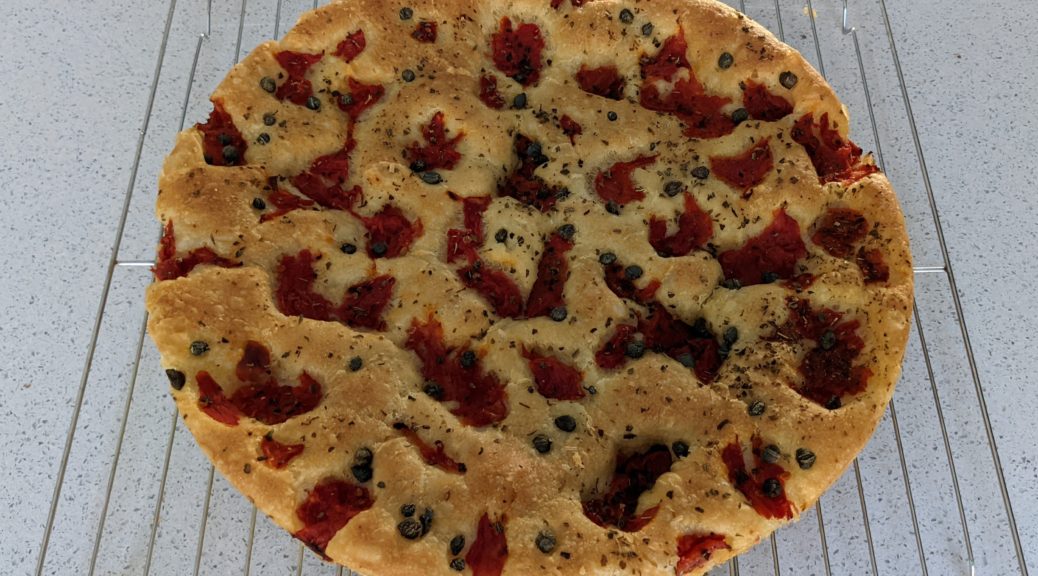
Focaccia is a yeast-risen bread that is made from a dough that has such a high proportion of water that it is almost a batter. Crushed tomatoes as well as capers and/or olives are strewn on top. A good sprinkling of dried oregano and a few glugs of good olive oil round out the flavor. In Italy, flour made from durum wheat comes in three grinds: fine, medium, and coarse, called semola (or semola remacinata, meaning “twice ground”), semolina, and semolino respectively. I usually use semola imported from Italy for this bread. If buying domestic semolina (in English, we use the same word, regardless of the grind) look for one that is finely ground.

Votes: 0
Rating: 0
You:
Rate this recipe!

Cuisine Italian

Prep Time 25 minutes
Cook Time 35 minutes
Passive Time 3 hours

Servings
loaf


Ingredients

Cuisine Italian

Prep Time 25 minutes
Cook Time 35 minutes
Passive Time 3 hours

Servings
loaf


Ingredients

Votes: 0
Rating: 0
You:
Rate this recipe!


Instructions
  1. Put flour, semola, and yeast in the bowl of a stand mixer. Using the paddle, NOT the dough hook, begin to mix on low.

  2. Slowly drizzle in the water. When the water is fully mixed in, sprinkle in the sugar.

  3. Add the salt and beat on medium high you see strings of gluten form in the dough, approximately 4-5 minutes. The dough will get stretchy and if you pull a bit, it should look stringy.

  4. Drizzle in the extra-virgin olive oil and mix on medium until well combined.

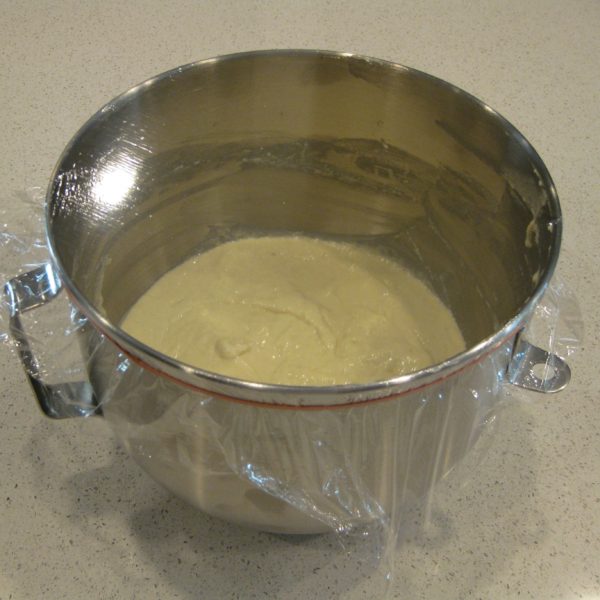
  5. Cover the bowl with plastic wrap and allow to rise for about two hours.

  6. Meanwhile, drain the canned tomatoes through a sieve. If the tomatoes are whole, coarsely crush them by hand and allow to drain further. If you are using diced tomatoes, crushing is not needed.

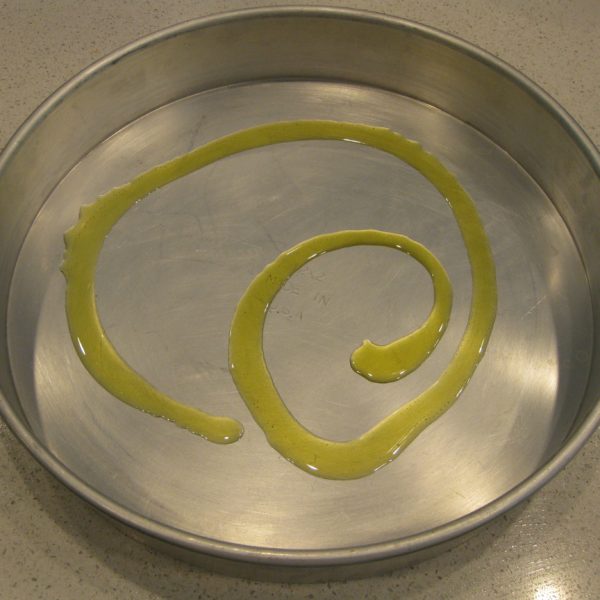
  7. Oil a circular baking pan, 12” in diameter x 2” high with more extra-virgin olive oil.

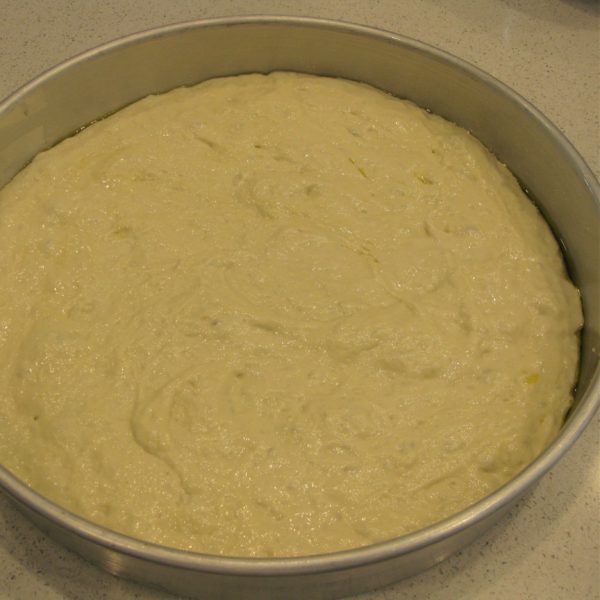
  8. Pour in the dough. Lightly oil your fingertips and press into the dough, without stretching, until it is evenly spread out in the pan.

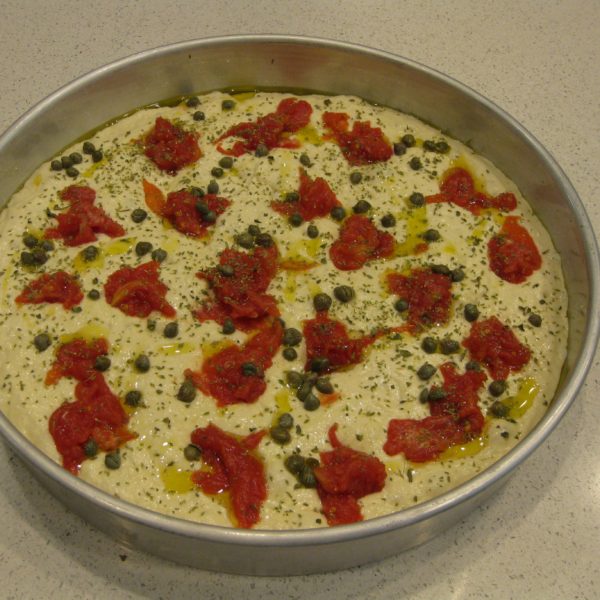
  9. Arrange crushed tomatoes, capers, and olives, if using, on top. Drizzle with more extra-virgin olive oil. Sprinkle with oregano.

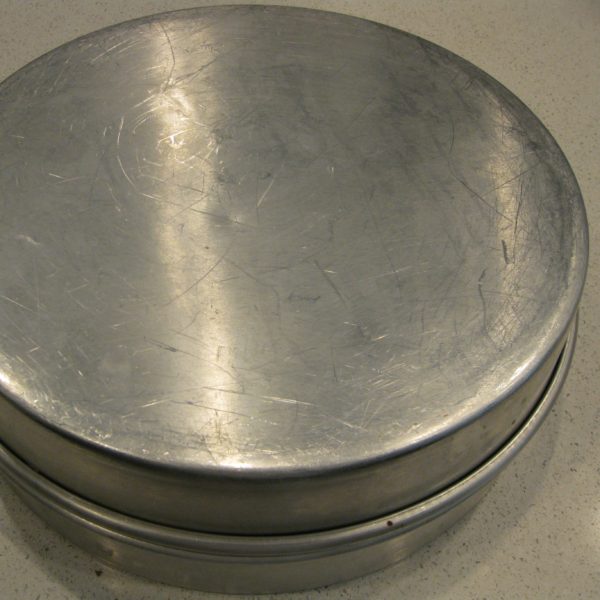
  10. Cover the pan and allow to rise. If you have another baking pan of the same size, turn it upside down and use it as a cover. If not, invert a large bowl over the baking pan. Whatever you do, be sure there is some space above the rim of the pan so that the dough has room to rise.

  11. When the dough reaches the top of the pan, carefully transfer it to the oven so it doesn’t deflate.

  12. Bake at 375°F with convection (or 400°F without convection) for approximately 35 minutes, turning once or twice, until browned and just beginning to pull away from the sides of the pan.

  13. Cool the bread in the pan set on a rack before removing it.


Recipe Notes

Copyright © 2023 by Villa Sentieri, LLC. All rights reserved.

Share this Recipe

The Best Cheesecake… Ever!!

July 30, 2020

I apologize!

This isn’t an Italian recipe.


Join our mailing list and you’ll never miss a recipe again!


I’ve had a taste for cheesecake for months now.  A few weeks ago, I bought cream cheese and sour cream in anticipation of making cheesecake.

Well, yesterday was the day.

I pulled out a recipe that I stumbled upon more than twenty years ago.

It was from a coffee shop in Santa Fe, The Three Cities of Spain, that closed in the mid 1970s!  Apparently, the coffee shop was quite an interesting place!


Follow us on your social media platform of choice


I can’t tell you much more about the recipe, though now that I’ve looked, I’ve found a number of versions on the web.

What I can tell you is that if you like cheesecake, MAKE THIS CAKE NOW!

Print Recipe
The Best Cheesecake... Ever!!
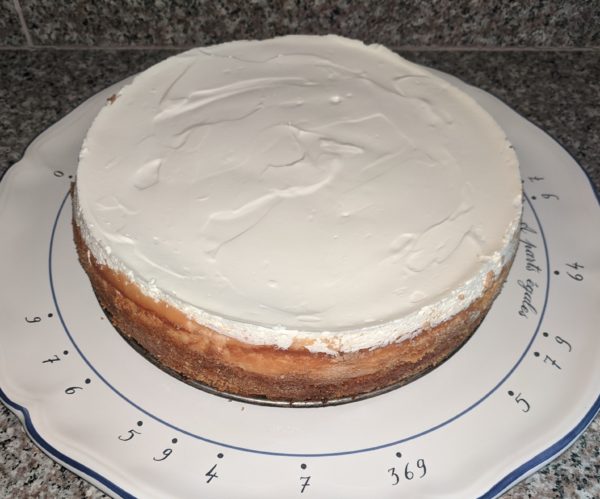
The very short and simple ingredient list belies the deliciousness of this cheesecake. Make it the day before you want to serve it so that it has time to chill and set.
Votes: 2
Rating: 4.5
You:
Rate this recipe!
Cuisine American
Prep Time 40 minutes
Cook Time 60 minutes
Passive Time 10 hours
Servings
people
Ingredients
Crust
Filling
Topping
Cuisine American
Prep Time 40 minutes
Cook Time 60 minutes
Passive Time 10 hours
Servings
people
Ingredients
Crust
Filling
Topping
Votes: 2
Rating: 4.5
You:
Rate this recipe!
Instructions
Crust
  1. Butter the bottom and sides of a 9 1/2 inch (24 centimeter) springform pan.
  2. Combine all crust ingredients. Press into the bottom and about one inch up the sides of the buttered springform pan.
Filling
  1. Beat the cream cheese until light and fluffy, preferably using the paddle of a planetary mixer. Scrape the bowl several times to be sure the cream cheese is well blended.
  2. Beat in the eggs, one at a time, beating very well after each addition, and scraping down the bowl.
  3. Add the sugar and blend. Add the vanilla. Turn the mixer to high and beat until very light and fluffy, approximately one minute.
  4. Pour the filling into the prepared springform pan. The filling should come over the top of the graham cracker crust.
  5. Bake 350°F for 40-45 minutes or until the cake is jiggly in the center but set about three inches in from the edge.
  6. Remove the cake from the oven and allow to rest for five minutes. Do not turn the oven off.
  7. Prepare the topping.
Topping
  1. Blend all ingredients thoroughly.
  2. After the cake has been out of the oven for five minutes, put the topping on the firm part of the cake, around the edges, then carefully spread it evenly over the entire top of the cake.
  3. Return the cheesecake to the oven for 10 minutes.
  4. About 10 minutes after removing the cake from the oven, run a knife around the side to loosen the crust but do not unmold the cake. Allow the cake to cool to room temperature then cover loosely and refrigerate at least six hours.
  5. About three hours before serving, remove the cake from the refrigerator. Remove the side of the springform pan. Allow the cake to come to room temperature before serving.
Recipe Notes

Copyright © 2020 by Villa Sentieri, LLC. All rights reserved.
Share this Recipe

Crostata di Amaretti (Amaretti Tart)

July 21, 2020

You can keep the chocolate!

It’s not that I don’t like chocolate.  It’s just that I’m not one of those people who thinks chocolate is the absolute best flavor for sweets.

My favorite flavors are almond and coconut.  Preferably together.

I remember a cake I ate when I was 12 years old.  It was an absurdly moist yellow cake that tasted of almond and coconut.

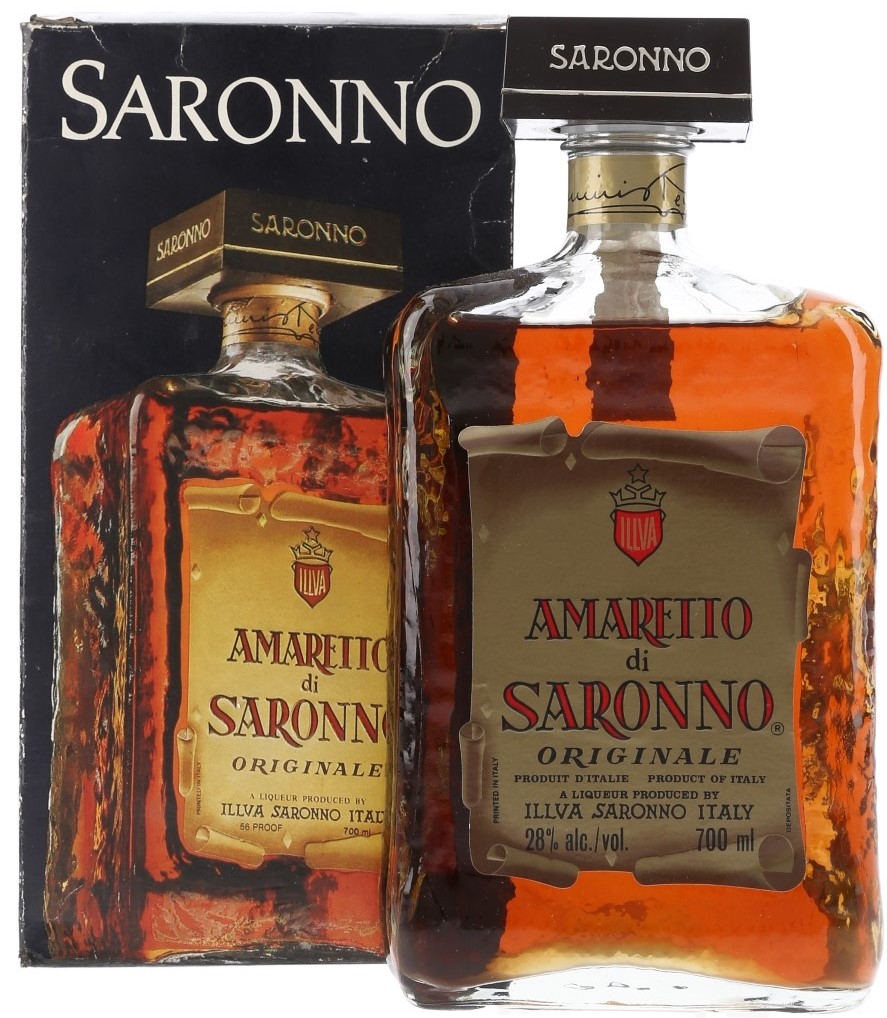
A bottle of Amaretto di Saronno before it was rebranded.

In memory of that cake, which I had only once, I have an entire stash of coconut-almond cake recipes.  I’m building up to the day when I head to my kitchen in Palm Springs (so I can bake without contending with the nearly 8000-foot elevation of Villa Sentieri) and bake coconut-almond cakes every day till I create one that tastes the way I remember it.


Follow us on your social media platform of choice


In the meantime, I make lots of coconut- and almond-based desserts including almond gelato, maraschino cherry cake with almond filling (from the first edition Betty Crocker Picture Cookbook), raspberry bars with almond crust, coconut pistachio crumb cake, Brazilian coconut pudding, coconut pie, Marcona almond blondies, and wattalappam (a coconut custard from Sri Lanka) among many, many others.

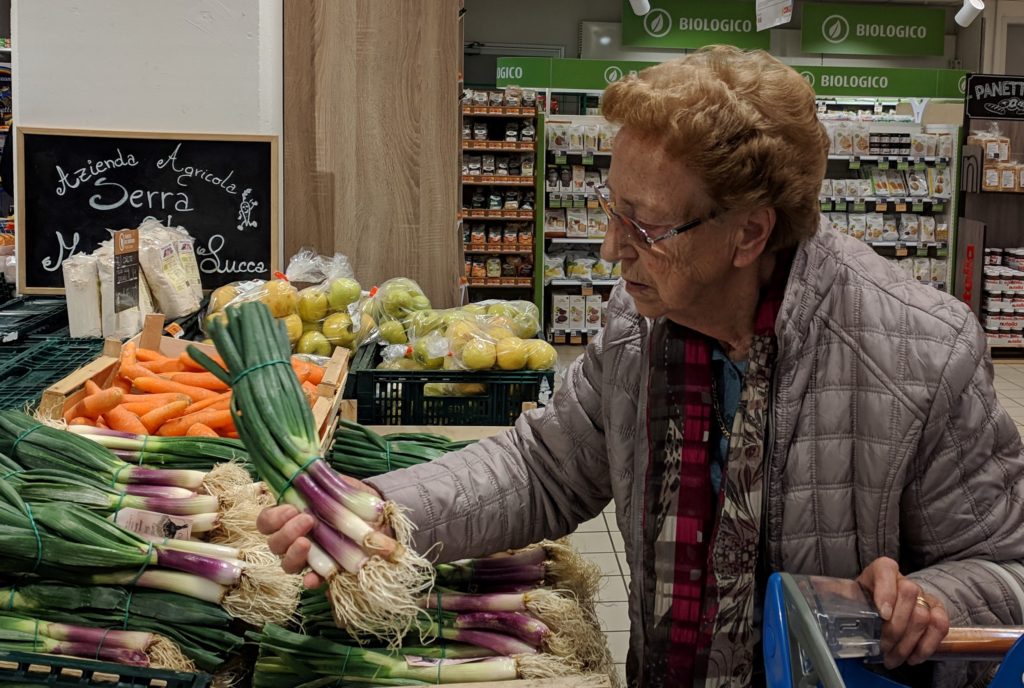
Zia Fidalma selecting produce at a supermarket.

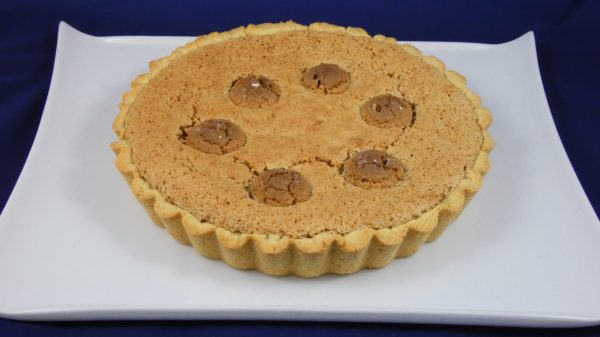
One of my favorites, is an improbable recipe I got from Great Aunt Fidalma in Tuscany nearly 20 years ago for a crostata (tart) with a filling of crushed amaretti cookies and amaretto liqueur.

I know, I know, amaretti and amaretto only pretend to be almond.  They’re really made from apricot pits.  At least the commercial versions are made from apricot pits.

You knew that, right?


Join our mailing list and you’ll never miss a recipe again!


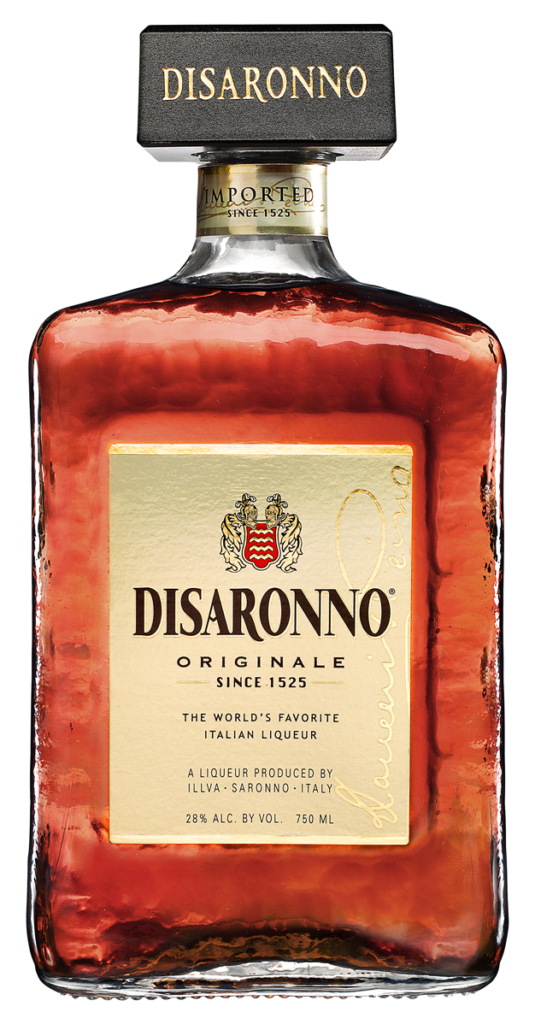
The brand of amaretti I typically buy is Lazzaroni.  It’s the one that comes in the red tin.  Until recently, the brand of liqueur I bought was Amaretto di Saronno.  In 2001 Amaretto di Saronno was rebranded to Disaronno Originale.

Amaretto di Saronno after it was rebranded Disaronno in 2001.

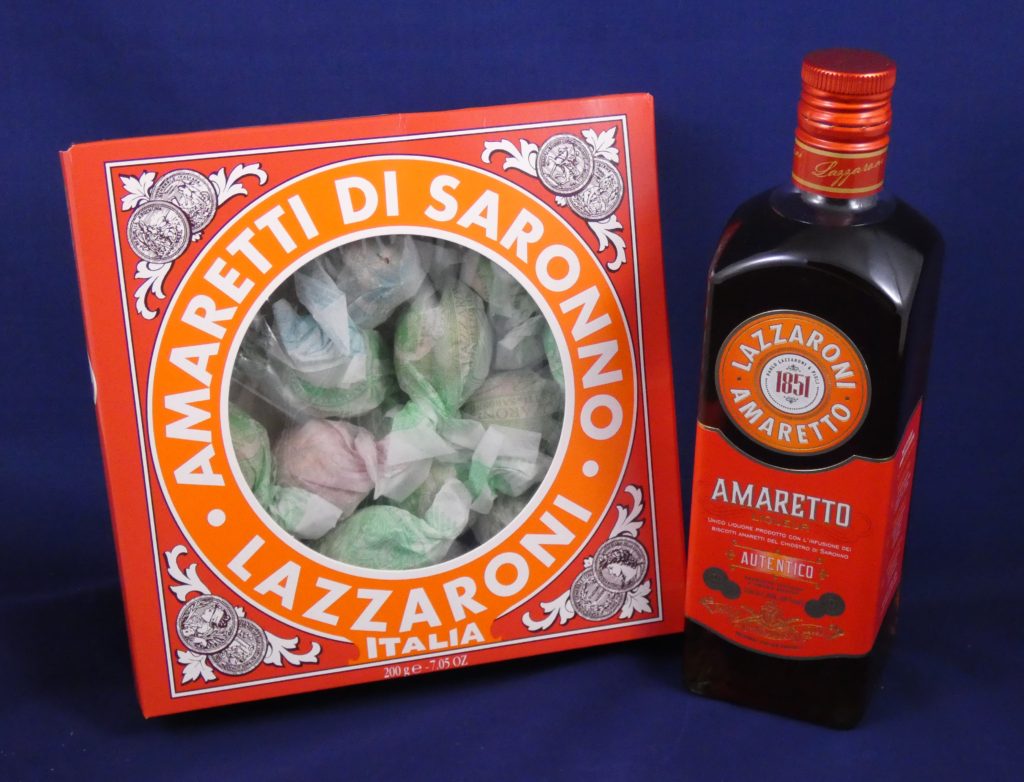
When I went to buy the Amaretto to make this crostata, I found an unfamiliar one from the makers of the cookies, Lazzaroni Amaretto.

While Amaretto di Saronno is made from infusing apricot pits, the good folks at Lazzaroni say that they infuse their famous cookies (which, of course, contain apricot pits).

Lazzaroni amaretti and an amaretto liqueur by the same company.

Since the flavor of this crostata is entirely dependent on the amaretti and the amaretto, I suggest you buy good quality ones.

Print Recipe
Crostata di Amaretti (Amaretti Tart)
Use very good quality amaretti cookies and amaretto liqueur as the taste of the crostata is completely dependent on them. You can buy amaretti in packages of 200 grams, if you buy a larger quantity, weight out 200 grams or 7 ounces. Most home cooks in Italy buy little envelopes of powered (artificial) vanilla flavoring. These are not common in the United States, so I’ve substituted vanilla extract. You can use one envelope of Italian vanilla flavor instead of one teaspoon of vanilla extract.
Votes: 0
Rating: 0
You:
Rate this recipe!
Cuisine Italian
Prep Time 1 hour
Cook Time 30 minutes
Servings
people
Ingredients
Pasta Frolla
Cuisine Italian
Prep Time 1 hour
Cook Time 30 minutes
Servings
people
Ingredients
Pasta Frolla
Votes: 0
Rating: 0
You:
Rate this recipe!
Instructions
Pasta Frolla
  1. Blend the flour, sugar, baking powder, vanilla powder, if using, salt and lemon zest in a food processor until combined.
  2. Add the butter, cut in pieces, and vanilla extract, if using, then blend till well combined.
  3. Add the eggs and blend till the pastry almost forms a ball.
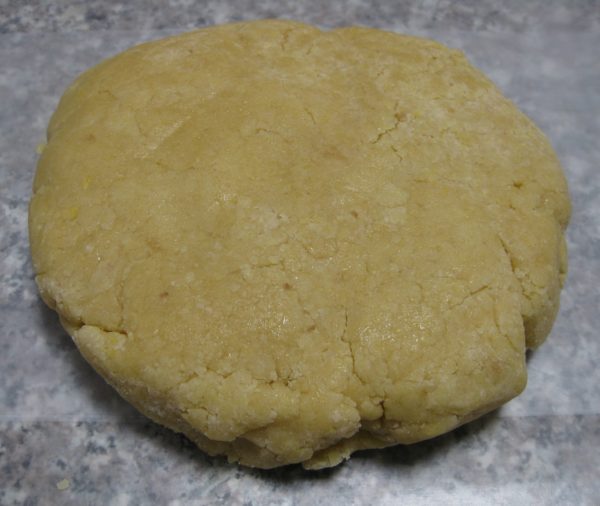
  4. Remove the pastry from the food processor and use your hands to press everything into a single ball.
  5. Wrap the pastry in waxed paper and refrigerate for an hour before using.
  6. Roll the pasta frolla into a 13-inch circle.
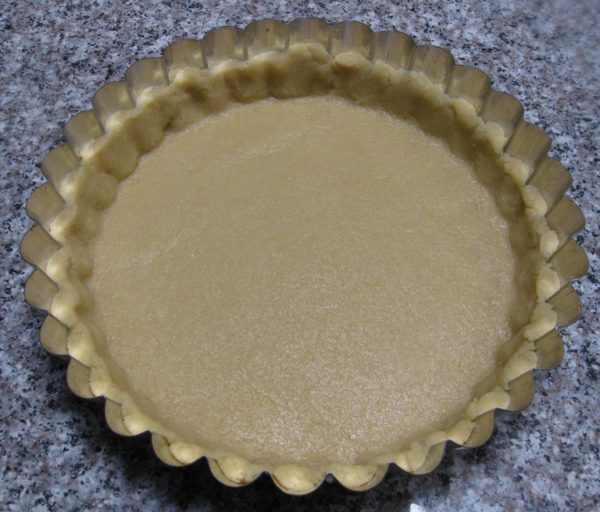
  7. Line a greased 10" deep dish tart pan with a removable bottom with Pasta Frolla going about 1 inch up the sides. Trim the excess and use it to patch the crust if necessary.
Filling and Assembly
  1. Reserve six amaretti for garnish.
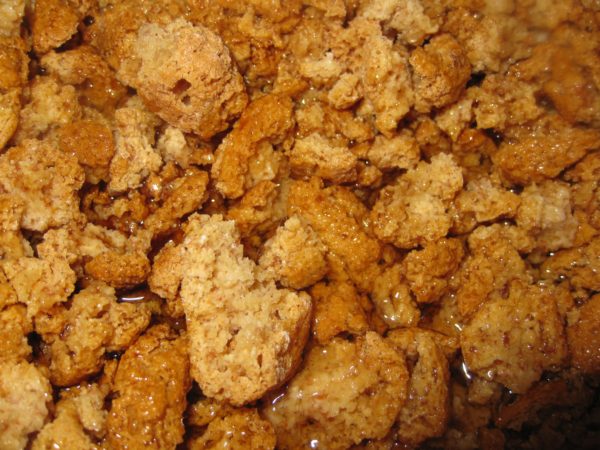
  2. Crush the remaining amaretti and combine with liqueur, and vanilla extract, if using.
  3. Soak, occasionally crushing the amaretti further, until thick and batter-like.
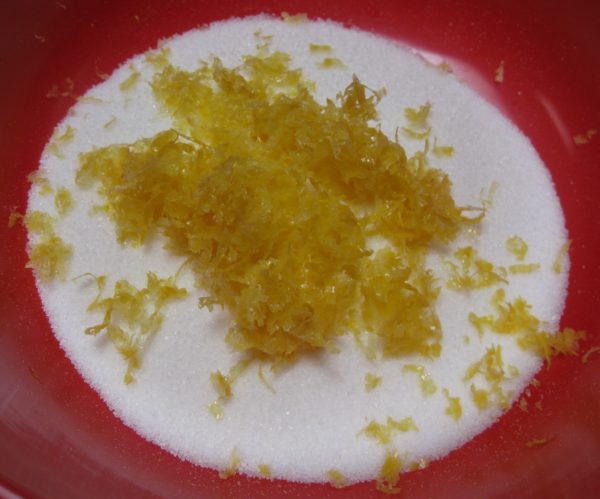
  4. Combine sugar, lemon zest and vanilla powder, if using.
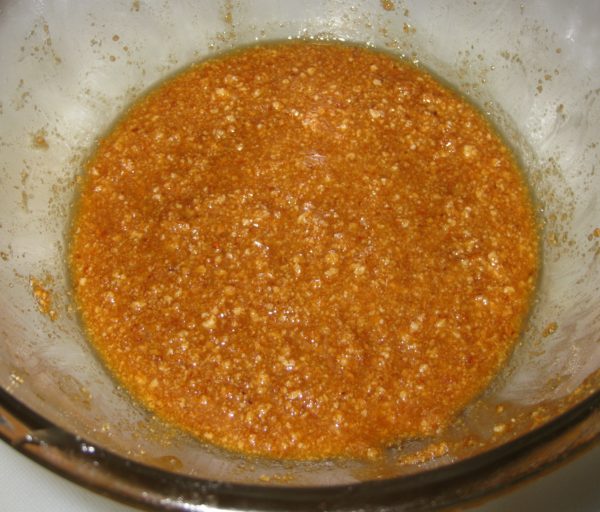
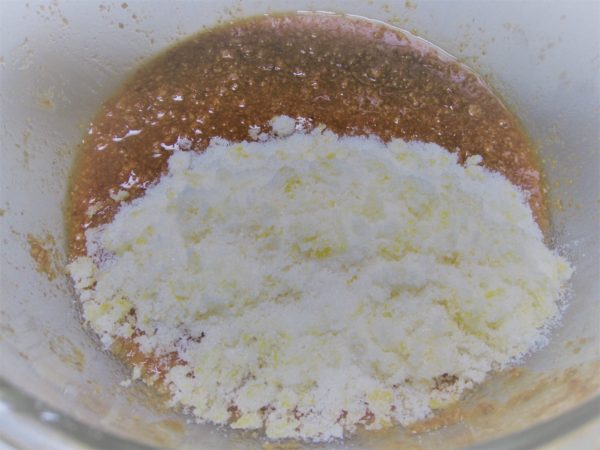
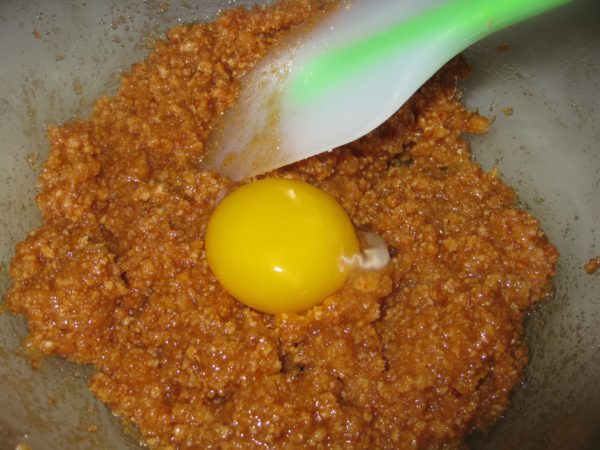
  5. Combine the egg yolk and the sugar mixture with the amaretti mixture. Mix well.
  6. Beat the three egg whites and cream of tartar until stiff.
  7. Fold a spoonful of the egg whites into the amaretti mixture to lighten it.
  8. Gently fold in the remainder of the whites, in two portions.
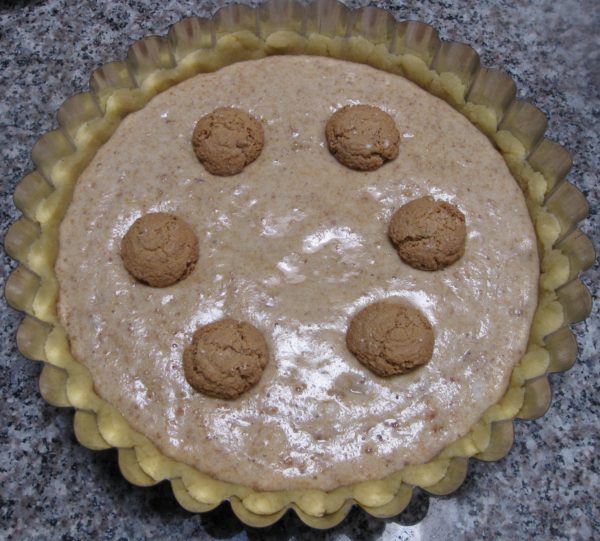
  9. Pour the filling into the tart pan lined with pasta frolla.
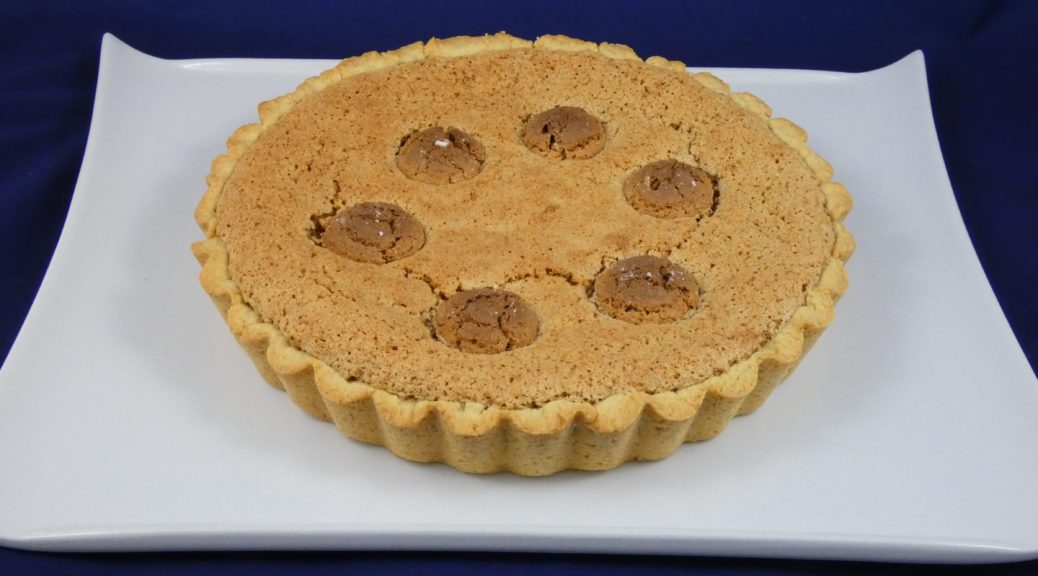
  10. Garnish the top with the reserved whole amaretti.
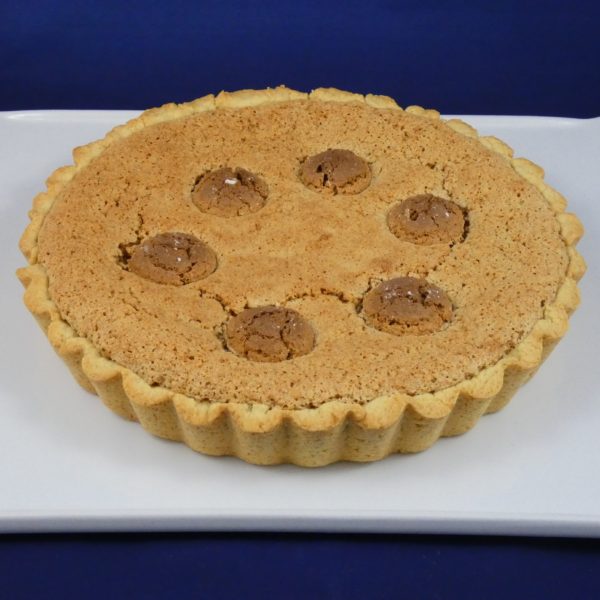
  11. Bake at 350°F approximately 30 minutes, until golden brown.
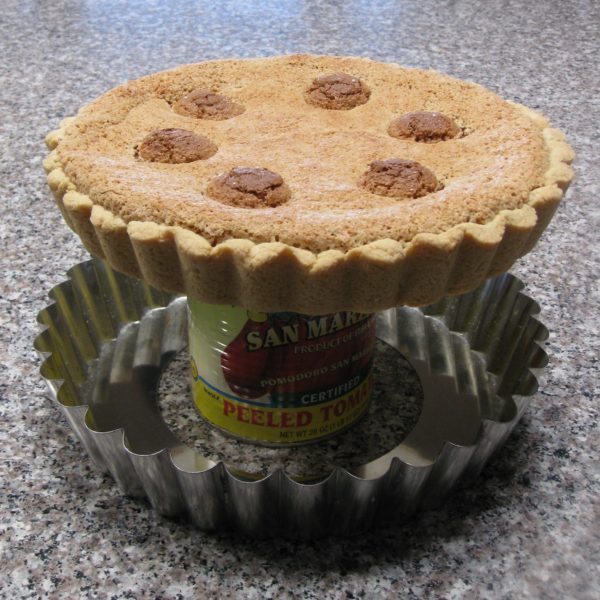
  12. Cool in pan for about 10 minutes then gently remove the sides of the pan. (I like to do this by setting the pan on a large can then gently jiggling the pan apart.)
  13. Cool thoroughly on a rack.
  14. The crostata should be stable enough to slide off the bottom of the tart pan and onto a serving platter.
  15. Serve with whipped cream, if desired.
Recipe Notes

Copyright © 2020 by Villa Sentieri, LLC. All rights reserved.
Share this Recipe

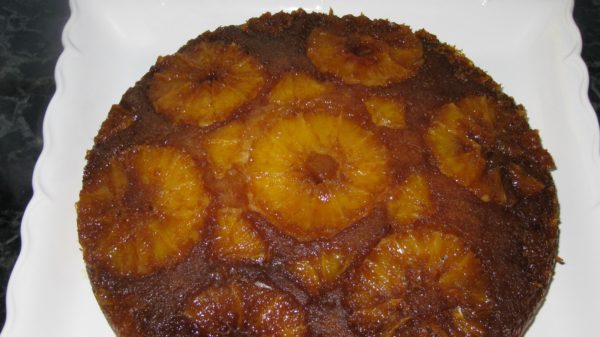
Torta all’Arancia (Orange Polenta Upside-Down Cake)

March 4, 2020

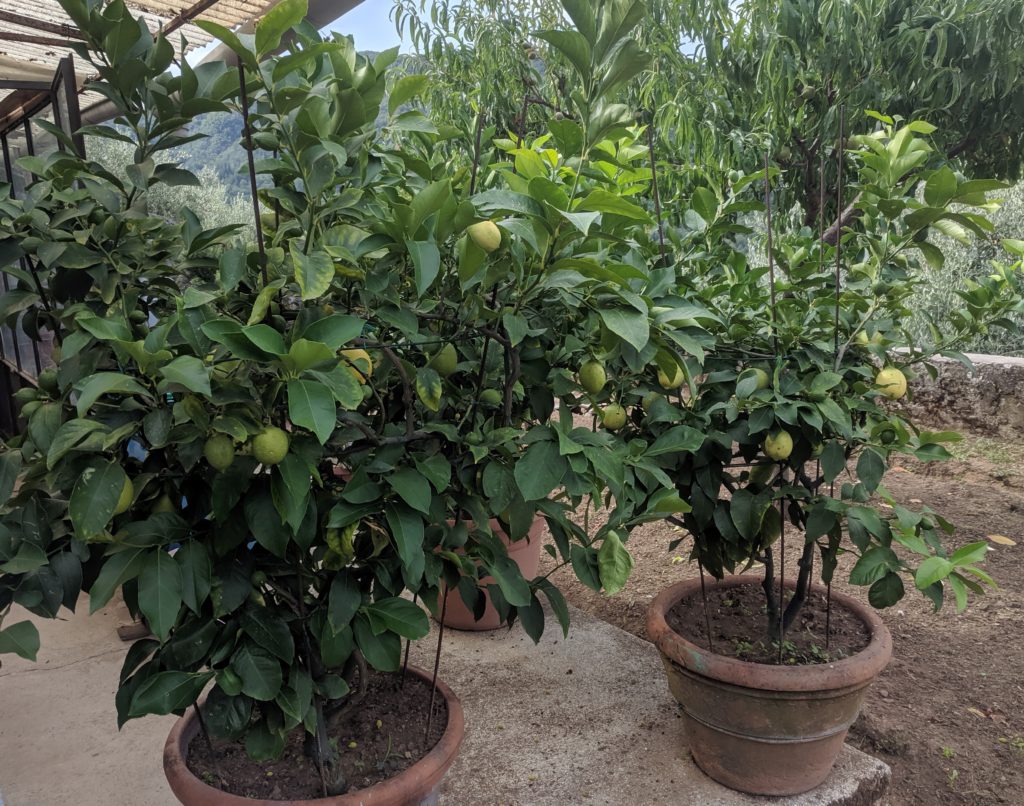
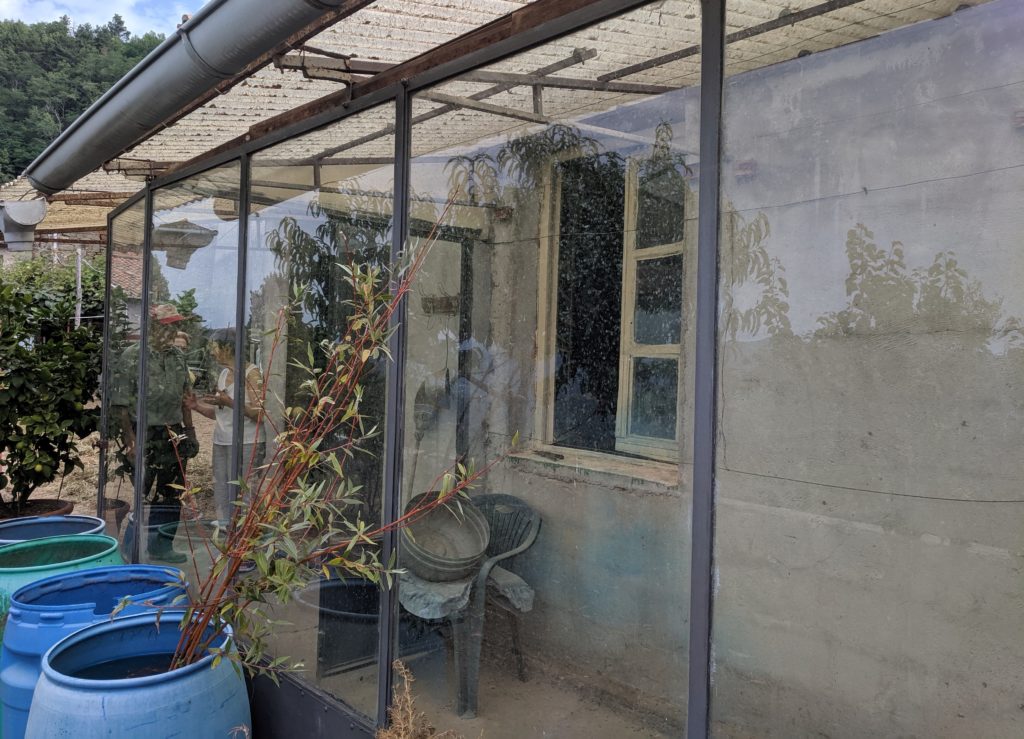
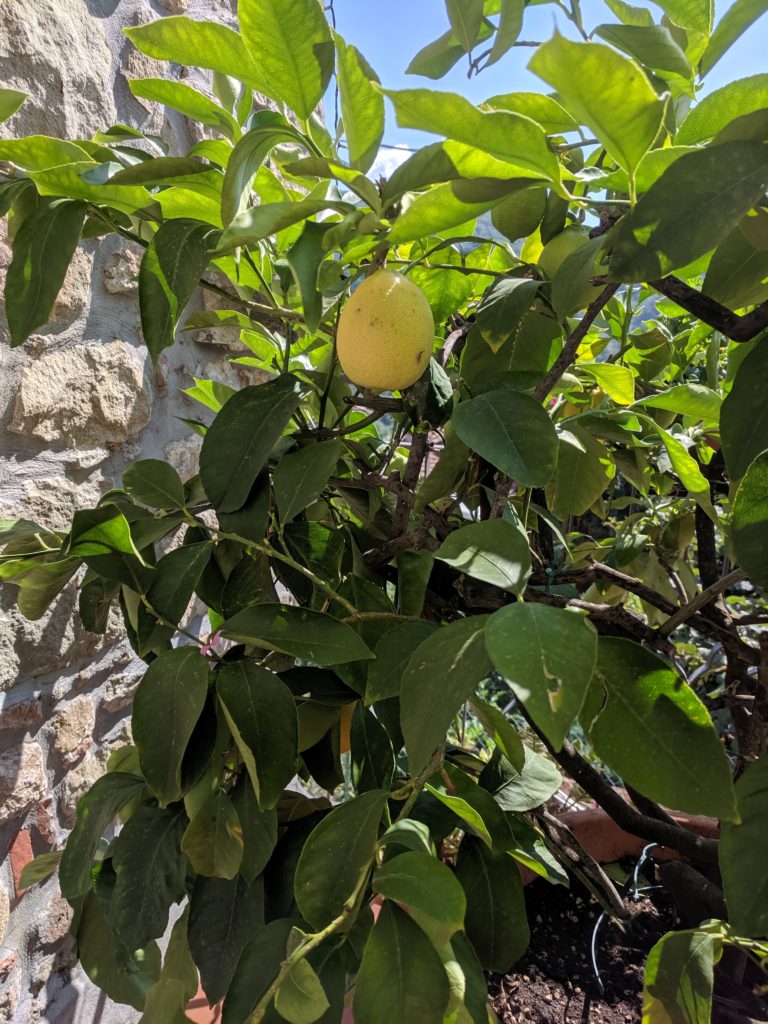
Italy is lavished with citrus, more so in Southern Italy than Northern Italy.  Even in Tuscany, though, families traditionally use a limonaia to winter-over lemon trees grown in pots.

Potted lemon trees at a house in the village of Benabbio in Tuscany.

Citrus fruits feature prominently in Italian cuisine, especially in Southern Italy.  Calabria is responsible for about 25% of the citrus fruit produced in Italy.


Join our mailing list and you’ll never miss a recipe again!


A very short list of Italian foods that contain, or are made from citrus includes the famous limoncello liqueur and its orange-based cousin, arancello; panettone that is traditionally made with candied citron; lemon sorbetto (sorbet); an array of marmalades and jams; candied citrus peels of various types eaten as sweetmeats, sometimes coated in chocolate, as well as diced and incorporated into cakes; citrus salads, including an amazing Sicilian salad of oranges, fennel, onions and black olives; and the endless dishes where lemon juice is the basis of a pan sauce or salad dressing or, in lesser quantities, perks up other flavors without making itself known.

A rustic limonaia at a home in the village of Benabbio in Tuscany. It may be simple but it works beautifully.

Bergamot, most of which (and certainly the highest quality) comes from Calabria, is the defining flavor of Earl Grey Tea.  It is also used in an array of cosmetics and fragrances.

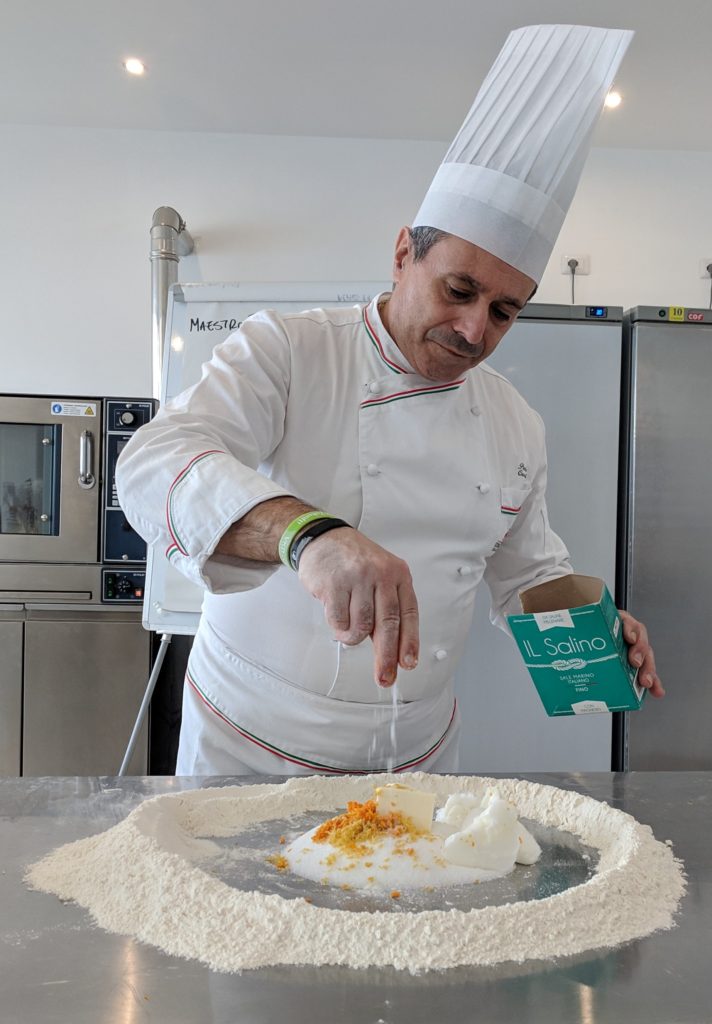
Maestro Paolo Caridi teaching a class at the Italian Culinary Institute.

Bergamot is also one of several citrus fruits used by Maestro Paolo Caridi to concoct the scrumptious citrus flavoring he uses in some of his pastries.  I’m itching to find a source of bergamot, which I understand grows in Palm Springs, California, to make a batch, having gotten his formula when I studied at the Italian Culinary Institute.


Follow us on your social media platform of choice


Being surrounded with citrus at our home in Palm Springs, I try to find ways to use the bounty.  It took me a while to come up with an orange cake (torta alle arance) that was everything I though an orange cake should be: a moist, not to sweet cake with a sturdy crumb and a distinct orange flavor.

A potted lemon tree on Great Aunt Fidalma’s terrace in Tuscany.

Print Recipe
Torta all'Arancia (Orange Polenta Upside-Down Cake)
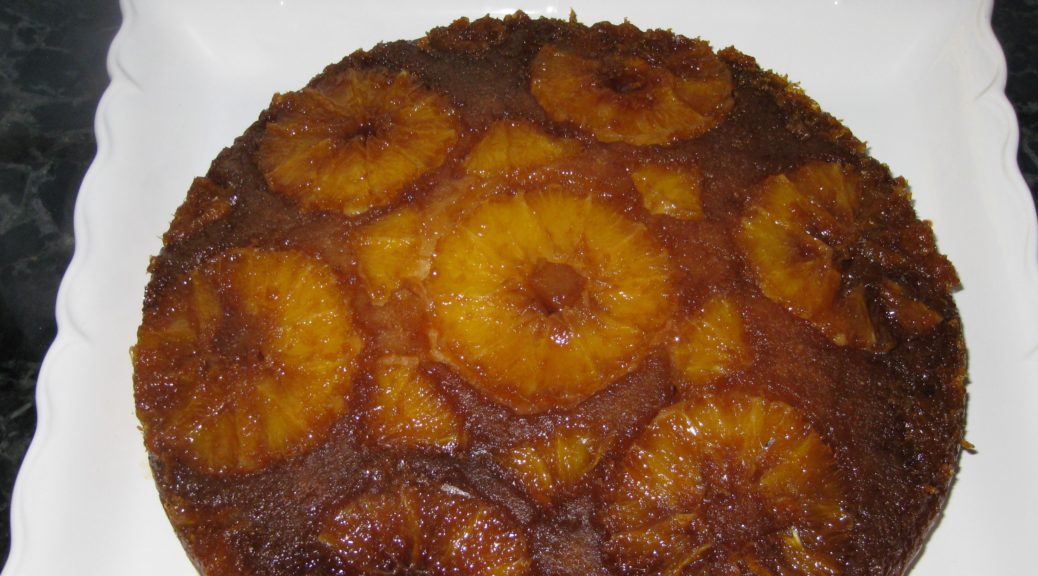
Instead of cutting the oranges in slices, you can supreme them if you prefer the look of sections rather than slices. If possible, use the metric measures for the best results.
Votes: 0
Rating: 0
You:
Rate this recipe!
Cuisine Italian
Prep Time 45 minutes
Cook Time 1 hour
Passive Time 1 hour
Servings
people
Ingredients
Topping
Cake and Assembly
Cuisine Italian
Prep Time 45 minutes
Cook Time 1 hour
Passive Time 1 hour
Servings
people
Ingredients
Topping
Cake and Assembly
Votes: 0
Rating: 0
You:
Rate this recipe!
Instructions
Topping
  1. Grease a 10-inch x 2-inch circular cake pan with butter.
  2. Finely grate the zest of the three oranges without any of the white pith. A microplane grater work well. Reserve the zest and oranges separately.
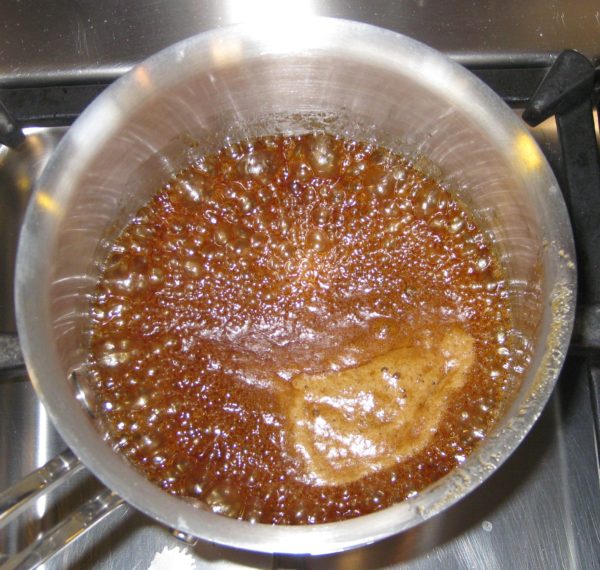
  3. Combine brown sugar, butter, white sugar, and orange juice in a small pan. Heat, stirring frequently till butter is melted and sugar is dissolved. Raise heat and boil for 2 minutes, without stirring, until slightly thickened.
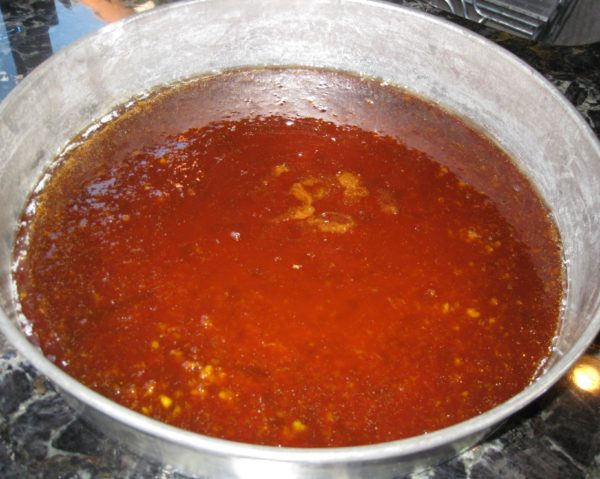
  4. Remove caramel syrup from the heat. Stir in the zest of three oranges. Pour the caramel on the bottom of the prepared pan. Allow to set for approximately 5 minutes, until cool.
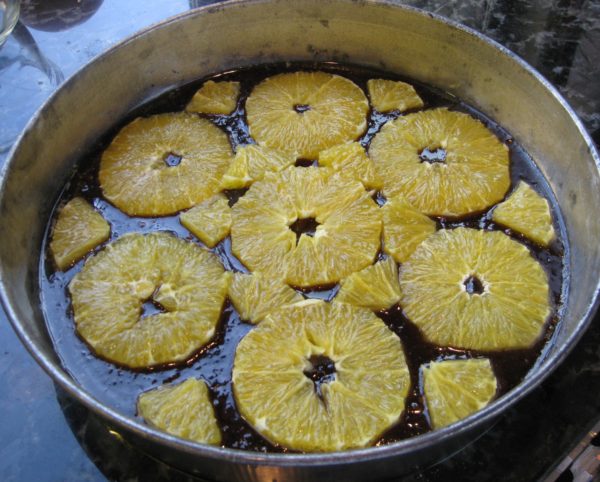
  5. Meanwhile, slice the oranges approximately ¼ inch thick. Cut off all pith and rind. Remove the tough core from any slices that have it. Scissors work well for doing this.
  6. After the caramel has cooled for about 5 minutes, arrange orange slices over the caramel without overlapping. Cut slices as needed to fill in the larger gaps between the full slices.
Cake and Assembly
  1. Stir together the flour, cornmeal, baking powder and salt. Reserve.
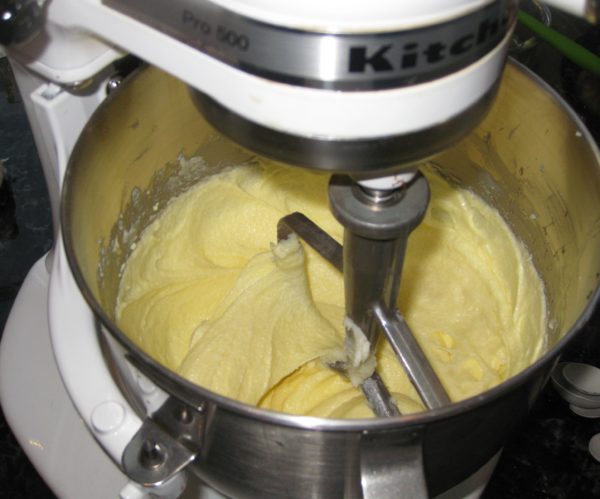
  2. Beat the butter in an electric mixer until lightly creamed.
  3. Add the white sugar, then beat at high speed until light and fluffy, approximately 4 minutes.
  4. Add eggs, one at a time, beating on medium after each addition until the egg is combined.
  5. Mix in sour cream then vanilla and orange zest.
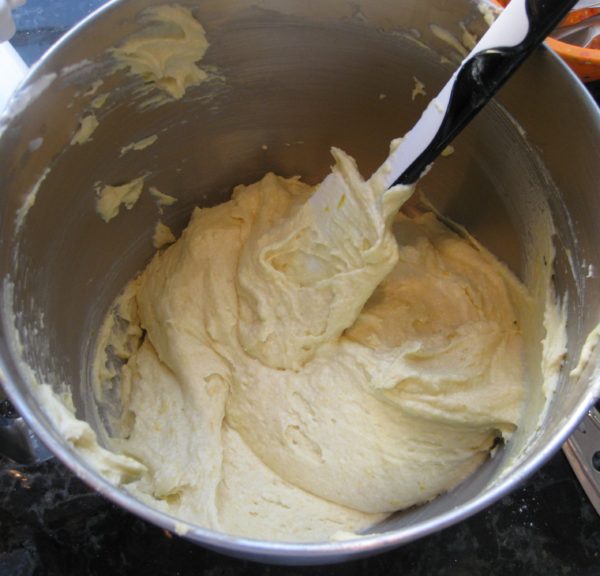
  6. With the mixer on low, add the flour mixture a little at a time and mix until almost combined. Finish mixing by hand.
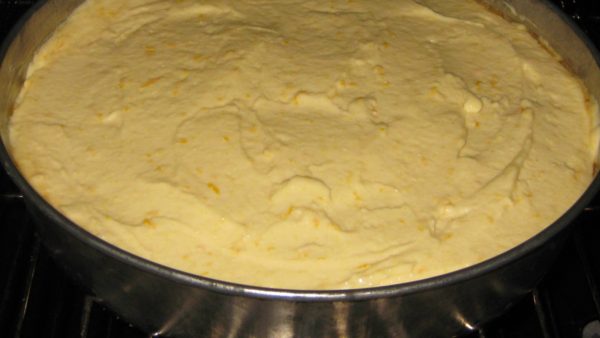
  7. Spoon the batter over the orange slices in the prepared pa. Spread the batter and tap the pan to remove air bubbles.
  8. Bake at 350°F until a cake tester comes out clean, 50-55 minutes. Cool for 10 minutes in the pan.
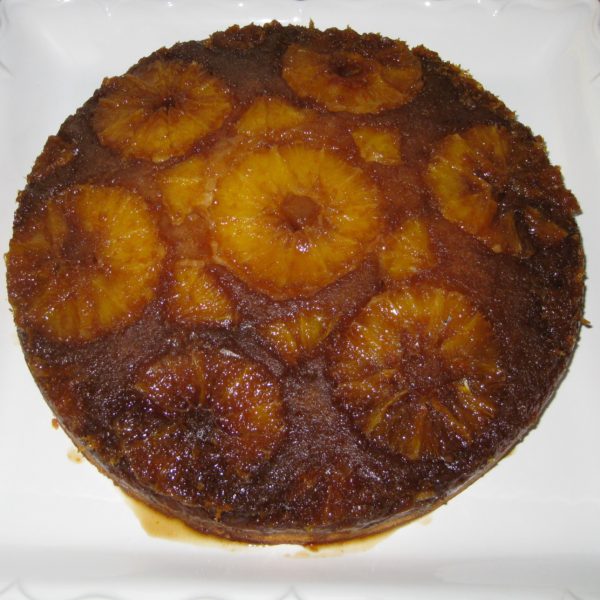
  9. Using a knife, loosen the cake from the sides of the pan. Invert onto a serving dish. Cool completely.
Recipe Notes

Copyright © 2020 by Villa Sentieri, LLC. All rights reserved.

Share this Recipe

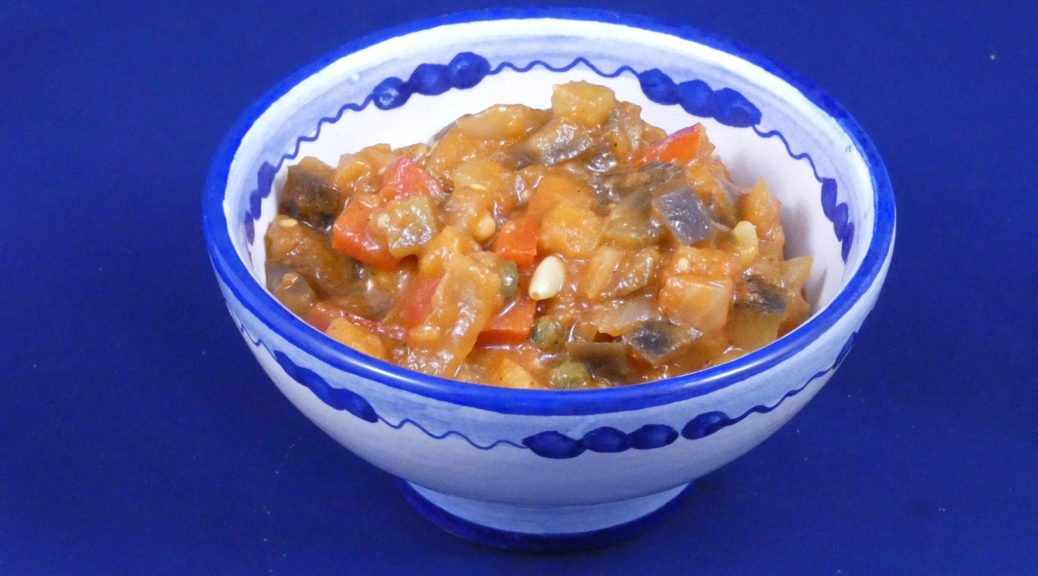
Caponata: A Taste of Sunny Sicily

January 22, 2020

The origins of both caponata and its name are unknown but that doesn’t keep some “authorities” from making definitive statements about both its origins and its name.  Other authors are more cautious about how they approach the topic.  There are many theories.  There are perhaps more theories about the origins of the dish and its name than there are versions of caponata itself, and that’s saying a lot.

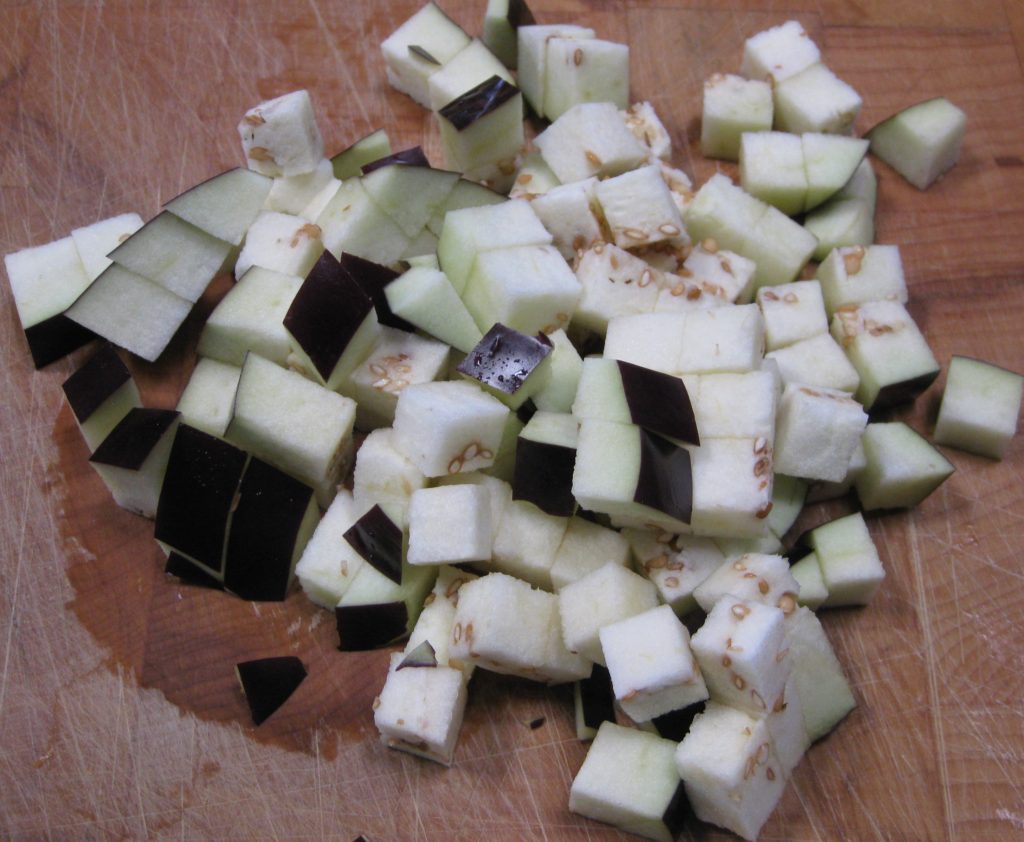
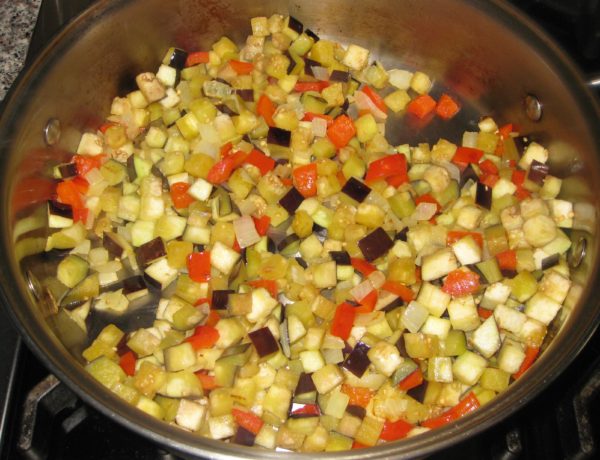
Leaving the skin on the eggplant improves the texture of the caponata.

What we do know is that caponata, as we now know it, is Sicilian though there are traditional Neapolitan versions as well.


Join our mailing list and you’ll never miss a recipe again!


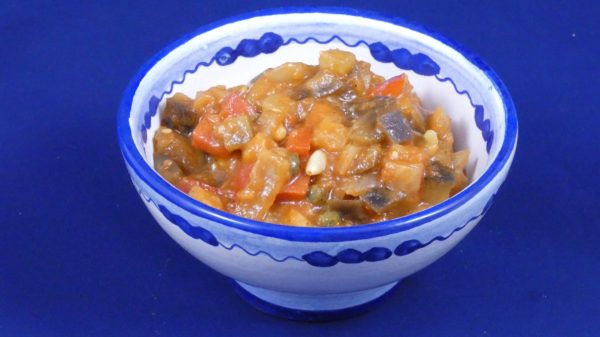
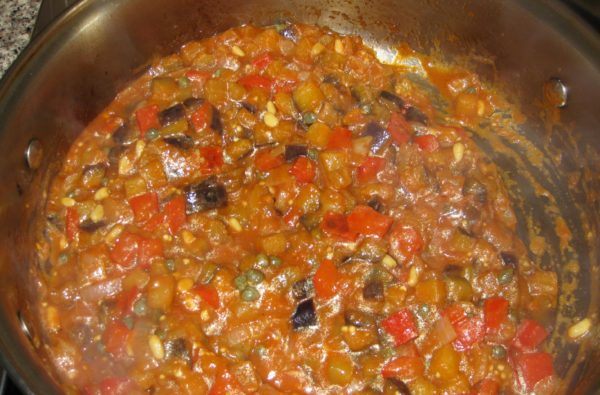
At its most basic caponata is a vegetable dish (though some versions include fish) with eggplant typically being the predominant ingredient (though there are other versions, such as one with artichokes) in a lightly sweet and sour sauce that usually contains some tomato product (fresh tomatoes or tomato sauce of some sort) and capers.

Beyond the basics, caponata has numerous traditional regional variations from different areas of Sicily.  There are also the endless variations introduced by individual cooks.

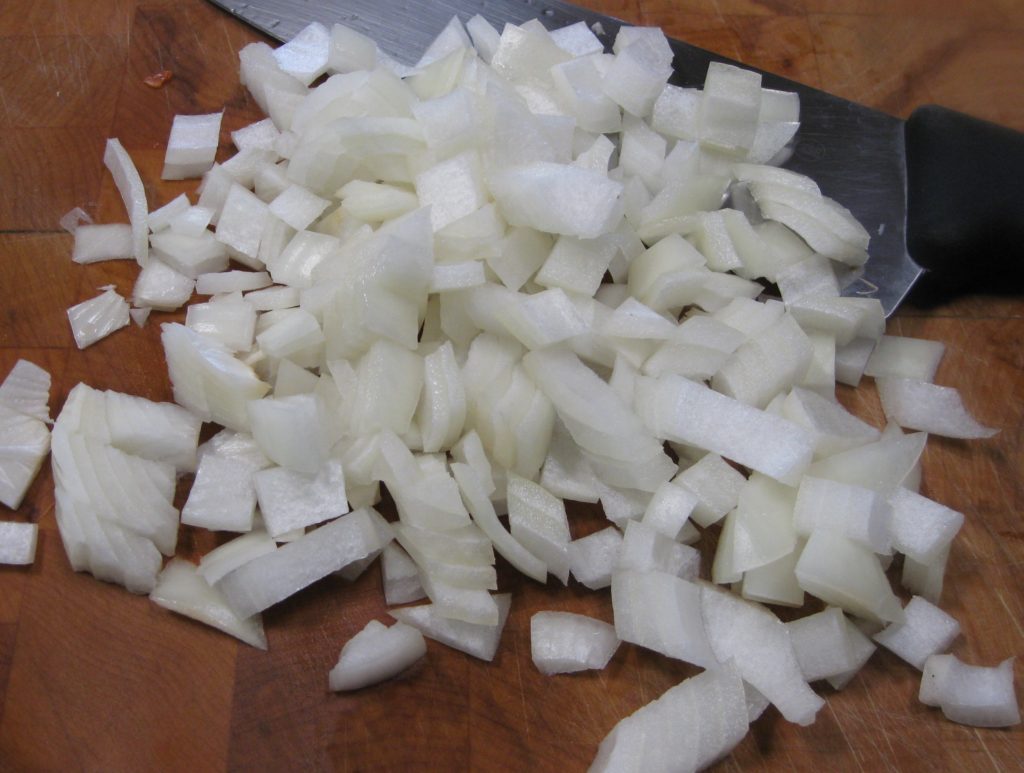
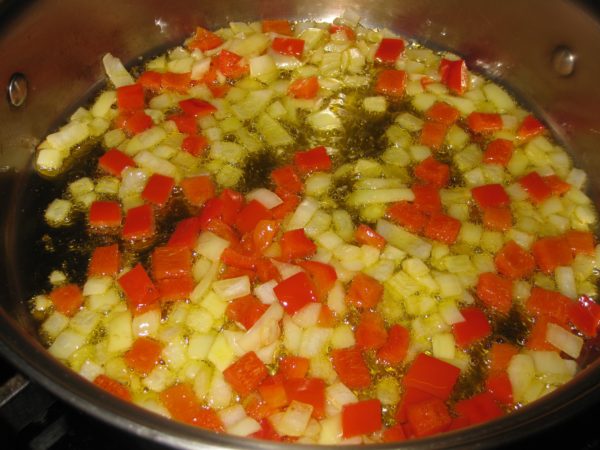
Onions are a common addition to caponata.

One could add or subtract celery, sweet peppers, zucchini, olives, pine nuts, almonds, and raisins (to name a few).

The eggplant can be fried, sautéed, or steamed (but almost always with the skin on).

Caponata can be served on a slice of toasted bread (crostino), as (part of) an antipasto, as a side dish (contorno), or as a main dish (secondo).  Though not traditional, I like tossing it with pasta.

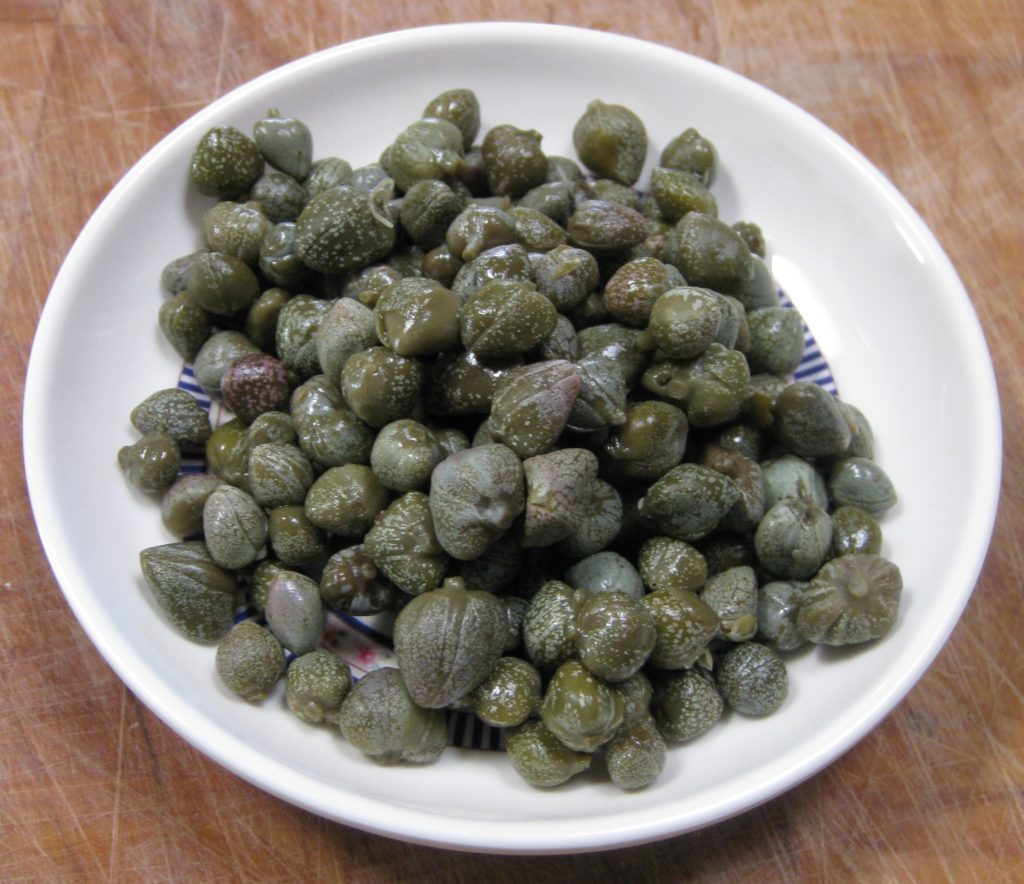
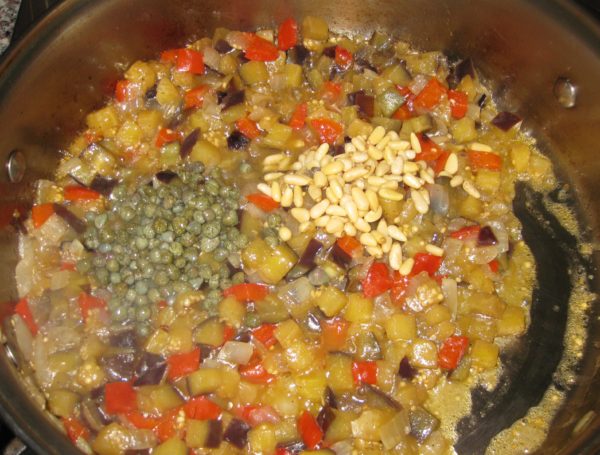
Capers are in virtually every traditional version of caponata. Some authorities suggest the name “caponata” may be related to the word “caper.”

I prefer caponata that is neither aggressively sweet nor sour and, while the vegetables should not be mushy, I don’t want to hear a crunch when I bite down.


Follow us on your social media platform of choice


If I were drowning in home-grown tomatoes during harvest season, I’d probably work on perfecting a version that uses fresh tomatoes.  Since that’s not the case, my version uses tomato sauce.  The advantage is that I can make it year-round as the necessary vegetables are always available and of good quality.

Though it should not be frozen, caponata can be canned.  In fact, one of the demonstrations that I did for students at the Italian Culinary Institute this past September was how to can caponata.

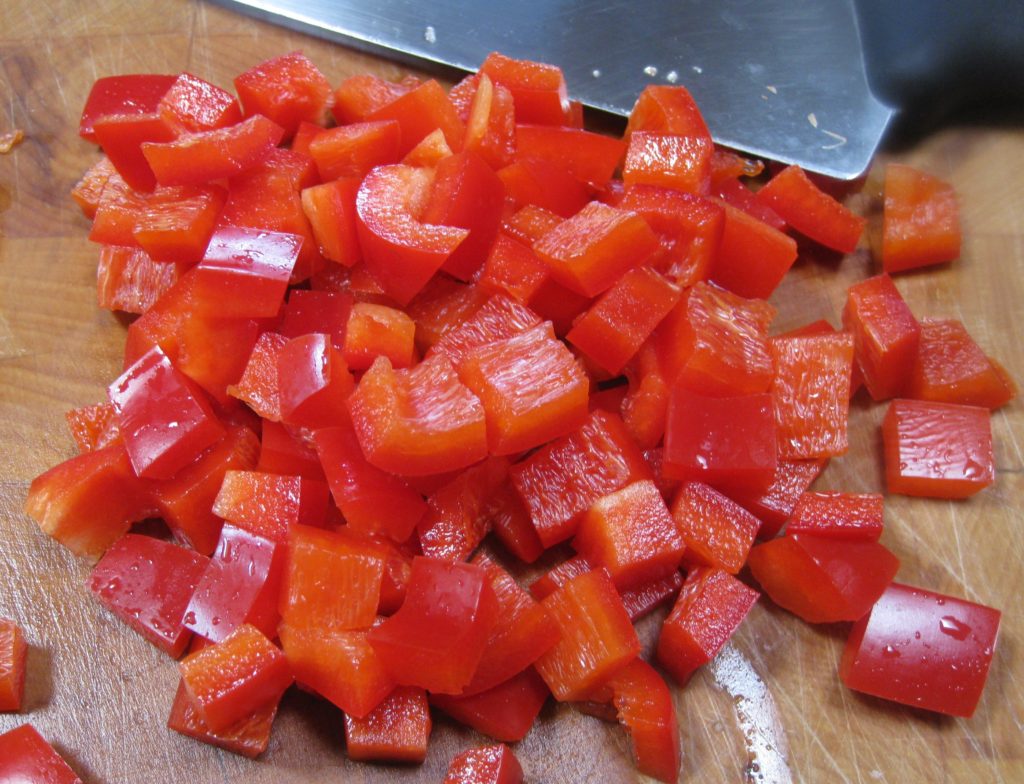
Sweet peppers are traditional in some versions of caponata.

Unlike Italy, where the best eggplants and peppers are available only “in season” that’s not true in the United States.  Rather than canning a large batch of caponata, I just make it whenever I want some.

I hope you enjoy this version of caponata.

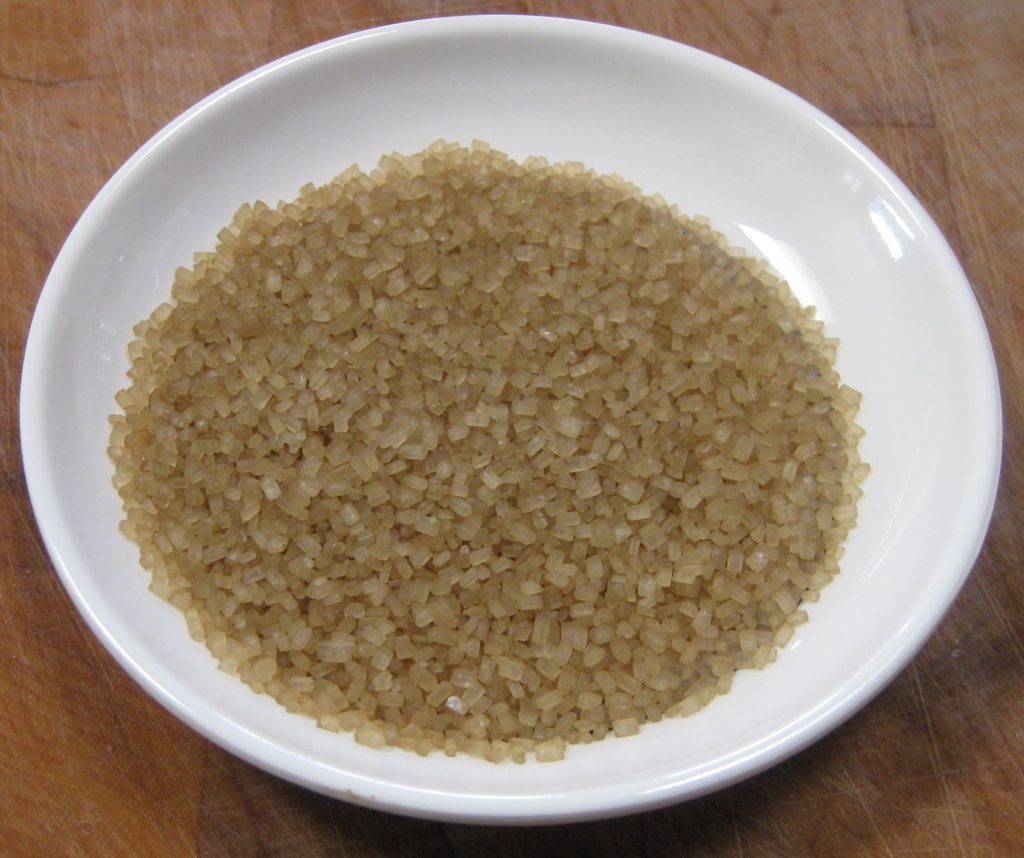
Turbinado or Demerara sugars are good substitutes for Italian “cane sugar” (zucchero di canna).

If you want to get more into the fray about the origins of caponata or its name, or the different versions, you can look here, here, here, here, here, or here.

Print Recipe
Caponata: A Taste of Sunny Sicily
There is a link to the recipe for Basic Tomato Sauce in the Notes section below. Any simple tomato sauce, or even tomato puree, could be substituted. If vegetable broth is not available water can be used. To my American readers, I apologize for the metric measures. You can convert to American measures by using the dropdown menu below. Turbinado and Demerara sugars are most similar to the “cane sugar” used in Italy. American light brown sugar would work in this recipe since the quantity is small. You can use either vinegar-packed or salt-packed capers.
Votes: 0
Rating: 0
You:
Rate this recipe!
Prep Time 30 minutes
Cook Time 45 minutes
Servings
cups
Ingredients
Prep Time 30 minutes
Cook Time 45 minutes
Servings
cups
Ingredients
Votes: 0
Rating: 0
You:
Rate this recipe!
Instructions
  1. Sauté the peppers and onions in olive oil with a pinch of salt until the onions become translucent.
  2. Add the eggplant and sauté until most, but not all, of the eggplant has become translucent.
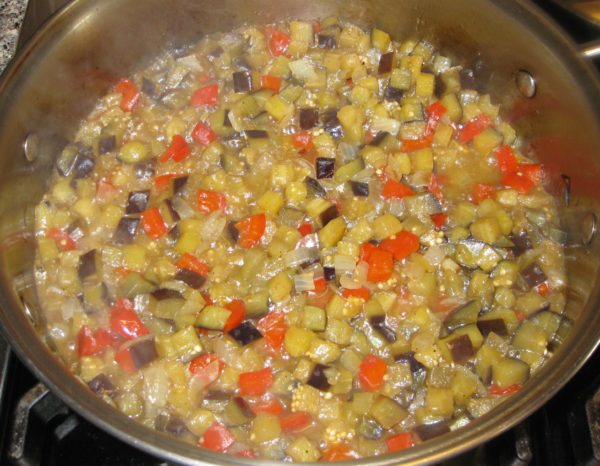
  3. Add the vegetable stock and salt and pepper to taste. Cover and cook until just tender, 5-10 minutes.
  4. Remove cover. Quickly evaporate any remaining liquid.
  5. Add sugar and vinegar. Cook over moderately high heat until almost dry.
  6. Add the capers and pine nuts.
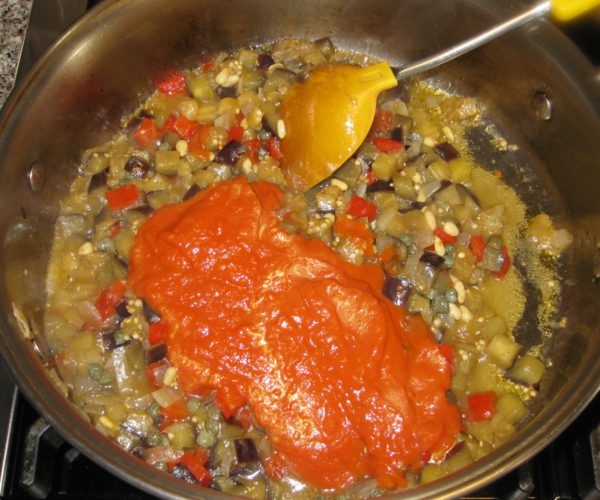
  7. Add the tomato sauce. Simmer briefly to blend flavors, 5-10 minutes.
  8. Adjust salt and pepper while cooking.
  9. Refrigerate.
  10. Bring to room temperature for serving.
Recipe Notes

The recipe for Basic Tomato Sauce can be found here.

Copyright © 2020 by Villa Sentieri, LLC. All rights reserved.
Share this Recipe

Bread Pudding

July 3, 2019

It’s a Sunday morning in June.  I’m on the East Coast; Fire Island, New York to be exact.  I’m one-third of the way through a three-week stay on this slip of land south of Long Island.  To the north of Fire Island is the Great South Bay, which separates it from Long Island.  To the south is the Atlantic Ocean.

The Cherry Grove dock. It’s about 4 1/2 miles across the Great South Bay to Sayville on Long Island.

Whenever I’m here, I seem to channel my childhood as far as cooking goes.  I find myself turning (though not exclusively, mind you) to the foods I grew up eating and loving.  A few days ago for dinner I made Italian (OK, Italian-American) sausage with peppers and onions.

A view of downtown Cherry Grove.

Today I’m making my mother’s long-simmered Southern Italian Ragu (or Sugo or Tomato Sauce…or, because I’m in New York, Sunday Gravy).  Growing up, we NEVER called Tomato Sauce of any sort “Gravy!”  It was usually just “Sauce,” which we all knew meant mom’s or Aunt Margie’s or Aunt Mamie’s or some other Italian-American woman’s slow-cooked meat-and-tomato-based sauce for pasta.  And we NEVER EVER used the word “Sunday” as a modifier for “Sauce!”

A tortoise greeted me on a walk from Cherry Grove to The Pines one morning.

Join our mailing list and you’ll never miss a recipe again!

Sauce was Sauce, it was sacrosanct.  It wasn’t better or different or more elaborate because it was being made on Sunday.  If by some chance it were to be made on Thursday (which it usually wasn’t) it would still be made the same way.  To be sure, there was some variability in the meats that were used.  In my family’s version there were always big pieces of pork, preferably bone-in.  There could also be sausage (preferably hot), meatballs, and occasionally (and just for the cook) one chicken thigh (to “sweeten the sauce” as my mother would say).  Other than that, and the occasional appearance (or not) of an additional aromatic, like a small amount of minced onion or a hot pepper, the rest of the process was invariable.

Though there are some larger houses, many of the houses in Cherry Grove are small cottages.

I’m making Sauce today because, well, it’s Sunday and I’m on the East Coast, and because I LOVE it.  If I could, I’d find an AM radio and tune it to a station playing Polkas (Is that even possible?).  Aunt Mamie always did that on Sunday (despite being of Italian descent).  It’s one of those experiences from childhood that has had an outsized impact on me for some reason.  The memory is quite simple:  summertime, doors open , Aunt Mamie cooking, and her big green box radio sitting on a white enamel-topped free-standing kitchen cabinet near the door to her porch blaring out polka tunes.

The Tiki Bar can be a happening place during 2-4-1 happy hour!

Many of my fondest memories are in the summer with the doors open, what can I say?  It’s not like Aunt Mamie didn’t tune to polkas in the winter but that’s not what comes to mind!

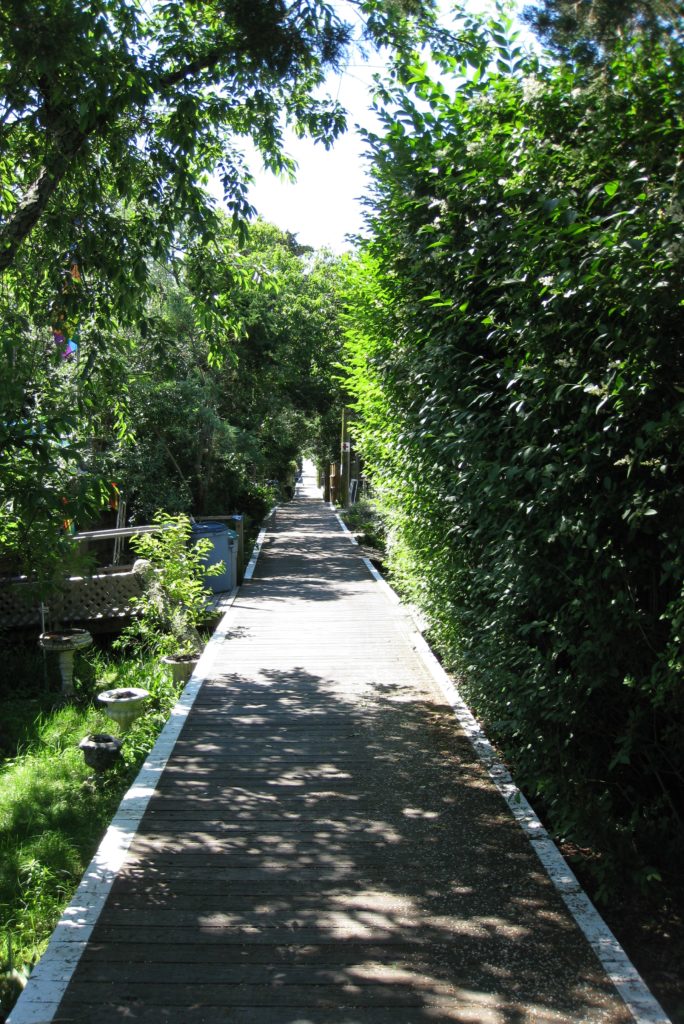
One of the many boardwalks that make navigating Cherry Grove possible.

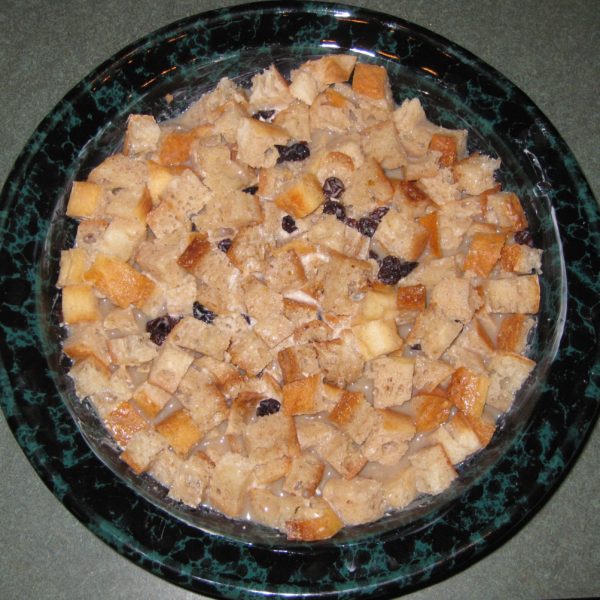
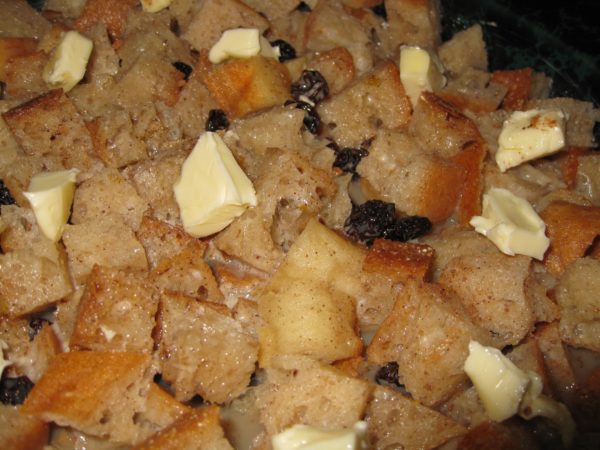
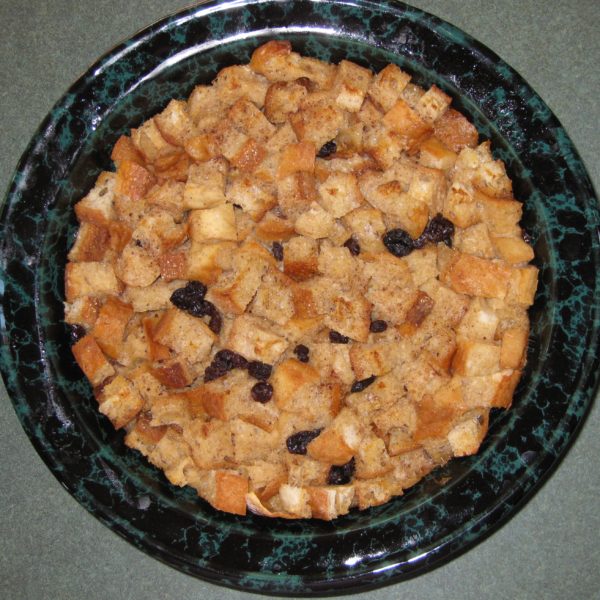
I’m also making Bread Pudding today.  One of those comfort-food desserts that I really enjoy.  I know I’ve mentioned this a time or three, but all of my favorite foods are carbohydrates.  All of my favorite desserts are based on moderately complex carbohydrates (flour and rice, usually) without lots of extra fat (like butter) and without being overly sweet.  Bread Pudding and Rice Pudding are near the top of the list.

Getting ready for the Fourth of July, a “house cat” is decked out with patriotic sunglasses.

Follow us on your social media platform of choice
         

Neither would be considered fit for company but I’m foisting the bread pudding on our dinner guests today with the option of some heavy cream poured on top.  I can always do a run to the store for gelato if I have a last-minute change of heart.  And, it would be a “run.”  There are no cars on this part of the island.  There are some motorized carts that ply the boardwalks that crisscross the community, providing the only means of navigating the town.  The carts are mostly used by contractors, businesses, trash pickup, the fire department, and the EMS.  Although a few residents use small carts or electric scooters to get around, the rest of us walk and use wagons to cart things that are too heavy to carry.

Looking south toward the Atlantic Ocean with deer in the distance.

It’s a pretty idyllic place to spend part of the summer.

A view toward the dock and Great South Bay from the Tiki Bar.

It can also be an exciting and unpredictable place.  Sunday afternoon an intense storm hit Long Island and Fire Island.  Trees and power lines were downed.  The storm put an end to internet service for more than forty-eight hours.  That’s the reason that this blog is getting posted a few days later than planned.

Part of the Cherry Grove Fire Department, an all-volunteer force.

Meanwhile, I’m eagerly anticipating the arrival of the next urge to cook something from my childhood!

Print Recipe
Bread Pudding
If the raisins or currants are not absolutely fresh and soft, cover them with hot water to plump up before adding them to the mixture. It is best if the bread is a few days old so that it has lost some of its moisture.
Votes: 0
Rating: 0
You:
Rate this recipe!
Cuisine American
Prep Time 15 minutes
Cook Time 80 minutes
Passive Time 60 minutes
Servings
people
Ingredients
Cuisine American
Prep Time 15 minutes
Cook Time 80 minutes
Passive Time 60 minutes
Servings
people
Ingredients
Votes: 0
Rating: 0
You:
Rate this recipe!
Instructions
  1. Beat eggs, sugar, vanilla, and cinnamon.
  2. Add milk and rum to the egg mixture and whisk to combine.
  3. Butter a three-quart ovenproof covered dish.
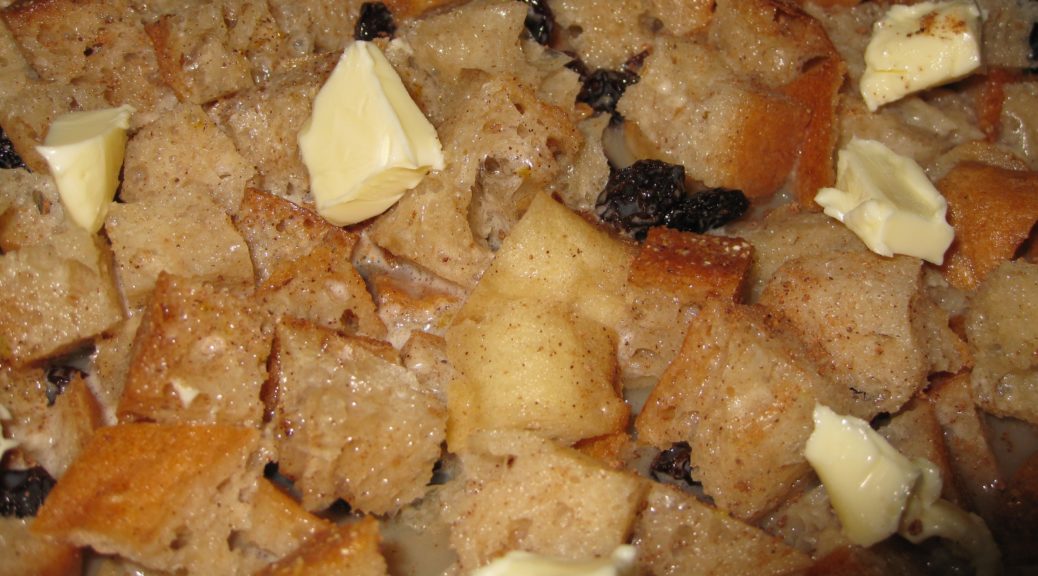
  4. Toss the bread cubes and raisins if using. Put the bread into the buttered dish. Pour milk and egg mixture on top.
  5. Grate nutmeg over the top. Dot lightly with butter.
  6. Cover and allow to sit at room temperature 30-60 minutes.
  7. Bake at 350°F, covered, for approximately 60 minutes. Uncover and bake an additional 20 minutes, or until brown on top.
  8. Serve warm or at room temperature. Pour a little heavy cream on top if desired.
Recipe Notes

Copyright © 2019 by Villa Sentieri, LLC. All rights reserved.
Share this Recipe

Cherry Aperitif

October 3, 2018

I apologize for the “radio silence” for the past few weeks.  I was traveling in Europe and did not have a reliable internet connection.  I was planning on keeping up my regular posting schedule, and I had everything with me that I needed (having cooked and photographed all the dishes in advance) but it just wasn’t realistic to upload pictures at a snail’s pace.

Today’s recipe is a bit of a departure from what I usually post.  It’s an adaptation of a recipe from David Lebovitz, the only food blogger that I regularly follow.

How I found out about David, and this particular recipe, is curious.

Join our mailing list and you’ll never miss a recipe again!

In mid-2016 my business partner, Melinda Orlando, and I sold the health care consulting business that I founded in 1994 and that we built together.  We brought our two long-term employees, Joe Kohberger, who celebrated his 20th anniversary with The Mihalik Group this year, and Zorina Granjean, who celebrated her 15th anniversary this year, to Santa Fe for a weekend along with their spouses.

It was a time devoted to enjoying each other’s company, exploring good food and drink in Santa Fe, and a way for Melinda and I to say “thank-you” to Joe and Zorina for all they did to make The Mihalik Group successful.

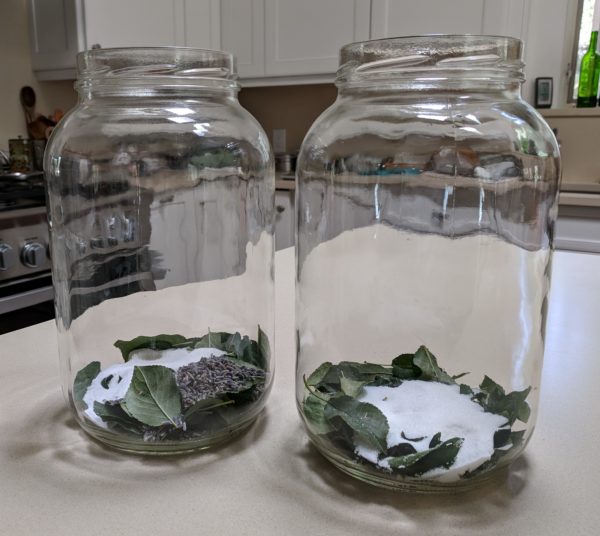
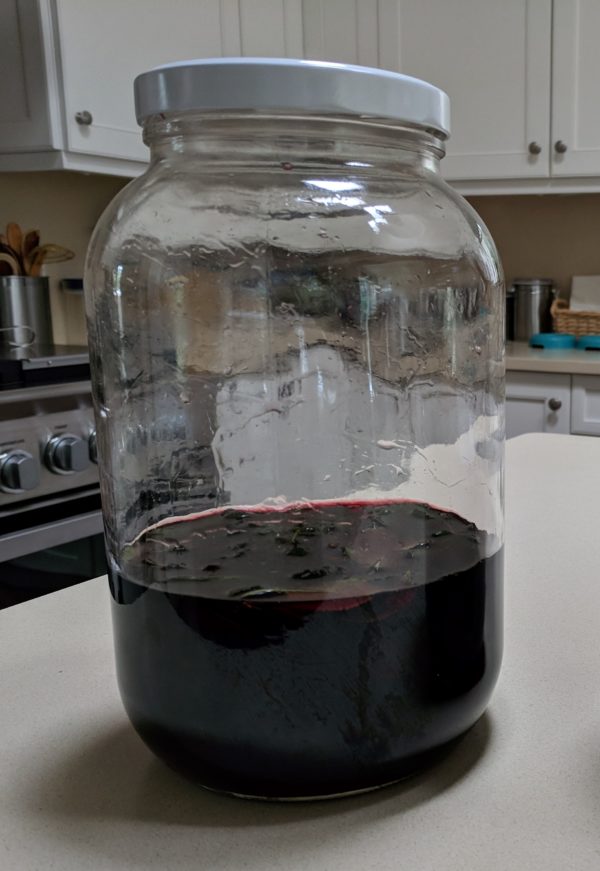
During one of our conversations, Zorina mentioned a recipe for a cherry aperitif that she got from a food blog that she followed.  The really interesting part is that the aperitif didn’t actually contain cherries but cherry leaves!

Based on Zorina’s recommendation, Rich DePippo and I whipped up a few batches in 2017 using leaves from his cherry trees.  Truth be told, as much as I like infusing alcohol with different botanicals (see my recipe for Limoncello, Melinda’s Drunken Prunes, and Liquore al Lauro for examples), I would never have tried this recipe based on cherry leaves rather than cherries and cherry pits.

That would have been a mistake!

Follow us on your social media platform of choice


It’s a great pre-dinner drink served over (lots of) ice, with or without a twist of citrus peel.  It’s not very alcoholic but it’s very flavorful.  Plus, it’s a cinch to make (assuming you can get a fistful of cherry leaves).

It’s very good made with just cherry leaves but adding one of the other botanicals changes its character.  The cherry flavor is still there but the aperitif becomes more complex.

Don’t use expensive wine or vodka.  Pedestrian alcohol works quite well.  In fact, I usually use red wine from a Trader Joe’s box.

Print Recipe
Cherry Aperitif
If you’re not into the metric measurements, just toggle to the American ones. Select an inexpensive fruity red wine such as Merlot or Shiraz. Boxed wine is perfectly fine. I prefer to add only one additional botanical per batch so that I get the distinct flavor of cherries along with the added ingredient. If you come up with any good combinations, or other botanicals to add, please post a comment.
Votes: 0
Rating: 0
You:
Rate this recipe!
Course Beverages
Cuisine French
Prep Time 20 minutes
Passive Time 7 days
Servings
liters
Ingredients
Basic Ingredients
Optional Botanicals (use only one per batch)
Course Beverages
Cuisine French
Prep Time 20 minutes
Passive Time 7 days
Servings
liters
Ingredients
Basic Ingredients
Optional Botanicals (use only one per batch)
Votes: 0
Rating: 0
You:
Rate this recipe!
Instructions
  1. Combine all ingredients in a large jar with a tight-fitting lid.
  2. Swirl the jar to completely dissolve the sugar.
  3. Keep the jar at room temperature but out of direct sunlight.
  4. Swirl the jar daily for seven days.
  5. Strain and discard the solids.
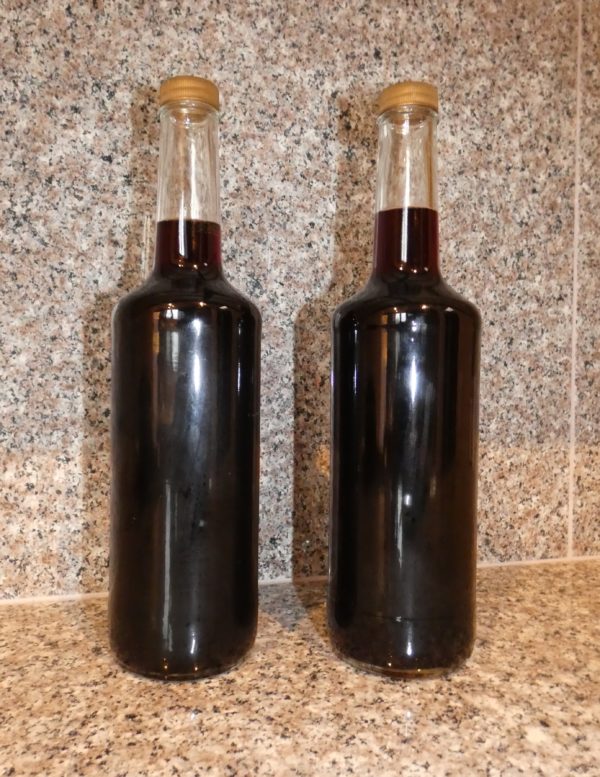
  6. Pour the aperitif into bottles with tight-fitting lids.
  7. Refrigerate the aperitif several weeks before using.
  8. Serve over ice with a citrus peel, if you would like.
Recipe Notes

Copyright © 2018 by Villa Sentieri, LLC. All rights reserved.

Share this Recipe

Rabbi Goldie’s Jewish Apple Cake

September 5, 2018

In September 1972, at the age of 17, I went from the small town of Johnstown, Pennsylvania to Philadelphia to attend the University of Pennsylvania.

Little did I know how much my life was going to change, nor how sheltered I had been growing up in Johnstown.  There were a few trips to Florida and California by car, and a portion of every summer spent in Atlantic City, but other than that my life mostly revolved around the family and happenings within a few hours’ drive of Johnstown.

A few weeks before I left for college, I got a note from Jon Rikoon who was to be one of my roommates.  Jon lived on Long Island.  I don’t think I’d ever been to New York at that point.

Harnwell House, the dorm (now a college house) I lived in during freshman year

Another of my roommates (we had a three-bedroom, four-bed dorm “apartment”) was Chip Fleischmann, as in Fleischmann’s yeast.  The fourth roommate only lasted the first semester and I simply can’t remember his name.  (He kept to himself mostly.)

Join our mailing list and you’ll never miss a recipe again!

Early in freshman year, Jon started dating Gail Milgram.  Gail spent a lot of time in our apartment and she and I became very good friends.

Gail’s relationship with Jon didn’t last beyond freshman year but our friendship did.  We saw a lot of each other throughout our undergraduate years and for a few years thereafter while I was in medical school.

Our friendship remained strong.  In fact, at one point early in medical school Gail and I had to temporarily stop spending time together as her boyfriend at the time was jealous of our relationship.  Needless to say, he didn’t last!

Gail and I were in infrequent contact after my first couple of years in medical school.  In fact, years could go by without contact but, somehow, we always managed to reconnect.

As the years did, in fact, go by, Gail officially changed her name to Goldie.  She also became a rabbi.

A few months ago, out of the blue, just after I decided to post a recipe for the Jewish Apple Cake that (the then) Gail taught me how to make in college, I received an email from her.

Follow us on your social media platform of choice


She was in Europe for the summer and we set up a time to chat by video conference but her internet connection did not cooperate and we were unsuccessful in our attempts to chat.  We’re planning another attempt at video conferencing when both of us are in the States later this fall.  I’m looking forward to catching up with her.

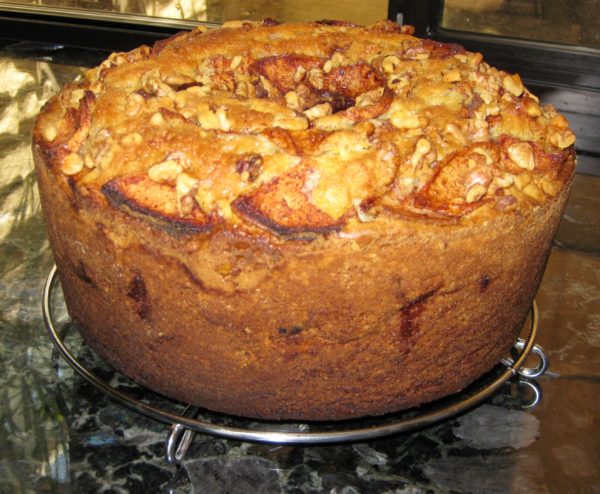
In the meantime, I hope you enjoy what is now, officially, Rabbi Goldie’s Jewish Apple Cake!

Print Recipe
Rabbi Goldie's Jewish Apple Cake
It is best to bake this cake in a plain, shiny aluminum pan. A dark pan will overcook the outside before the center is done. Don't add the sugar to the apples before you are ready to pour the batter into the pan or it will pull a lot of liquid out of the apples.
Votes: 21
Rating: 4.14
You:
Rate this recipe!
Cuisine Jewish
Prep Time 30 minutes
Cook Time 90 minutes
Passive Time 1 hour
Servings
people
Ingredients
Cuisine Jewish
Prep Time 30 minutes
Cook Time 90 minutes
Passive Time 1 hour
Servings
people
Ingredients
Votes: 21
Rating: 4.14
You:
Rate this recipe!
Instructions
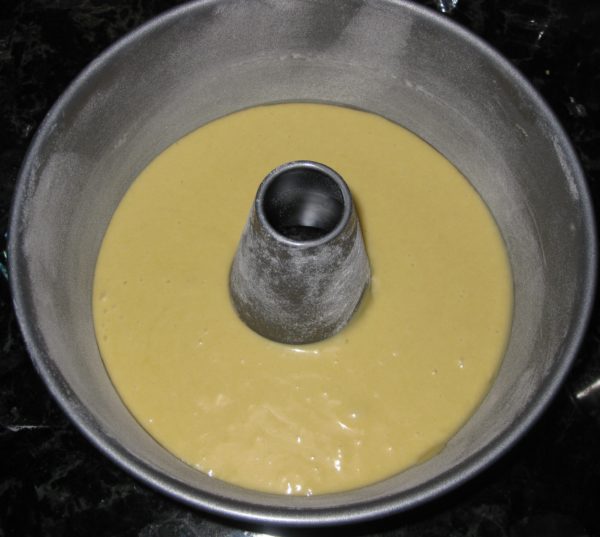
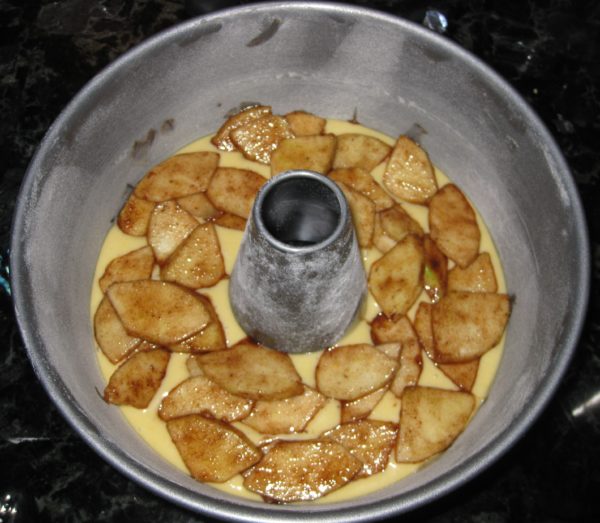
  1. Grease and flour a 10" tube pan with a removable bottom.
  2. Sift together the flour and baking powder.
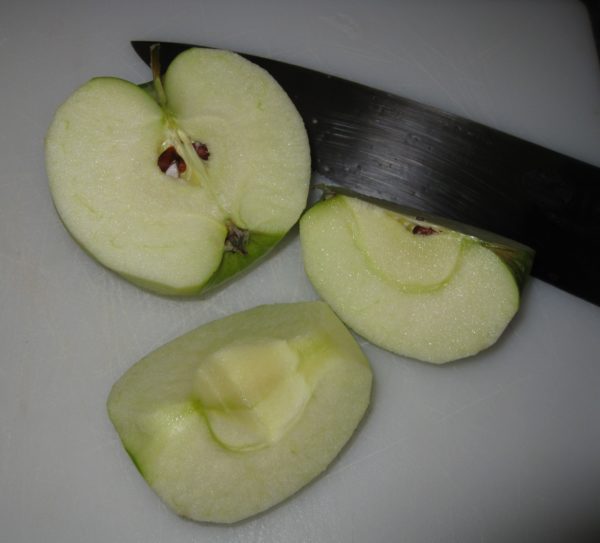
  3. Peel the apples, cut them in quarters and remove the core.
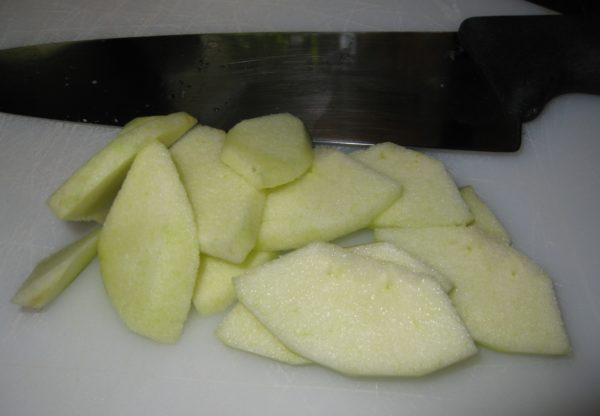
  4. Slice the apples crosswise into 1/8 inch thick slices.
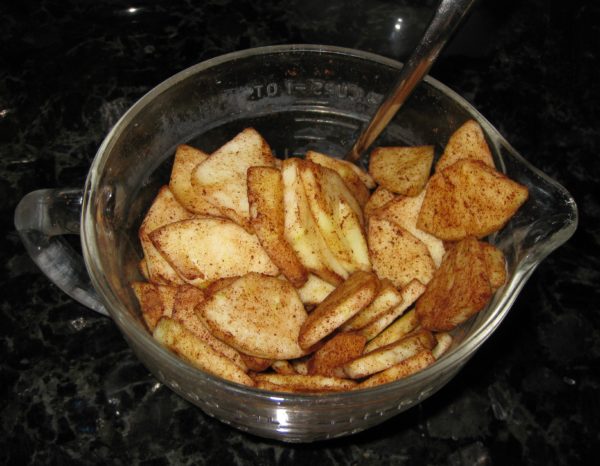
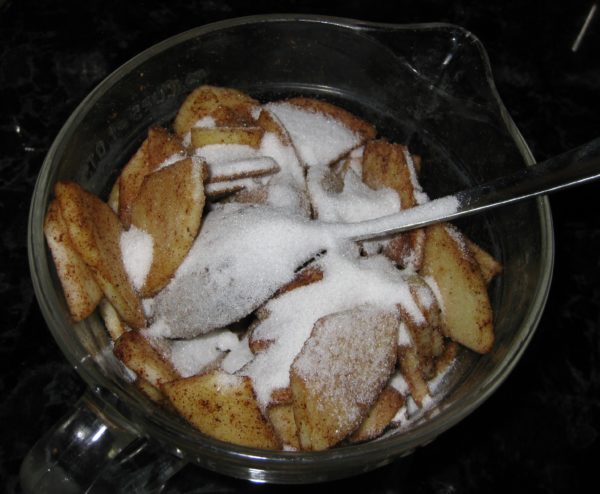
  5. Mix the apples and cinnamon and set aside.
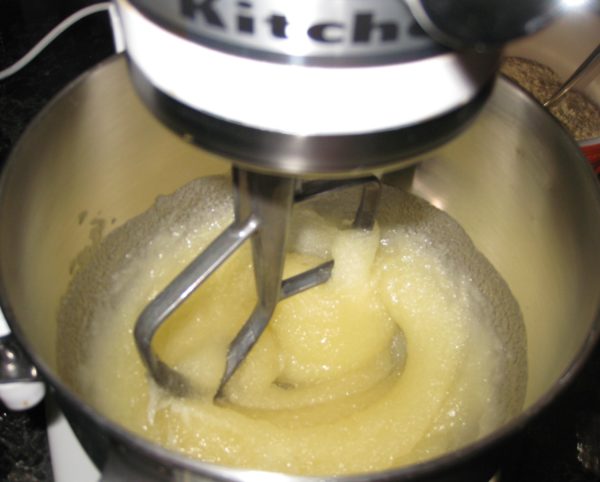
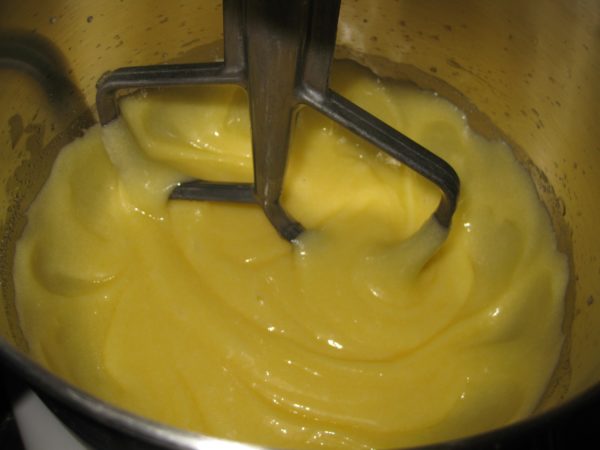
  6. In the bowl of an electric mixer cream oil and 2 cups plus 3 tablespoons sugar.
  7. Add eggs one at a time beating after each addition.
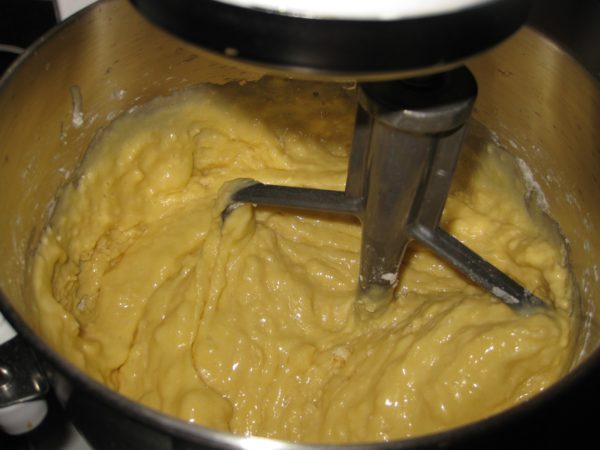
  8. Add 1/3 cup plus 1 tablespoon orange juice and vanilla. Mix well.
  9. Add flour and baking powder mixture and mix well.
  10. Add 5 tablespoons of sugar to the apples and mix well.
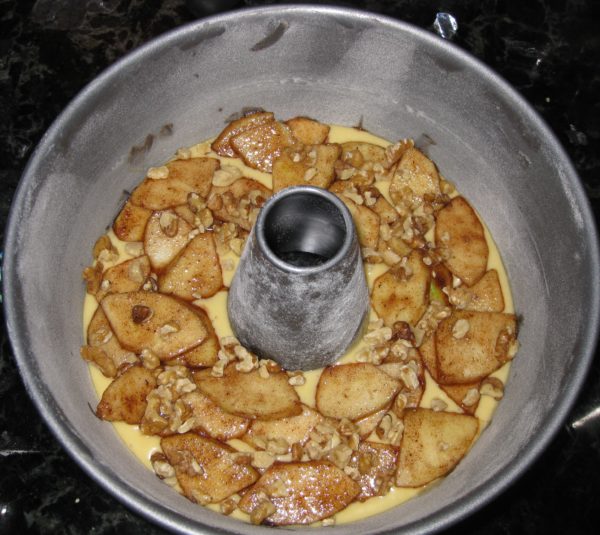
  11. Pour half the batter into the prepared pan.
  12. Top the batter with half the apples.
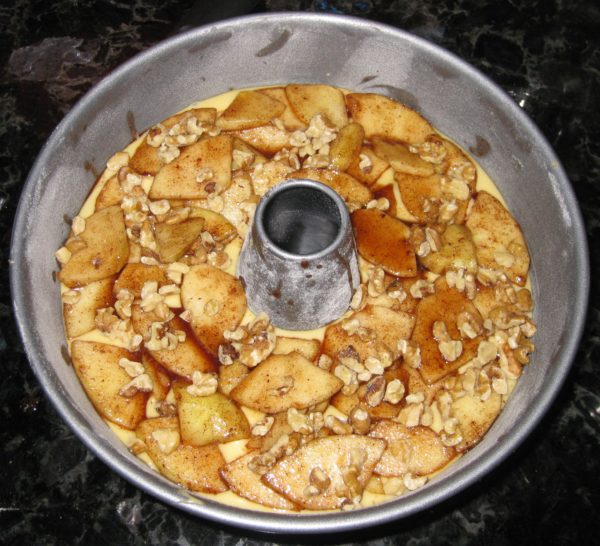
  13. Top the apples with half the walnuts, if using.
  14. Add the remaining batter and top with the remaining apples and walnuts, if using.
  15. Bake at 350°F for approximately 1 hour 40 minutes, until a tester inserted in the center comes out clean.
  16. Cool for 10 minutes on a rack. Remove from pan and cool completely.
Recipe Notes

Copyright © 2018 by Villa Sentieri, LLC. All rights reserved.
Share this Recipe

Cherry Jam

August 1, 2018

Every year during late summer when I was in grade school we would pick elderberries.  The “we” was myself, my cousin Donna Medile and our mutual friend Ricky Slivosky. Ricky’s dad, Joe, would take us on this adventure.

We’d go to various places in Stackhouse Park, aka the “woods” near our neighborhood.  If you look at the map on the website link, you’ll see Fayette Street.  It’s the street I lived on.  It basically goes right into one of the walking paths into the “woods.”  We never called it Stackhouse Park though everyone knew the name.

Join our mailing list and you’ll never miss a recipe again!

Joe Slivosky would take the elderberries to one of his relatives who would turn them into pies and jam.  I can’t say that I actually cared much for either but I loved picking the berries.  I also liked the idea that something we picked from the wild could be turned into something we ate.

Ever since then, the idea of preserving fruit, preferably fruit that I picked, by turning it into jams, jellies, preserves or by soaking it in alcohol, has fascinated me.

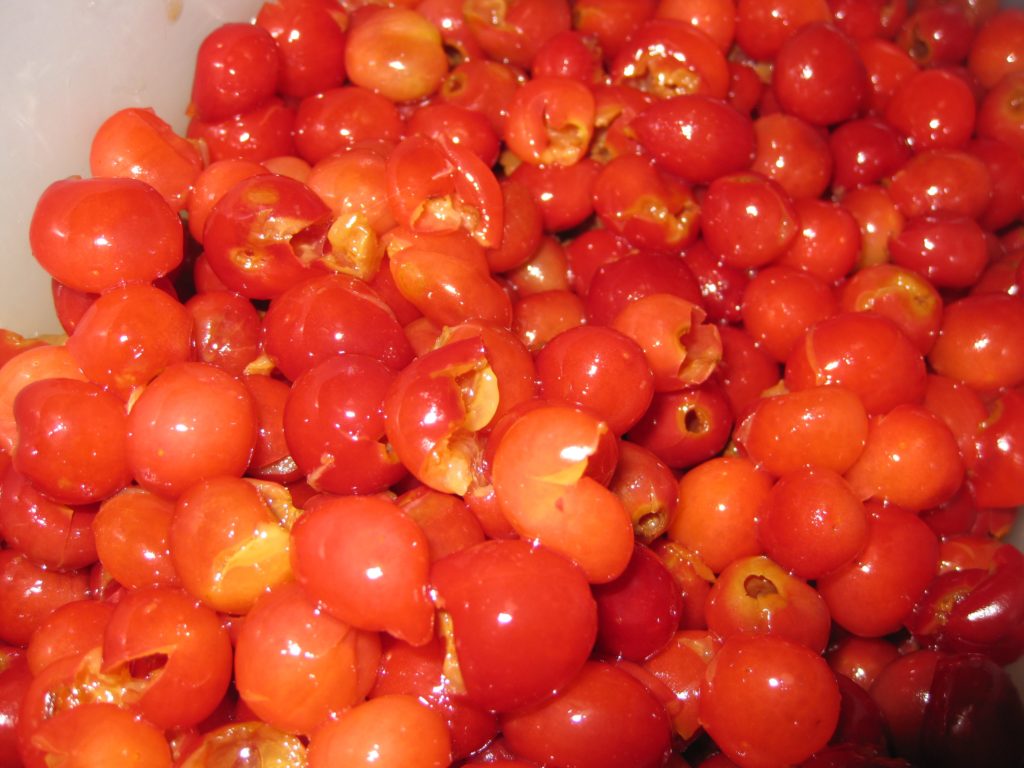
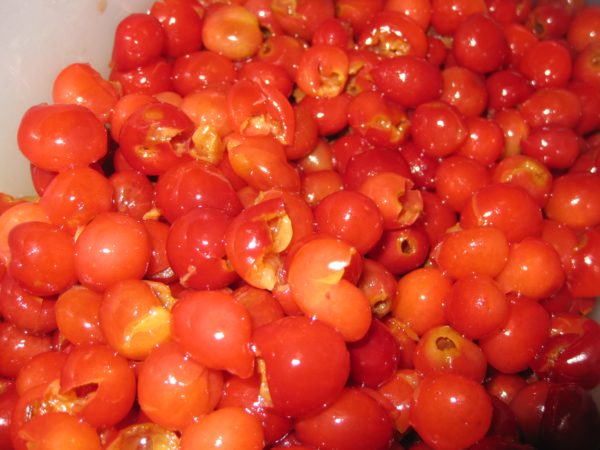
Pitted sour cherries ready to be turned into jam

Santa Fe had a bumper crop of stone fruit in 2012.  Peaches and apricots were everywhere.  I made peach nectar, peach preserves, apricot preserves, apricot and lavender preserves, and apricot preserves with bourbon and brown sugar all from fruit I picked from friends’ trees.  We are just finishing up the bounty of what I canned that year.

Two years ago, I made orange jam and lemon jam from citrus trees outside our house in Palm Springs.

Although guava jelly is my absolute favorite in the jam-jelly-preserve category I find it impossible to get really good guava jelly.  Years ago, I would bring guava jelly back from Guyana where it was made by a friend of my college roommate’s father.  It contained only guava juice, sugar, and lime juice and it tasted just like guava.  Nothing I’ve had since compares to it.

Follow us on your social media platform of choice


Cherry jam is actually my second favorite, though, honestly, there isn’t anything in the jam-jelly-preserve category that I don’t like except traditional British orange marmalade, which I find too bitter.

I was really excited when Rich DePippo’s cherry trees produced enough cherries for the birds, the squirrels, and us this year.

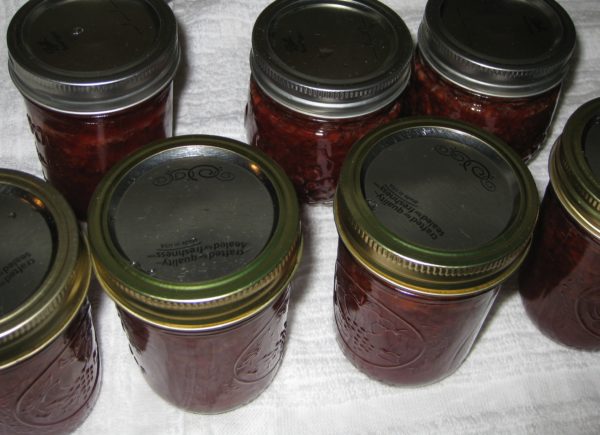
If you’re intimidated by the idea of canning, then don’t can the jam.  Make a batch of it, which will be about six cups total.  It’s really a breeze to make.  When the jam is done, put it in nice jars and refrigerate.  It’ll keep for a few months with no problem.  You can also gift some of it to your friends, who will be amazed that you made it yourself.

Print Recipe
Cherry Jam
This recipe uses one box of traditional fruit pectin. If you make a lot of jam, you may want to buy pectin in a multi-use container. Follow the instructions on the container for the amount that equals one box of pectin. Pie cherries or sour cherries make the best jam.
Votes: 0
Rating: 0
You:
Rate this recipe!
Prep Time 45 minutes
Cook Time 20 minutes
Passive Time 6 hours
Servings
cups
Ingredients
Prep Time 45 minutes
Cook Time 20 minutes
Passive Time 6 hours
Servings
cups
Ingredients
Votes: 0
Rating: 0
You:
Rate this recipe!
Instructions
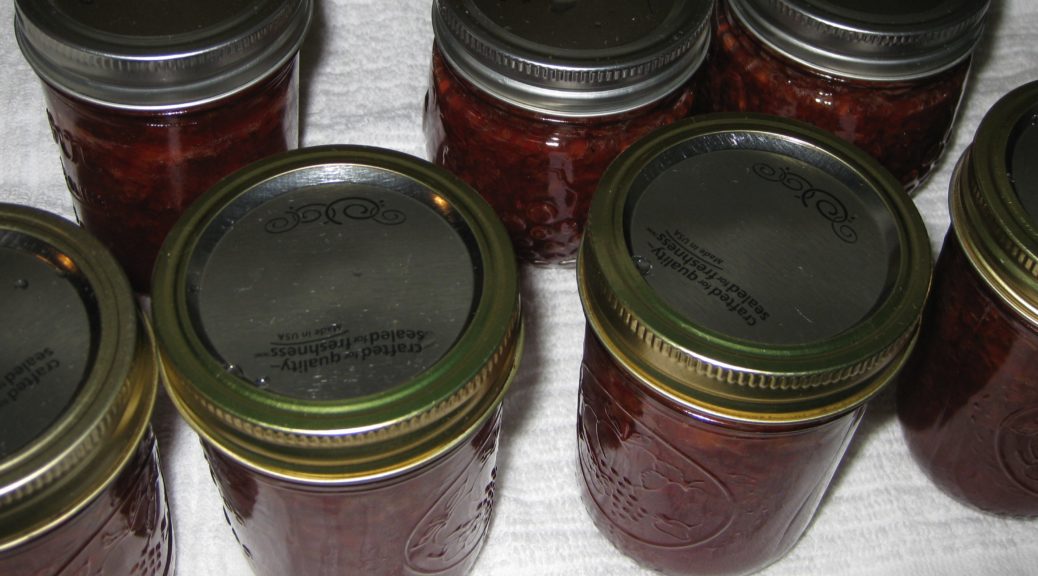
  1. Put six clean, 1 cup jam jars into a large pot of water. Bring to a boil and reduce to low to keep the jars and the water hot.
  2. Put six new lids in a small saucepan of water. Bring to a simmer, reduce heat to low and keep warm.
  3. Pit the cherries.
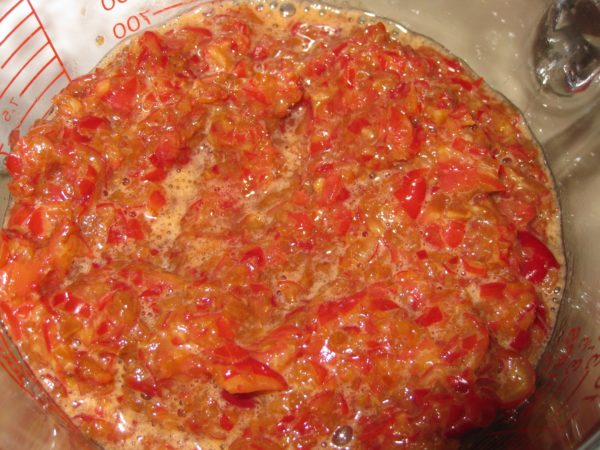
  4. Put the cherries in a food processor and pulse until finely chopped. There should still be bits of fruit visible.
  5. Measure four cups of chopped cherries.
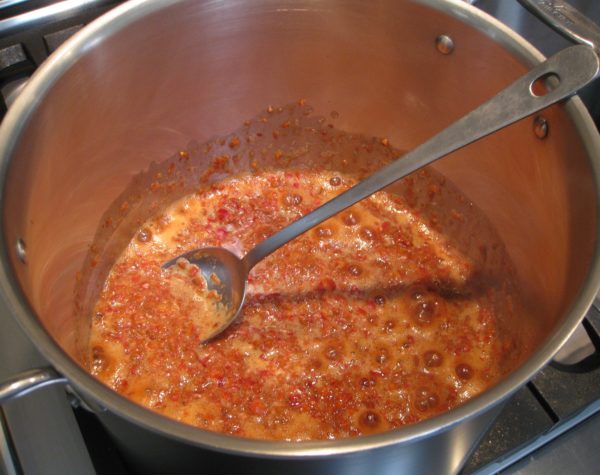
  6. Combine the chopped cherries and pectin in an 8 quart saucepan.
  7. Over high heat, bring the cherry mixture to a full, rolling boil; one that cannot be stirred down.
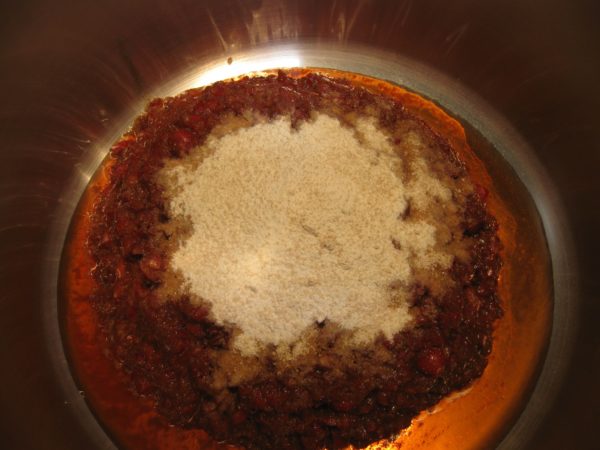
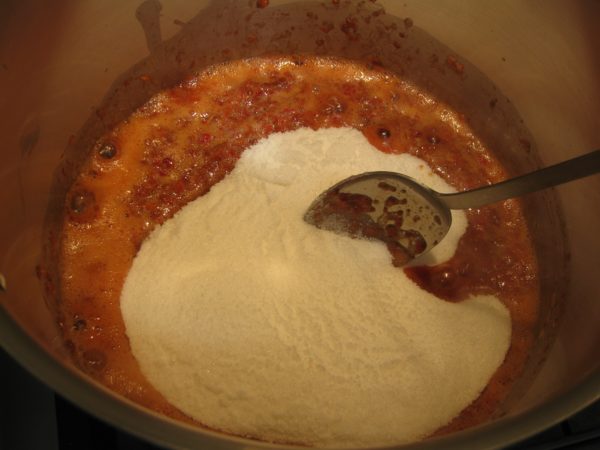
  8. Add the sugar all at once.
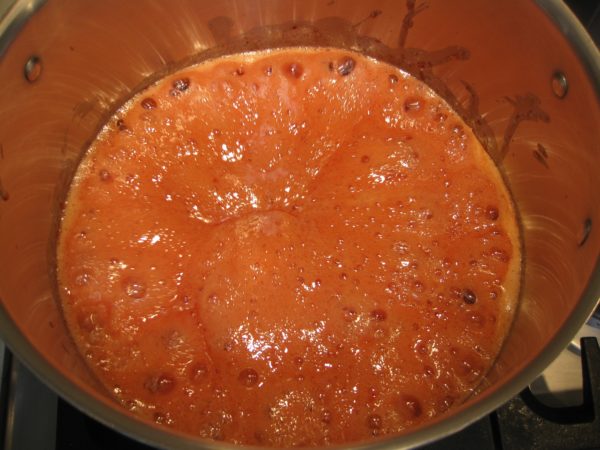
  9. Stir and bring the mixture to a full rolling boil as quickly as possible. Boil for one minute.
  10. Remove the jam from the heat.
  11. Skim off any foam.
  12. Remove the jars from the hot water. Turn the heat to high and bring the water to a boil.
  13. Ladle the jam into the hot jars filling to ¼ inch from the top.
  14. Put a lid and a band on each jar. Tighten until you just meet resistance. The lid must be loose enough to allow air to escape (but not allow water to enter) otherwise the jar will explode when being processed.
  15. When all the jars are full, lower them into the boiling water.
  16. Return the water to a boil and boil 10 minutes at sea level. If you are above 1000 feet in elevation, increase the processing time by the amount noted below.
  17. Remove the jars from the boiling water and tighten the lids. Do not overtighten or you may break the seal.
  18. Allow the jars to cool completely.
  19. When cool, the lids should all be concave or, if pressed, should stay concave. If the lids pop up in the center, refrigerate that jar as the seal is not adequate to protect the contents.
  20. Add the following time to the original 10-minute processing time based on altitude: 1000-3000 feet above sea level: 5 minutes; 3001-6000 feet above sea level: 10 minutes; 6001-8000 feet above sea level: 15 minutes; 8001-10,000 feet above sea level: 20 minutes
Recipe Notes

Copyright © 2018 by Villa Sentieri, LLC. All rights reserved.
Share this Recipe