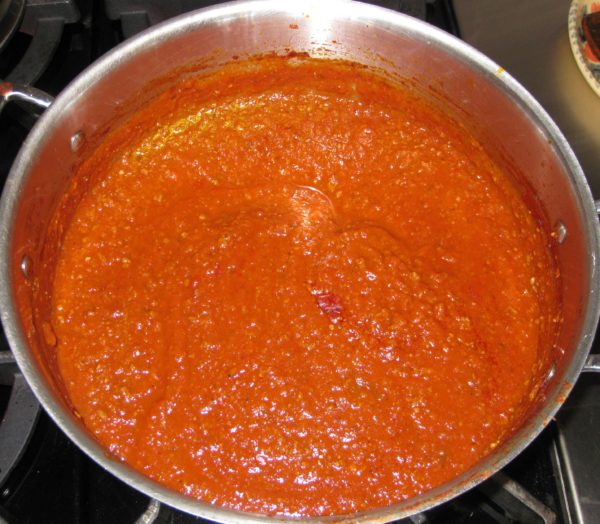
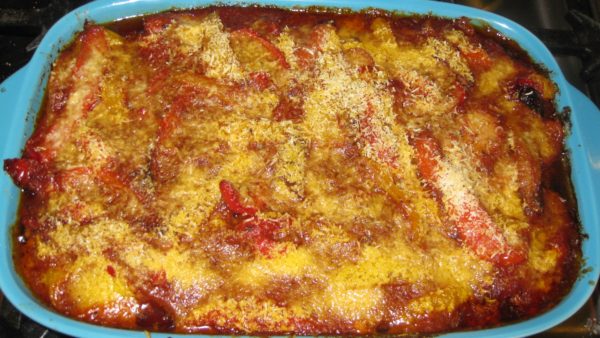
Pollo alla Romana (Chicken with Sweet Peppers)

January 15, 2020

I will forever remember Ferragosto as the day the music died.

Ferragosto is celebrated on the fifteenth of August throughout Italy.  Originating during the Roman Empire, apparently in 18 BCE by Emperor Augustus, Ferragosto was originally held on August 1st.  Ultimately, the Catholic Church moved the date to August 15th to coincide with the Assumption, a “holy day of obligation,” thus imposing a secular holiday on a religious holy day.

Ferragosto is a day to feast.  It is also the day that the late-night revelry in the piazza of Bagni di Lucca comes to an end.


Join our mailing list and you’ll never miss a recipe again!


Those of you who have been following my blog for a while know that I spent the month of August 2019 in Tuscany cooking with Great Aunt Fidalma.
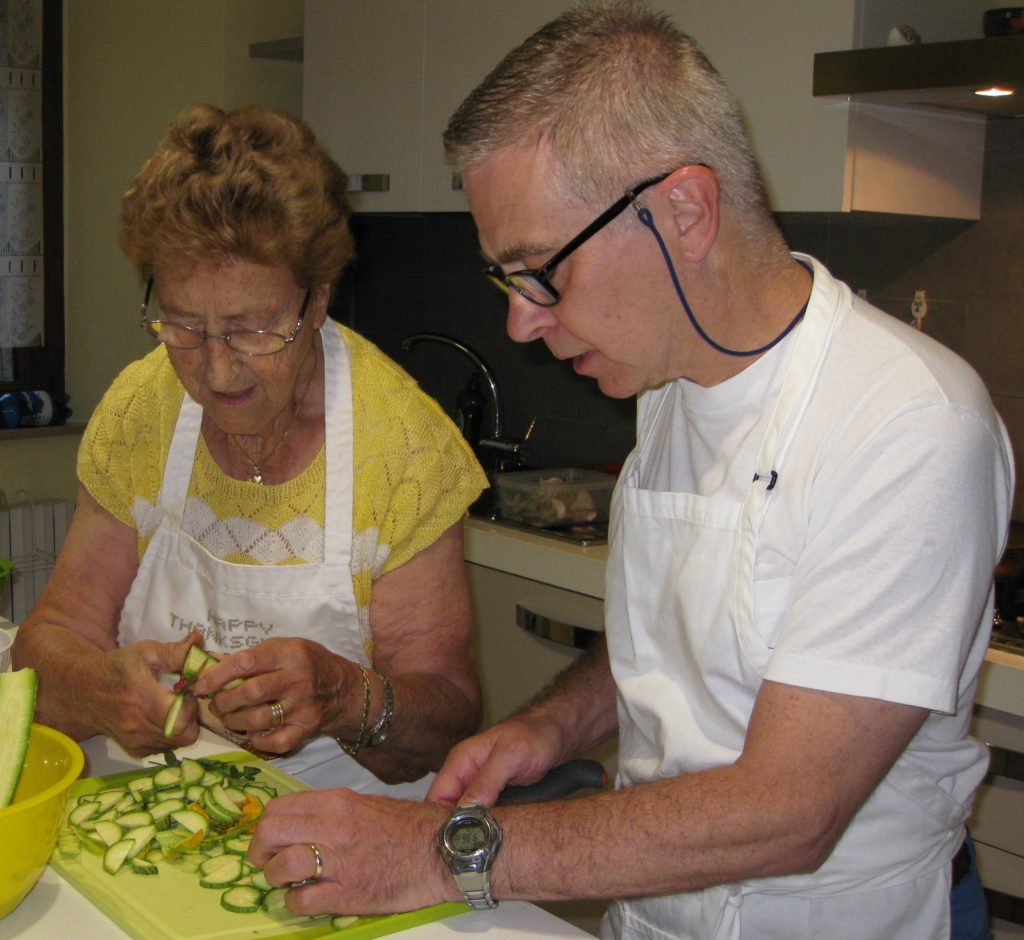
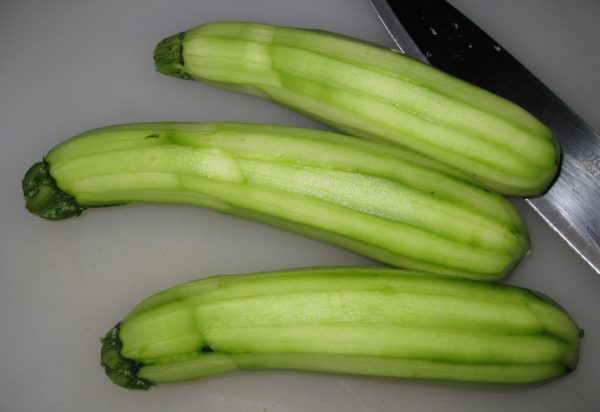
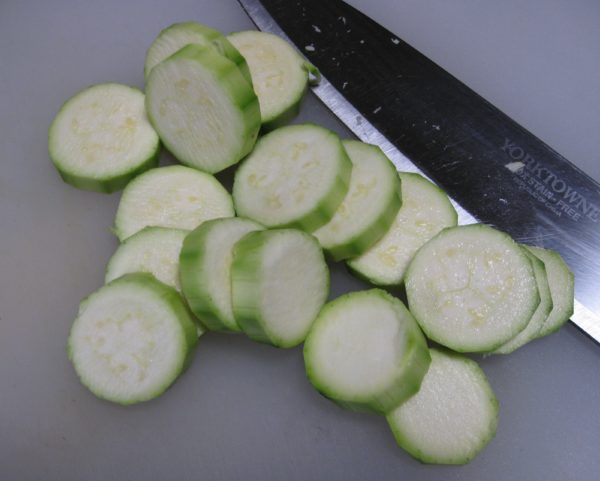
Cutting zucchini with Great Aunt Fidalma in her kitchen in Benabbio.

I rented a charming little apartment overlooking the piazza in Bagni di Lucca, a town near the village of Benabbio where Aunt Fidalma lives.

The piazza becomes the locus of loud music (70’s disco, karaoke, Italian pop) late into the night (or early into the morning depending on your perspective) on the weekends in August as well as during several August festival days.

A view from my terrace of the late-night revelry in the piazza of Bagni di Lucca.

The music precludes sleep.  Even if one could find ear plugs sufficient to drown out the sound, the building, and thus the bed, vibrate to the bass.

Ferragosto, August 15th, is the end of the late-night music.


Follow us on your social media platform of choice


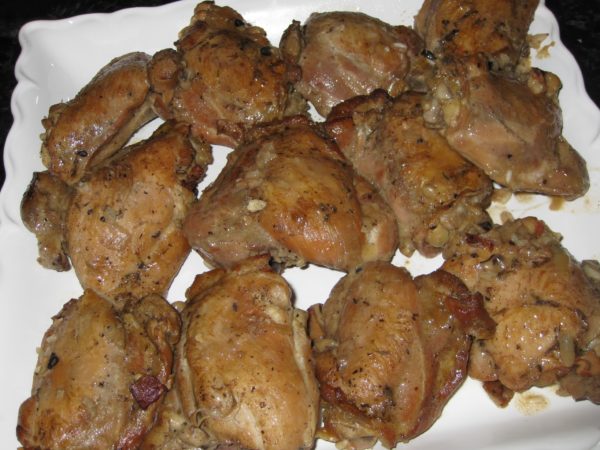
Today, January 15th, marks five months since Ferragosto.  Pollo alla Romana (also known as pollo con i peperoni [chicken with sweet peppers]) is traditionally served on Ferragosto.  Given the five-month anniversary, today seems like an appropriate day to post the recipe.

As you might guess from the name, Pollo alla Romana is from the area around Rome.  It is a simple dish made with chicken, sweet peppers (traditionally red and yellow ones) and tomatoes.  It can be cooked in the morning and served at room temperature later in the day making it a perfect summer dish.

It has become one of my go-to dishes for entertaining when I don’t want a lot of last-minute fuss to distract from enjoying cocktails with my guests.  Made earlier in the day, the dish reheats beautifully in the time it takes to drink a bourbon.
Print Recipe
Pollo alla Romana (Chicken with Sweet Peppers)
Traditionally this dish would be made with a cut-up chicken. I prefer to use just thighs as I think they take well to braising, which breasts don’t. You can use cut-up chicken parts if you prefer. When a dish says something should be fall-apart tender, I take that literally. It’s the way I grew up eating chicken cooked by my Italian-American mother. That means, for me, the chicken should braise in the liquid for at least 90 minutes if you’re close to sea level and longer if you're at a higher elevation. You can short-circuit that if you want but I think the texture of the dish will suffer.
Votes: 0
Rating: 0
You:
Rate this recipe!
Course Mains, Poultry
Cuisine Italian
Prep Time 30 minutes
Cook Time 2 1/2 hours
Servings
people
Ingredients
Course Mains, Poultry
Cuisine Italian
Prep Time 30 minutes
Cook Time 2 1/2 hours
Servings
people
Ingredients
Votes: 0
Rating: 0
You:
Rate this recipe!
Instructions
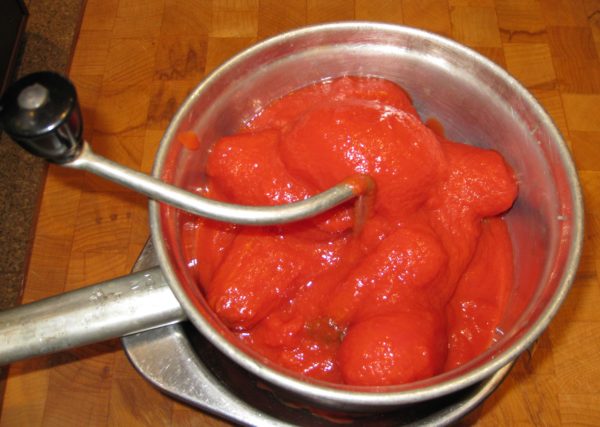
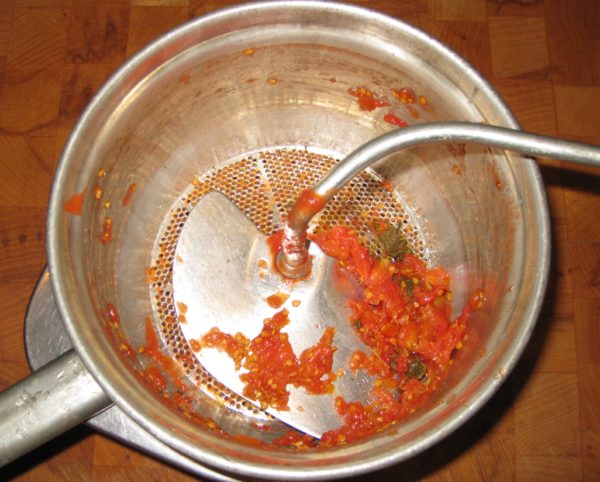
  1. Pass the can of tomatoes through a food mill to remove seeds and hard bits of tomato. Reserve the tomato puree.
  2. Slice the peppers into triangular pieces or thick strips.
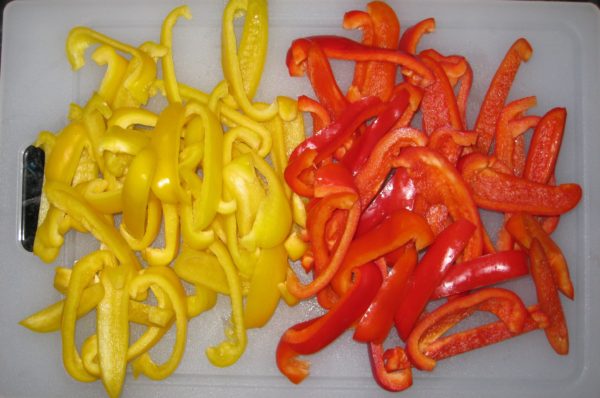
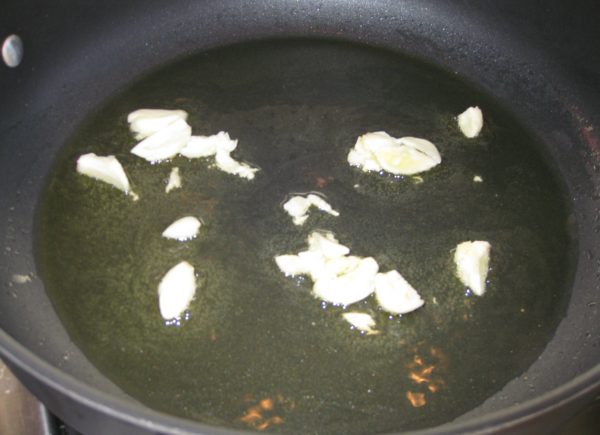
  3. Using a large heavy-bottomed sauté pan, sauté the garlic in the olive oil over medium heat until medium brown. Discard the garlic.
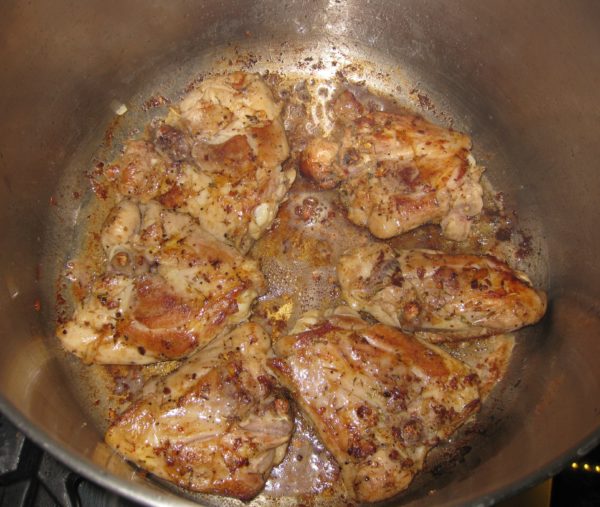
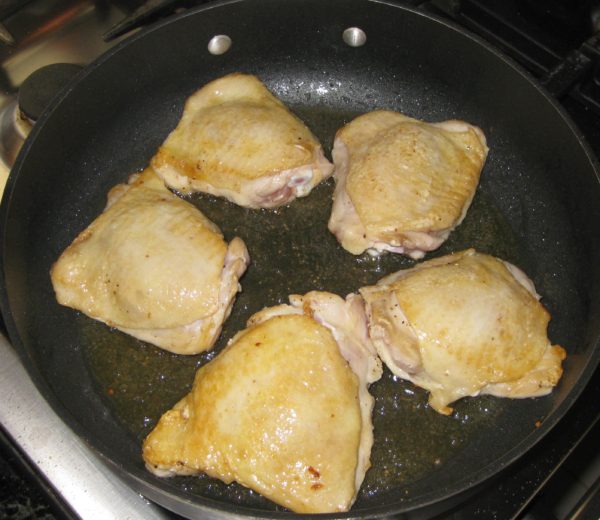
  4. Sauté the chicken in the garlic-flavored oil over high heat, starting skin side down to render additional fat from the skin, flipping twice, until well browned. Remove and reserve chicken.
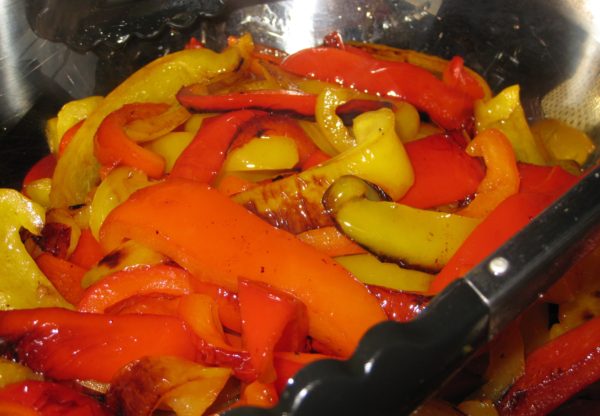
  5. Add the peppers to the oil and sauté briefly over high heat to put a light char on some of them. Remove and reserve peppers.
  6. Add the wine to the sauté pan, bring to a boil, and scrape up all the brown bits.
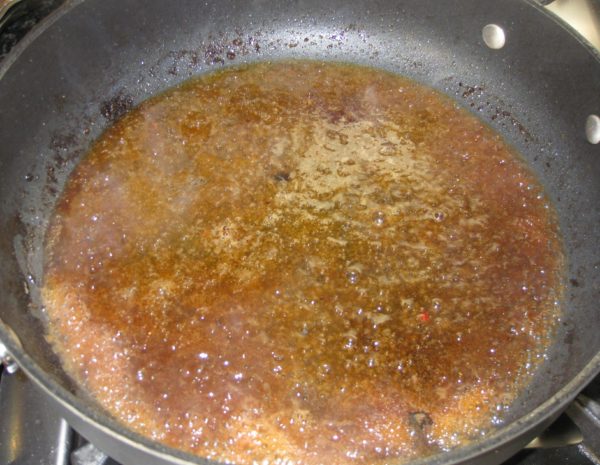
  7. After the wine evaporates, add the broth, tomato puree and oregano. Mix well.
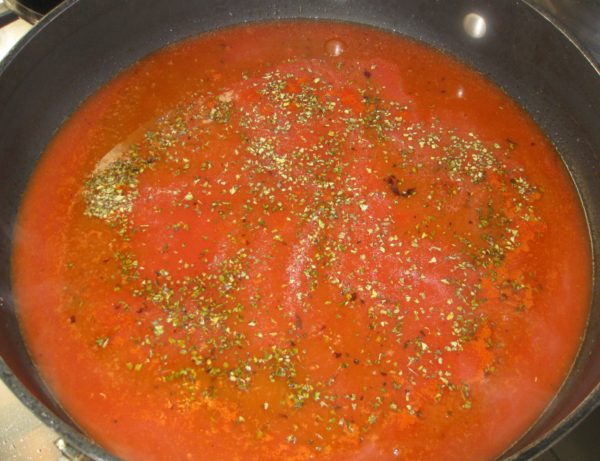
  8. Add the chicken, skin side down, along with any accumulated juices. Season with salt and pepper.
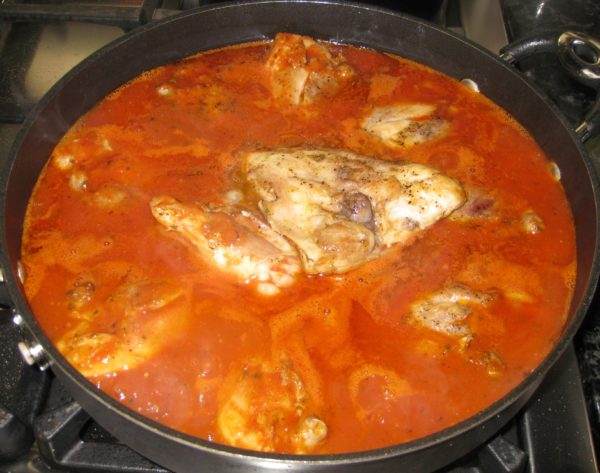
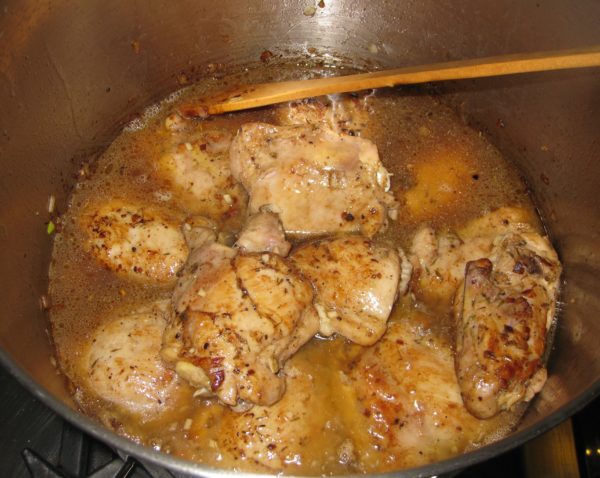
  9. Simmer, partially covered, approximately 30 minutes (or, if you live at high altitude as I do, 60 minutes). Turn the chicken over. Remove and discard the skin (the skin adds lots of flavor as well as collagen to the sauce for a great mouth-feel so please use bone-in and skin-on thighs).
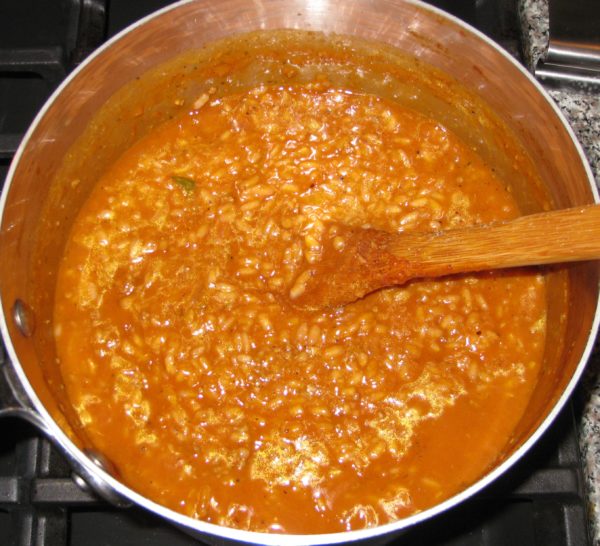
  10. Add the peppers and continue to braise, partially covered, for approximately another hour until the chicken is literally fall-apart tender. During cooking, taste and adjust salt, pepper, and oregano.
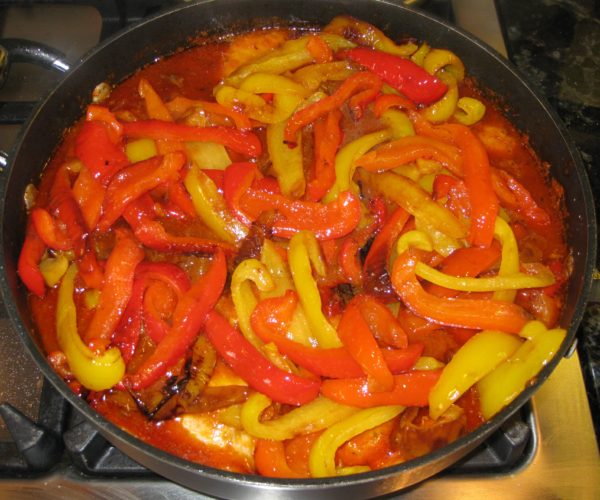
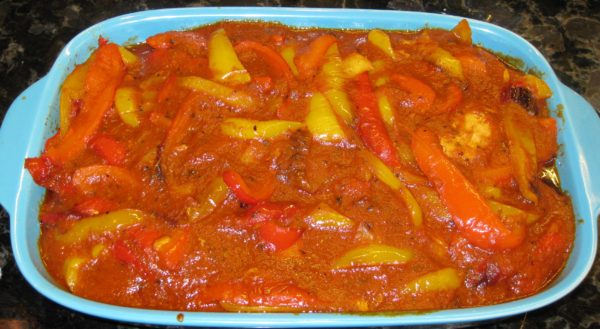
  11. Transfer the chicken and peppers to an oven-proof casserole.
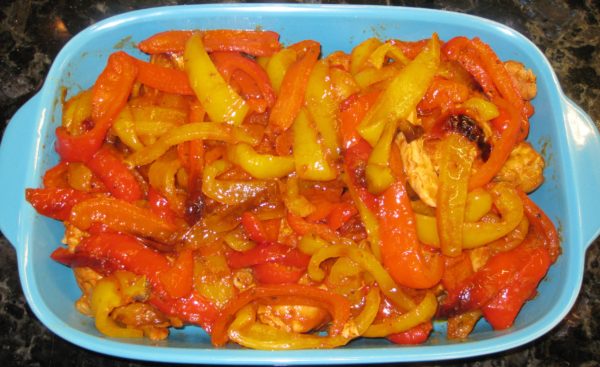
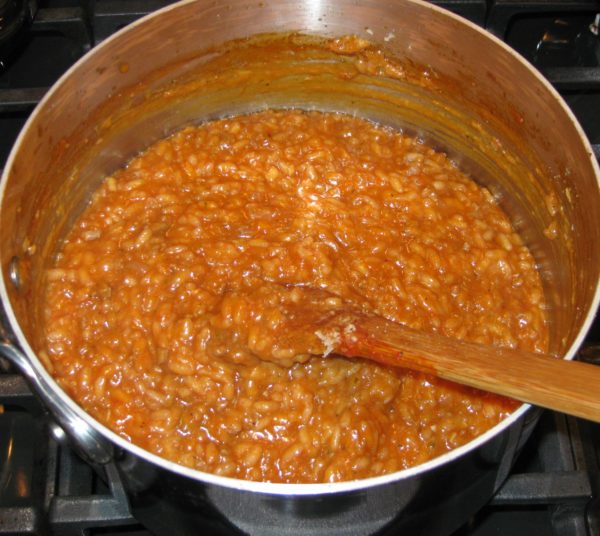
  12. If the sauce is not thick, boil quickly to reduce it. Pour the sauce over the chicken.
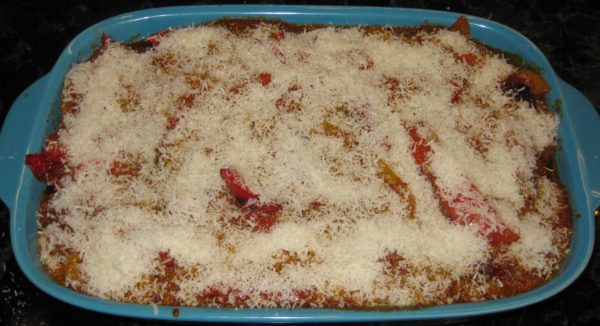
  13. Sprinkle the top with Pecorino Romano cheese.
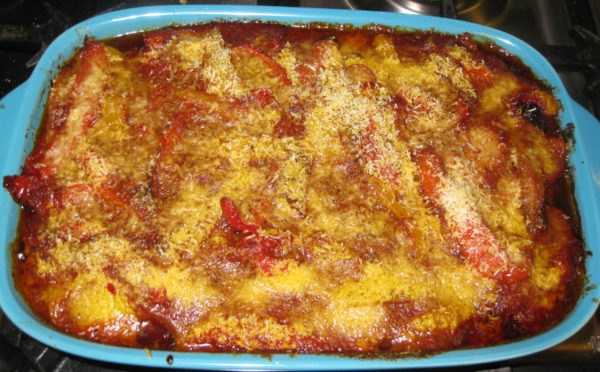
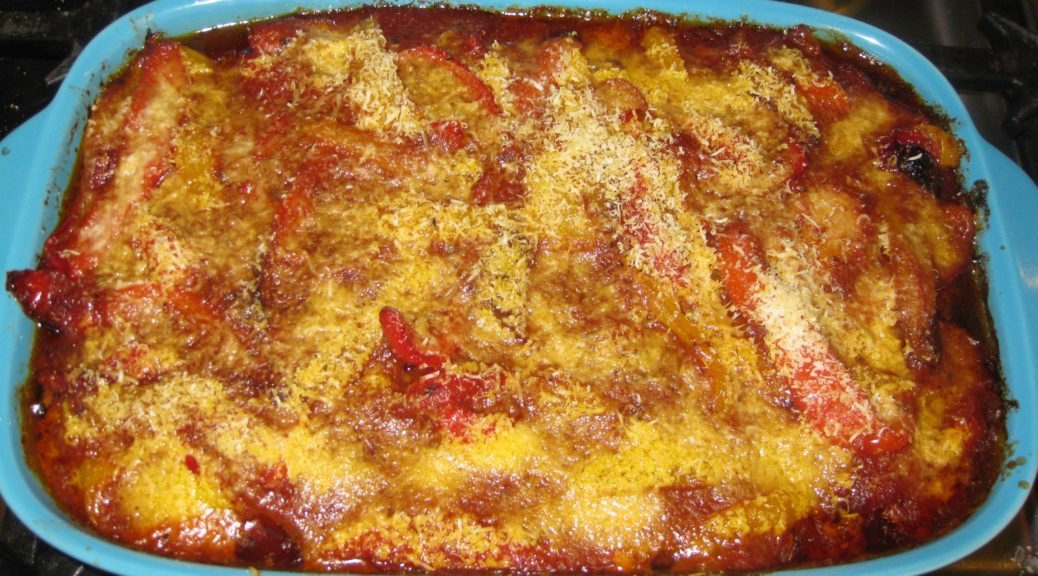
  14. Bake at 350°F to brown the top, approximately 15-20 minutes.
Recipe Notes

Copyright © 2020 by Villa Sentieri, LLC. All rights reserved.

Share this Recipe

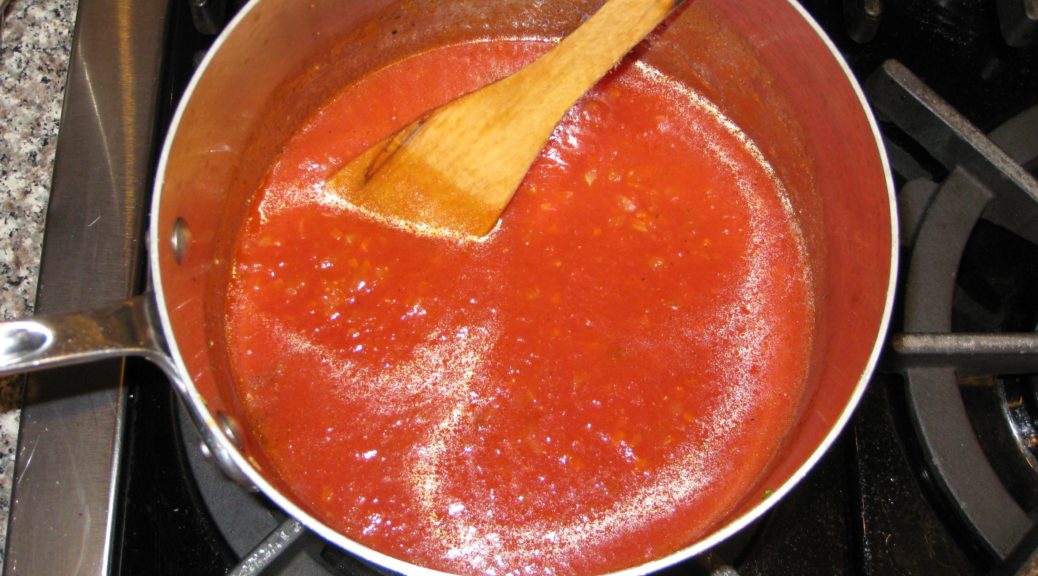
Basic Tomato Sauce

June 13, 2019

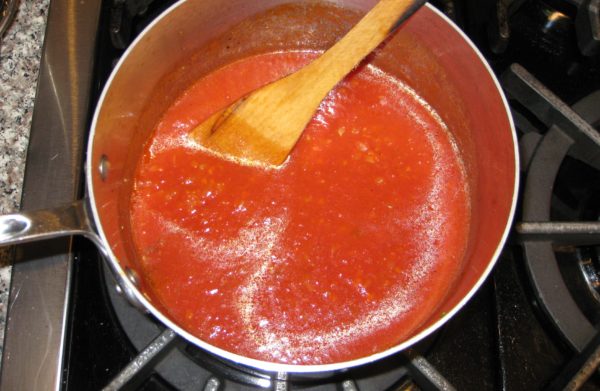
Basic Tomato Sauce isn’t sexy or exciting.

It’s a foundational ingredient that makes cooking a lot of other dishes much easier than they would otherwise be but, honestly, until a few months ago I never bothered to make it to have on hand.

That was a mistake!

That doesn’t mean that I didn’t have tomato sauces of various types in my freezer.  I almost always do but they’re fully prepared special-purpose sauces like my mother’s long-simmered Southern Italian Ragu or my mother-in-law’s Salsa Friulana.  If I needed a basic tomato sauce as the starting point for another sauce, I just did it in the moment.

That all changed as part of attending the Master of Italian Cuisine course at the Italian Culinary Institute (ICI).  We made a basic tomato sauce (dubbed Simple Tomato Sauce by Chef John) by the gallons…ok, by the liters!

It keeps well.  It freezes beautifully.  It can be used in its own right as a sauce for pasta or meat or fish.  Having it on hand allows you to whip up really tasty pasta sauces much more quickly.  Give my recipe for Lupara a look, for example.

Join our mailing list and you’ll never miss a recipe again!

Having foundational ingredients on hand has become more important since I returned from Italy.  In an effort to fully integrate what I learned, and to expand my knowledge even further, I’ve been cooking dinner every night that we’re not otherwise engaged.

As an extension, this month we started something new as a way to catalyze learning more about Italian Regional Cuisine.  We randomly select a Region of Italy by pulling a slip of paper out of an antique coffee jar.  Most of the meals for the month need to be from that Region.  This month’s Region is Piemonte.  July’s Region is Molise.

An antique coffee jar from my hometown of Johnstown, PA filled with slips of paper each containing the name of a Region of Italy.

I start by researching the foods of the region.  Waverley Root’s The Food of Italy is a big help but so are the introductions to many Italian regional cookbooks that I own.  Once I have a grasp of the traditional raw ingredients and the classic preparations of the region, I start to curate a list of dishes I want to make.  I go through my Italian regional cookbooks as well as Italian-language food websites to find multiple renditions of the dish then decide on how I will make it.

The dishes that I plan to make go on my calendar days in advance and get readjusted based on new ideas or ingredients from the market.  Sometimes a dish requires purchasing hard-to-find ingredients, like anchovies cured in salt (of which there is an 800 gram tin sitting in my kitchen right now) or amarena cherries preserved in syrup (1000 gram tin plus a smaller jar from a different company).

The Piemontese have a knack for putting anchovies into almost everything except dessert.  And if it doesn’t have anchovies, the dish probably has a bottle of Barolo, like the braised beef that I made a few days ago.

After cooking my way through Molise in July, I’ll be going to Italy for August and September.  In August I’ll be learning traditional Tuscan dishes from Great Aunt Fidalma.  September will find me be back at ICI for an guided independent study on food preservation.  I’ll resume cooking my way through the Regions of Italy in October.

Follow us on your social media platform of choice


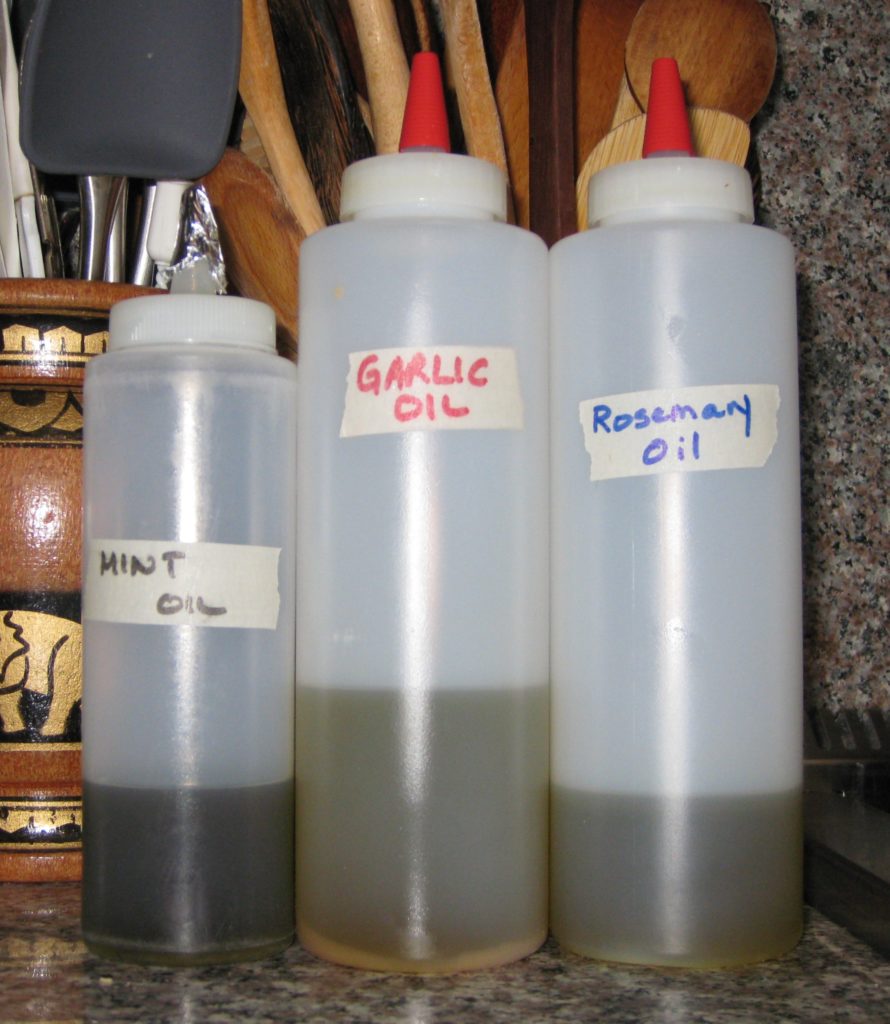
Now that I’ve been convinced of the benefit of keeping foundational ingredients on hand, I’m upping my game.  In addition to Basic Tomato Sauce I’ve started keeping infused oils.  Currently, in squeeze bottles next to my stove, I have garlic oil and rosemary oil.  Sometimes I use these to provide a little extra squirt of flavor on a finished dish.  Sometimes I use them as I start sautéing ingredients.  At this moment, I also have some mint oil on hand that I made to drizzle on a risotto with fresh peas.

Infused oils at the ready next to my stove.

I am eagerly anticipating our fall harvest of hot peppers so that I can make peperoncino oil, which is sometimes called Olio Santo (Holy Oil) in Calabria.  Does that give you an inkling of the significance of hot peppers in the cooking of Calabria?

Although Olio Santo can be used within a few days of being made, it is better to let it age for a year.  That means I’ll have to make an extra-large batch in the fall so that I have a fully aged stash to hold me until the oil from the 2020 harvest of hot peppers is ready in 2021!

I modified the ICI recipe for Simple Tomato Sauce just a bit to make it my own.  I’ve changed the name to Basic Tomato Sauce.  That’s the version I’ve posted here.

Print Recipe
Basic Tomato Sauce
This makes enough sauce for about 1 kilogram (2-plus pounds of pasta). Most often this sauce is used as the base for other sauces. You can make it in larger quantities and freeze it for future use. While I prefer to pass the tomatoes through a food mill to remove the seeds and the occasional hard bit of tomato, you can skip this step. Just add the tomatoes to the sautéed vegetables, mashing them with a potato masher, and proceed as written. Since this sauce cooks quickly it is especially important that the vegetables be very finely diced.
Votes: 0
Rating: 0
You:
Rate this recipe!
Prep Time 15 minutes
Cook Time 30 minutes
Passive Time 15 minutes
Servings
quart (plus a bit more)
Ingredients
Prep Time 15 minutes
Cook Time 30 minutes
Passive Time 15 minutes
Servings
quart (plus a bit more)
Ingredients
Votes: 0
Rating: 0
You:
Rate this recipe!
Instructions
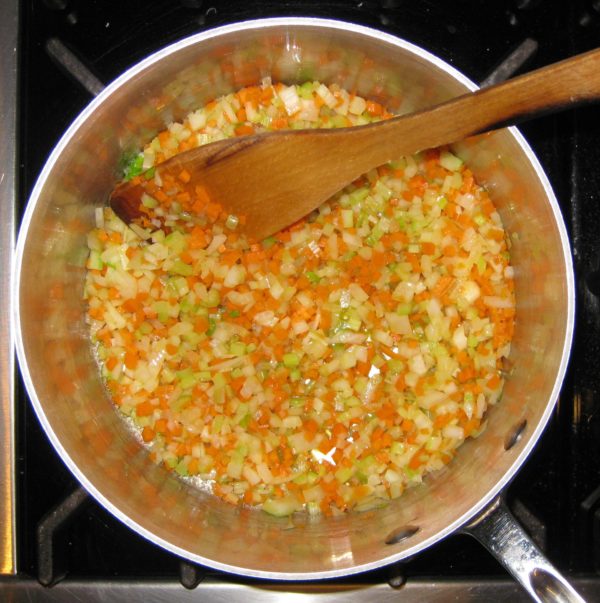
  1. Sweat the onion, carrot and celery, with a large pinch of salt, in the olive oil until soft and the onion is golden, without browning, approximately 15 minutes.
  2. Meanwhile, pass the tomatoes through a food mill.
  3. There should be very little residual in the food mill.
  4. Add the tomatoes to the vegetables. Season with salt and pepper.
  5. Simmer, partially covered approximately 15 minutes.
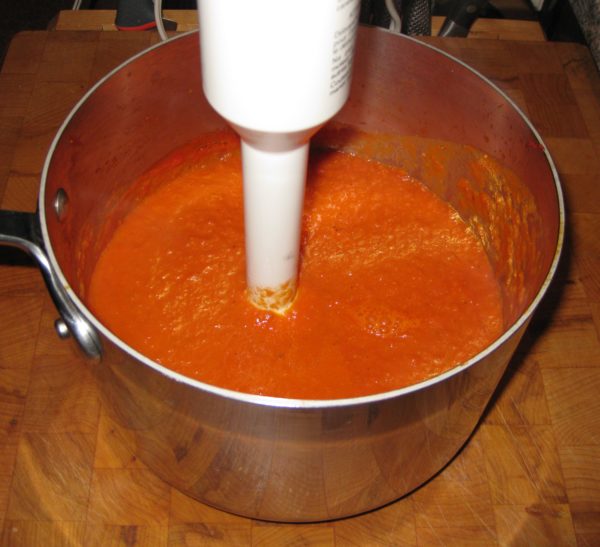
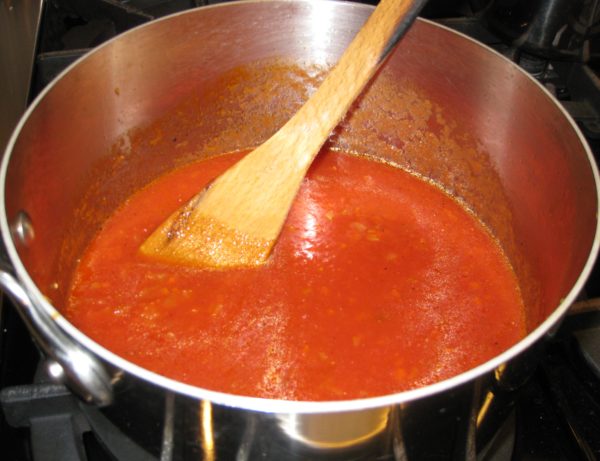
  6. Cool slightly and blend with an immersion blender or jar blender. Adjust salt and pepper.
Recipe Notes

Copyright © 2019 by Villa Sentieri, LLC. All rights reserved.
Share this Recipe

Cotechino with Lentils

January 2, 2019

Cotechino is not a food I grew up eating.  It entered my food canon through my husband’s family, Northern Italians all!

Over the years we’ve melded together our different family traditions.  Although there’s some variability from year-to-year based on travel plans and invitations to the homes of family and friends, our usual sequence goes something like this.

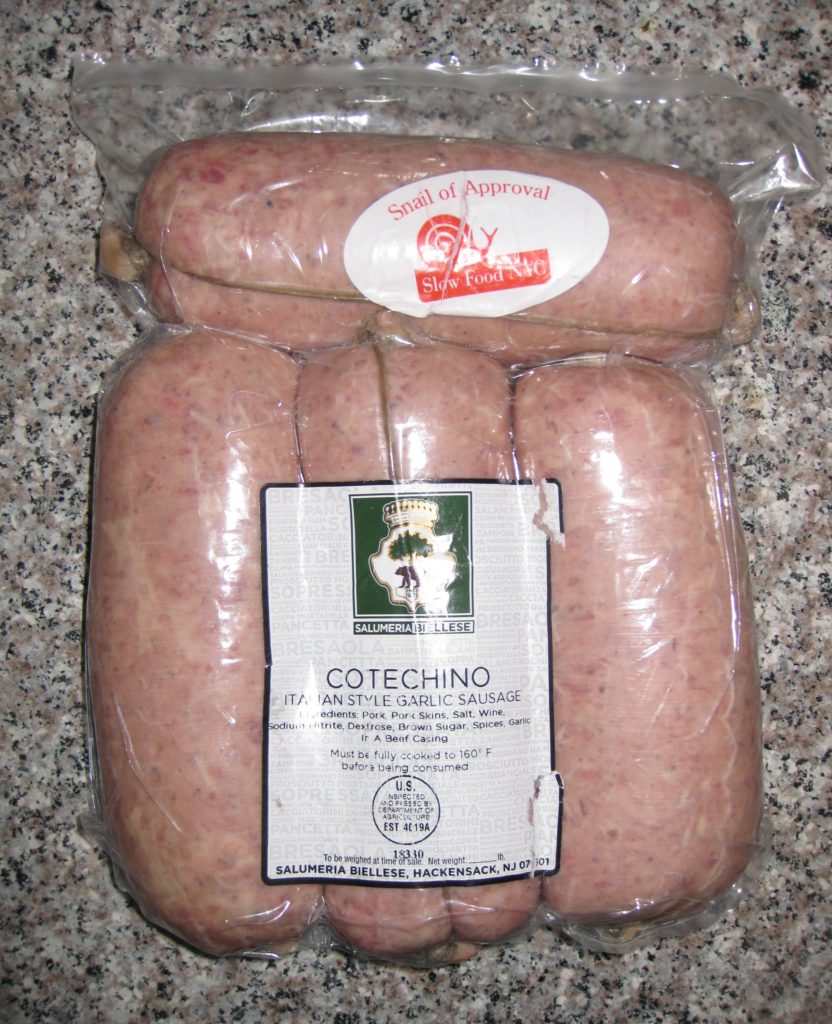
Cotechino purchased at Eataly in Los Angeles. We had one on Christmas Eve and two on New Year’s Eve. The last one is in the freezer waiting for my return from Italy.

Pasta Ascuitta on Christmas Eve harkens back to my childhood when Christmas Eve dinner was a groaning table full of seafood at Aunt Margie and Uncle Joe’s house.  Pasta Ascuitta was only one of many dishes, including Baccala cooked in Tomato Sauce with Green Olives, Braised Stuffed Calamari, Breaded and Fried Cod, Spicy Mussels in a Garlicky Tomato Sauce, and on and on and on.  Mostly, now, we have a quiet Christmas Eve dinner with my in-laws at which we serve Pasta Ascuitta and call it quits!

That means somewhere else over Christmastime we have to fit in Baccala since it is a favorite of my in-laws.  This year we had it several days before Christmas.  I bought the baccala at Eataly in Los Angeles (on the second of my two trips to secure a visa for my three-plus months in Italy that start in early January).  It was truly the best baccala I have ever had.


Join our mailing list and you’ll never miss a recipe again!


My family didn’t have any specific traditions for what was served on New Year’s Eve but New Year’s Day always saw Pork, Sauerkraut and Sausage with Dumplings.  That meal, repeated in one fashion or another in most homes in Johnstown, PA, pays homage to the original German founders of the town.

Somewhere around New Year’s Day my mother-in-law would make Cotechino with Brovada.  Brovada is turnips that are fermented in grape pomace left over from crushing and pressing grapes for wine.  Since Brovada is unobtainable (in my experience) in the United States, my mother-in-law would pickle turnips in red wine vinegar to create a reasonable substitute.  The turnips are peeled and shredded before cooking.  Brovada ends up tasting remarkably similar to sauerkraut.

Before Frank and I started spending New Year’s in Palm Springs, we would host a New Year’s Eve dinner at Villa Sentieri at which we served Cotechino as the appetizer course.  Although Cotechino is typically served with Brovada in Friuli, it is served with lentils in most of the remainder of Northern Italy.  I always opted for lentils for the New Year’s Eve dinner, leaving my mother-in-law to make it a second time with Brovada.

Many of our traditions got up-ended this year.  For Christmas Eve dinner we had Cotechino with Sauerkraut!  My mother-in-law did not make Brovada this year and said she preferred to have the Cotechino with Sauerkraut rather than Lentils.  I used the sauerkraut portion of my recipe for Pork with Sauerkraut.  It was a great combination.  I also made Dumplings just because everything is better with dumplings.


Follow us on your social media platform of choice


That means we didn’t have Pasta Ascuitta on Christmas Eve for the first time in I-don’t-know-how-many years!

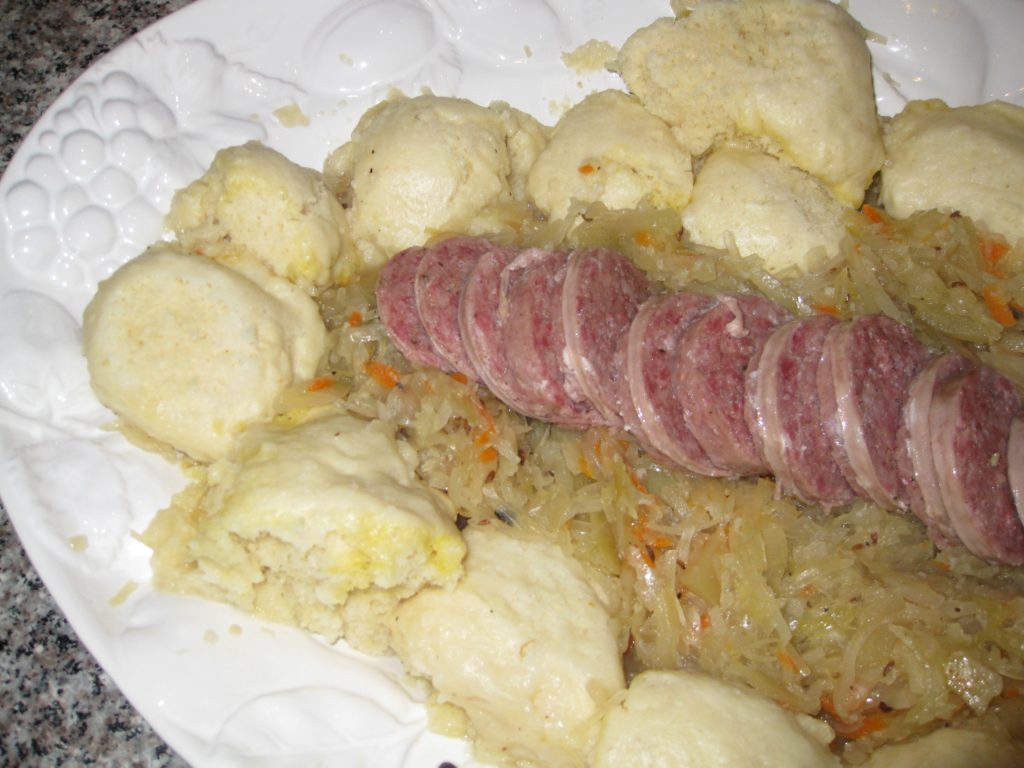
The cotechino with sauerkraut and dumplings we had on Christmas Eve.

Even though we didn’t host New Year’s Eve dinner this year, I was assigned the task of making the first course for the dinner hosted by our friends John O’Malley and Bob Reddington in Palm Springs.  I jumped at the chance to make Cotechino with Lentils.  The Cotechino came from Eataly in Los Angeles, and like the Baccala, was excellent.

As I’m writing this blog on the first of the year, and contemplating what to make for dinner today after a holiday season marked by over-consumption and with no time to recover before leaving for my three months in Italy on January 7th, I think we may just have Spaghetti with Garlic, Oil and Red Pepper.  Pasta Ascuitta will need to wait for another year!

Print Recipe
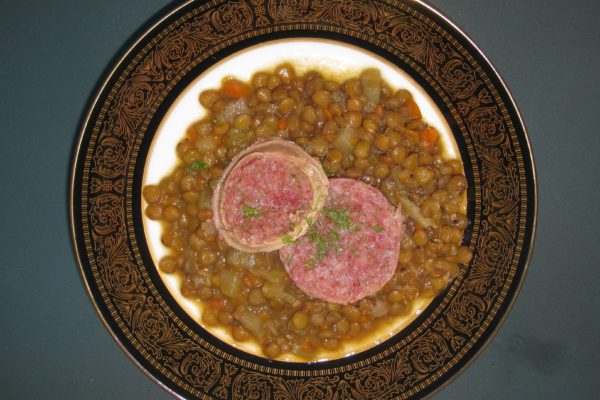
Cotechino with Lentils
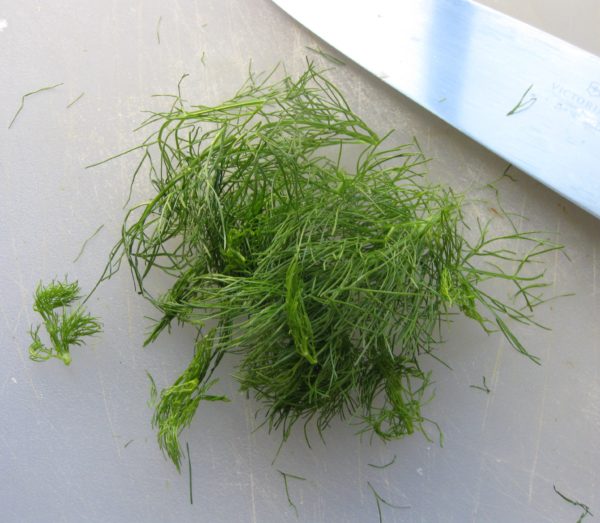
The lentils make a wonderful dish on their own without the cotechino. The lentils are better if made a day or two in advance and refrigerated. For added flavor, let most of the broth evaporate during the first 30 minutes then add enough of the cotechino cooking water, skimmed of fat, to make the lentils loose but not soupy. If the broth has salt, it may be necessary to reduce the amount of salt called for in the recipe. Save the fennel fronds to garnish the cotechino, if desired.
Votes: 0
Rating: 0
You:
Rate this recipe!
Prep Time 20 minutes
Cook Time 3 1/2 hours
Servings
people as an appetizer
Ingredients
For the Lentils
For the Cotechino
Prep Time 20 minutes
Cook Time 3 1/2 hours
Servings
people as an appetizer
Ingredients
For the Lentils
For the Cotechino
Votes: 0
Rating: 0
You:
Rate this recipe!
Instructions
For the Lentils
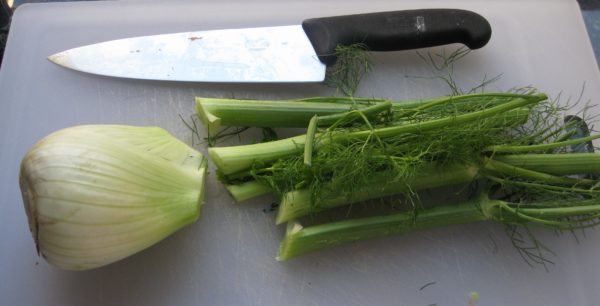
  1. Cut off the stalks of the fennel before dicing.
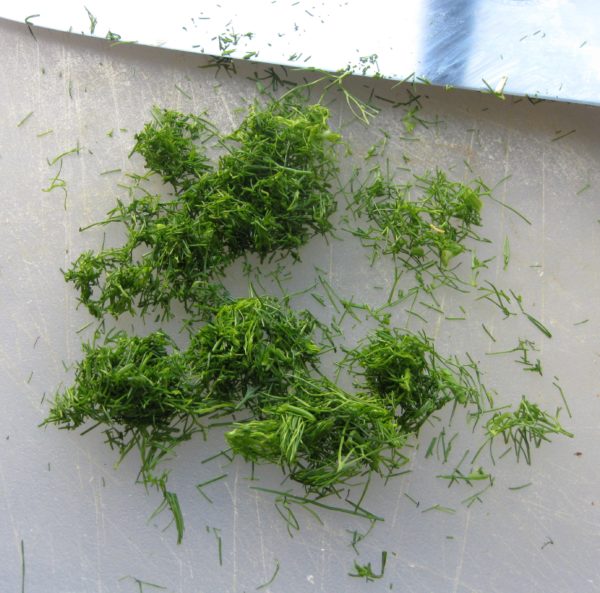
  2. Reserve the fennel fronds for garnishing.
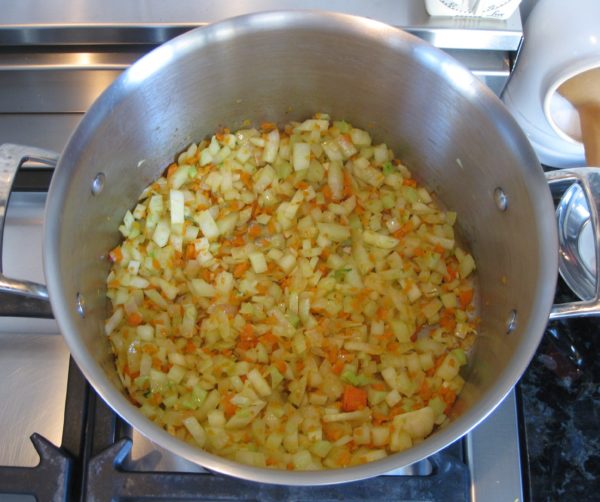
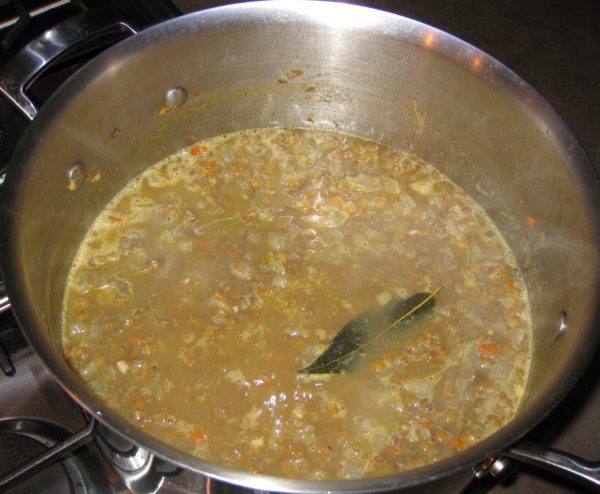
  3. Sauté the carrot, onion, fennel, and garlic in the olive oil in heavy-bottomed Dutch oven until the vegetables begin to soften, approximately 15 minutes.
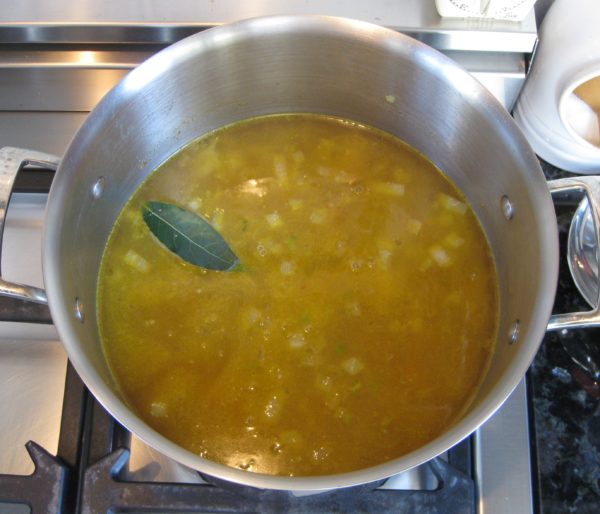
  4. Add the broth and bay leaf. Boil gently, partially covered, for 15 minutes.
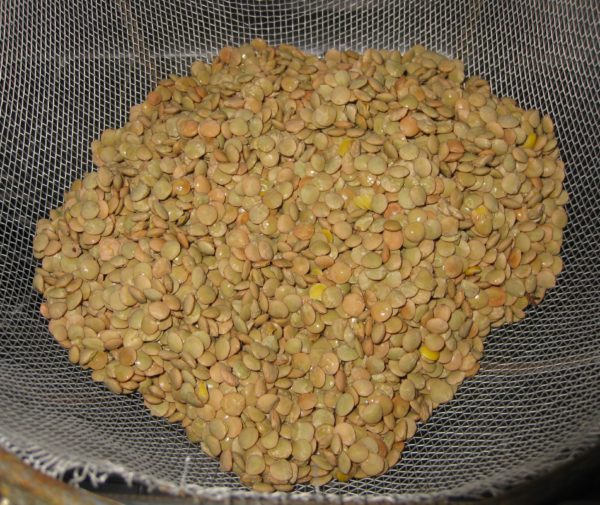
  5. Meanwhile, rinse and drain the lentils.
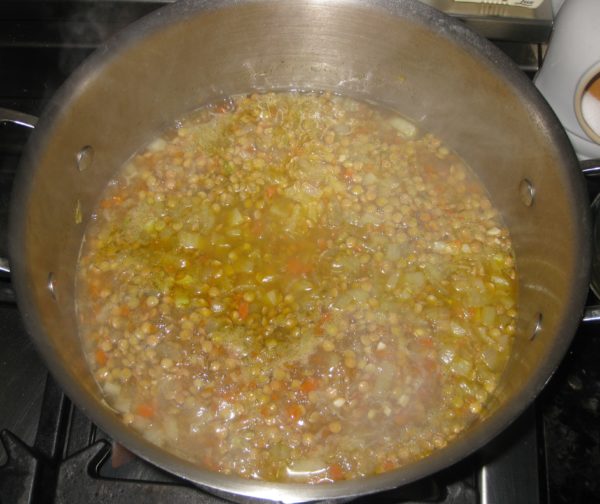
  6. Add the lentils to the broth. Bring the lentils to a gentle boil, partially covered, and cook approximately 30 minutes, adding salt and pepper after the first 15 minutes.
  7. If making the lentils in advance, remove them from the heat, cool to room temperature, and refrigerate.
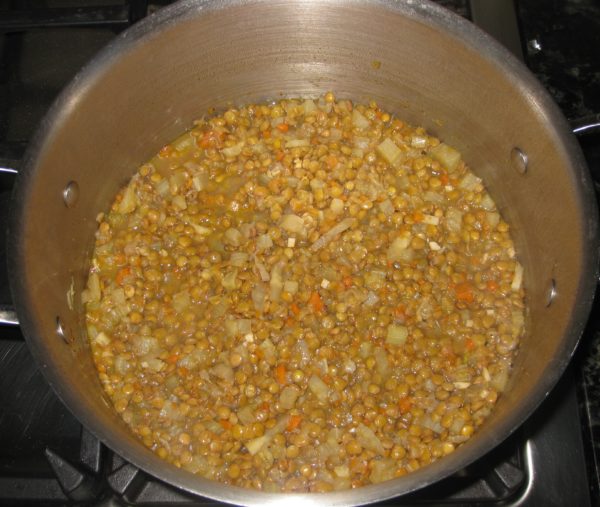
  8. When ready to serve, bring the lentils to a gentle boil with enough of the cotechino cooking liquid, or water, to loosen them but not make them soupy. Cook until tender but not mushy, approximately 10-15 minutes longer.
  9. Taste and adjust seasoning if necessary.
For the Cotechino
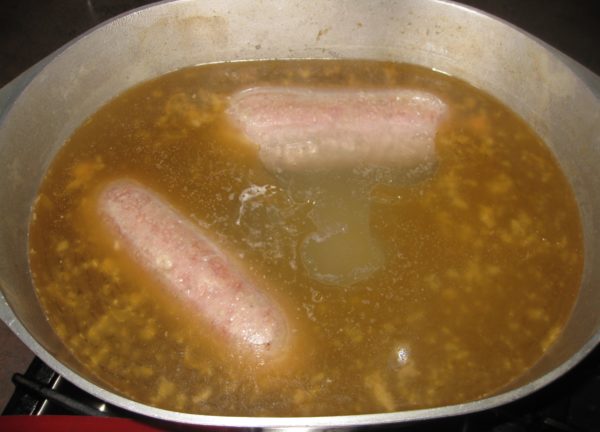
  1. Prick the sausages in several places using a pin. If the holes are large the casing may split during cooking.
  2. Put the cotechino in a large pot, cover with cold water, simmer, covered, approximately 2 ½ hours.
  3. Mince the fennel fronds while the cotechino cooks.
  4. The cotechino is best served piping hot as soon as is it removed from the cooking liquid.
  5. Slice the cotechino.
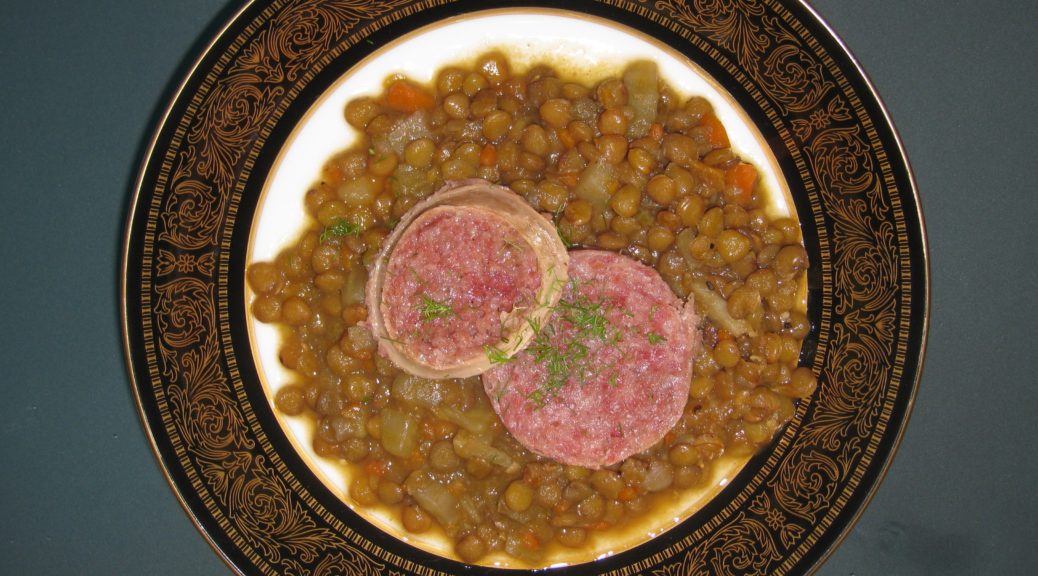
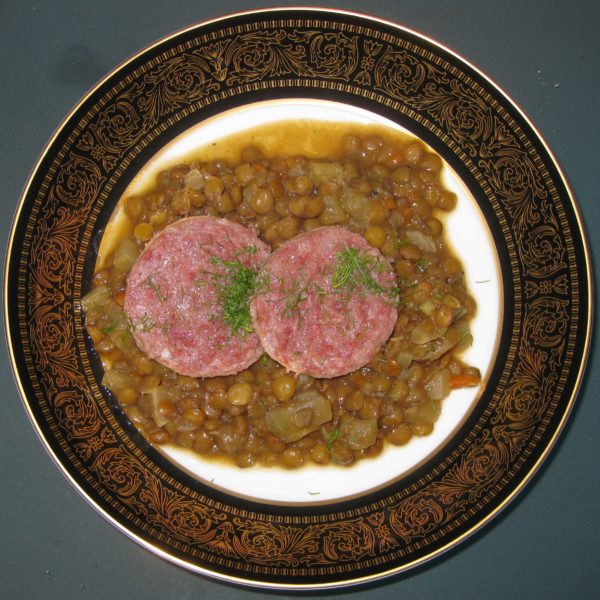
  6. Plate several slices of cotechino on top of some of the lentils and garnish with minced fennel fronds, if desired.
Recipe Notes

Copyright © 2019 by Villa Sentieri, LLC. All rights reserved.
Share this Recipe

Sri Lankan Fish Croquettes

December 26, 2018

OK, I’m going out on a limb again posting another Sri Lankan recipe.

Whenever I do that, fewer people open the email and even fewer look at the recipe.  Sri Lankan food just doesn’t garner the interest (among my readers, at least) that Italian food does.  Interestingly (or not, perhaps) my cousin’s Marinated Pasta Salad from two weeks ago got the largest response ever!

Although a majority of my recipes are Italian, I am reluctant to post ONLY Italian recipes.  There are just so many things that I like to cook…and therefore want to share…that I want to keep my options open.  What happens, if for example if I choose to post only Italian recipes and then want to post my recipe for Bourbon Brown Sugar Apricot Jam?  That most certainly is NOT Italian.  (But it is so, so good!)


Join our mailing list and you’ll never miss a recipe again!


One possibility, I guess, would be to focus this blog on Italian food exclusively and to start a second blog that includes all the other foods I like to cook.  The majority of that food would end up being Asian with a smattering of Western Cuisines.  Bourbon Brown Sugar Apricot Jam would be just as out of place there as it would in an exclusively Italian-food-oriented blog. (And, I’m not sure I could keep two blogs going.)

Here’s my request:  Use the comment feature to let me know what you think about the options, or even come up with alternative suggestions, for how to focus the blog.  I plan to continue posting while I am in Italy for three months but that would be a great time to redesign the focus of the blog, if need be, and start fresh when I return.

Nanacy Rajapakse (left), who taught me the fundamentals of Sri Lankan cuisine, and her sister Thilaka in 2005.

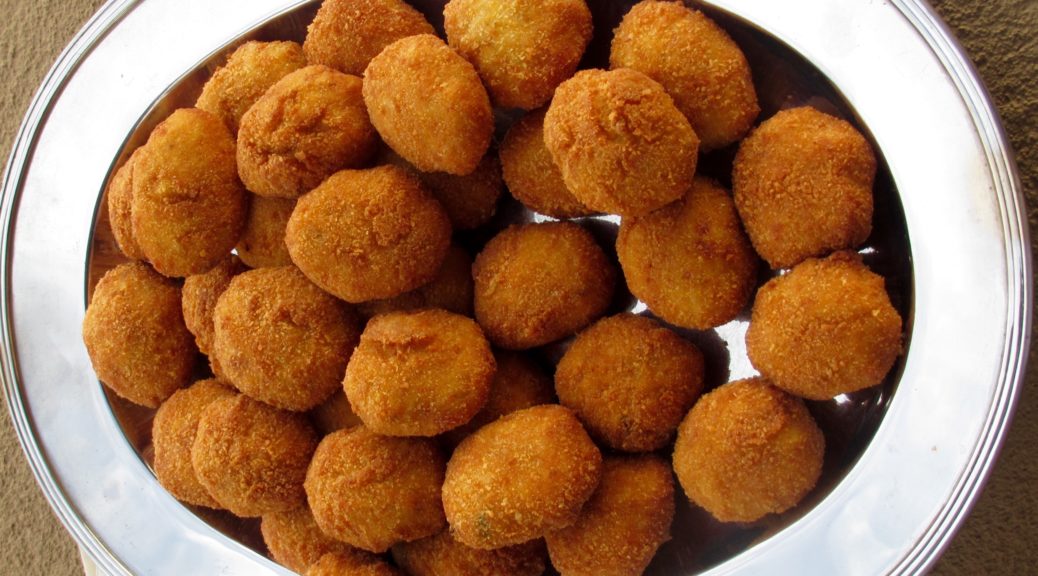
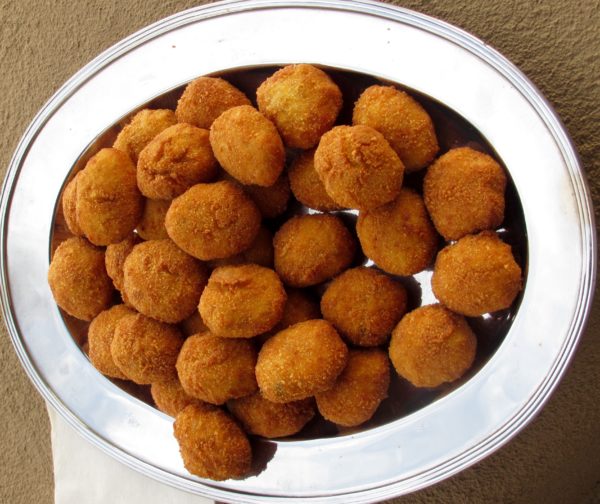
As for the Fish Croquettes, these are actually called Fish Cutlets in Sri Lanka but croquettes would be a more common term in the West.  I think you’ll find that they go really well with cocktails and, if you didn’t tell anyone they were Sri Lankan, nobody would be the wiser.


Follow us on your social media platform of choice


Over the next few months, I will post a few more of my favorite Sri Lankan recipes.  When I started doing this in the late summer, my plan was to post enough recipes for my readers to be able to put together a credible Sri Lankan meal, not that every dish I posted would need to be included but that I would have posted enough of an assortment of recipes to provide a good basis for selection.

Fishing boats in Sri Lanka

I am going to follow through on that plan in the coming months.  Upcoming recipes might include Beef Smoore, Devilled Cashews, Ghee Rice, Pol Sambol, Pork Badun, Beet Curry, Fish Curry, Pickled Lime, Pumpkin Curry, Tempered Cabbage and Peppers, and Wattalappam.  If you’ve got a favorite that you want me to post just let me know!

The blog will be an interesting juxtaposition over the next few months as I chronicle my culinary experience in Italy interspersed with Sri Lankan recipes.

Print Recipe
Sri Lankan Fish Croquettes
Although Tuna is a traditional fish used for cutlets, almost any type of fish will work. Good quality frozen tuna can be used in place of fresh. Curry leaves can be found in many Asian markets. There really is no substitute for them in terms of taste but if not having access to curry leaves is the only thing preventing you from trying this recipe, use another fresh green herb such as basil, thyme, or oregano. These may be served warm or at room temperature.
Votes: 0
Rating: 0
You:
Rate this recipe!
Prep Time 1 hour
Cook Time 1 1/2 hours
Passive Time 4 hours
Servings
croquettes
Ingredients
For the croquettes
For dredging and frying
Prep Time 1 hour
Cook Time 1 1/2 hours
Passive Time 4 hours
Servings
croquettes
Ingredients
For the croquettes
For dredging and frying
Votes: 0
Rating: 0
You:
Rate this recipe!
Instructions
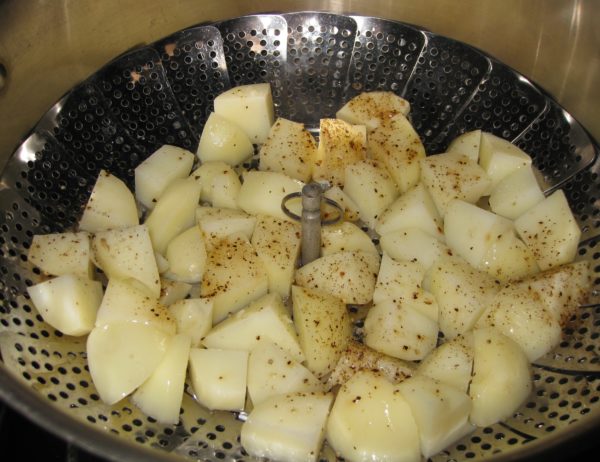
  1. Peel the potatoes. Cut them into pieces approximately ¾ inch on a side.
  2. Put the cut potatoes in a steamer basket. Sprinkle with ground black pepper to taste.
  3. Steam the potatoes over boiling water until tender, 15-25 minutes.
  4. Put the cooked potatoes into a mixing bowl.
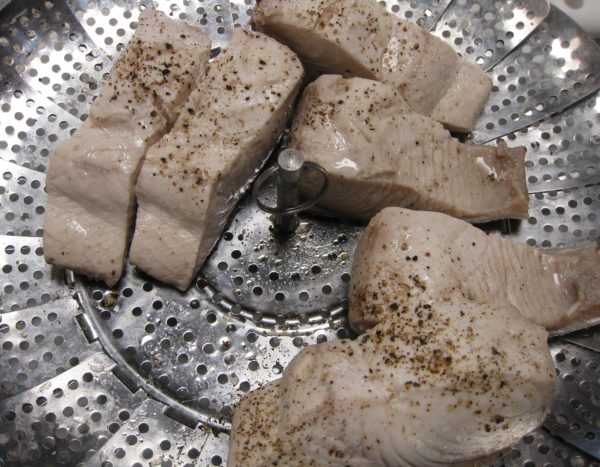
  5. Cut the fish into strips approximately 1 ½ inches wide.
  6. Put the fish in the steamer basket. Sprinkle with ground black pepper to taste.
  7. Steam the fish over boiling water until fully cooked and flaky, 10-20 minutes. If the fish has skin, remove it after steaming.
  8. Put the fish on a plate to cool.
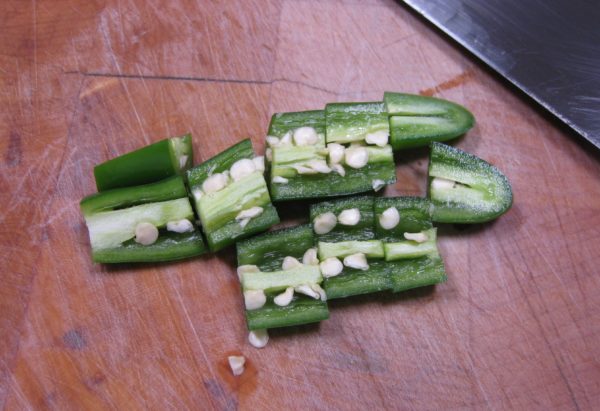
  9. Coarsely chop the green chiles
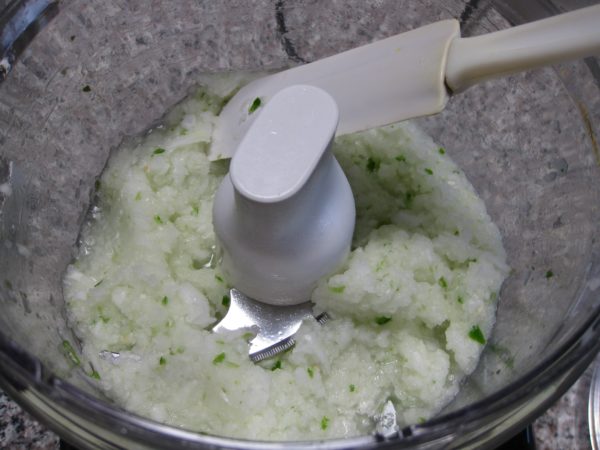
  10. Grind the onions and green chile in a food processor.
  11. Sauté the ground onion mixture, curry leaves, and cumin in the oil until the onion is soft but not brown, 6-8 minutes.
  12. Coarsely mash the partially cooled potato.
  13. Add the fish to the potato and mash again. The mixture should not be completely smooth but there should not be any really large chunks.
  14. Add the onion mixture and salt to the mashed potatoes and fish. Mix well.
  15. Add the eggs and then enough breadcrumbs to bind the mixture. The amount of breadcrumbs needed will vary based on the moisture content. Use your judgement and opt for making the mixture a little loose rather than overly stiff.
  16. Refrigerate, covered, for several hours for the breadcrumbs to fully hydrate.
  17. Taste and adjust salt (and chile if you wish).
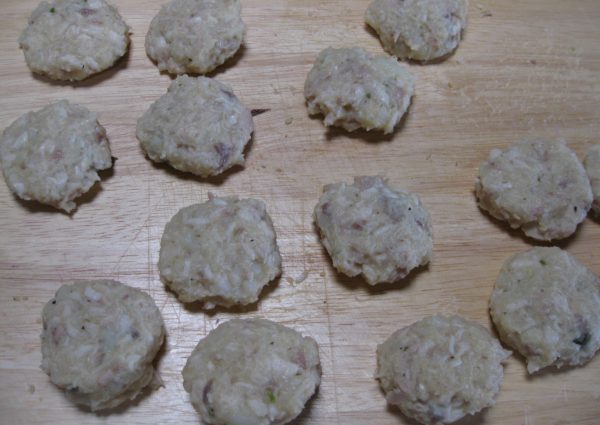
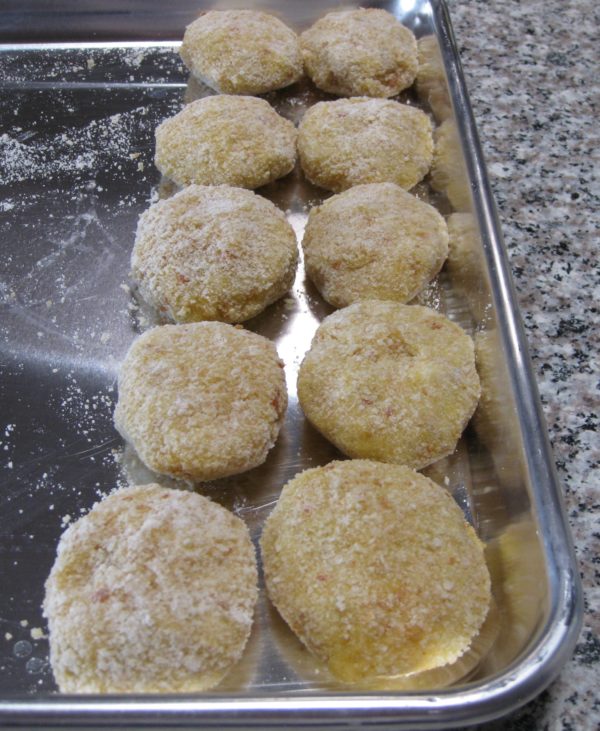
  18. Divide into 50 portions. Shape each into a slightly flattened oval shape.
Final Assembly
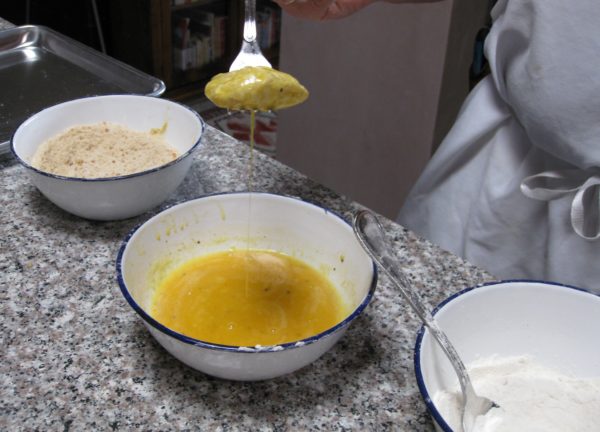
  1. Season the flour with salt and freshly ground black pepper to taste.
  2. Beat the four eggs lightly and season with salt and freshly ground black pepper to taste.
  3. Dredge each croquette in flour, then dip in the beaten egg, then roll in the breadcrumbs.
  4. Refrigerate, uncovered, at least one hour before frying.
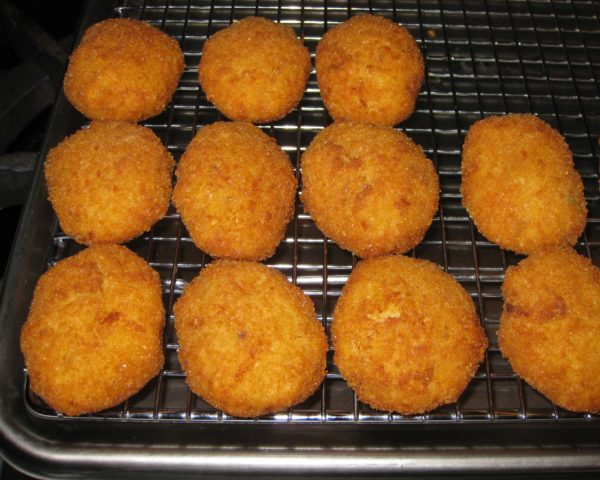
  5. Deep fry the croquettes at 350°F to 375°F until golden brown.
  6. Drain on a rack set in a rimmed baking sheet.
Recipe Notes

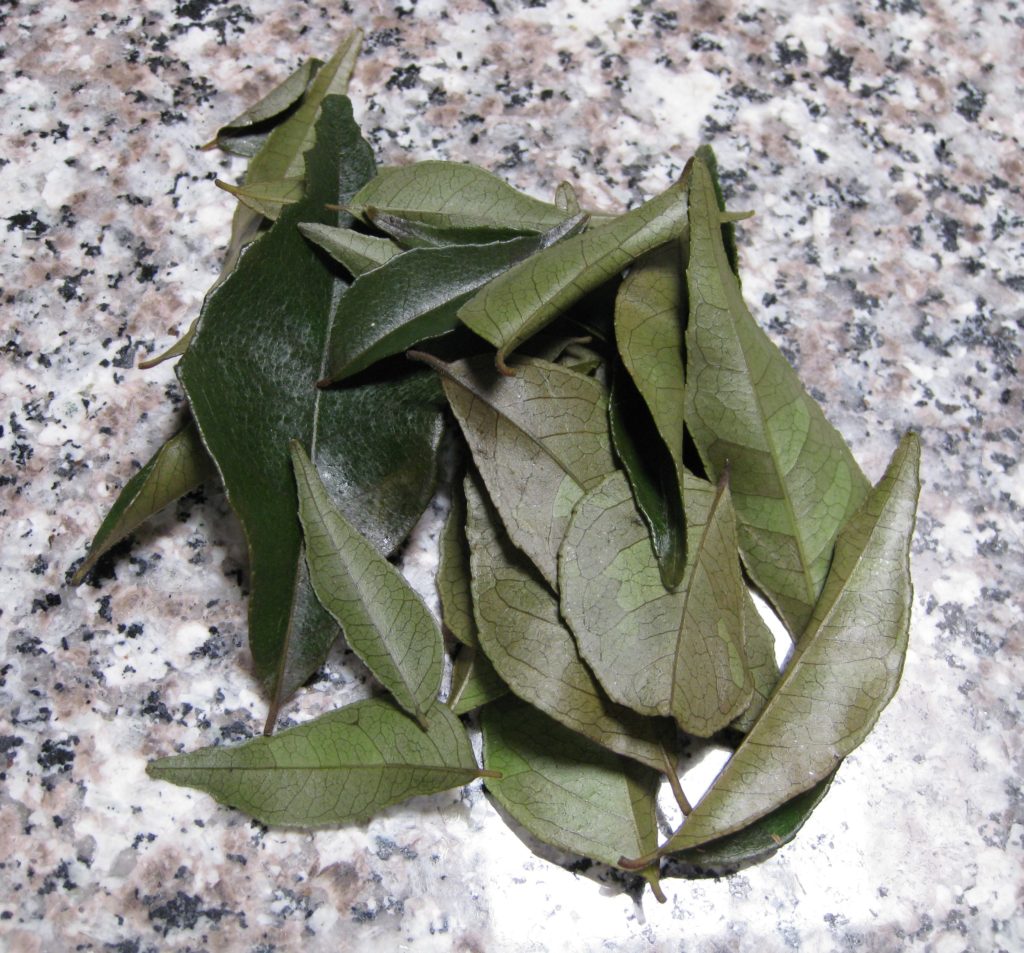
Curry leaves have an alluring flavor that isn't really comparable to any other herb.  I recommend that you try to find them.  You will probably have extra left.  I suggest adding the whole fresh leaves to eggs before scrambling.

Fresh curry leaves

Copyright © 2018 by Villa Sentieri, LLC. All rights reserved.

Share this Recipe

Louis Evangelista’s Pasta e Fagioli (“Beans and Macaroni”)

August 22, 2018

I completed my residency in psychiatry in June 1981.  Although I was part of the 1980 graduating class in medical school, I didn’t finish until 1981.  The added year allowed me to get a master’s degree in anthropology as well as to complete all my coursework, field work, and dissertation defense for a PhD.  I didn’t finish writing my PhD dissertation and, unfortunately, didn’t get a PhD.  (The reason I didn’t finish writing my dissertation is a long story better suited for another day.)

I started a private practice in Philadelphia as soon as I finished my residency, forming a partnership with Gene d’Aquili.  Our office was at 2400 Chestnut Street.  It was an apartment building but was conveniently located to the University of Pennsylvania and the management was happy to allow us to rent one of the apartments for use as an office.

In quick succession, Wolf Rieger, another psychiatrist from Penn and one of my previous instructors, did the same thing right down the hall from us.

Mark Vuolo, another resident in my group opened his practice a few floors up from us.

Join our mailing list and you’ll never miss a recipe again!

It was a congenial group.

Starting a private practice takes a while so I, like most newly-minted psychiatrists, took on a part-time job.  I was a hired by the Lenape Valley Foundation (LVF) in Bucks County, north of Philadelphia.  LVF provided the bulk of the psychiatric services in Bucks County.  The Foundation provided the community mental health center for the county, ran the psychiatric inpatient unit at the hospital in Doylestown, provided psychiatric services to the Bucks County Correctional Facility, consulted at area nursing homes, and ran a psychiatric partial hospital, among other things.

Part of my responsibility was to be the psychiatrist at the partial hospital.  A partial hospital is a program that operates during the day, with patients going home for the night.  It can serve as a bridge from the hospital to less intensive treatment or it can provide supportive services in an ongoing manner for individuals who need more care than can be provided in an office-based psychiatric practice.

Follow us on your social media platform of choice


Each day, a group of patients and a staff member made lunch for everyone.  In psychiatric parlance, this would be an “activity of daily living” (ADL) and would be considered a therapeutic activity.  The older adults usually made comforting, grandmotherly food.  Louis Evangelista, the Music and Movement Therapist, often had his group make Italian food.

By regulation, I, as the psychiatrist, was required to be onsite a specified number of hours per week based on the number of patients.  After a few months, once I knew all the long-term patients and had a good system in place to evaluate the new ones, I had time on my hands so I took on one of the ADL groups.  It was probably the only time a partial hospital had a psychiatrist teaching patients how to cook!

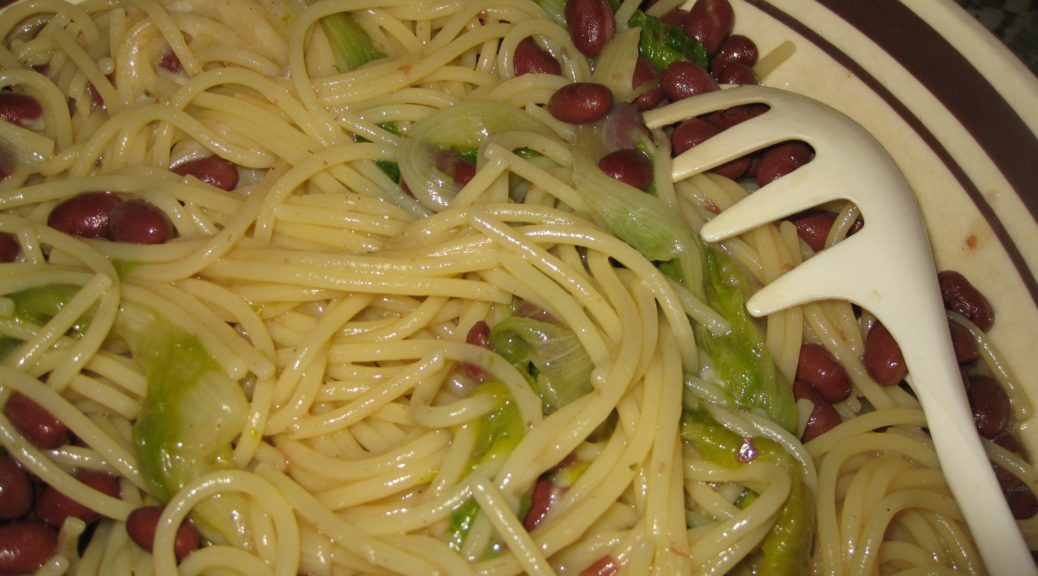
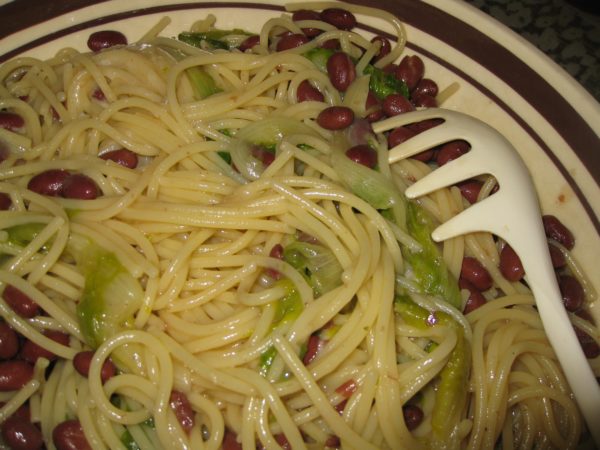
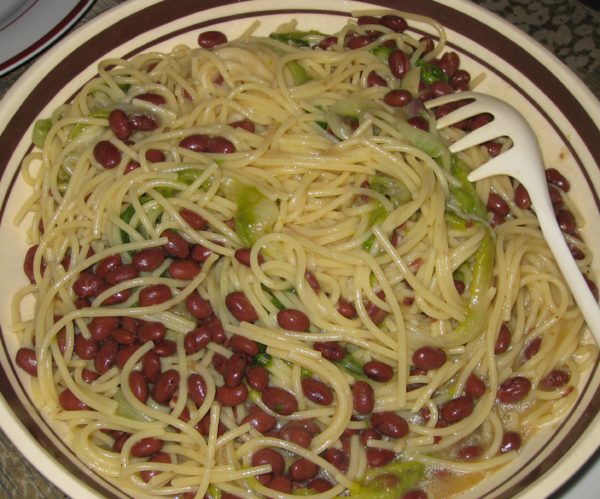
Louis made a killer pasta e fagioli.  He learned it from his Sicilian grandfather.  When I left the Lenape Valley Foundation and the partial hospital, it was the meal I requested for my last day.

I hope you enjoy it as much as I do.

Print Recipe
Louis Evangelista's Pasta e Fagioli
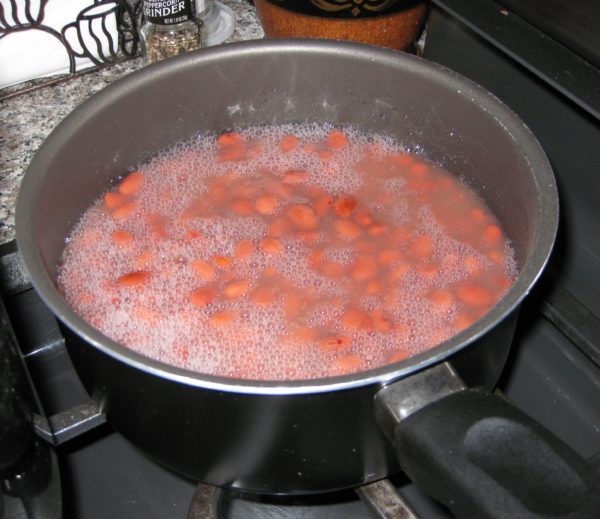
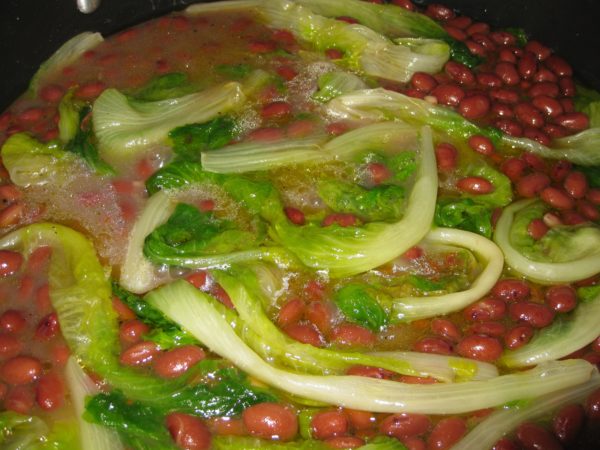
Canned red kidney beans work well in this recipe but if you want even more flavor, start by cooking dry beans. If you do, I suggest using my recipe for Cannellini alla Toscana, substituting red kidney beans. A link to the recipe is in the Notes section, below. A little olive oil added at the end will improve both the flavor and the mouth-feel of the sauce.
Votes: 0
Rating: 0
You:
Rate this recipe!
Prep Time 15 minutes
Cook Time 45 minutes
Servings
people
Ingredients
Prep Time 15 minutes
Cook Time 45 minutes
Servings
people
Ingredients
Votes: 0
Rating: 0
You:
Rate this recipe!
Instructions
  1. Bring four quarts of water seasoned with 1/3 cup of salt to a boil.
  2. Meanwhile, gently heat the beans and their liquid in a small pot.
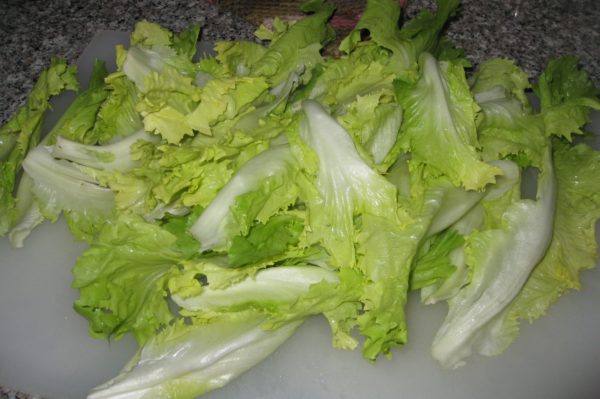
  3. Separate the leaves of the escarole.
  4. In a sauté pan large enough to hold everything, heat the olive oil.
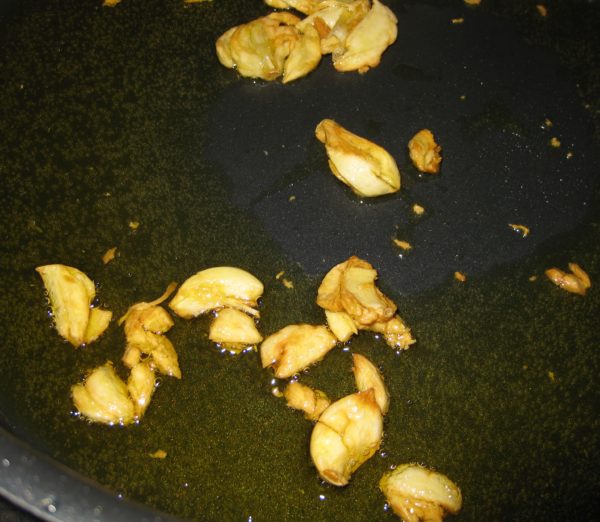
  5. Add the garlic to the oil and sauté over medium-low heat until brown. Be careful not to burn the garlic or it will impart a bitter taste.
  6. When the garlic is brown, discard it and remove the oil from the heat.
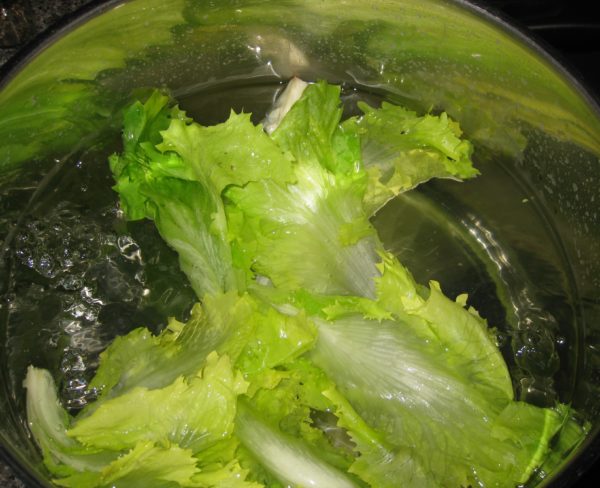
  7. When the water comes to a boil, add the escarole leaves, return to a boil, and cook until wilted, approximately 1 minute.
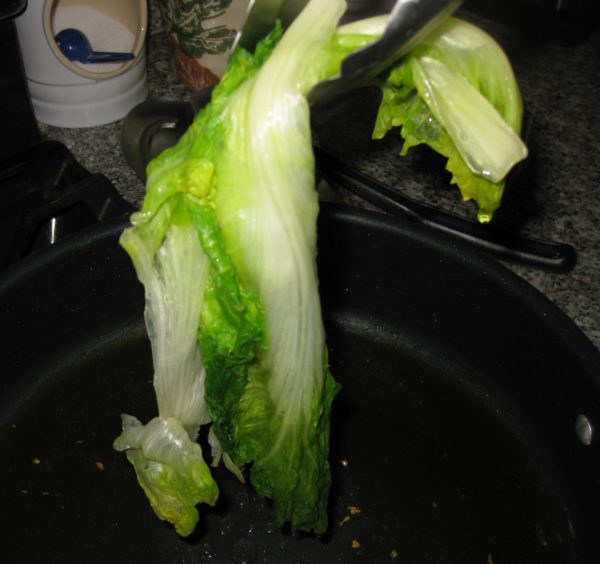
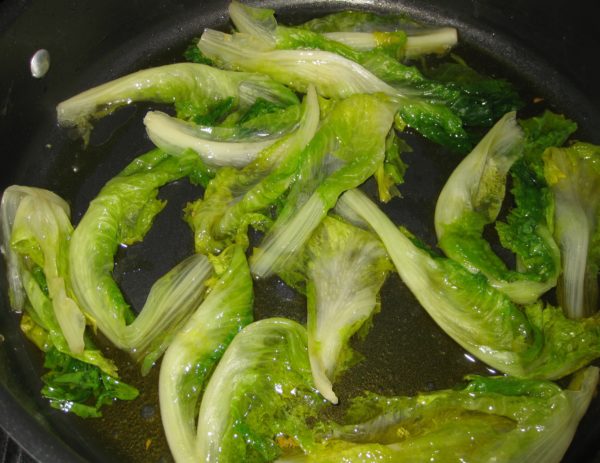
  8. Lift the escarole out of the water and toss with the oil in the skillet.
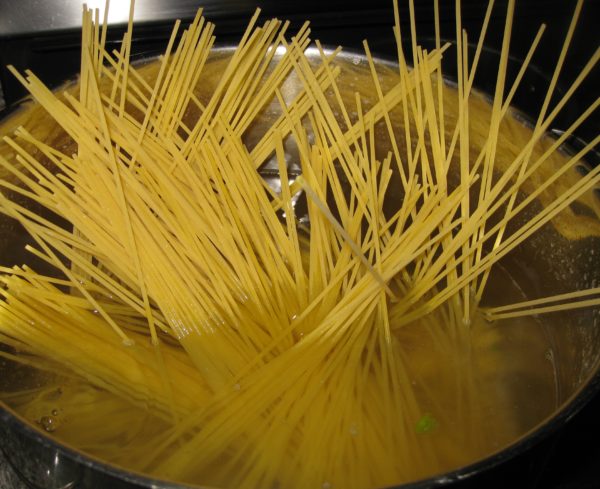
  9. Cook the spaghetti in the same water used to cook the escarole until it is almost al dente. It should still be just a bit crunchy on the inside.
  10. Add the warmed beans to the sauté pan with the escarole and keep warm on low heat.
  11. When the pasta is ready, reserve one cup of the pasta-cooking water.
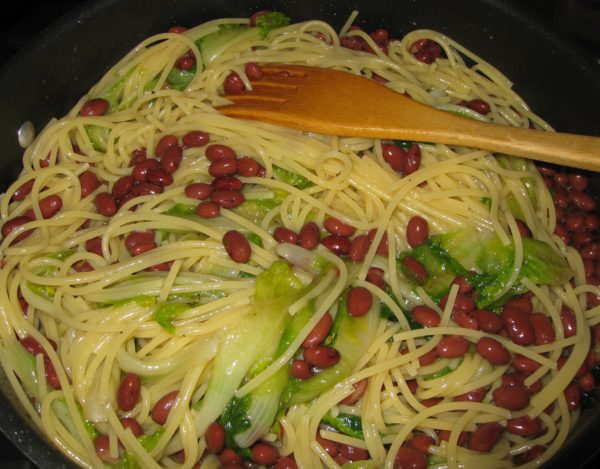
  12. Drain the pasta and add to the beans and escarole.
  13. Season with black pepper to taste.
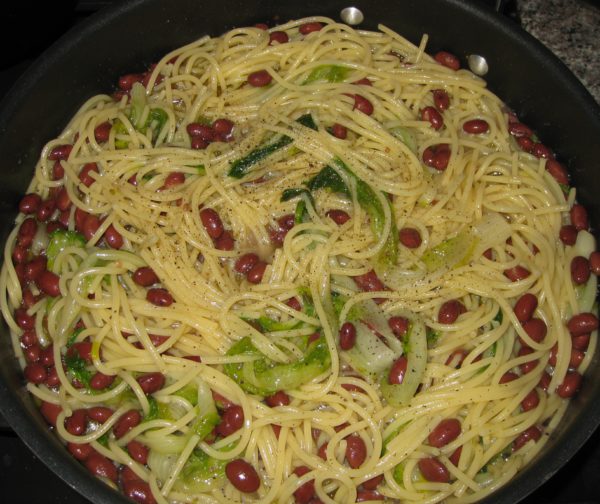
  14. Cook over medium to medium-low heat until the spaghetti is just al dente, adding the reserved pasta cooking water as needed.
  15. There should be enough liquid left to create a glossy sauce.
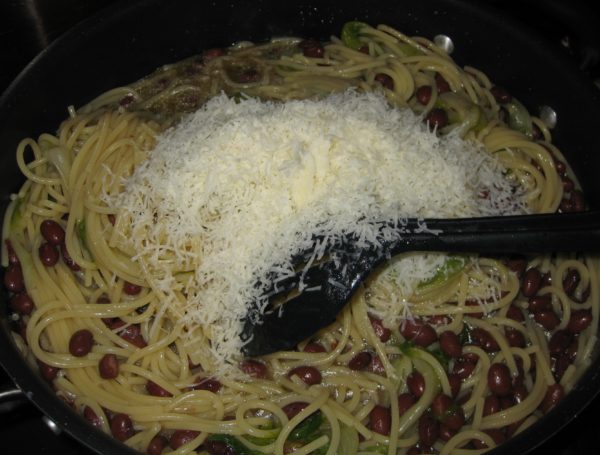
  16. Off the heat, add the grated cheese and a few glugs of olive oil if you wish (I do!)
  17. Taste and adjust salt.
  18. Serve immediately with grated Parmigiano Reggiano or Pecorino Romano cheese on the side.
Recipe Notes

If you want to start with dried beans, use my recipe for Cannellini alla Toscana.

Copyright © 2018 by Villa Sentieri, LLC. All rights reserved.
Share this Recipe

Risotto with Zucchini

August 15, 2018

One of the glories of summer produce is zucchini.

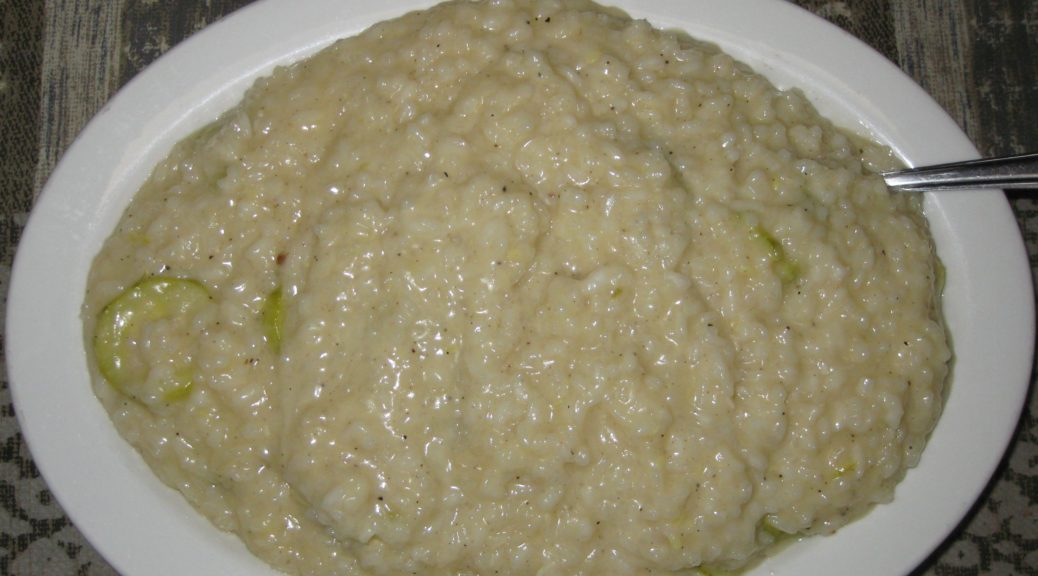
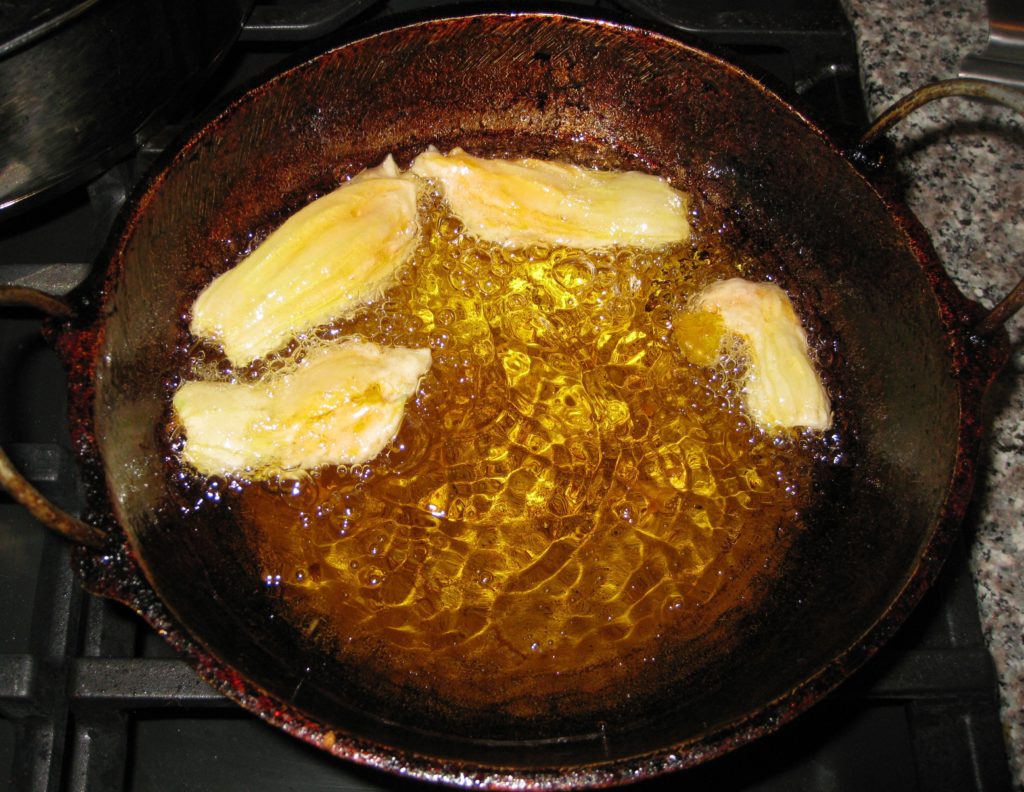
We eat our fill of fried zucchini blossoms but also zucchini itself in many ways, among them sautéed in olive oil with aromatics and herbs, made into a frittata, boiled and dressed with olive oil, stuffed with ricotta and mint, cooked in a light tomato sauce, made into calabacitas, and most definitely, used in risotto.

Join our mailing list and you’ll never miss a recipe again!

Although there are exceptions, such as Risotto Friulano and Risotto alla Milanese, most risotti that I make contain vegetables.  As far as actually cooking the rice goes, the technique doesn’t vary.

Fried zucchini blossoms are a much-loved summertime treat in our house

Aromatics (shallot, onion and/or garlic, depending on the risotto) are sautéed in olive oil.  The rice is added and cooked slightly.  A bit of wine is added and cooked away then the liquid (almost always broth but I make a killer champagne risotto and I also have a risotto recipe that uses carrot juice) is added in small amounts and cooked off before more is added.  Cheese and a bit of butter are stirred in at the end.

What varies for me is how the vegetables are prepared and when they are added.

Some vegetables are cooked in advance then added to the rice when it is nearly done.  I do this, for example with the mushrooms for Risotto ai Funghi (Mushroom Risotto).  Other vegetables are put in at the very end and cooked briefly.  This method works best for vegetables that don’t really require cooking to be edible.  Believe it or not, really good summer corn fits into this category as do frozen peas.  The third method is to sauté the vegetable in the olive oil before the rice is added.  This is the method I use for Butternut Squash Risotto.

Follow us on your social media platform of choice


It is also possible to add the vegetables part-way through cooking the rice though I rarely use this method because it is not possible to guarantee the vegetables will be cooked properly when the rice is done.

Despite the difference in texture, zucchini can be added at the beginning as with butternut squash.  The final texture is different, with the butternut squash being cooked but still holding its shape completely while the zucchini will soften much more but will still be recognizable.

Once you get the hang of cooking the rice for risotto, you can turn any vegetable into a risotto by just considering which of the cooking techniques to use.

Print Recipe
Risotto with Zucchini
Broth for risotto should be light in flavor, not a heavy stock. The broth should add the barest amount of background flavor but allow the other ingredients in the risotto to shine. Risotto uses a lot of broth. It is important that the broth have minimal salt so as not become overly salty. I never salt my homemade broth for this reason. If it seems that you will run out of broth before the risotto has finished cooking, put some water on to heat. It is important that all liquid added to the risotto, other than the initial addition of wine, be at a simmer.
Votes: 0
Rating: 0
You:
Rate this recipe!
Prep Time 15 minutes
Cook Time 45 minutes
Servings
people
Ingredients
Prep Time 15 minutes
Cook Time 45 minutes
Servings
people
Ingredients
Votes: 0
Rating: 0
You:
Rate this recipe!
Instructions
  1. Bring the broth to a bare simmer.
  2. Meanwhile, peel the zucchini then slice into ½-inch thick rounds.
  3. In a heavy-bottomed three-to-four-quart saucepan, heat the oil over medium to medium-high heat.
  4. Sauté the onion and garlic in the oil, stirring frequently, until the onion becomes translucent.
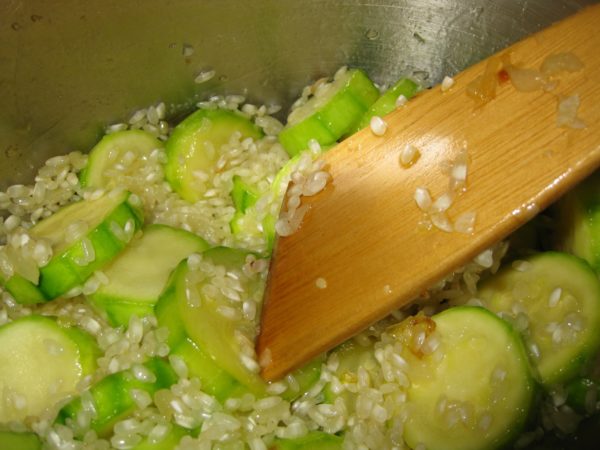
  5. Increase the heat to medium-high. Add the zucchini and ½ teaspoon of salt.
  6. Sauté the zucchini until the greenish color changes to a slightly less vibrant shade and the edges of the zucchini rounds become just a little less sharp, approximately 5-7 minutes.
  7. Add a few grindings of black pepper.
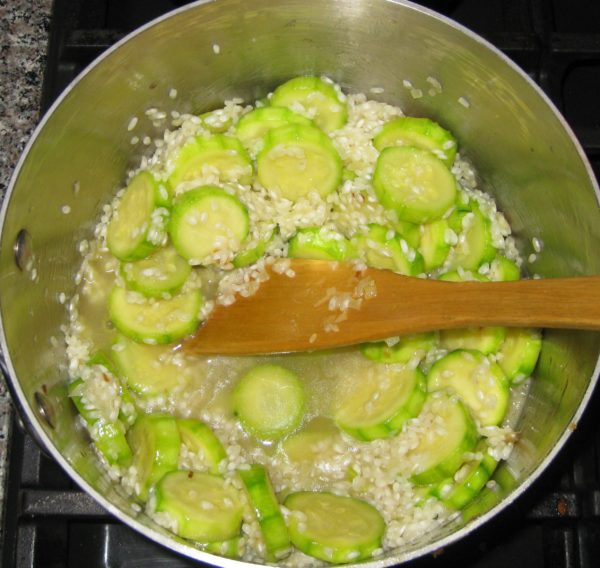
  8. Add the rice and stir until coated with oil.
  9. Sauté several minutes until the outer edges of the rice grains become translucent while the center remains white, approximately 5 minutes.
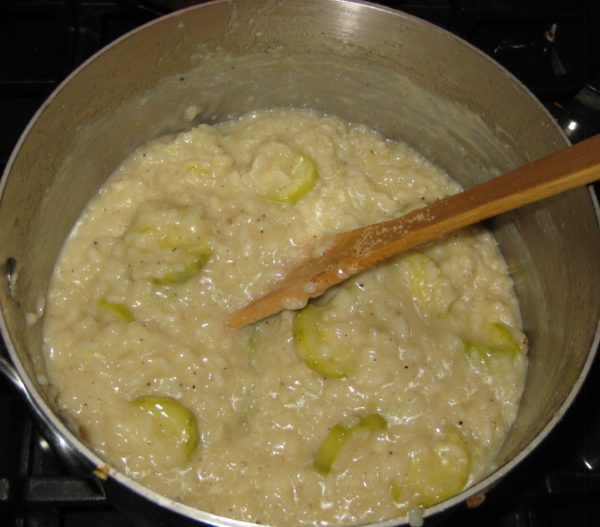
  10. Add the wine. Stir frequently, but not constantly, until the wine has totally evaporated. You will begin to see some starch leaching out of the rice. More and more of the starch will leach out as you cook the rice. This is what will make a creamy sauce, not a large quantity of butter, cheese or cream.
  11. When the wine has evaporated, add 1/2 cup of the simmering broth. Stir thoroughly, paying particular attention to loosening any spots where the starch seems to be sticking to the bottom of the pan. You don’t want to brown (or worse yet, burn) the starch.
  12. Stir frequently, but not constantly, until the broth has evaporated.
  13. If the broth is unsalted, as I recommend, add 1 ½ teaspoons of salt to the rice as you begin to add the broth. If the broth contains salt, do not add salt until the end.
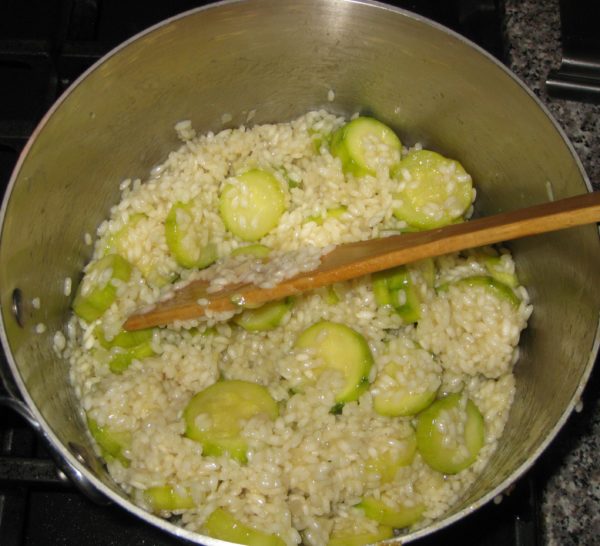
  14. Keep repeating the process with ½ cup of simmering broth each time: cooking, stirring, and loosening any spots that are sticking until each addition of broth evaporates. The heat should stay as close as possible to medium high. The moderate boiling of the liquid will coax starch out of the rice to create the creaminess that is the hallmark of a good risotto.
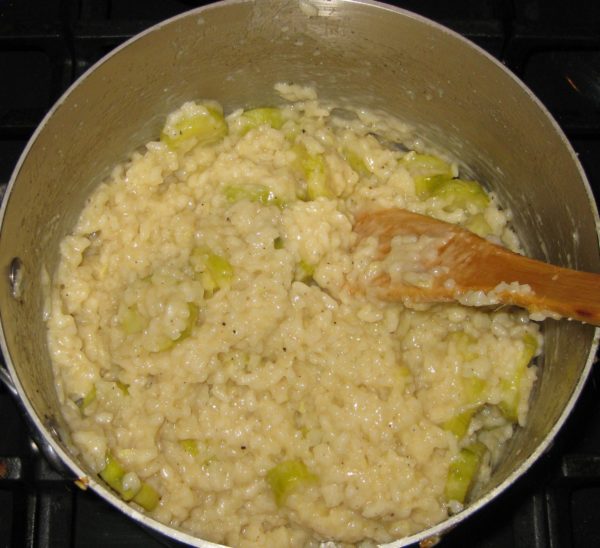
  15. Begin tasting for doneness after approximately 3 cups of simmering broth have been added. When the rice is al dente, firm but not crunchy in the center, add another ½ cup of simmering broth, stir, and remove the rice from the heat.
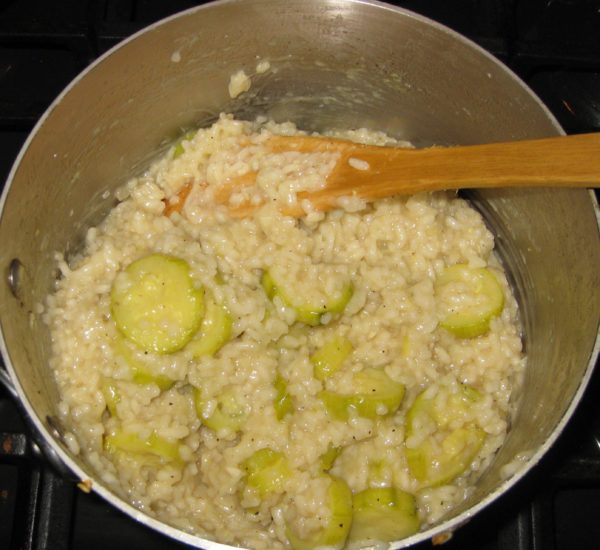
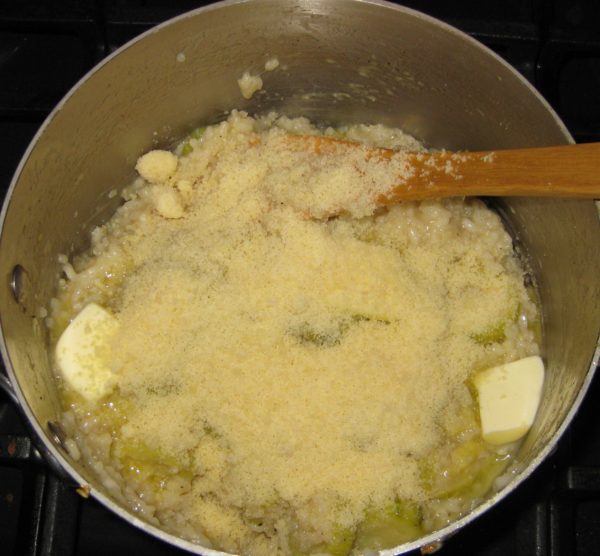
  16. Off the heat, stir in the Parmesan cheese, butter, parsley, if using, and freshly ground black pepper to taste. Taste and adjust salt.
  17. In two or three small additions, add as much of the broth as the risotto will absorb without becoming watery. Stir thoroughly.
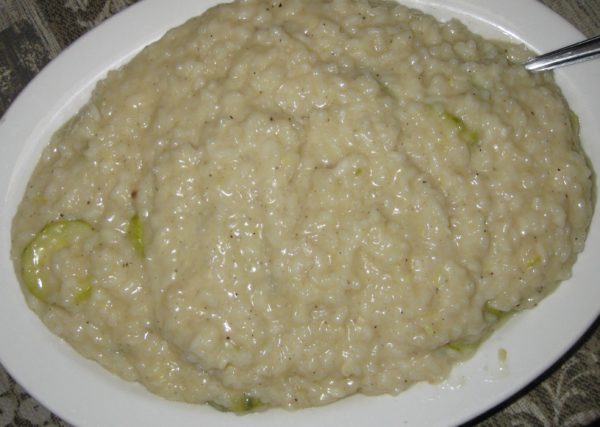
  18. Serve immediately.
Recipe Notes

With risotto, the goal is to have rice grains that are still al dente (but not crunchy) in the middle surrounded by a creamy liquid. An Italian risotto should be creamy from the starch in the rice, augmented with a very modest amount of butter and cheese. Risotto served in America is often overly rich from butter, cheese, and sometimes cream.

Risotto rice is a short grain rice that cooks slowly, making it much easier to achieve an al dente texture because it takes a while to actually overcook it. The three types of rice for risotto are Arborio, Carnaroli, and Vialone Nano. Arborio is the easiest one to find though the other two are more forgiving than Arborio when it comes to overcooking.

I recommend buying good quality rice imported from Italy. It really isn’t priced that differently from domestic. Do not wash the rice.

Copyright © 2018 by Villa Sentieri, LLC. All rights reserved.
Share this Recipe

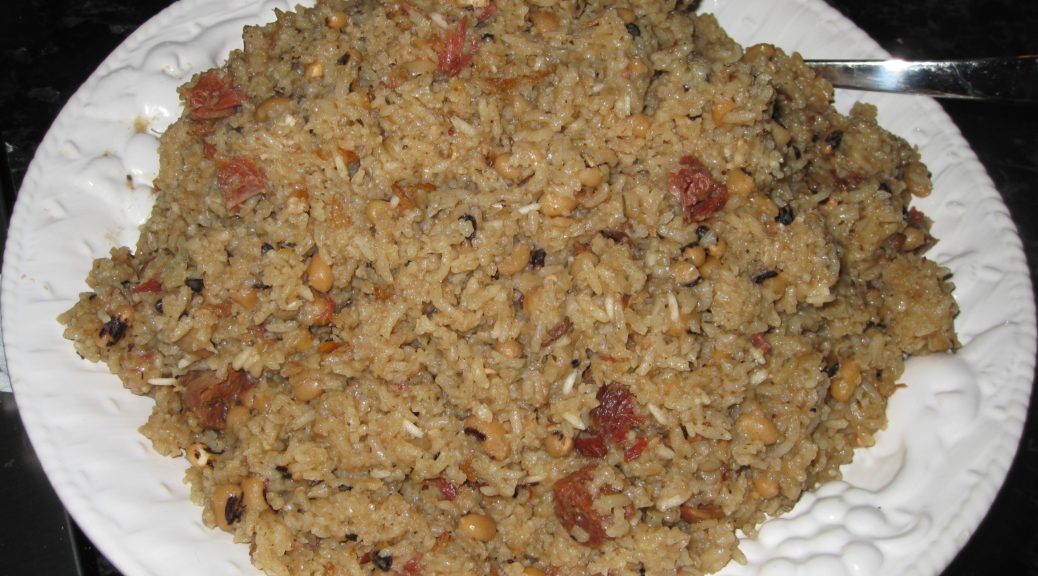
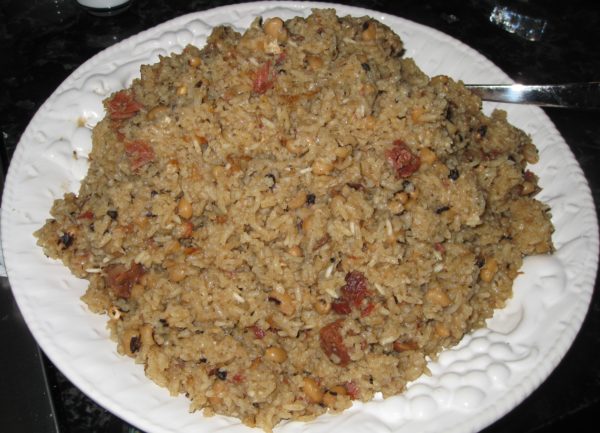
Guyanese “Cook Up” (Rice and Black Eyed Peas Cooked in Coconut Milk)

July 13, 2018

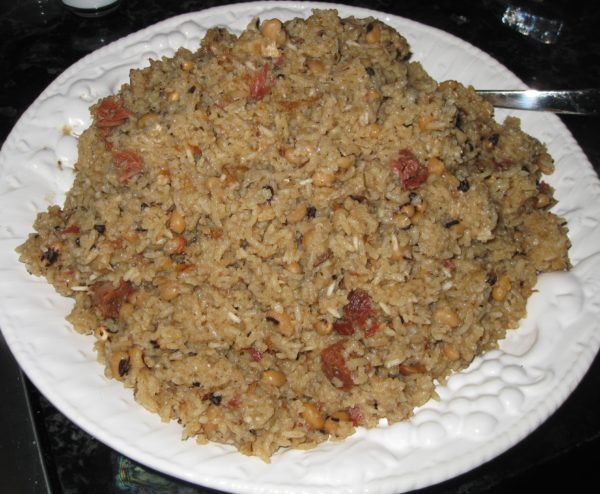
The combination of rice and legumes (peas, beans, lentils) is common throughout much of the world.  Sometimes the beans and rice are cooked together like Cajun Red Beans and Rice, Ecuadorian Gallo Pinto or Italian Risi e Bisi.  Sometimes the beans and rice are cooked separately but served together as with Cuban Black Beans and Rice.  The combination of black beans and rice, mixed into a single dish, is traditionally called Moros y Cristianos, a not very politically correct term that translates as Moors and Christians.

Jamaican Rice and Peas is probably the most well-known version of the combination from the West Indies, a term that is typically applied to the English-speaking parts of the Caribbean.  As I’ve mentioned before, although Guyana is on the South American mainland, it was administered as part of the British West Indies and most definitely has a West Indian culture.

Join our mailing list and you’ll never miss a recipe again!

Jamaican Rice and Peas is typically meatless.  It is most often made with red kidney beans.  Part of the cooking liquid is coconut milk.

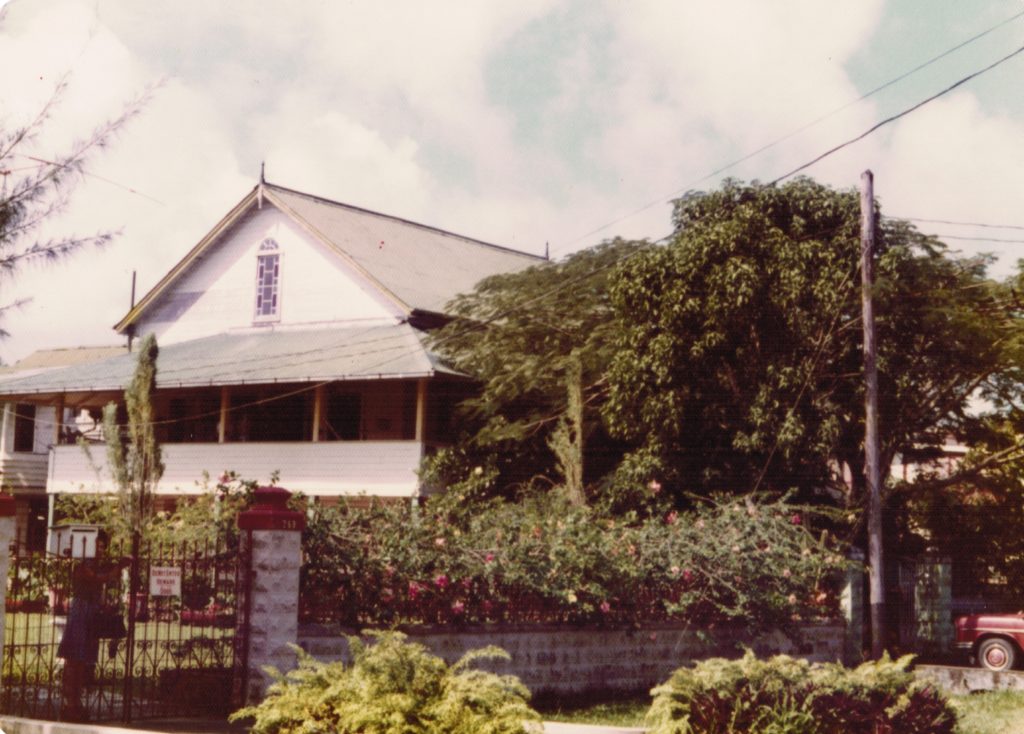
The house where Ray Hugh, my college roommate, grew up and where I stayed on several occasions, Georgetown, Guyana

Cook Up, the Guyanese version of rice and peas, is most definitely not meatless.  In my experience, it is rare to have fewer than two types of meat in Cook Up.  Coconut milk also figures prominently.

I made four trips to Guyana starting just prior to my junior year in college and ending just prior to starting my internship after finishing medical school.  During the first three trips, I stayed with Ray Hugh, my college roommate, at his father’s house.

During the last trip, I was working as a physician at the public hospital in Georgetown, Guyana.  I rented a room in a private house.  That visit was scheduled to last for five months with a brief return to the States for my medical school graduation after about three and a half months.  As graduation approached, and the prospect of working long hours as an intern became more real, I decided that when I flew home for graduation I would stay put and relax for a bit before starting internship.

Follow us on your social media platform of choice


I enjoy going to food markets whenever I travel, be they local convenience stores, supermarkets, open-air markets, or any other variant!  Stabroek Market in Georgetown is a roofed-over open-sided market housed in a sprawling Nineteenth Century building.  Vendors sell food and almost  any other necessity.

Stabroek Market in Georgetown, Guyana (photo: Google, stabroeknews.com)

Although the house where I stayed had a cook, she only cooked lunch, a very substantial lunch I might add!  I sometimes cooked dinner.  Stabroek Market was where I did my shopping.

Thyme figures prominently in Guyanese cooking.  There are three different herbs that are referred to as thyme in Guyana.  The first is what we think of as “regular” thyme, sometimes called French thyme.  The second is referred to as fine-leaf thyme or Guyanese thyme.  The third is called thick-leaf thyme or broad-leaf thyme.

Although there are many varieties of thyme, thick-leaf thyme is not really thyme but a semi-succulent perennial plant that has wide distribution.  Guyanese thyme, which is quite difficult to obtain in the United States may actually be a variety of oregano.  Thyme, oregano, and marjoram are all closely related.

Rather than sweat trying to find different varieties of thyme, I use “regular” (French) thyme and a little oregano and/or marjoram to round out the flavors.  Since no two cooks use the same herbs in the same quantities, and since many Guyanese cooks would just use French thyme, I think the addition of a little oregano and/or marjoram to mimic fine-leaf thyme produces a traditional taste.  However you do it, thyme  should be the predominant flavor.  Since thyme can taste medicinal in large quantities, use it sparingly at first if it’s not an herb you’re accustomed to cooking with.

Print Recipe
Guyanese "Cook Up" (Rice and Peas with Coconut Milk and Meats)
There are more variations of Cook Up than there are Guyanese cooks. Consider this recipe a starting point. You can use more kinds or different meat, such as diced corned beef or pickled pork (essentially made the same was as corned beef but with pork). Typically, in Guyana, the meats and black-eyed peas would be cooked in the same pot, being added when appropriate to finish cooking at the same time. Liquid would be adjusted by sight and the rice and other ingredients added and the cooking finished. When I made this frequently, I had all the timing down and got quite good at estimating the volume of liquid in the pot. These days, I cook the different ingredients in steps, and actually measure the liquid, as described below.
Votes: 8
Rating: 2.38
You:
Rate this recipe!
Course Mains, Meats, Poultry
Cuisine West Indian
Prep Time 15 minutes
Cook Time 3 1/2 hours
Passive Time 1 hour
Servings
people
Ingredients
Seasoned Chicken
Smoked Meat Broth
Final Assembly
Course Mains, Meats, Poultry
Cuisine West Indian
Prep Time 15 minutes
Cook Time 3 1/2 hours
Passive Time 1 hour
Servings
people
Ingredients
Seasoned Chicken
Smoked Meat Broth
Final Assembly
Votes: 8
Rating: 2.38
You:
Rate this recipe!
Instructions
Seasoned Chicken
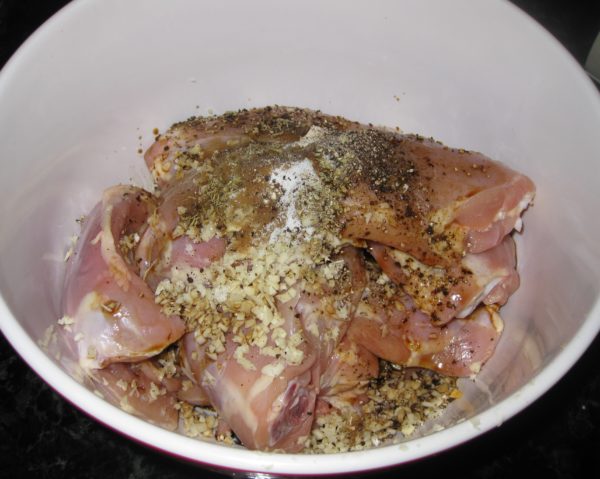
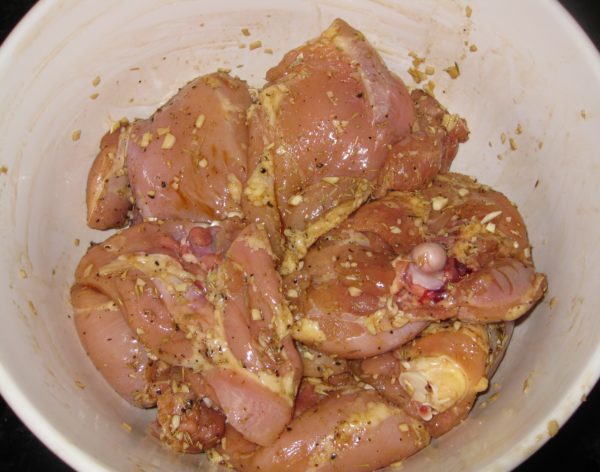
  1. Combine chicken thighs with all chicken seasoning ingredients.
  2. Mix well. Refrigerate several hours or overnight.
Smoked Meat Broth
  1. Make the smoked meat broth using the ham shanks or ham hock and water. You can do this by simmering them, covered, for 4-5 hours; cooking in a pressure cooker or Instant Pot for 60 minutes; or using a slow cooker set on low for 6-8 hours.
  2. When the broth is done, remove and reserve the ham shanks or ham hock. Skim the fat from the broth, add water to make 8 cups, and refrigerate if not using immediately.
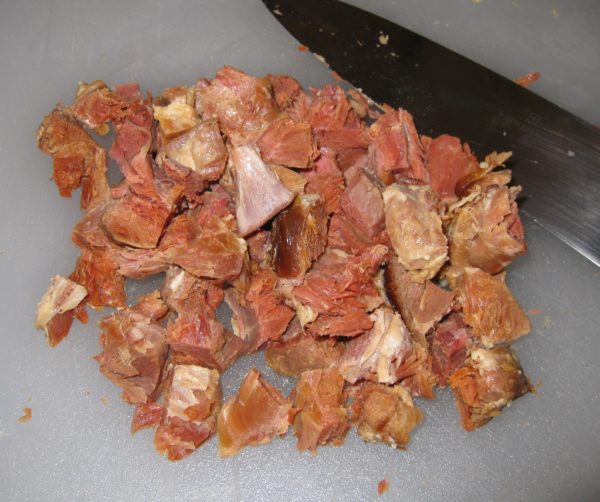
  3. Dice the meat from the ham shanks or ham hock and reserve.
Final Assembly
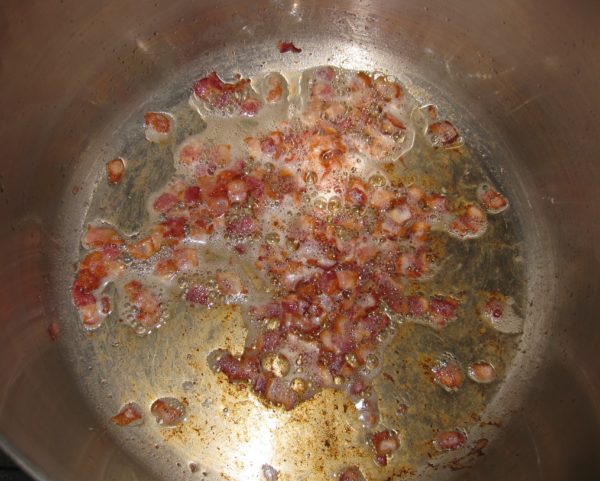
  1. Dice the bacon.
  2. In a large, heavy-bottomed Dutch oven or stockpot with a tight-fitting lid, brown the bacon.
  3. Remove and reserve the bacon.
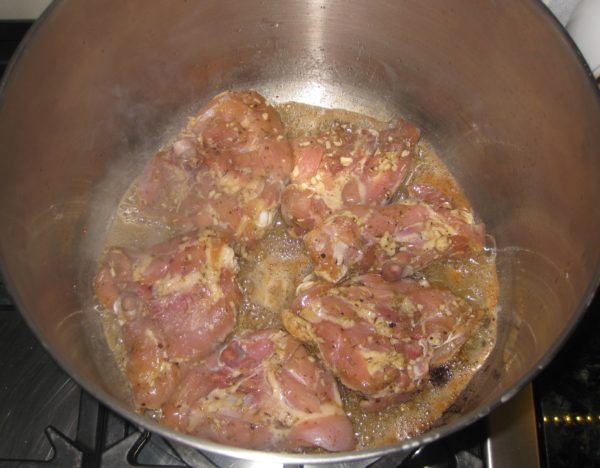
  4. Brown the seasoned chicken pieces well, in batches, in a the bacon fat in the Dutch oven.
  5. As the chicken pieces are browned, remove them to a platter.
  6. After browning and removing all the chicken, add the onions to the Dutch oven and sauté until softened. If the onions do not release enough liquid to loosen the browned bits from the bottom of the pot, add a few tablespoons of broth or water.
  7. After loosening the brown bits, continue to sauté the onions until translucent.
  8. Add the garlic and sauté until fragrant.
  9. Return the chicken to the pot with the onions and garlic. Add any accumulated juices as well as any marinade that might be left in the bowl. Add 4 cups of broth. Cover the pot and simmer approximately one hour, until the chicken is tender.
  10. Remove and reserve the chicken.
  11. Add the black-eyed peas and bacon to the pot in which the chicken was cooked along with the remaining 4 cups of broth. Bring to a gentle boil and cook, partially covered, until the peas are cooked, approximately 30-45 minutes, adding two teaspoons of salt after about 15 minutes of cooking.
  12. When the peas are cooked drain them, reserving the cooking liquid.
  13. Measure the cooking liquid and either add water or boil it down to make four cups.
  14. Return the cooking liquid to the Dutch oven along with the cooked black-eyed peas and bacon, diced pork from the broth, rice, coconut milk and 4 teaspoons of salt. Bring to a boil, stirring a few times. Put the chicken pieces on top of the rice, cover the pot, reduce the heat to low, and cook for 20 minutes without opening the pot.
  15. Remove the rice from the heat and allow it to rest for 15 minutes without removing the lid.
  16. After 15 minutes taste a bit of the rice. It should be cooked, but if not, add a bit more water and cook briefly on low heat, covered, until the rice is fully cooked.
  17. Arrange the chicken on a serving platter.
  18. Stir the rice and put on the platter with the chicken or on a different one. Serve immediately with West Indian hot sauce.
Recipe Notes

Smoked ham shanks are the boney ends of smoked ham. They have a gentle smoke flavor, just like ham. Smoked ham hocks are much more aggressively smoked and one would be sufficient for this quantity of rice.

Copyright © 2018 by Villa Sentieri, LLC. All rights reserved.
Share this Recipe

Risotto Friulano (Friuli-Style Risotto)

June 25, 2018

If you do an internet search on Risotto Friulano you will turn up more entries for risotto con lo sclopit than any other.

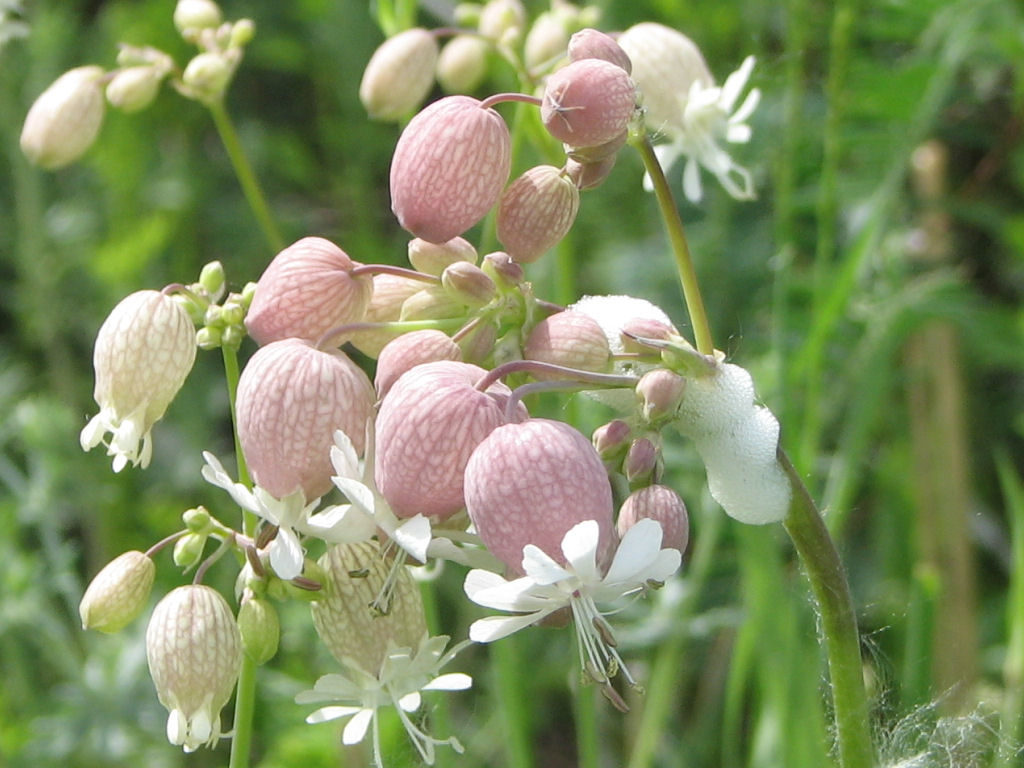
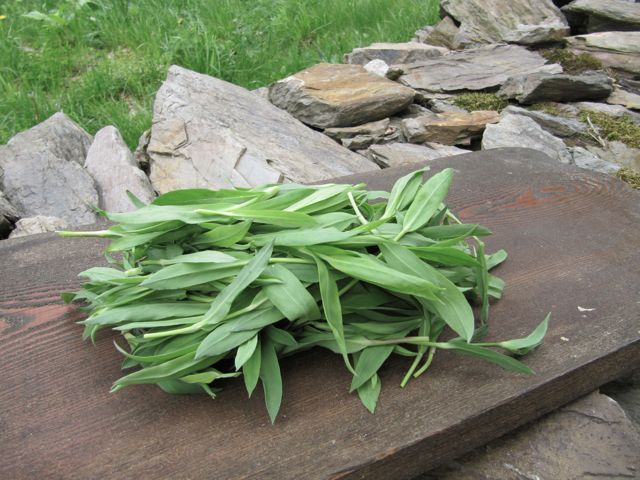
Sclopit (bladder campion in English) is native to large parts of Europe and beyond.  It is not native to the United States but grows abundantly from coast to coast. Its botanical name is Silene vulgaris.

The leaves of Silene vulgaris (sclopit in Friulan; bladder campion in English) are used in risotto (photo by D. Gordon E. Robertson [CC BY-SA 3.0 (https://creativecommons.org/licenses/by-sa/3.0) or GFDL (http://www.gnu.org/copyleft/fdl.html)], from Wikimedia Commons)
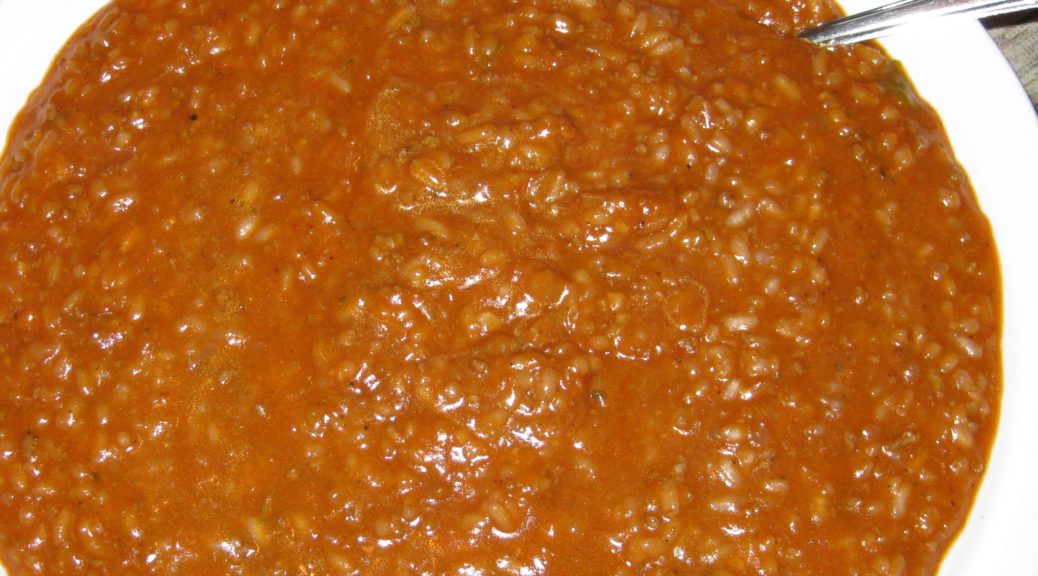
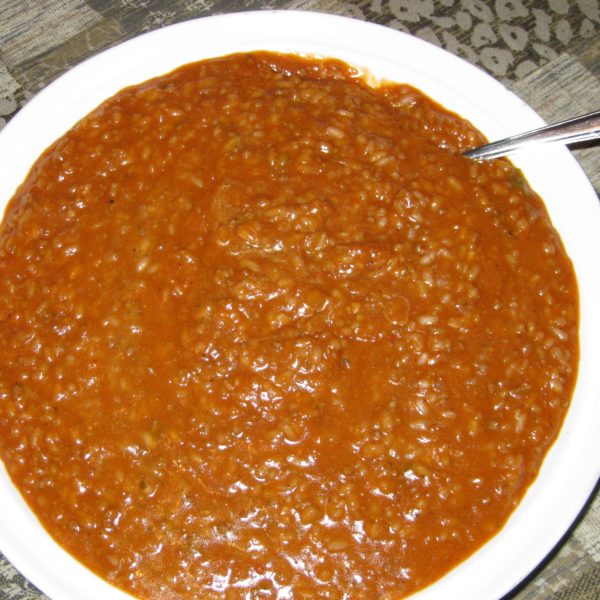
In my husband’s family, however, Risotto Friulano refers to risotto that is made with Salsa Friulano, a traditional tomato sauce made with ground meat, herbs and spices.  I’ve published two recipes for Salsa Friulano.  One is my mother-in-law’s and the other is Ivana’s, the wife of my mother-in-law’s cousin Olvino.  (By the way, I asked my mother-in-law about sclopit.  She’s never heard of it!)


Follow us on your social media platform of choice


My mother-in-law uses homemade chicken broth, and her Friulan tomato sauce for her Risotto Friulano.  Uncle Ray, her brother, uses canned beef broth instead of chicken broth.  Neither uses risotto rice, opting for long-grain rice, and neither really follows the common risotto technique of adding liquid slowly and allowing it to evaporate before the next addition.

We have long discussions about these differences.  While I don’t have a good explanation for the differences in technique other than cooking differences within their family, it’s my belief that the use of long-grain rice rather than short-grain “risotto” rice is a consequence of what was readily available when the family immigrated to the United States.

Sclopit leaves

I have a number of cookbooks from Friuli and all the recipes for risotto use what the Italians would call “riso per risotto,” rice for risotto.  It’s possible that this is a recent change in cooking habits in Friuli but I am more inclined to believe that the switch from risotto rice to long-grain rice happened in the United States, at least for my mother-in-law’s family.

Both my mother-in-law and Uncle Ray add enough liquid to their respective recipes for Risotto Friulano to make the final product pourable, like a traditional risotto.  Without the more starchy riso per risotto and the risotto technique, however, the result is not as creamy but still very good…and very traditional within the family.  Just ask my father-in-law, who is from Tuscany and not Friuli, whose Risotto Friulano he prefers!  (Hint, he’ll tell you mine tastes good, but…)


Join our mailing list and you’ll never miss a recipe again!


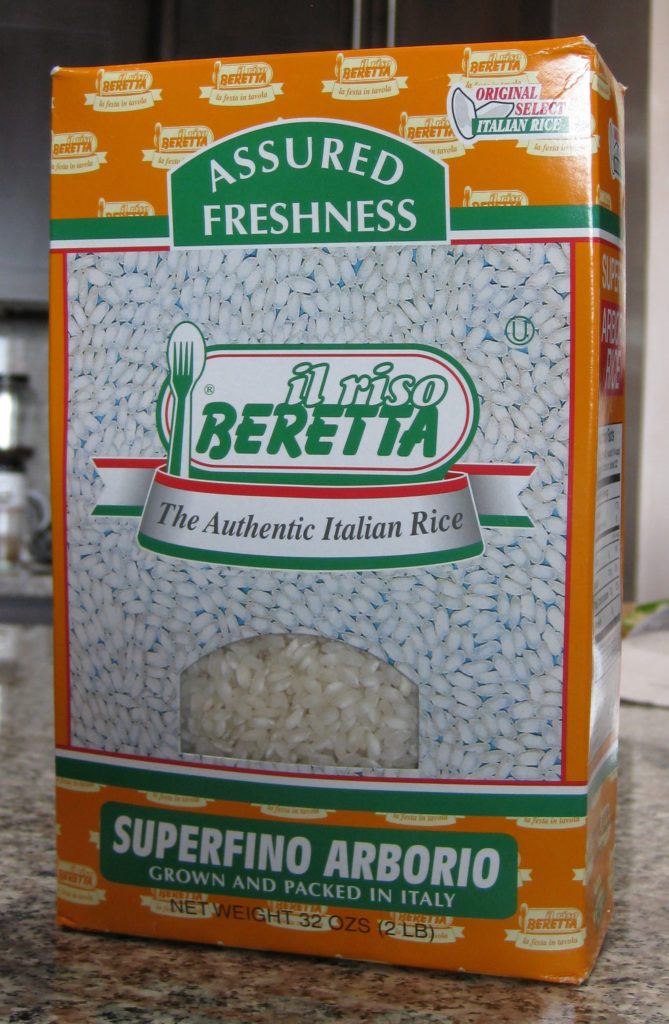
The most common types of rice for risotto are Arborio, Carnaroli, and Vialone Nano.  Arborio is the easiest to find and it is what I use most of the time.  Carnaroli and Vialone Nano are even more forgiving than Arborio as they are harder to overcook.  They are more difficult to source in American markets, however.

Arborio Rice is generally the easiest “riso per risotto” (risotto rice) to find in the United States

When I make Risotto Friulano, I follow standard risotto technique and use short-grain Italian rice.  I hope you enjoy it!

Print Recipe
Risotto Friulano (Friuli-Style Risotto)
My mother-in-law’s version of this is much simpler. She sautés long-grain rice in olive oil without any aromatics. She adds the sauce and then the broth. Broth is not added in small amounts but most of it is put in at once. Additional broth is added near the end If the rice can absorb it. Uncle Ray’s version is similar but with canned beef broth. Parmigiano is added at the end. If you’re going to make Marisa’s Mystical Meatballs, this is a wonderful use of the beef broth that will be created. See the Notes below for a link to the meatball recipe. If you are not using unsalted homemade broth, do not add salt as directed. Wait until the end and add salt to taste.
Votes: 0
Rating: 0
You:
Rate this recipe!
Prep Time 10 minutes
Cook Time 45 minutes
Servings
people
Ingredients
Prep Time 10 minutes
Cook Time 45 minutes
Servings
people
Ingredients
Votes: 0
Rating: 0
You:
Rate this recipe!
Instructions
  1. Bring the broth and the Salsa Friulana to a bare simmer in separate pots.
  2. Heat a two or three quart heavy-bottomed saucepan over medium-high heat. Add the olive oil.
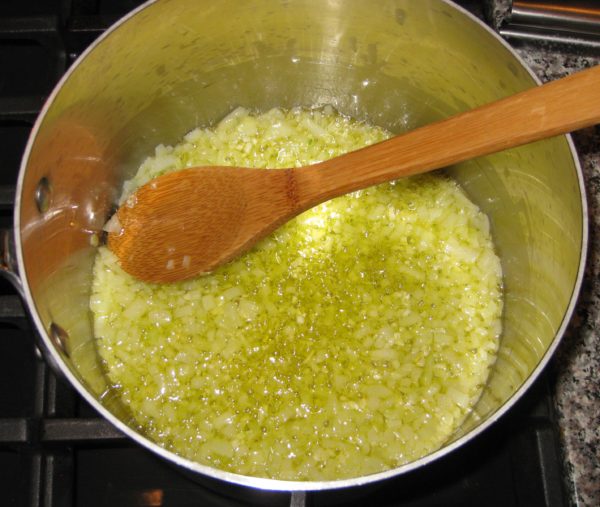
  3. Briefly sauté the onion in the oil. As the liquid from the onion evaporates and the onion just begins to turn translucent, reduce the heat to medium add the garlic.
  4. x
  5. Sauté on medium until the onion is translucent. Do not brown the onion or garlic. You may need to reduce the heat.
  6. When the onion is translucent, return the heat to medium high and add the rice.
  7. Sauté for 3-5 minutes, until the rice grains are partially translucent. Do not brown the rice.
  8. The outer portion of the rice grains will get translucent while the inside will stay opaque white.
  9. Add the wine.
  10. Stir frequently, but not constantly, until the wine has totally evaporated. You will begin to see some starch leaching out of the rice. More and more of the starch will leach out as you cook the rice. This is what will make a creamy sauce.
  11. When the wine has evaporated, add one ladle of simmering broth, approximately 1/3 cup, and the salt. Stir thoroughly paying particular attention to loosening any spots where the starch seems to be sticking to the bottom of the pan. You don’t want to brown (or worse yet, burn) the starch.
  12. Cook, stirring frequently but not constantly, until the broth has evaporated.
  13. Keep repeating the process with 1/3 cup of broth, cooking, stirring, loosening any spots that are sticking, and allowing the liquid to evaporate, until you have used approximately 5 cups of the broth. The heat should stay as close as possible to medium high. The moderate boiling of the liquid will coax starch out of the rice to create the creaminess that is the hallmark of a good risotto.
  14. Add 1 ½ cups of Salsa Friulana and cook until some of the liquid has evaporated. It will not be possible to cook the rice until dry once the sauce is added.
  15. Season with black pepper to taste.
  16. Continue adding broth, one ladle at a time, until the rice is cooked and creamy but still al dente at the very center.
  17. Remove the rice from the heat. Stir in the Parmesan cheese then the remaining ½ cup of Salsa Friulana.
  18. Still off the heat, add hot broth, a little at a time, to create a creamy, pourable risotto, adding only as much as the starchy liquid in the risotto will absorb.
  19. Taste and adjust seasoning.
  20. Serve immediately. Pass additional Parmesan cheese at the table.
Recipe Notes

This is where you’ll find the recipe for Marisa’s Mystical Meatballs.

You can find my mother-in-law’s recipe for Salsa Friulana here and Ivana’s recipe here.

Copyright © 2018 by Villa Sentieri, LLC. All rights reserved.
Share this Recipe

Chicken Braised with Lemon, Sage and Olives

June 20, 2018

When we’re in Palm Springs in the winter, surrounded by an abundance of citrus trees, I feel like citrus ought to be featured in every meal.

Being able to walk out the door and pick lemons, limes, oranges, grapefruit and tangerines, and NOT doing it, seems like such a grand missed opportunity.  Even if the ingredients for the rest of the meal don’t come from within a few feet of my door, the citrus fruits and herbs can.

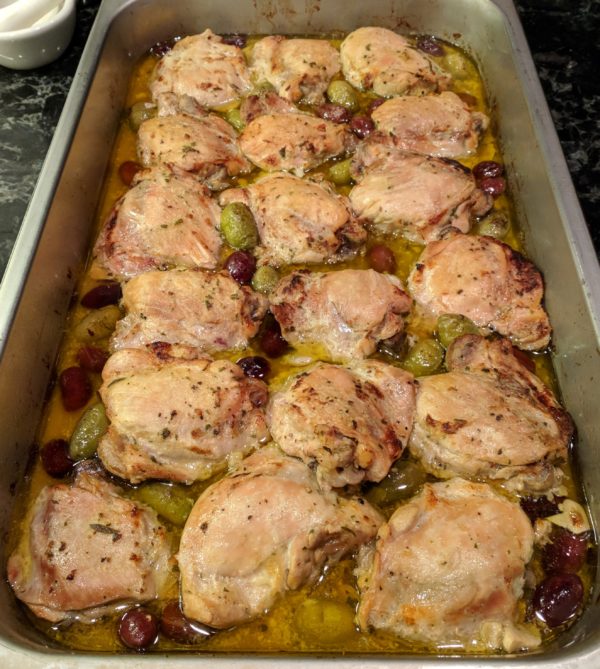
With that in mind, and the prospect of cooking a multi-course dinner for 15 people in a kitchen that’s about 8’ x 10’ got me to thinking.  Individually lemons, sage, and olives pair well with chicken so why not all of them together in the same dish?

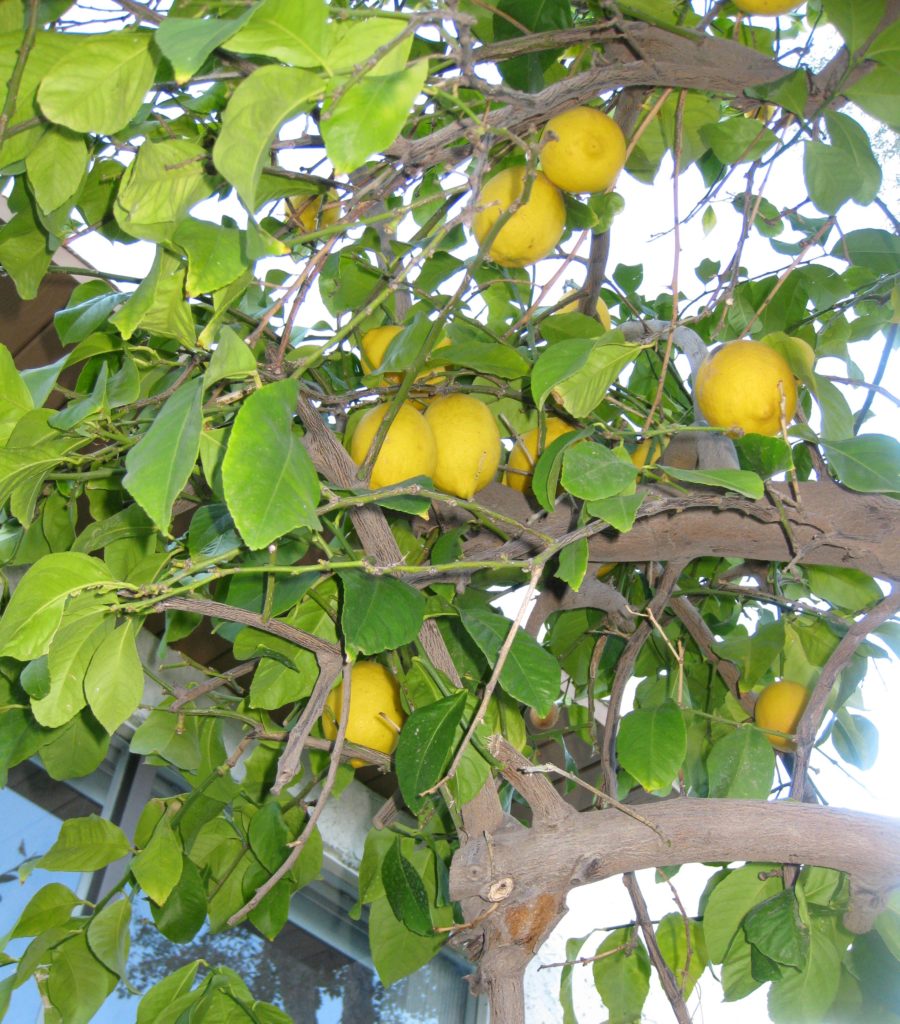
Looking up into a lemon tree in Palm Springs

Next came the method.  With fifteen people I needed at least 15 pieces of chicken.  I was pretty sure that with all the other courses, one piece of chicken per person would be enough.  I added a few more for good measure.


Follow us on your social media platform of choice


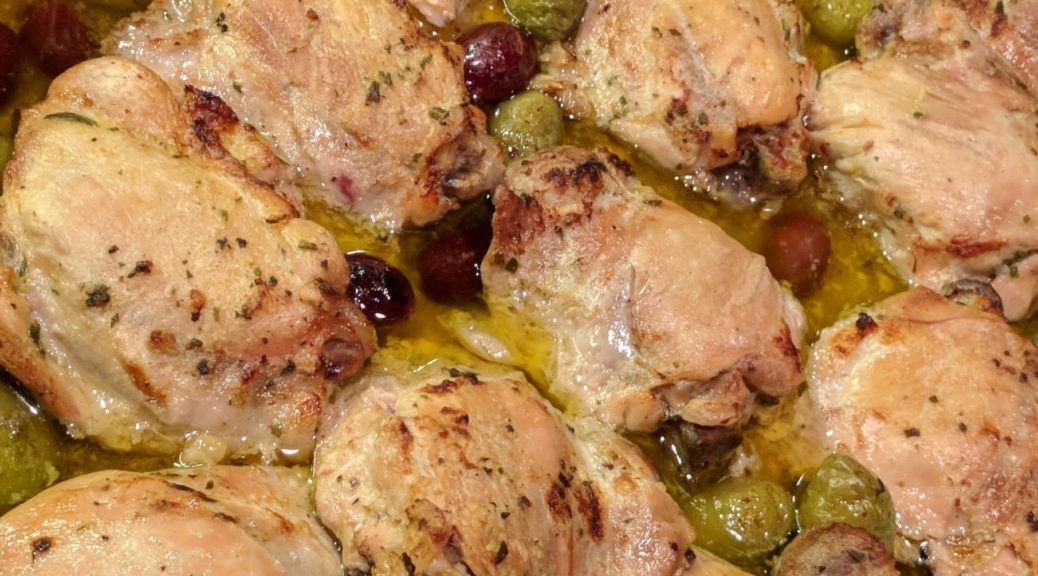
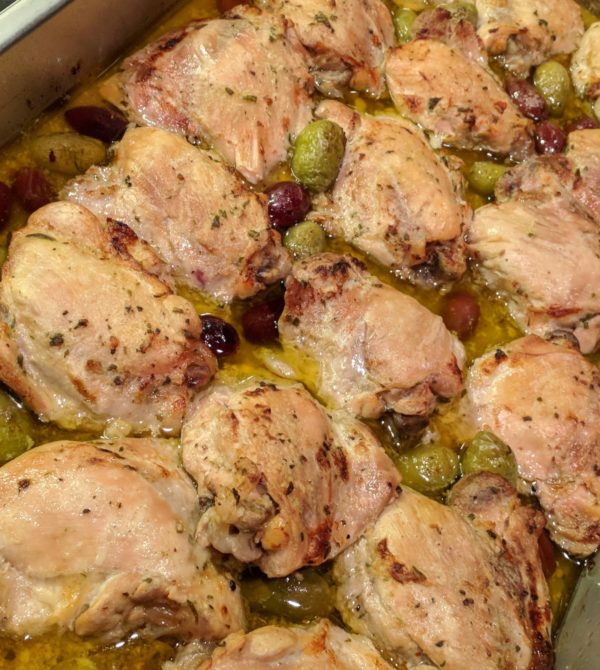
Braising 18 pieces of chicken on the stove top would have consumed a good deal of space so I opted for the oven and a “hotel pan,” sometimes called a steam table tray.  You know, those cafeteria-style rectangular pans.  I have a mess of them in an array of sizes.  Made of stainless steel, they’re non-reactive.  You can cook and store food in them, simplifying the preparation process.  Shallow roasting pans are a good substitute.  Don’t use aluminum pans or other reactive materials due to the lemon juice in this dish.

To keep it simple, I decided not to brown the chicken first, but rather to do it at the end by turning up the oven.  I made a marinade by buzzing the ingredients in a blender, so even that is super-easy.

A hotel pan is a great way to prepare large quantities of food

Which part of the chicken to use was never in question.  I like what happens to chicken thighs with long, slow braising.  Keeping the bone in adds flavor and structure so I suggest avoiding boneless thighs.

If you keep the skin on you’ll have to remove it before browning and serving the chicken because it will be rubbery from the moist heat.  I usually prefer to keep the skin on as it helps keep the meat moist but the combination of low and slow cooking and a tight cover meant the effect of the skin would be marginal.  Removing the skin in the beginning makes the dish even simpler to prepare.  Besides, the skin is a great addition to the stock pot when making chicken stock or broth.


Join our mailing list and you’ll never miss a recipe again!


I keep a zipper lock bag in my freezer into which I put chicken skin and other bits that I trim off chicken then add the contents to the stock pot with backs and wings.  Skin contains a lot of fat but since it will be skimmed off at the end it’s not really a concern.  The collagen in the skin, however, will greatly improve the mouthfeel of the broth.  In the “old days” adding chicken feet to the stock pot served the same purpose but finding chicken feet is challenging.

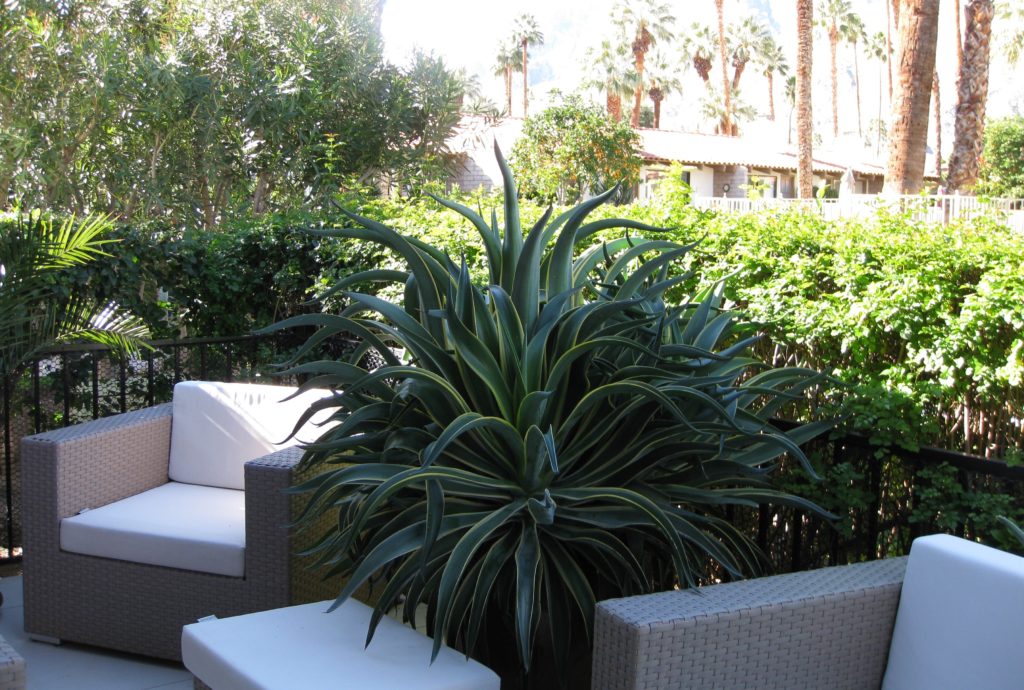
A Palm Springs orange tree, in the distance, full of ripe oranges

While this dish was created in the Palm Springs winter, it works well year-round thanks to the non-stop availability of lemons.  The next time you’re cooking for a crowd, give it a try and let me know what you think.

Print Recipe
Chicken Braised with Lemon, Sage and Olives
I created this recipe for my father-in-law’s birthday, January 2018. The lemons came from the trees outside of our house in Palm Springs. Though not essential, I prefer to put a sheet of baking parchment over the chicken before covering with aluminum foil to keep the reactive aluminum completely out of contact with the acid in the lemon juice.
Votes: 0
Rating: 0
You:
Rate this recipe!
Course Mains, Poultry
Cuisine Italian
Prep Time 30 minutes
Cook Time 2 hours
Servings
people
Ingredients
Course Mains, Poultry
Cuisine Italian
Prep Time 30 minutes
Cook Time 2 hours
Servings
people
Ingredients
Votes: 0
Rating: 0
You:
Rate this recipe!
Instructions
  1. Make marinade by pureeing the olive oil, lemon juice, 6 cloves garlic, rosemary, salt, and pepper in a blender.
  2. Pour the marinade over the chicken thighs and mix well.
  3. Marinate chicken thighs overnight in the refrigerator.
  4. Lightly oil a non-reactive hotel pan or shallow roasting pan.
  5. Arrange lemon slices on the bottom of the pan.
  6. Put a sage leaf on each lemon slice.
  7. Put a chicken thigh on each sage-topped lemon slice, reserving the marinade.
  8. Scatter olives around the chicken.
  9. Smash the remaining 8 garlic cloves and scatter around the chicken.
  10. Pour the marinade over the chicken. Cover the pan tightly with foil. (If possible, cover the pan with a sheet of parchment before the aluminum foil.)
  11. Put the chicken into a preheated 350°F oven. Cook until the chicken is nearly fall-apart tender, 90-120 minutes.
  12. Using a turkey baster, remove most of the liquid from the pan. Put the liquid into a fat separator.
  13. Turn the heat as high as the oven goes. Put the pan of chicken on the top rack until it takes on some color, approximately 10-15 minutes. You can also use the broiler for this, though many broilers do not have enough heated surface area to brown the contents of a large pan.
  14. While the chicken is browning, skim the fat from the pan juices.
  15. Carefully move the chicken thighs, with lemon slices intact, to a serving platter or individual plates.
  16. Scatter the olives over the chicken.
  17. Pour some of the defatted pan juices over the chicken.
  18. Pass the remaining defatted pan juices at the table.
Recipe Notes

Copyright © 2018 by Villa Sentieri, LLC. All rights reserved.
Share this Recipe

Salsa Friulana di Marisa (Marisa’s Friulan Tomato Sauce)

June 11, 2018

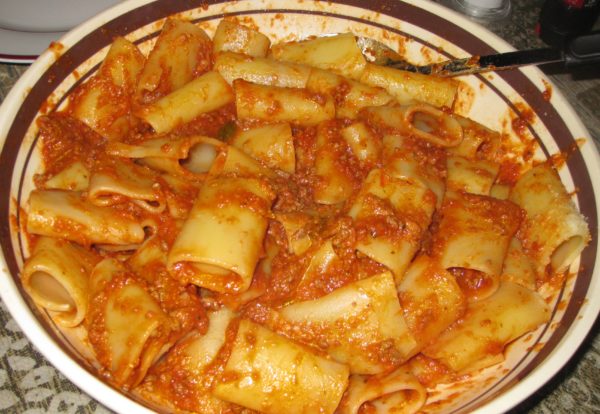
Ma’s spaghetti sauce.  That’s what my husband calls it.

That’s pretty similar to what most of us of Italian heritage who grew up in the United States called the sauce that our mothers (yes, it was almost always the mothers) made most frequently.

It isn’t as if there aren’t more pasta sauces than one can count.  It’s just that for everyone I know of Italian heritage, there’s one that stands out above the rest.

For my husband’s family, this is the one.


Join our mailing list and you’ll never miss a recipe again!


It’s actually quite similar to Ivana’s sauce.  Ivana is married to my mother-in-law’s cousin Olvino.  Ivana grew up in Friuli but in a different town.  There are subtle differences in her sauce and my mother-in-law’s sauce, but if you read both recipes you’ll certainly see the similarities.

My mother-in-law doesn’t remember when she learned to make this sauce, or even if she learned from her mother or her aunt.  She does remember, however, that her father asked her how she could get married (she was engaged to my father-in-law) without knowing how to cook.

My mother- and father-in-law on their wedding day (apparently before she knew how to cook)

She got married, ultimately learned to cook, and then headed up the kitchen in Castleview, the restaurant that she and my father-in-law owned in Fox River Grove, Illinois.  The restaurant was named Castleview because it had a view of an adjacent…you guessed it…castle…well, sort of a castle.   For more information on the castle, you can look here.

The Bettendorf Castle in Fox River Grove, Illinois

By the time I came on the scene, it was difficult to catch more than a glimpse of the castle from the restaurant due to the growth of trees and other vegetation.

Another view of the Bettendorf Castle

My mother-in-law thought my version of her sauce was “pretty good.”  She did note that it was thicker than hers; probably because I cook it longer but also potentially due to a different brand of tomatoes.  If you want it thinner, cook it less or (my preference) just add more water or put a splash of pasta-cooking water in the bowl with the pasta and the sauce.  (Just between you and me, when I’m putting dinner on the table using my mother-in-law’s sauce, I usually boil it down a bit because it seems a little thin to me!)


Follow us on your social media platform of choice


In a few weeks I’ll be posting a recipe for Friulan Risotto that incorporates this sauce.  Stay tuned.

Print Recipe
Salsa Friulana di Marisa (Marisa's Friulan Tomato Sauce)
The amount of water needed will vary based on how thick the tomato puree is, how much liquid evaporates during cooking, and how thick or thin you like your sauce. Feel free to add more water during cooking if the mixture is becoming too thick. If the sauce is too thin uncover near the end of cooking and increase the heat to cook off more water.
Votes: 0
Rating: 0
You:
Rate this recipe!
Prep Time 20 minutes
Cook Time 3 hours
Servings
quarts
Ingredients
Prep Time 20 minutes
Cook Time 3 hours
Servings
quarts
Ingredients
Votes: 0
Rating: 0
You:
Rate this recipe!
Instructions
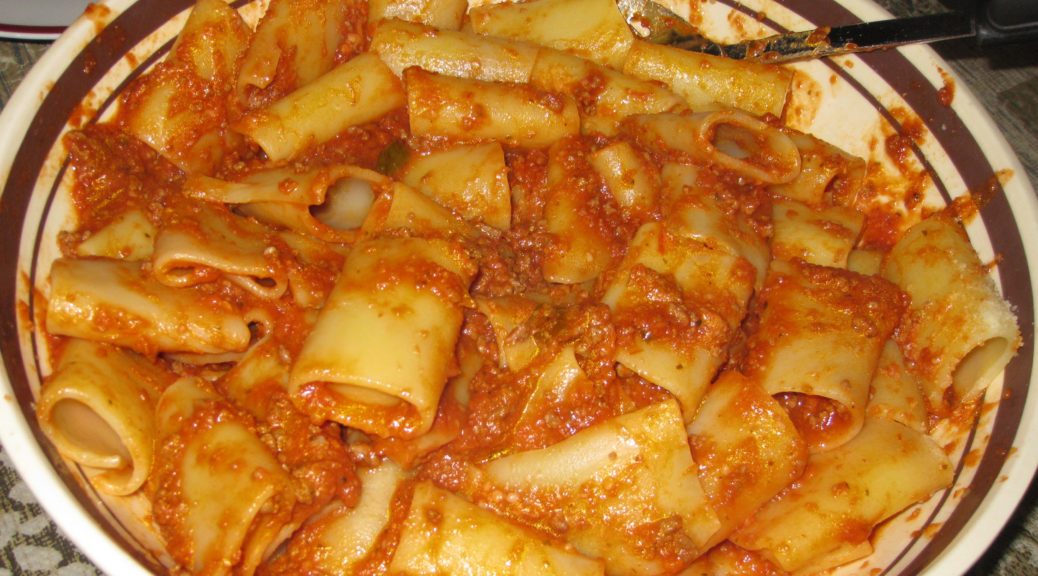
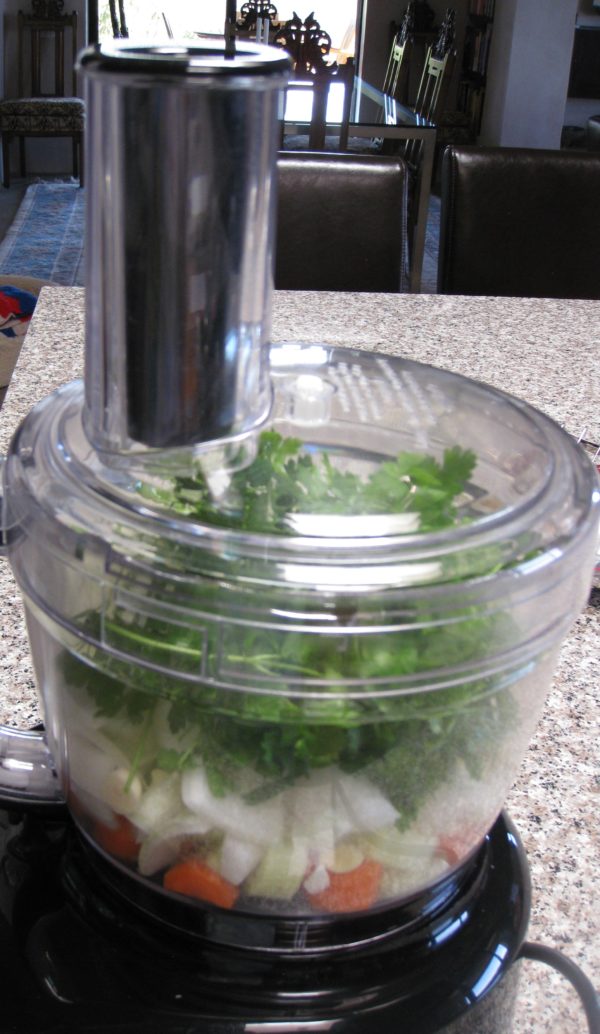
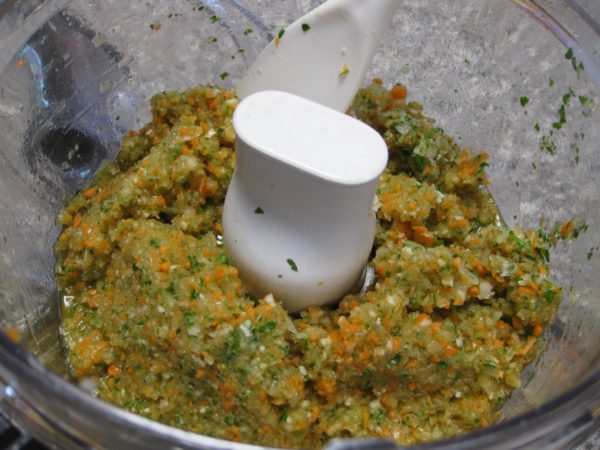
  1. Finely chop the parsley, carrots, celery, onion, and garlic in food processor.
  2. There should be a bit of texture to the mixture, not a puree. Reserve.
  3. Puree the crushed tomatoes in the food processor.
  4. Rinse the cans out with some of the water. Add the water to the pureed tomatoes. Reserve.
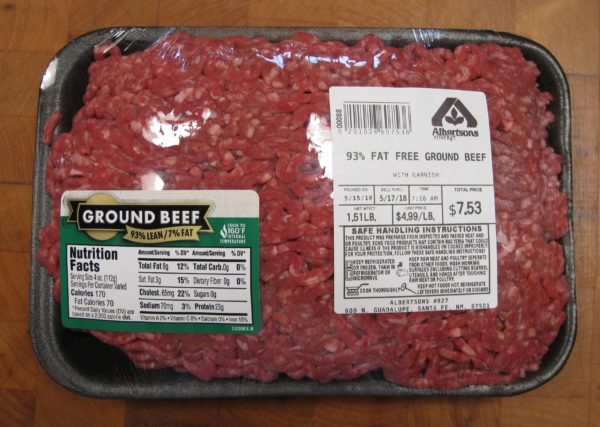
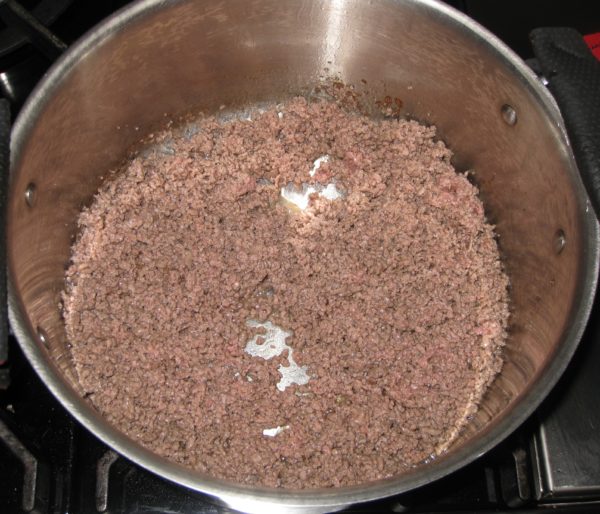
  5. Sauté the beef in the olive oil on high heat until no pink remains.
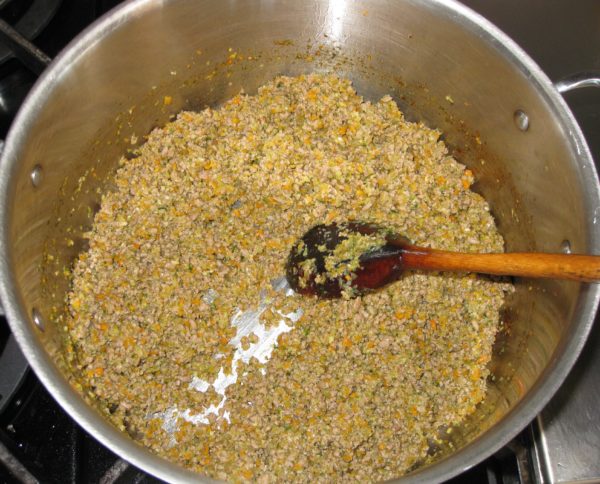
  6. Add the chopped vegetables.
  7. Sauté on high heat until all the liquid evaporates and then continue to sauté until the mixture darkens slightly and smells cooked.
  8. Add the wine and continue to cook until the wine has evaporated.
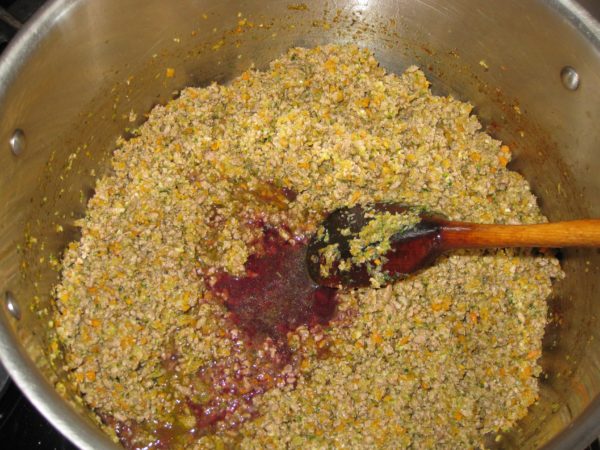
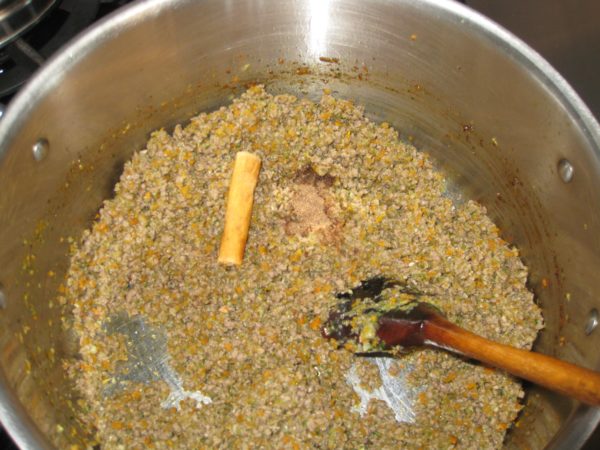
  9. Add the allspice, nutmeg, and cinnamon. Stir well.
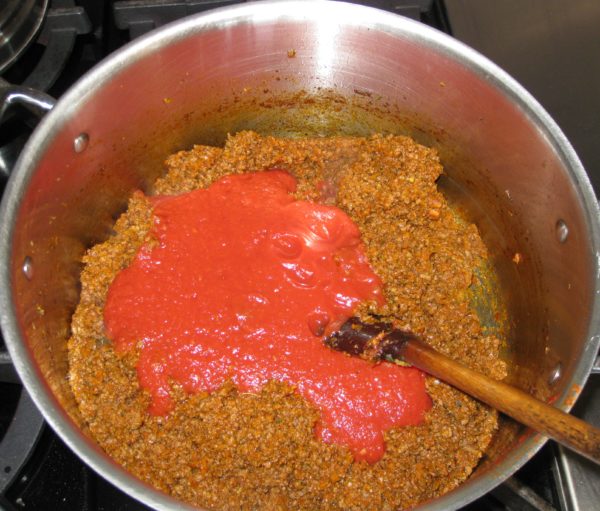
  10. Add the tomato paste and sauté until it begins to smell sweet, approximately 5 minutes at medium-high heat.
  11. Meanwhile, rinse tomato paste can out with some of the water and add it to the pureed tomatoes.
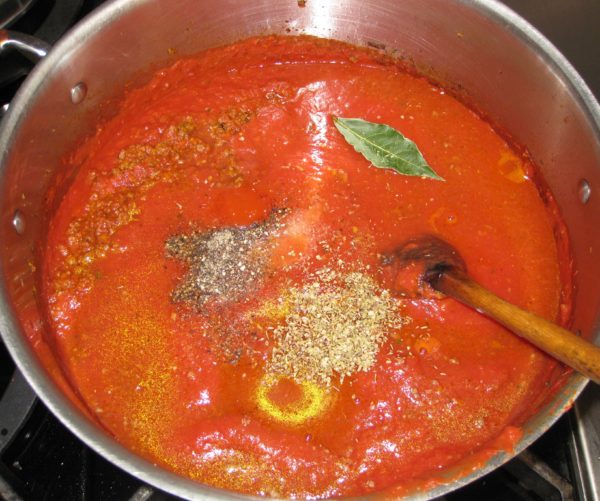
  12. Add pureed tomatoes, bay leaf, oregano, basil and remaining water.
  13. Bring to a boil, reduce heat and simmer, partially covered for about 2 ½ hours, stirring every 20 minutes.
  14. After about an hour of cooking, begin to taste and adjust seasoning.
  15. Serve with the pasta of your choice.
Recipe Notes

Copyright © 2018 by Villa Sentieri, LLC. All rights reserved.
Share this Recipe