
February 23, 2018
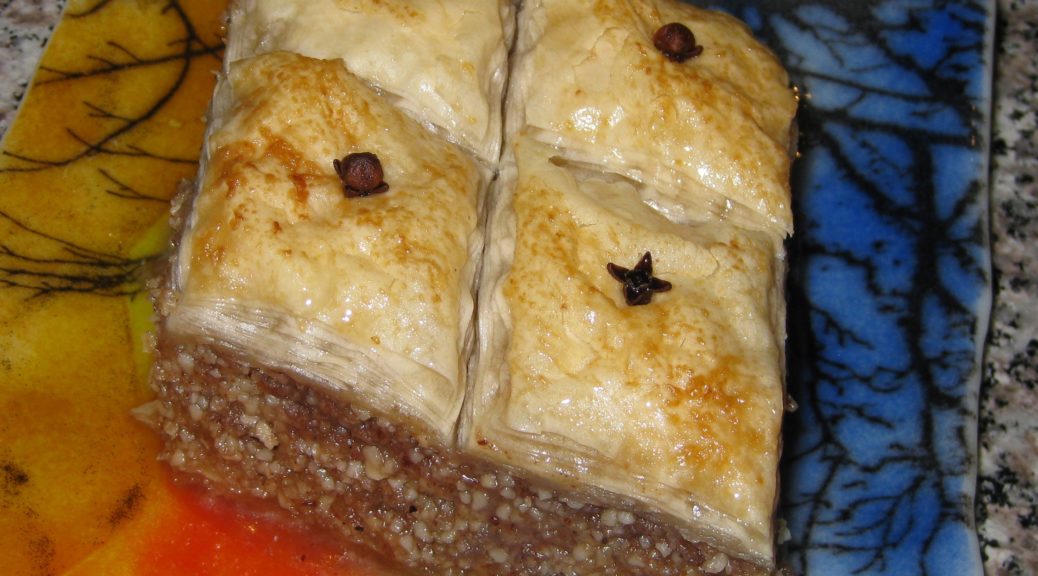
Syrup desserts are popular from the Eastern Mediterranean through the Arabian Peninsula. Among syrup desserts, baklava is one of my favorites.
I rarely make baklava but the first time I did was junior year in college. That same recipe is the one that I still make.
Styles of baklava vary. More nuts. Less nuts. More syrup. Less syrup. Different aromatics. While I like them all, I tend towards the more Arabic preparations which, in my experience, include more nuts and syrup than their more restrained Greek counterparts.
Perhaps that’s why a friend, of Greek heritage, said that my baklava didn’t look like anything a Greek ever made! Admittedly, however, the recipe came from a Greek and I think I have been true to the recipe but, hey, I’m not Greek so who am I to say what could have come out of a Greek kitchen.
Click HERE to join our mailing list and you’ll never miss a recipe again!
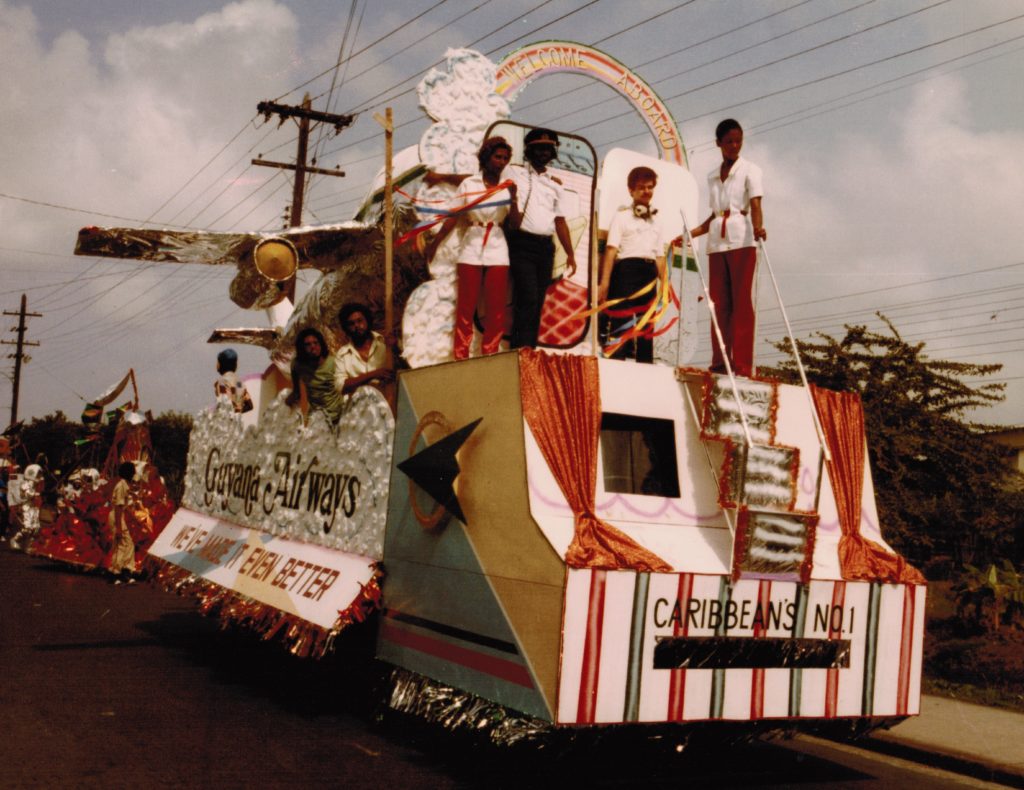
I spent much of 2010 living in Dubai. The consulting company that I started in the mid 1990’s landed a contract with the United Arab Emirates Ministry of Health in late 2009. In January 2010 I moved to Dubai.
Shopping for food in Dubai is just amazing. The sheer number of expats (at the time it was estimated that 95% of the people living in Dubai were expats!) means that the supermarkets are truly multinational affairs, even the relatively small ones.
It was rare that I could not find brands with which I was familiar. I’m sure expats from almost every country had the same experience. The supermarkets were stocked with brands from around the world. It truly was the most amazing grocery shopping I have ever experienced outside of the food halls at Harrods and KaDeWe. But remember, Harrods and KaDeWe are most decidedly upscale affairs. In Dubai I was just going to the (plain, ordinary) supermarket!
Produce in Dubai could be hit or miss due to the distance most of it traveled. Although there was a nascent horticultural industry in Dubai, I could never find truly local produce. On several occasions I tried to find a store that purported to sell local produce but my driver could never locate it, even with the address!
Follow us on your social media platform of choice
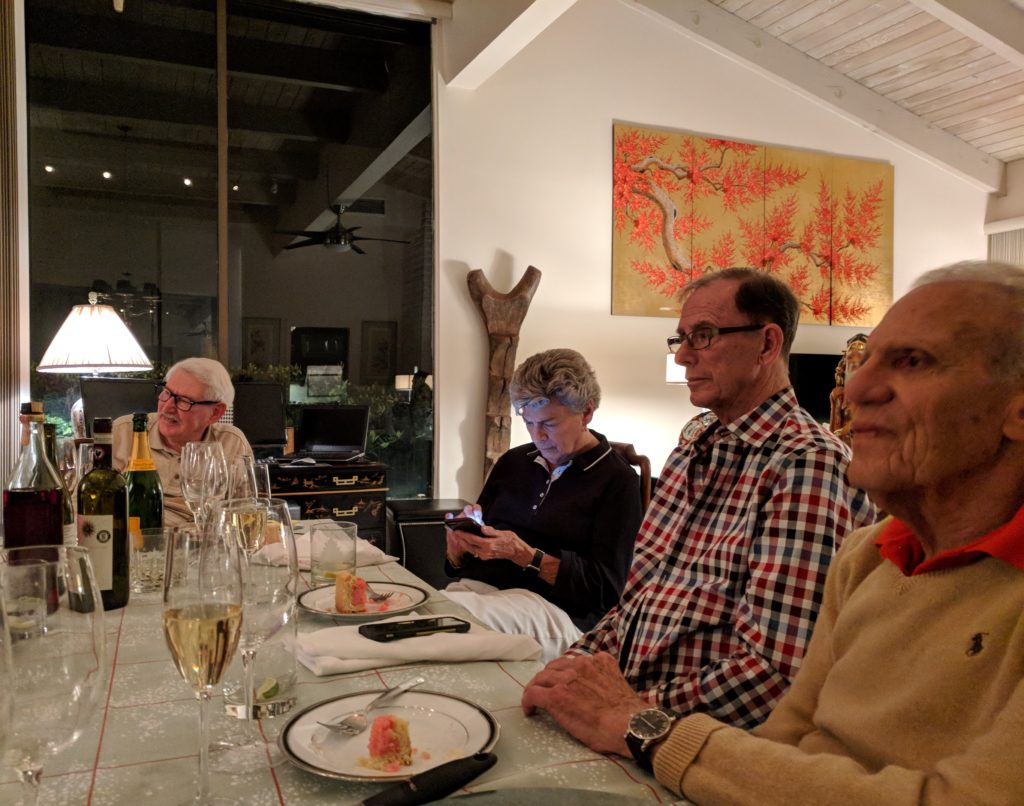
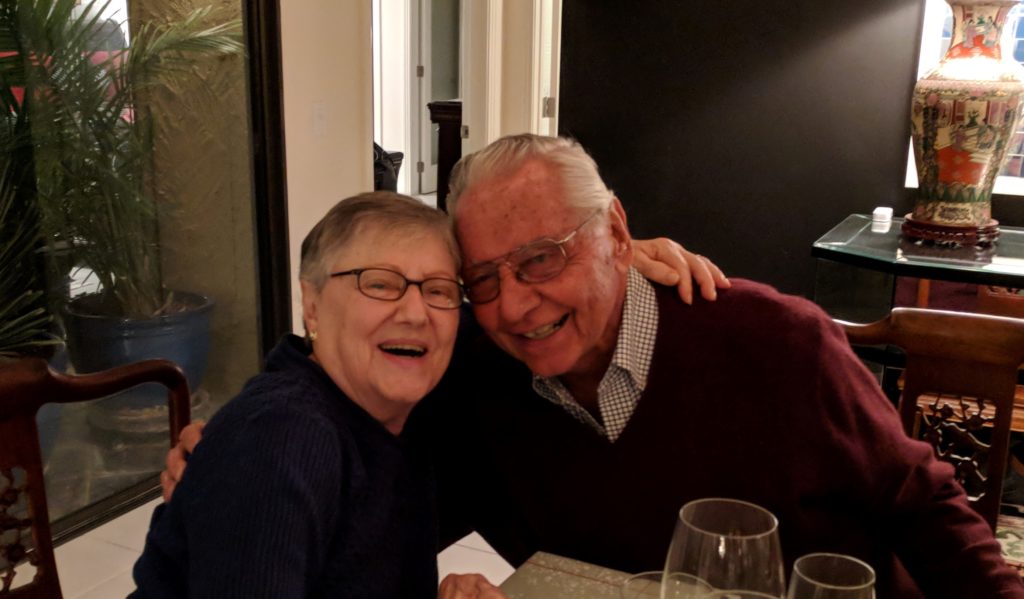
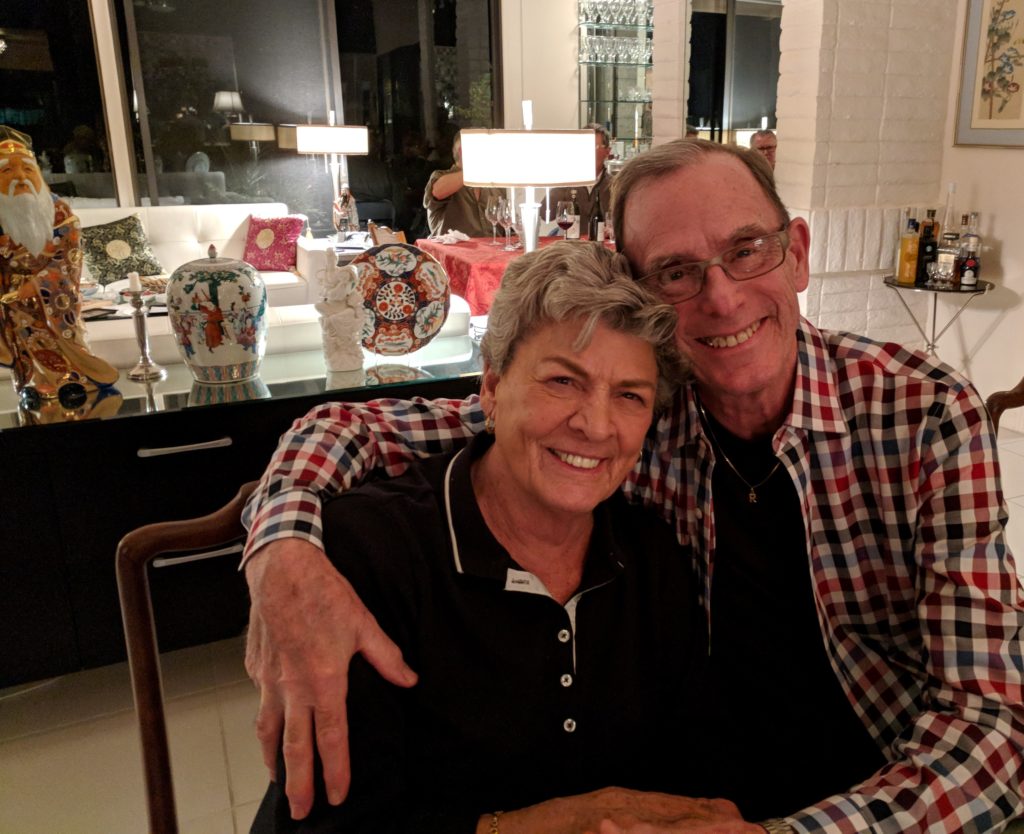
![]()
![]()
![]()
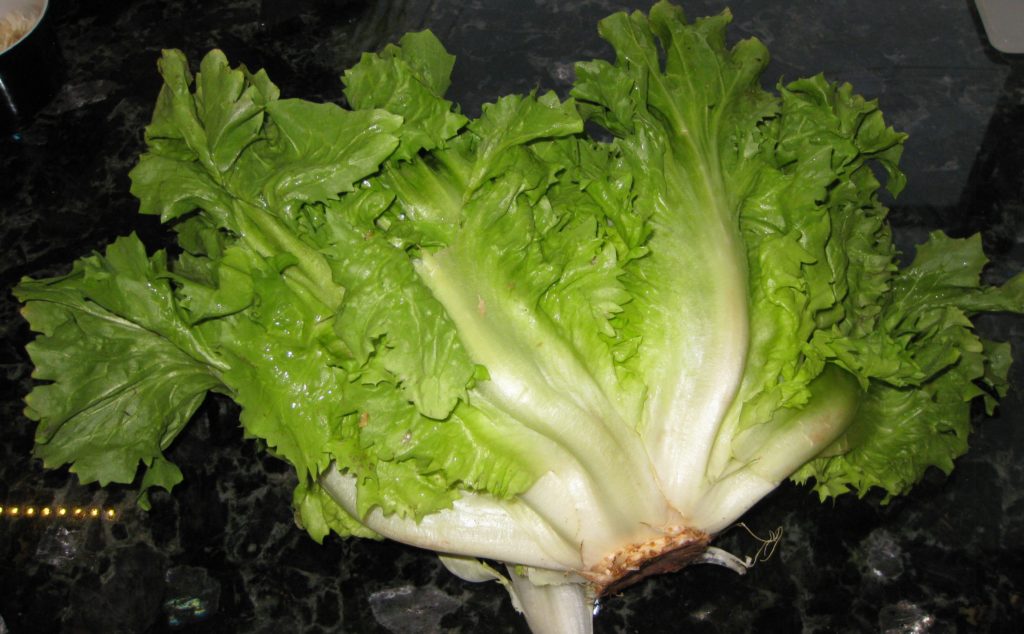
The closest we had to “local” produce was from Iran, the source of Romaine lettuce and cauliflower, as I recall, among other produce. Considering that Iran and the United Arab Emirates are only 90 miles away at their closest point, and considering how far produce can travel in North America from fields in California to the Northeast, 90 miles really counts as local, even if there is an international border among two not-so-friendly countries involved!
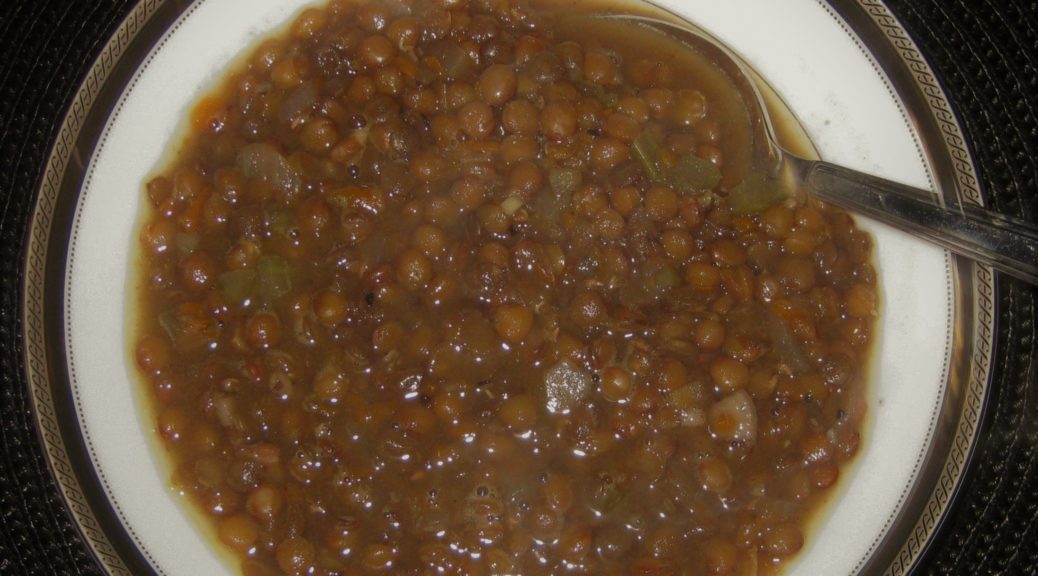
In the supermarkets, prepared food counters overflowed with Middle Eastern items and my fridge was always stocked with hummus, pita with zatar, olives, and other meze.
I also had access to world-class syrup desserts, including baklava!!!
Another fascinating aspect of most of larger supermarkets in Dubai was the existence of a room at the back that was usually labeled with something like “Pork for Non-Muslims.” In this space once could find the most amazing cured pork products from Italy, Spain, and Europe in general!
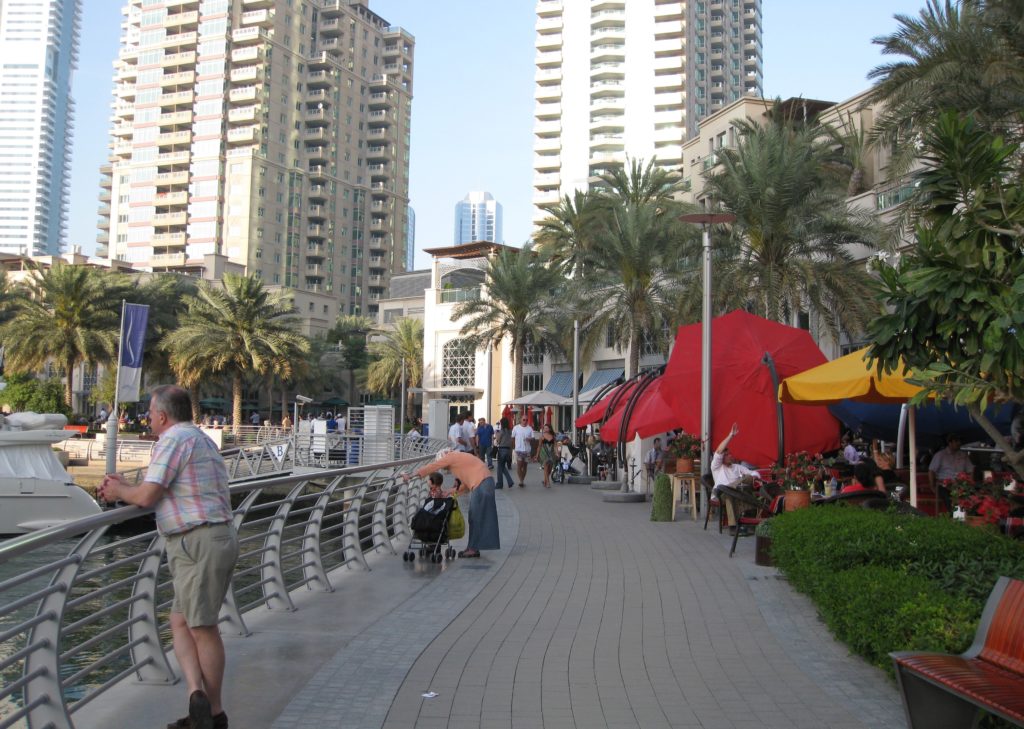
Alas, items containing alcohol were difficult to obtain. This included vanilla extract. The available non-alcohol-based “extract” was just not the same. Luckily vinegar was just as good, even if it was labeled “Grape Vinegar” rather than “Wine Vinegar!”
I hope you enjoy this baklava. Just don’t make it for a Greek friend!
If you have a favorite family recipe and a bit of a story to tell, please email me at santafecook@villasentieri.com and we can discuss including it in the blog. I am expanding the scope of my blog to include traditional recipes from around the country and around the world. If you haven’t seen Bertha’s Flan or Melinda’s Drunken Prunes, take a look. They will give you an idea of what I’m looking for.
")
| Prep Time | 1 hour |
| Cook Time | 1 1/2 hours |
| Passive Time | 24 hours |
| Servings |
pieces
|
- 1 pound unsalted butter more if you are generous with buttering
- 1 pound phyllo thawed if frozen
- 1 pound blanched almonds
- 1 pound shelled walnuts
- 2/3 cup sugar
- 2 teaspoons ground cinnamon
- 2 teaspoons ground allspice
- whole cloves
- 2 small lemons zest only, cut off in strips
- 2 cups sugar
- 2 cups water
- 4 inches stick cinnamon broken up
- 4 cloves
- 1 tablespoon lemon juice
- 2 cups honey
- 2 tablespoons Rum or Brandy
Ingredients
Bakalva
Syrup
|
|
- Clarify the butter.
- Finely grind the almonds and walnuts.
")
")
- Mix nuts, cinnamon, allspice and sugar.
")
")
- Brush a 9-inch b 13-inch baking pan with butter.
- Lay a sheet of phyllo and brush it with butter.
- Repeat until 12 sheets have been used.
")
- Spread a layer of nuts, approximately 1 cup, on top of the phyllo.
")
- Cover with a sheet of phyllo, brushing it with butter.
")
- Repeat 1 cup of nuts covered with one sheet of phyllo until all the nuts have been used up.
- Top with all the remaining sheets of phyllo individually adding them and brushing each sheet with butter.
")
- Score the top few sheets of phyllo in a diamond pattern. Cut from one corner to the opposite corner.
- Make three more rows of cuts, evenly spaced, in each direction parallel to the first cut for a total of 7 cuts.
- Repeat in the opposite direction.
")
- Put a clove in the center of each diamond.
")
- Sprinkle the top lightly with water to reduce curling while baking.
- Bake 350°F for 1½ hours, until golden.
")
- Pour hot honey syrup over the hot baklava as it comes from the oven.
")
")
- The baklava is best if allowed to sit at room temperature, uncovered for about a day before serving.
")
- As the baklava is nearing completion, make the syrup.
- Combine lemon zest, sugar, water, cinnamon, and cloves in a heavy-bottomed sauce pan.
")
")
- Bring to a boil, lower heat and continue cooking without stirring until syrupy, approximately 15 minutes. (218°F to 220°F if you want to measure using a candy thermometer.)
")
- Stir honey into hot syrup.
")
- Remove from the heat.
- Using a small strainer, remove the solids.
- Reheat the syrup immediately before removing the baklava from the oven.
- Stir in lemon juice and rum or brandy.
Copyright © 2018 by VillaSentieri.com. All rights reserved.

")
")
")
")
")
")
")
")
")

")
")
")
")
")
")
")
")
")
")
")


")
")
")
")
")
")
")
")
")
")
")
")
")
")
")
")
")

")
")
")
")
")
")
")

")
")
")
")
")
")
")
")
")
")
")
")
")
")


")
")
")
")
")
")
")
")
")
")
")
")
")
")
")
")
")

")
")
")
")
")


")
")
")
")
")
")
")
")
")
")
")
")
")
")
")
")
")
")
")
")


")
")
")
")
")
")
")
")
")
")
")
")
")
")